DIY Desk
- Sunday January 19 2014
- woodworking diy
For a while now I've wanted a desk that was more suited towards computing. I built my first desk a long time ago with the help of my dad. It had to hold up 3 CRT monitors, including one massive 21 inch monitor. Since then so much has changed. I now use 3 ASUS VE247H monitors each at 1080p. Most desks aren't really designed for having 3 such monitors on them. The stands that are included with my monitors do not raise them much above the desk surface. Once you have a surface that holds your keyboard and mouse at the right level, you wind up looking downwards at the monitors which I find awkward. So I laid out some requirements.
- The desk should be cheap.
- The desk should be durable. Even if the surface is damaged, it should be able to be refinished.
- The desk should be stable. There is nothing more annoying than a desk surface that vibrates or resonates as you type.
- The desk should include provisions to mount my monitors.
- The desk should allow for ease of disassembly.
Sourcing the Materials
After some searching, it became obvious that I would not find anything I'd be happy with in a reasonable price range. Most furniture you purchase is designed to be assembled exactly once. You never really know how durable it is until you manage to break it somehow. After going through 3 or 4 designs, I settled on something that was cheap and could be purchased from the local hardware store.
The desk surface
Initially I was set on using three pieces of 3 x 6 x 1 dimensional lumber which would give me a desk surface. These come precut at most hardware stores. For the price of what that would have cost, I found a sheet of 1/2 inch thick hardwood plywood which I had cut to a size of 30 by 72 inches. I kept the off cuts of the plywood and I will use them for future projects. To support the desk surface, it is very hard to find anything cheaper than 2 x 4 dimensional lumber. I bought them in lengths designed for wall studs and cut them down to what I needed. This means the desk surface is essentially a houeshold interior wall lying on its side. This structure is extremely rigid. It weighs more than other material choices, but it also leaves a bunch of surface area that allowed me to glue my sheet of plywood to the desk surface. This means I don't have any fasteners on the horizontal that I have to deal with. The adhesive I used was Liquid Nails Heavy-Duty adhesive. I let it dry for nearly a week before doing any additional work.
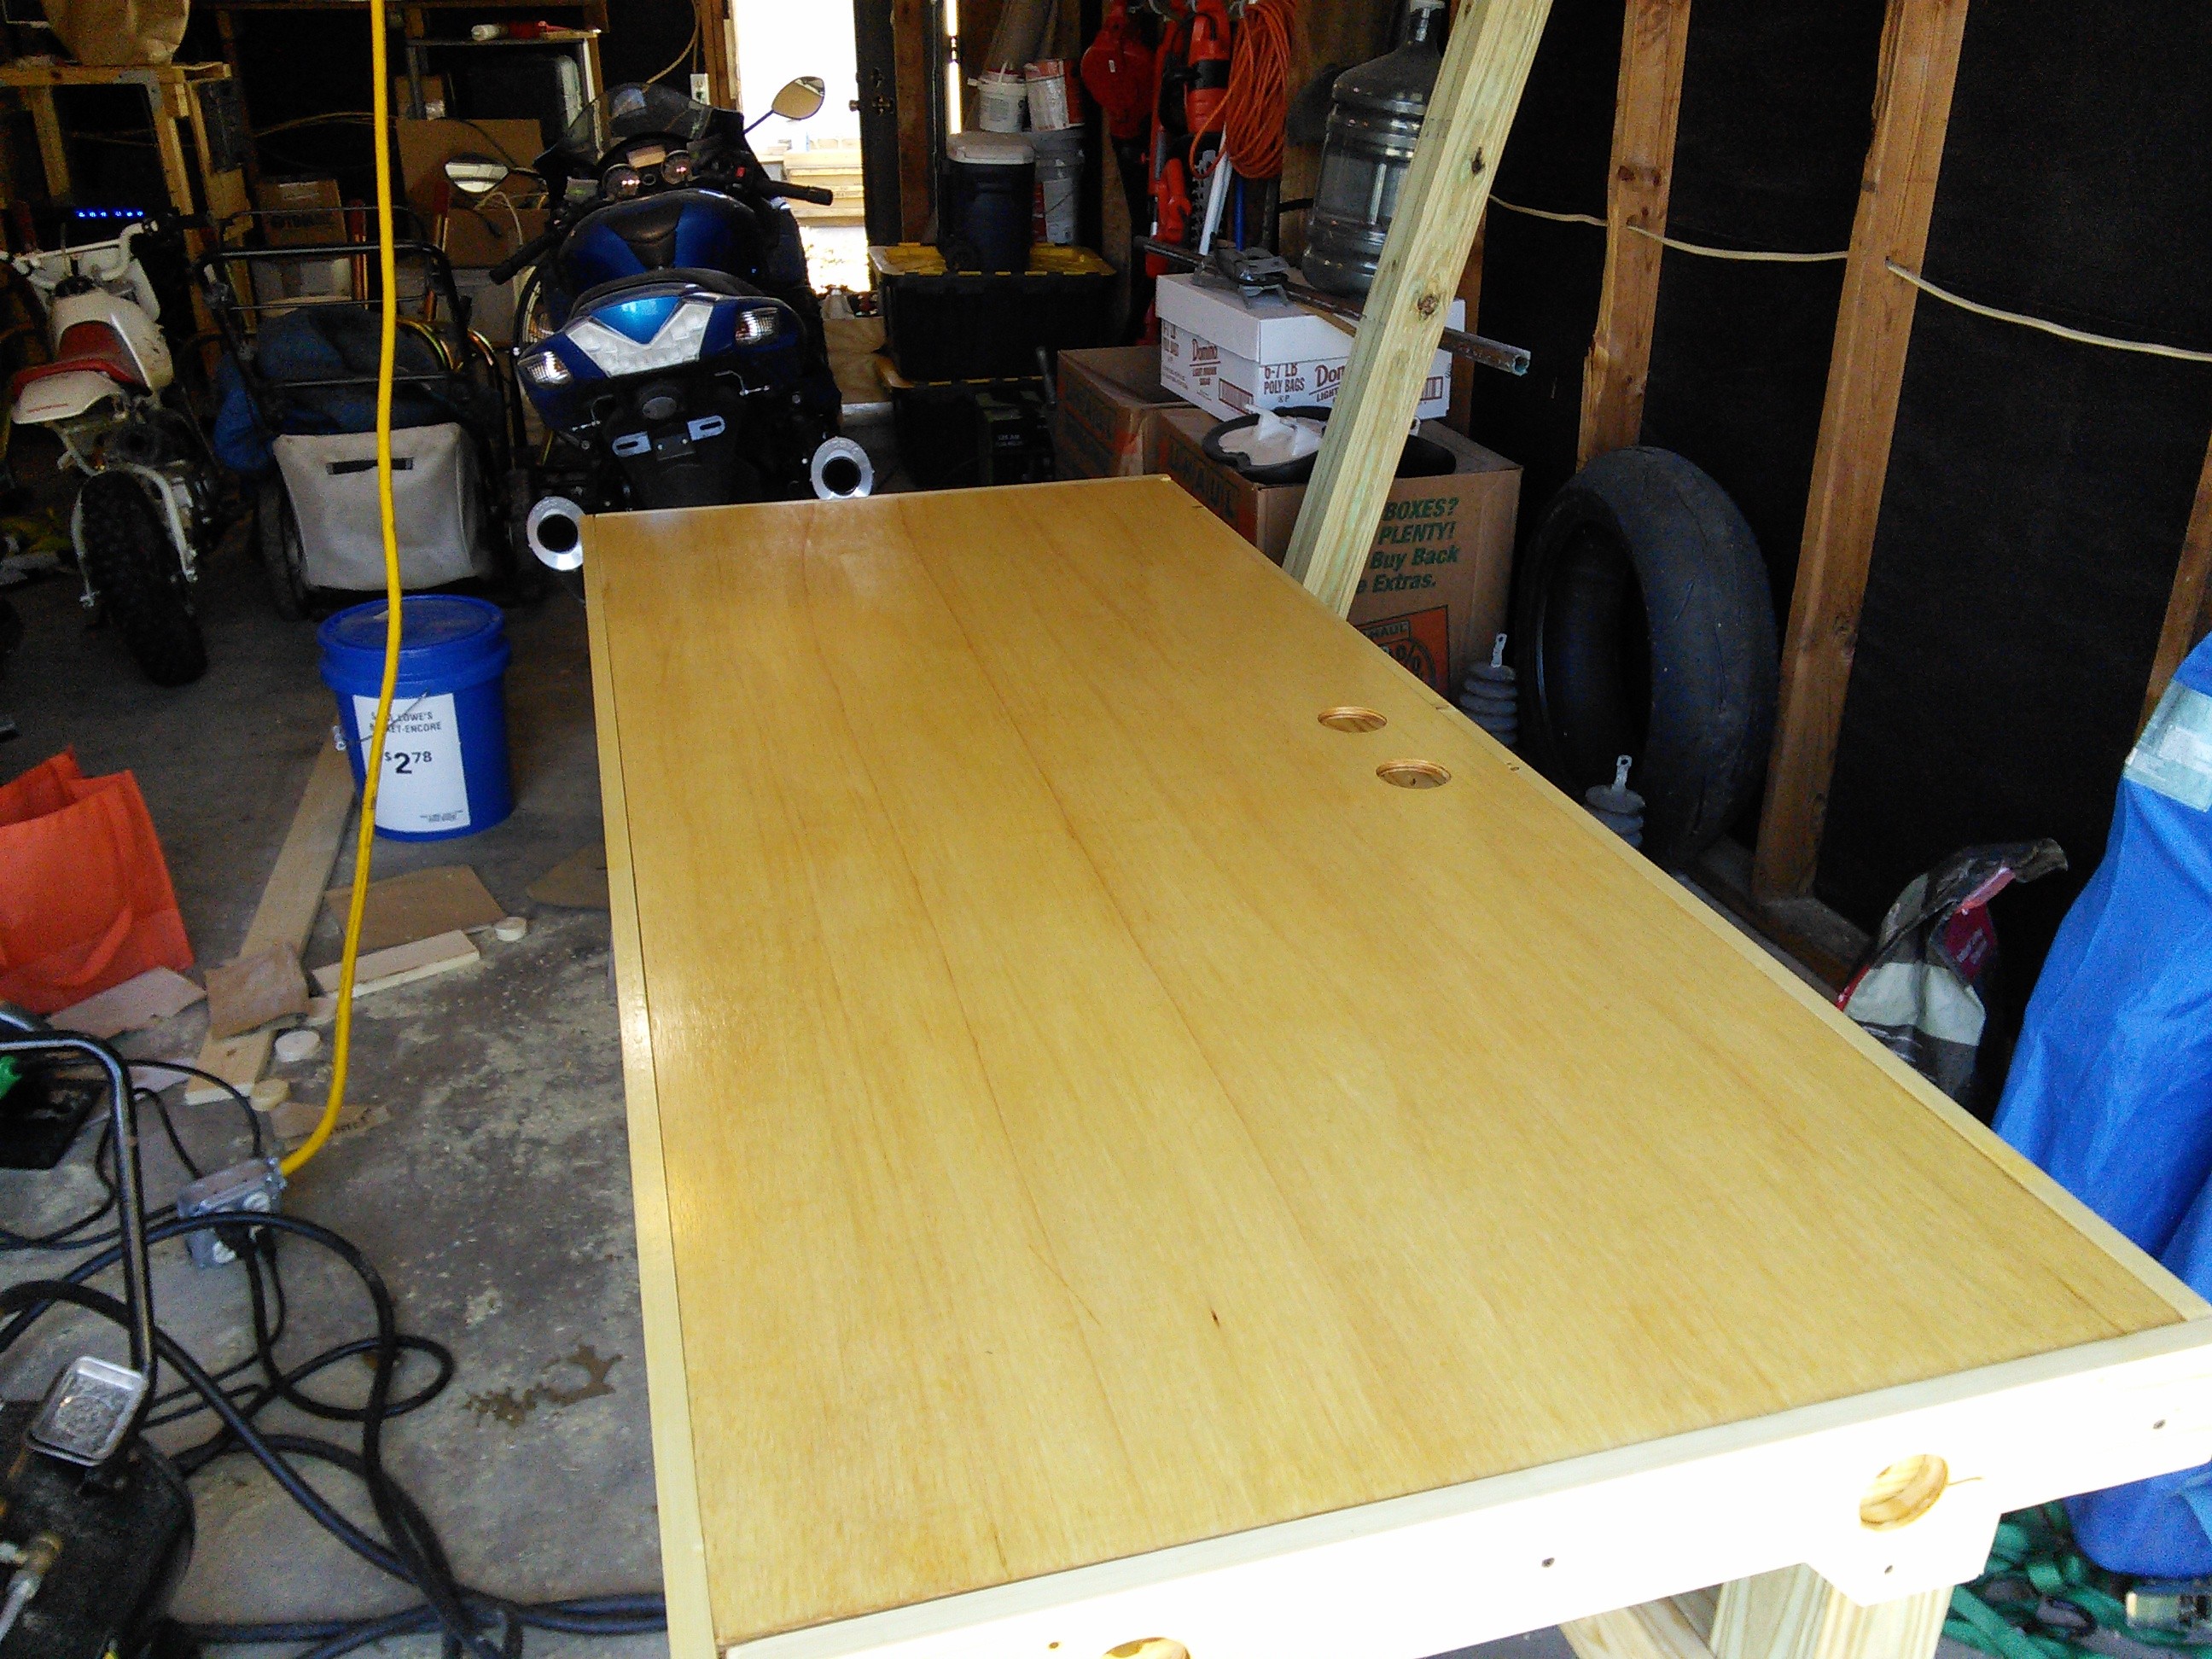
Finishing the surface
There are plenty of extravagant options for finishing wood. In the end I decided simple was better. I built trim pieces for the desk surface out of 1 x 4s. They are attached using drywall screws and Liquid Nails Heavy Duty adhesive. I sanded the whole thing with 150 grit sandpaper. Then I put on four coats of Minwax clear polyurethane. The first coat seemed to dry as it was applied. The next 3 coats only took 3 hours each to dry. I was able to get the last coat before I went to bed. The desk surface was able to be handled by morning.
The final product is almost mirror like. The surface is waterproof, durable, and be can refinished indefinitely. Even if the underlying wood surface is damaged, it can be sanded out and re-coated with polyurethane.
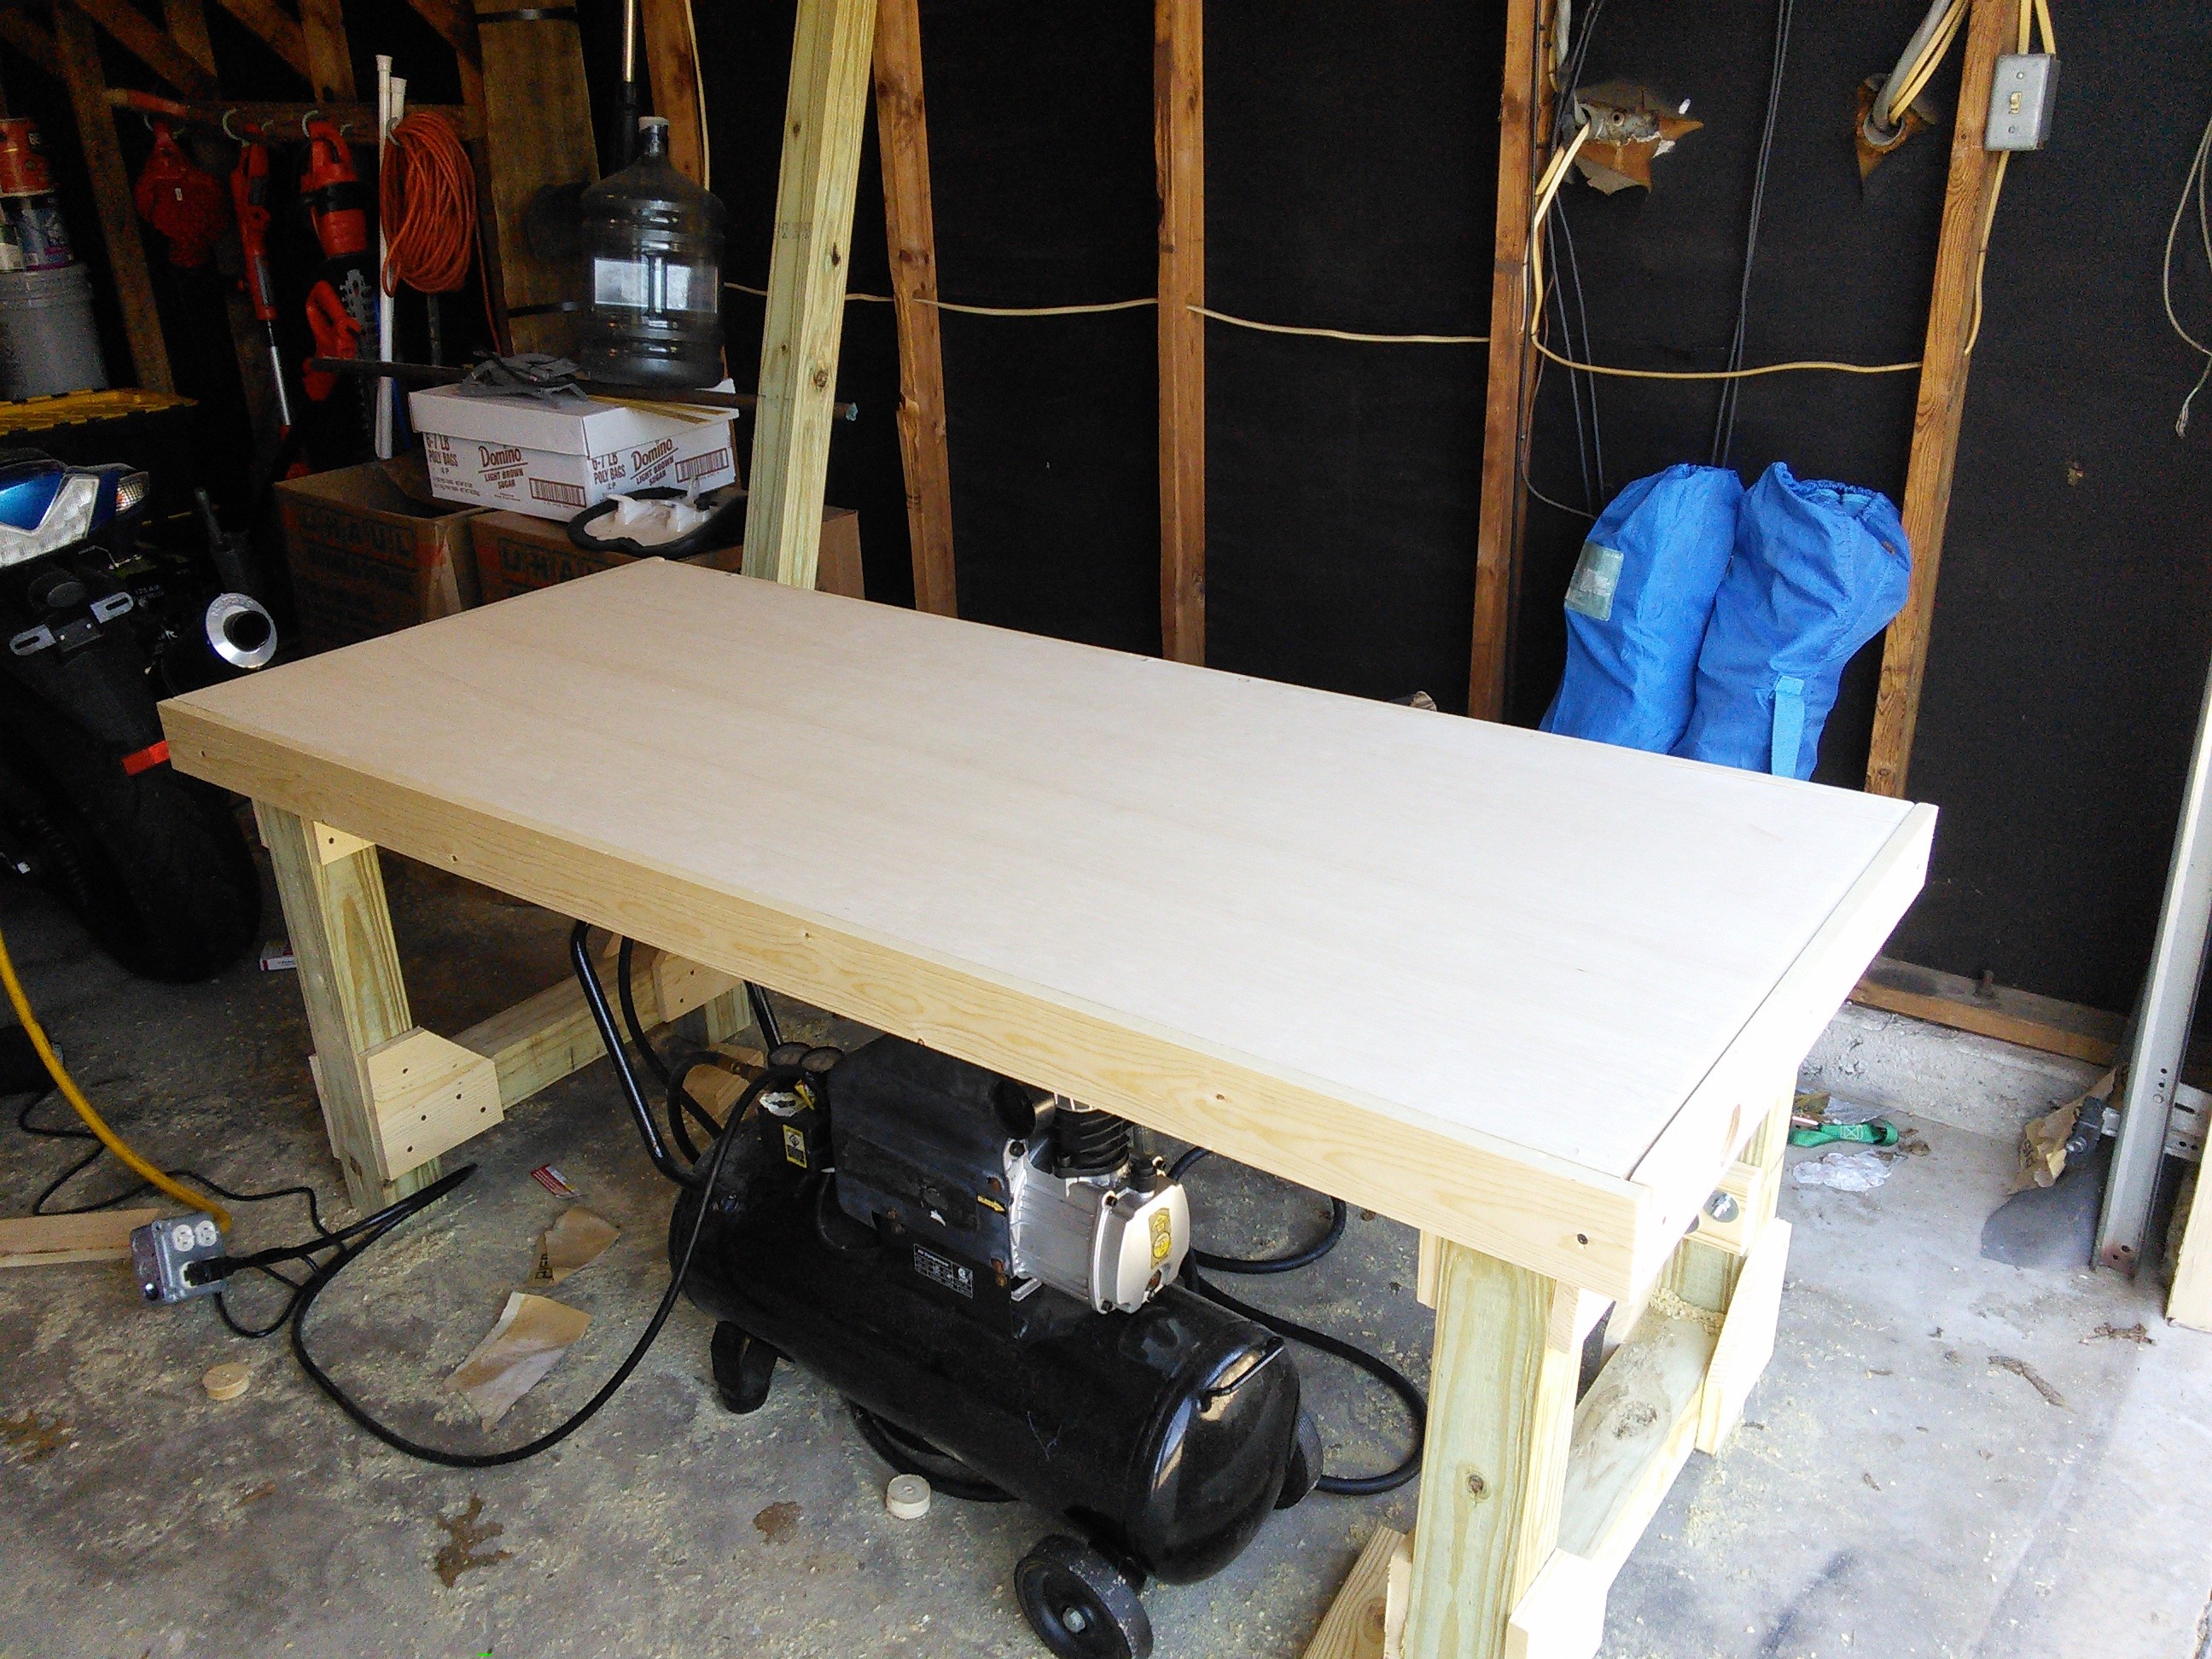
The supporting structure
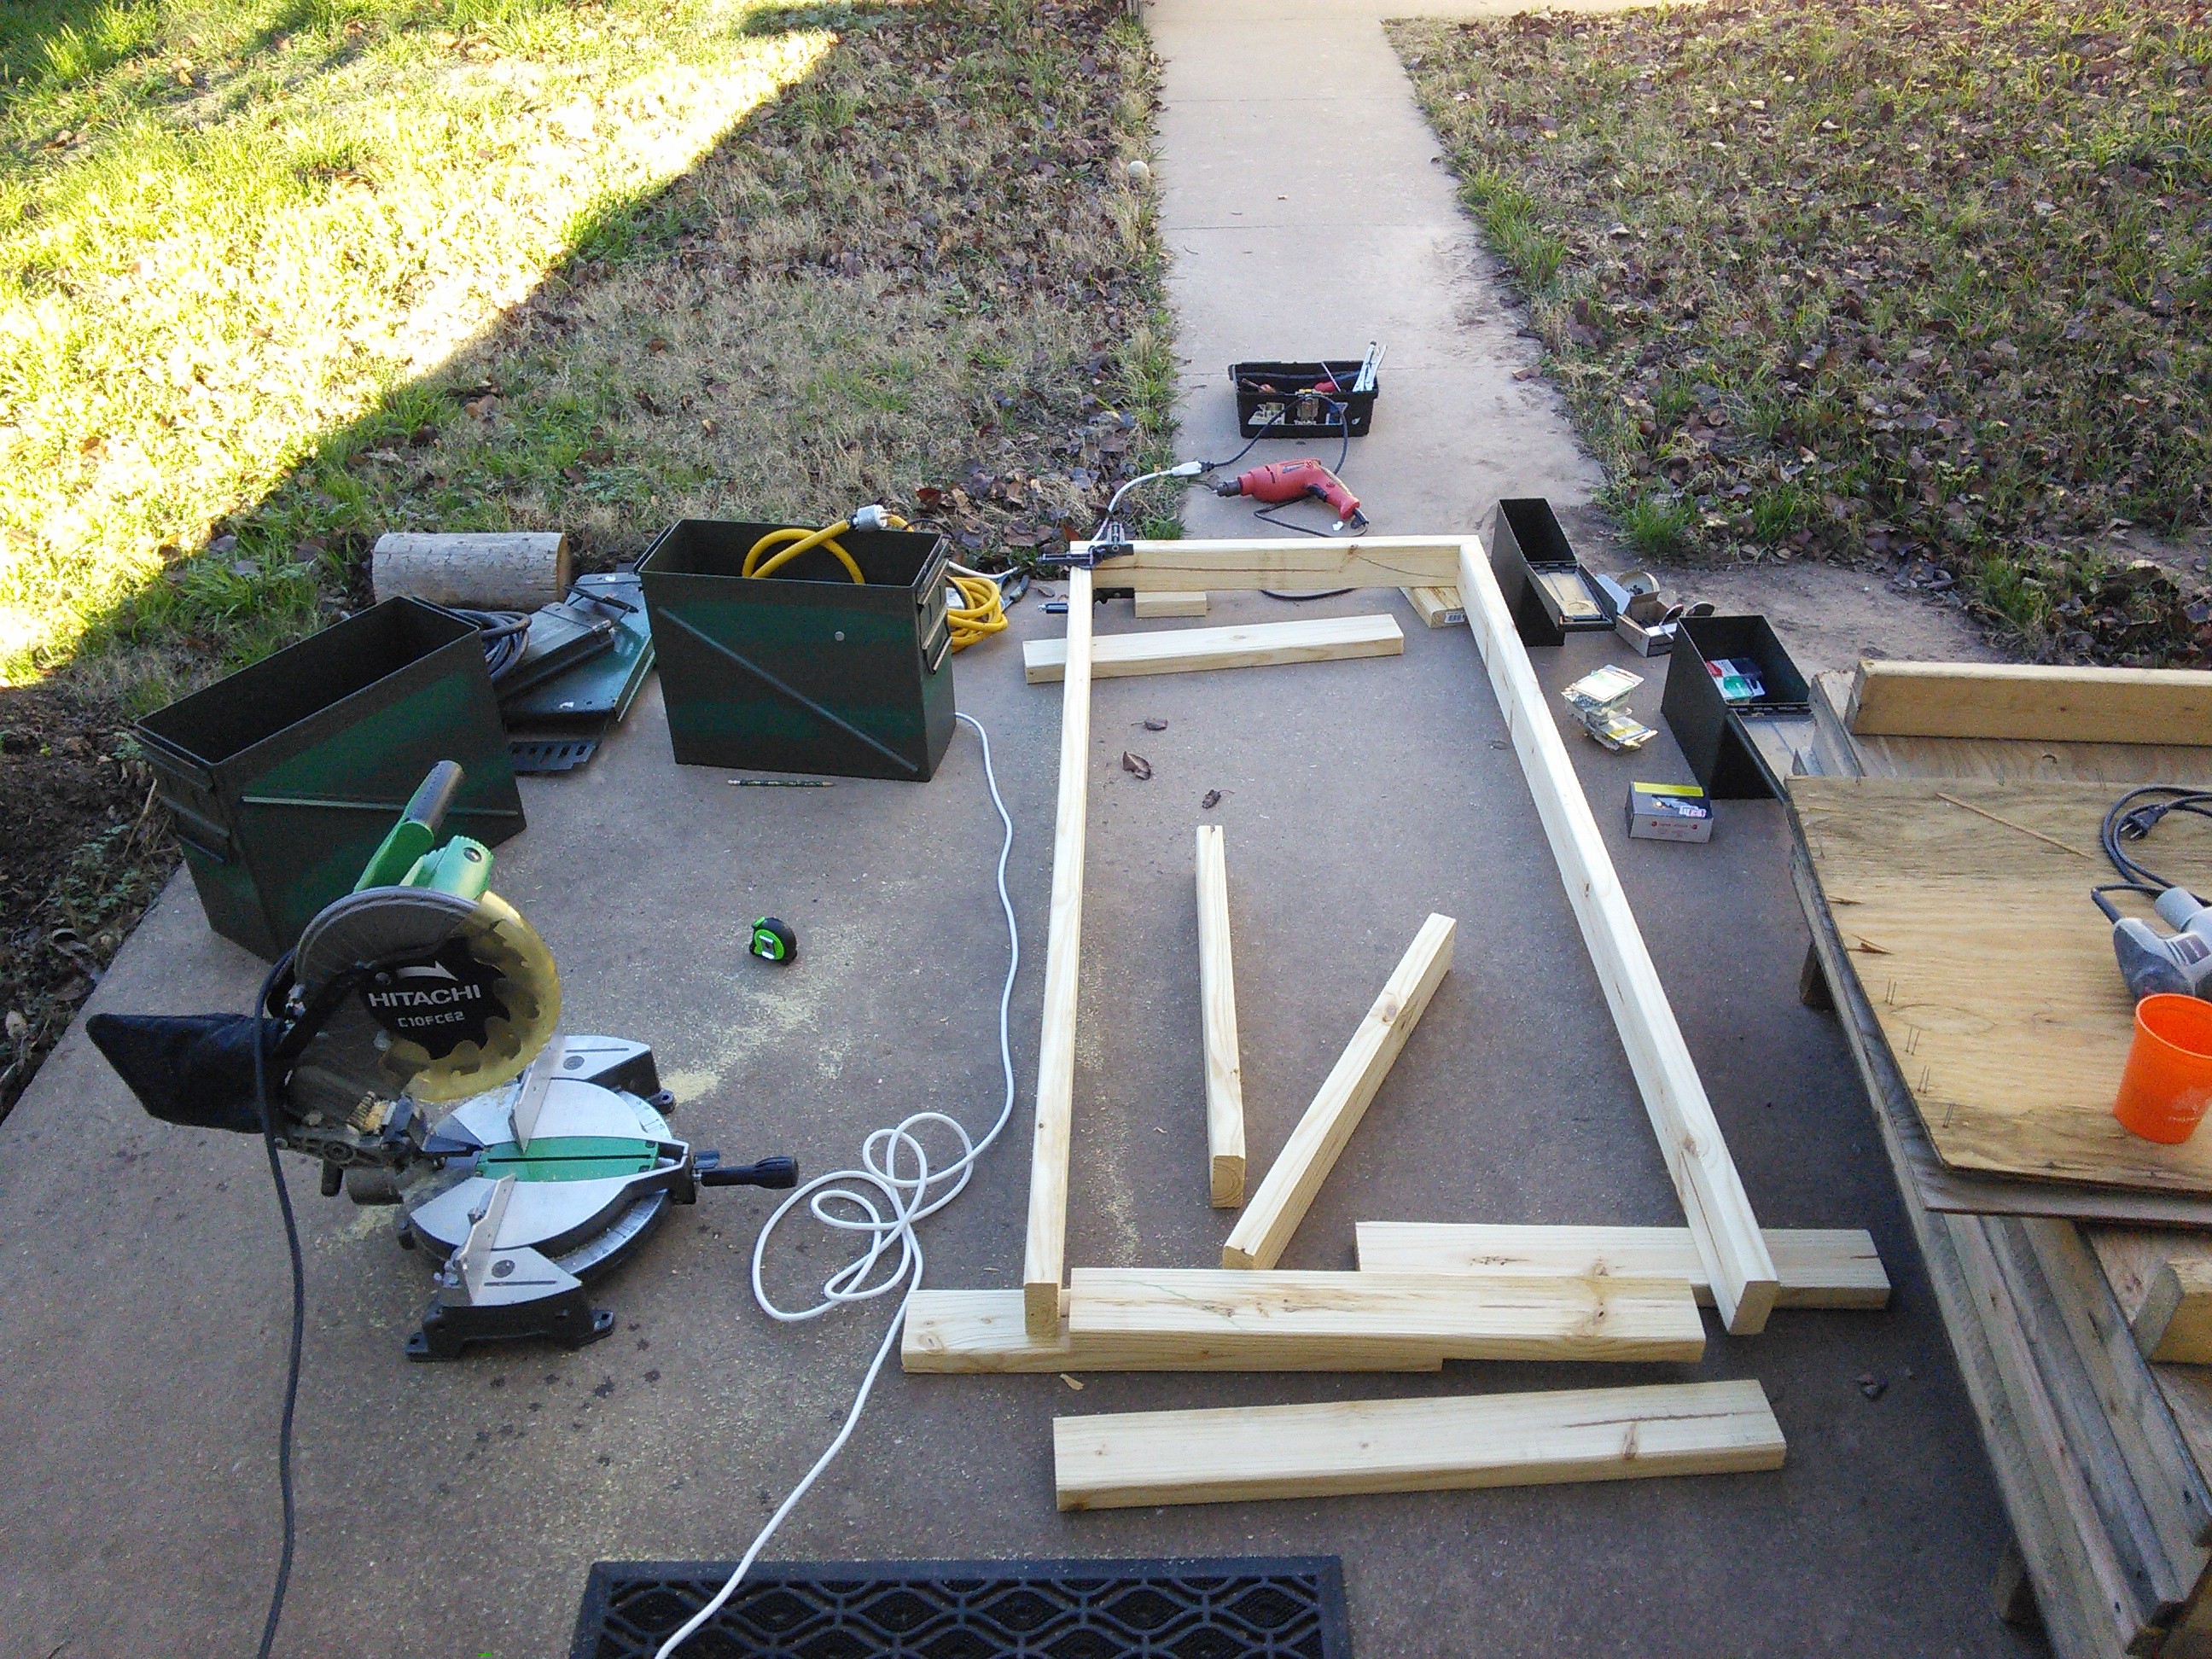
Creating a supporting structure for the desk was less challenging than the desk surface. I have built desks with legs of 2 x 4 dimensional lumber before but was not happy with the result. You can purchase landscape timbers at most hardware stores which are very large and are very cheap. The problem is such lumber is not straight and may not even be all of the same length. The landscape timbers are not suitable for anything but the intended purpose. I wound up buying treated pine 4 x 4 dimensional lumber and building legs with those. It is possible to purchase untreated pine 4 x 4s. They appear to be an item that is not in demand as they are not available at many hardware stores. The ones I could find in town were much more expensive than untreated 4 x 4s as the intended use is high end carpentry work. You can also buy cedar 4 x 4s which are untreated, but those cost even more than treated pine.
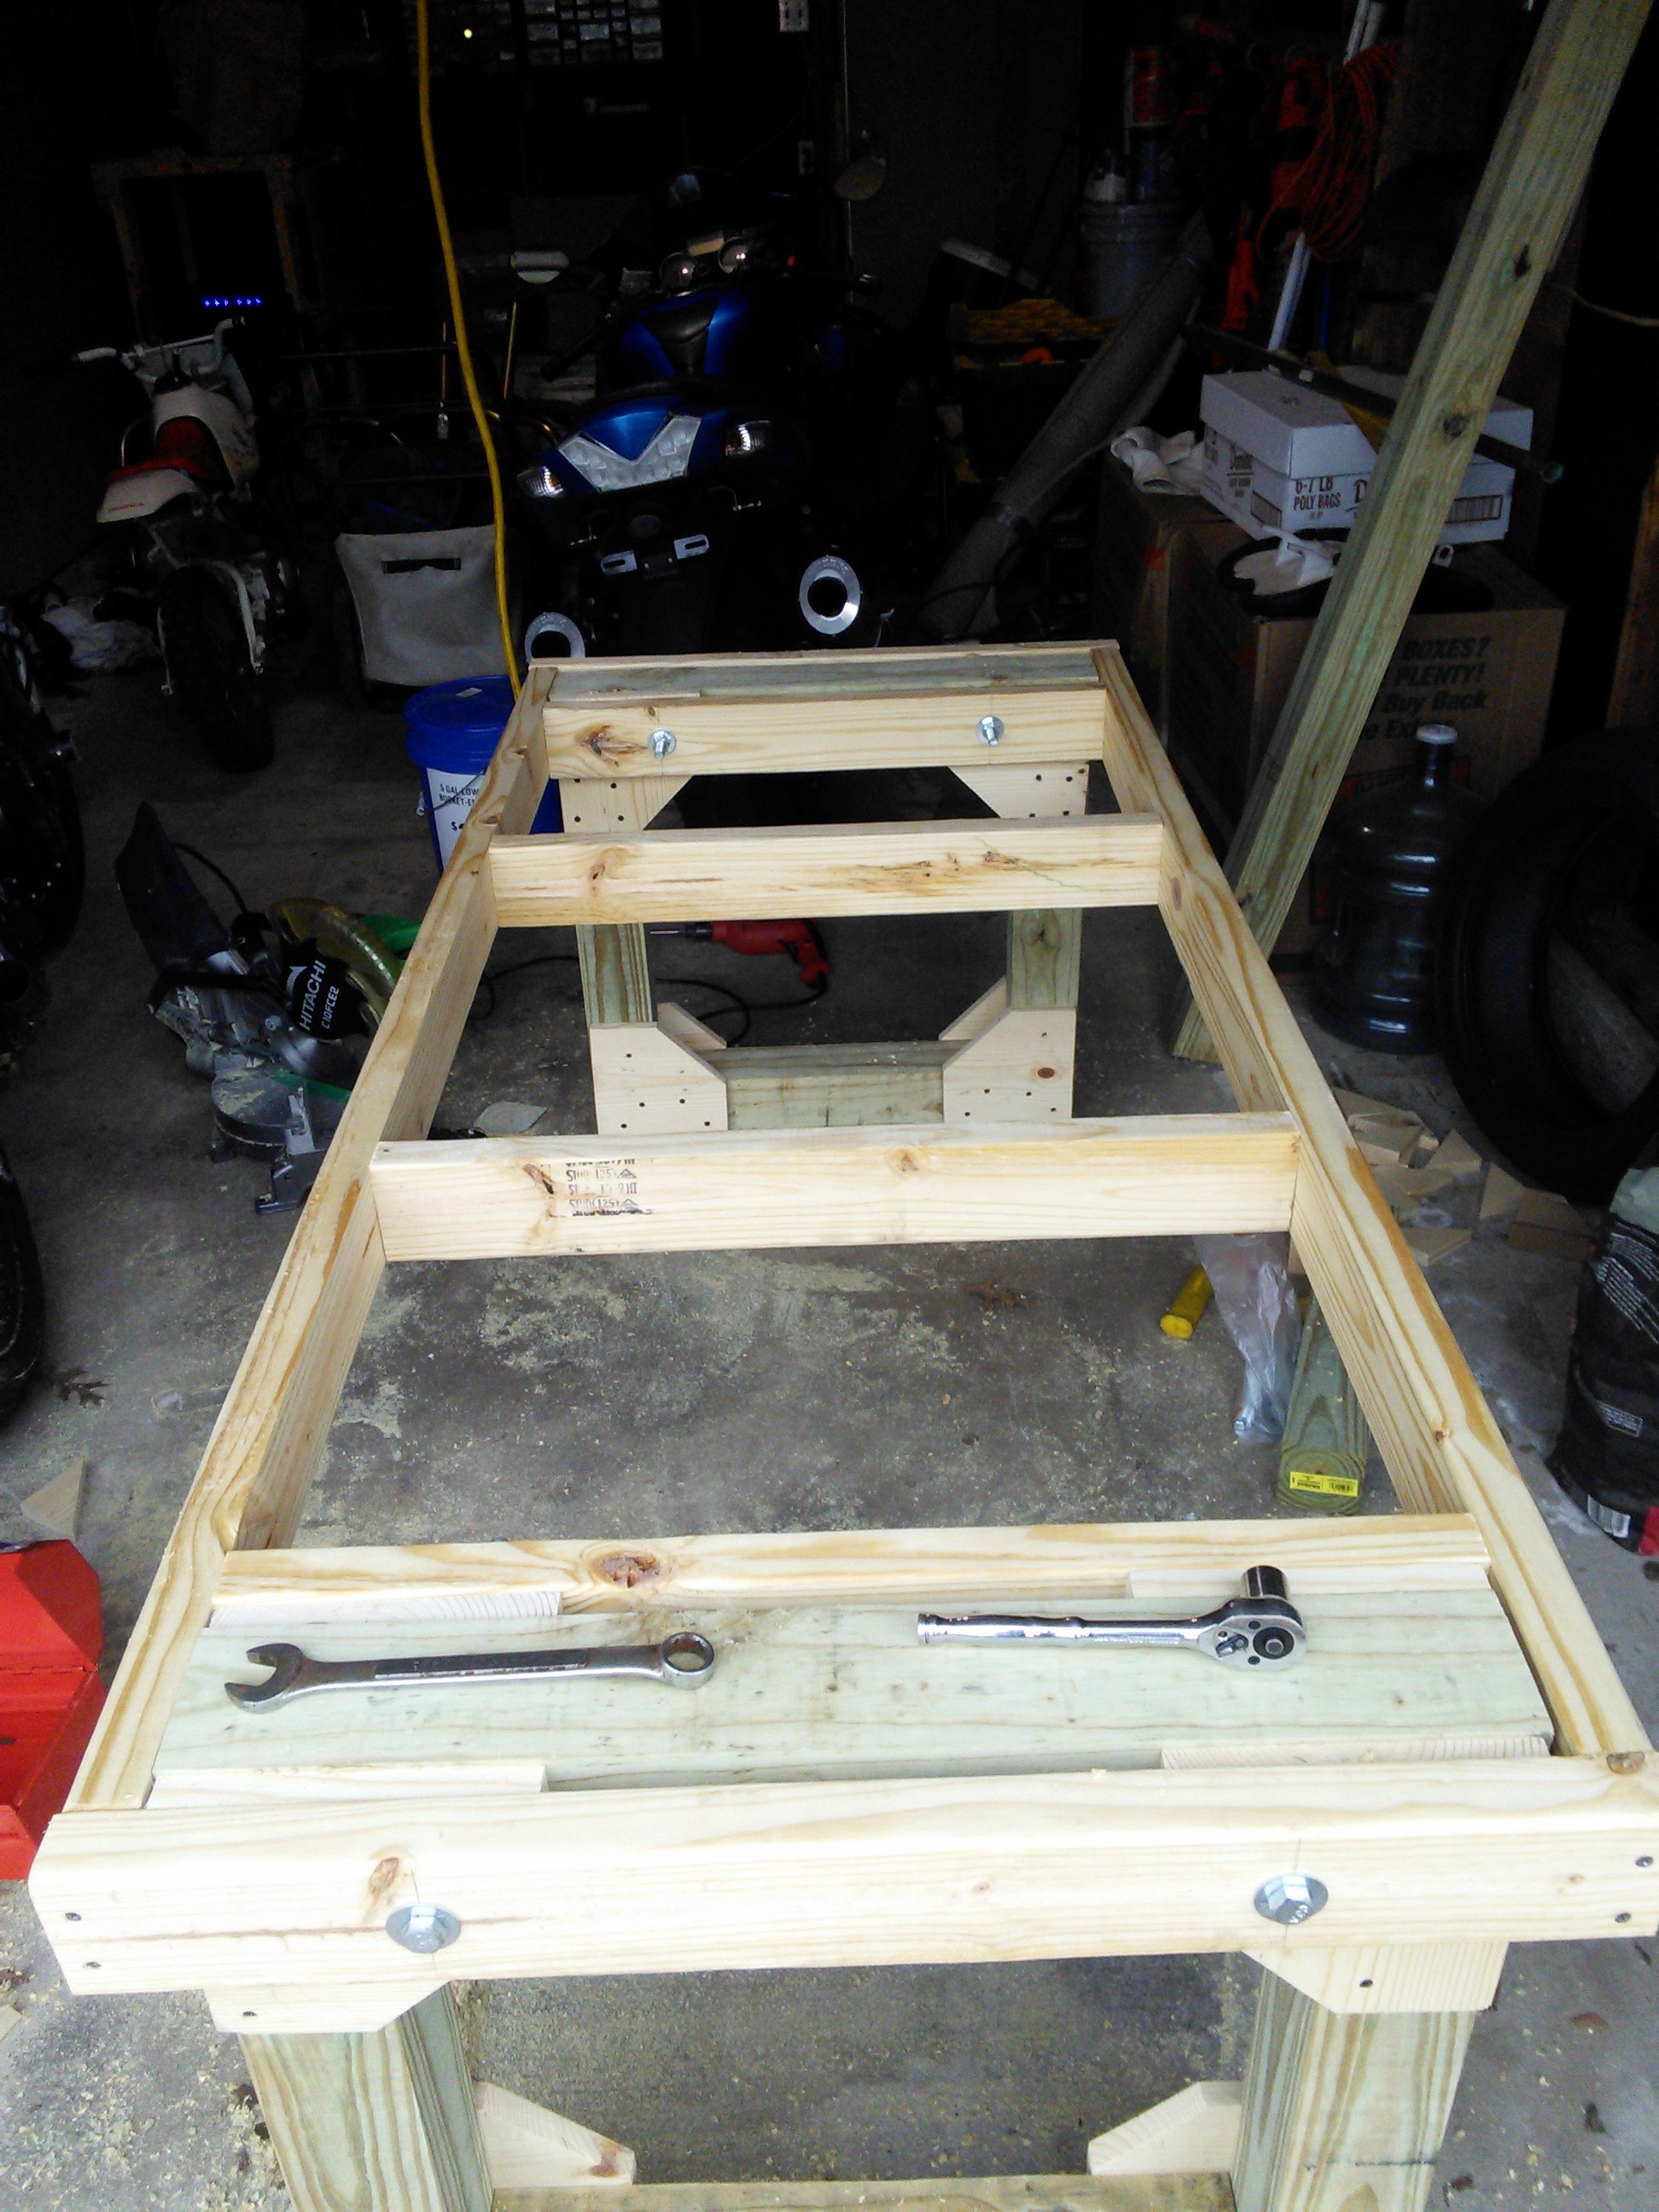
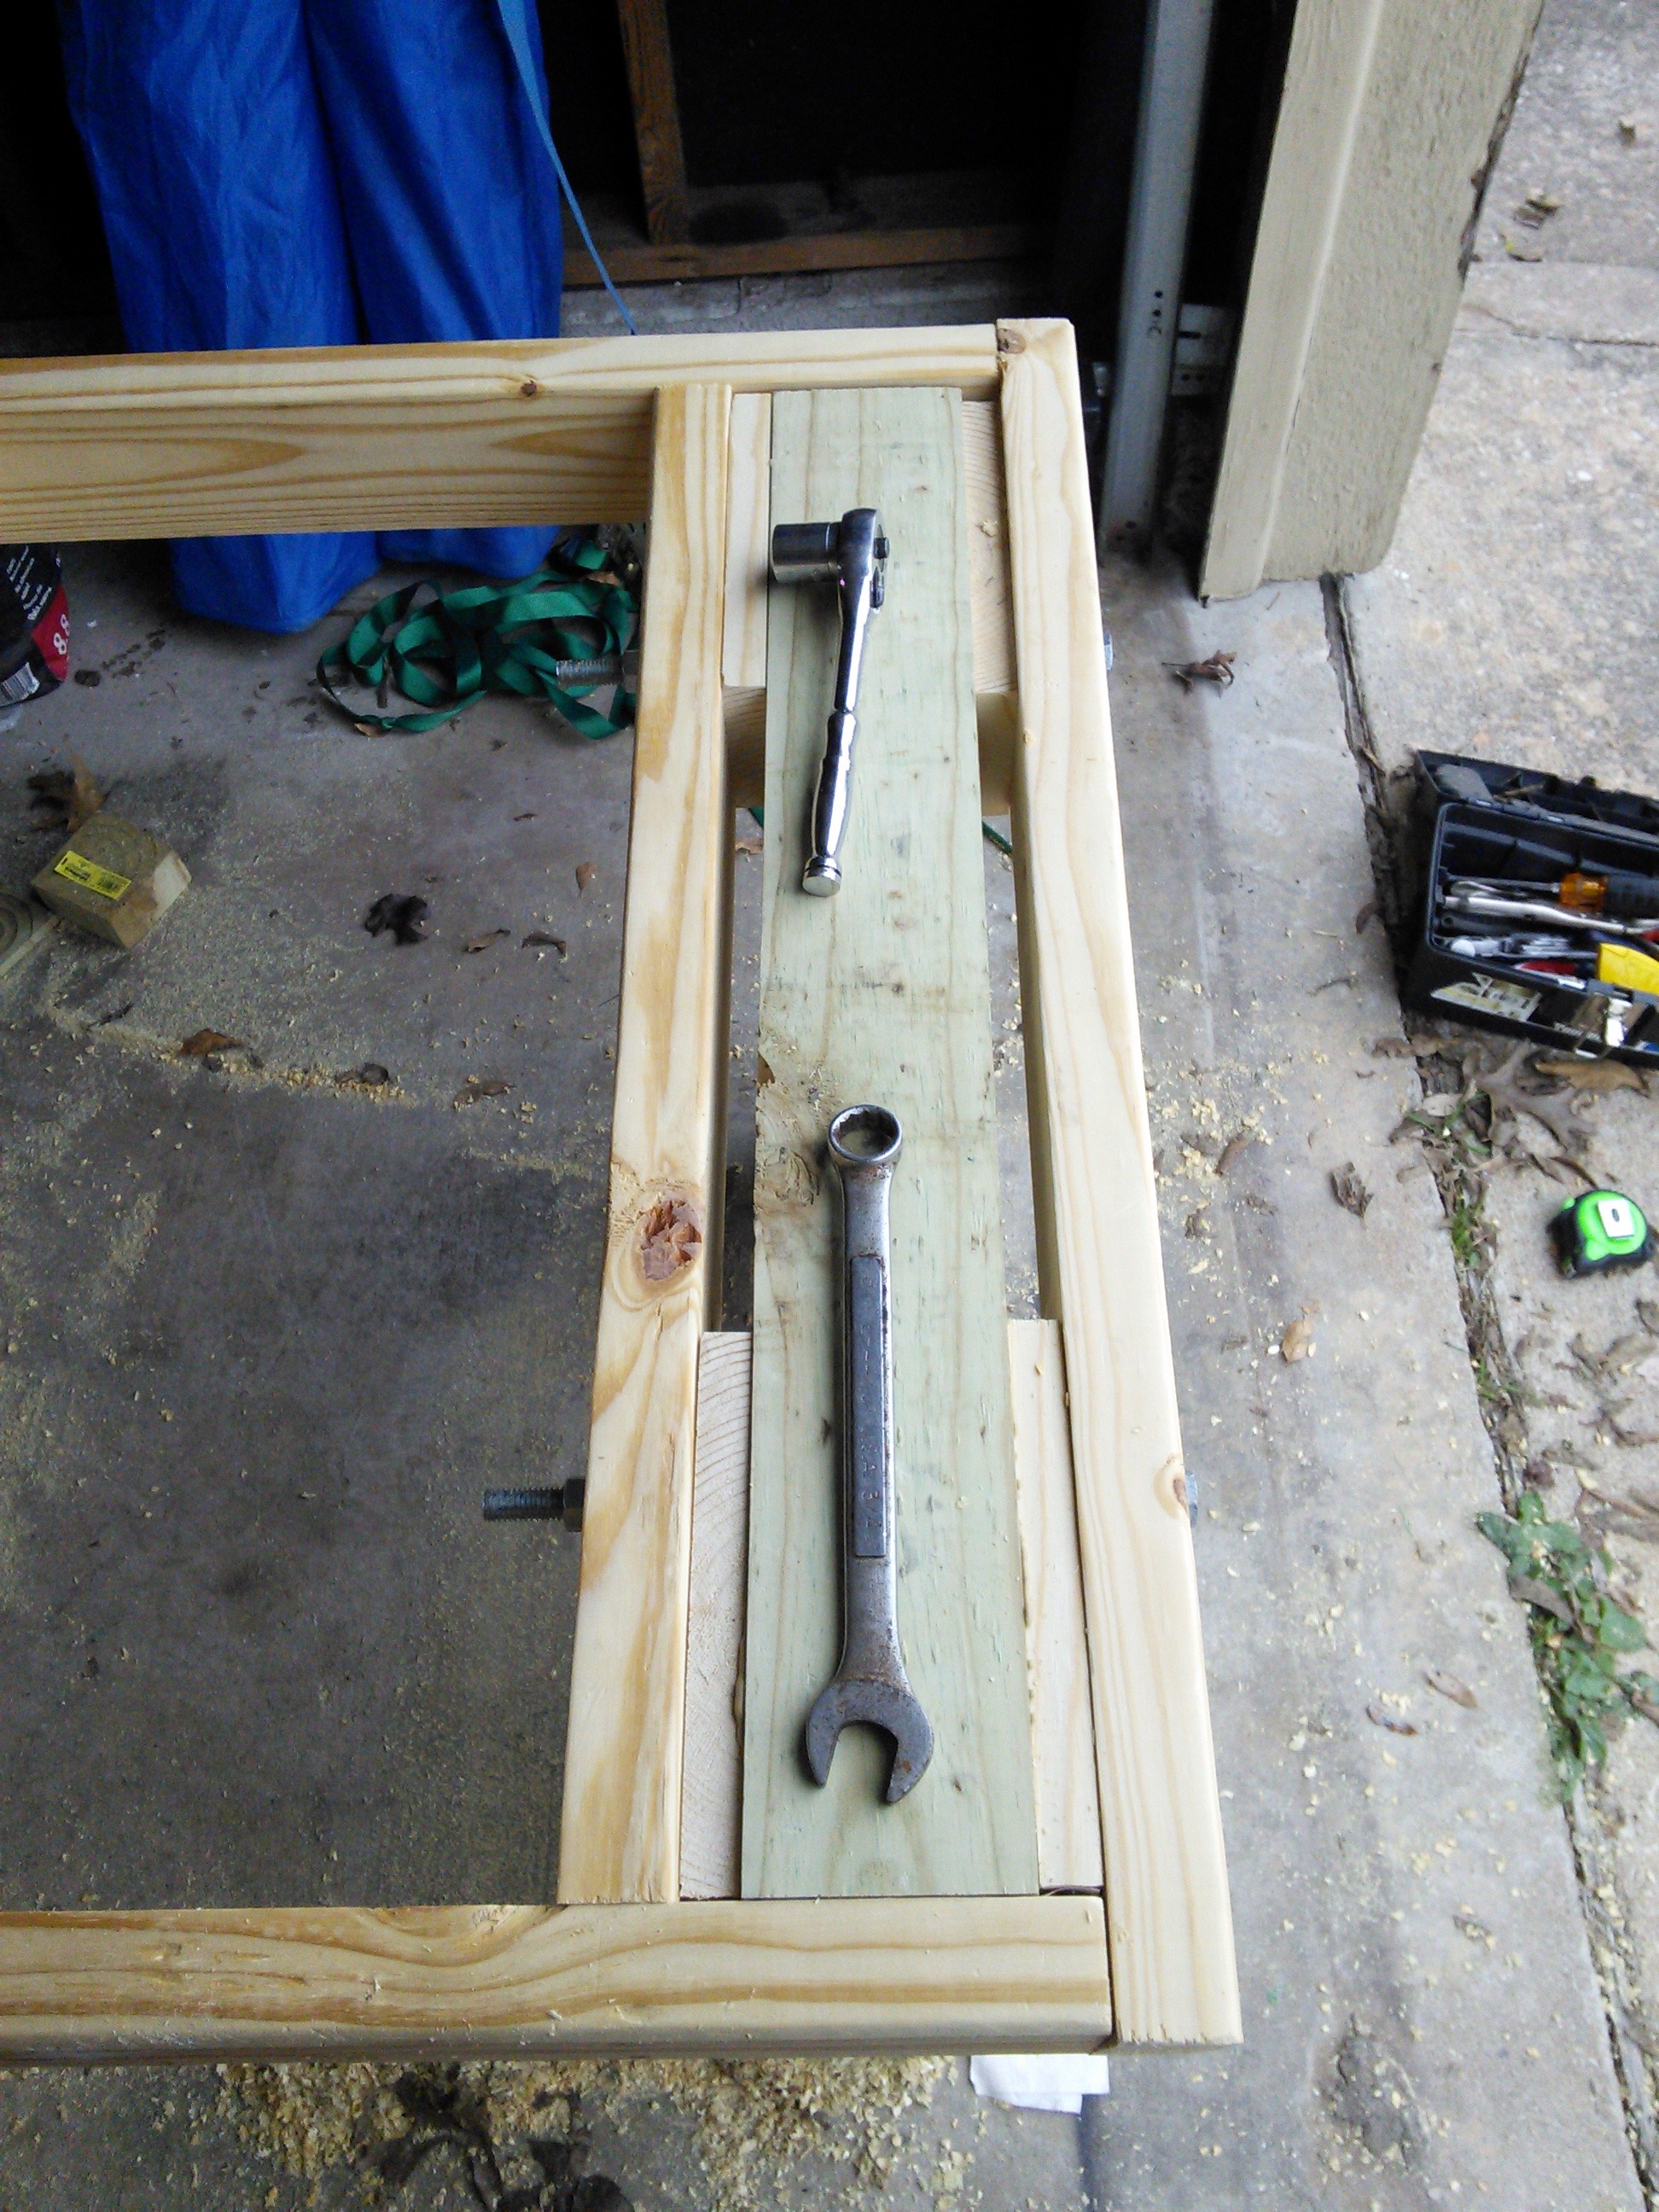
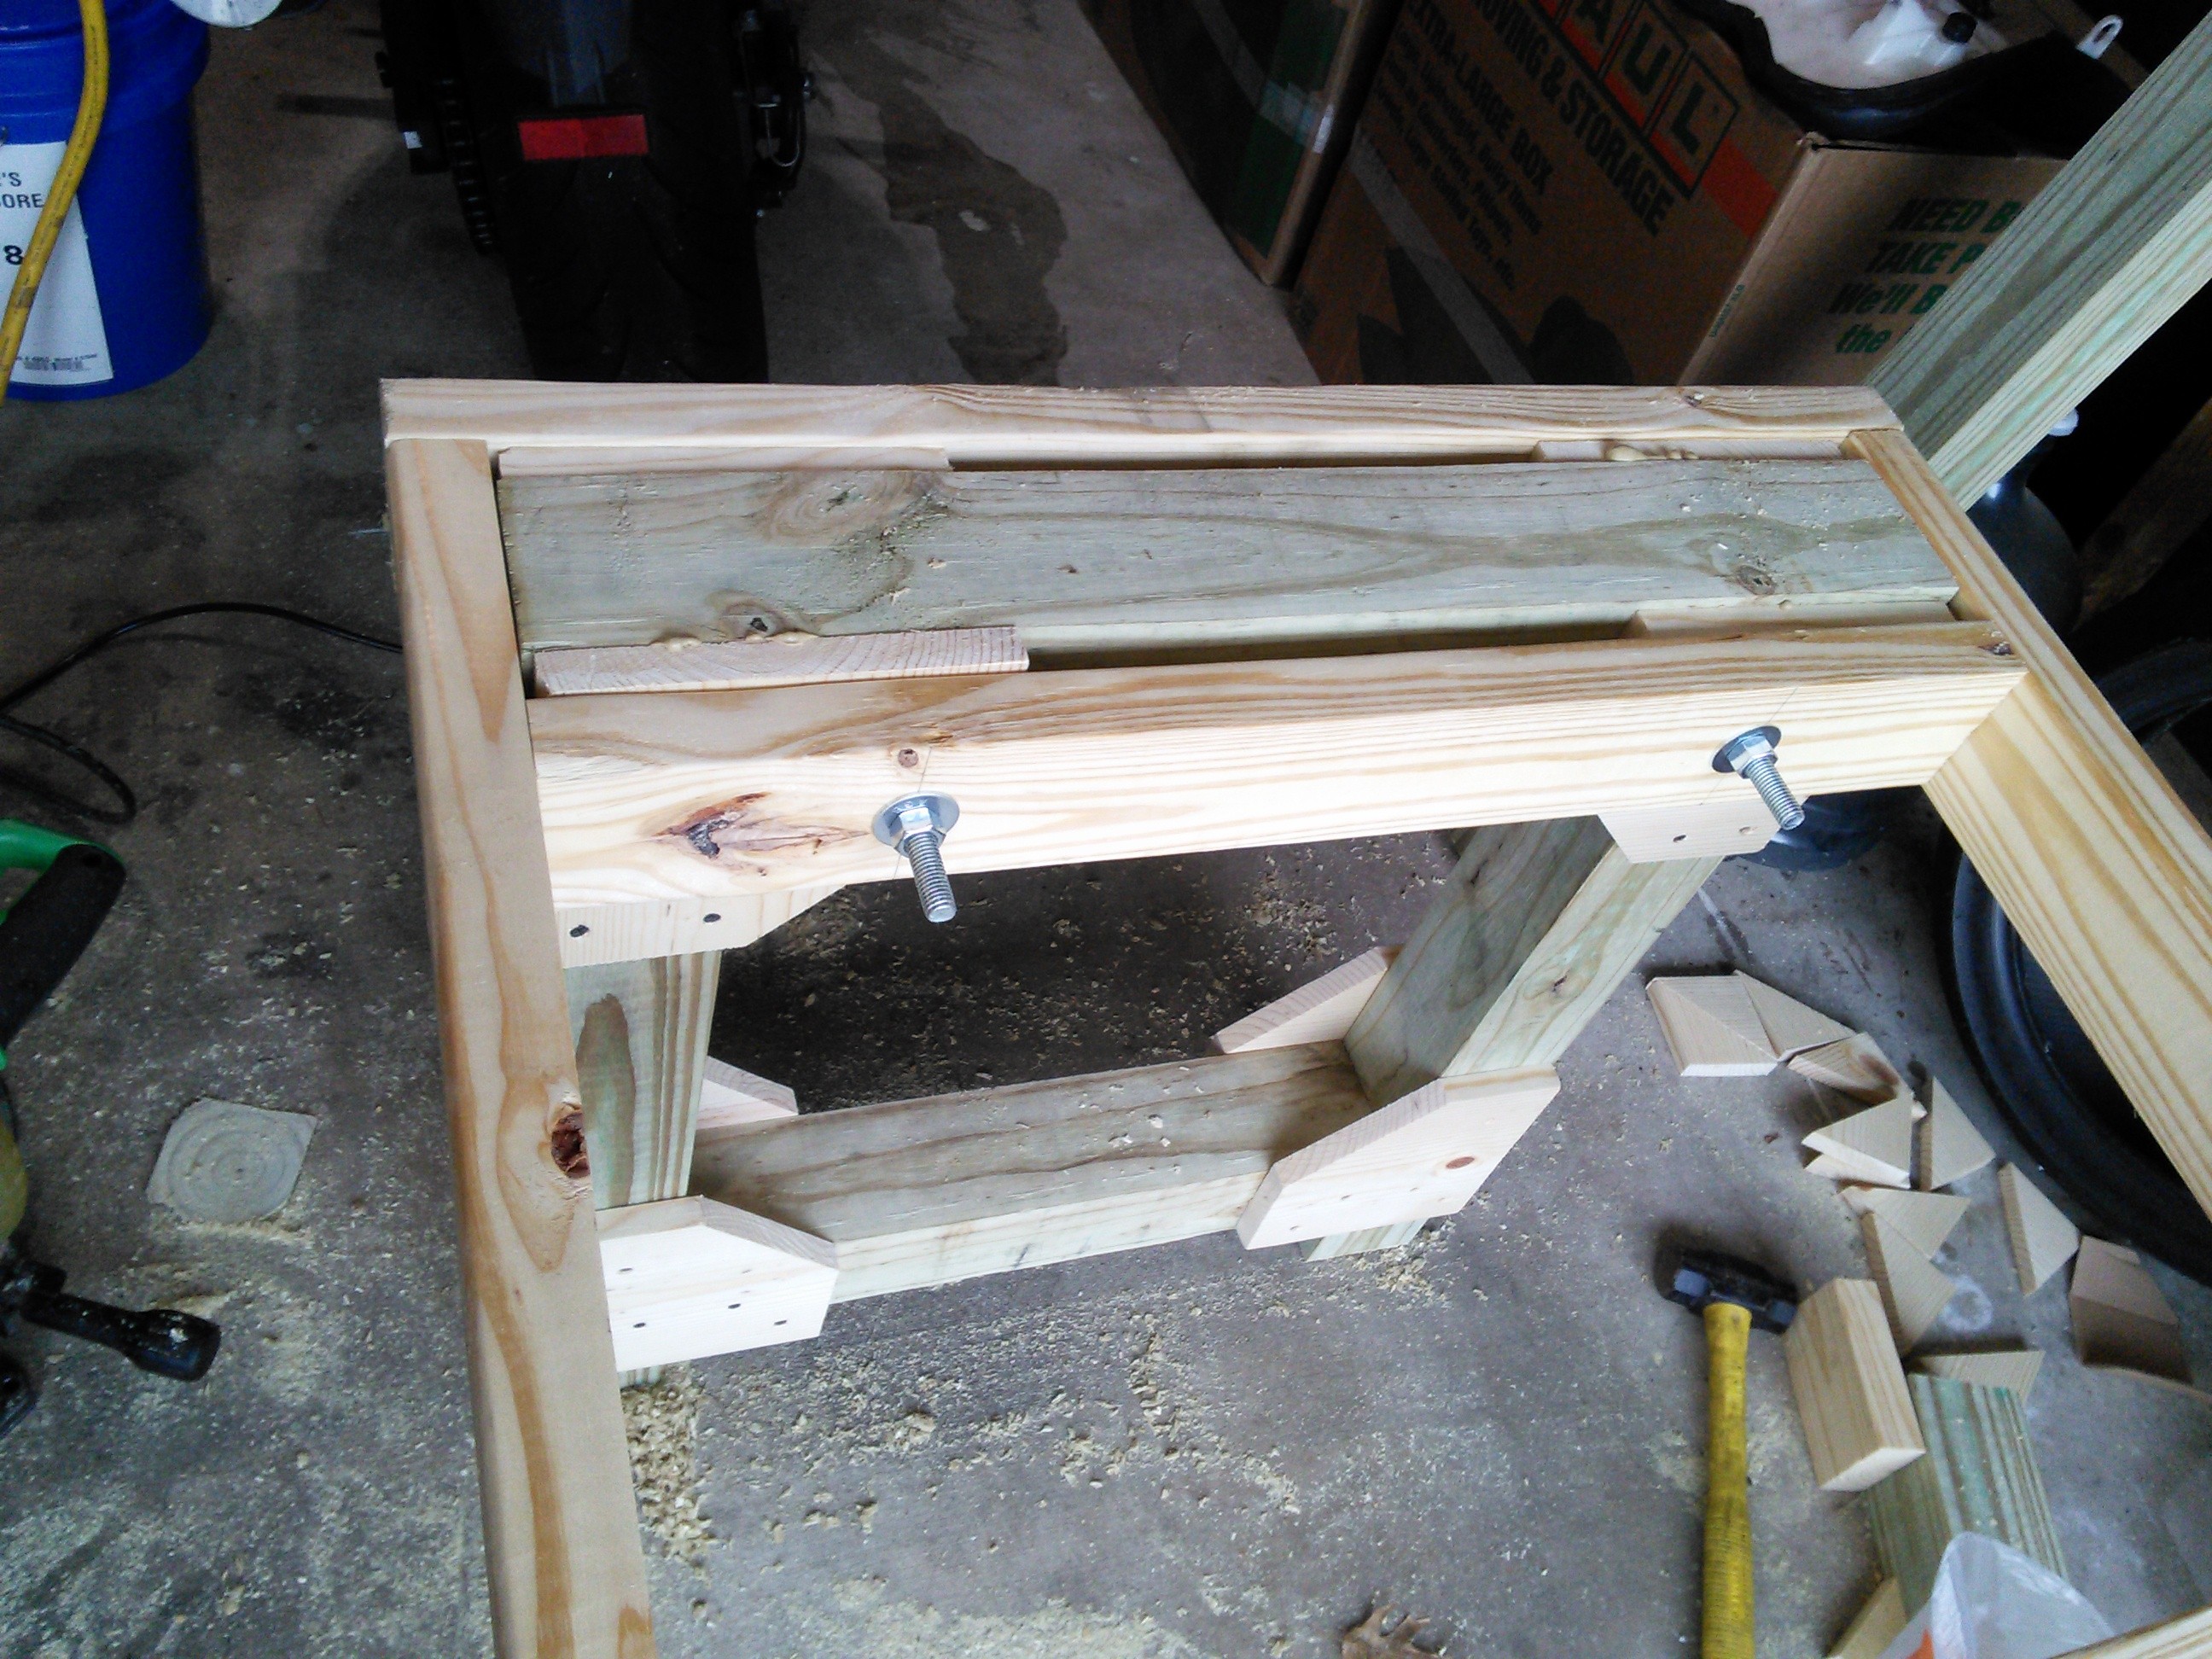
The design for the legs is very simple. There are four legs total on the desk, one near each corner. The four legs consist of two endpieces which bolt into the desk surface using 1/2 inch bolts at each end. This allows for a very simple assembly. The desk surface is just sat onto the end pieces and the bolts installed. I built the desk surface such that is an interference type fit. This means that the pieces have to be tapped together with a rubber mallet, but that is not a big deal for me. The materials I used are not of a high enough regularity to build an exact fit, so using the interference fit was the next best option.
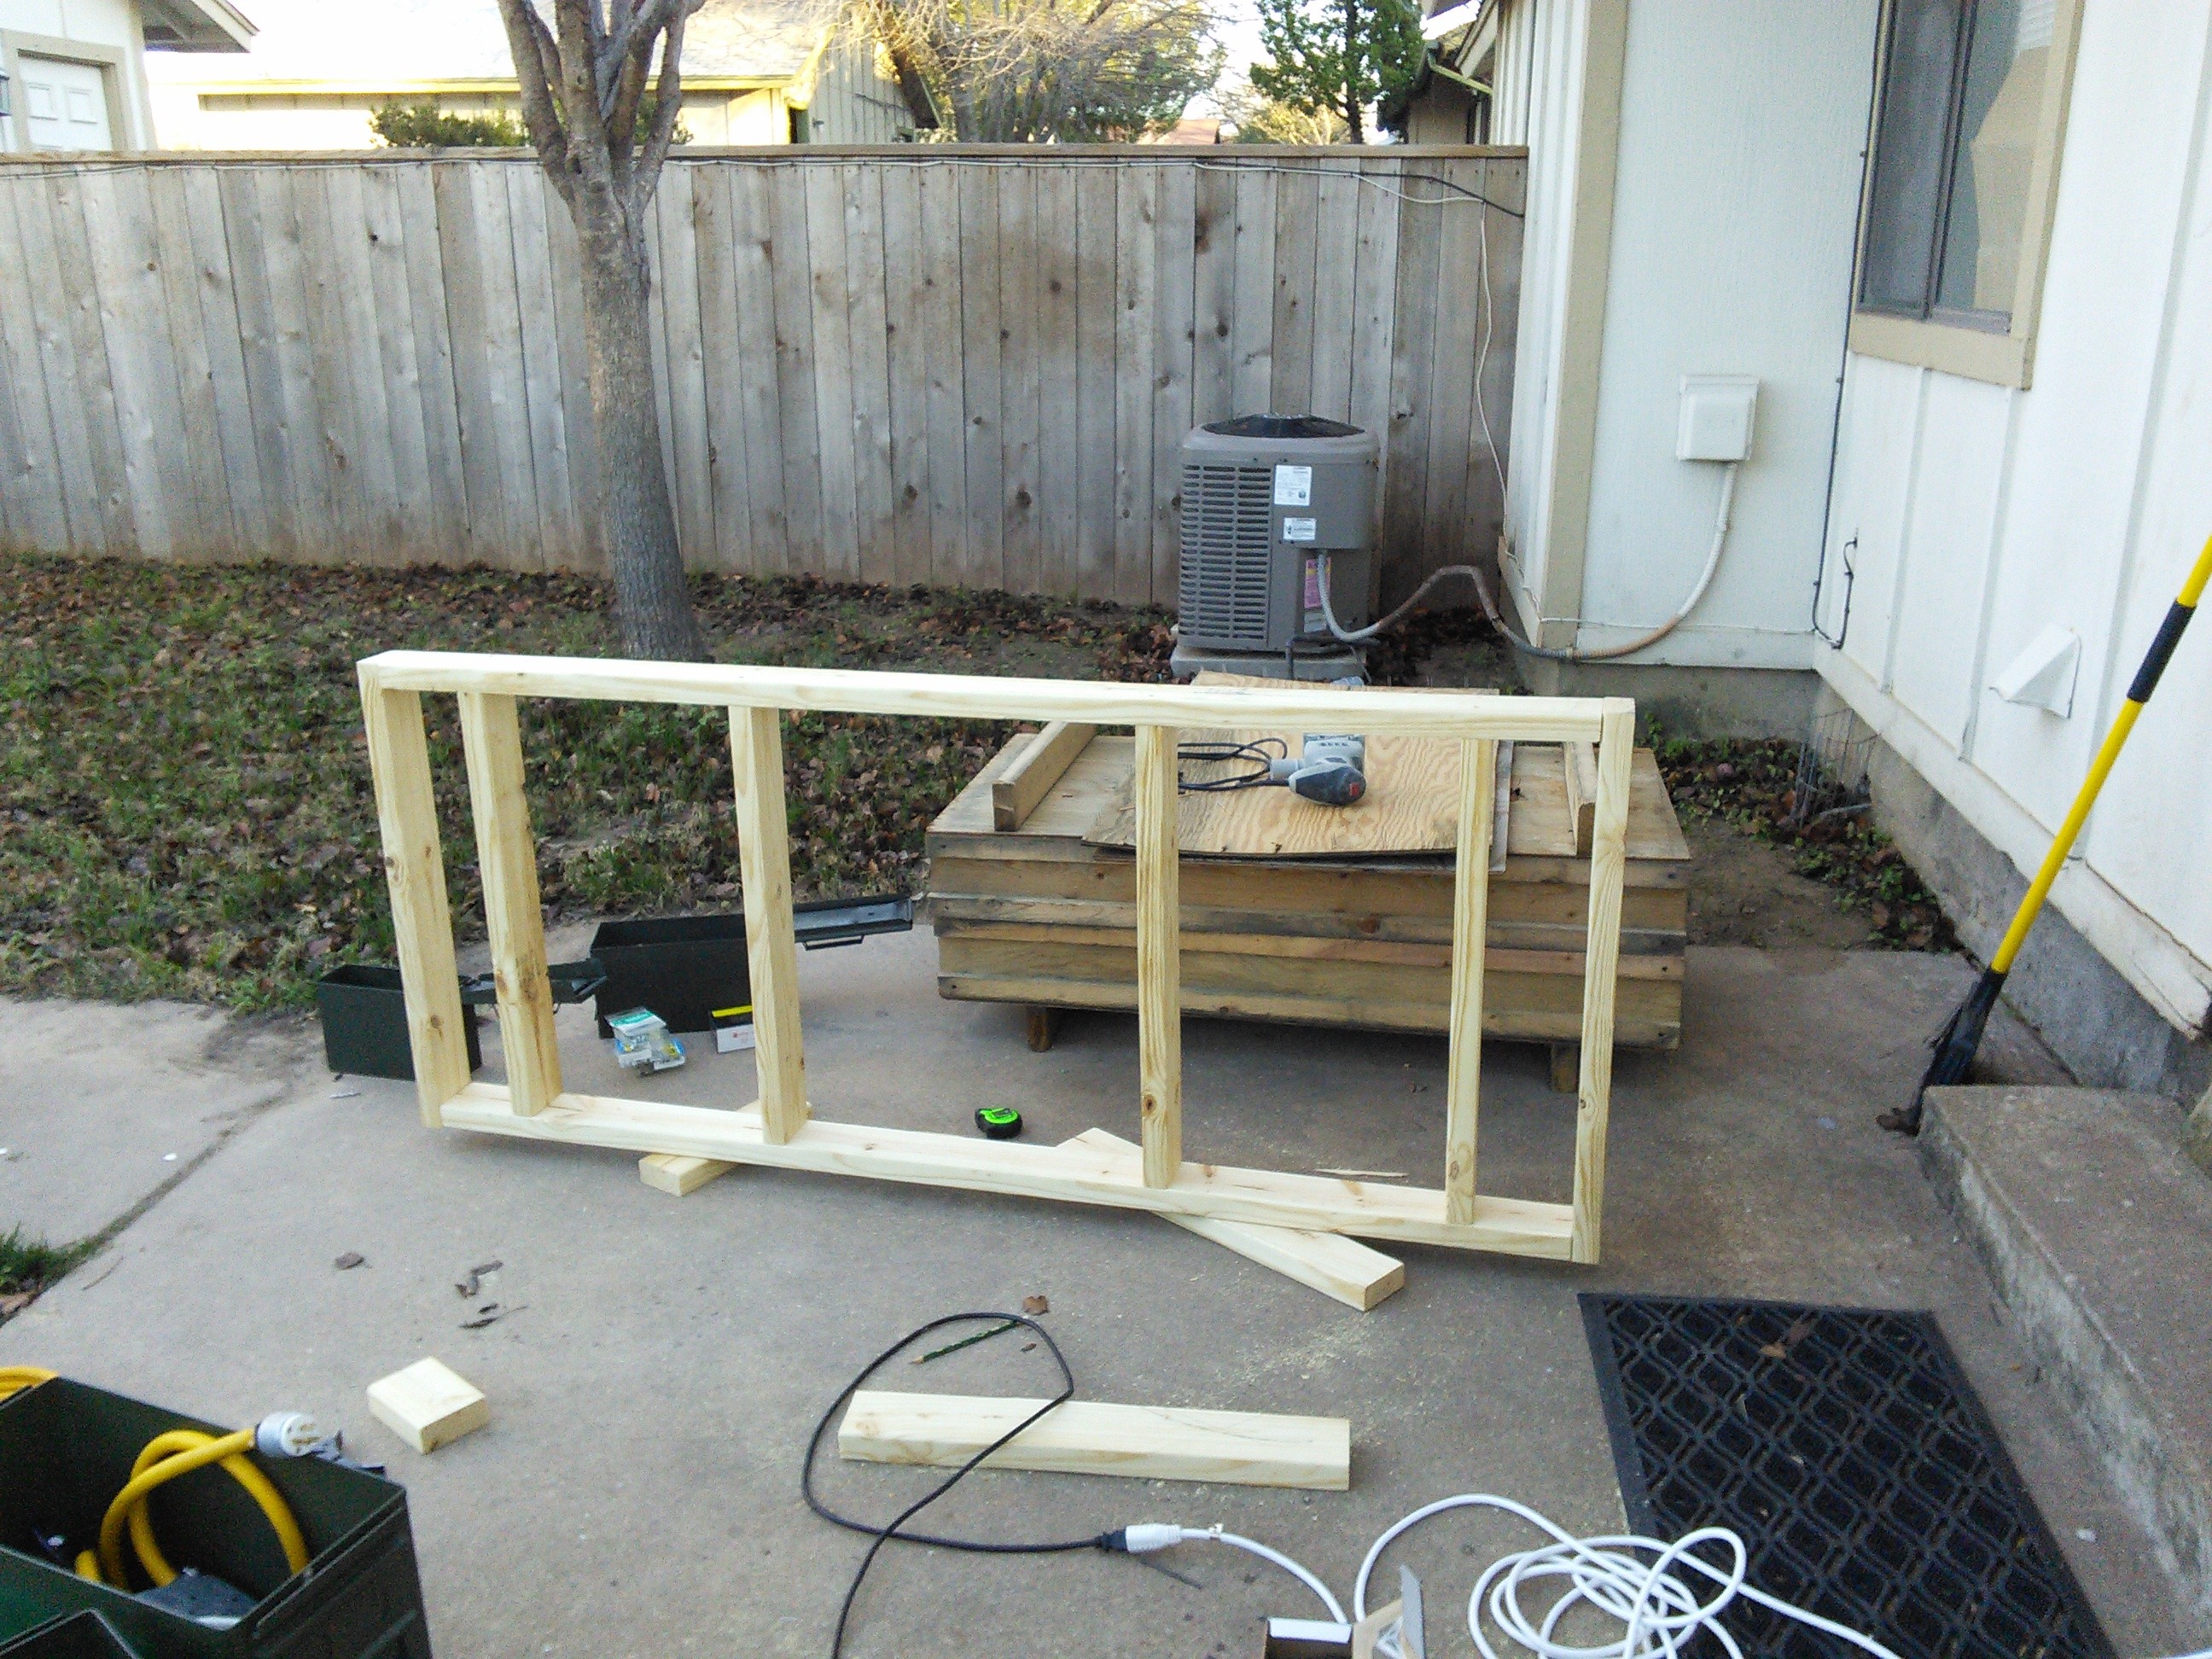
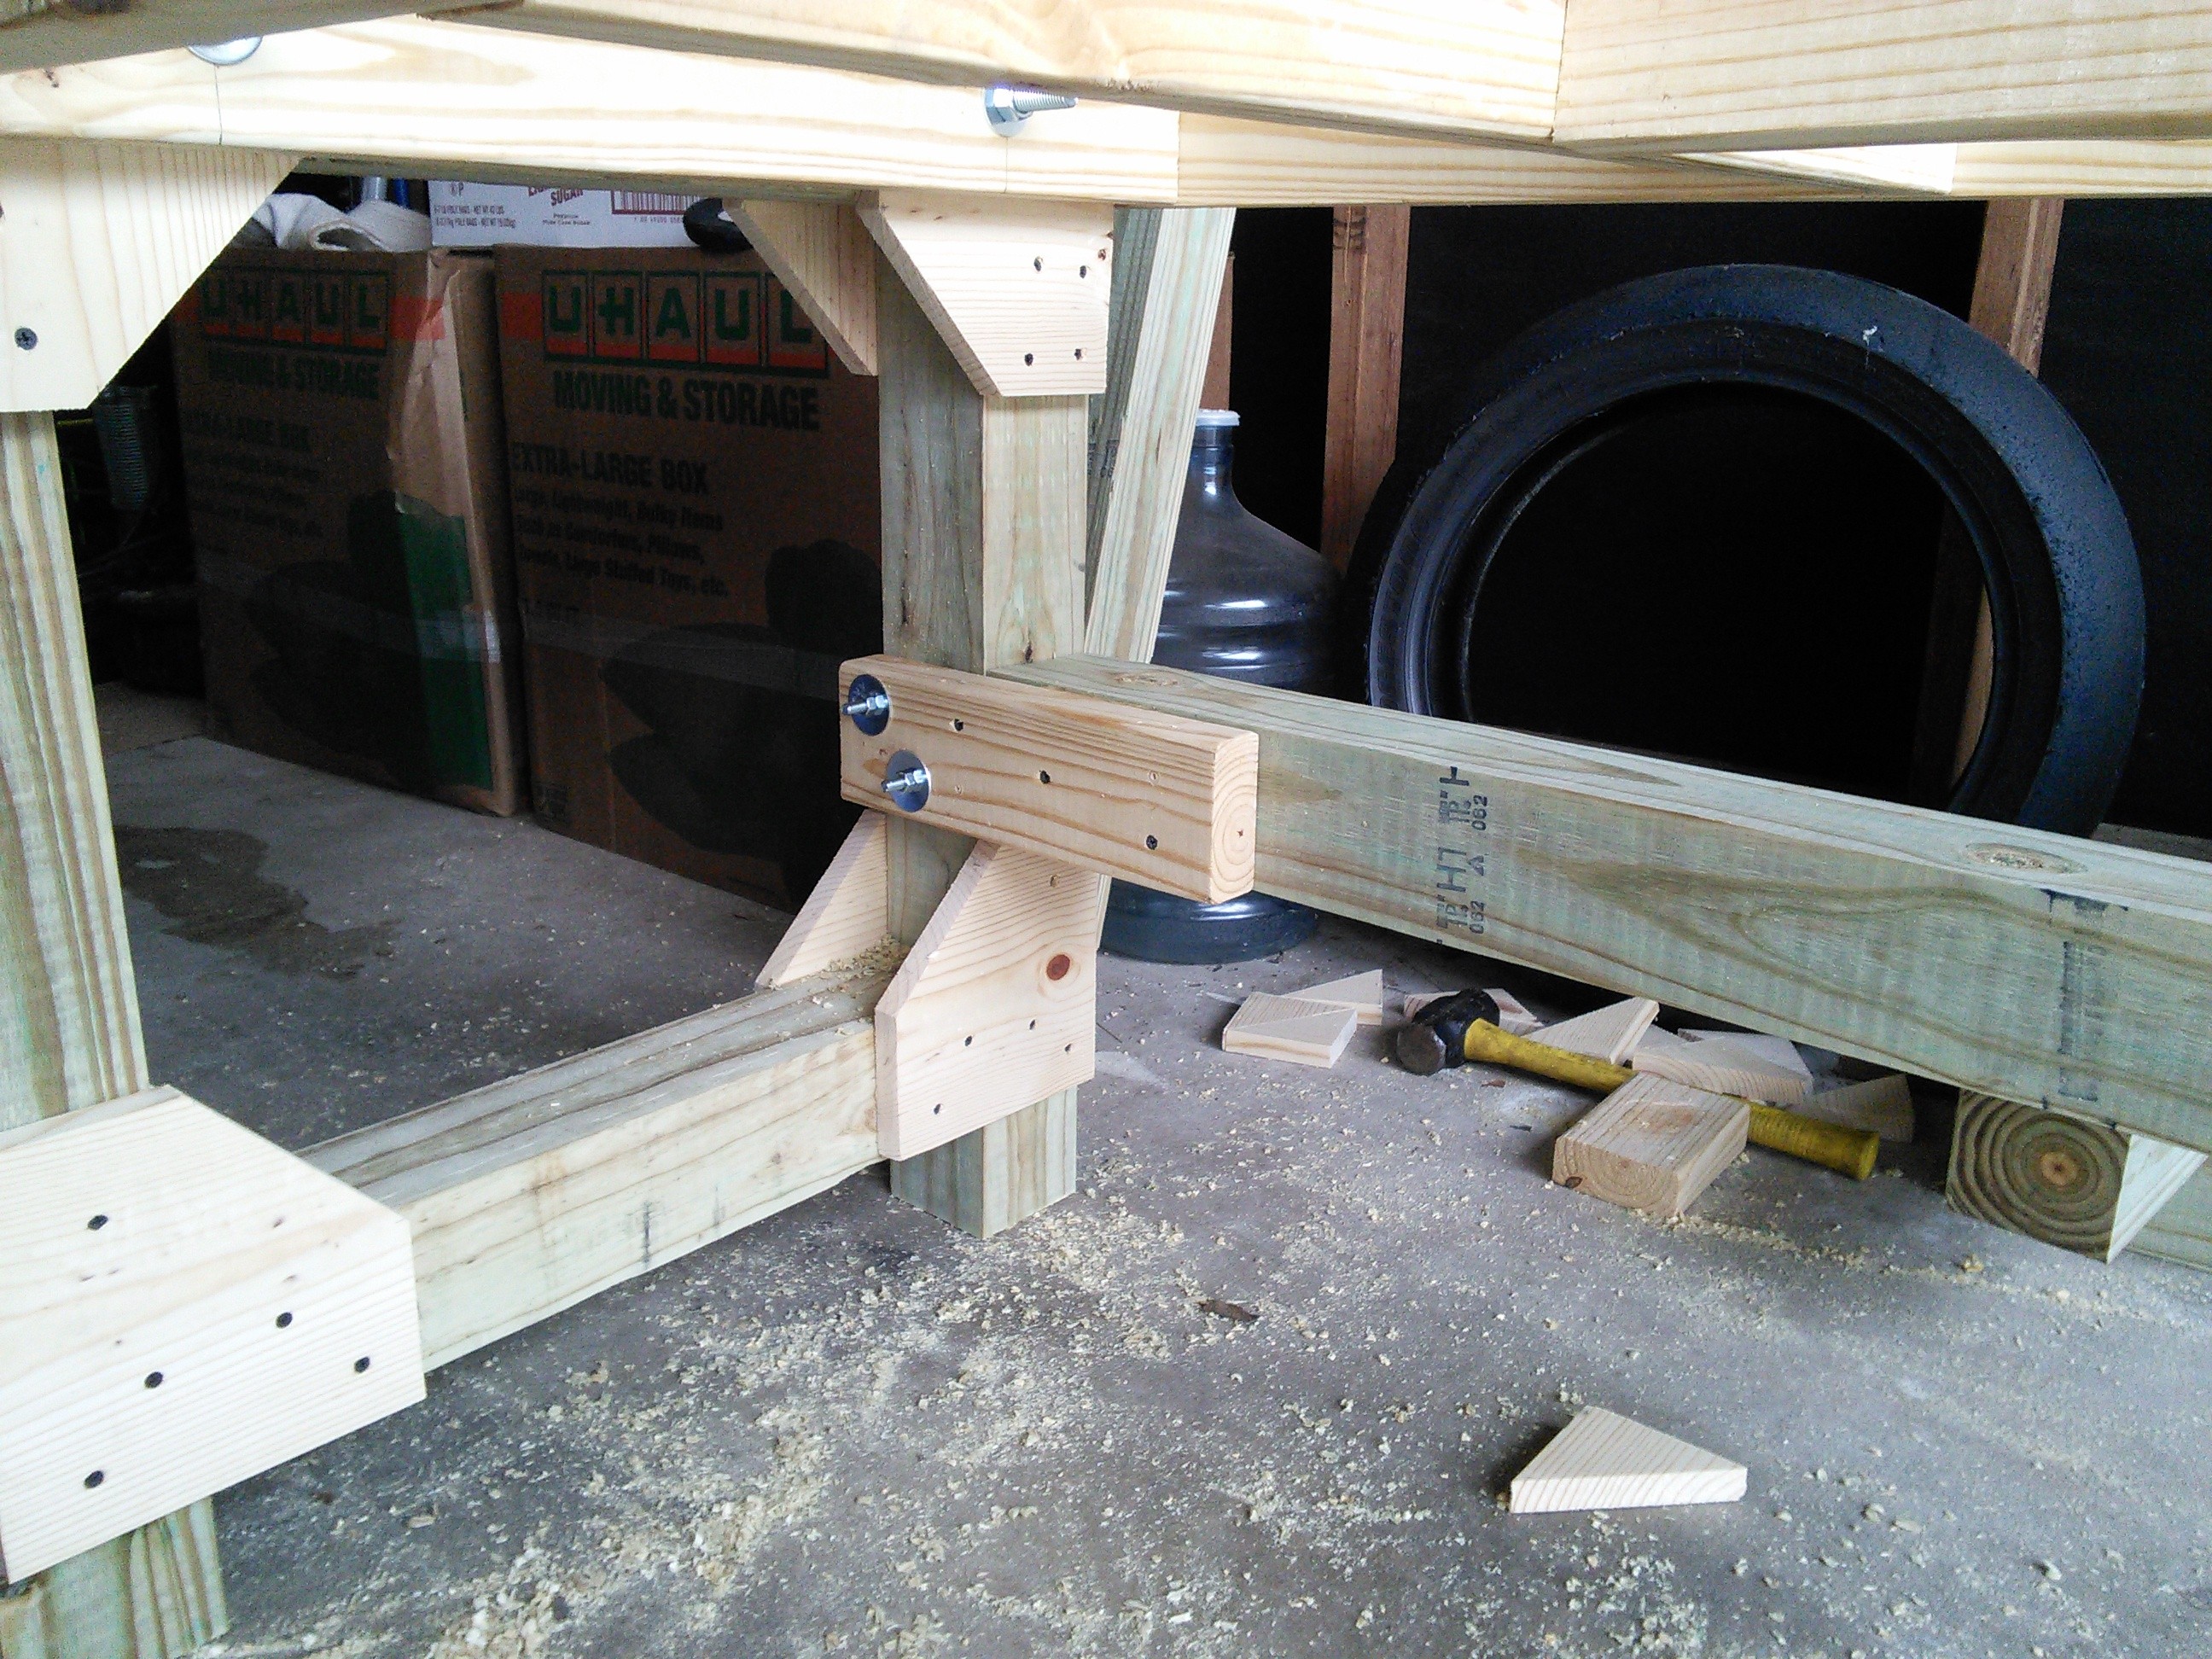
To keep costs down I used a piece of 1 x 8 lumber to make very simple corner brackets for the leg. In addition to the brackets being screwed on, they are held on with the same Liquid Nails adhesive. This results in an overly-strong structure for the purpose at hand. Each endpiece actually weighs more than the entirety of the desk surface. I was leftover with a long piece of 4 x 4. I used it to build a stabilizer to go between the two endpieces. The structure is already extremely stable, but adding it allows the endpieces to stay upright as you lower the desk surface onto the endpieces. It bolts in with 5/16 inch bolts.
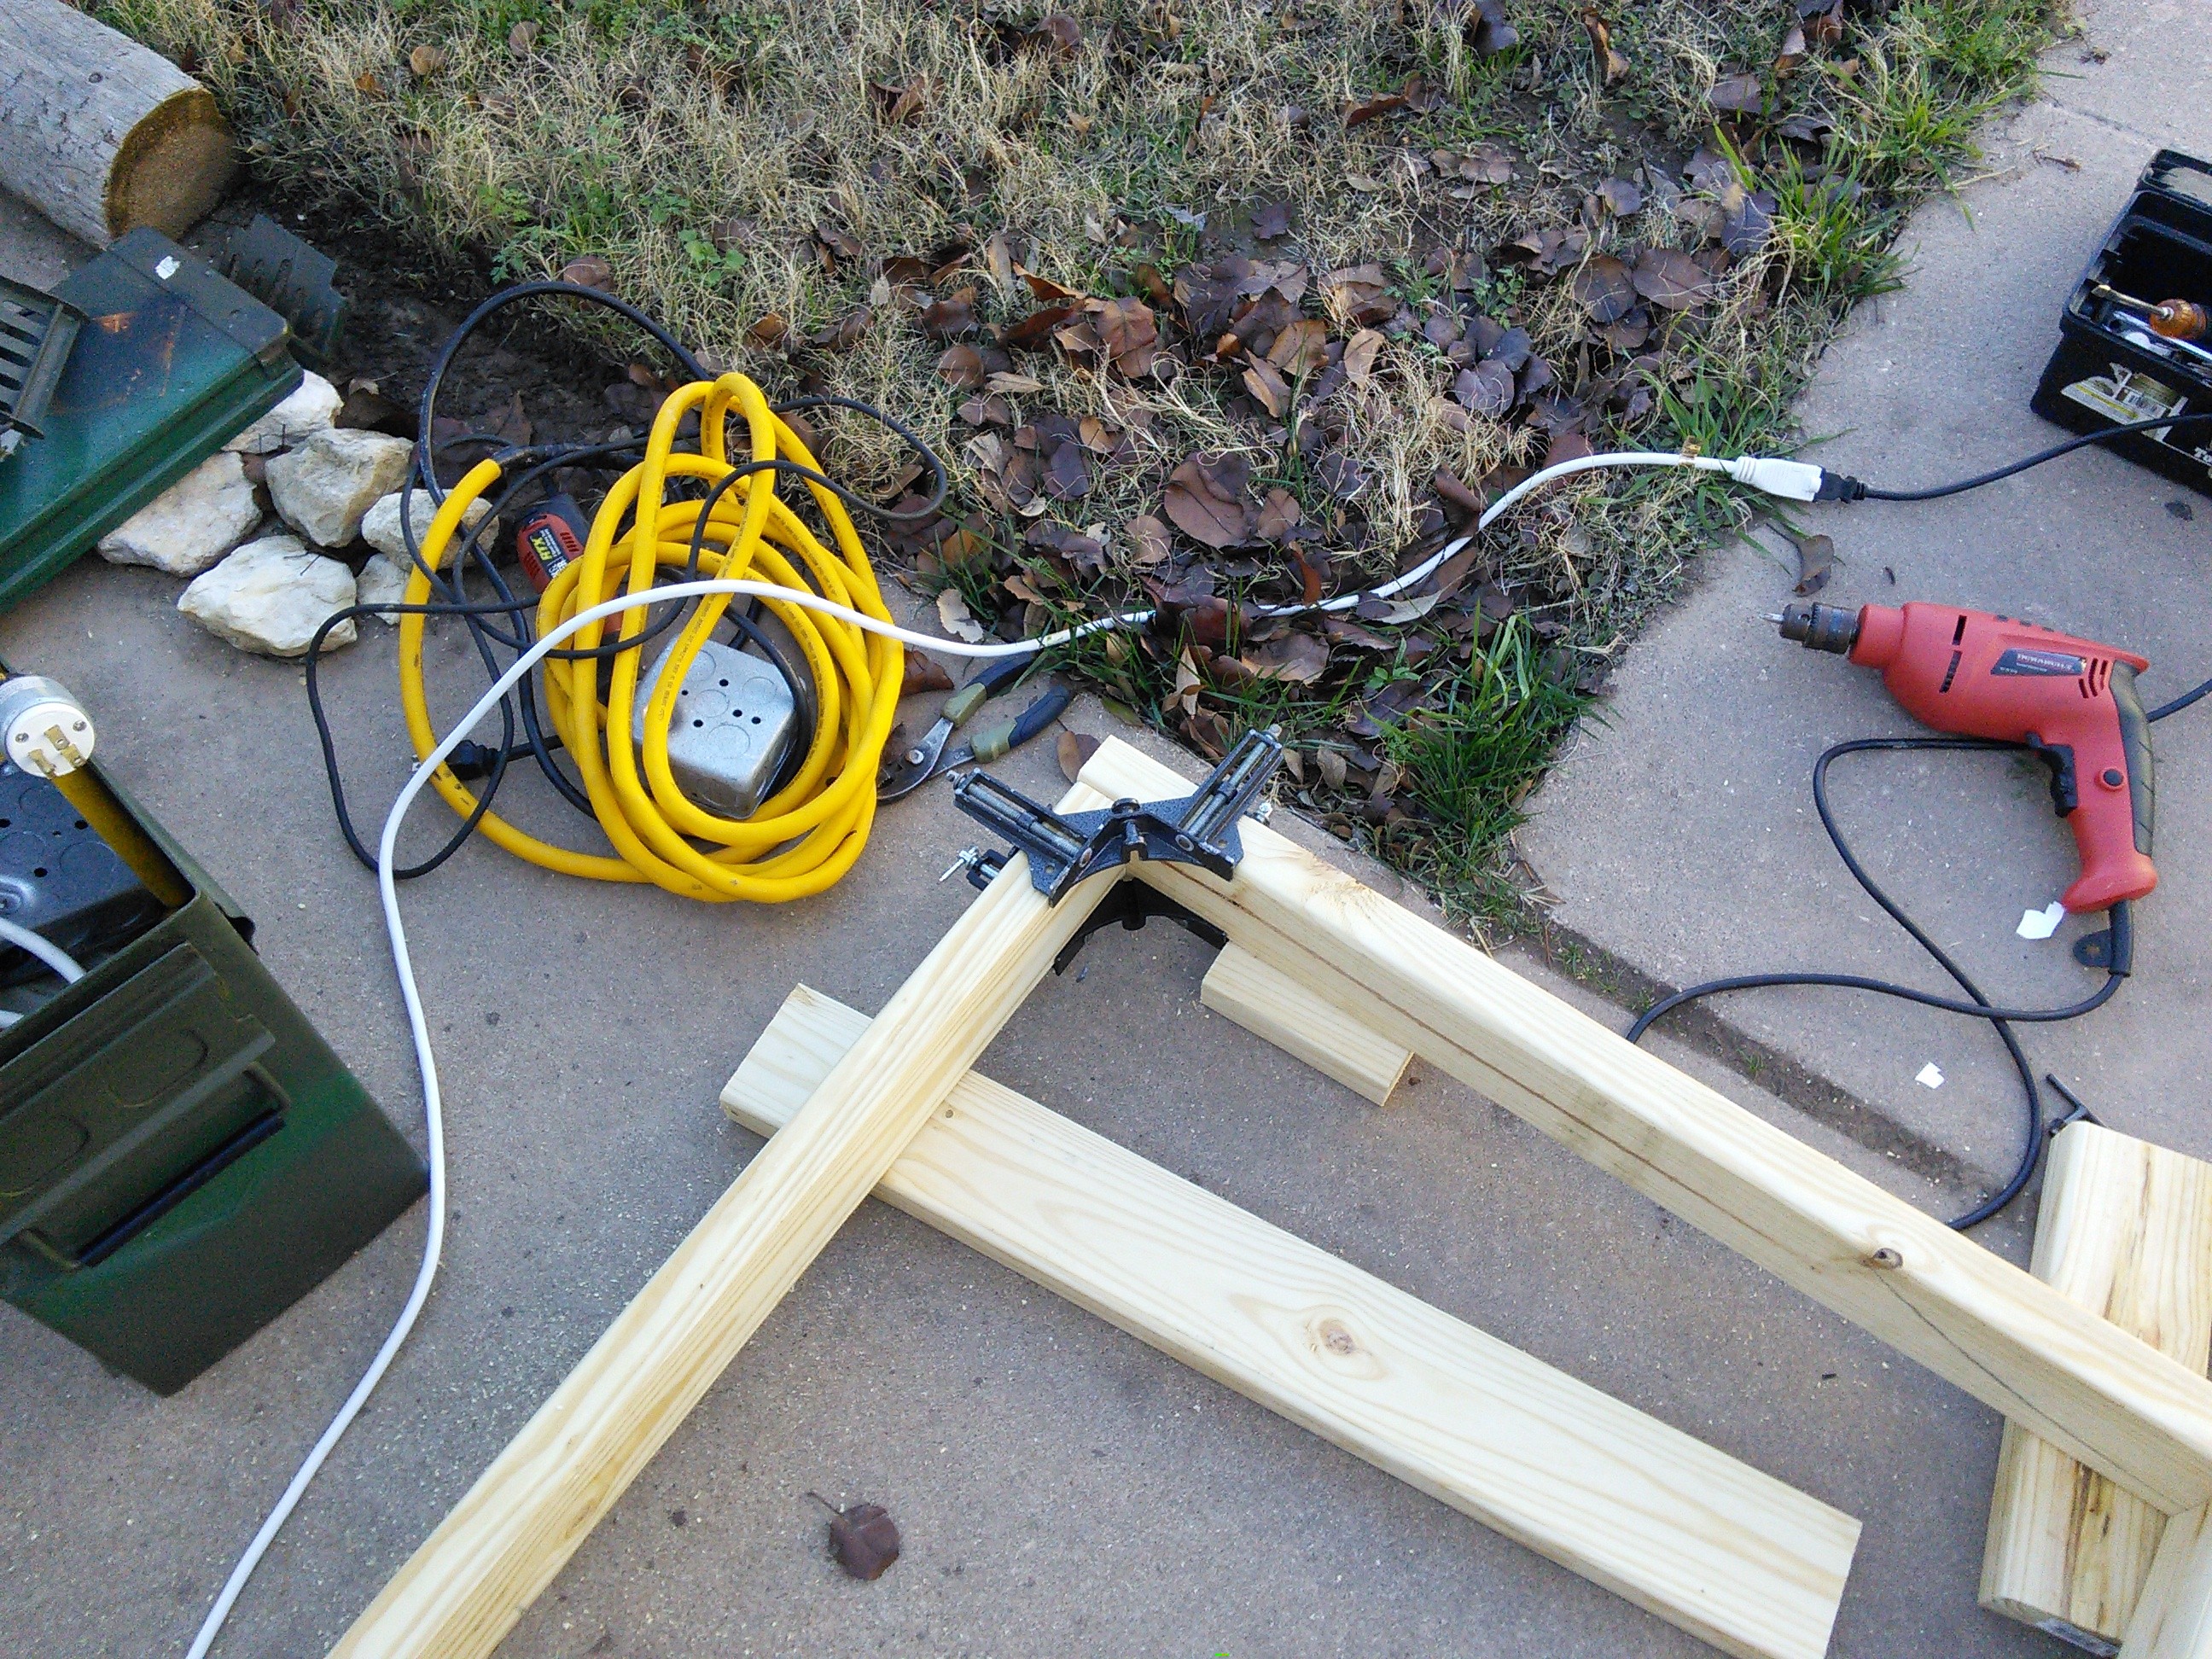
I noticed during the construction that treated 4 x 4s are neither square nor very straight. I think they mainly are used as fenceposts, so that is probably fine. What I did in order work around this problem was cut the piece that fits into the desk surface first. Based on the measurements from it, I was able to cut the legs such that they all give an equal height. This gives it a level surface. The legs themselves are not completely straight, but the vertical height on each one is equal. The lower horizontal piece of the legs was cut to the resulting dimensions after assembly of the other three sections. This means that none of the 4 corners of the endpieces are square, but the desk surface itself is still level when assembled.
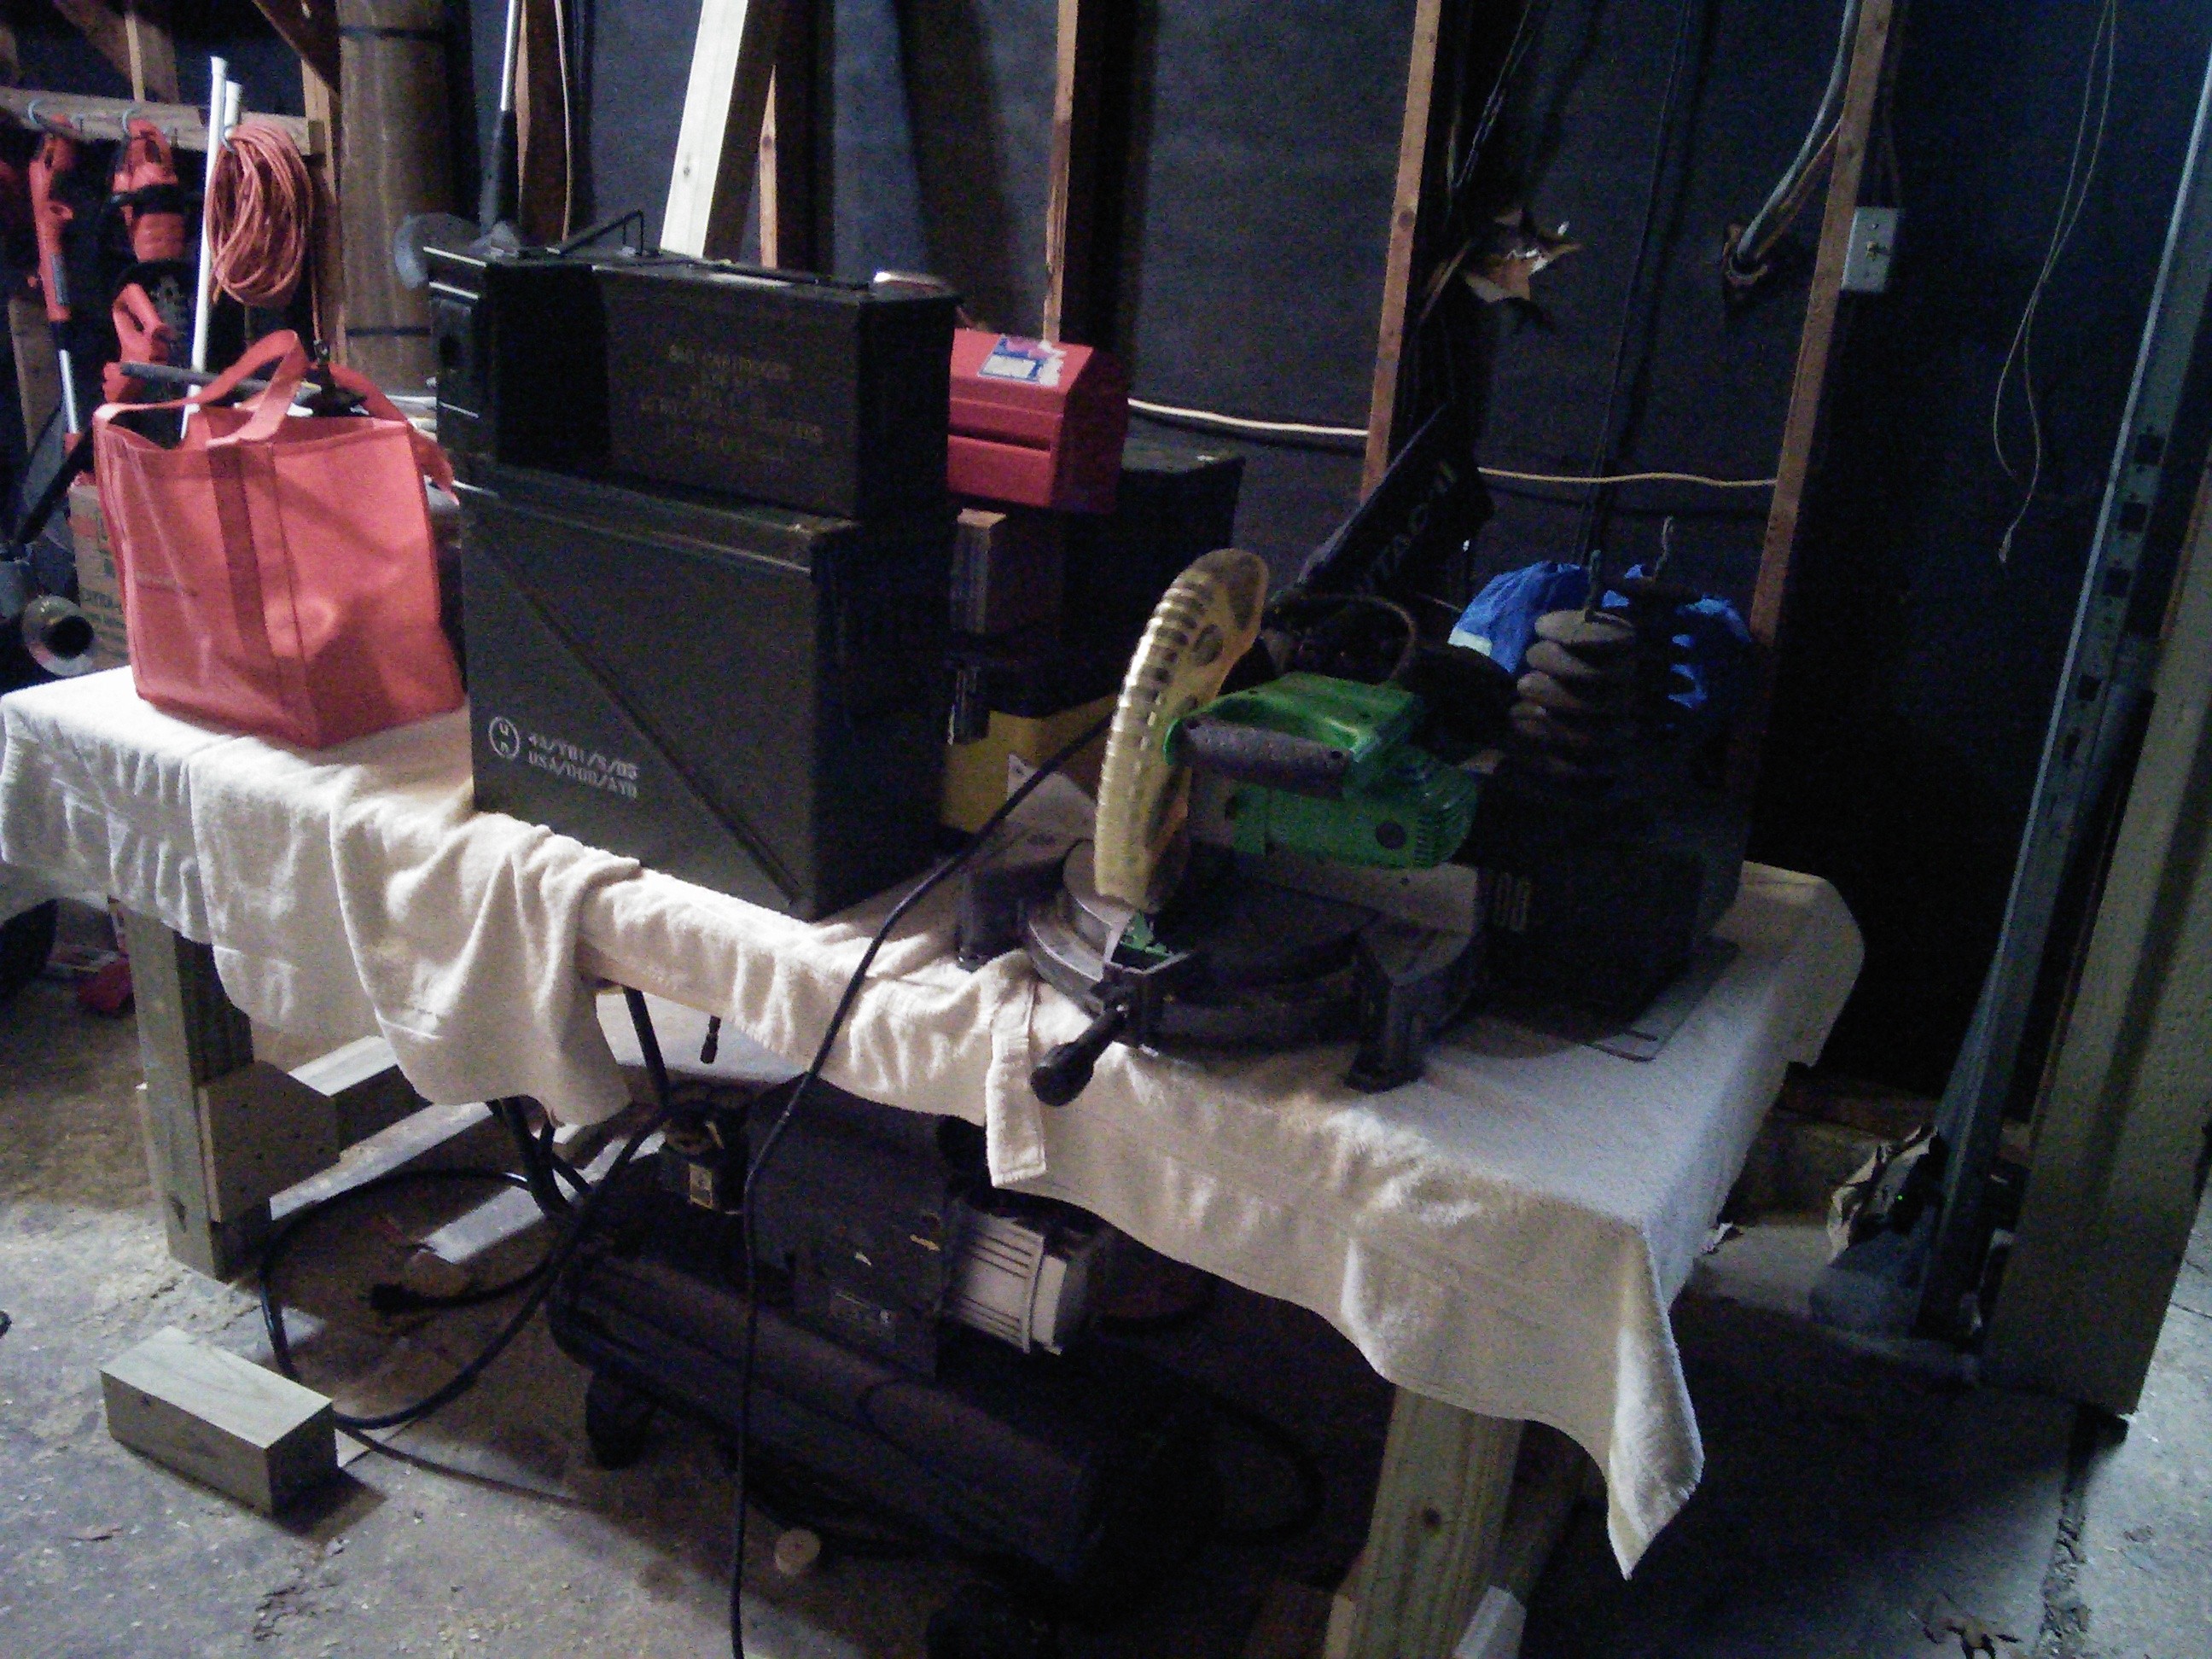
A challenge of fastening the 4 x 4s together is that you can't use regular corner brackets like with 2 x 4s. In order to hold the lumber at as close to a right angle as possible, I used the fence of my compound miter saw. This gave acceptable results.
The final result of all this is a supporting structure that only has eight fasteners required for assembly.
Mounting monitors
I briefly considered building my own arm for the monitors but ruled it out due to time and practicality. I settled on a "Mount-It" mount purchased from Amazon. I'm not terribly thrilled with the product, so I won't be linking it here. The main problem is that after they did all the machine work, they painted it all a flat black. This means every single machine thread is filled with paint. This makes it a complete pain in the ass to assemble. Furthermore, the included machine screws all seem to be of an extremely low quality. Several of them stripped the first time I tried using them. I replaced them with Grade 2 bolts from the hardware store which are superior. Grade 2 bolts are generally the lowest quality bolt you can buy, so that means the included ones are junk.
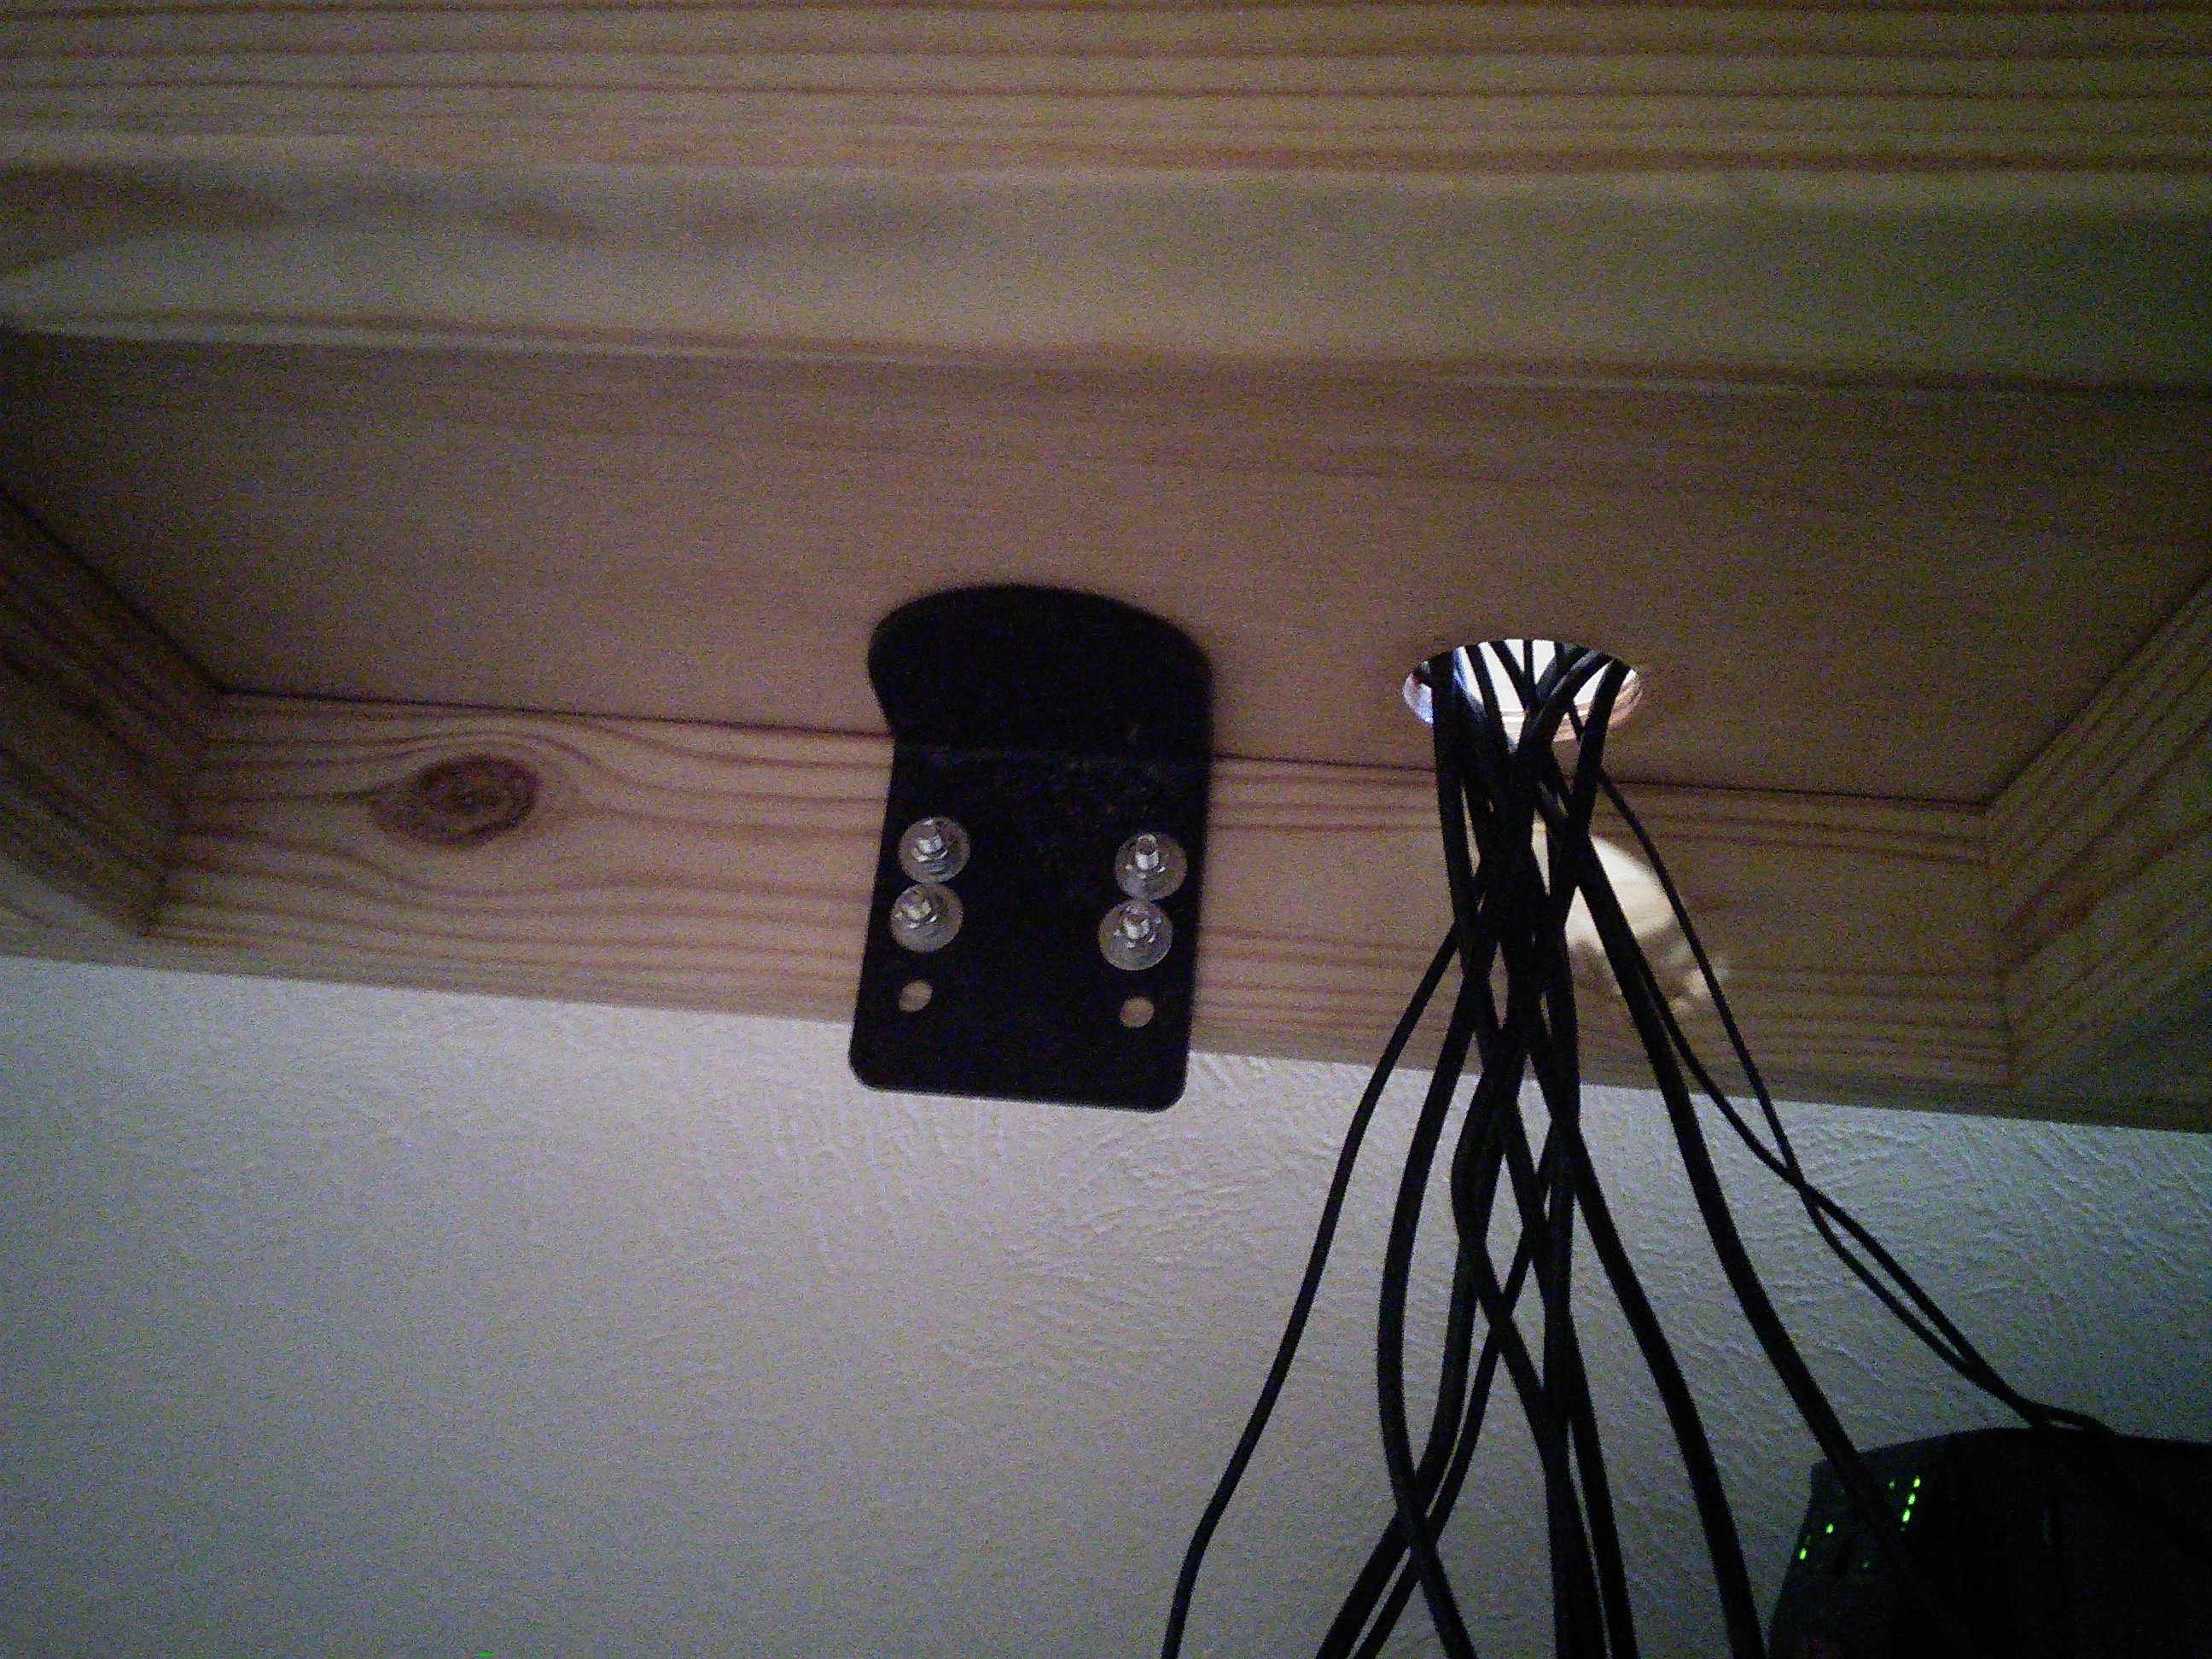
This mount is designed to clamp around the edge of a desk surface and support three monitors. I've never figured out how anyone could justify trusting three very expensive displays to a sub $100 mount that is clamped on but I certainly was not. The base of the post that leads to a clamp has a bracket with a ninety degree turn and six bolt holes. I was able to get 5/16 inch fasteners through the 2 x 4s that make up the frame of the desk surface. I used lock nuts on the bolts. The holes in the bracket are quite a big larger, which allowed me to adjust the post until it was level and then tighten them down. The diameter of the post is 2 inches, so I cut a 2 1/2 inch hole in the desk surface. I cut the same size hole nearby to pass wiring through.
The monitor arm itself just has three VESA type mounts that the monitors can go to. You can rotate the monitors to any angle. If the post isn't perfectly level you can correct for it there. I am sticking with the landscape layout for now.
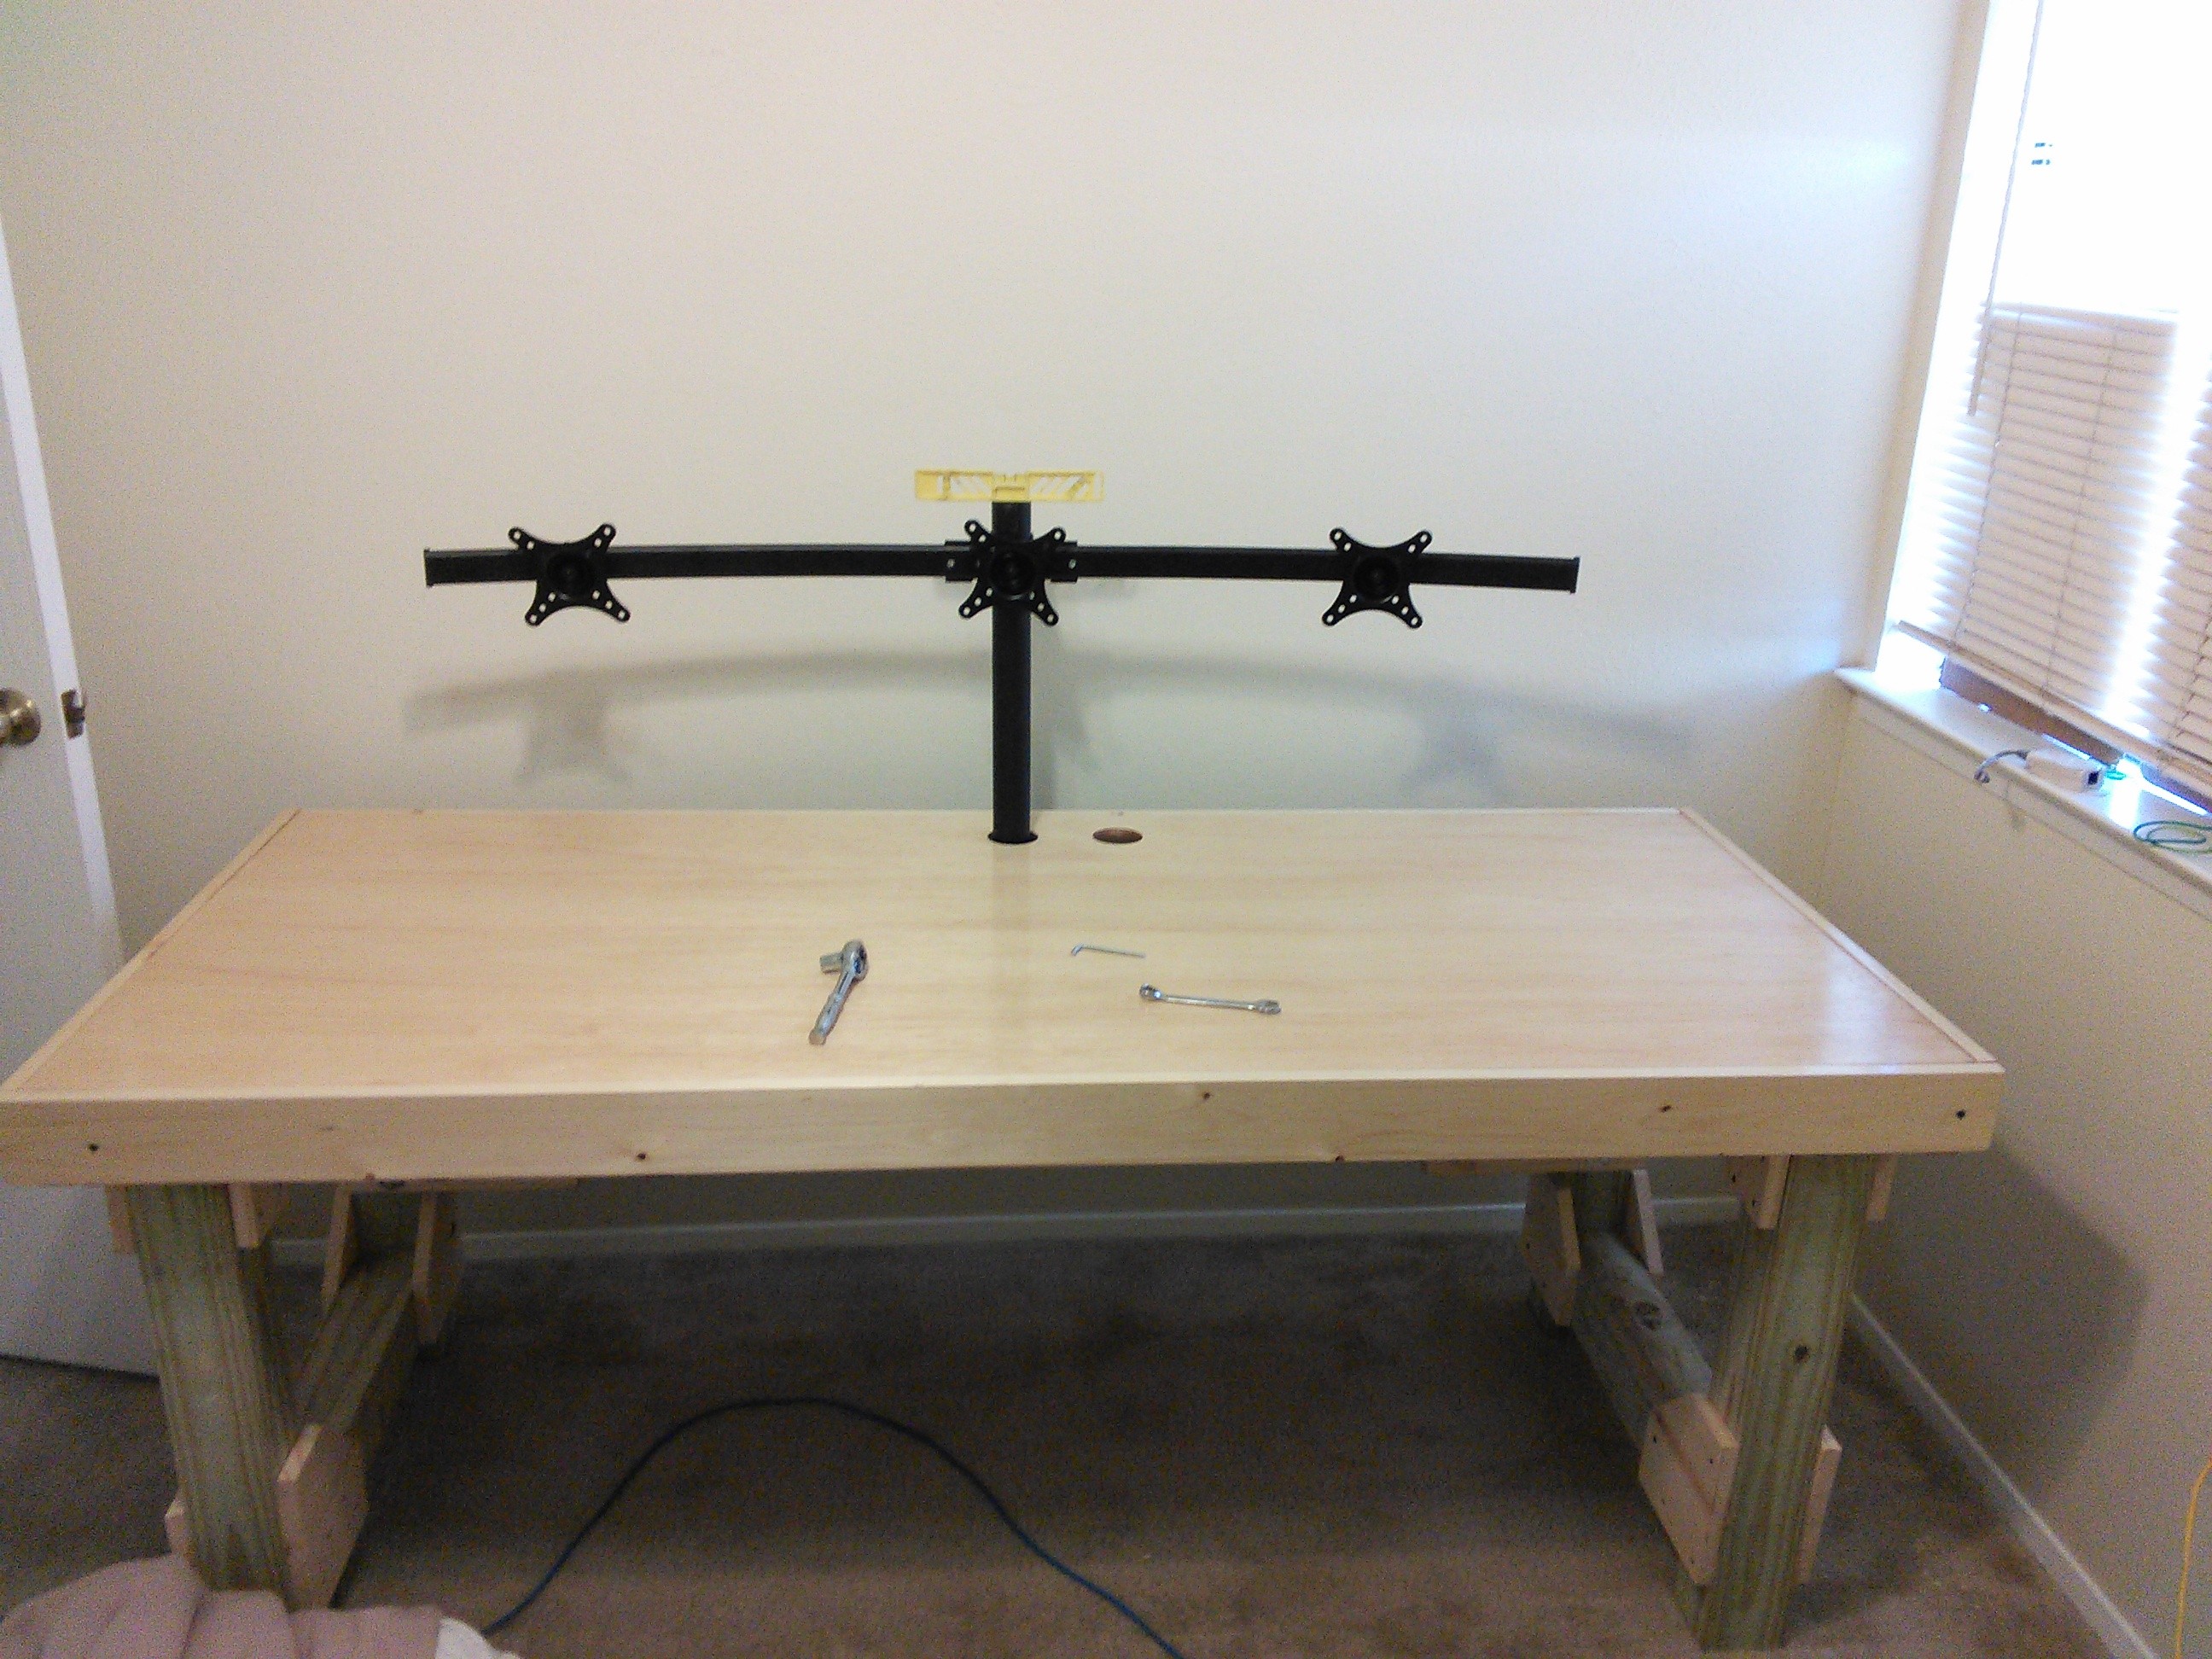
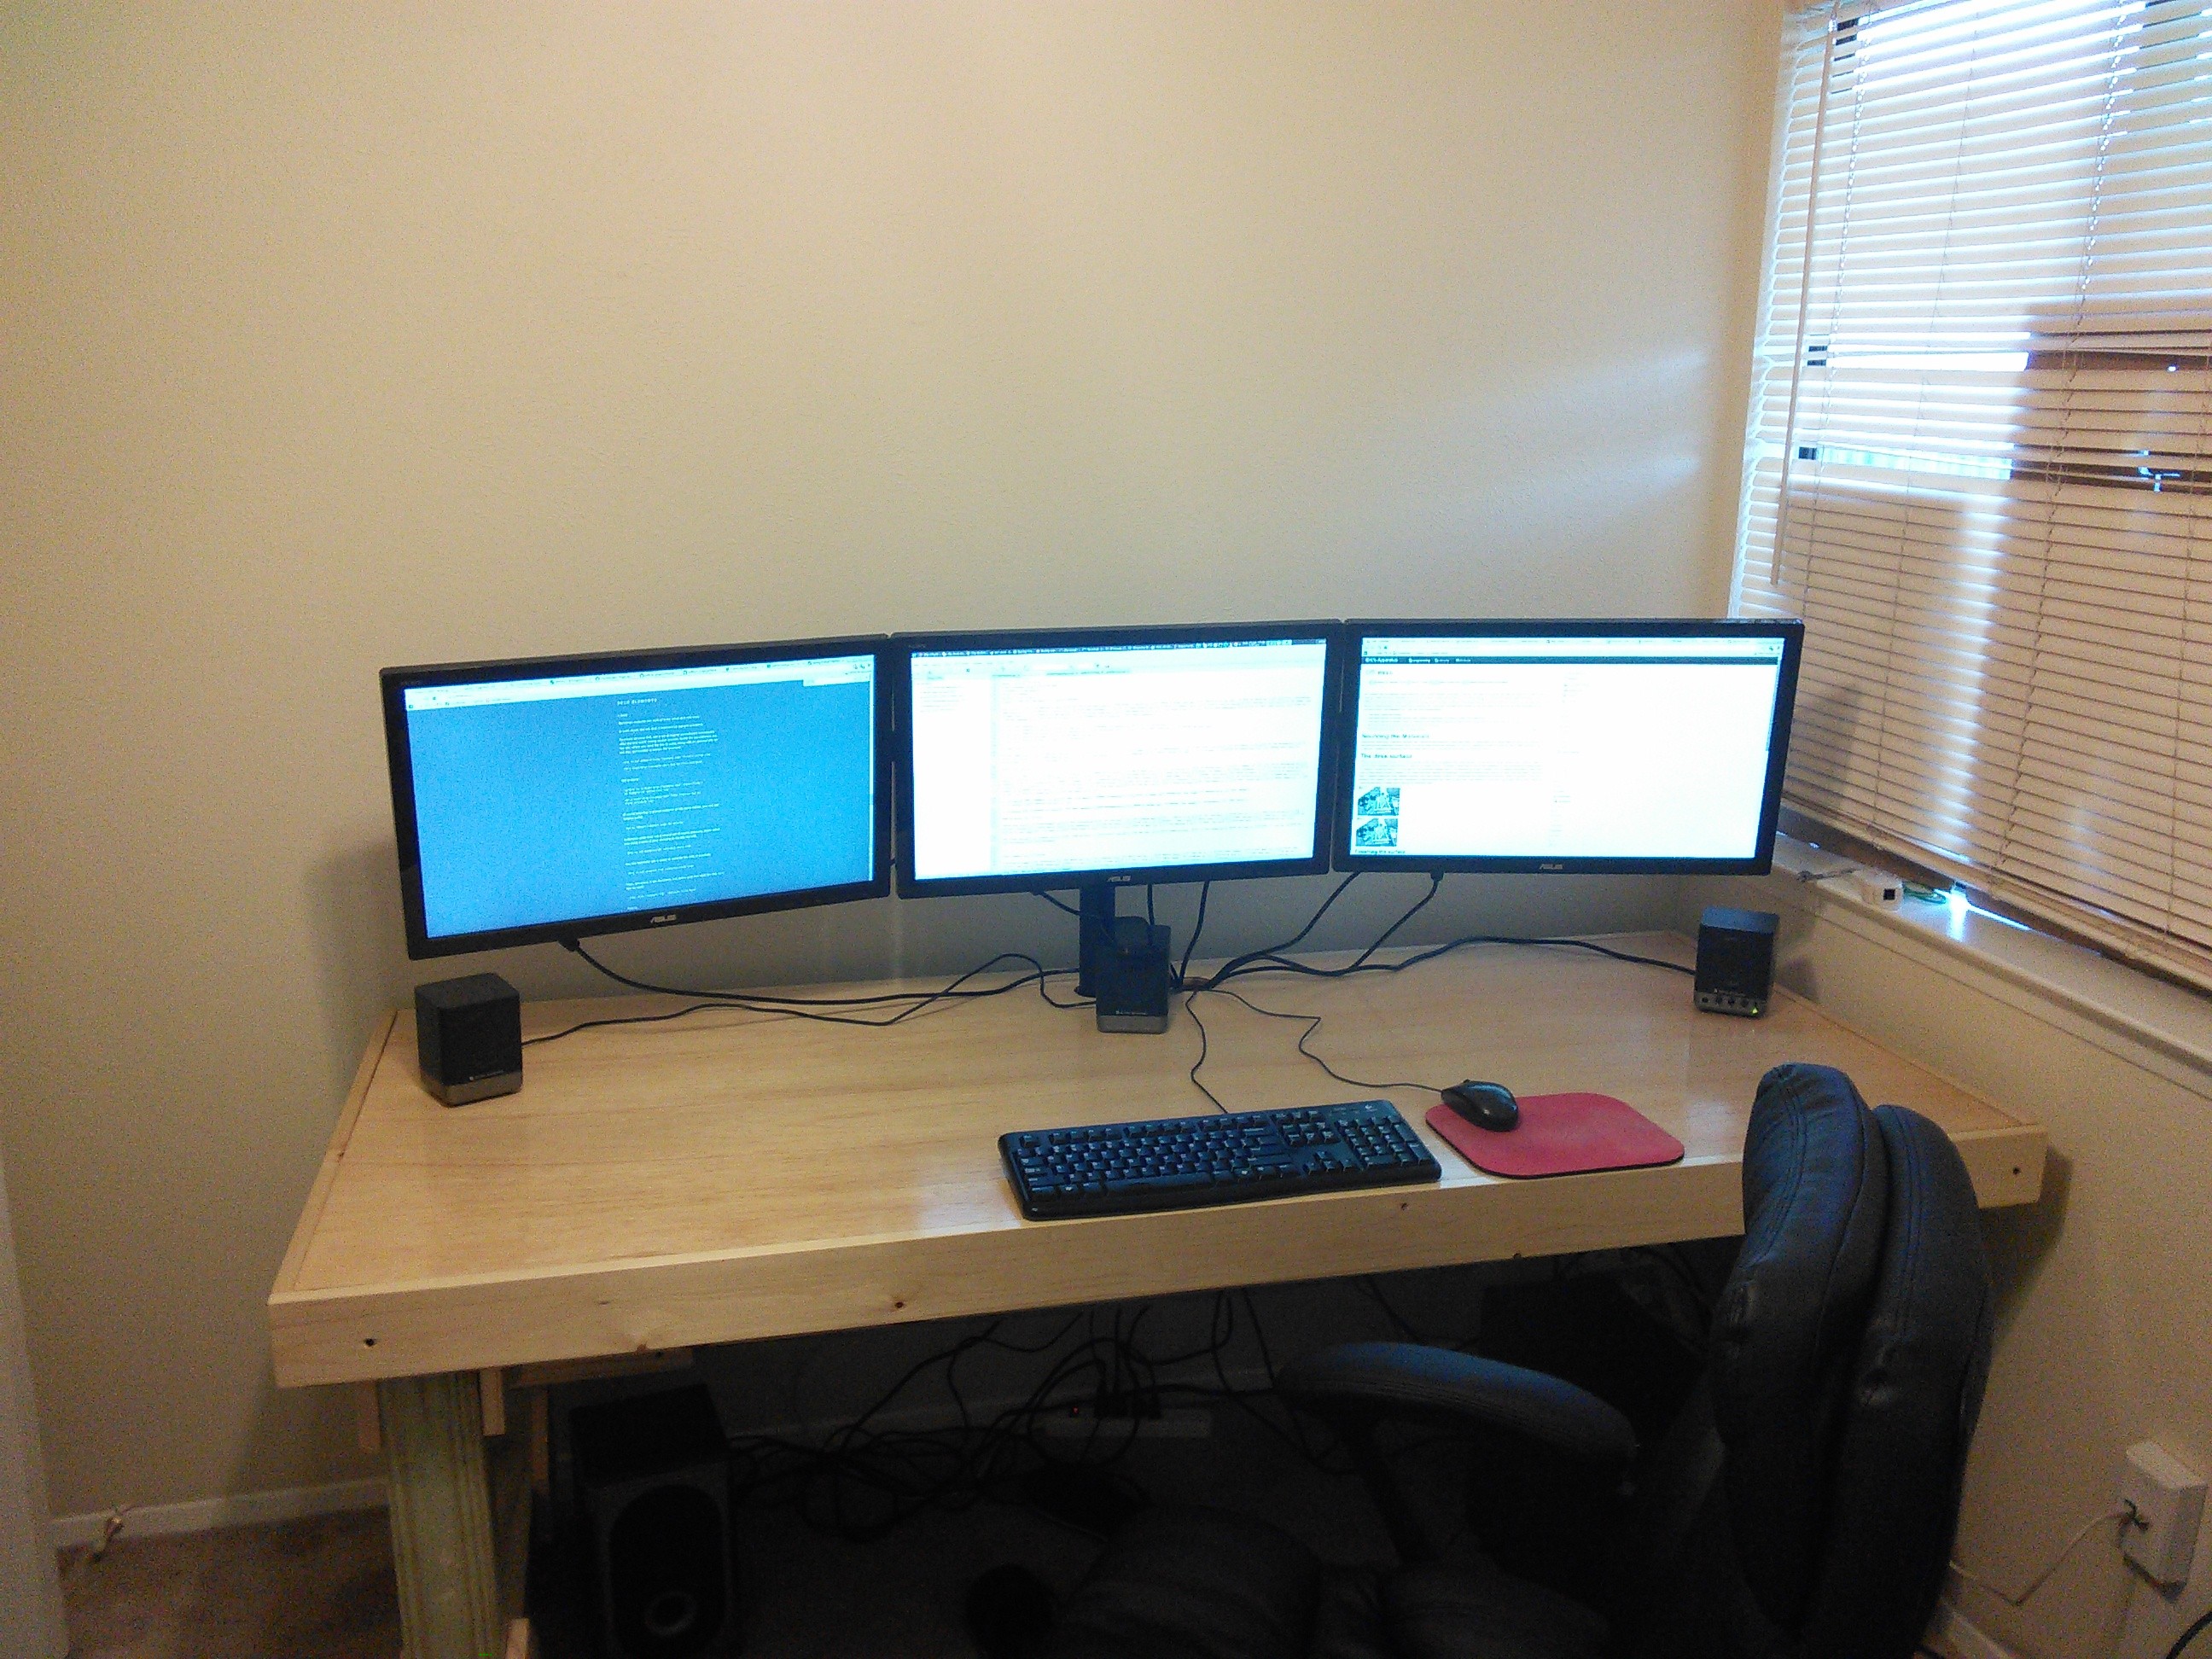
The end Product
Overall I am very happy with how it came out. I need to order longer monitor cables so I can zip tie all the cabling to the horizontal arm that supports the monitors.