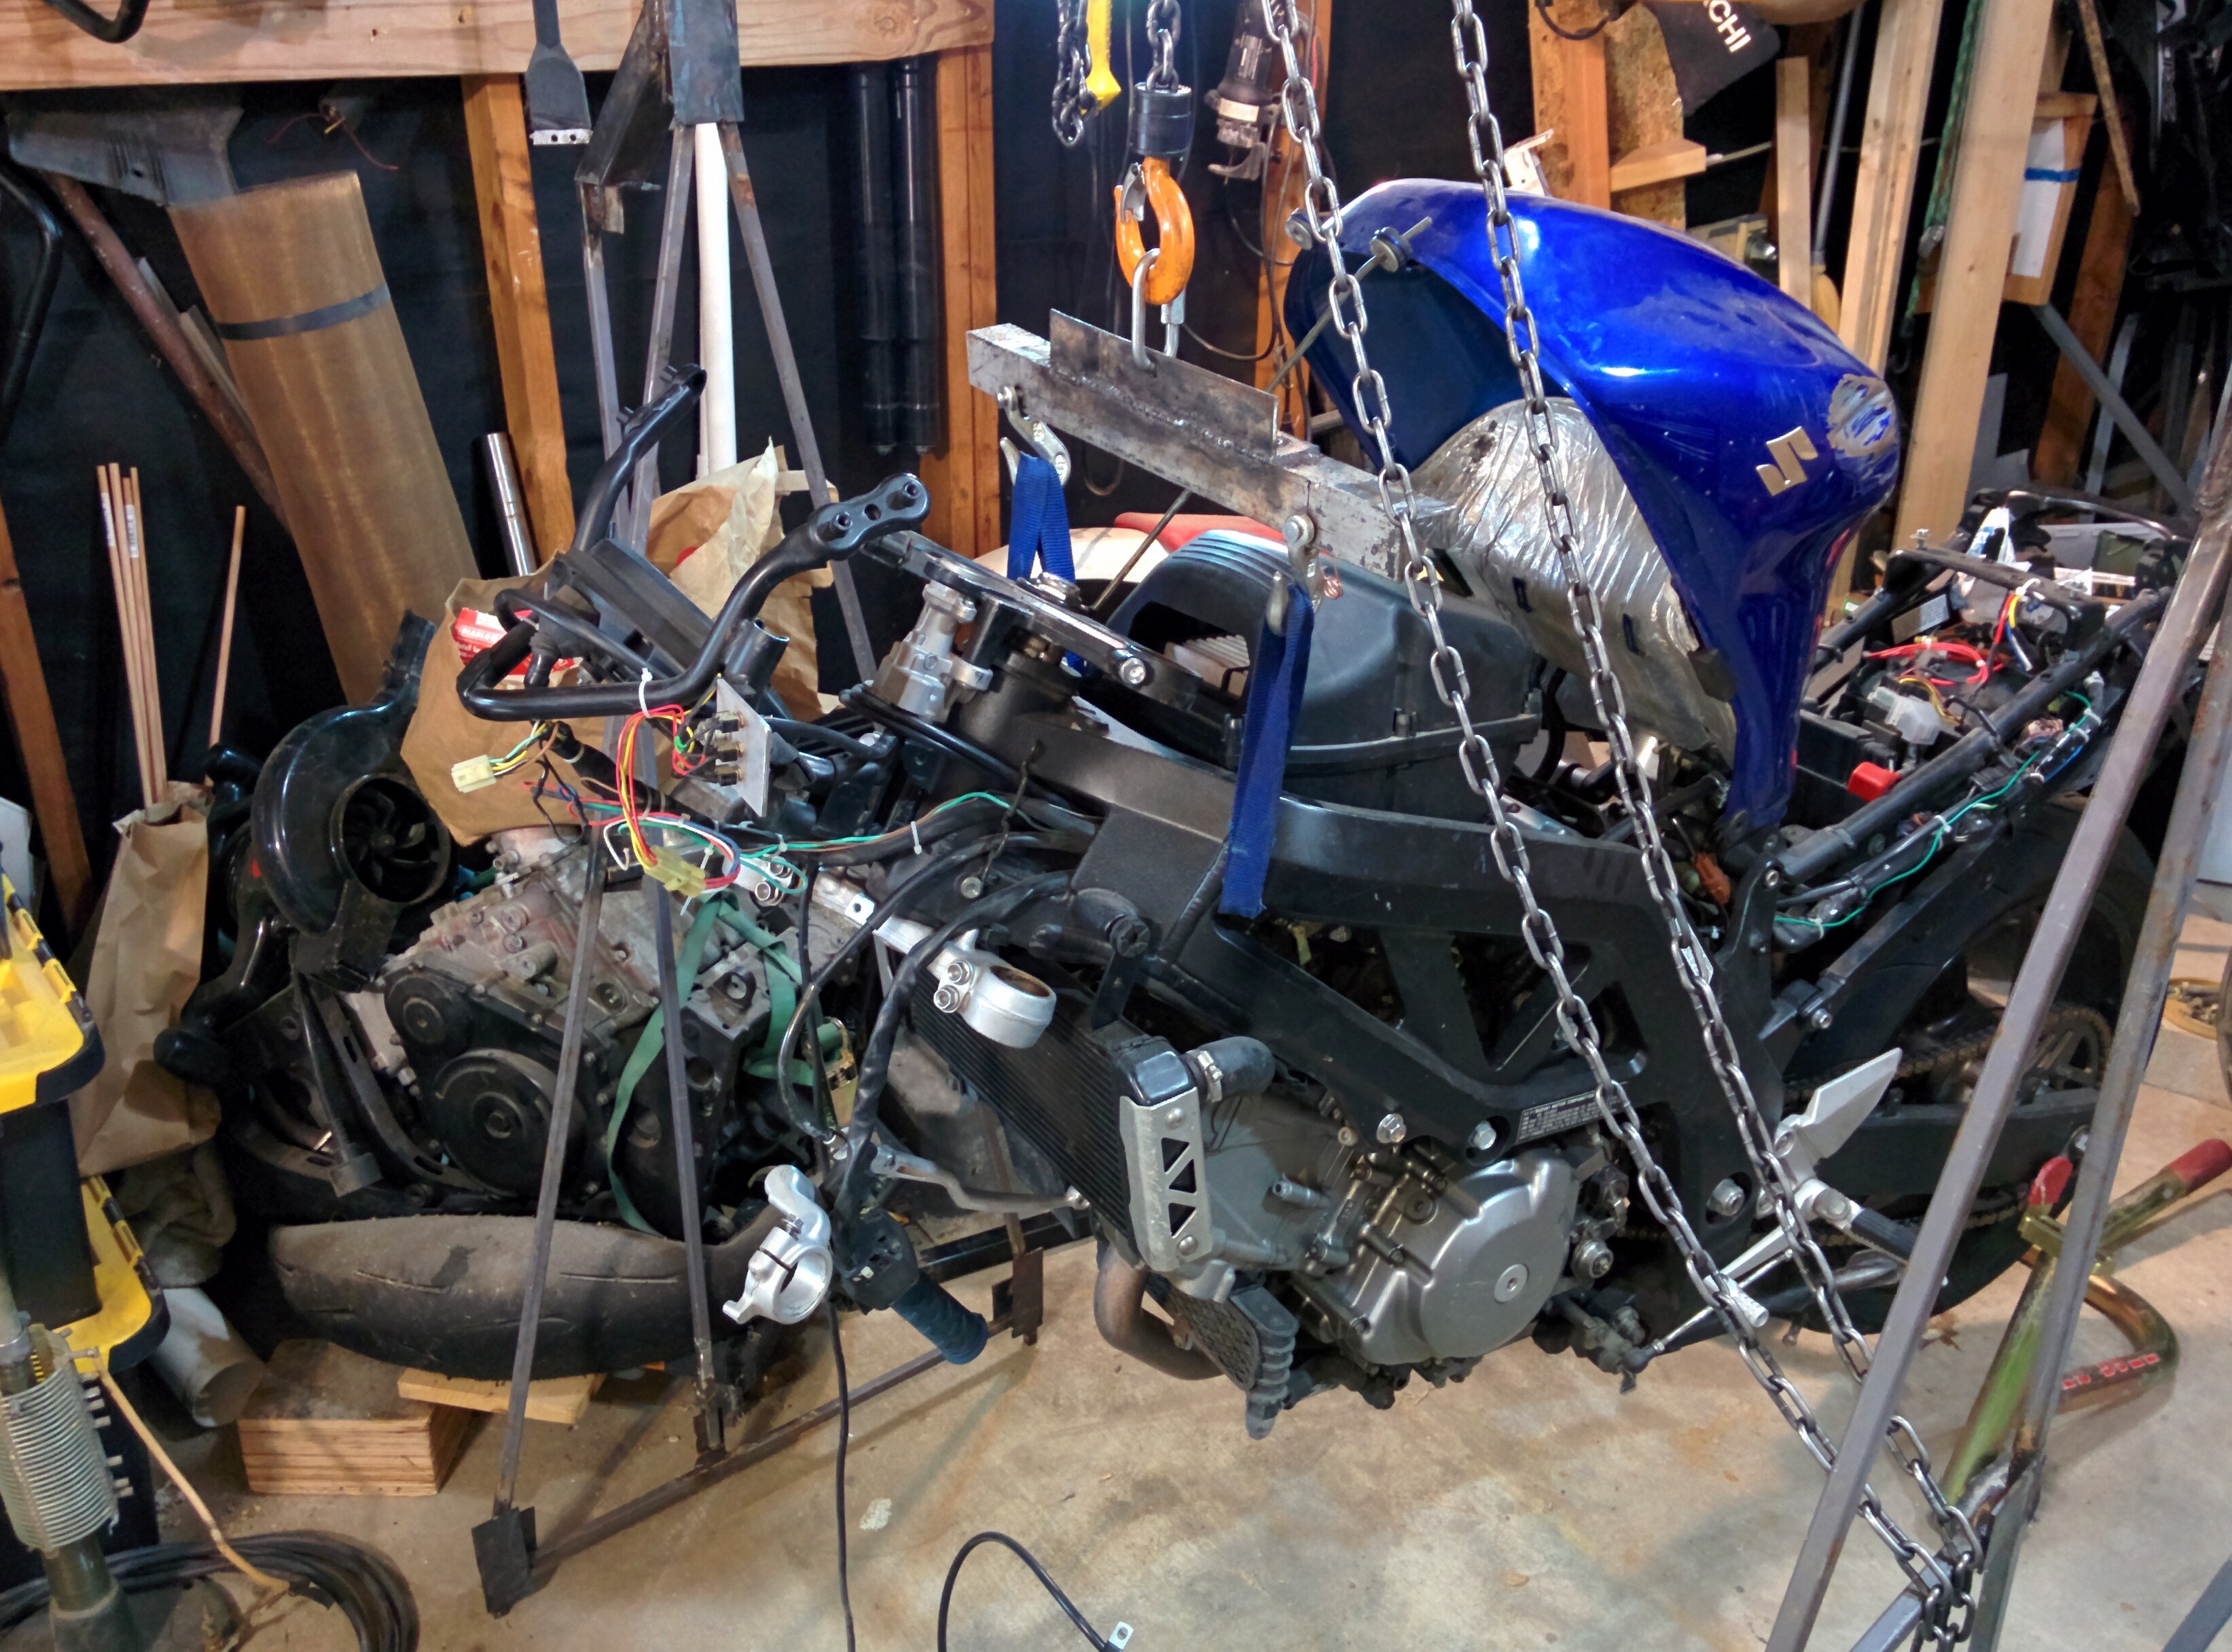
SV650S Cartridge fork conversion
- Monday July 18 2016
- repair
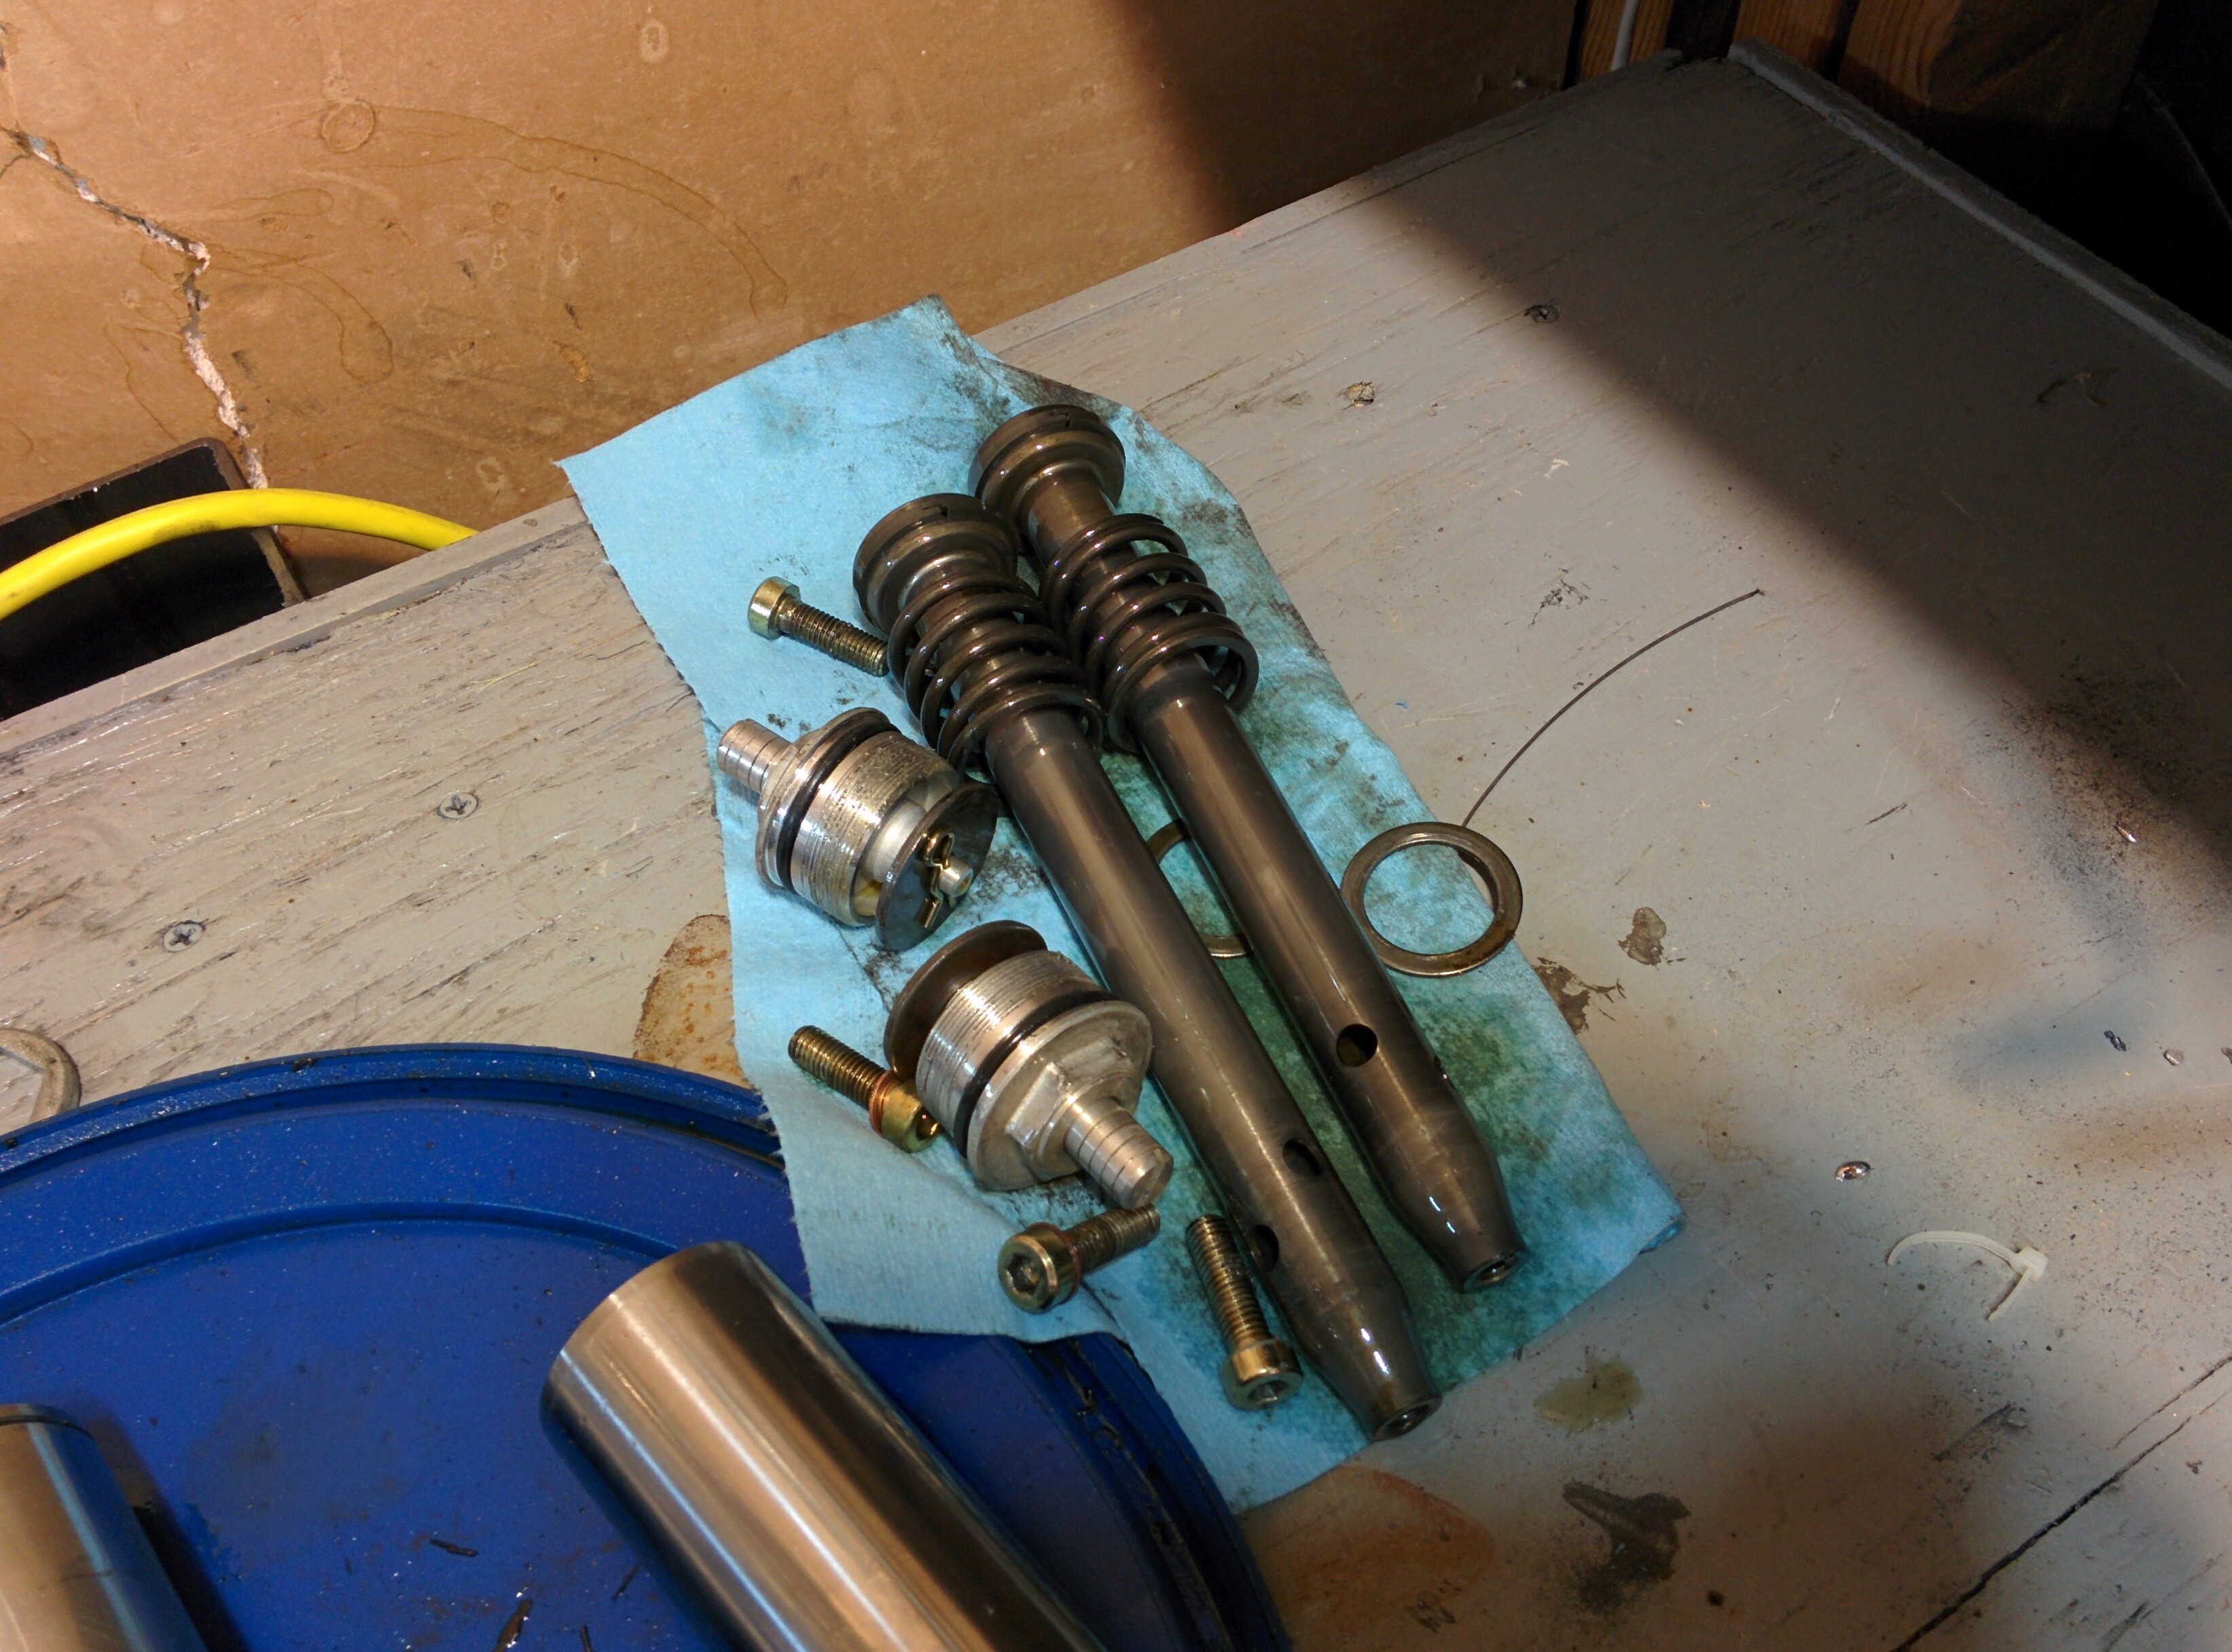
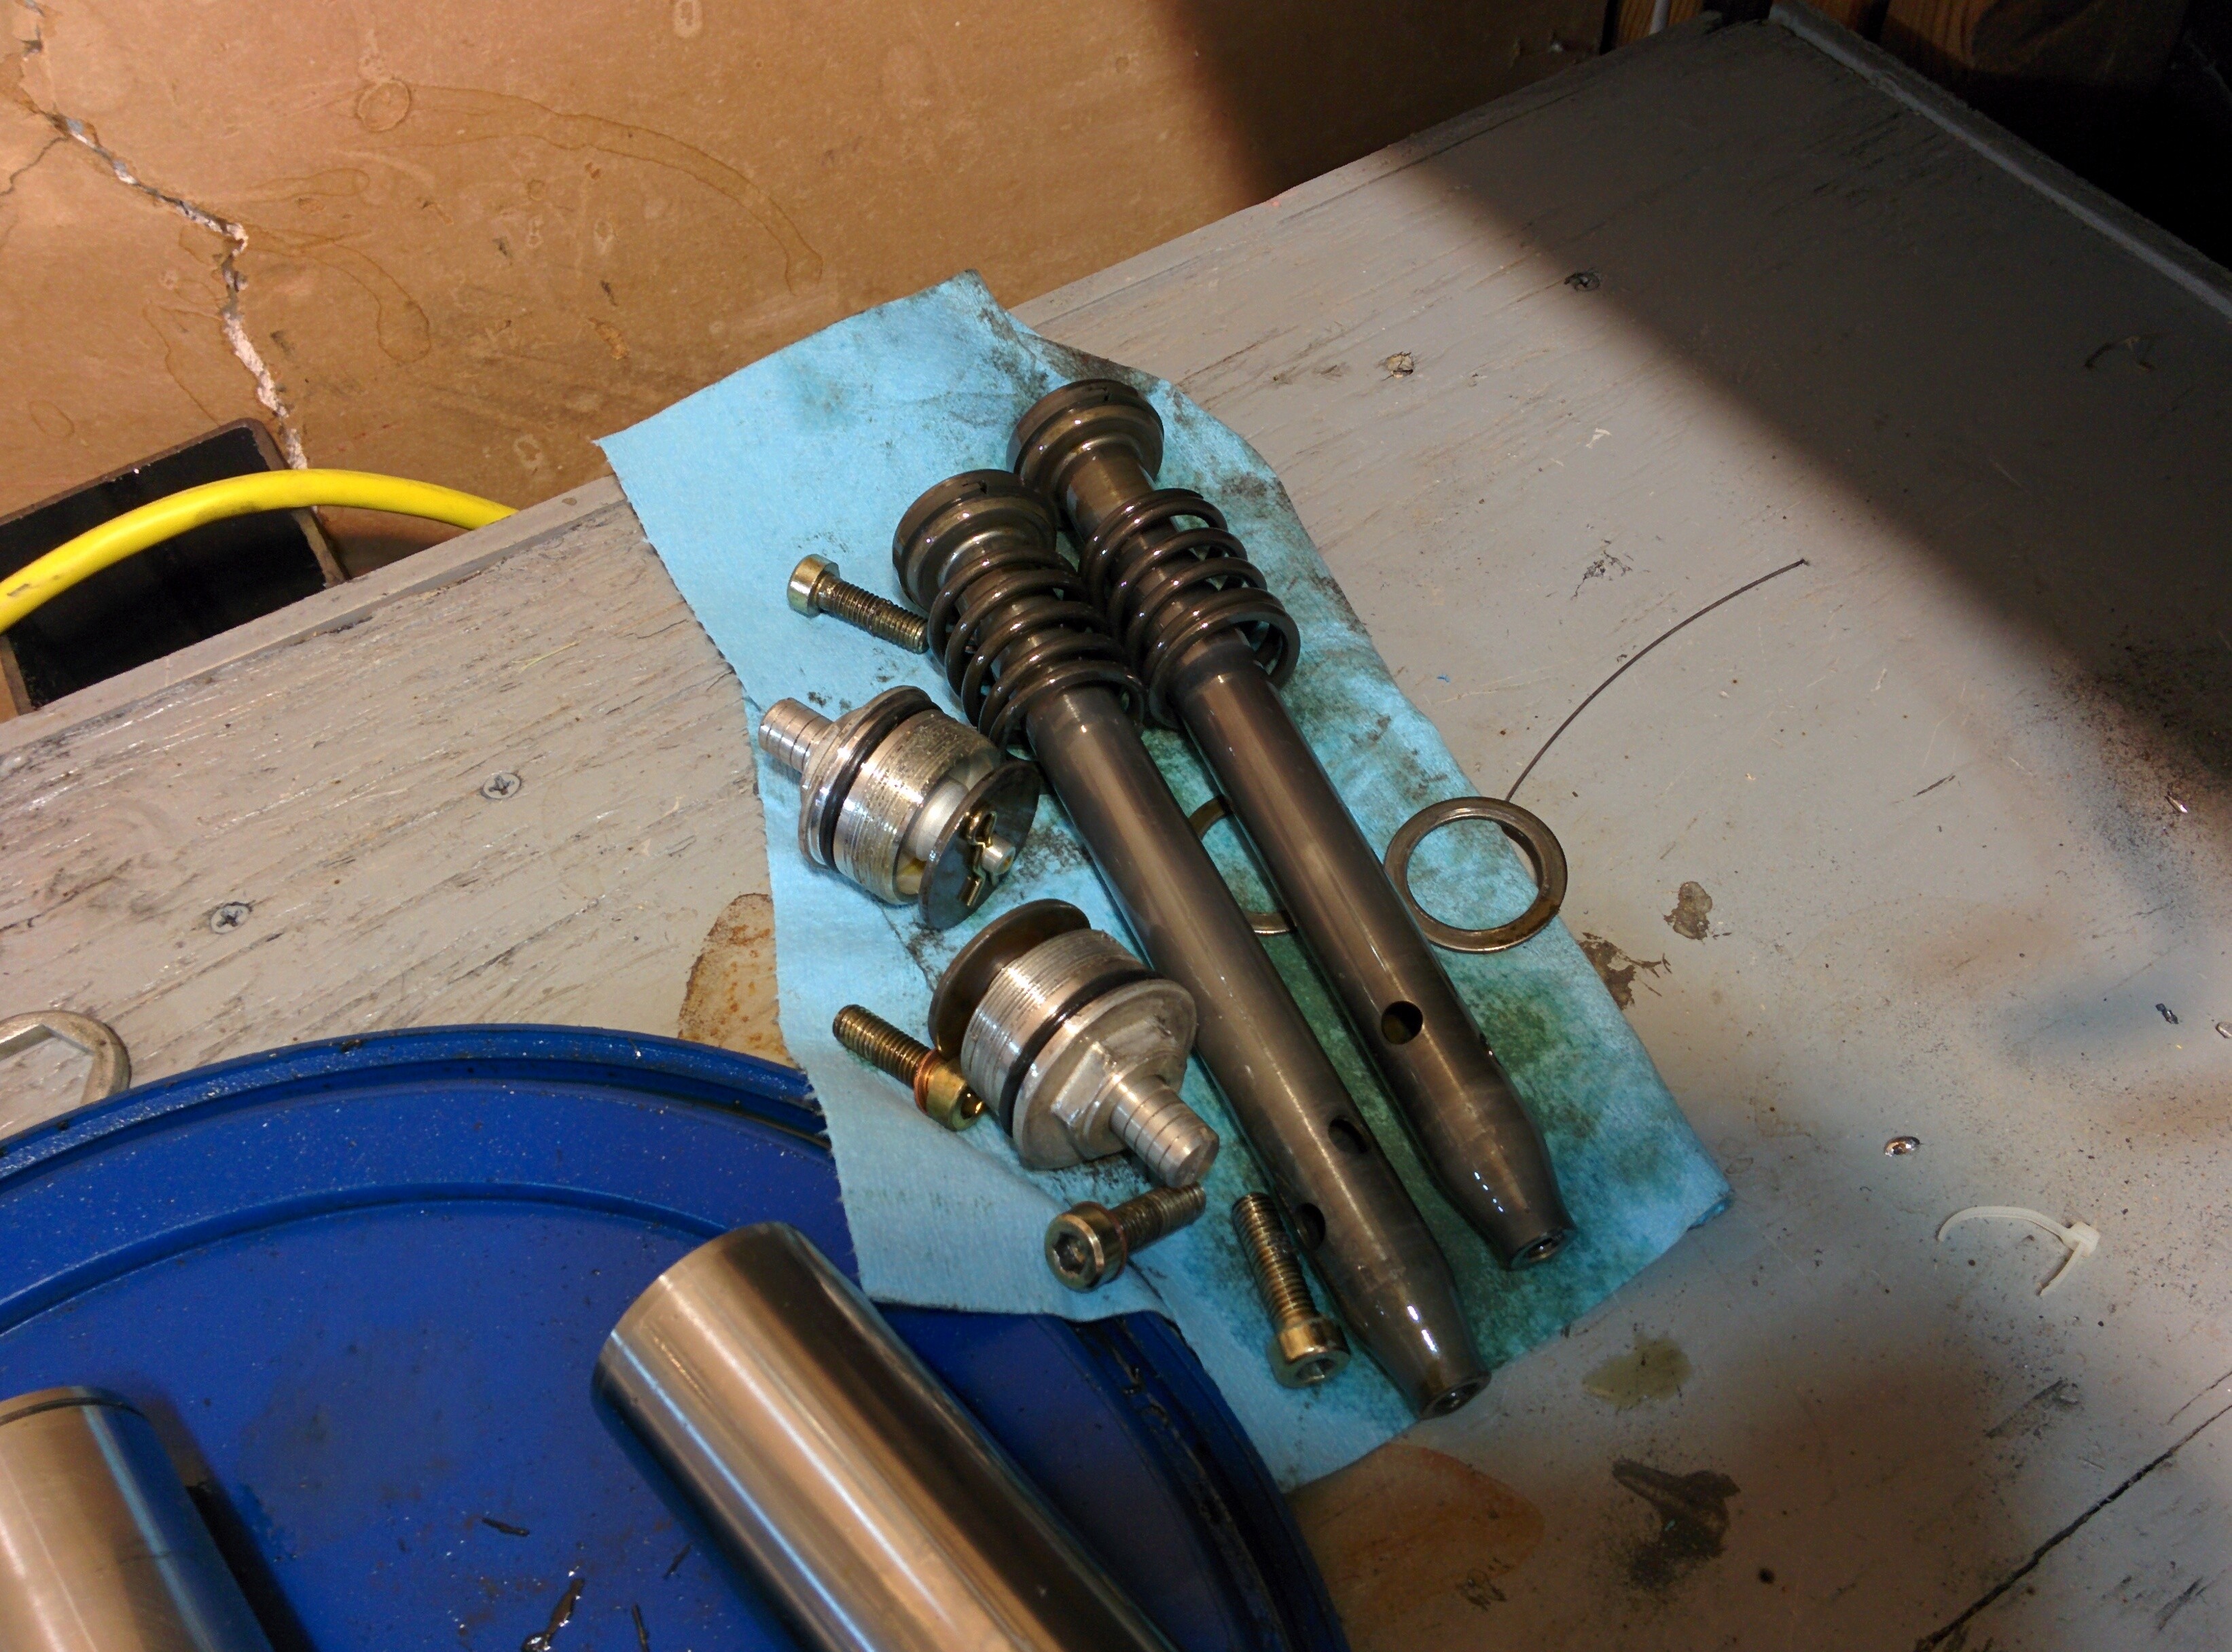
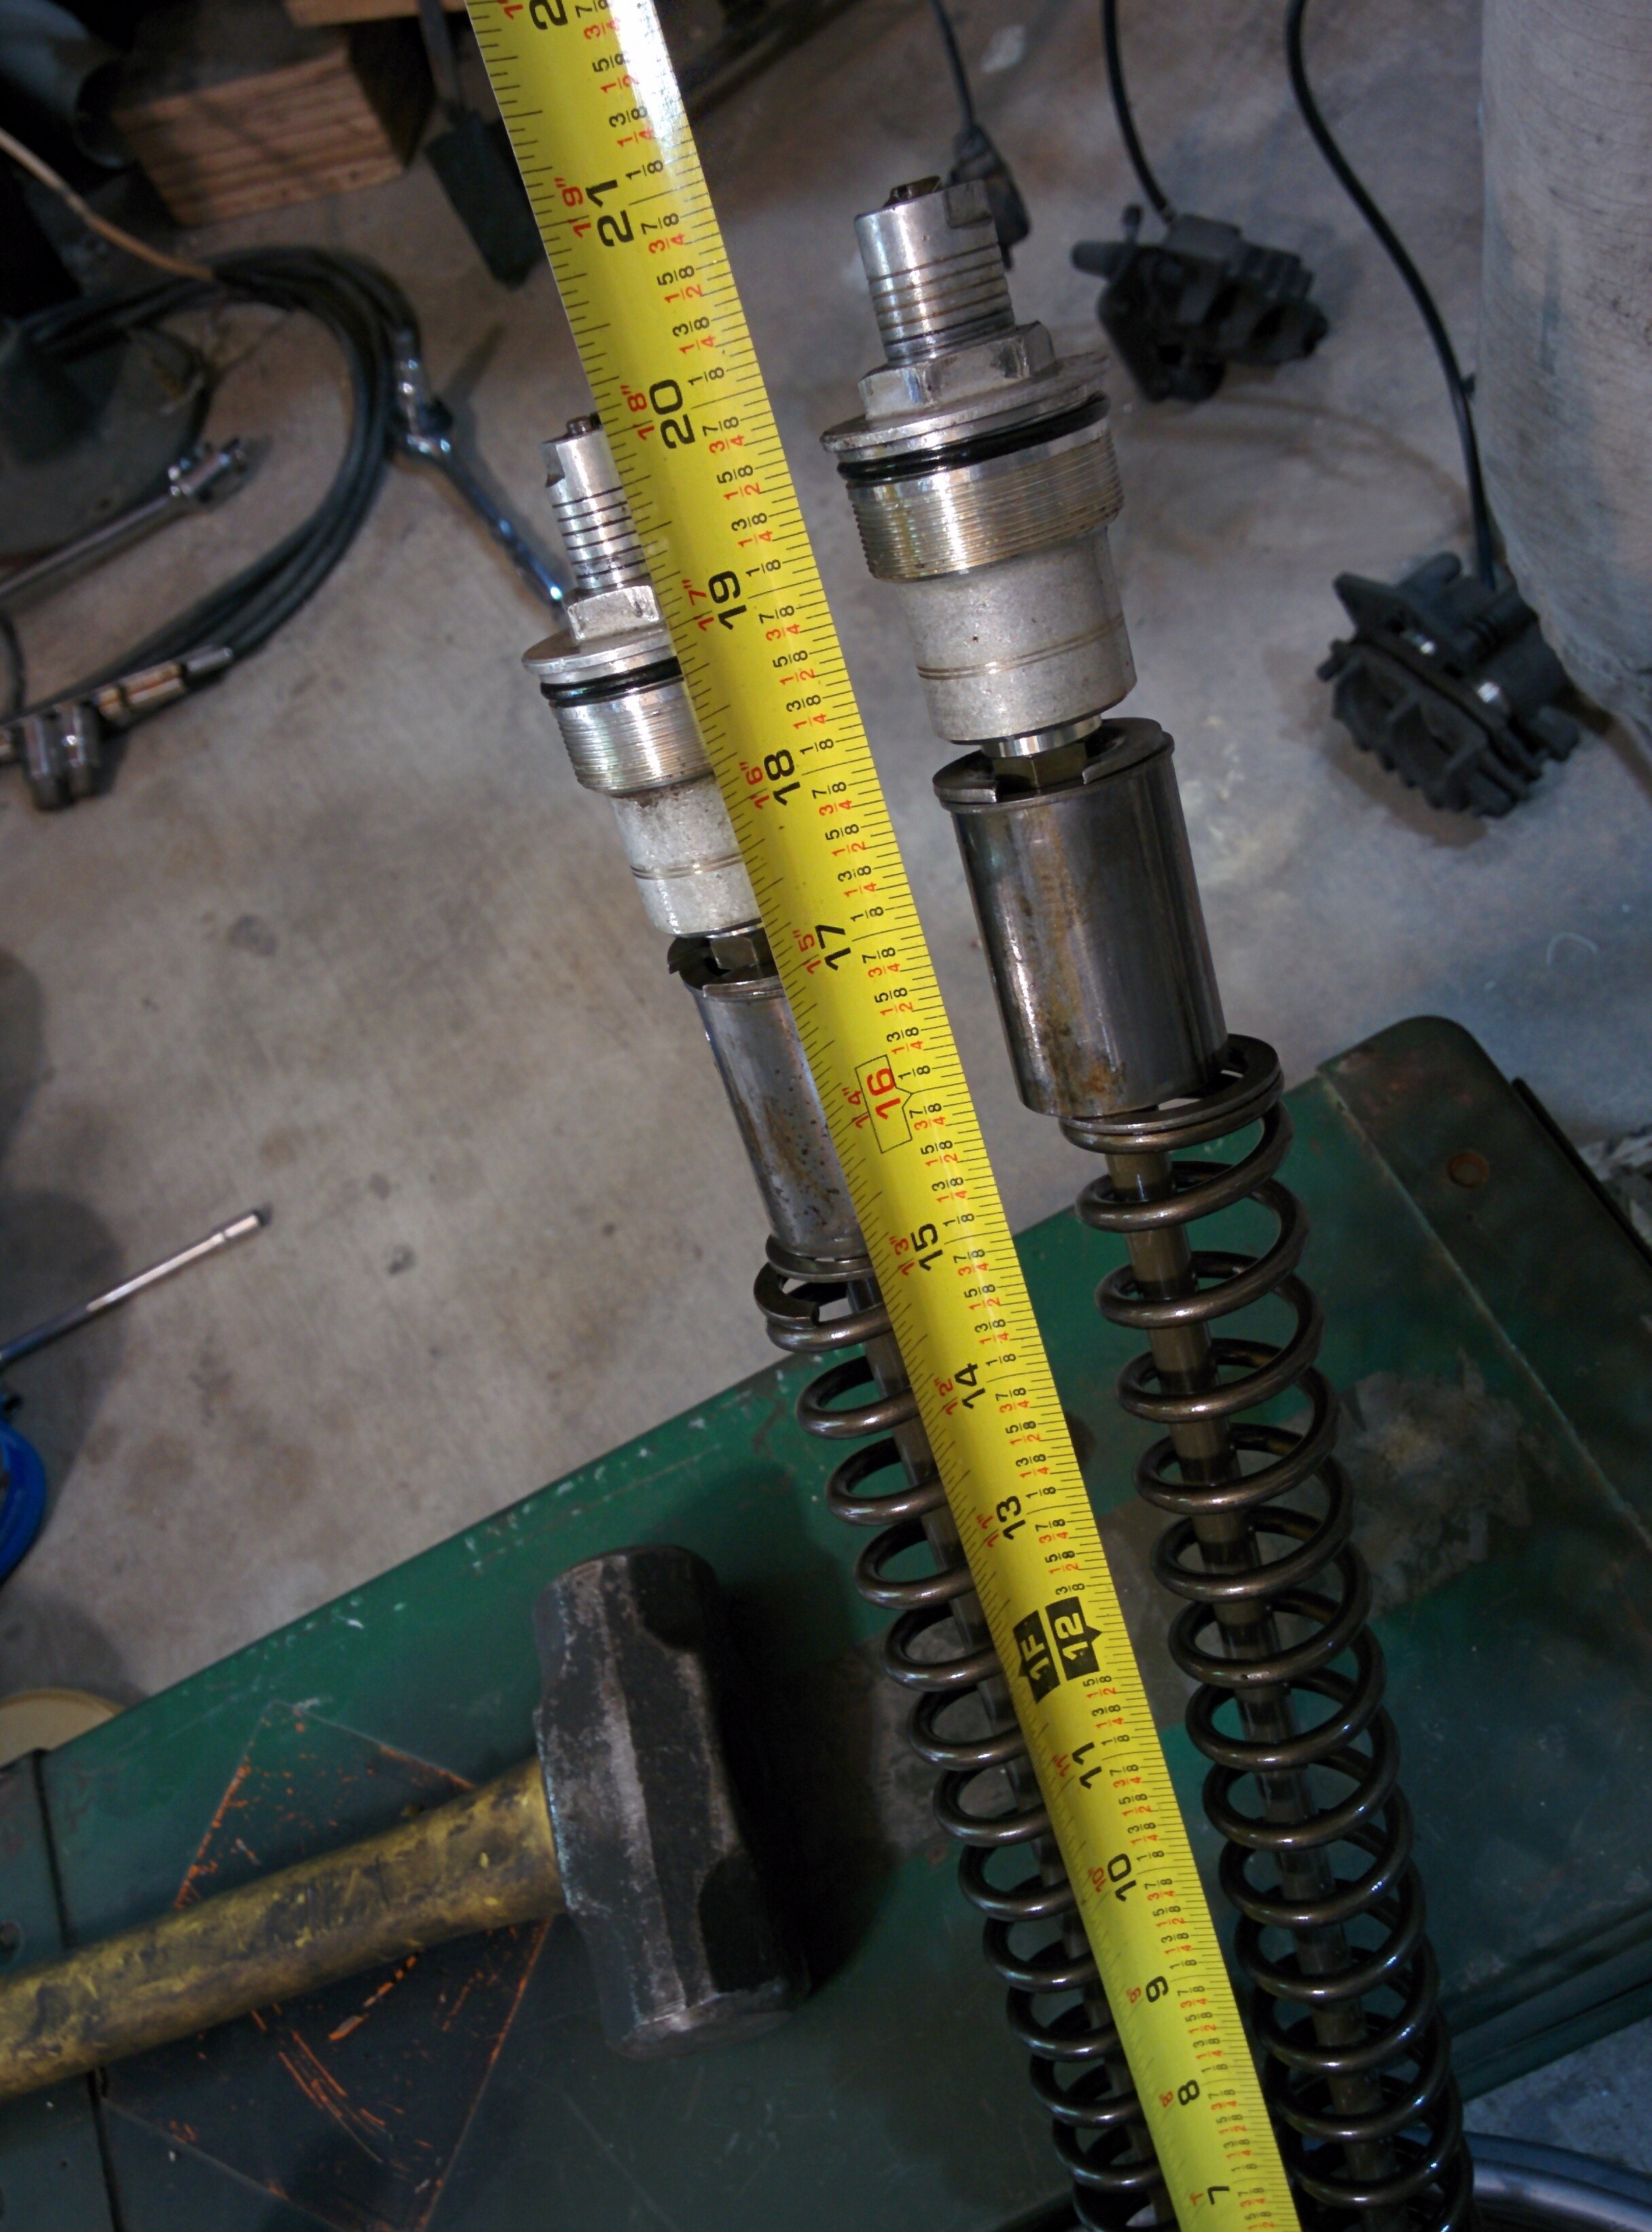
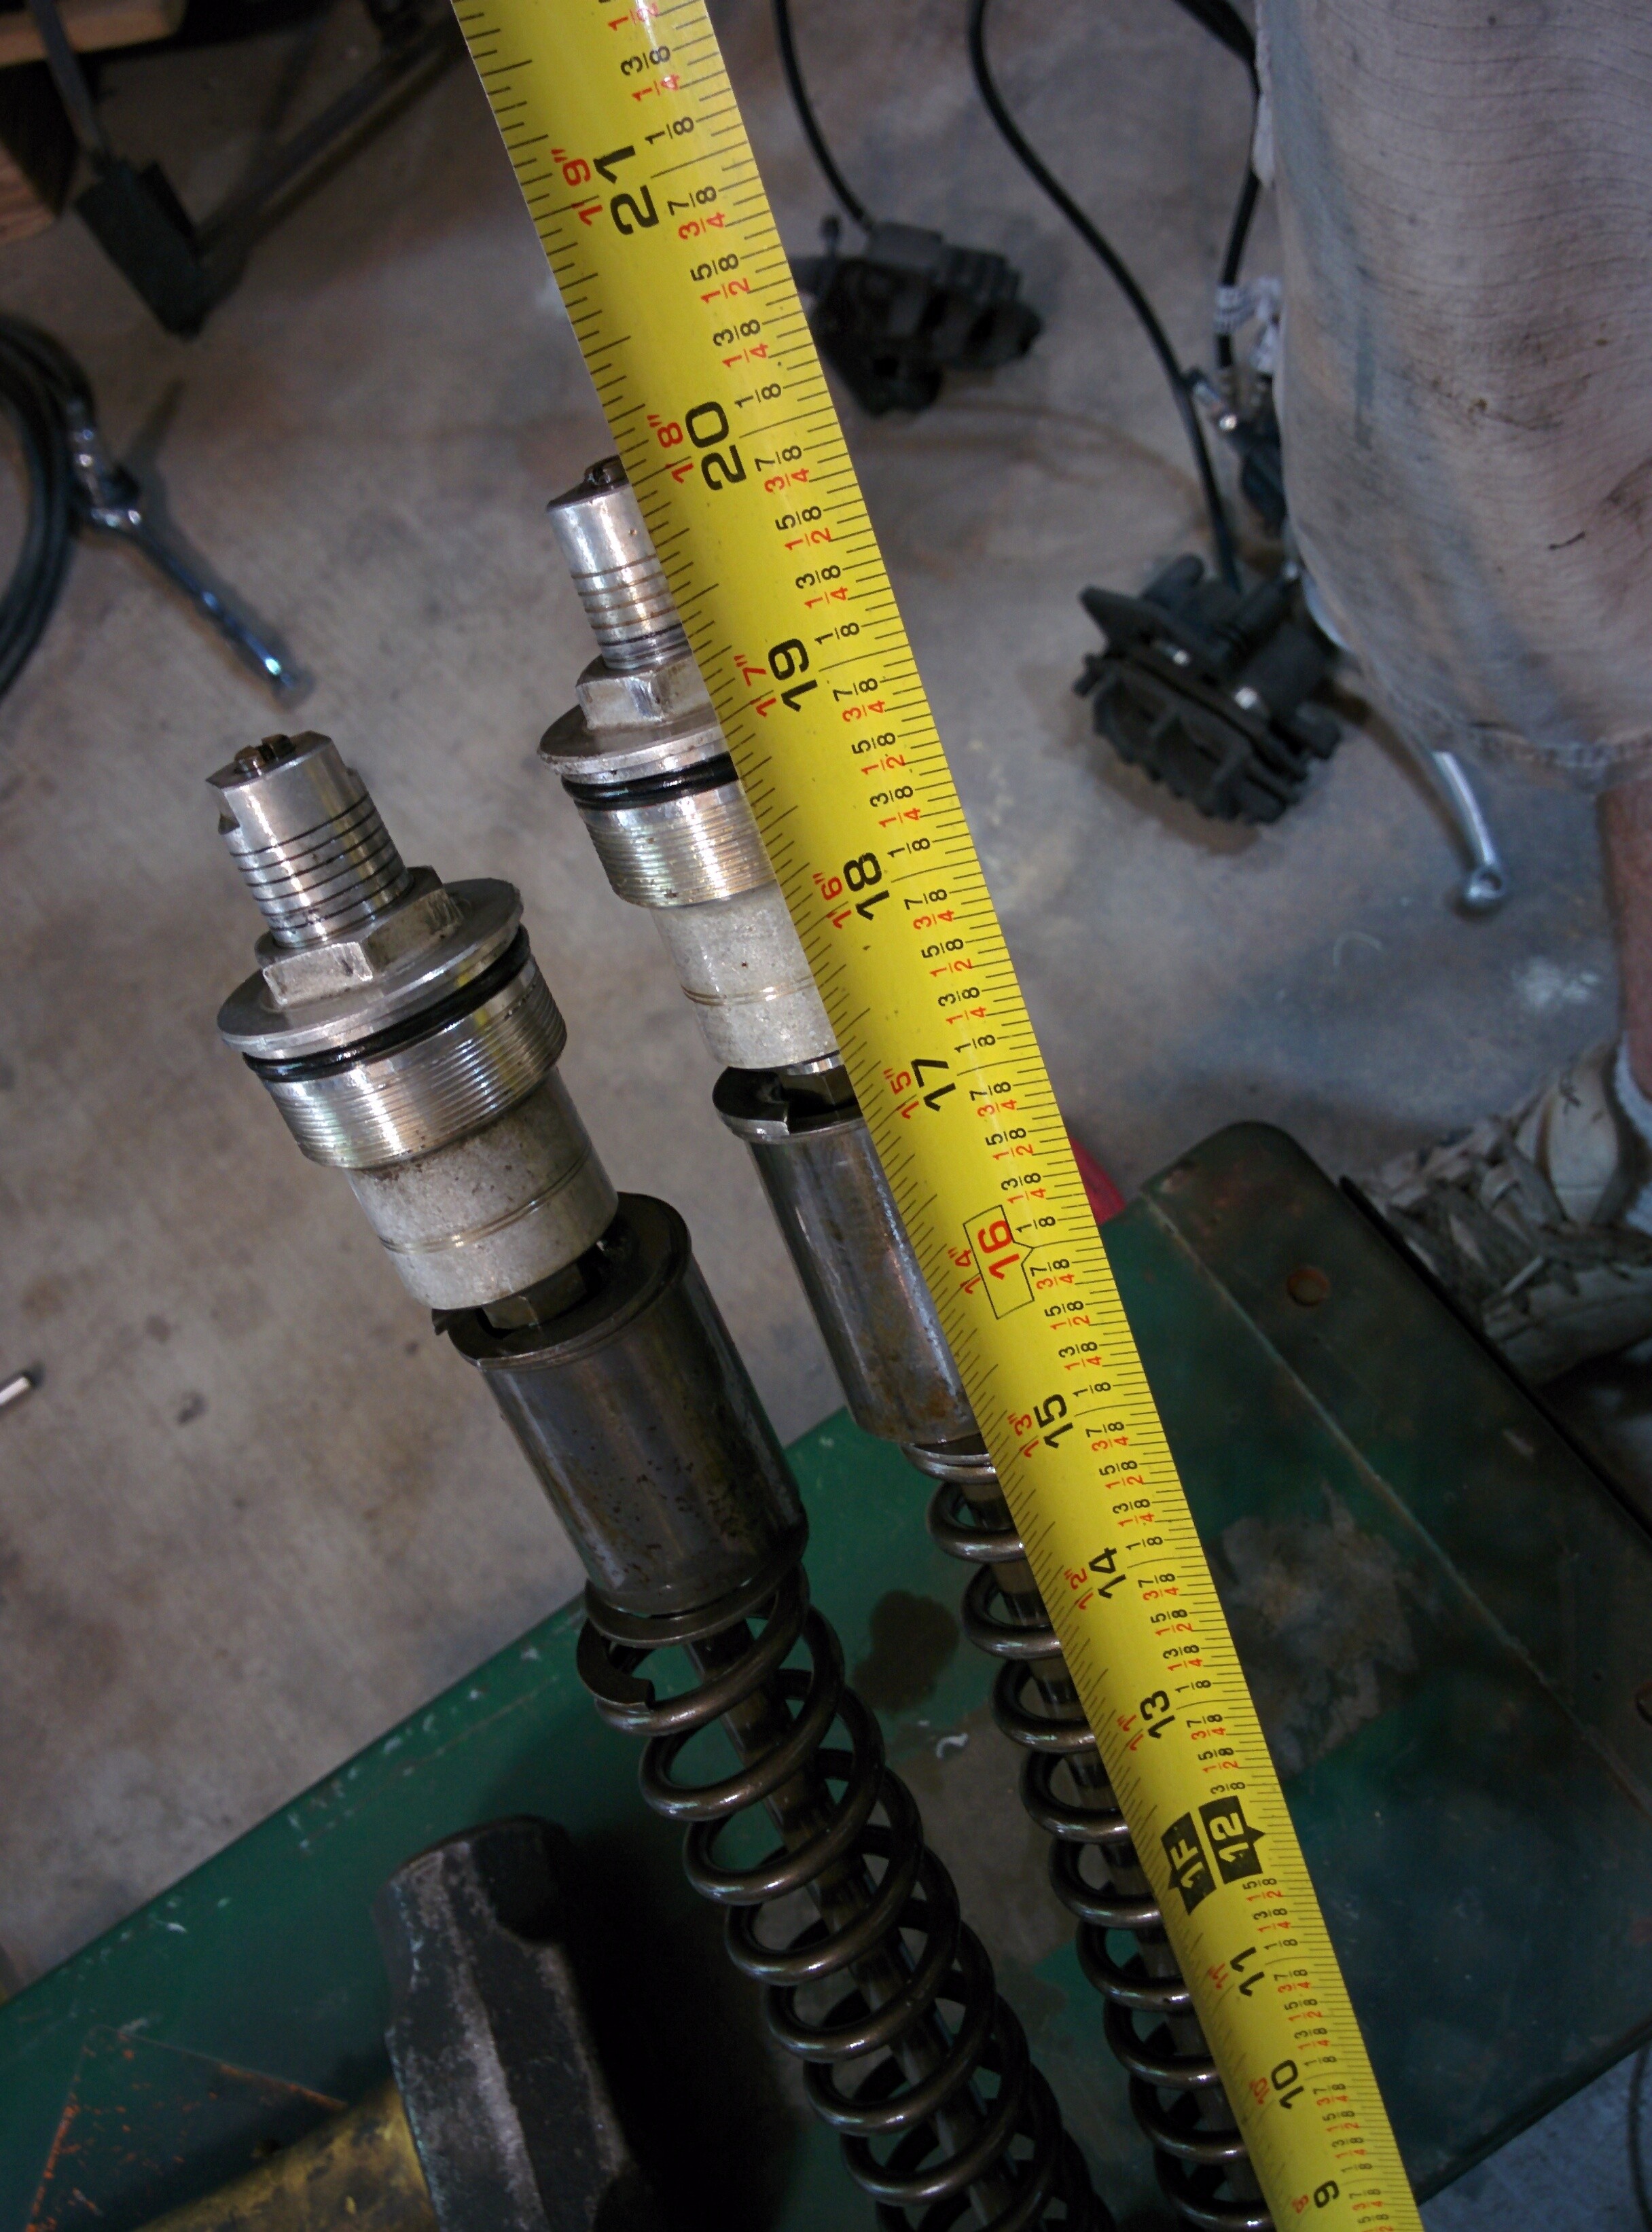
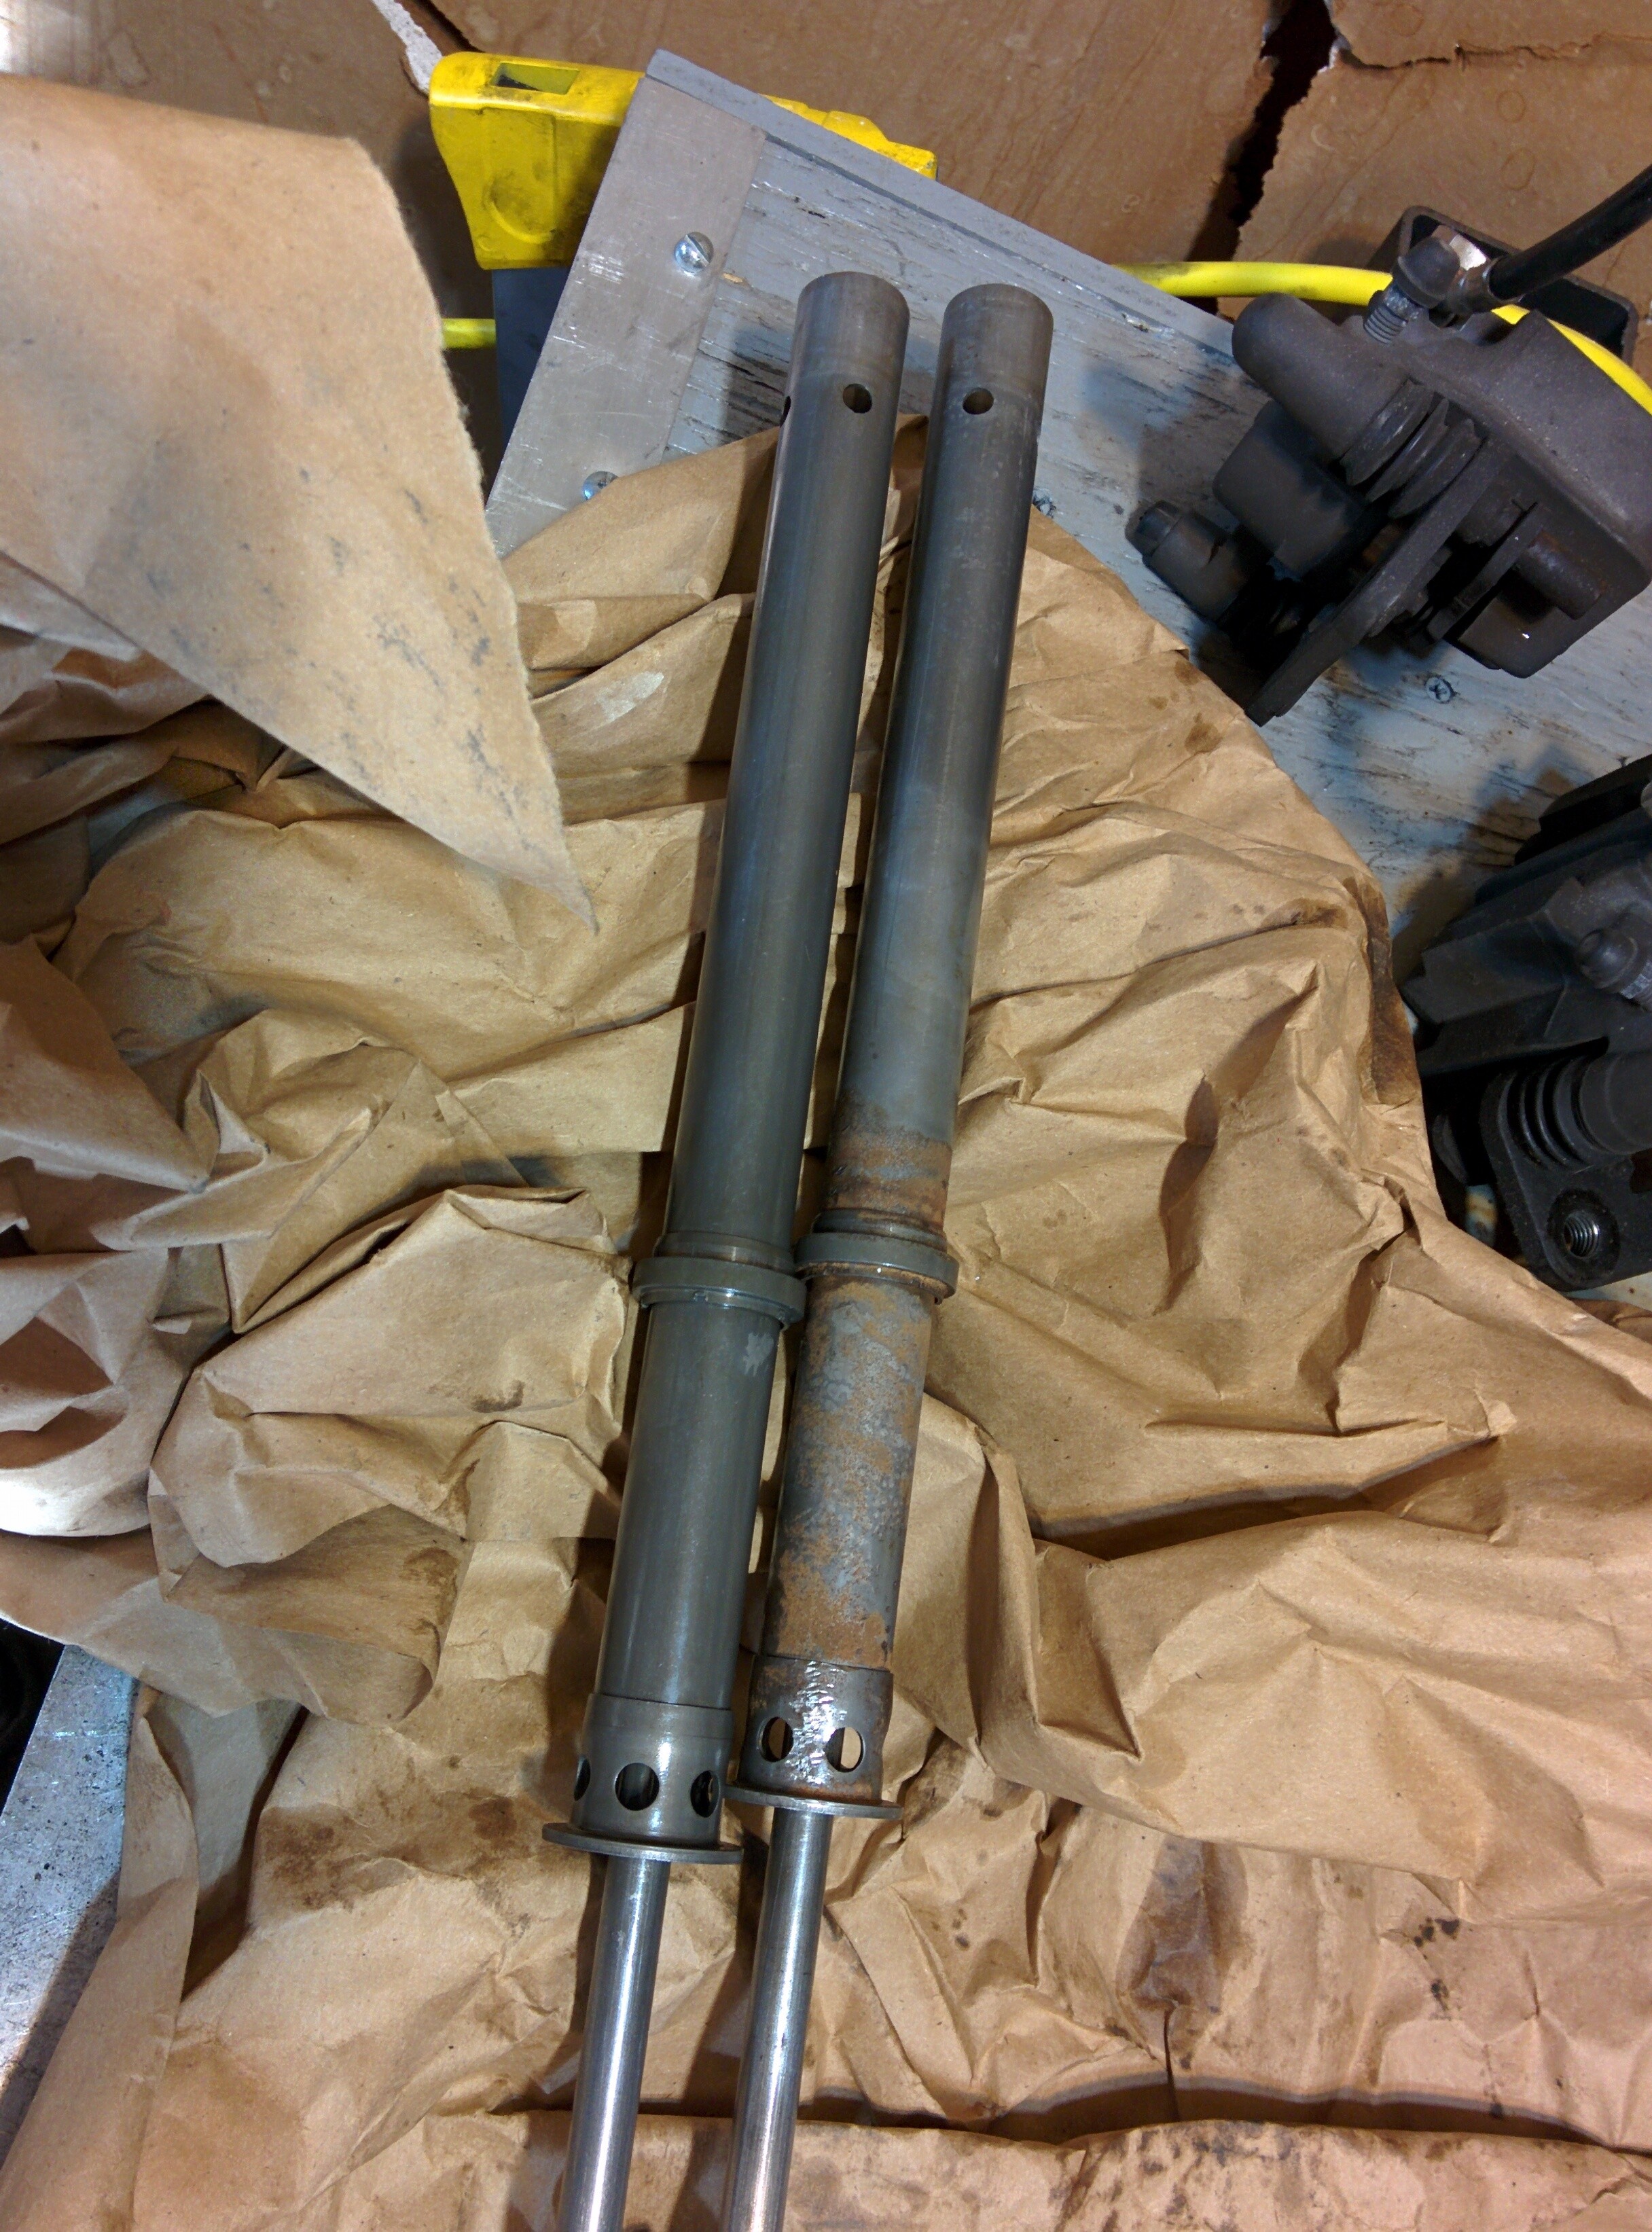
The OEM forks on a 2003+ Suzuki SV650s are a 41mm Showa fork. It uses damper rods. Damper rods are a very cheap type of fork that provides acceptable damping without much cost. Cartridge forks generally outperform them for all applications. There are many aftermarket options to convert the OEM forks to a cartridge fork design. A cheaper option is to use Showa 41mm cartridge fork components in place of the damper rods. This is possible because Showa used the same basic design to produce both a cartridge fork and damper rod fork design.
All the parts you need for this conversion originally come from the 1995-1998 Honda CBR600F3. The complete list is
- 2x Damper 51430-MAL-G01
- 2x Upper damper O-Ring 91356-KF0-003
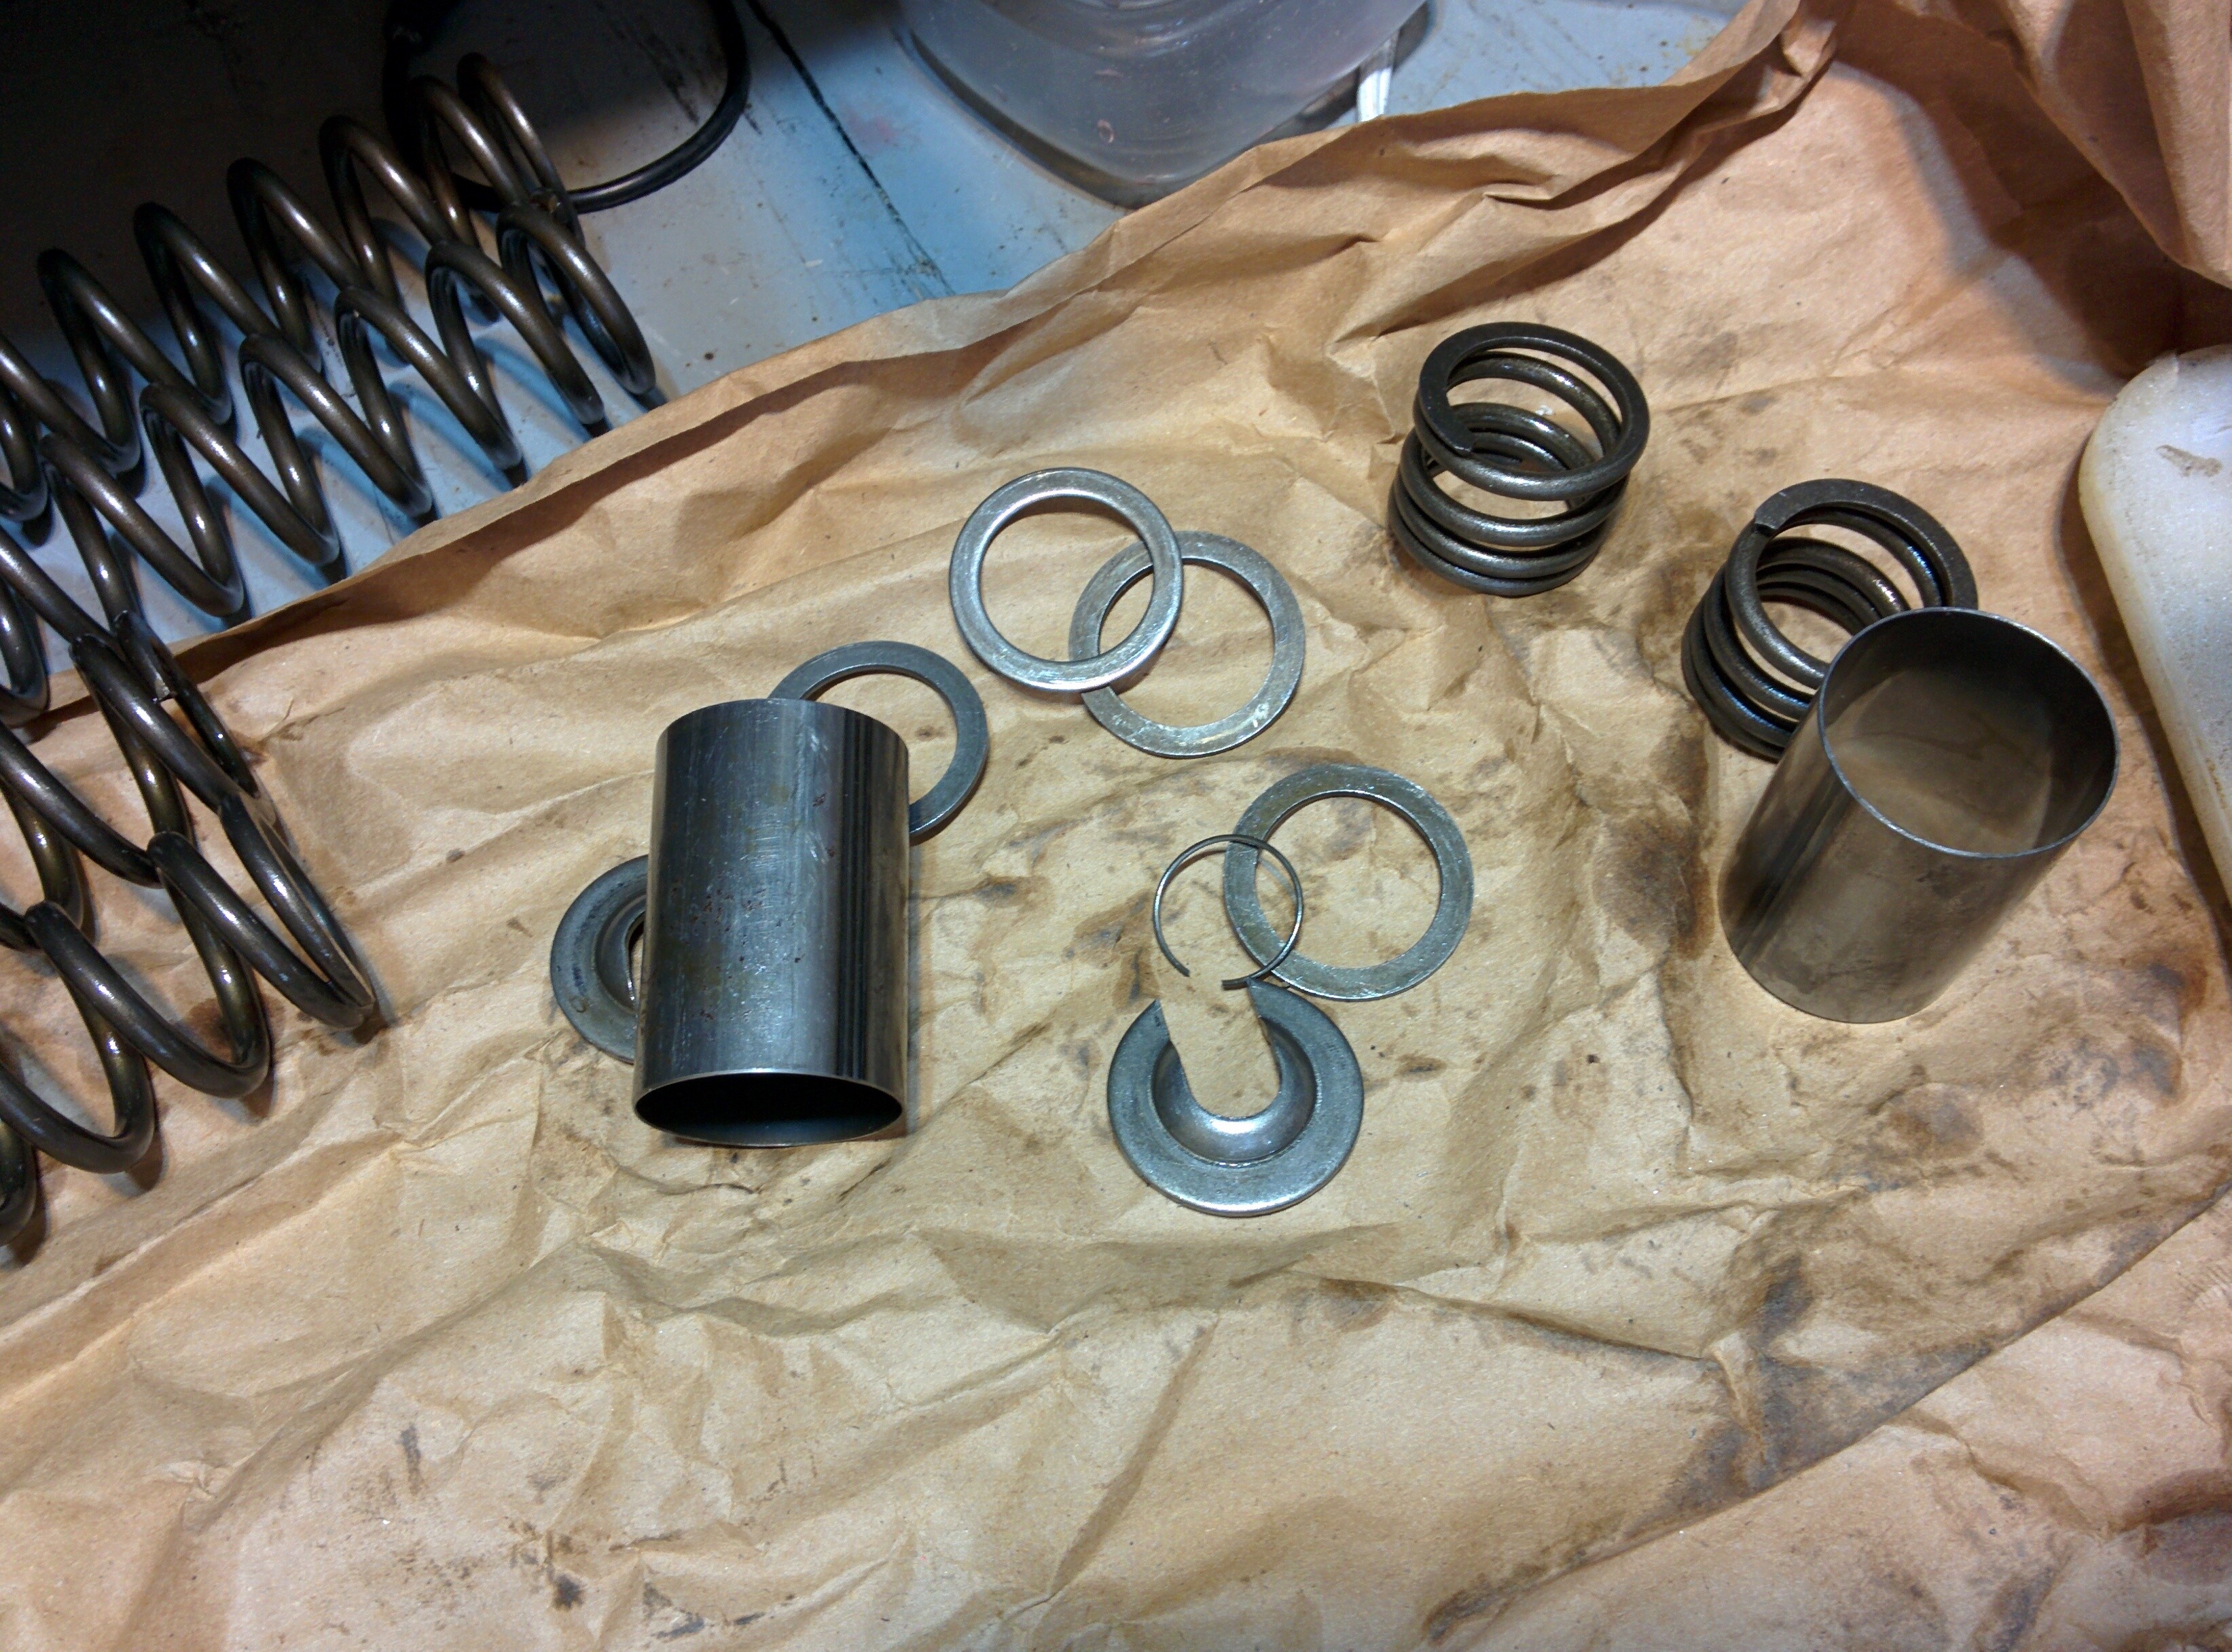
- 4x Spring seat 51403-KF0-003
- 2x Spring seat 51415-MS2-003
- 2x Fork cap O-ring 91311-PH7-003
- 2x Fork cap 51454-KV3-781
- 2x Fork cap O-ring 51405-MB4-003
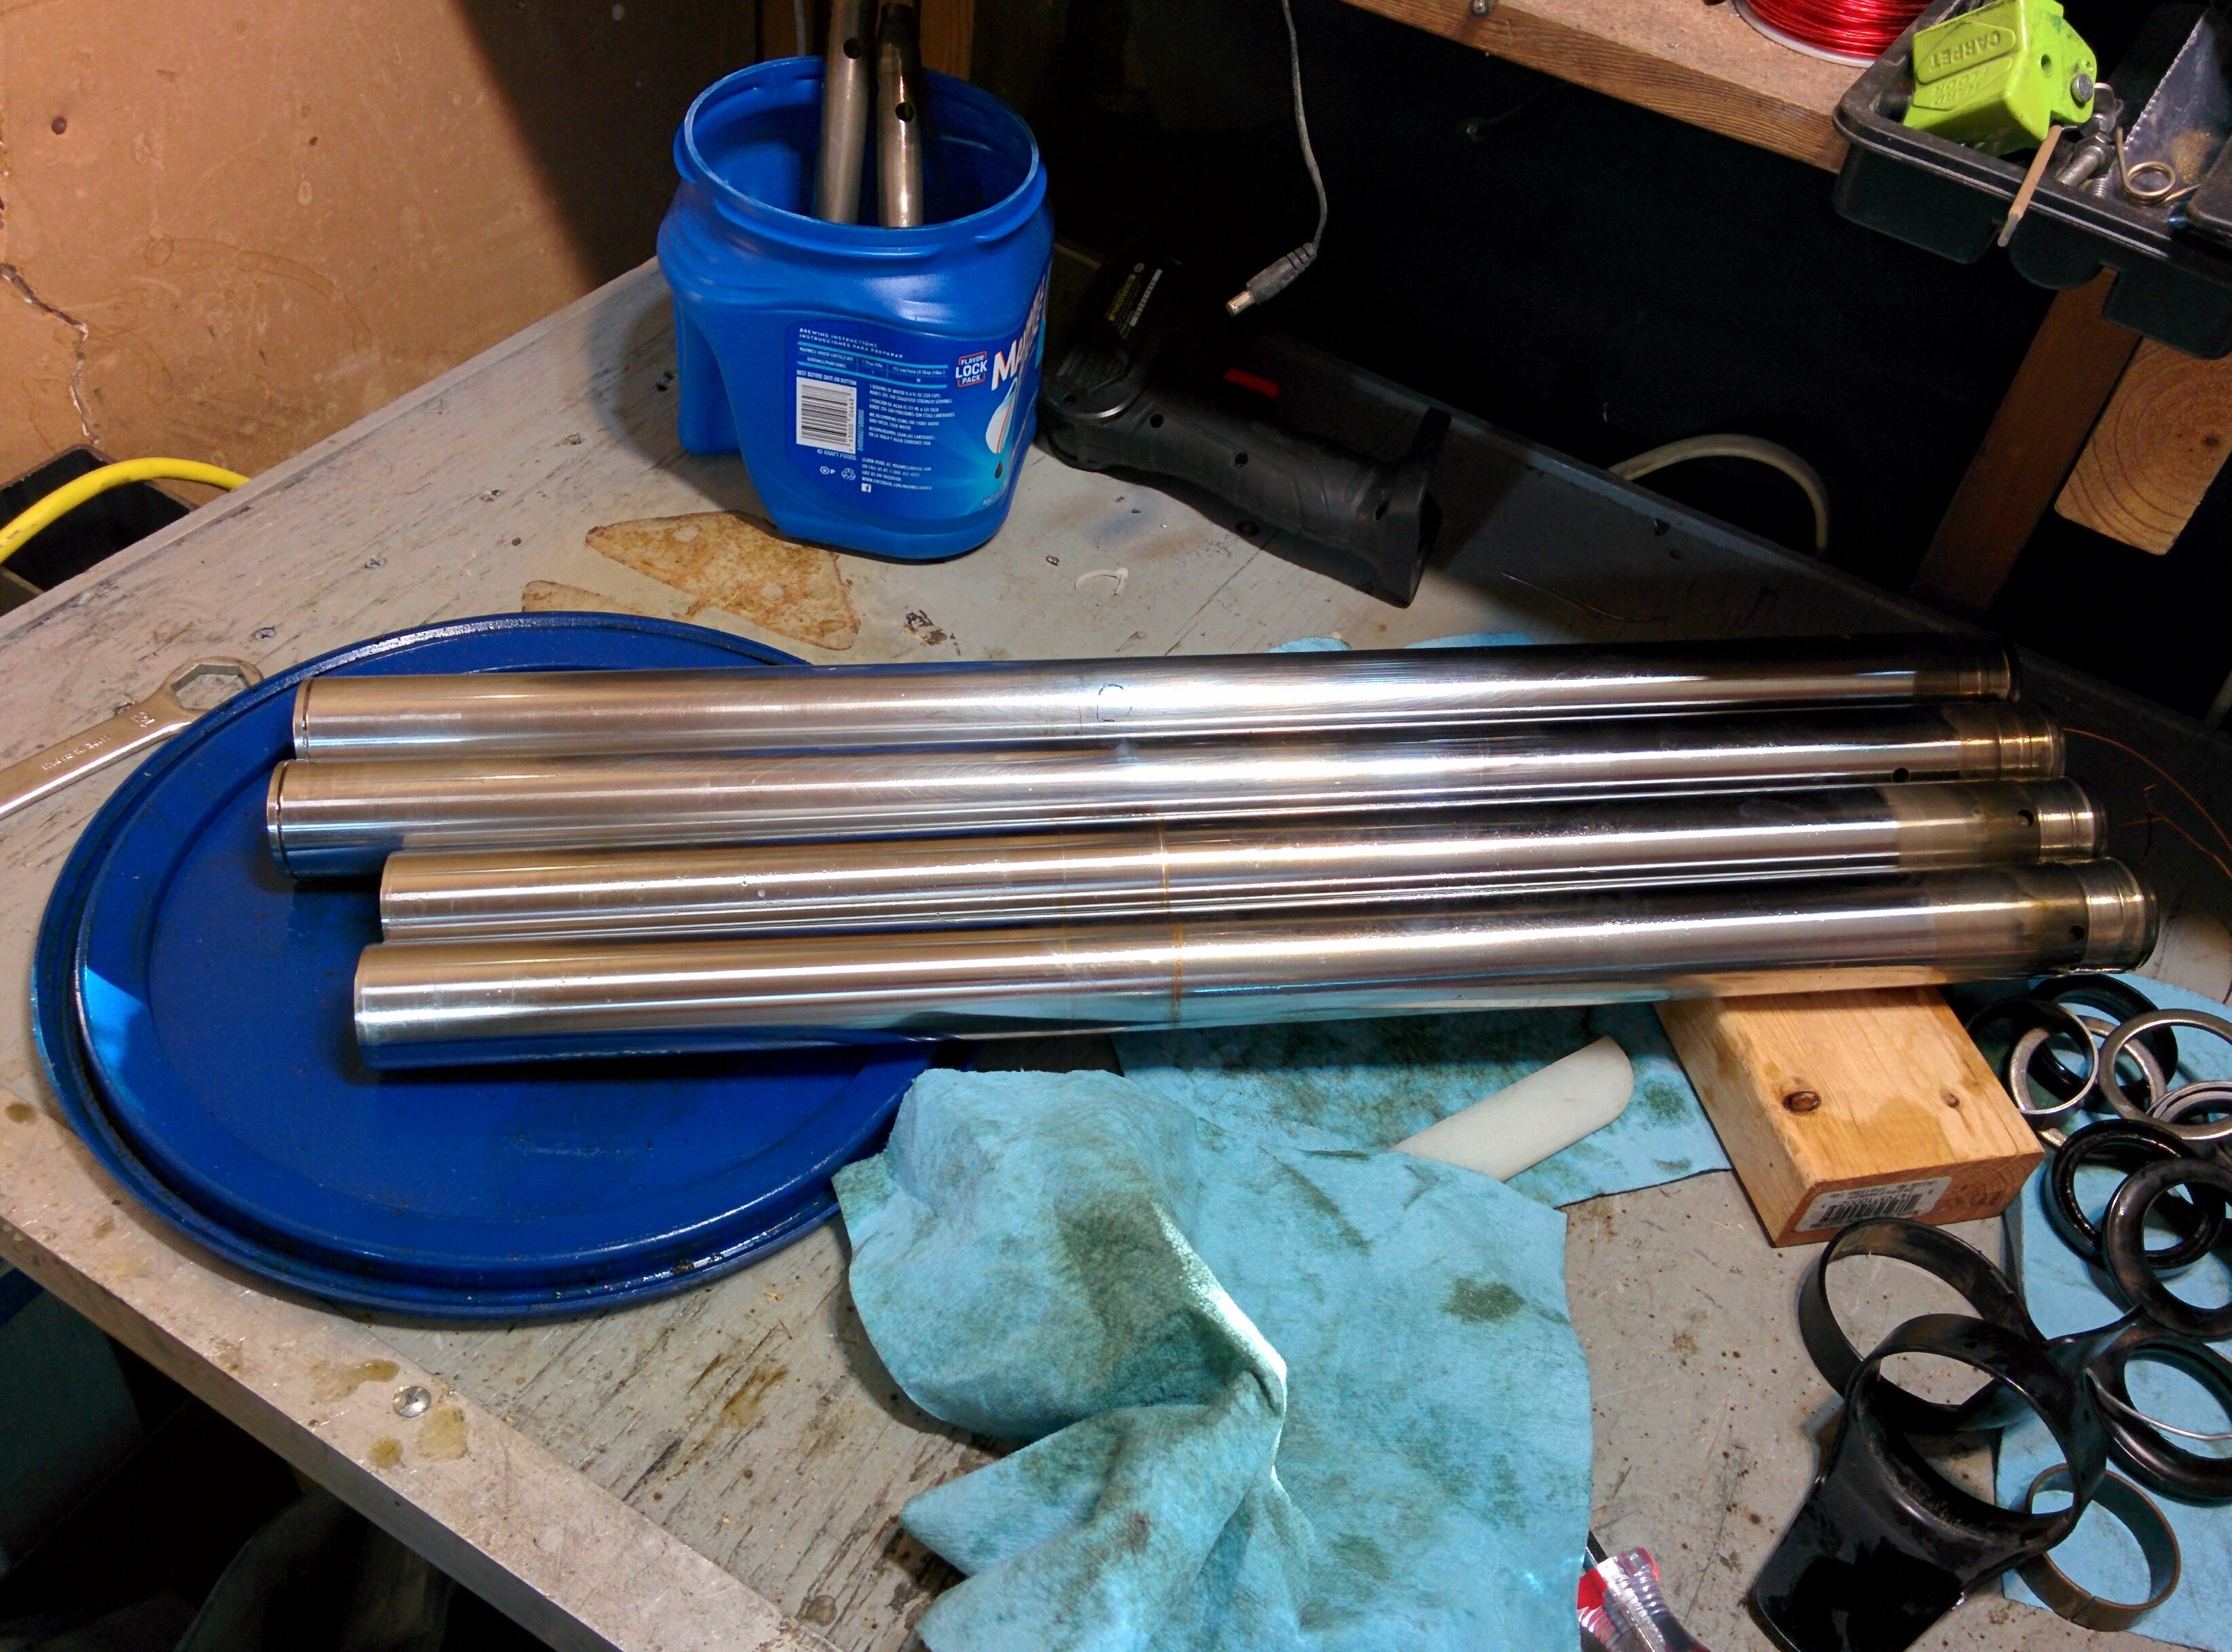
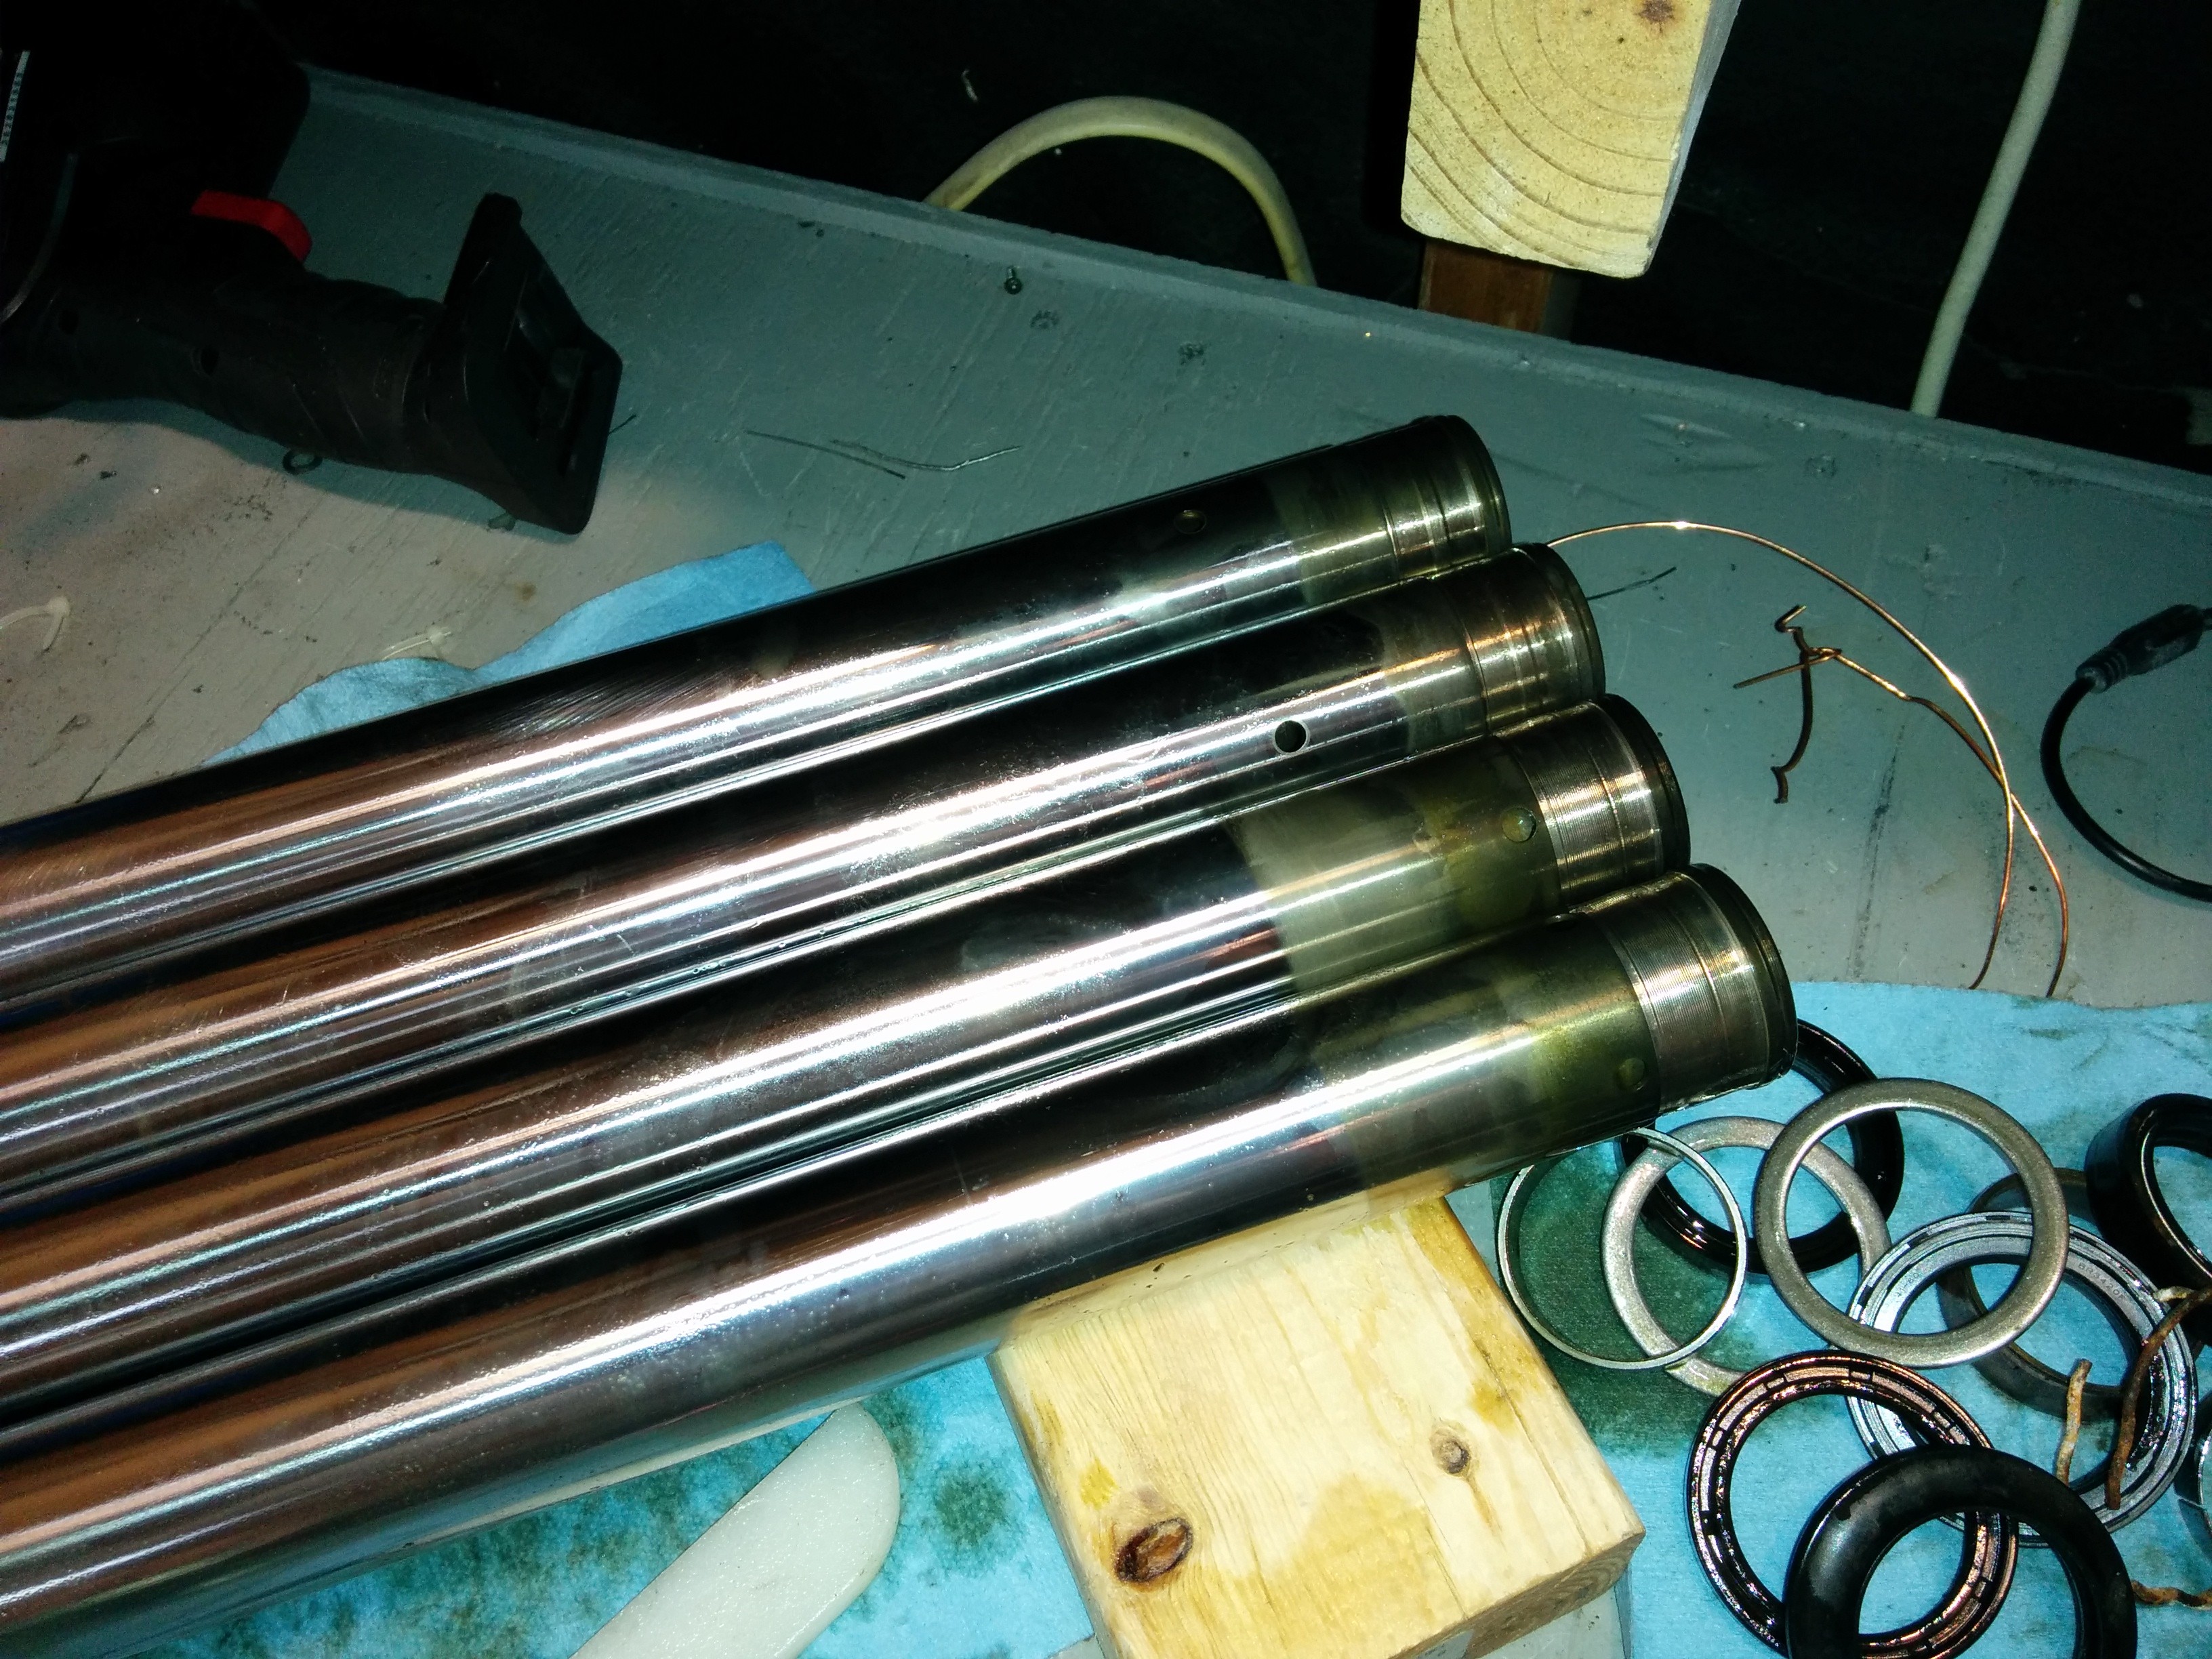
- 2x Fork tube 51410-MAL-601
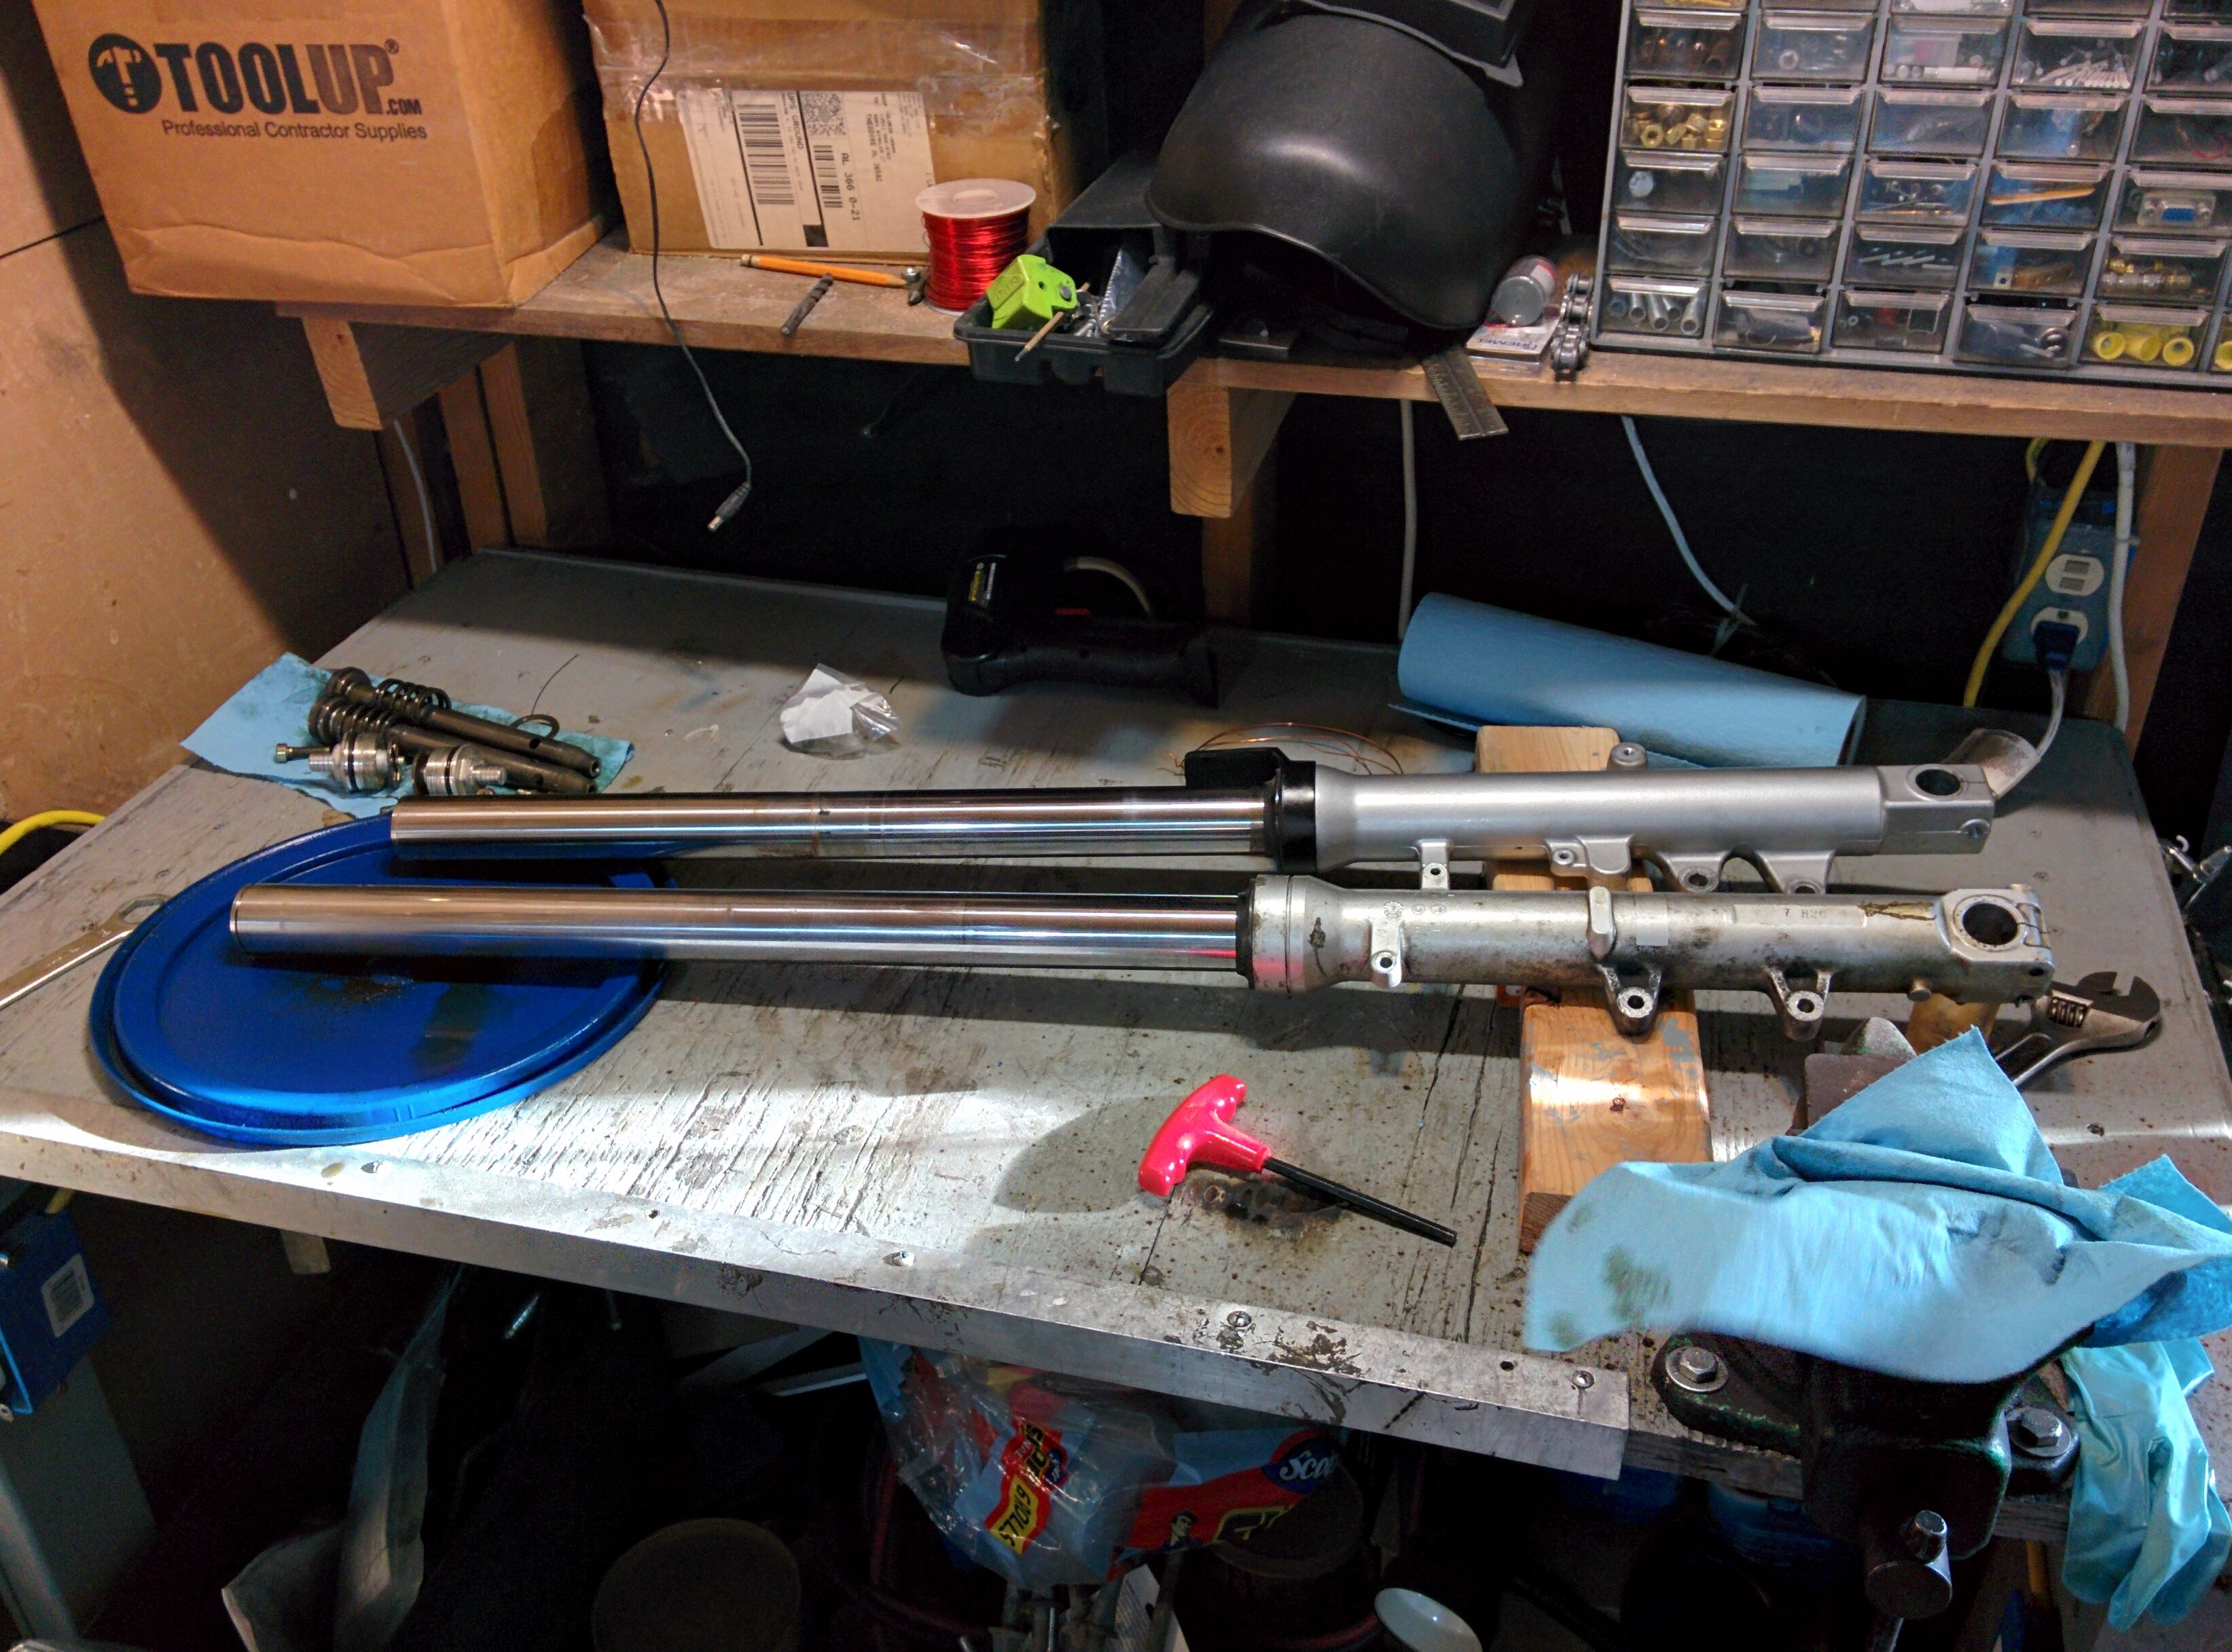
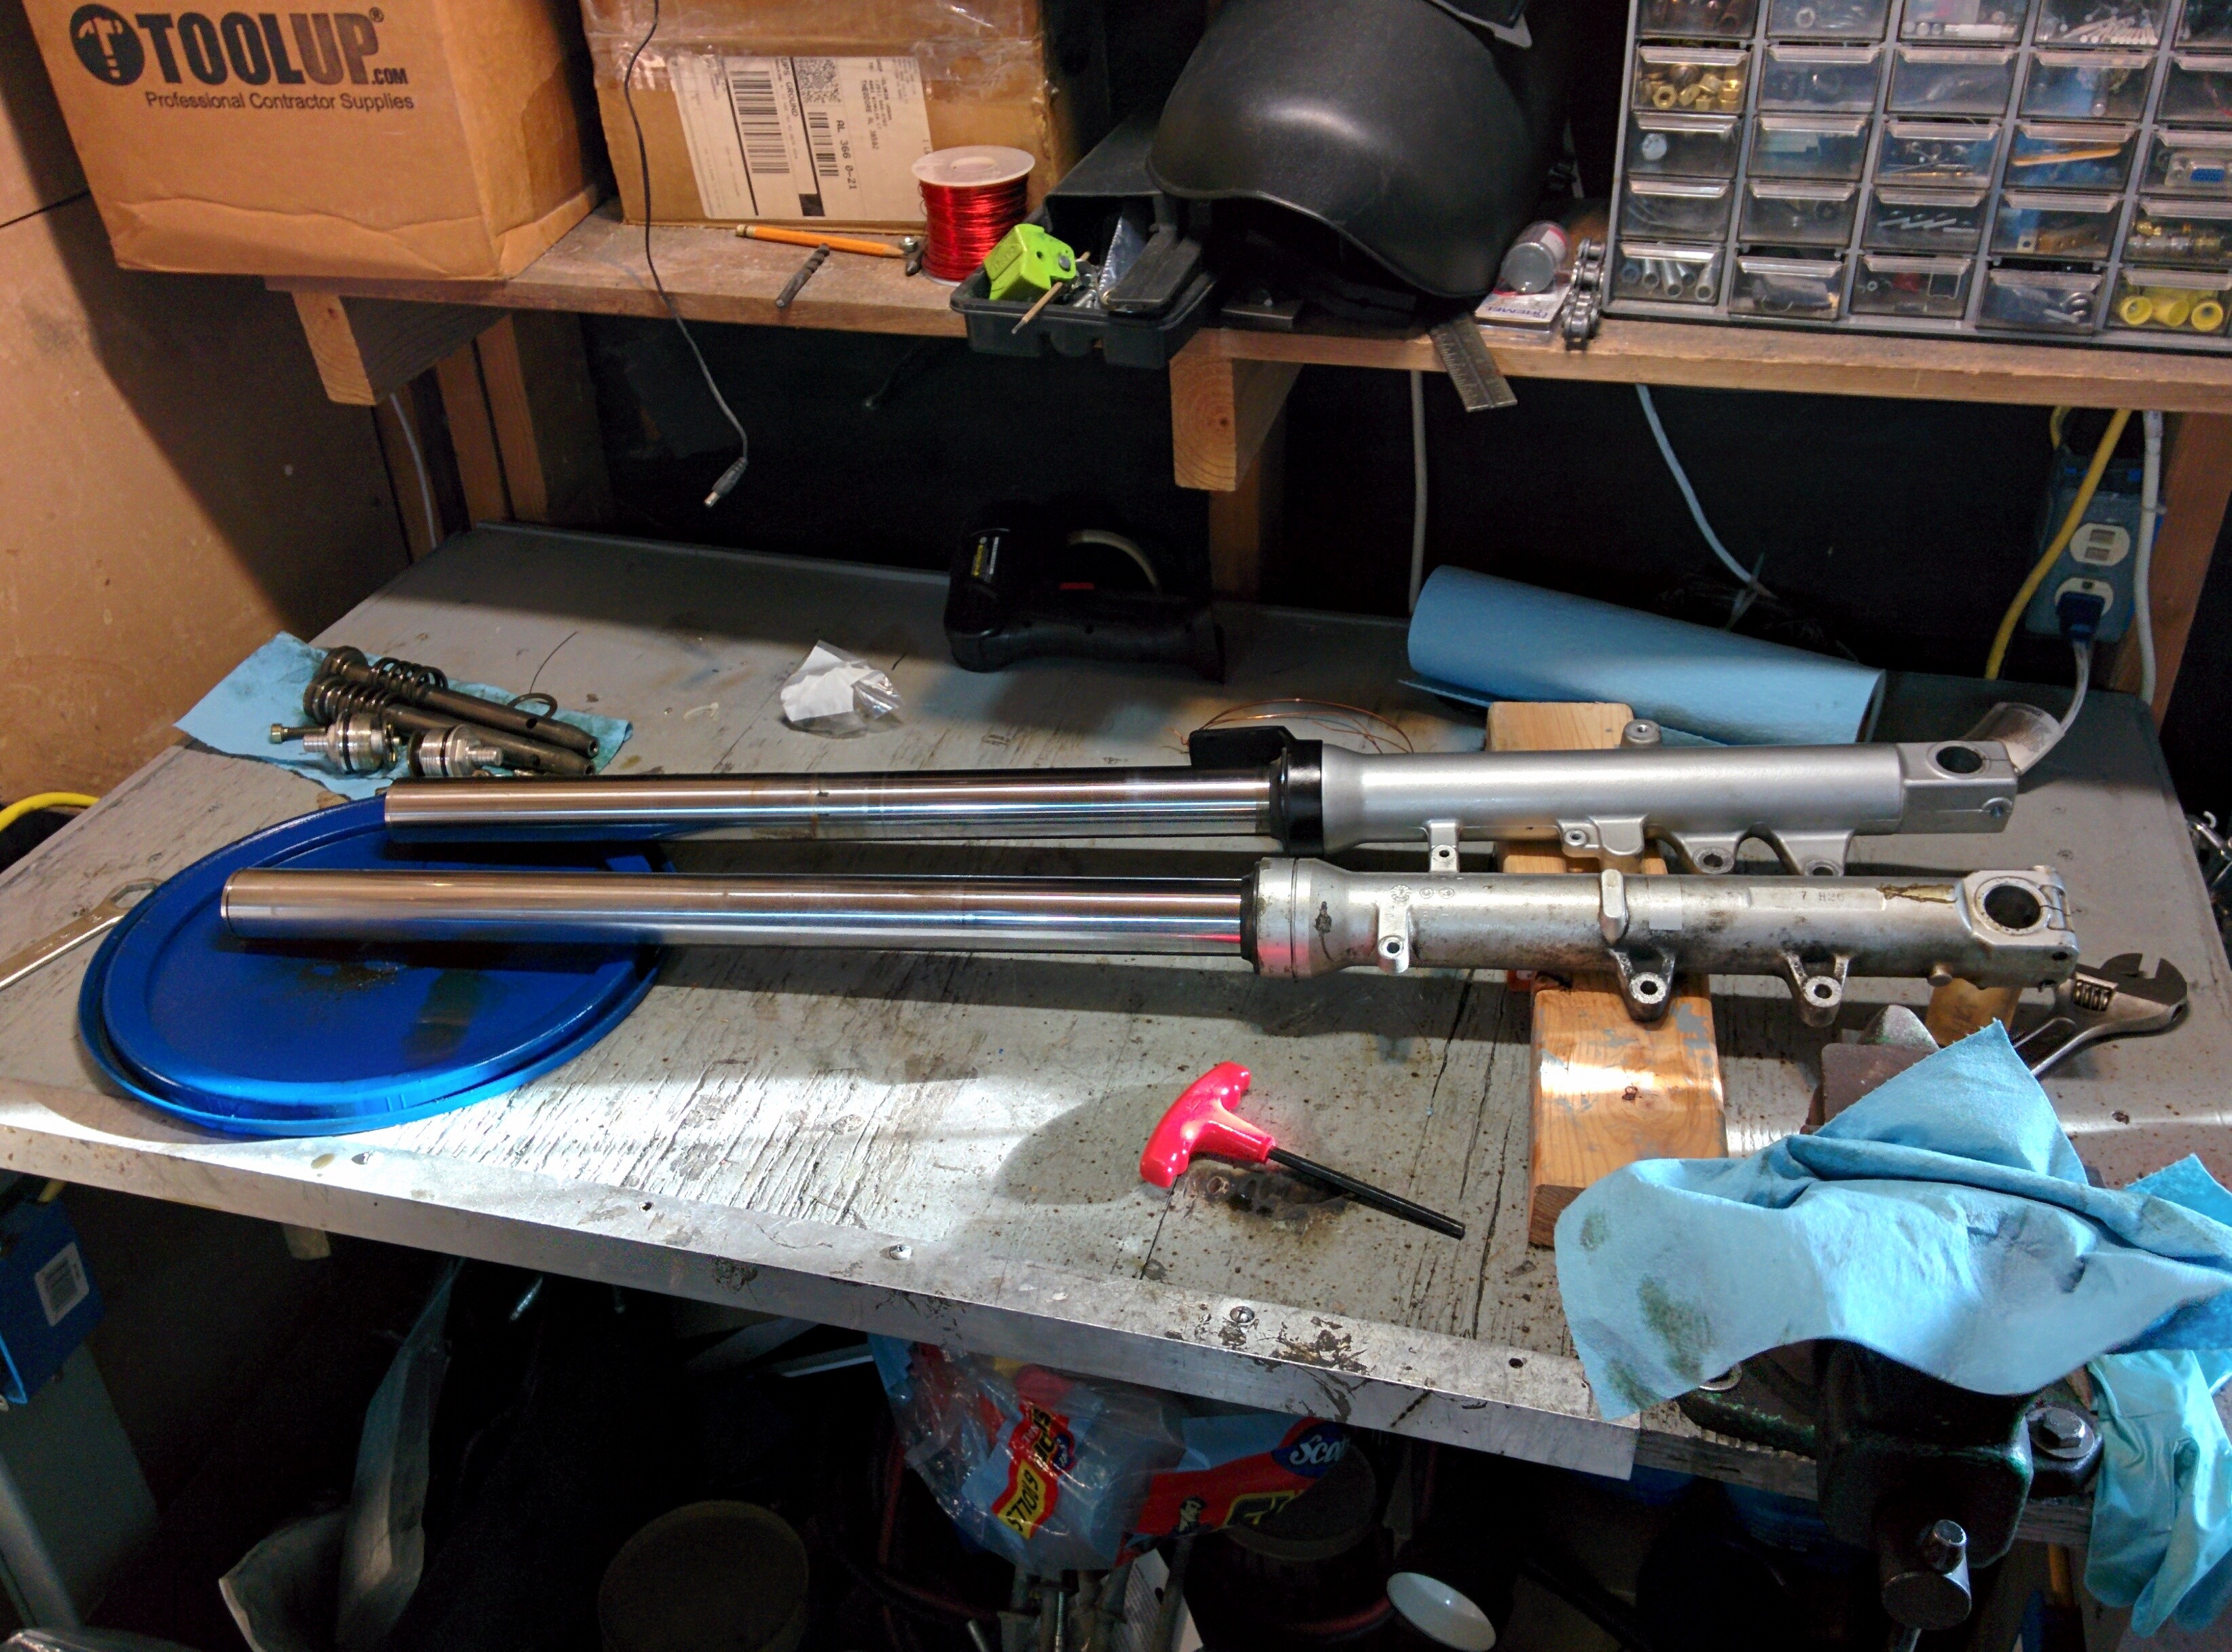
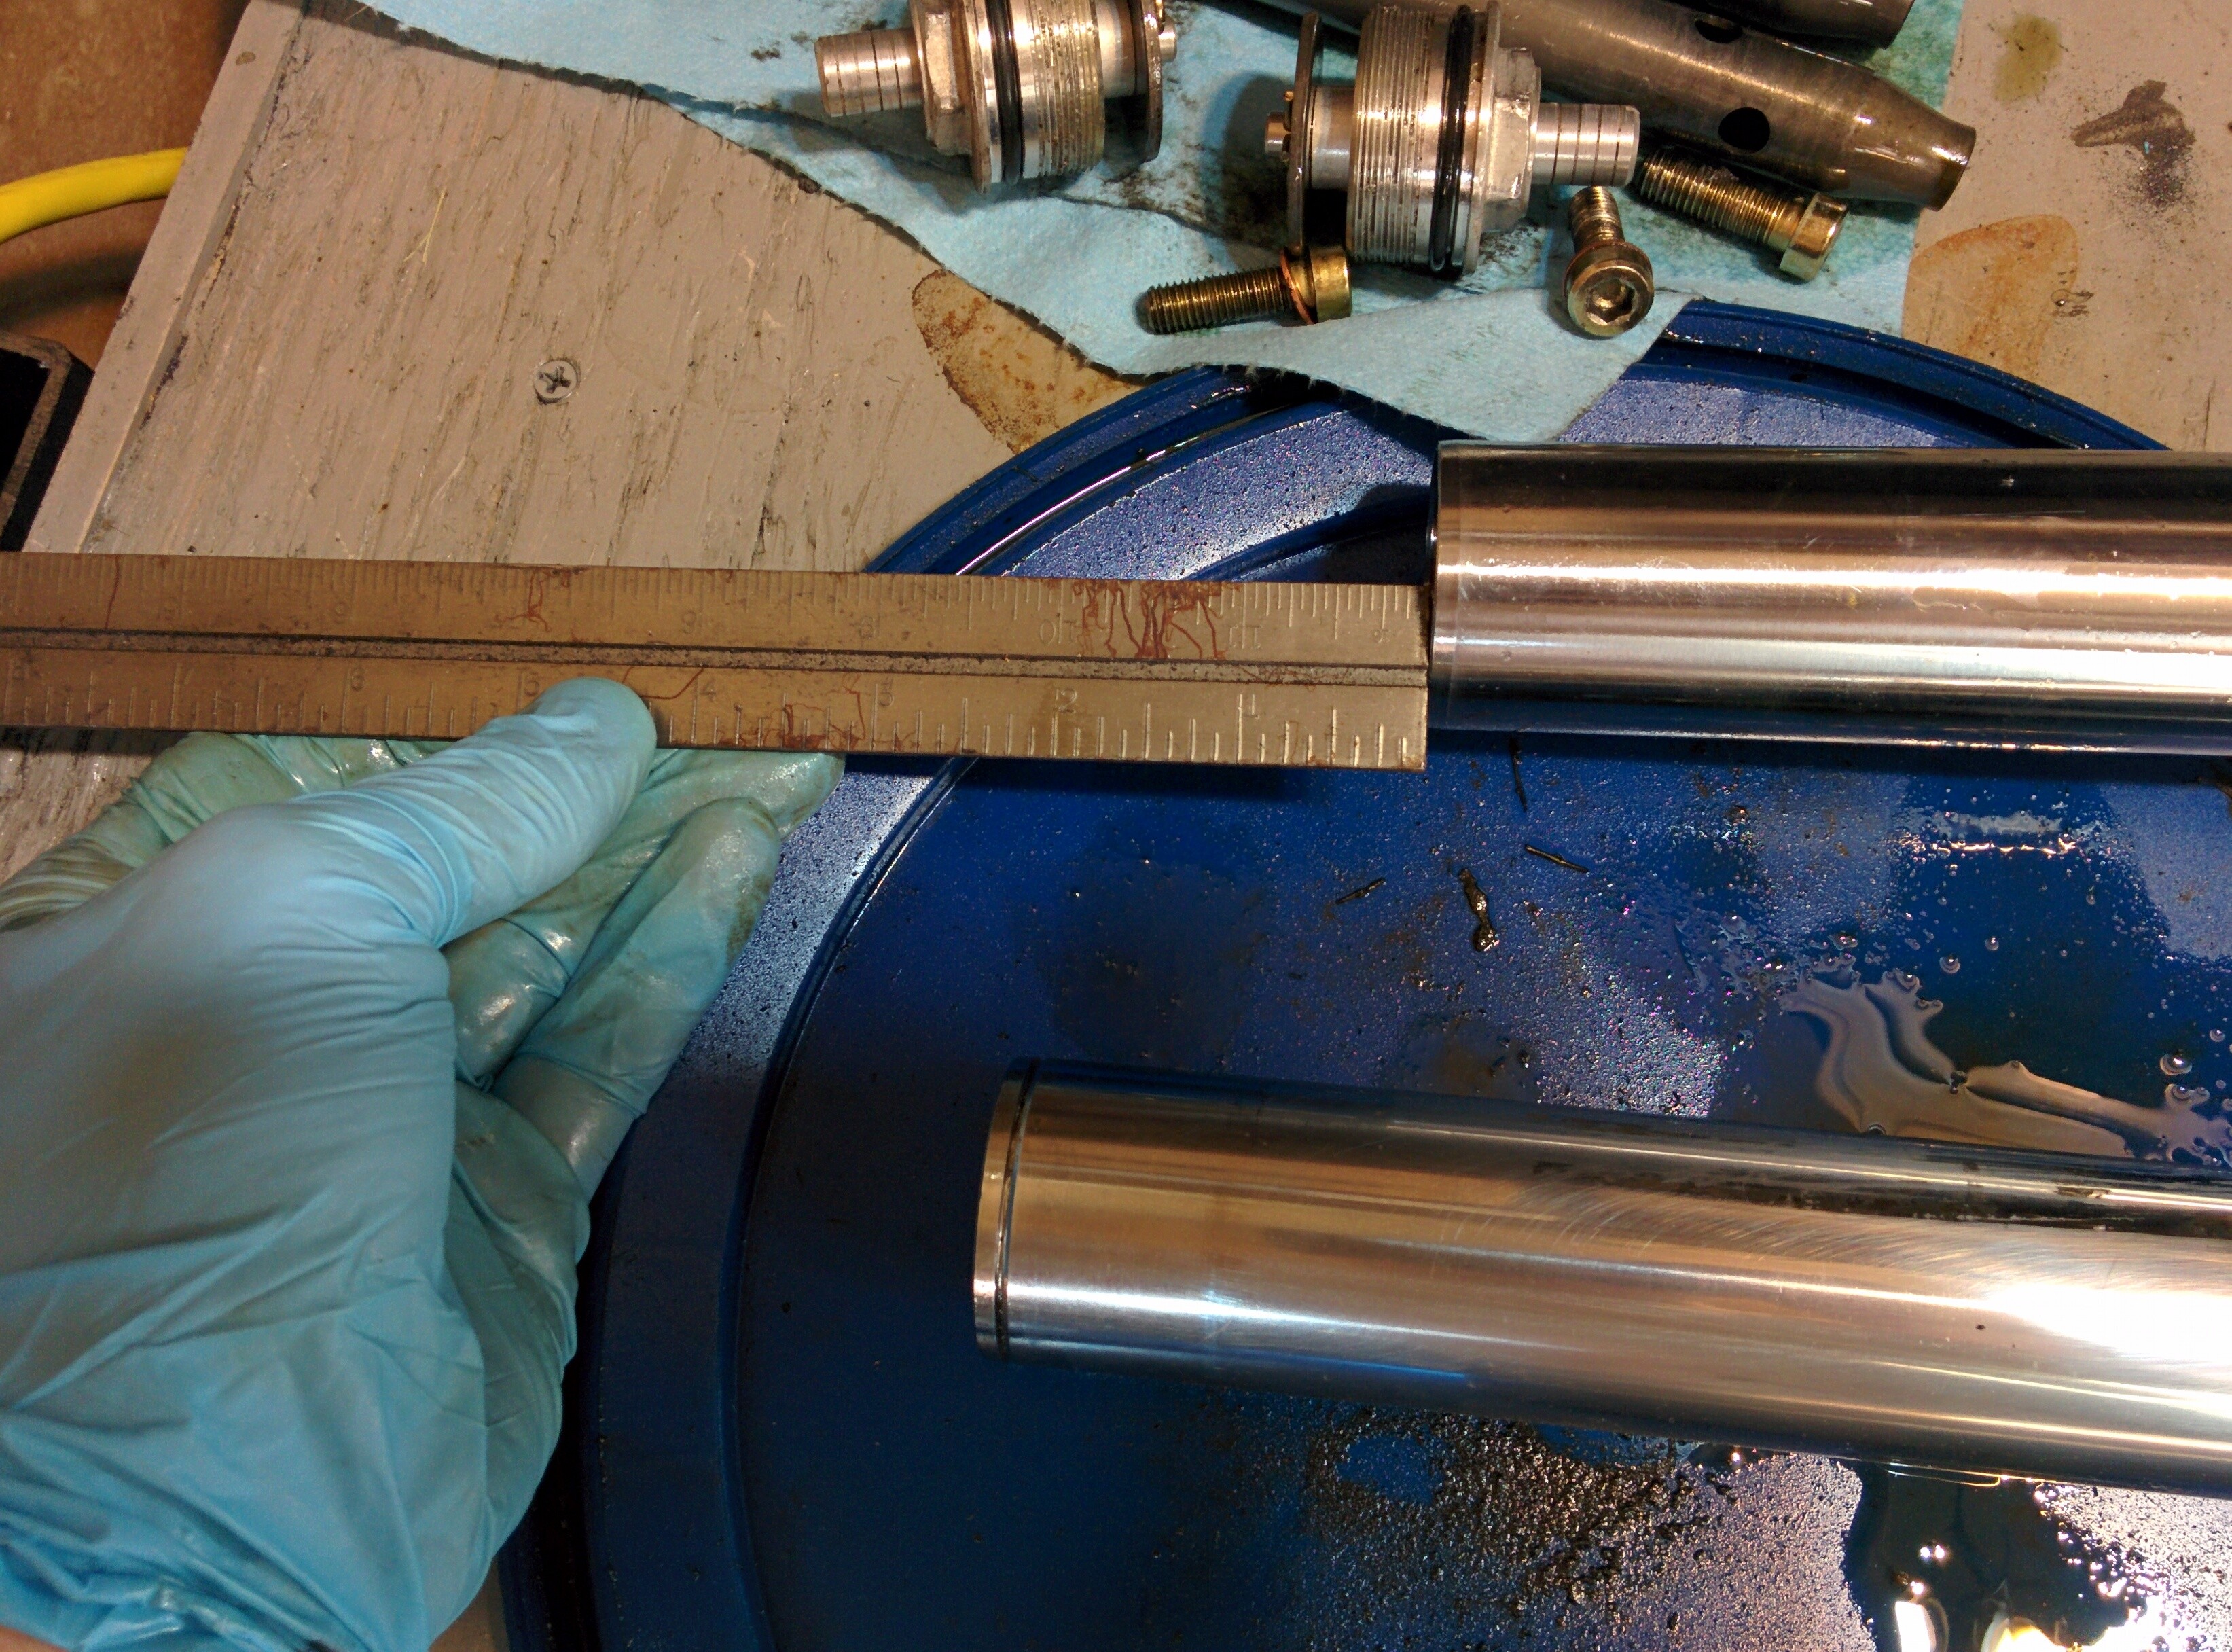
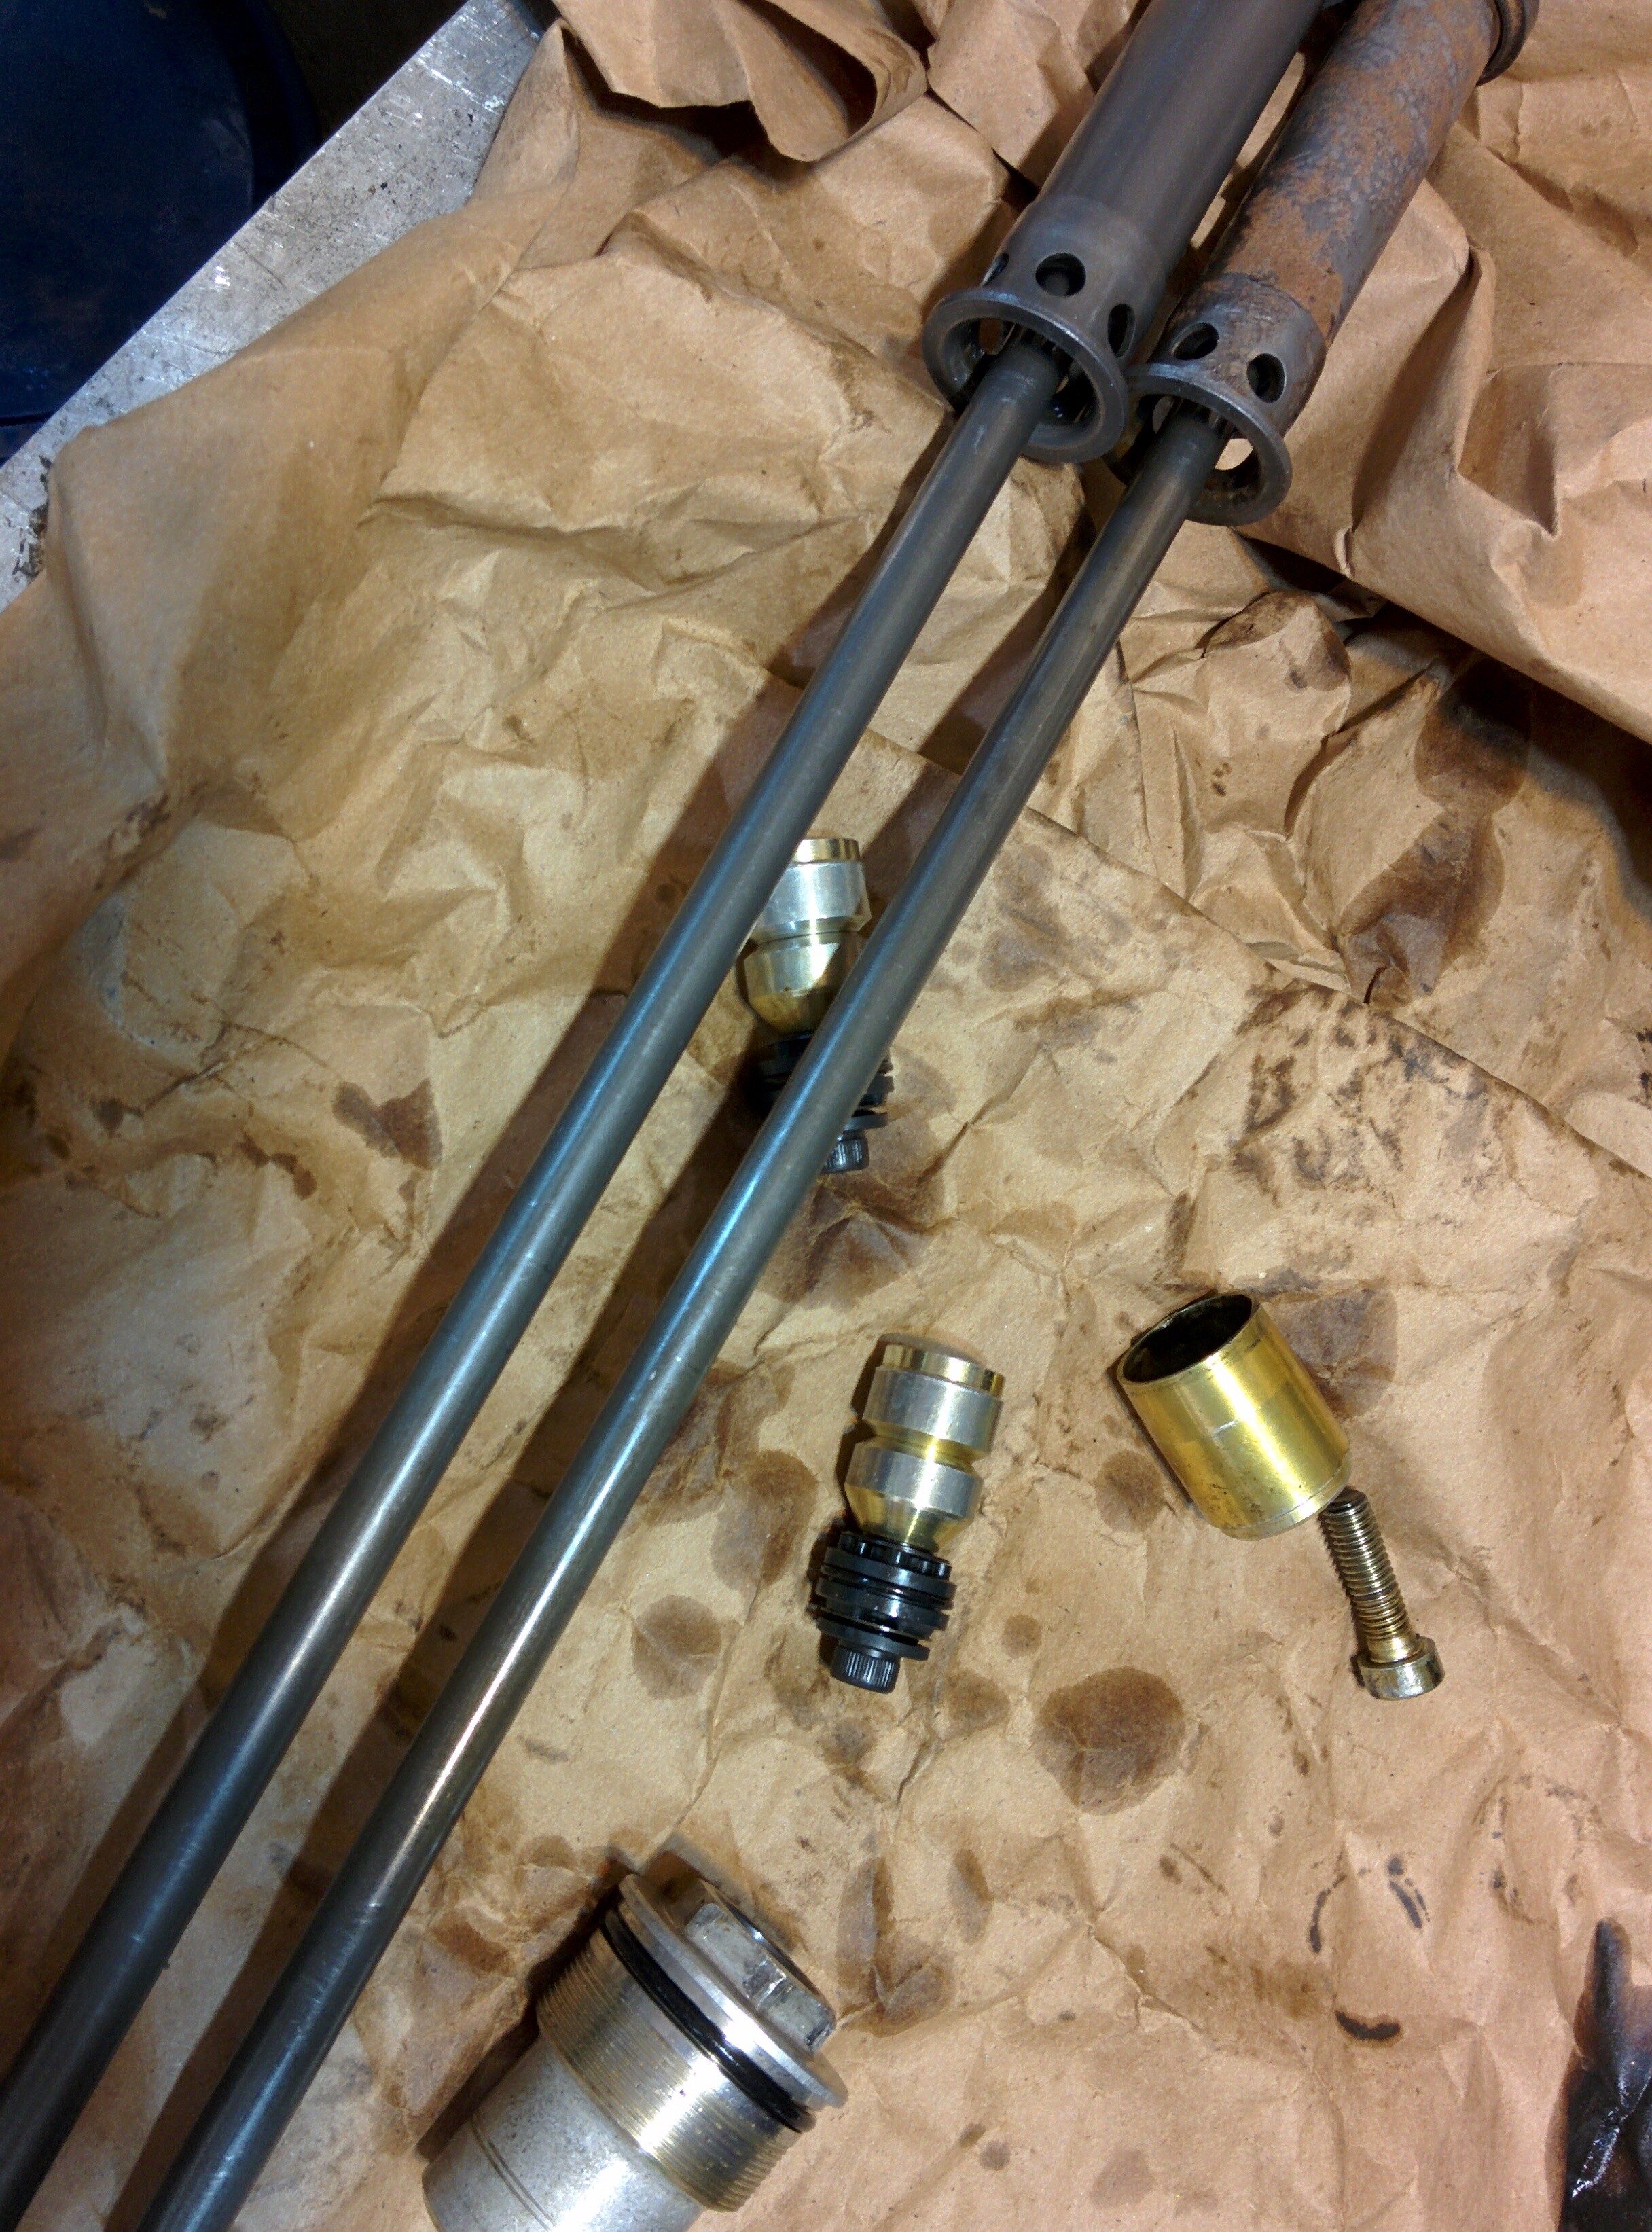
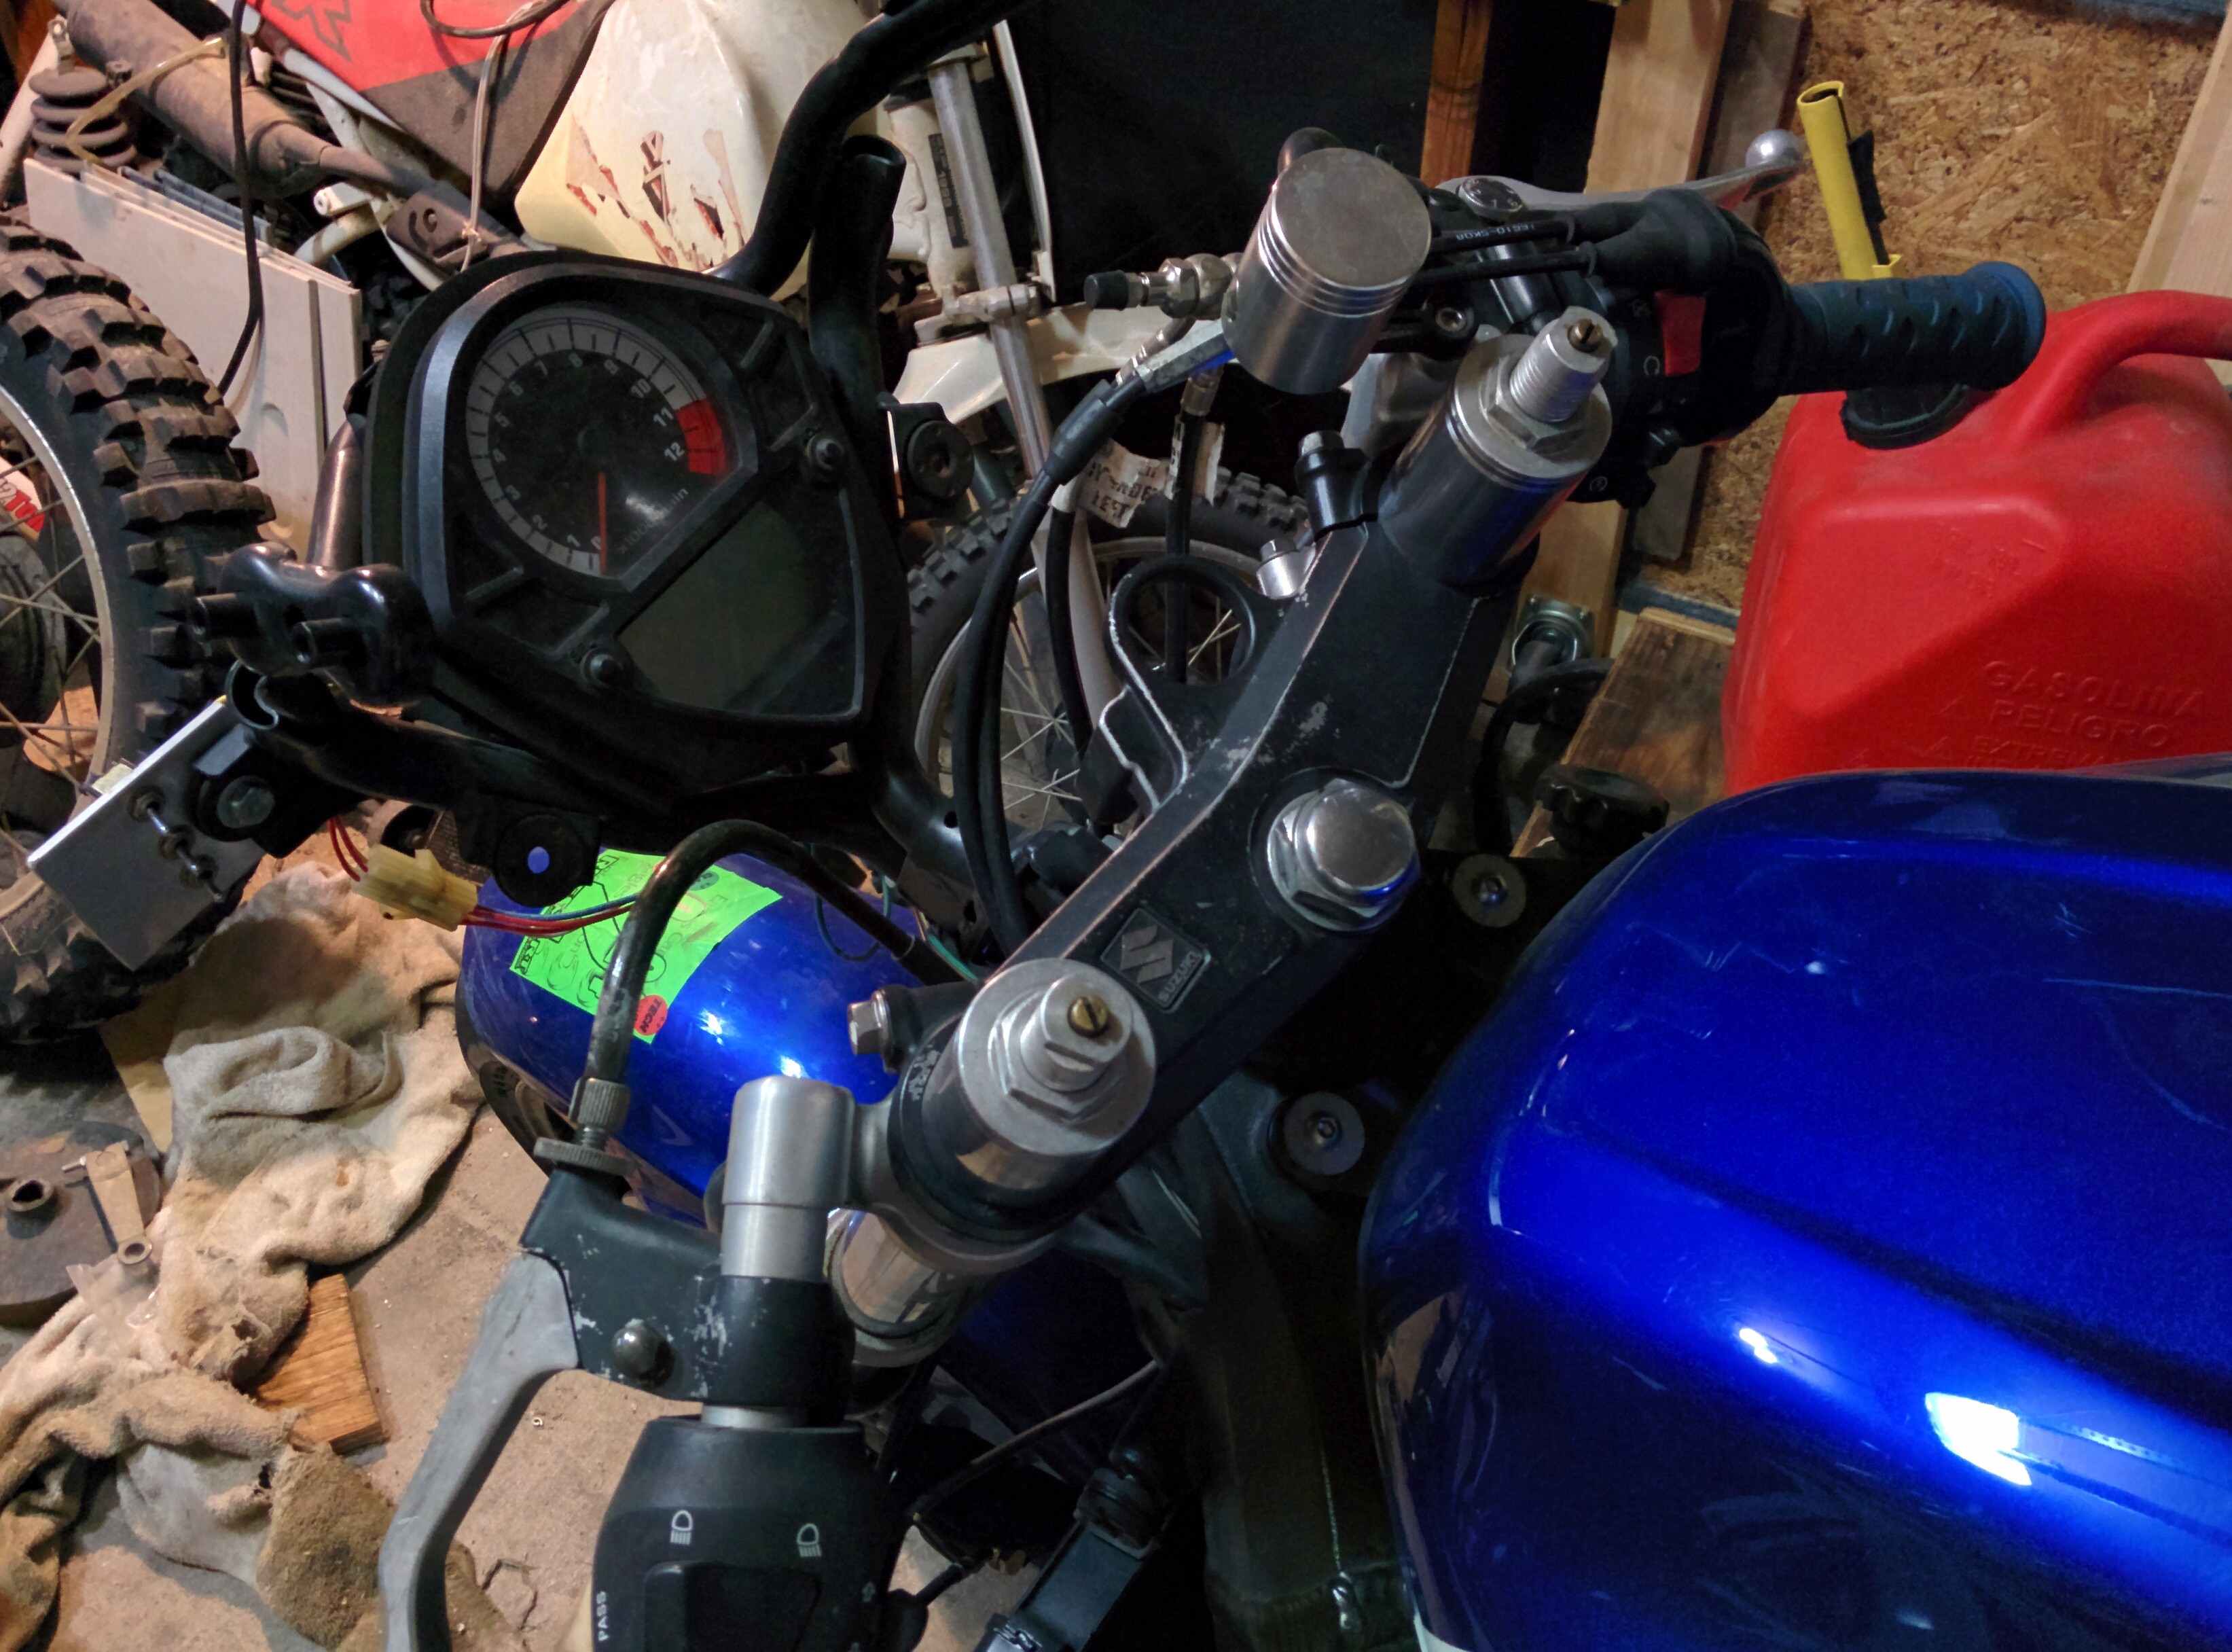
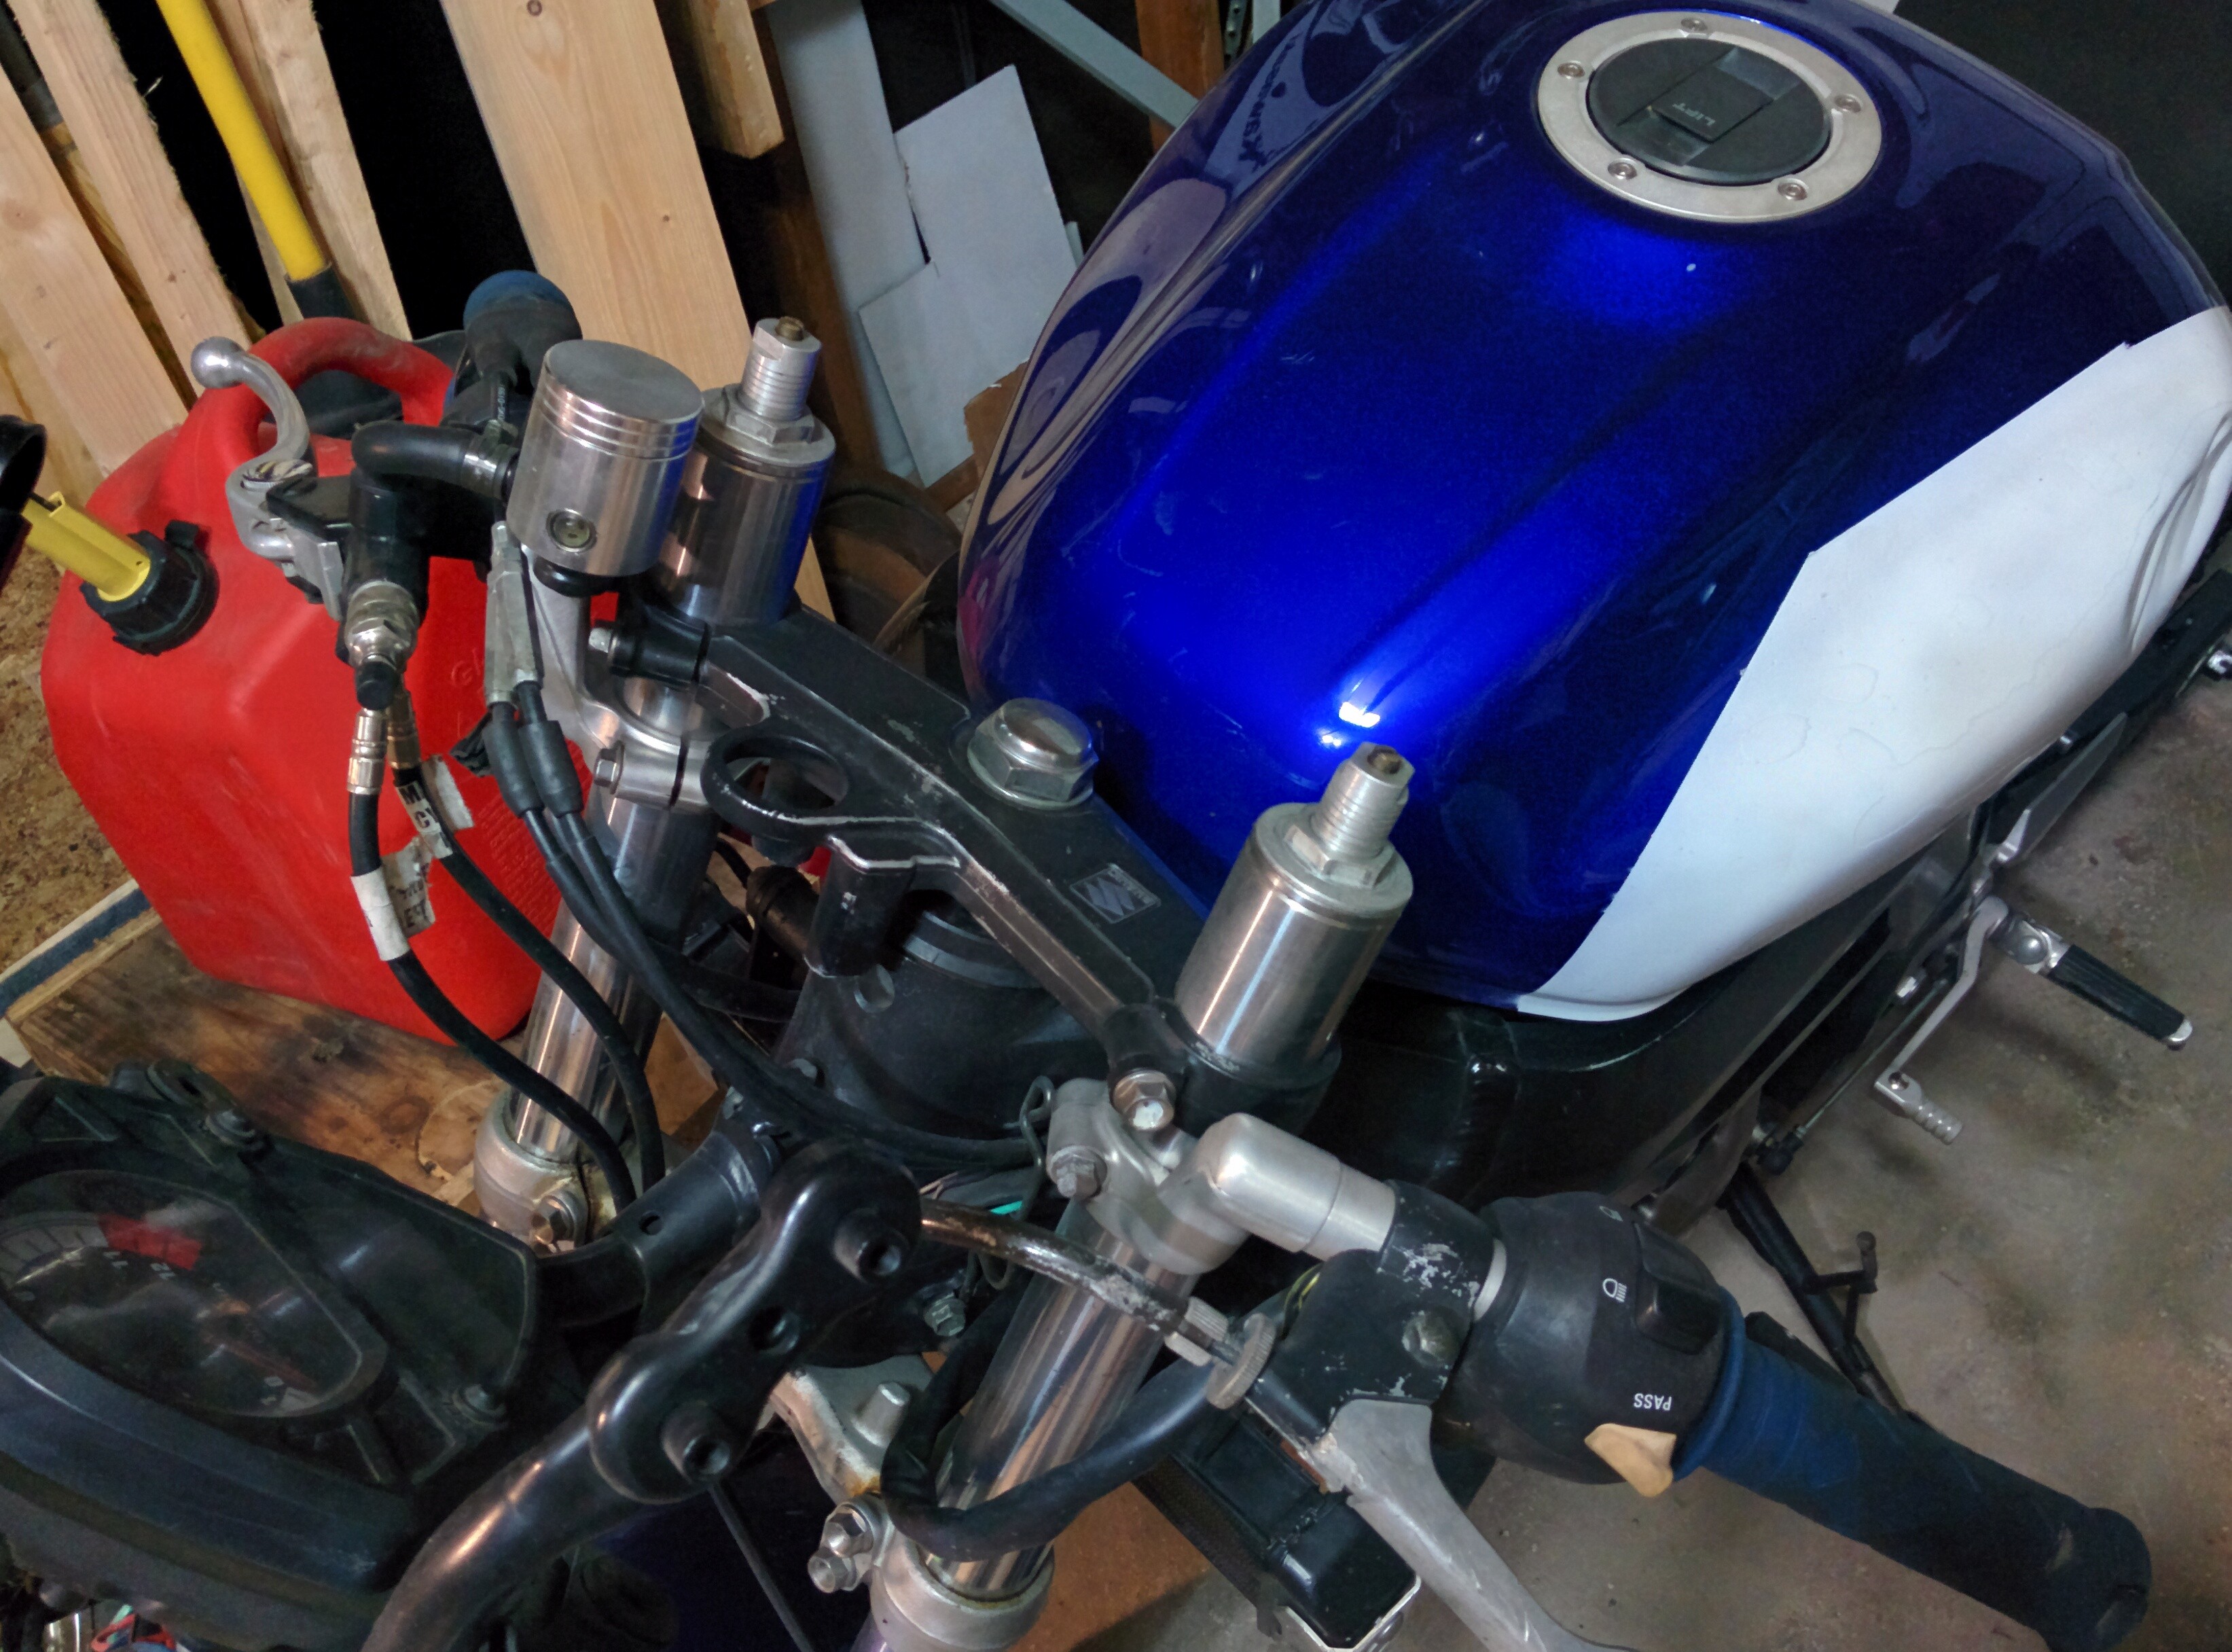
You can go order all these parts from a catalog, but it would be more expensive than the aftermarket alternatives. What I did was found a complete set of forks off eBay. Be sure and check any used forks for straightness after receiving them. The lower aluminum stanchion from the Honda is not used, so don't worry if there is damage to that part. It is the shiny steel tube that matters. You can assemble the forks using the fork tubes from the SV650S, but it does not work properly. Mostly because the cartridge would bottom out and be destroyed. Due to the added height of the new fork tubes, they must be allowed to protrude through the upper triple clamps by a large amount. This means this modification is only possible when using clip on style handlebars.
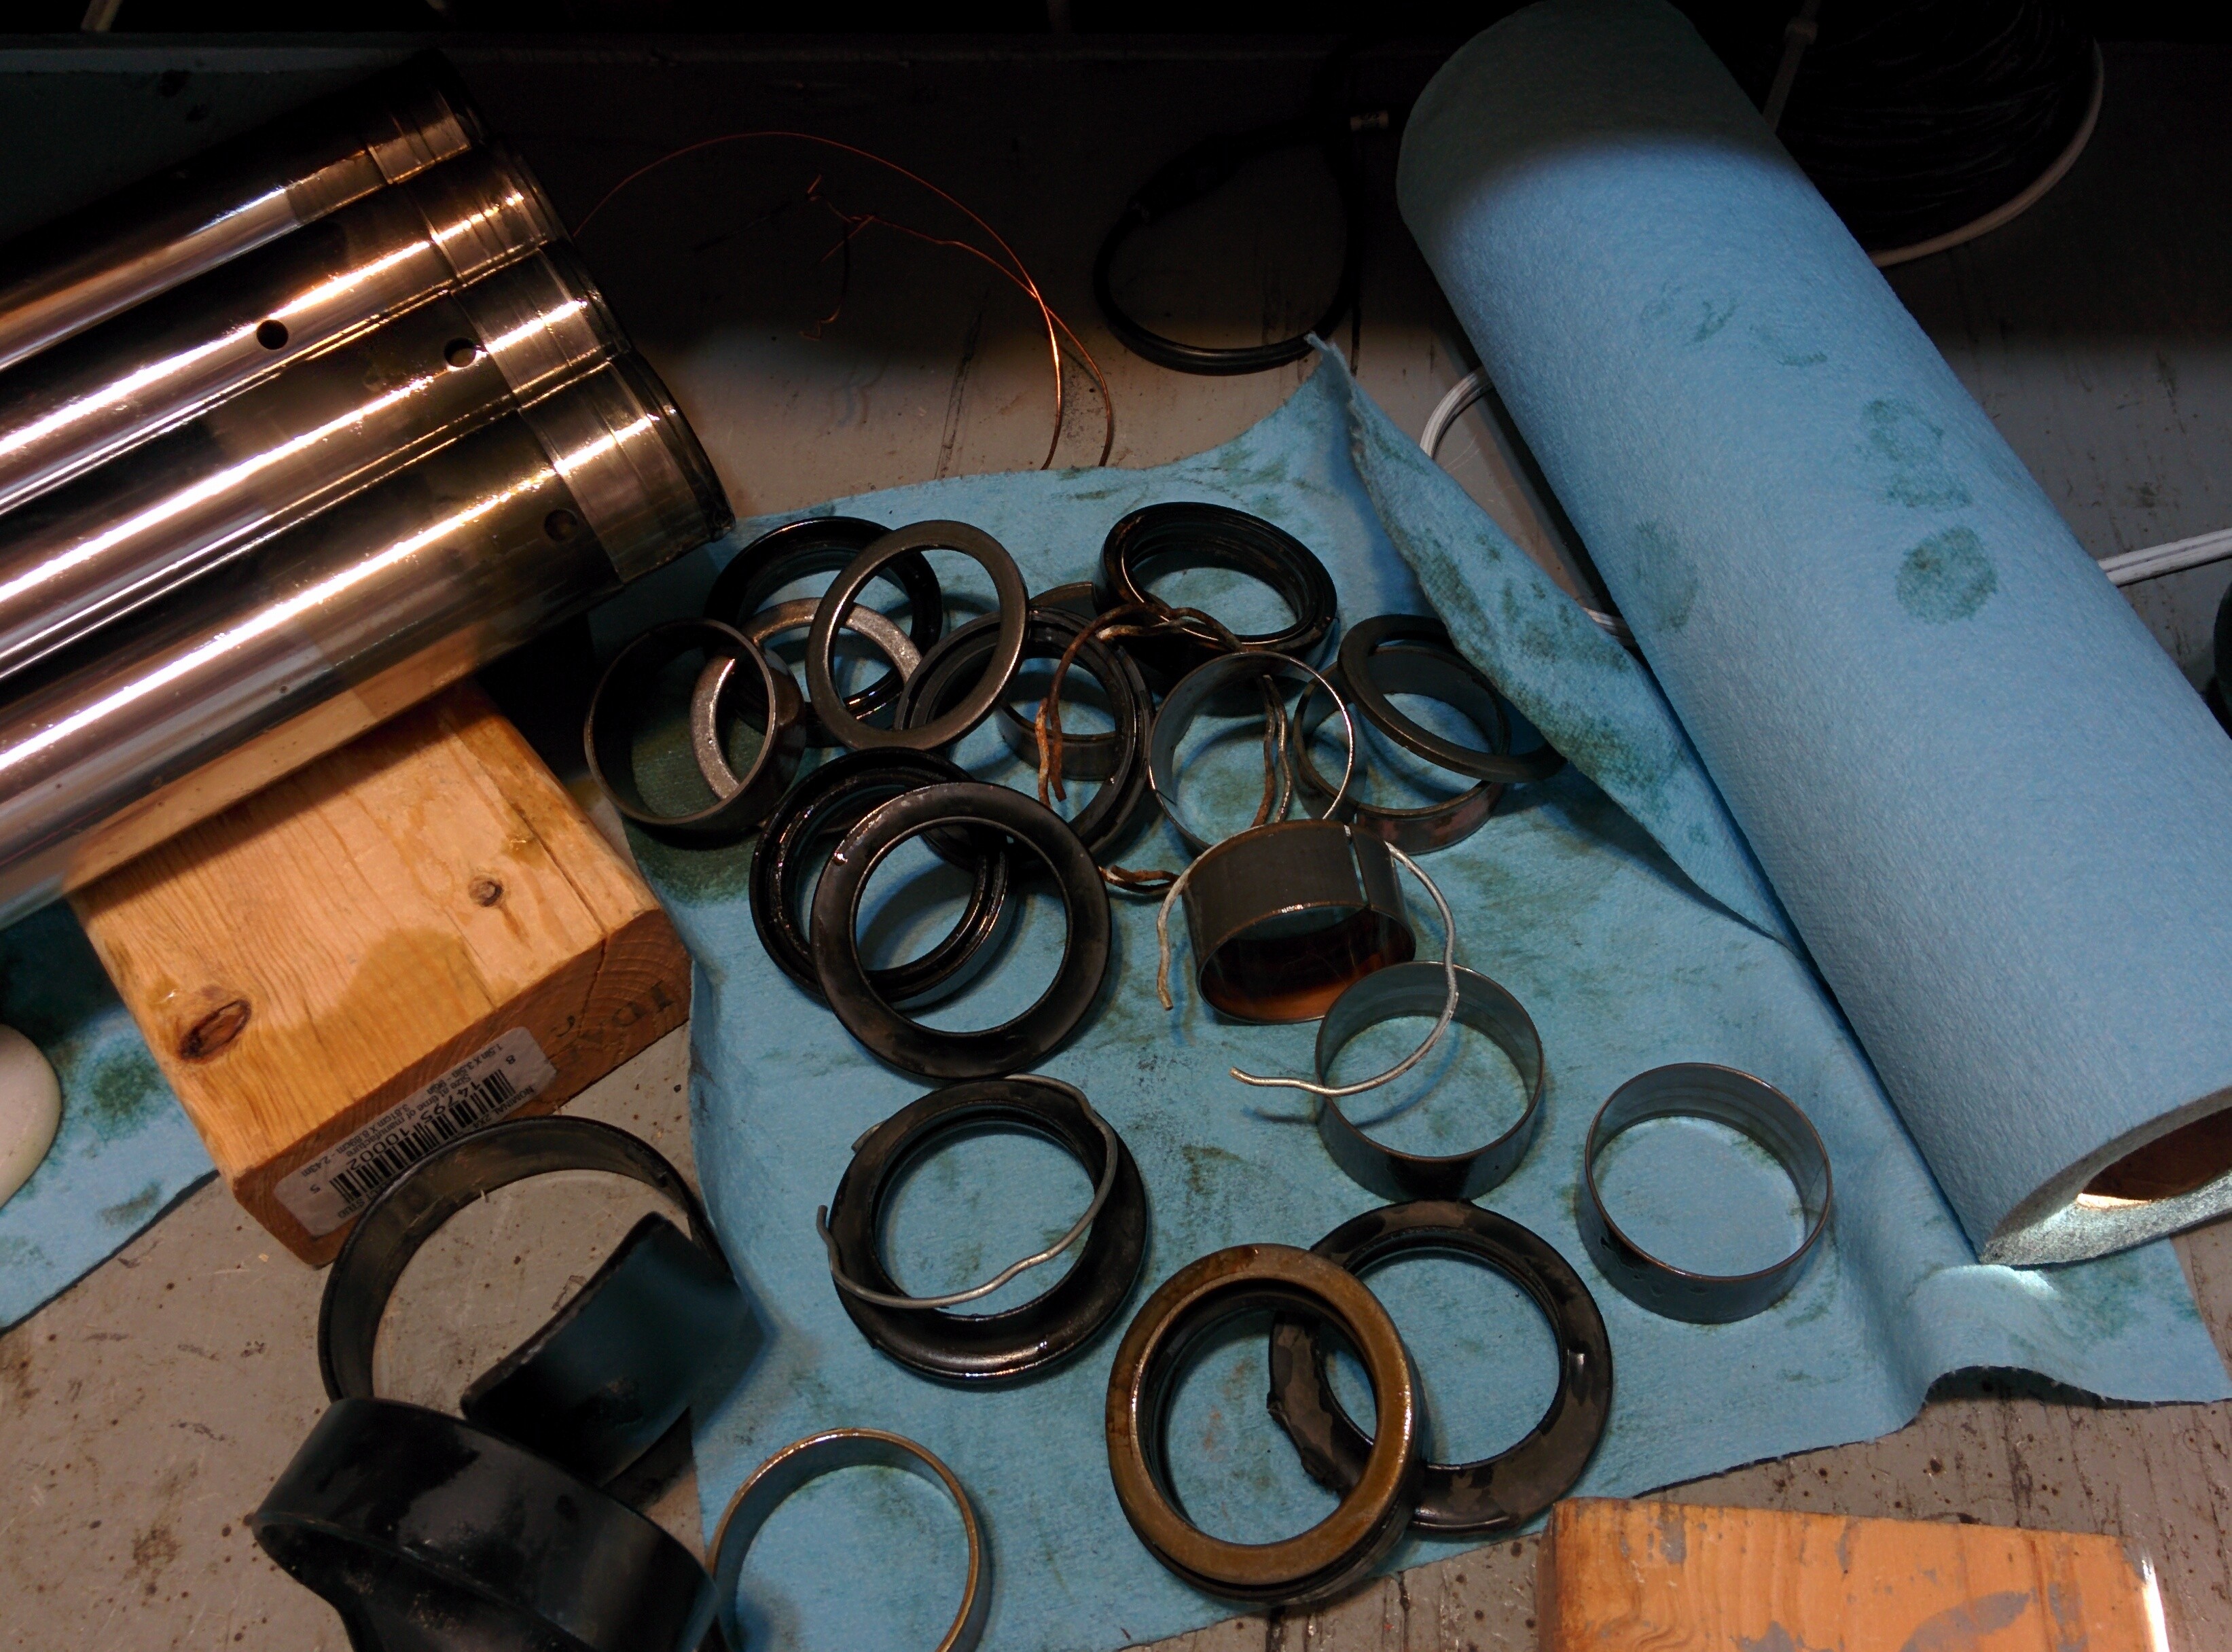
You should also buy a complete set of fork seals if yours are not new. They are identical between both bikes. I ordered mine from All Balls racing. Here are the part numbers I ordered from All Balls:
- 1x 22-1003
- 1x 38-6090
- 1x 56-132
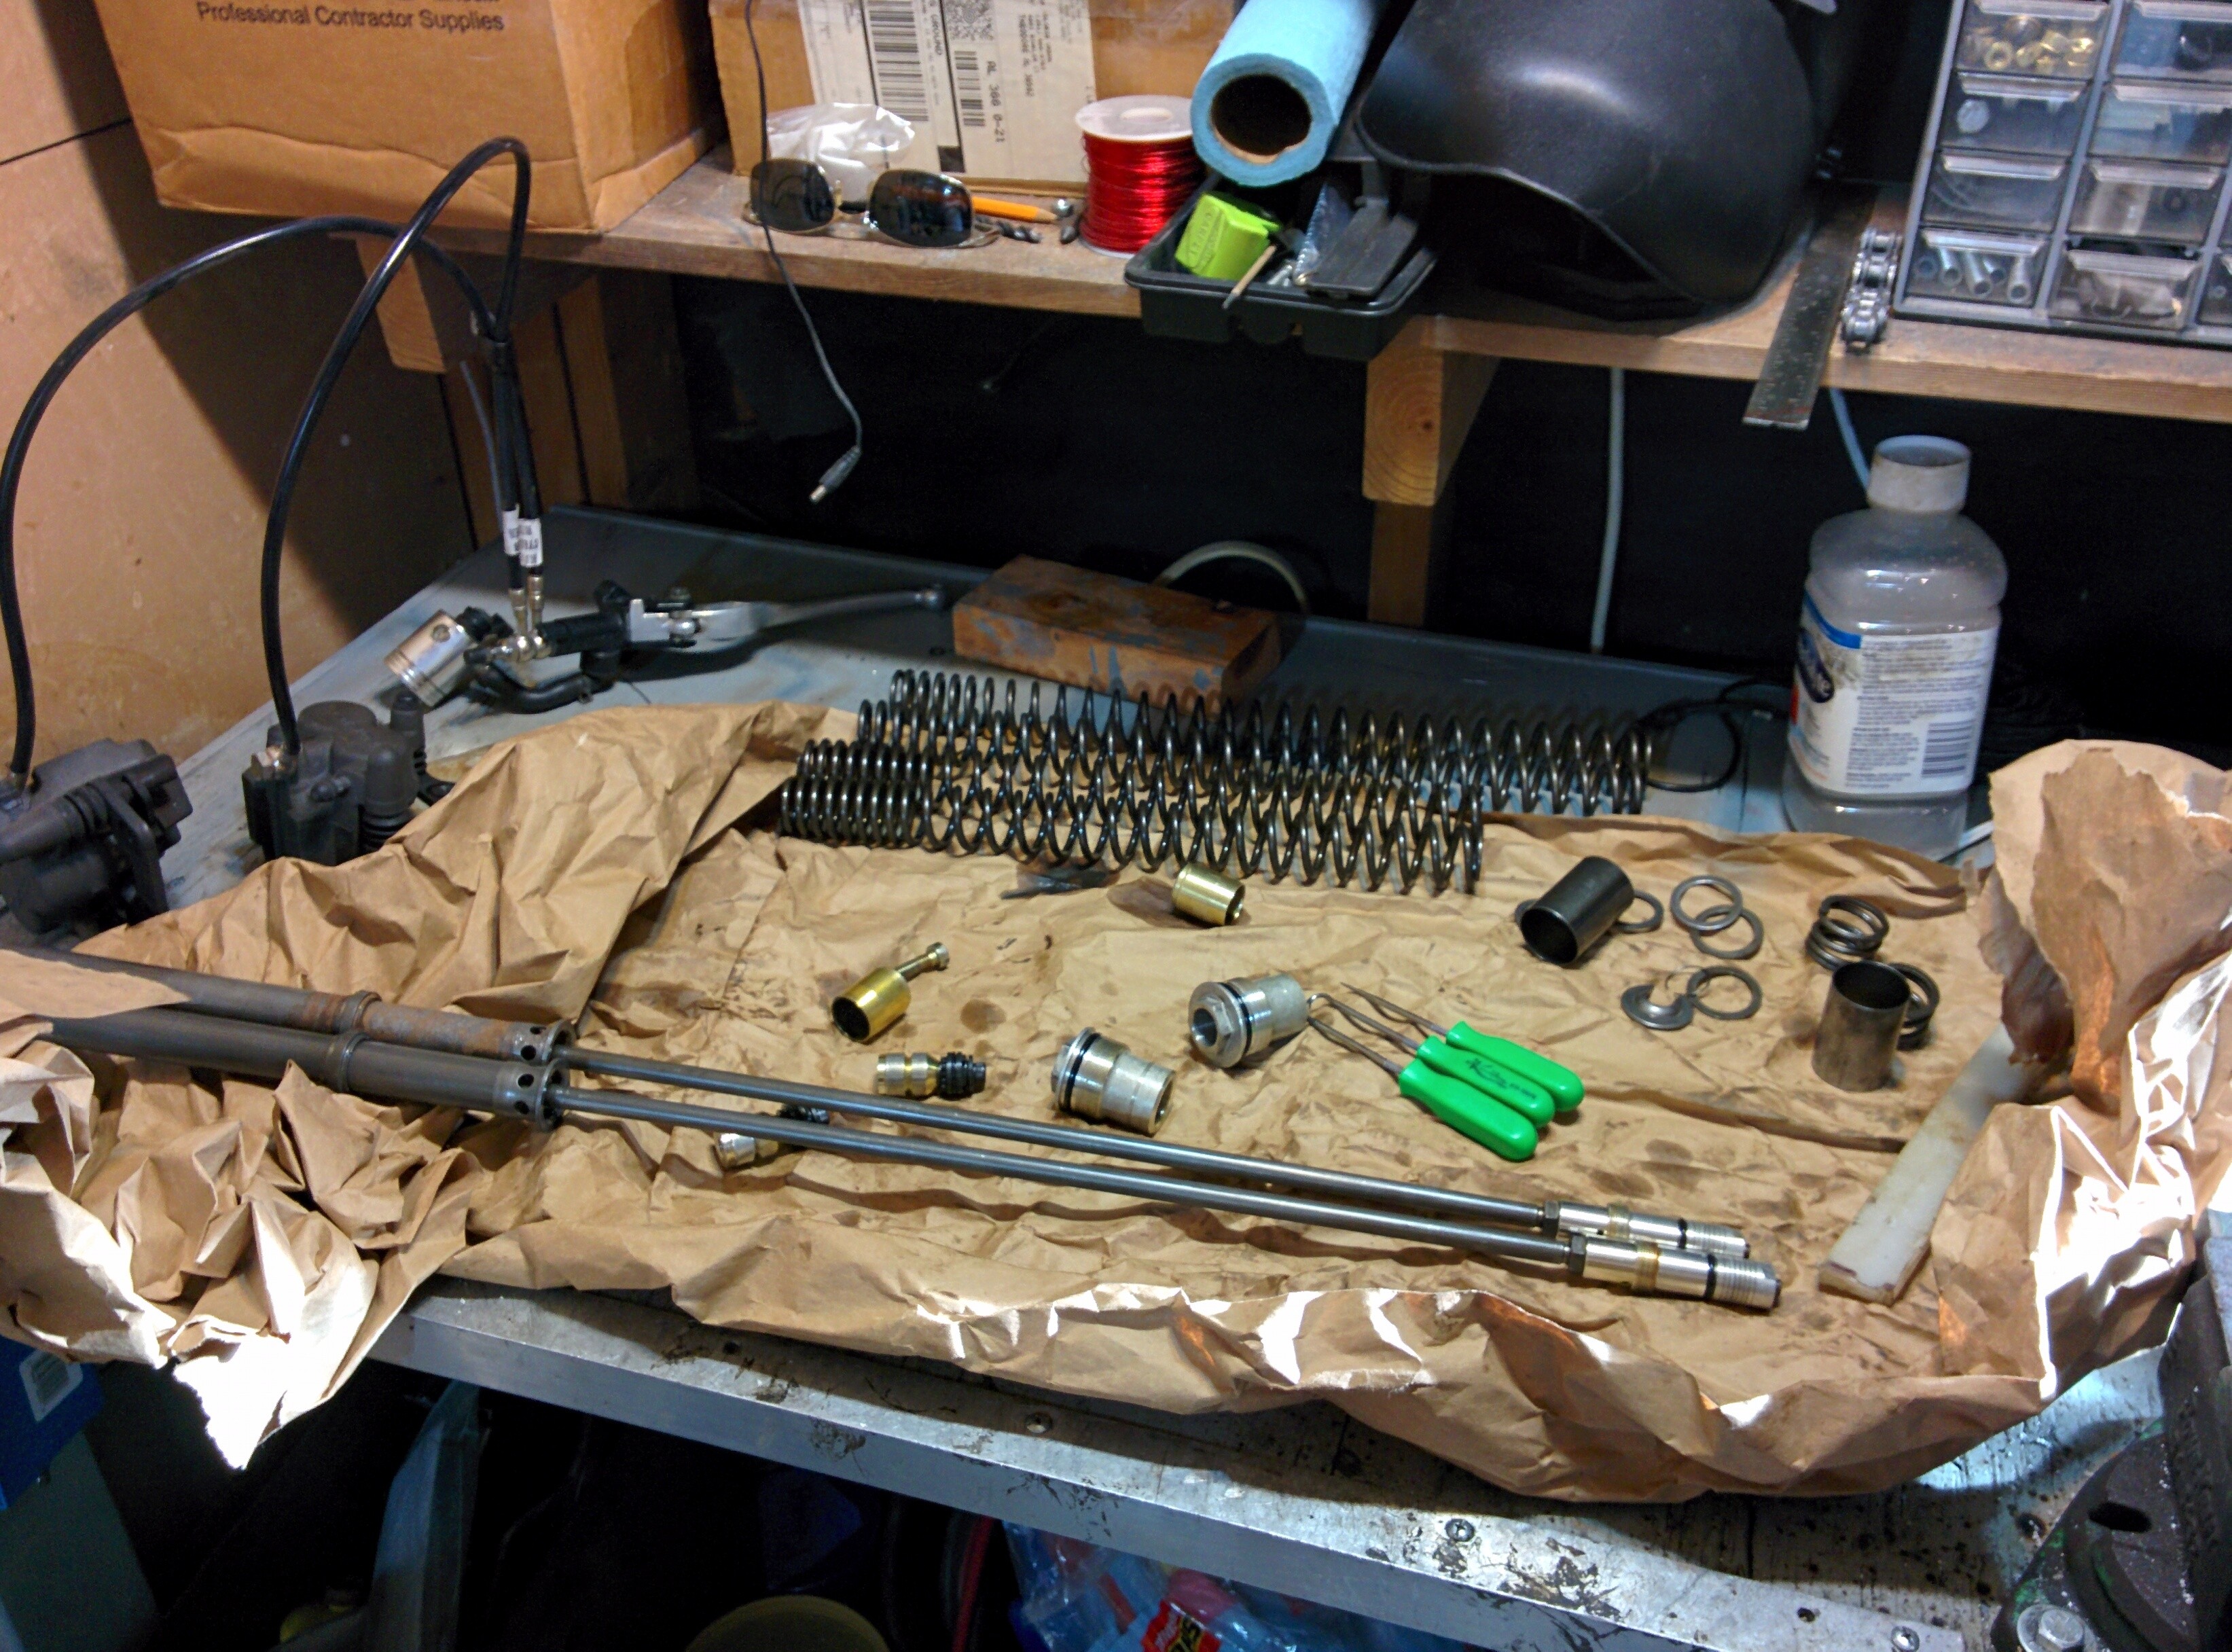
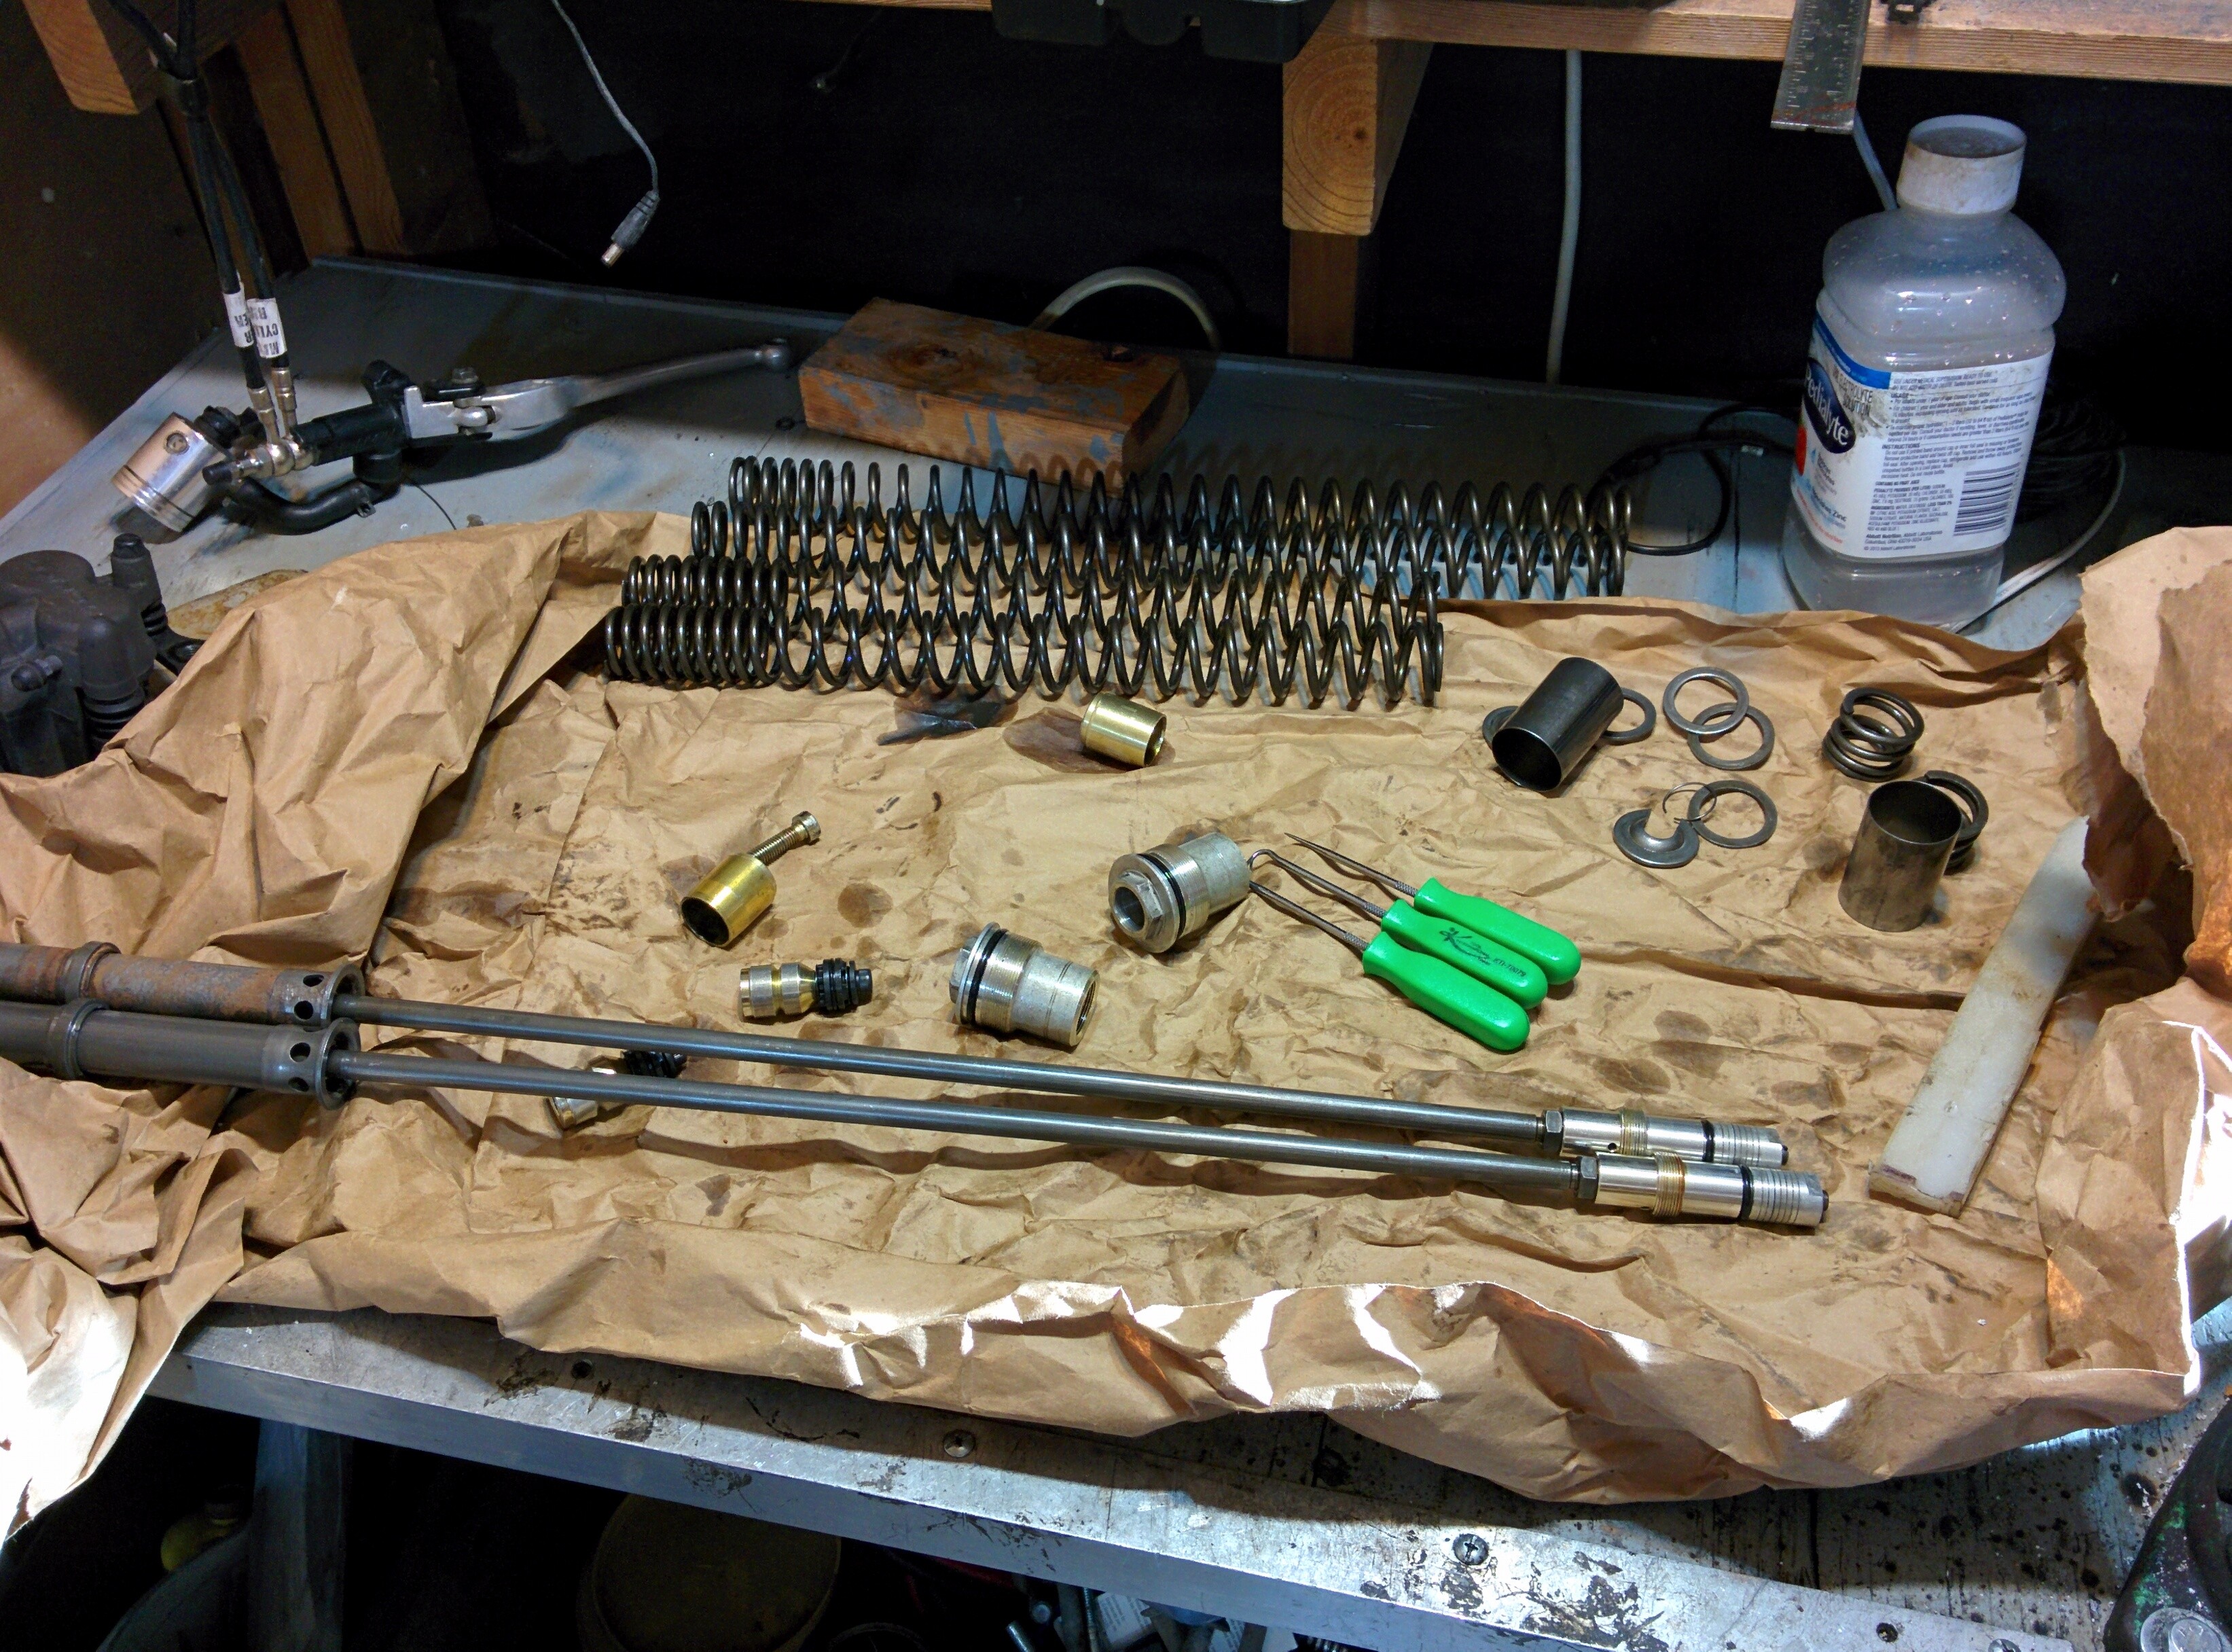
Most of the O-rings that are listed can be reused from a set of used forks.
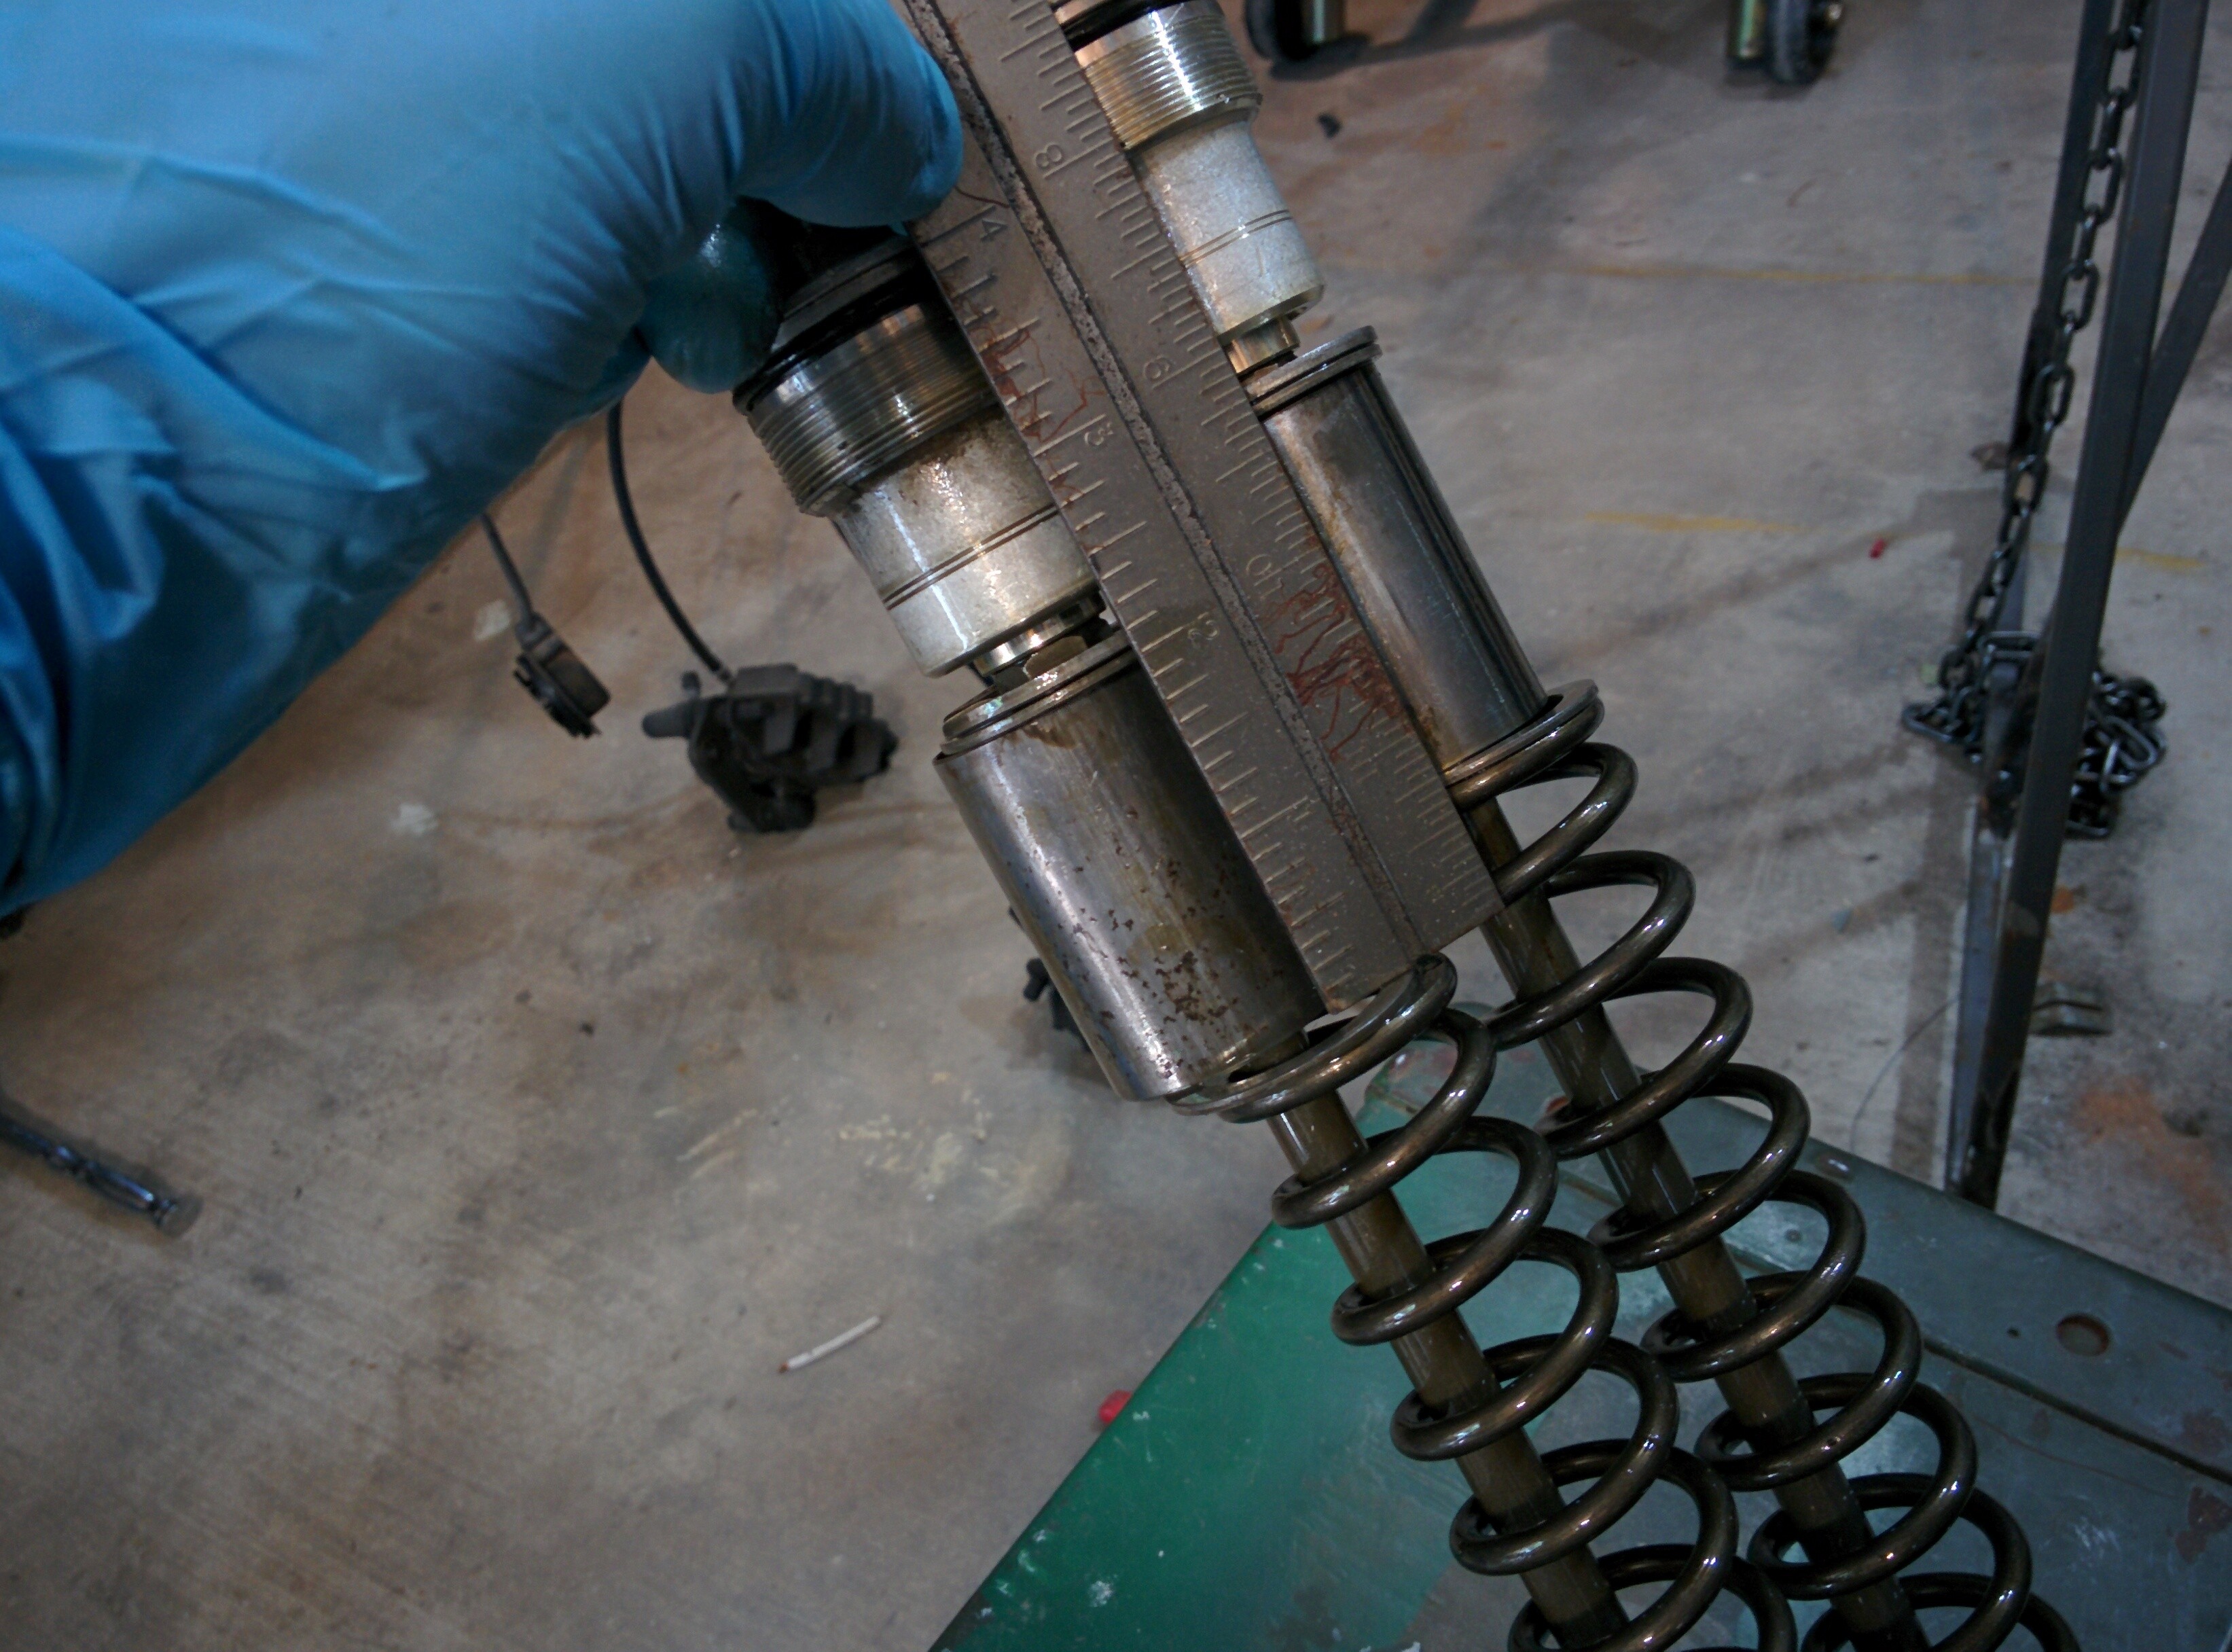
The spring and spacers can be used from the Honda. However, they are a progressive design and are not stiff enough for most riders. I ordered new springs from RaceTech. They included an aluminum tube, which can be cut to length and used as a spacer. You'll want to use their online calculator to identify the correct spring rate for your weight.
Assembling all these components together is no different than rebuilding any other set of forks. All of these components are engineered to work together. I'm not going to include details information about this process here, but there is some information here. You can also consult the factory service manual.
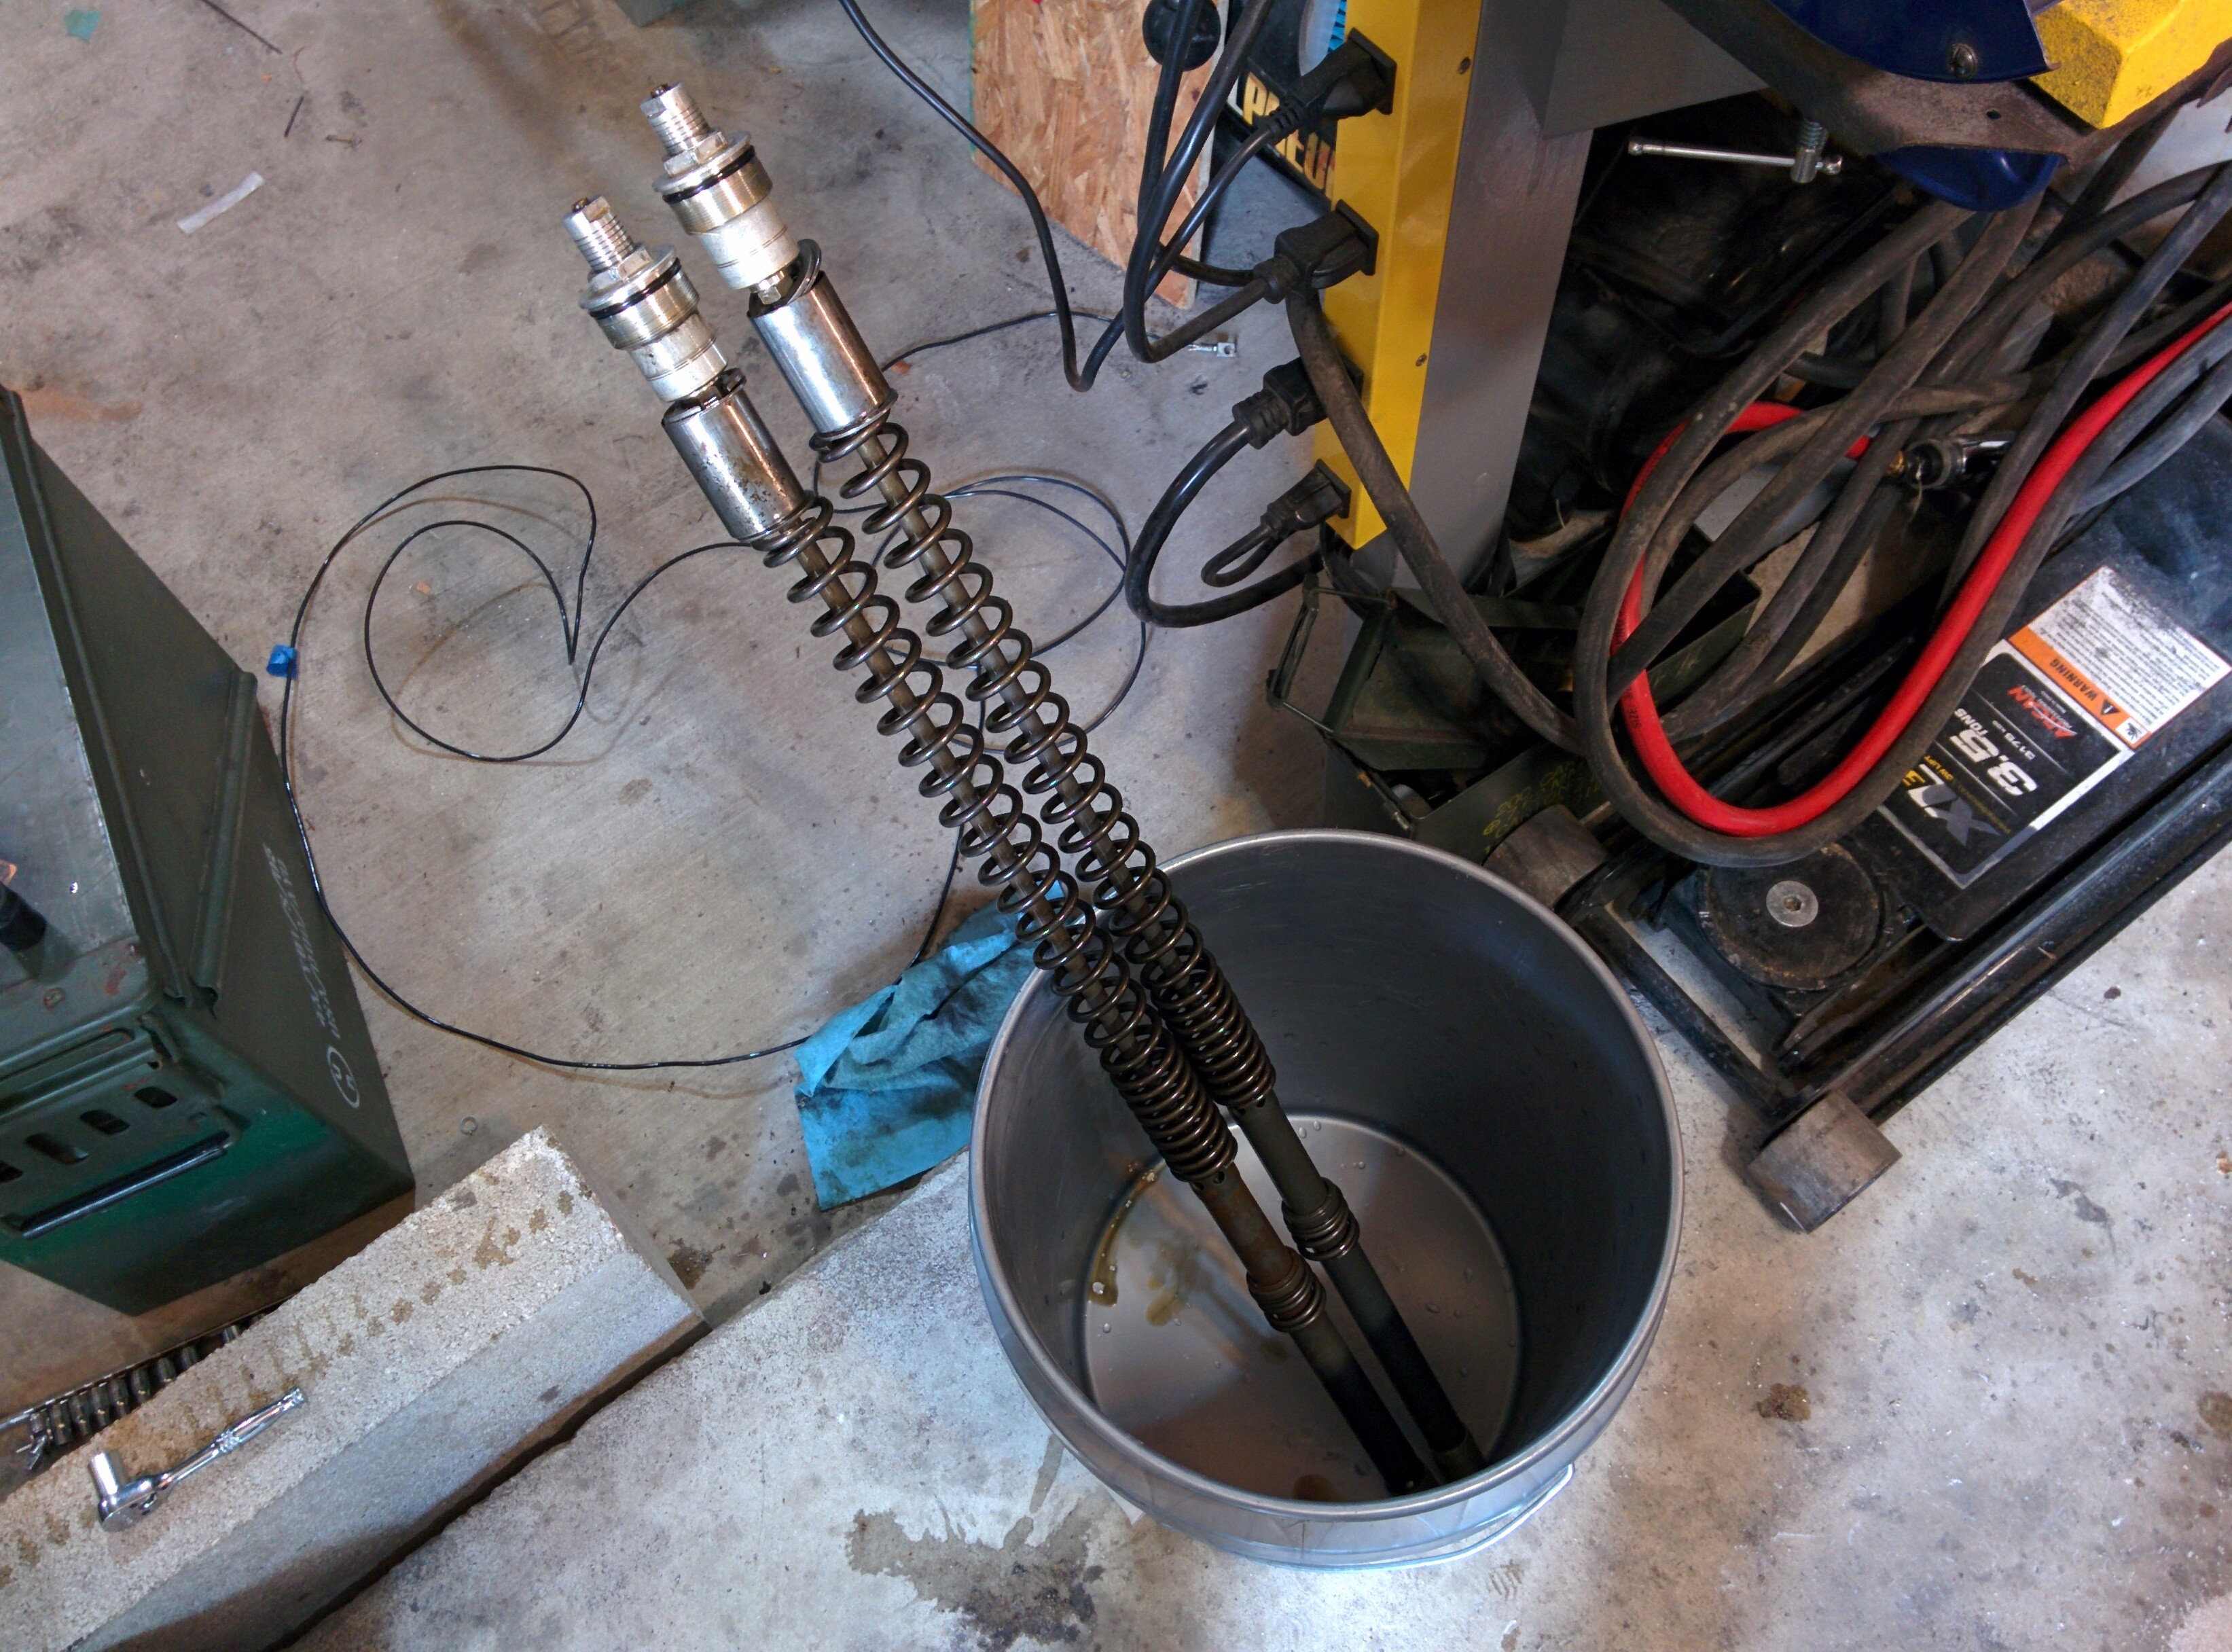
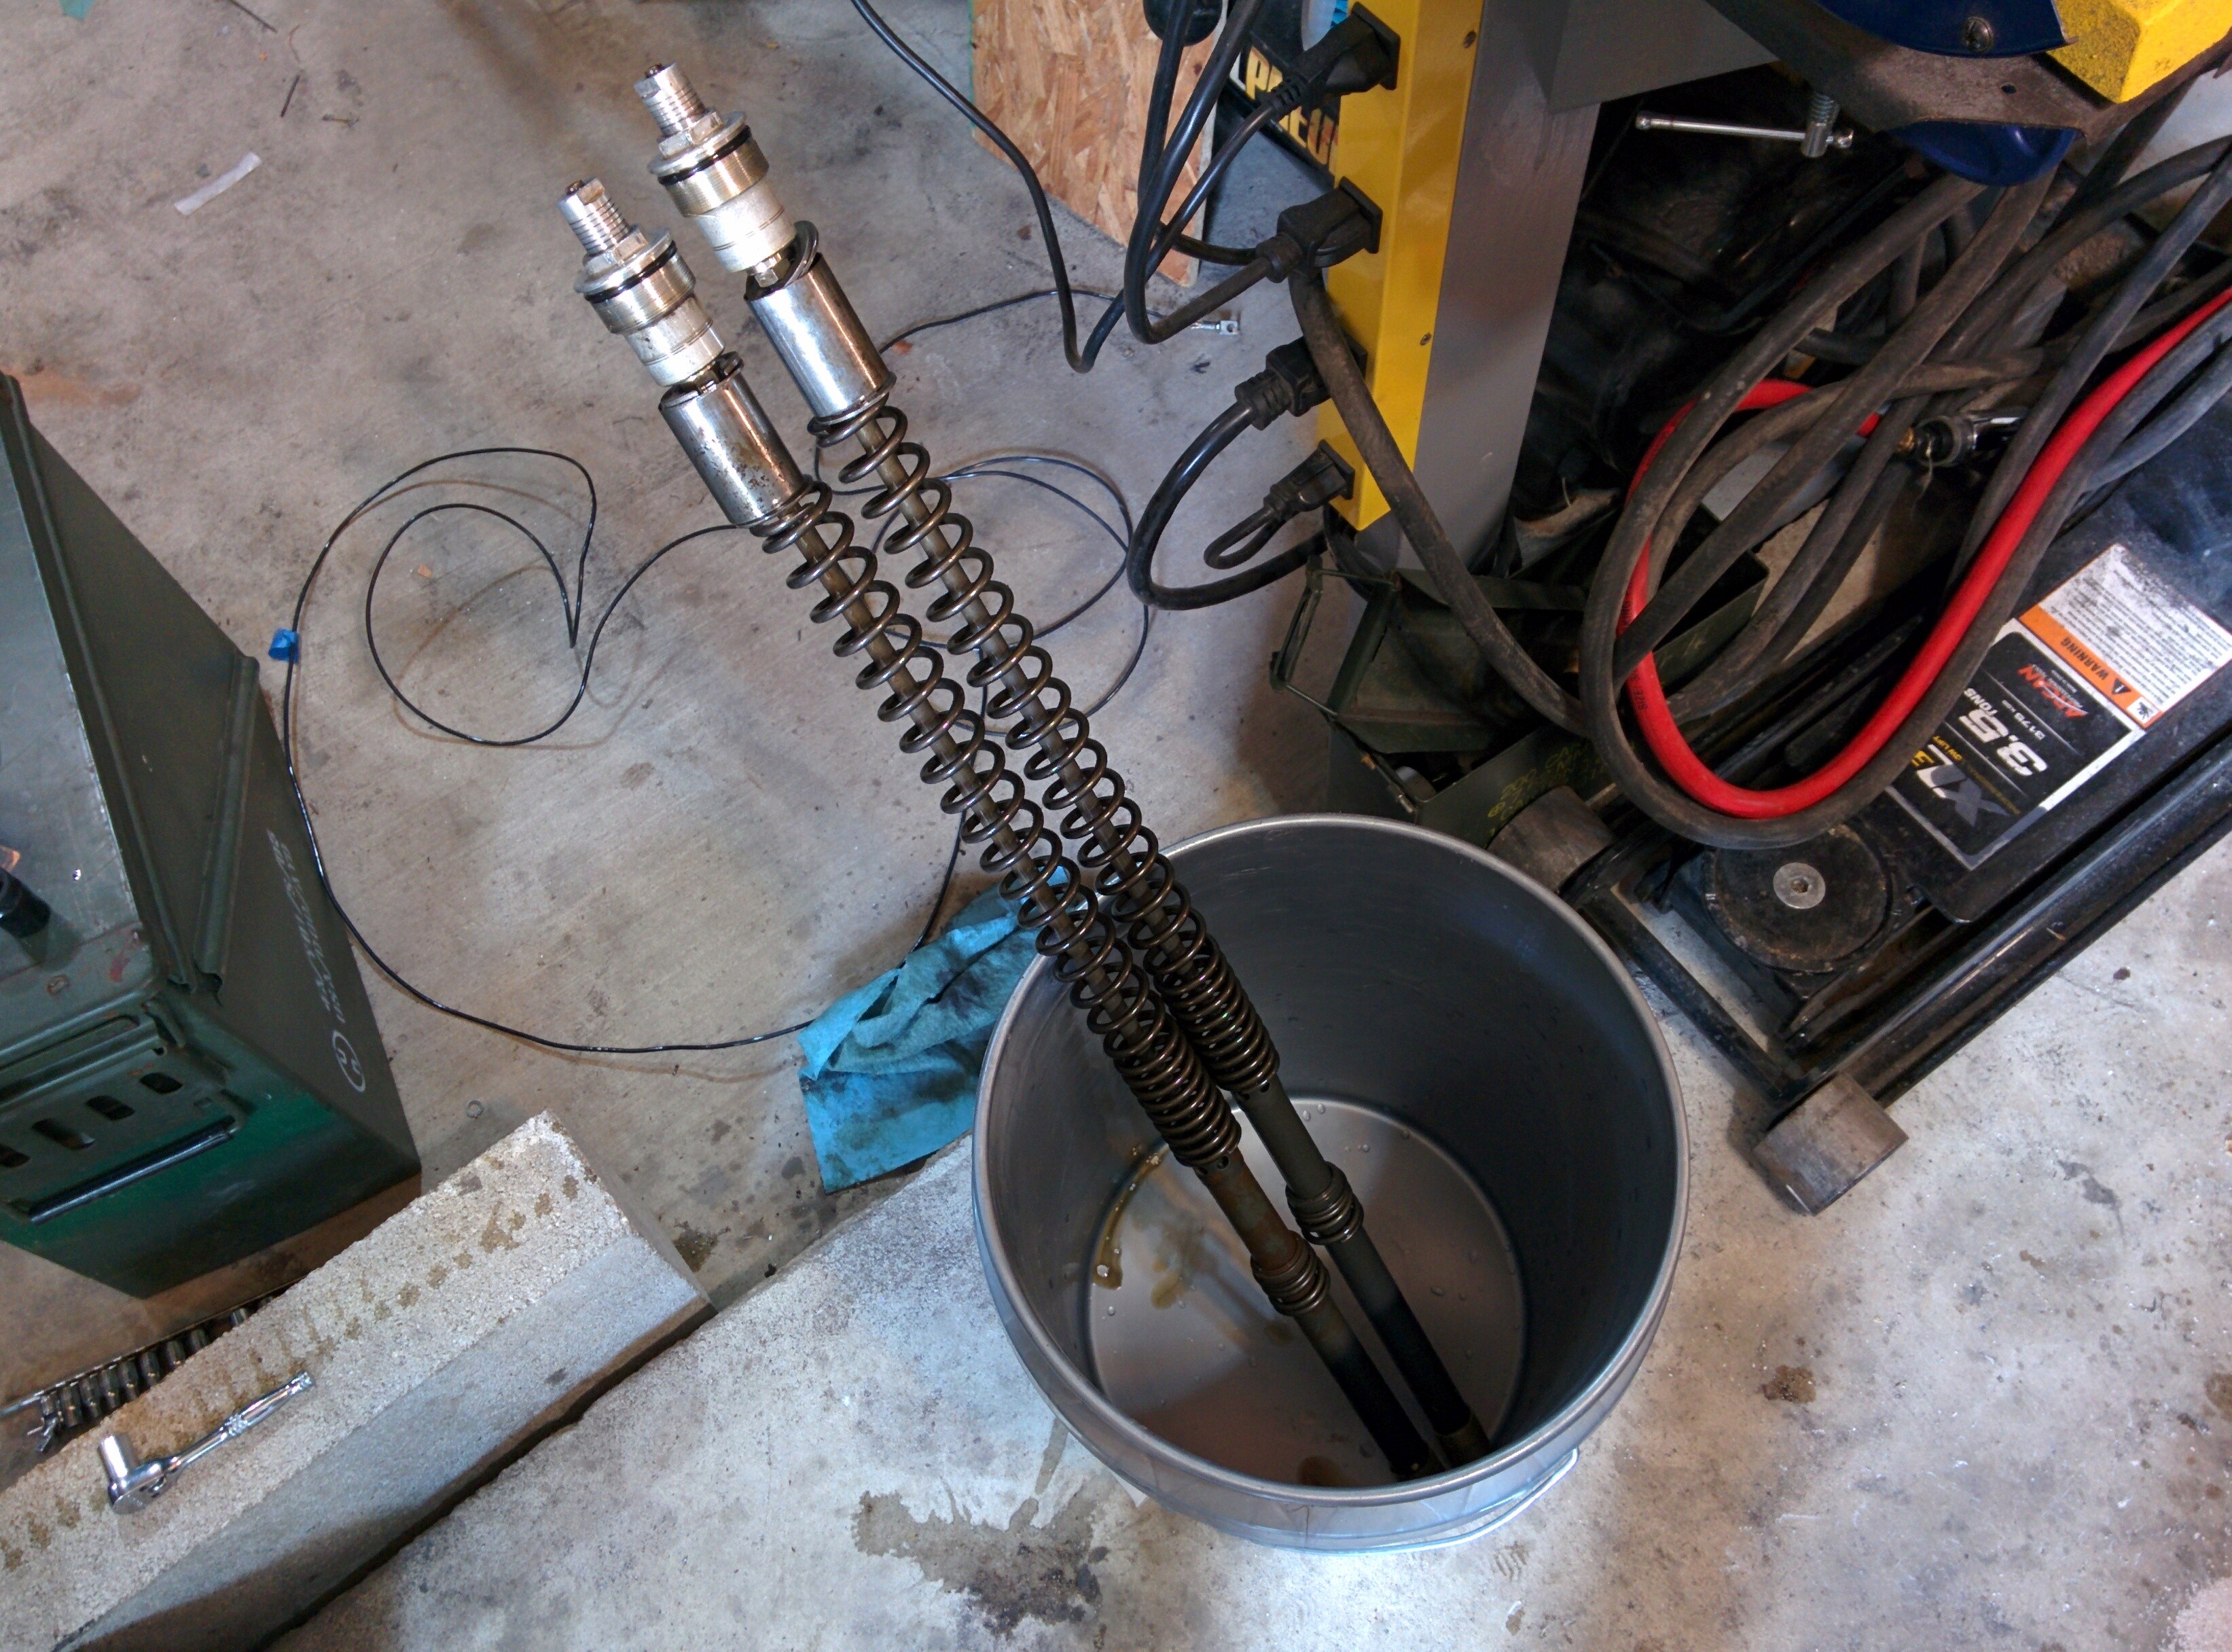
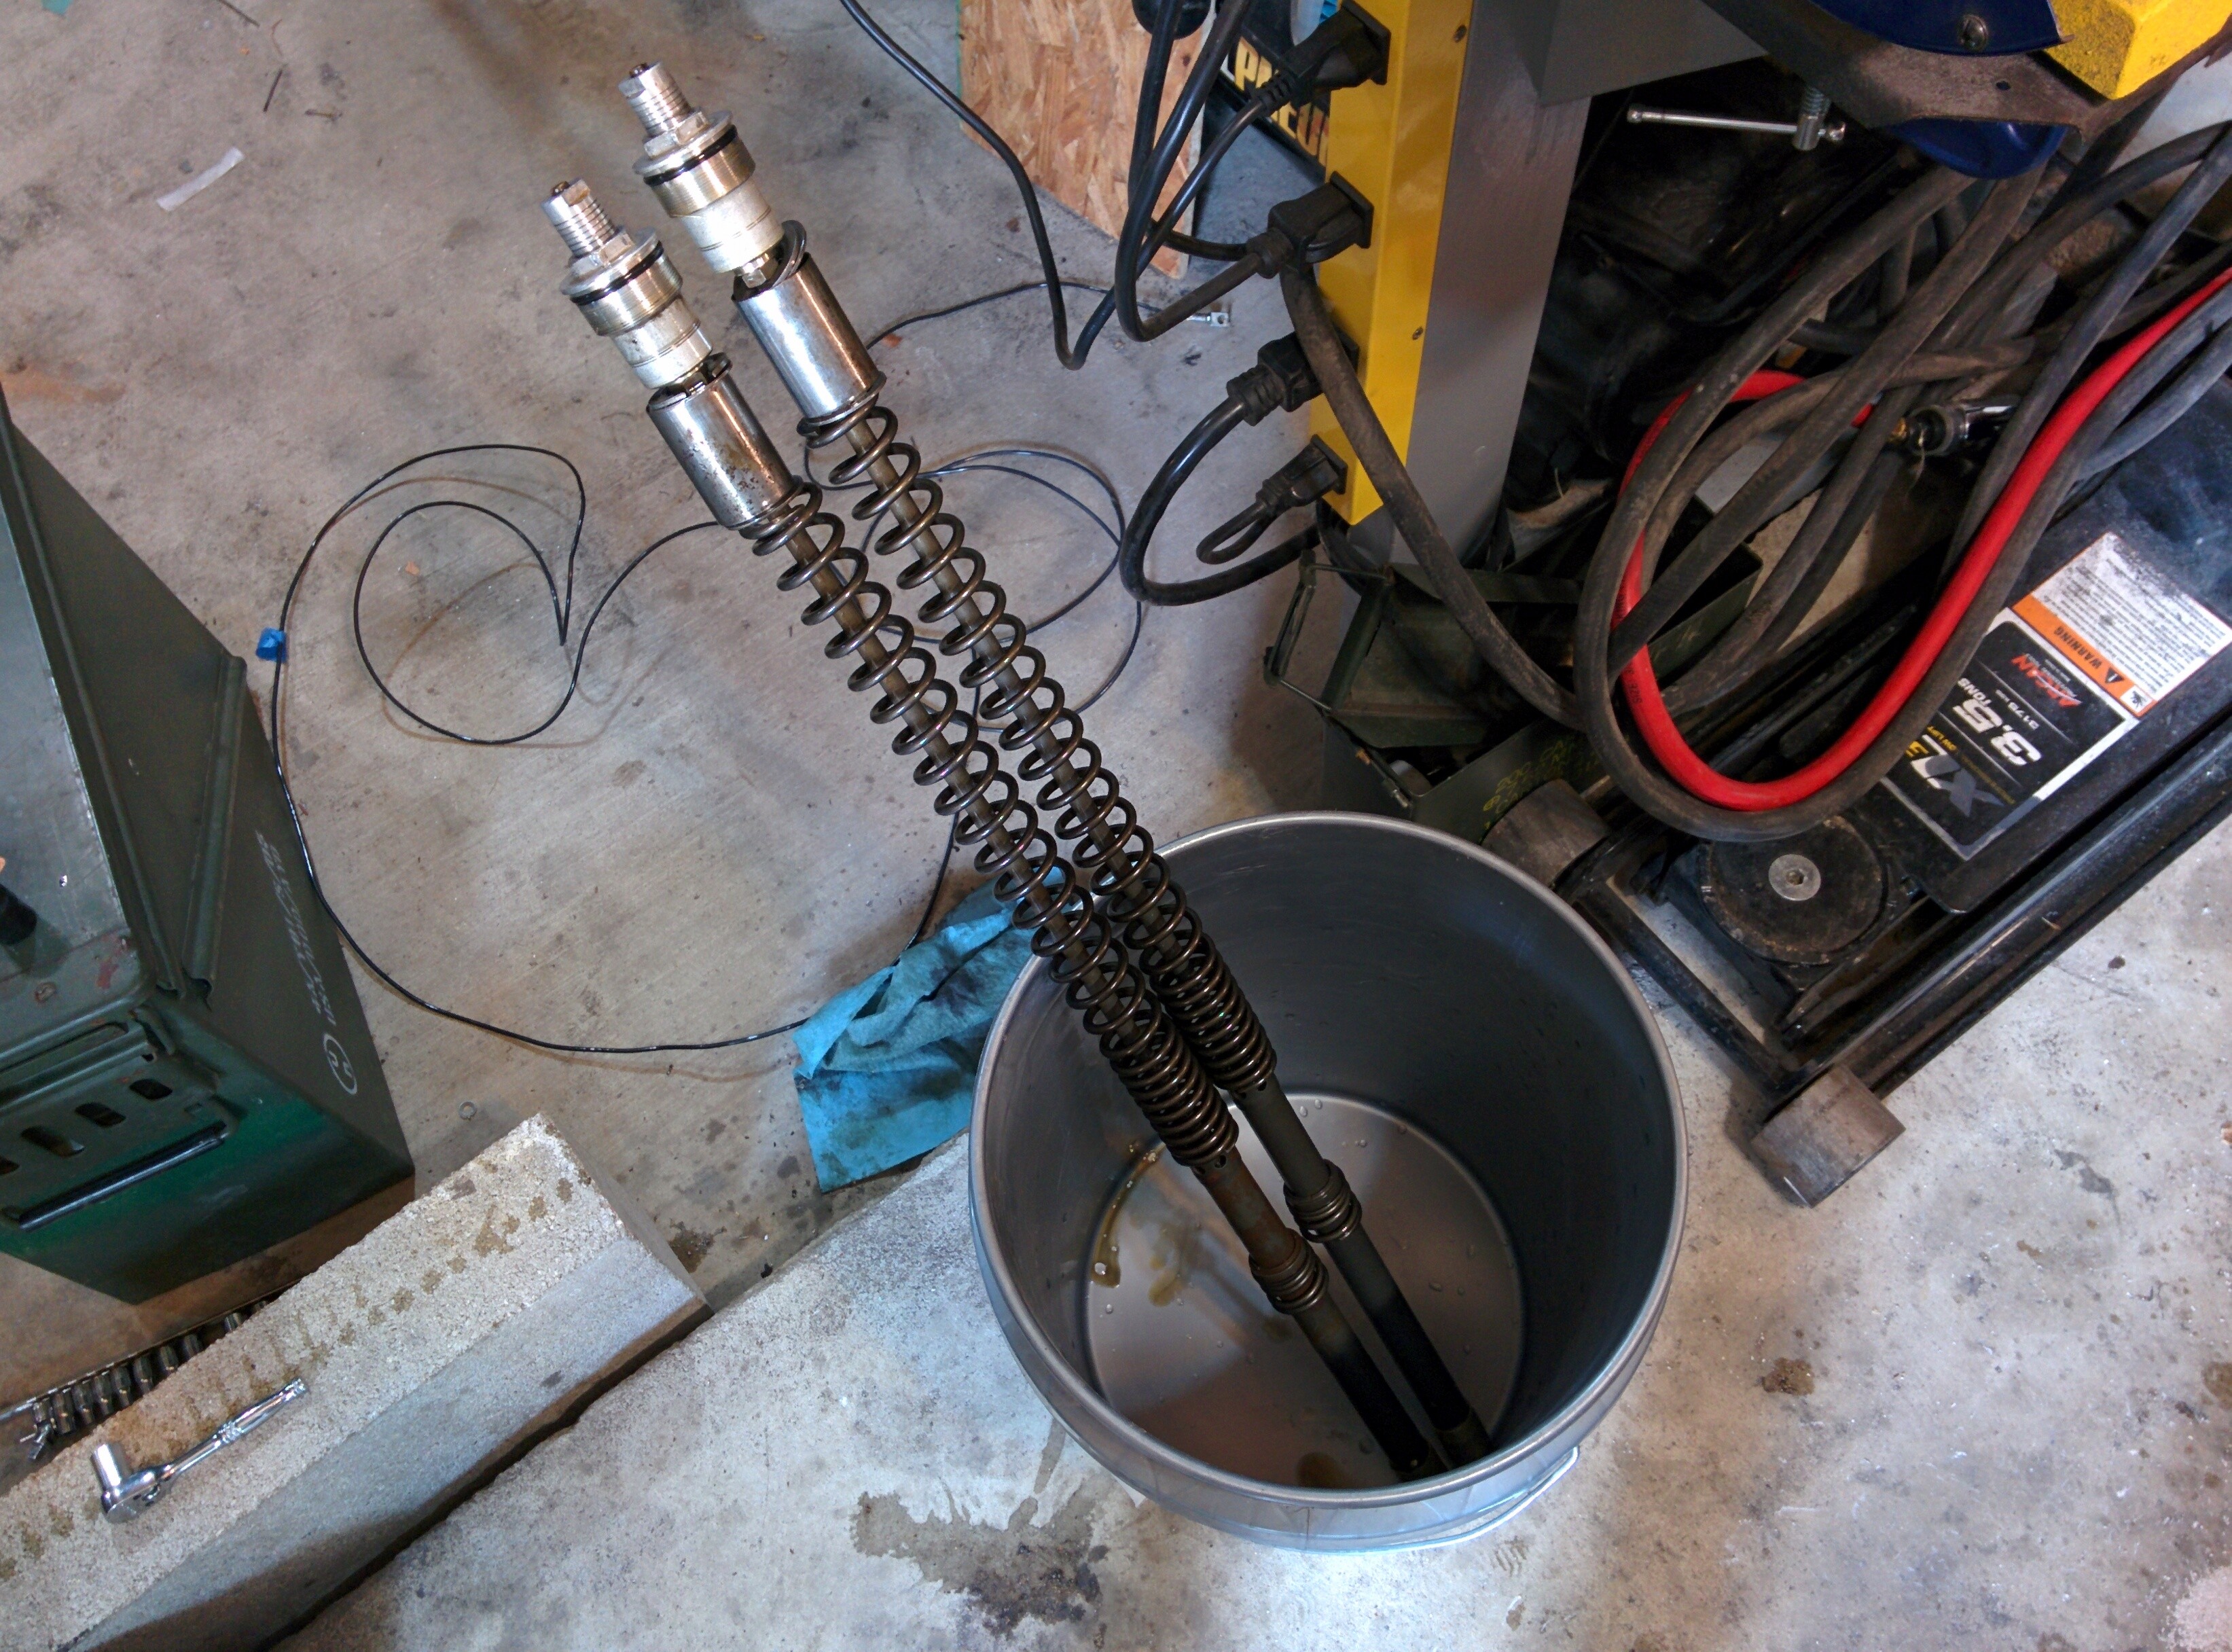
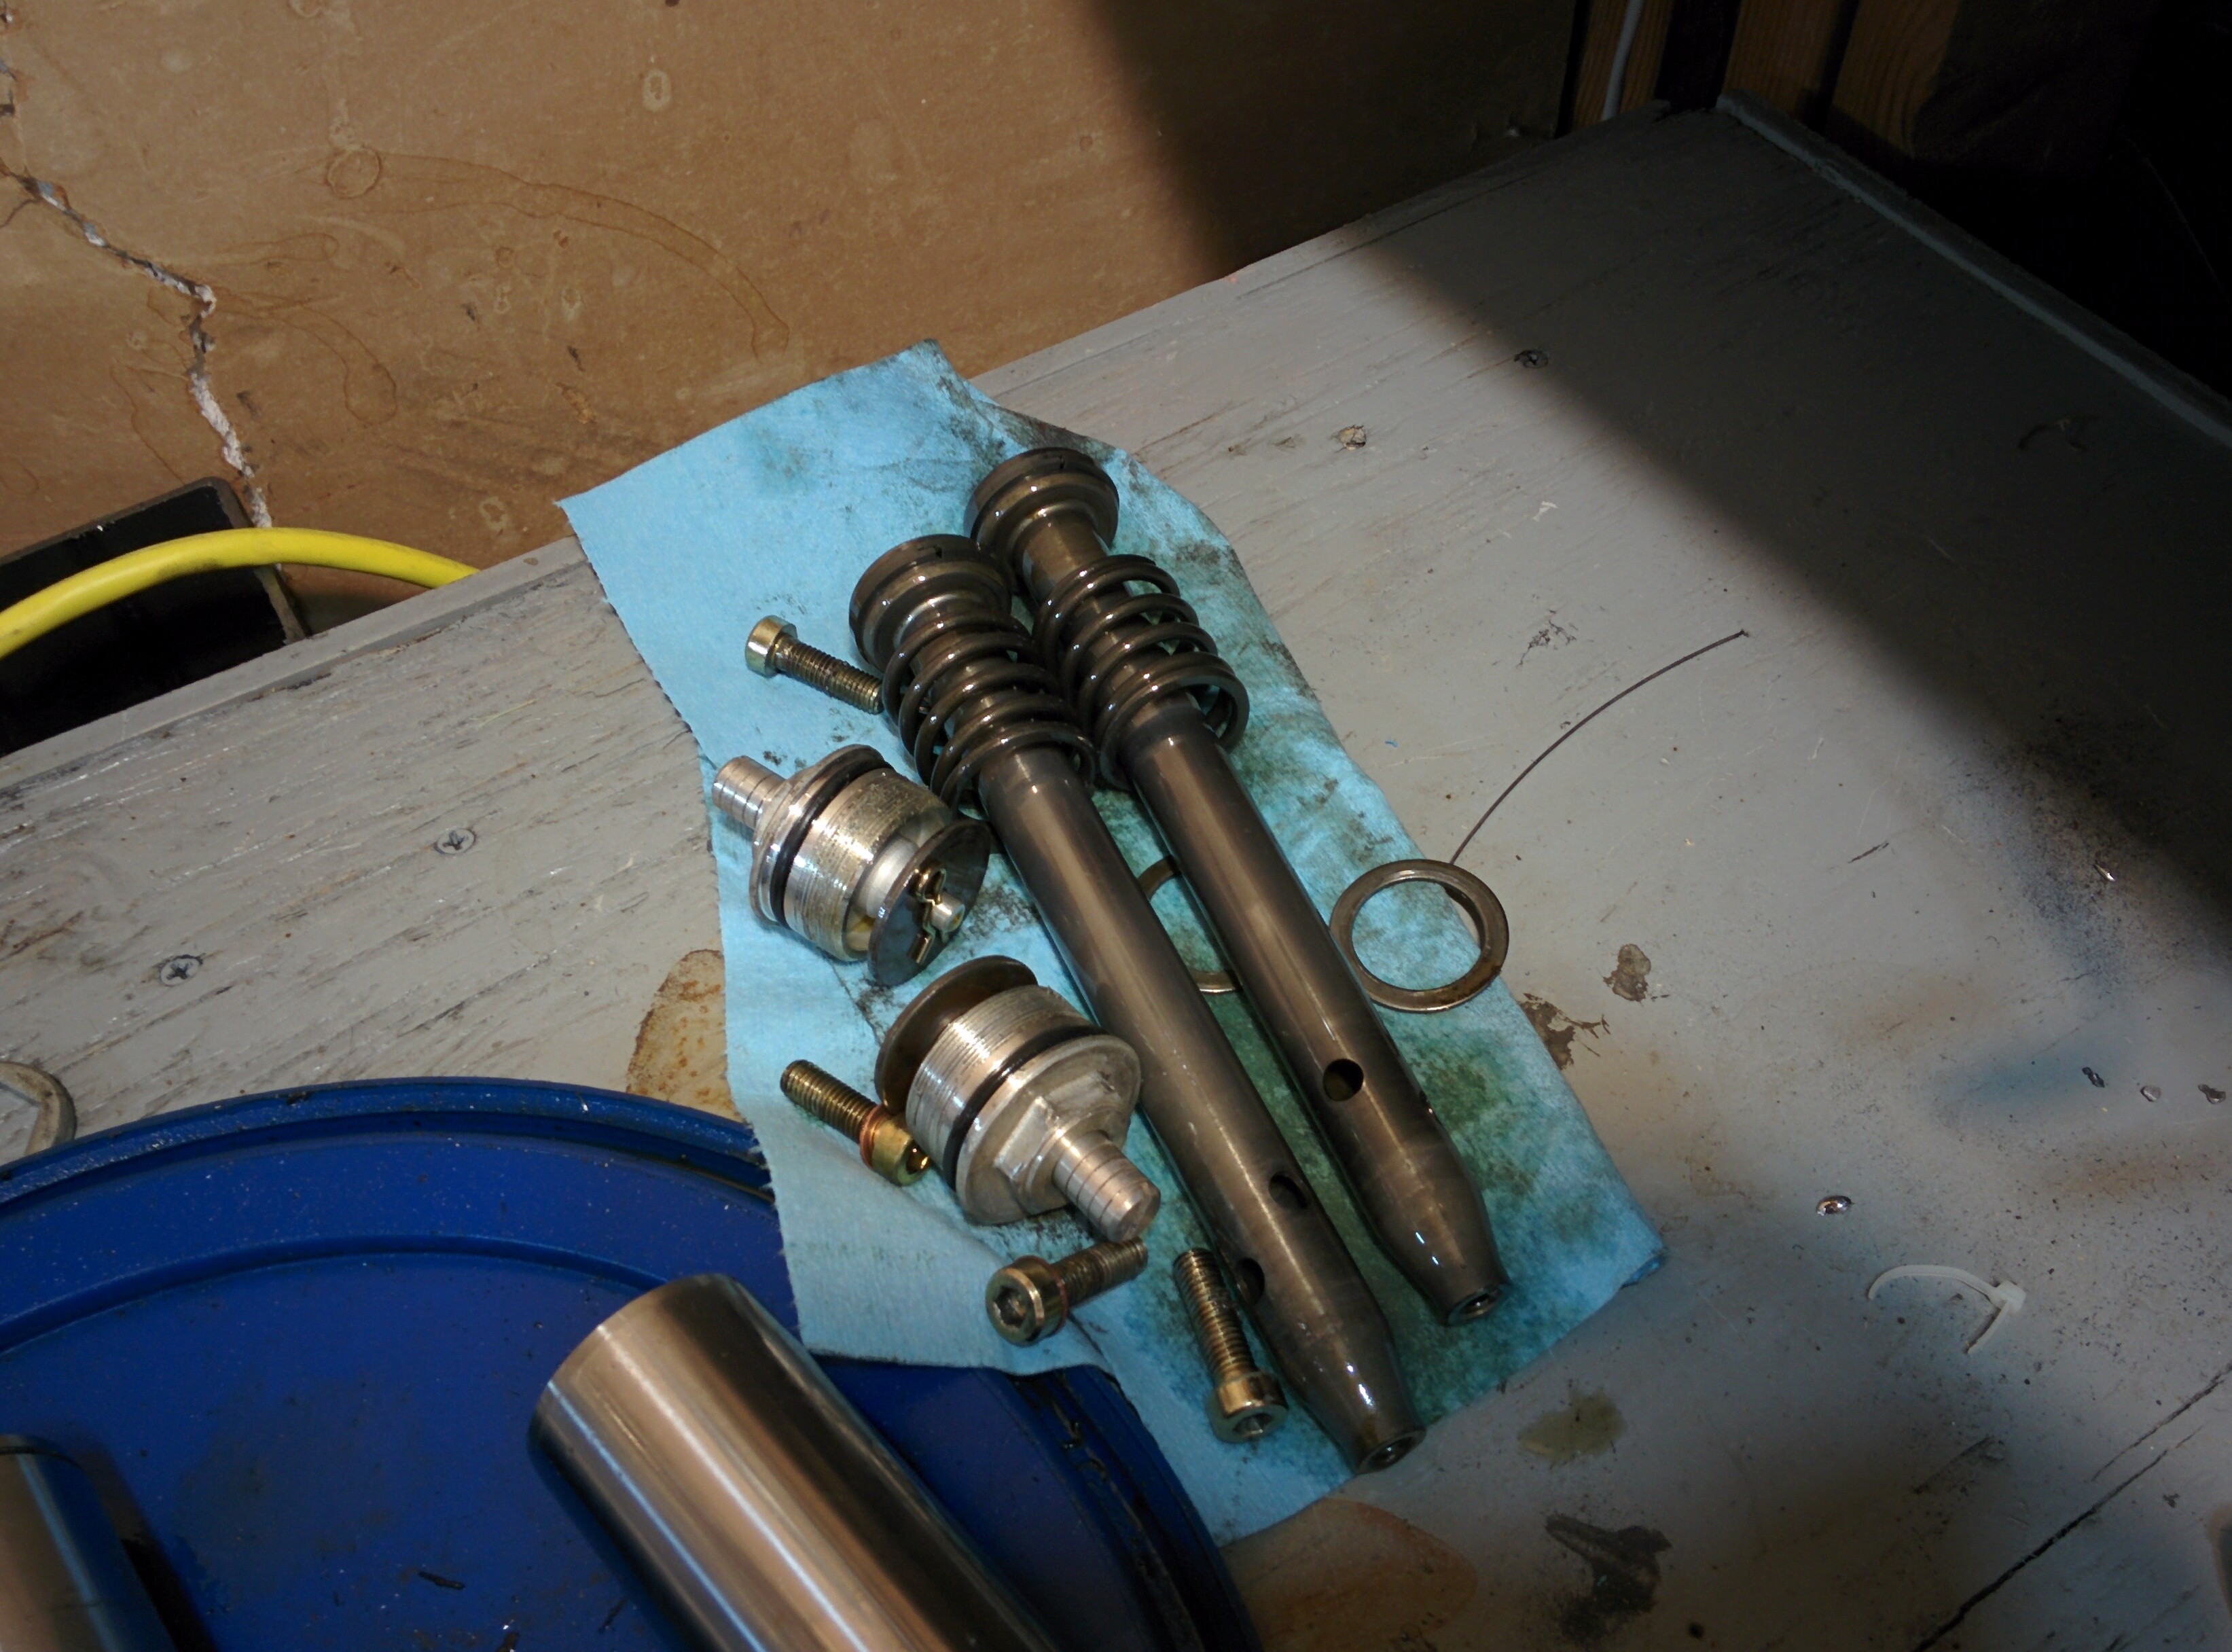
The only challenging part was removing the compression damping valve from the lower part of the cartridge. This isn't strictly required, but I wanted to clean as much of the components as possible. To remove it, I had to reinstall the bolt that goes through the bottom of the fork stanchion into the cartridge. I then retracted the cartridge rod completely and held it there with one hand. Using the other hand, I slammed the bolt head as hard as possible into an anvil. This causes the compression valve to move upwards inside the cylinder it is housed in. This exposes an internal circular clip. It is easily removed, but is very small. Be careful not to lose it. Afterwards, the bolt is installed again and the head of the bolt secured in a vise. A piece of plastic and a small hammer is used to remove the compression valve. It is necessary to hammer on the catridge to get the valve out. The plastic is placed against the cartridge to prevent the hammer from damaging it.
I have no idea why this process was so difficult, but it did not result in any damage to any components. After the compression valve is out, it can be cleaned using non chlorinated brake cleaner. You can then push the cartridge rod out the bottom of the cartridge, exposing the rebound valve. This can be cleaned as well. I did not disassemble the shim stack on each valve, I could not see any reason to. Replacement of the shims can be used to "tune" the fork to the rider's preference, but I do not have the knowledge to do that.
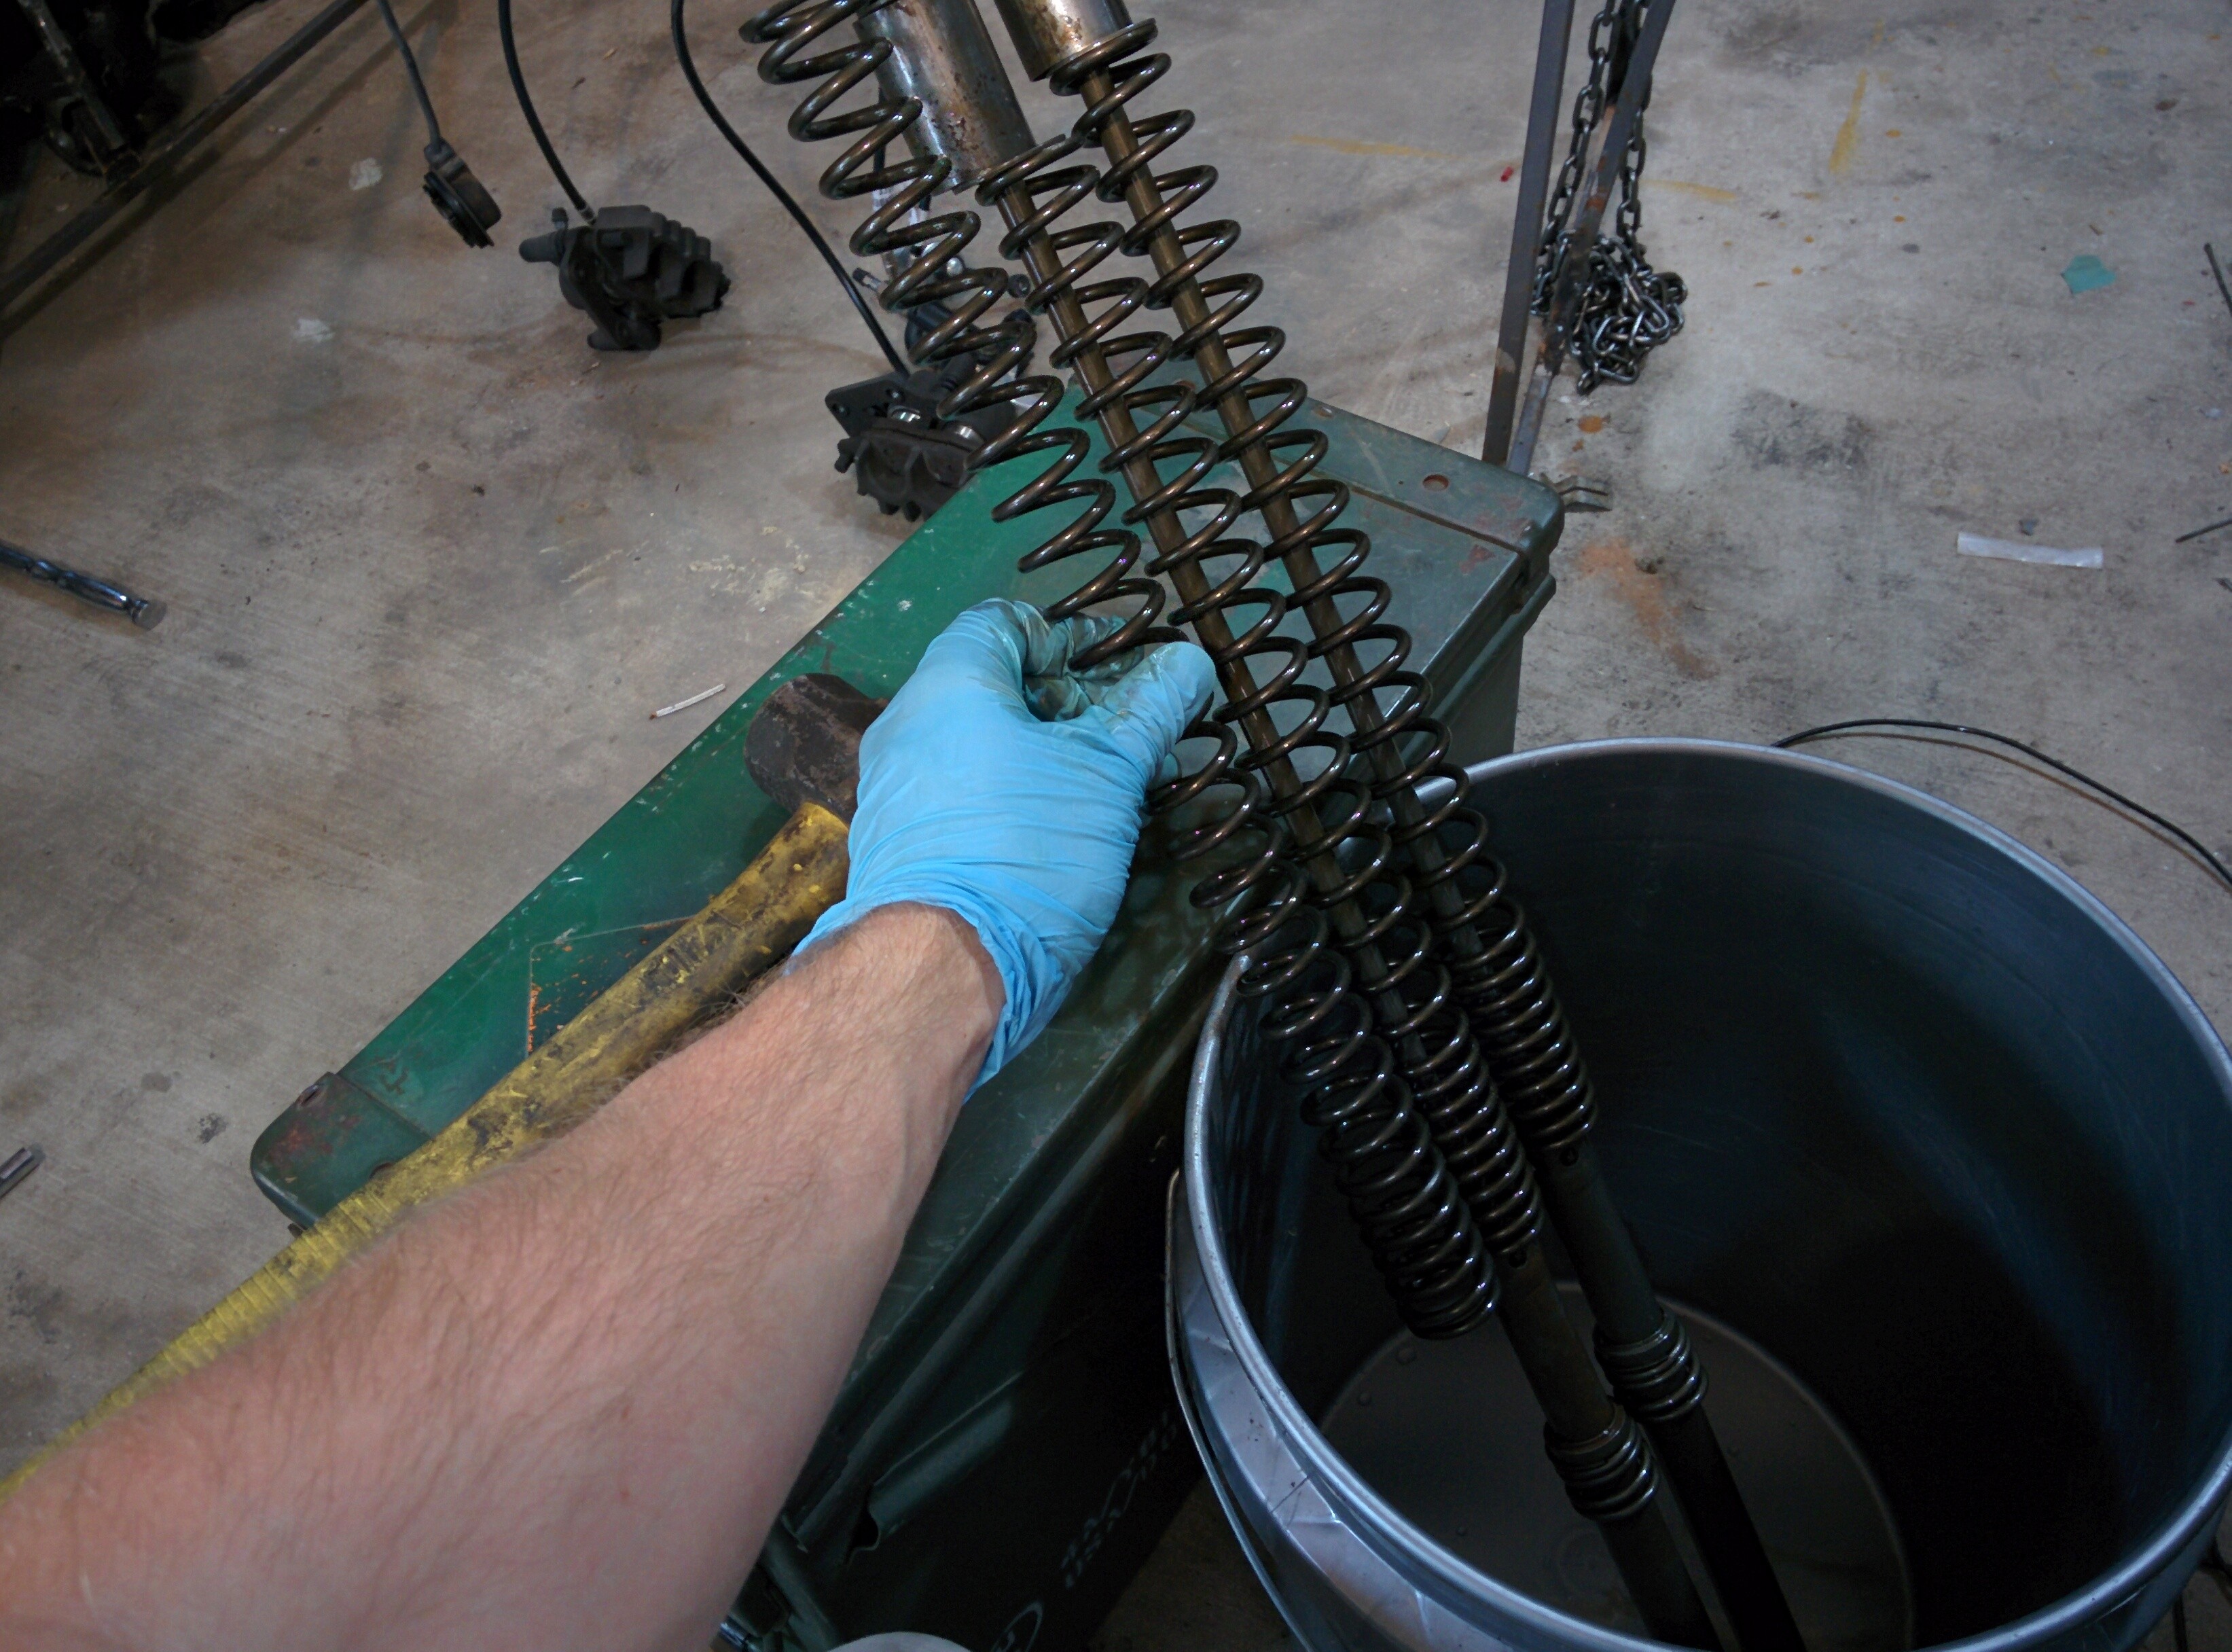
After assembly, I filled the forks with 10 weight Spectro fork oil. The amount of oil used is based off the Honda's service manual, which indicates 460mL of fluid.
I found this modification to be a good choice because I did not spend a large amont of money on it. Some individuals replace the entire front end with that from a Suzuki GSXR. This results in a motorcycle with an awkward suspension geometry and far larger front brakes than are needed. Being able to retain the OEM front wheel, brakes, and triple clamp was a must for me. Performance on the race track is far better than the OEM damper rod forks.