Running rpitx on the Raspberry Pi 4
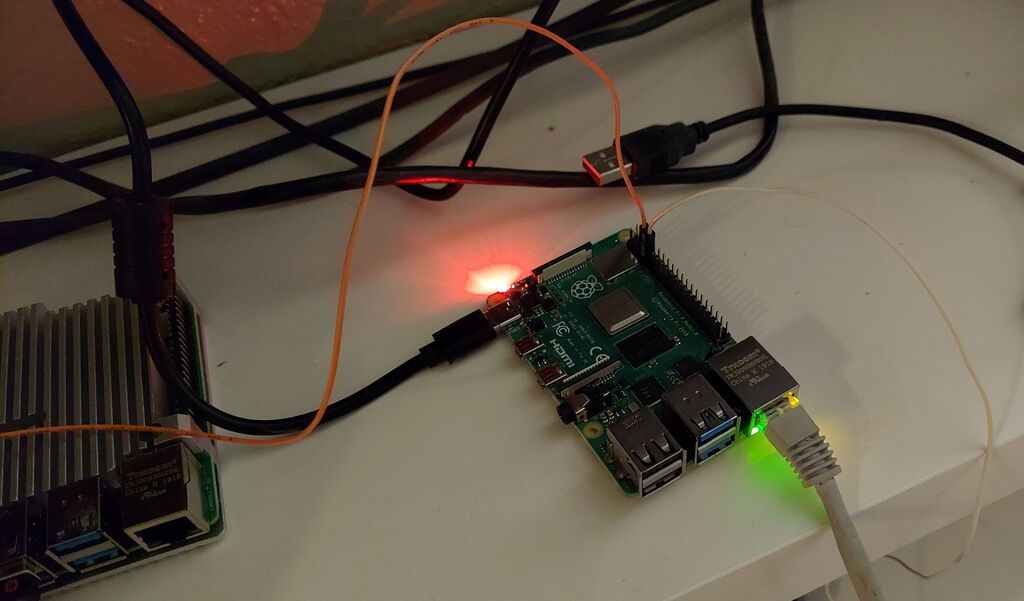
The program rpitx is a piece of software that uses some of the hardware already in the Raspberry Pi CPU to generate radio frequency signals on the GPIO4 pin of the Raspberry Pi. I've used this before on earlier Raspberry Pi products. In late 2020 support was added for the Raspberry Pi 4.
Changes to make rpitx work on the Raspberry Pi 4
The Raspberry Pi 4 uses the Broadcom 2711 chip, which is different than prior Broadcom chips used. So the librpitx project has been updated to take this into account. The peripheral base address of the BCM2708 is retrieved using a library function now called bcm_host_get_peripheral_address.
    //Channel DMA is now hardcoded according to Raspi Model (DMA 7 for Pi4, DMA 14 for others)
    uint32_t BCM2708_PERI_BASE =bcm_host_get_peripheral_address();
This winds up getting checked against a value 0xFE000000 to determine if the device is a Raspberry Pi 4. Interestingly if the value returned is zero the code now also assumes that it is running on Raspberry Pi 4. So presumably prior versions of the board have some other peripheral base address. There is a member variable called pi_is_2711 that is set to true on the Raspberry Pi 4.
    if(BCM2708_PERI_BASE==0xFE000000) // Fixme , could be inspect without this hardcoded value
    {
               dbg_printf(0,"RPi4 GPIO detected\n");
        pi_is_2711=true;  //Rpi4
        XOSC_FREQUENCY=54000000;
    }
    if(BCM2708_PERI_BASE==0)
    {
        dbg_printf(0,"Unknown peripheral base, switch to PI4 \n");
        BCM2708_PERI_BASE=0xfe000000;
        XOSC_FREQUENCY=54000000;
        pi_is_2711=true;
    }
The value pi_is_2711 is checked when doing frequency calculations in functions like clkgpio::SetFrequency and clkgpio::GetMasterFrac
Setup and installing rpitx
To run rpitx, I put Raspberry Pi OS Lite on a microSD card. Then I enabled ssh by creating the file /boot/ssh in the configuration.
You can download the latest version of rpitx from GitHub. Once you have it downloaded you can run the install.sh script to build and copy the files to the appropriate locations. It also automatically modifies /boot/config.txt to have the following lines
gpu_freq=250
force_turbo=1
These change system behavior at startup time, so you'll need to reboot your Raspberry Pi after running install.sh. You can verify these changes took effect by using vcgencmd get_config to make sure they are set.
raspberrypi:~ $ sudo vcgencmd get_config gpu_freq
gpu_freq=250
raspberrypi:~ $ sudo vcgencmd get_config force_turbo
force_turbo=1
Power supply
I first tried running rpitx on the Raspberry Pi 4 with this power supply, which I thought would be sufficient.
It crashed most of the times I tried something, so I switched to using a CanaKit 3.5A USB-C power supply.
Antenna
Although you can technically run rpitx without any additional hardware it isn't very useful
The pin right beside GPIO4 is a ground, so the combination of the two pins acts like a very simple dipole antenna.
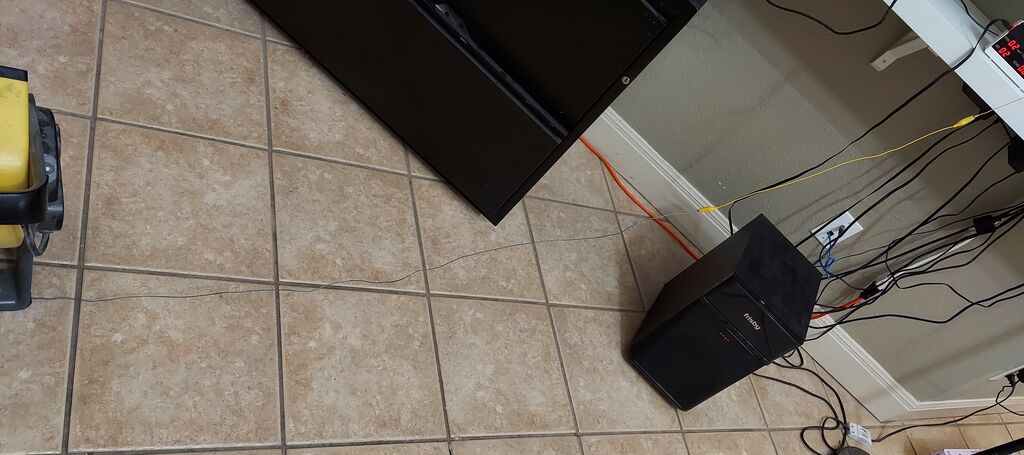
On the frequencies below the 2 meter band I had to add some additional wire to make the antenna more efficient
If you know the frequency you're going to operate rpitx on you can use a dipole antenna calculator to figure out the ideal lengths of the wires.
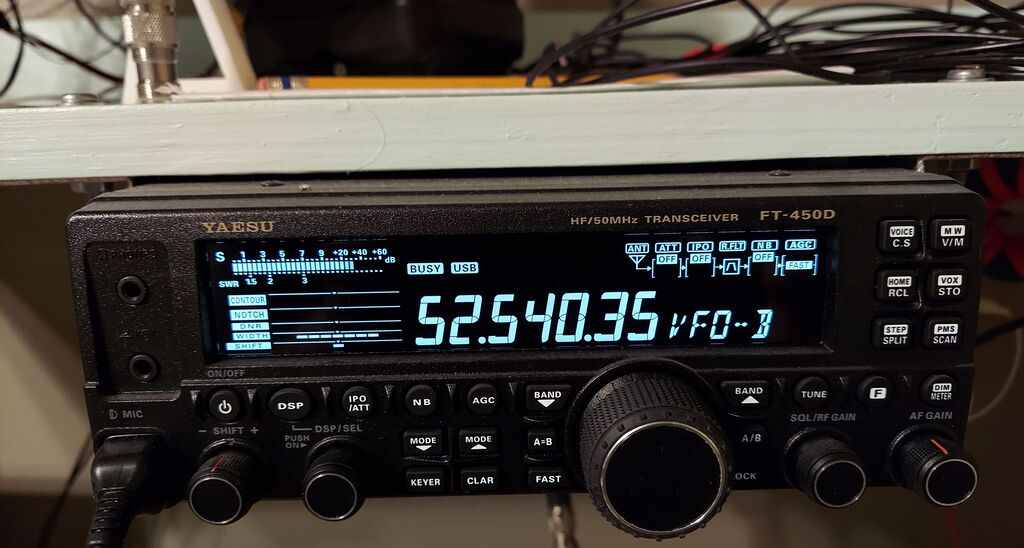
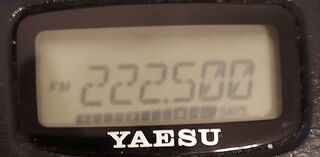
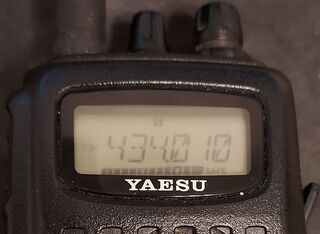
To verify the pi was actually transmitting I used my handheld Yaesu FT-60R with the original antenna. For the frequencies below 2 meter I used my Yaesu FT-450D, the antenna was just about 6 ft of wire strung across my desk.
Test results
Disclaimer: Unlicensed RF emissions are generally illegal in most of the world. In my case I have a license from the FCC or used an ISM band to run most of my tests. You must comply with all laws in your jurisdiction.
Frequency Modulation
These tests were performed using the testnfm.sh script. This transmits narrow band FM modulation that is equivalent to what amateur radio handie talkies use.
| Parameter | Operating Frequency | Observed Center Frequency | Notes |
|---|---|---|---|
| 434.0e3 | 434.0 MHz | 434.01 MHz | OK |
| 146.400e3 | 146.4 MHz | 146.4 MHz | OK |
| 108e3 | 108.0 MHz | N/A | pi locked up |
| 222.5e3 | 222.5 MHz | 222.5 MHz | OK |
| 927.1e3 | 927.1 MHz | 927.1 MHz | OK, weak signal |
| 915e3 | 915.0 MHz | 915.0 MHz | OK, weak signal |
| 52.53e3 | 52.54 MHz | 52.540 MHz | OK with but strange popping in audio |
| 29.600e3 | 29.6 MHz | 29.6 MHz | Great quality audio and strong signal |
Single Side Band
These tests were performed using the testssb.sh script. This transmits upper side band.
| Parameter | Operating Frequency | Observed Frequency | Notes |
|---|---|---|---|
| 52.54e6 | 52.54 MHz | 52.54035 MHz | audible, but with ghostly noises in the background |
| 40.68e6 | 40.68 MHz | 40.67830 MHz | audible, but with ghostly noises in the background |
| 28.333e6 | 28.333 MHz | 28.33290 MHz | OK |
| 24.925e6 | 24.925 MHz | 24.92510 MHz | OK |
| 1.95e6 | 1.95 MHz | 1.950 MHz | good quality |
| 473e3 | 475 kHz | N/A | pi locked up |
Reception range
Since I had everything setup, I was curious to see what kind of transmission distance I could get out of this simple setup. I set rpitx to transmit on 448.2 MHz FM. I used by my Baofeng UV-3R handheld as the receiver. The range was around 308 meters. That is long enough to be a useful transmitter.


