Epoxy granite fill for milling machine
This is an explanation of how I filled my milling machine with epoxy granite. I did this previously to a cheap drill press, but did not document the process.
The purpose of filling a machine with epoxy granite is to dampen vibration during the machining process. Almost all machining equipment is constructed from some type of cast steel. Cheaper machines are made of grey iron in most cases. They are usually formed in sandcasting and then have some surfaces machined flat to create a finished tool. The castings usually incorporate a minimum amount of material. This is done because it reduces the materials cost on the manufacturer and lowers the shipping weight.
Any machine tool that has a cutting tool moving at high speed to cut metal is going to produce some vibrations. This is usually managed by adjusting the parameters of the cut until the vibrations are neglible. In the worst case it can cause the cutting tool to skip around on the workpiece and results in an unusable finish on the part. Without going too far into the mechanics of it, you can think of the tool contacting the work piece like striking a tuning fork. When contact happens, all the metals parts involved are going to shake. The milling machine, the cutting tool and the work piece have no particular resonant frequency however. So the vibrations can travel throughout the machine. When they hit the end of the machine, they reflect and keep travelling until they are finally attenuated.
If there was a way to increase the amount of energy lost as the vibrations travel throughout the machine then the amount of vibration would be reduced. The obvious way to do this would be to just fill the voids in the machine with a dense metal like steel or lead. This would work, but neither is a particular good attenuator of vibrations. It is also fairly expensive. Granite is selected for its internal structure. It is a crystal and as mechanical vibrations travel through it, some energy is lost. There is really no difference between this and a rubber heel on your shoe damping your impact as you walk. The impact of your heel is low frequency (once every few seconds) and high amplitude (the amount of force). The vibrations from cutting metal are low amplitude and higher frequency (dozens of times per second). So rubber is not an ideal material for filling a machine tool, but granite is OK. When vibrations travel through the granite it heats the internal structure. The other reason for this is that by using a bunch of randomly shaped granite rocks, there is no longer a clear path for vibrations to travel through the machine. This is similar to the fact that recording studios usually have angular material on the walls to avoid the wall acting like a single point source of reflected sound. The sound is scattered in hopefully random directions.
Since it's impossible to get a bunch of granite rocks to stay in place, you need to use a binder. I selected epoxy resin because it is available and easy to work with. Although the purpose of this is to reduce vibrations I have noticed on the cheapest machines that the epoxy and granite actually structurally reinforces the machine. The only other possible binder I saw was a product called "Sika 212 precision grout" which is meant as an all purpose grout. I have no experience with it, so I stuck with epoxy resin.
Materials
You need to obtain the following materials
- Epoxy resin
- Decomposed granite
- Pine wood
- Screws
- Large washers
- RTV or other sealant
- 1/4 inch steel mesh
- ATF or any other clean oil
You must use epoxy resin for this. Polyester resin shrinks considerably when cured. So if poured into a cavity, it will retract and not hold into it. I used epoxy resine from the boating store "West Marine". It is easily available and good quality.
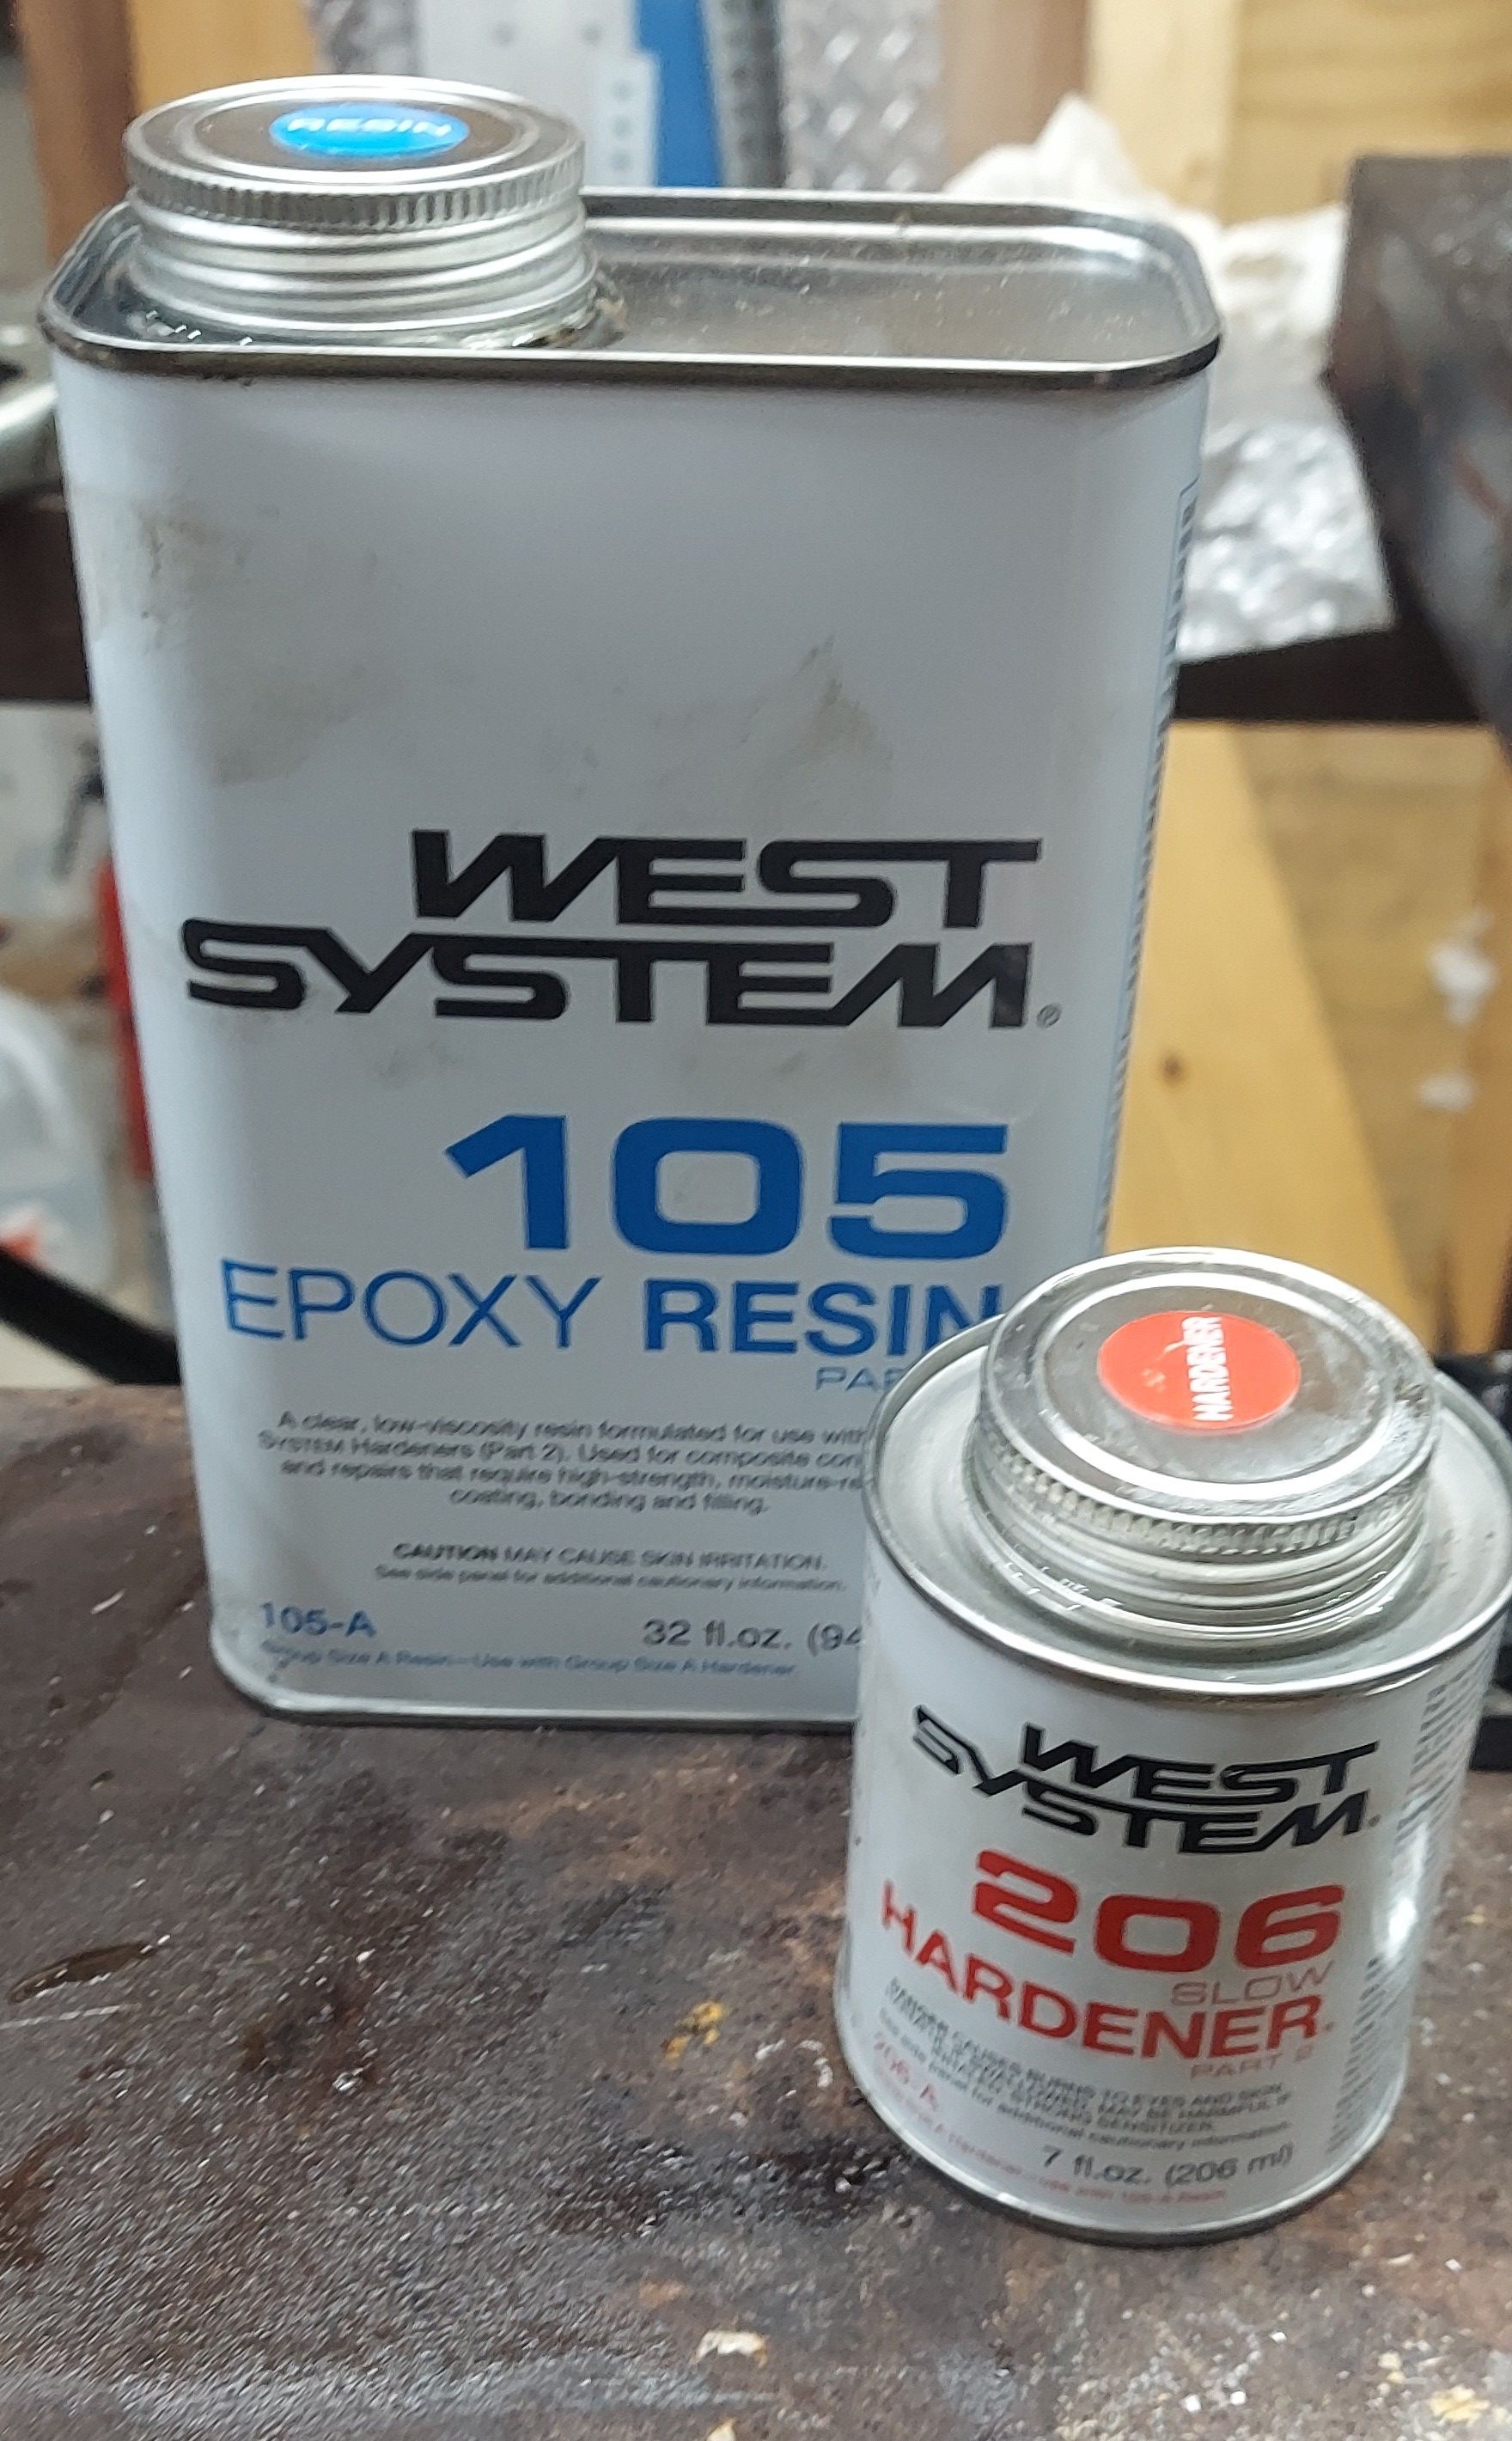
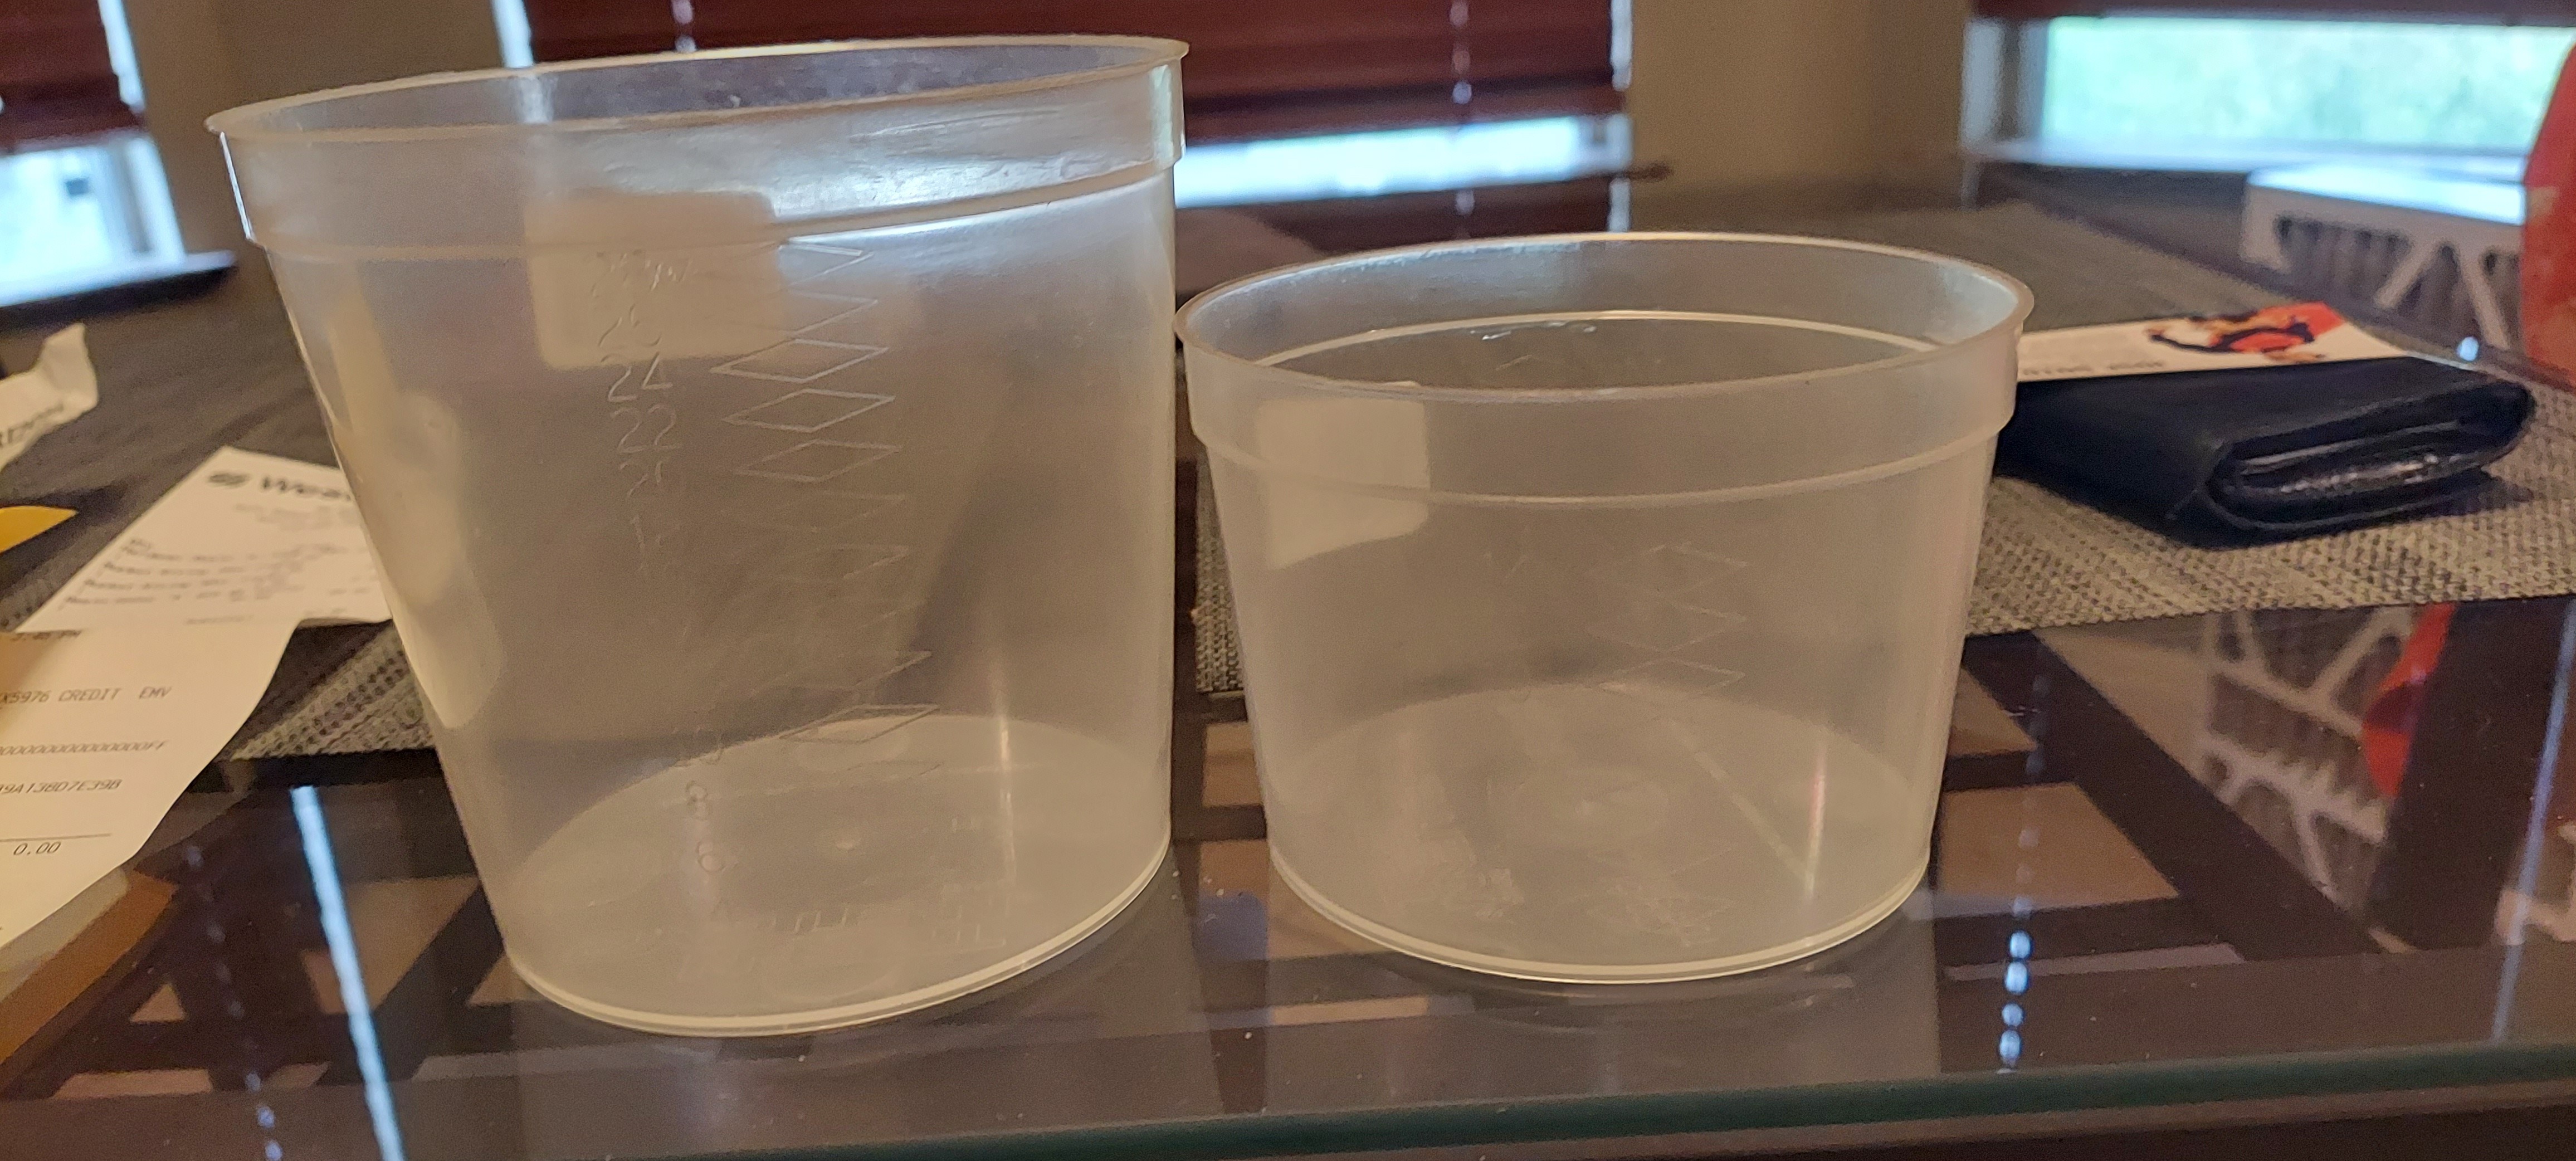
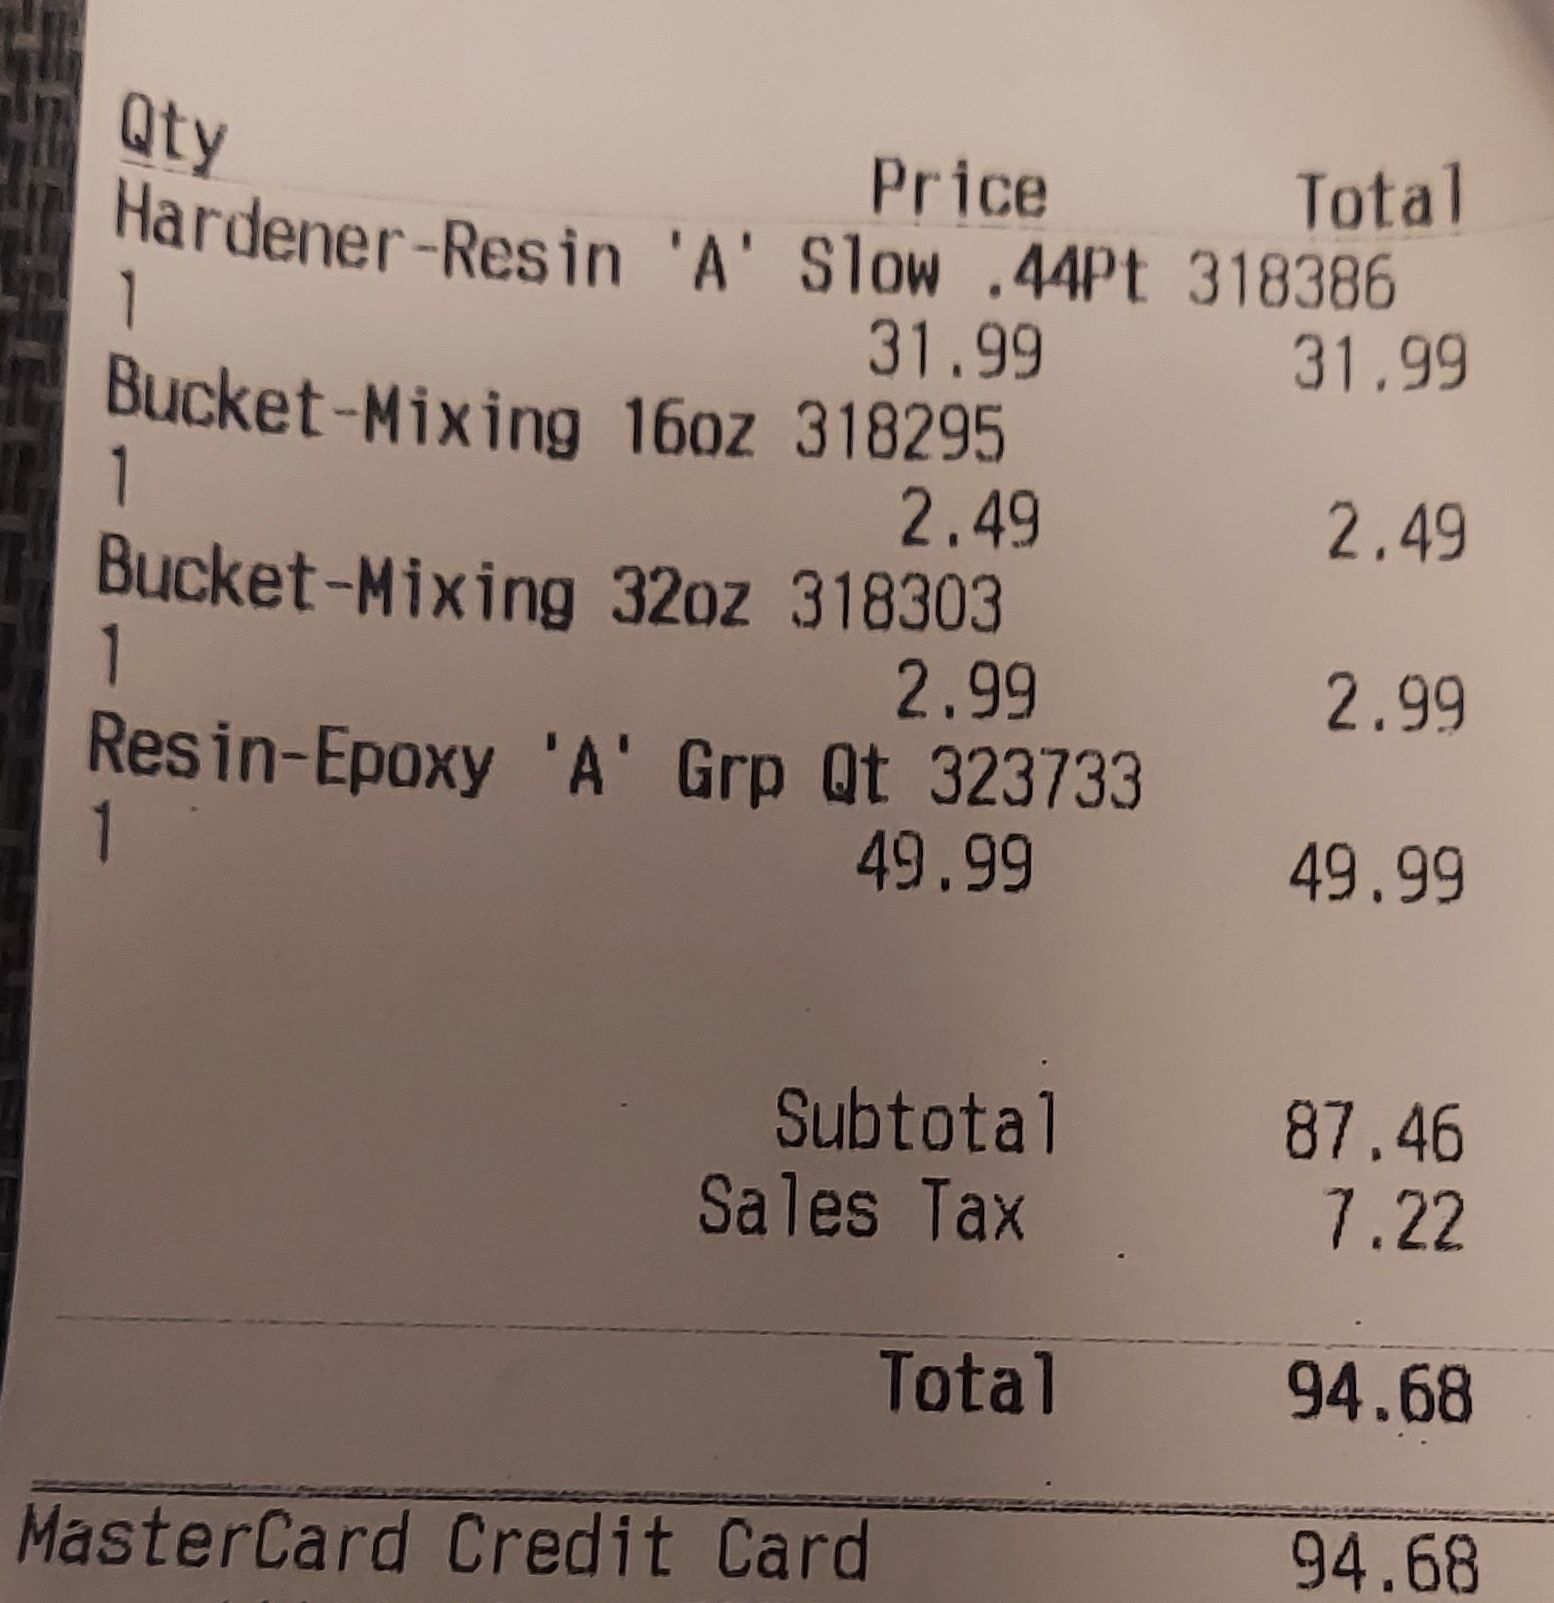
West Marine Epoxy is quite expensive. I bought two measuring cups as well to use. I wound up going back and getting two more quarts of the epoxy resin and the hardener. So I spent in total $237.87 on resin. You can probably get cheaper resin for this, I just preferred to get what I needed locally. Whatever you do, don't order online from West Marine as the prices are dramatically higher than in store.
I used decomposed granite from the hardware store because one bag contains a bunch of material of different sizes. If you can source pieces of sorted and cleaned granite somehow, it'd much be simpler. But a bag of decomposed granite costs under $6.

Pieces of wood are used to block of various spots in the machine, so the epoxy can be poured into it. The wood is destroyed in the process so I just used a bunch of scraps. The screws and washers are for holding the wood together.
You need a sealant to close up gaps between the wood and the machine's metal structure. You can used almost anything. I used a bunch of old RTV and when I ran out of that I switched to Gorilla glue. Gorilla glue is actually a mediocre adhesive, but the expansive properties of it make a surprisingly good temporary sealant.
The only other thing I've seen some people add is dye. This is just to give the finished product a specific color. I don't intend on ever seeing this again, so I did not use any dye. It should be perfectly fine to add any dye meant for use with epoxy resin in a project like this.
Tools and other miscellaneous stuff
- A table saw or other way to cut wood
- Impact driver
- A belt sander or sandpaper
- buckets
- cheap cups to use as scoops
- garden hose
- disposable gloves
- disposable mixing tray
- disposable measurement containers
- popsicle sticks for mixing, or any other disposable mixing tool
Separating out the decomposed granite
Decomposed granite seems to consist of a few different things
- chunks of granite that are about 3/4 inch in average diameter
- smaller chunks of granite, all the way down to about 1/16th inch
- powdered material, which is probaly just broken up granite or dirt
- pyrite flakes
- other small random rocks, like pieces of quartz and limestone
- water
Since I am living in Texas, I'm pretty sure it comes from rock formations like this nearby
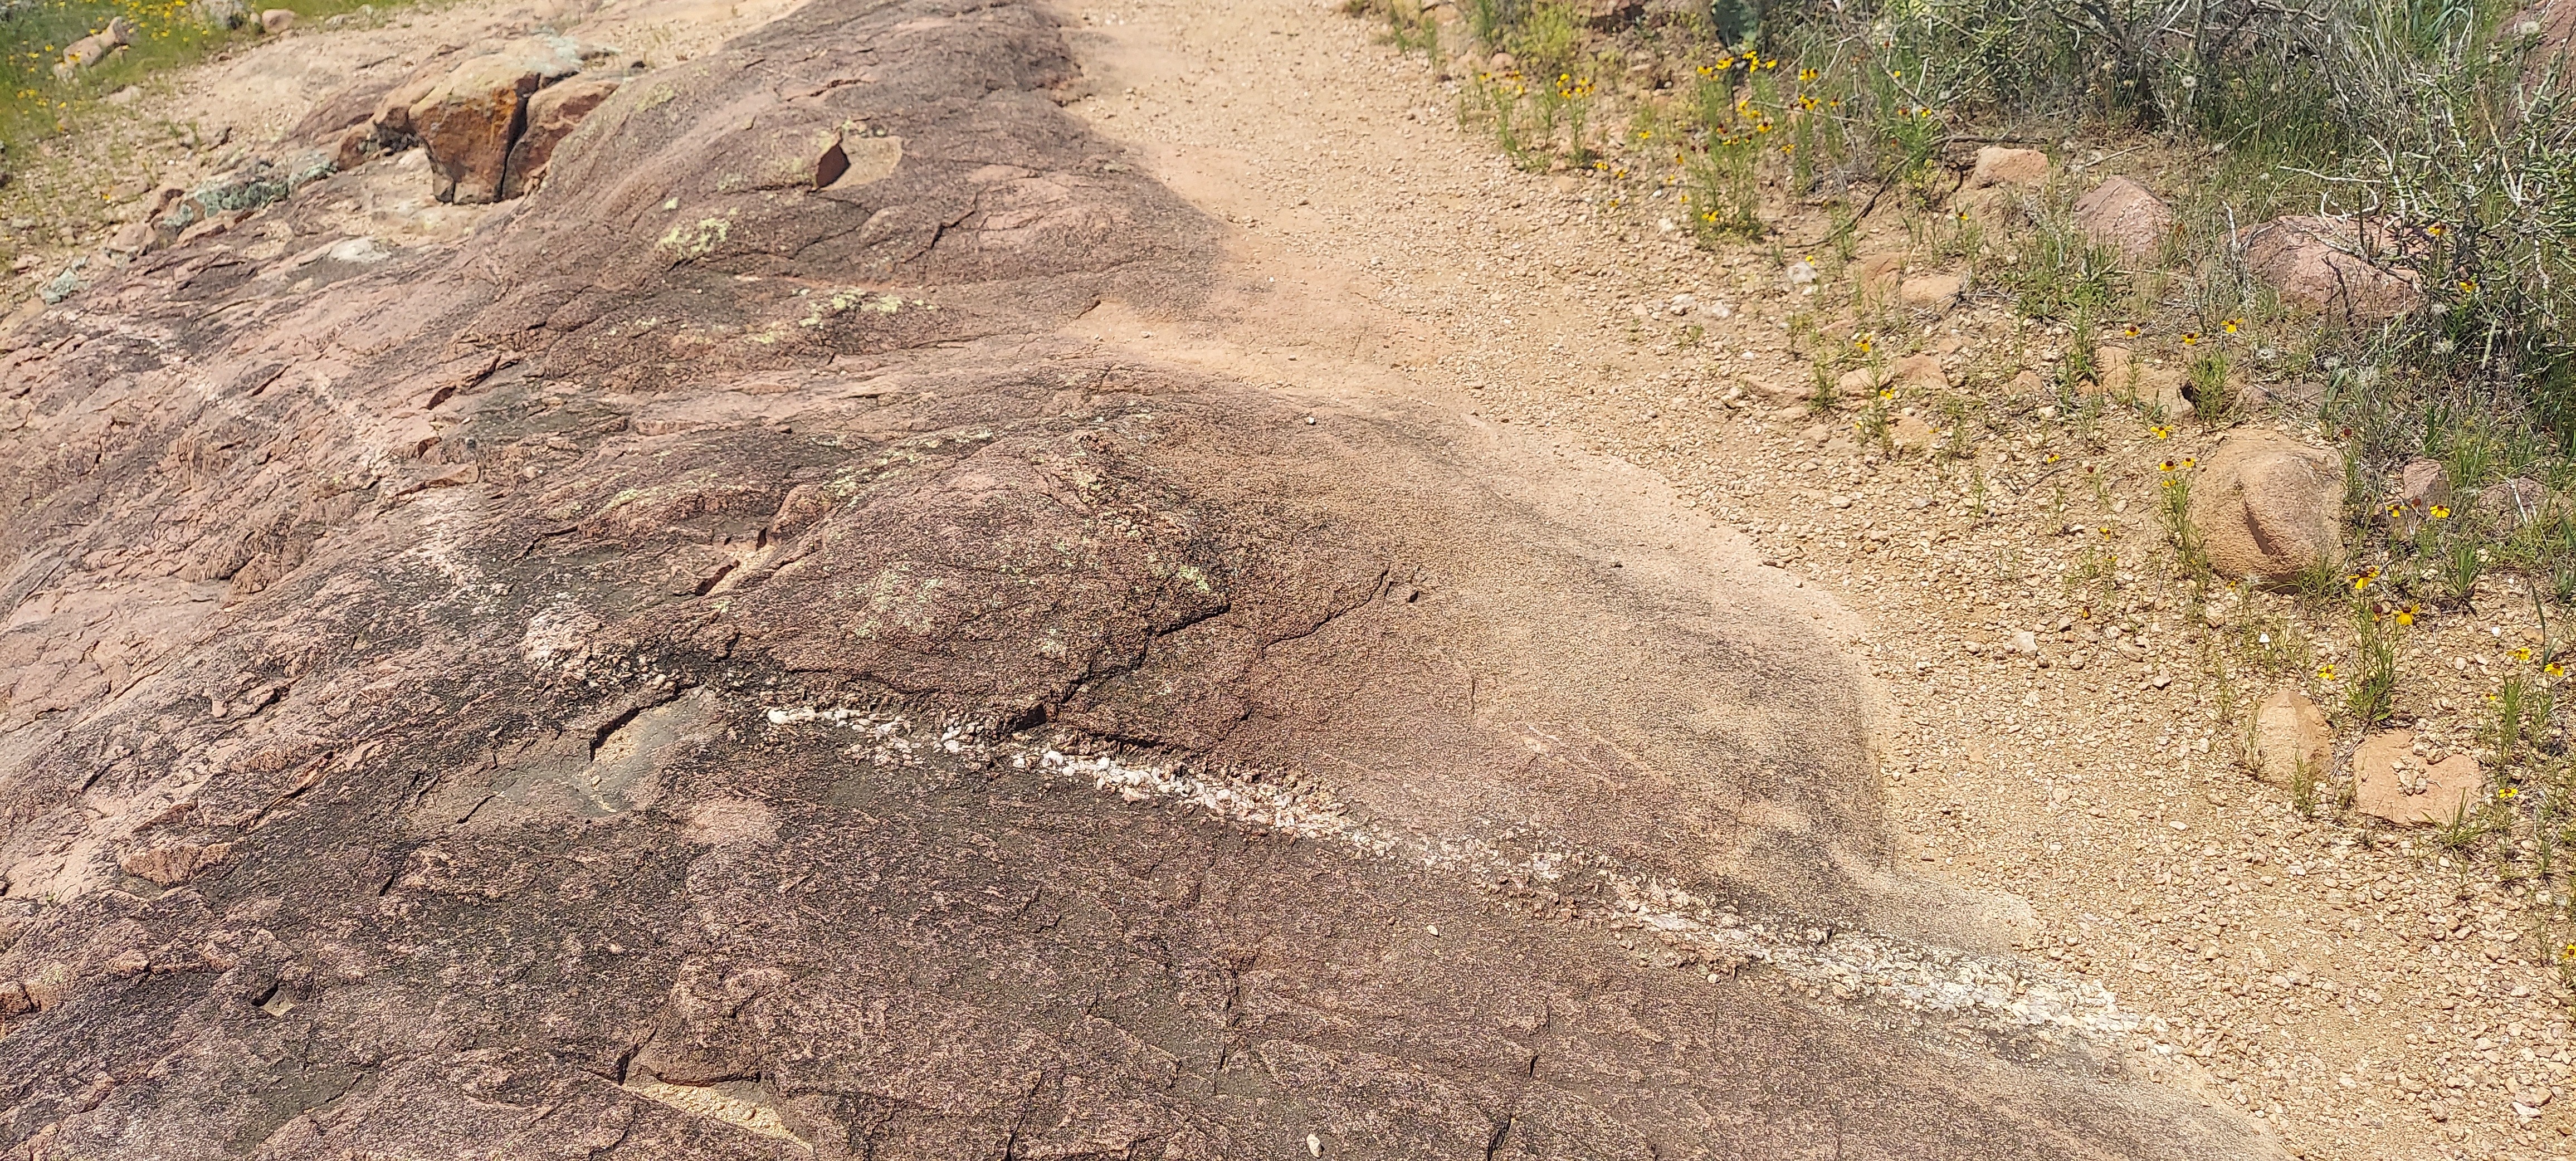
Rock formations with some quartz veins at Inks Lake in Texas

This material always contains a huge amount of pyrite flake
The goal of this process is to select out the large chunks of granite and the smaller material down to about 1/16th inch. Everything else is disposed of, I used it to fill some holes in the yard. All the decomposed granite I've gotten seems to contain huge amounts of pyrite flake. I think it is spoil from mining operations.
The actual composition of decomposed granite is likely going to vary based on where you are.
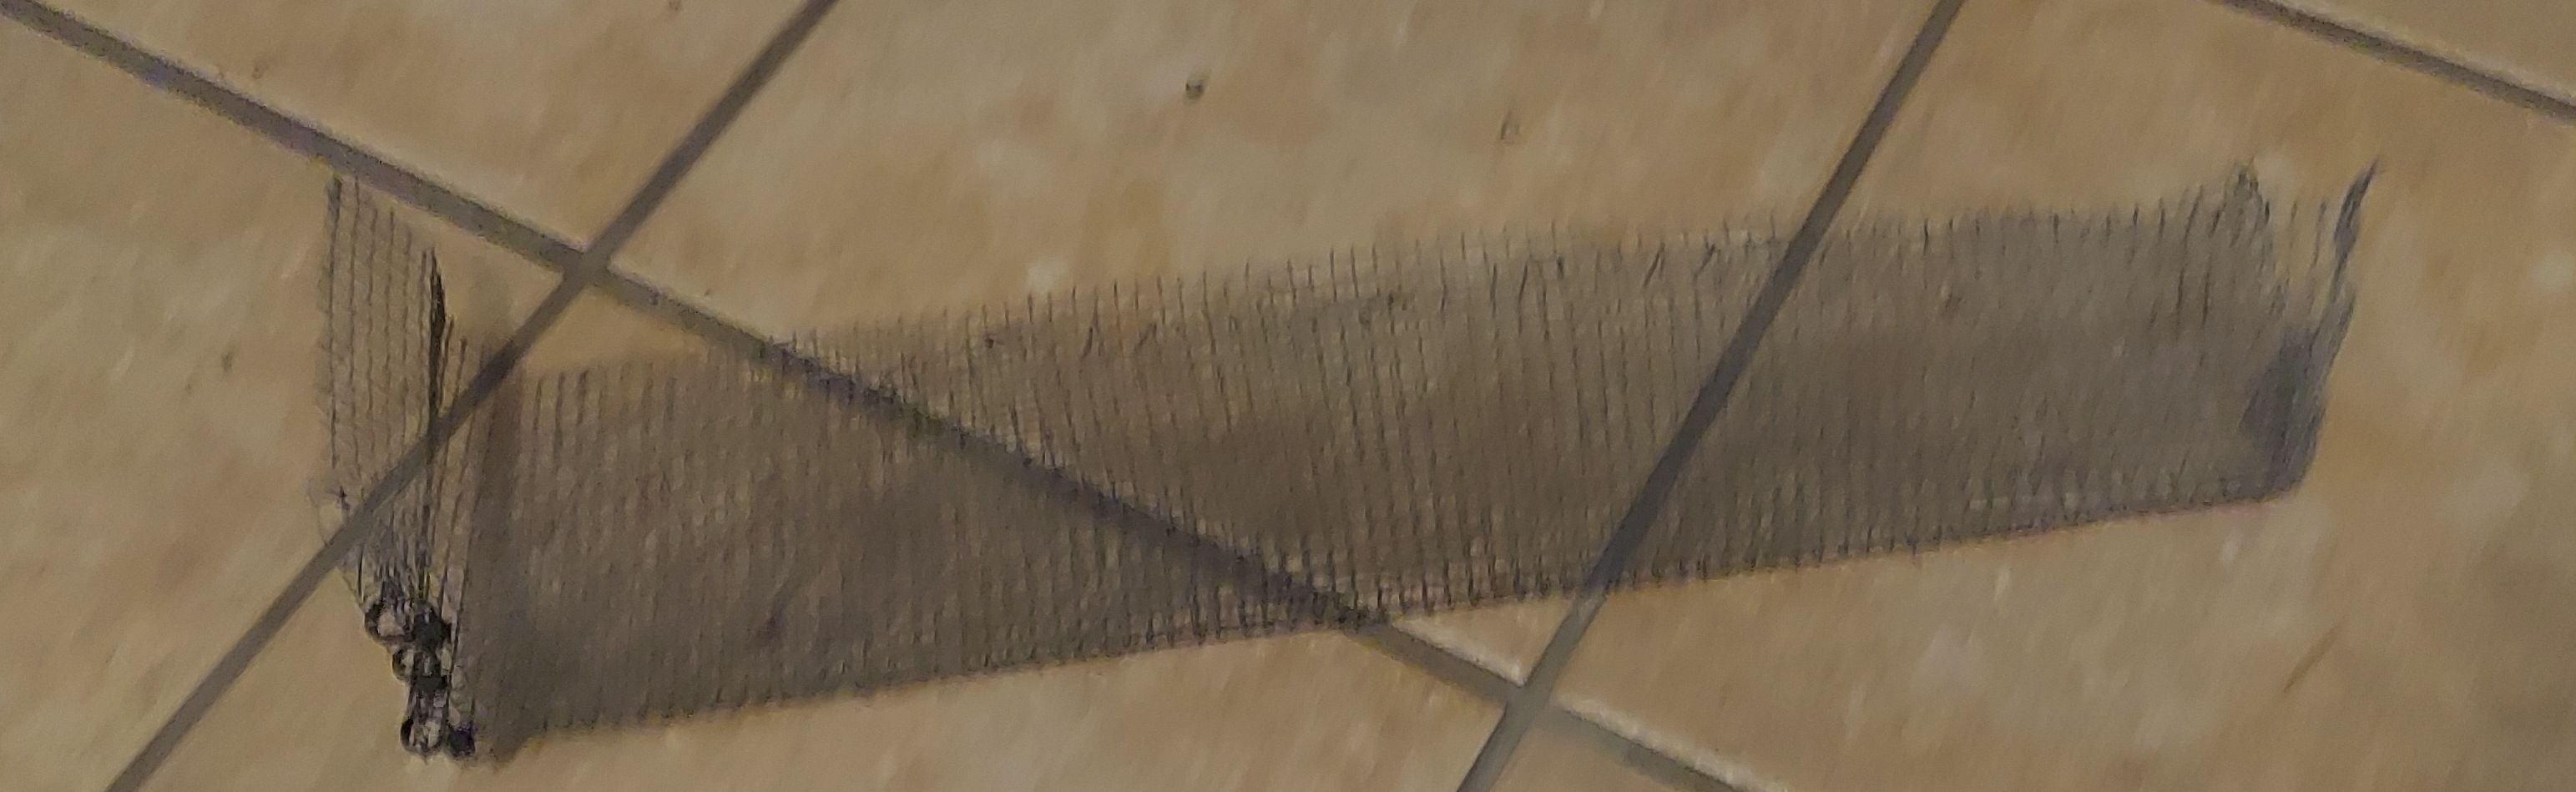
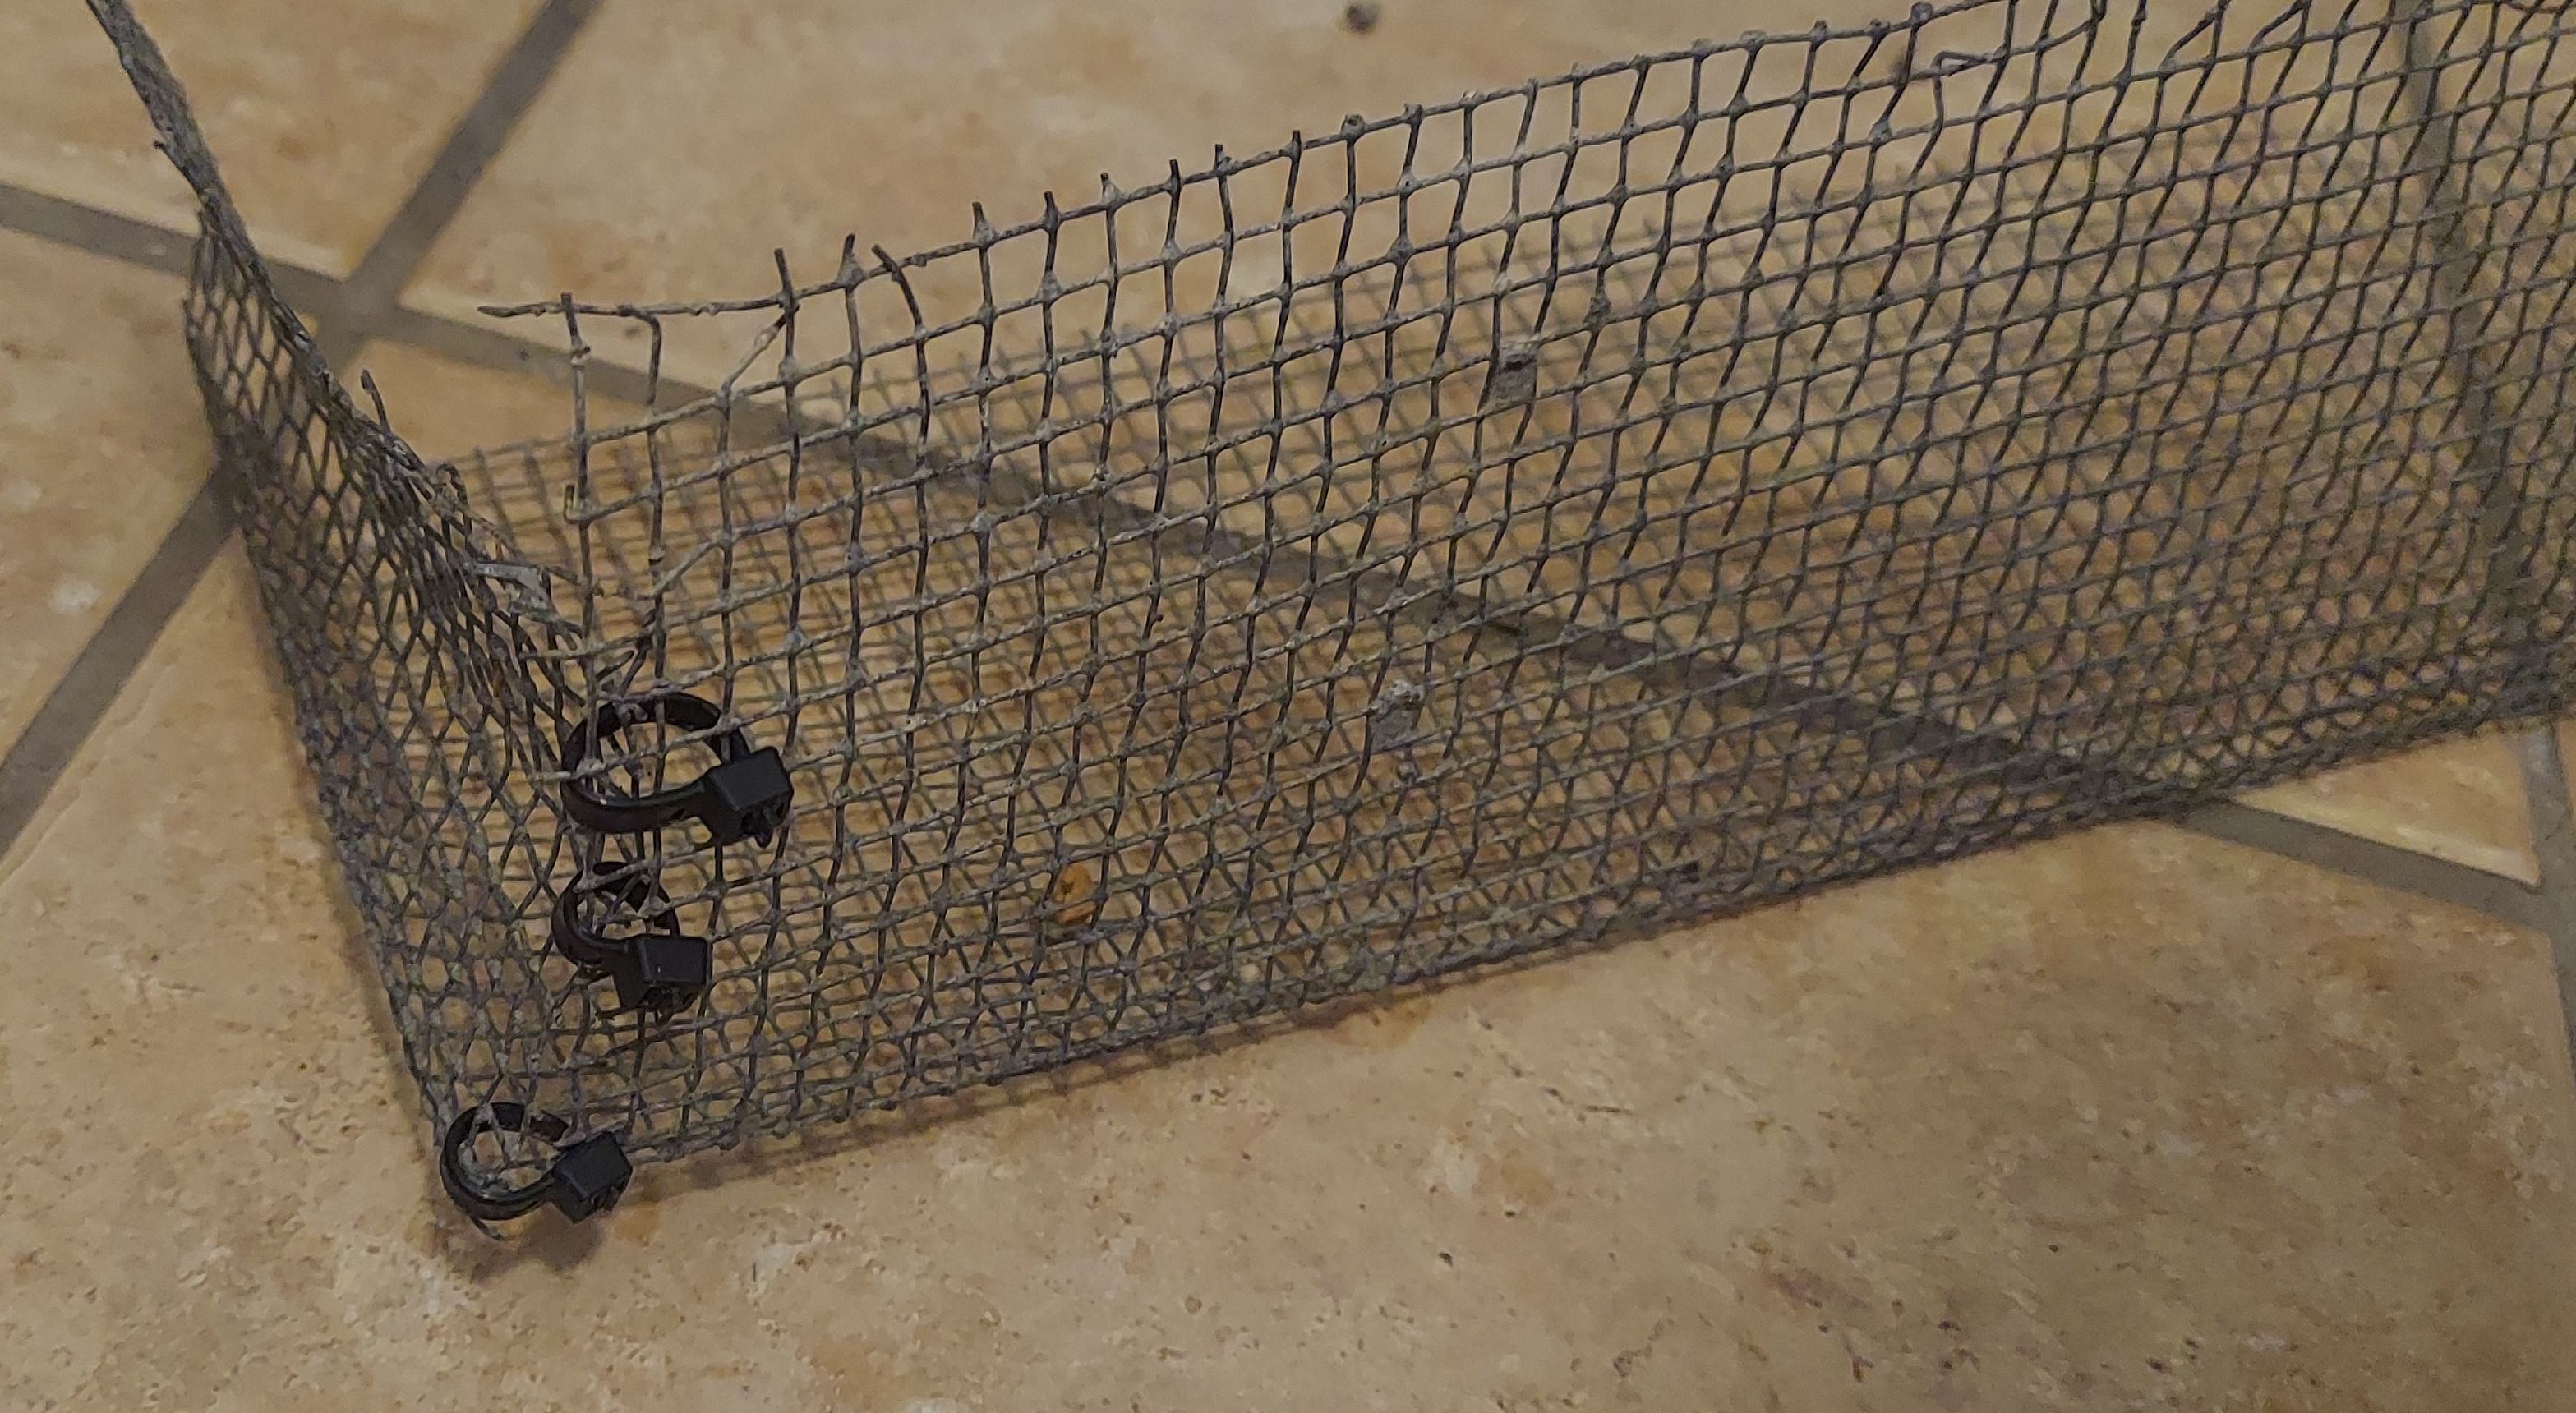
Making a sieve
The correct way to separate out different sized materials is a sieve. You can order one if you want, but I made one by taking my diagonal cutters and cutting up some 1/4 galvanzied steel mesh. I then folded that into a V shape to make a trough. One end was held together with some zip ties. This makes a very simple sieve that is adequate for this task. Obviously, you could make a nicer sieve for this or just use a commercially made sieve. It is overkill however as there is never any realy need to precisely sort out material by size.
Sieve-ing out the larger rocks
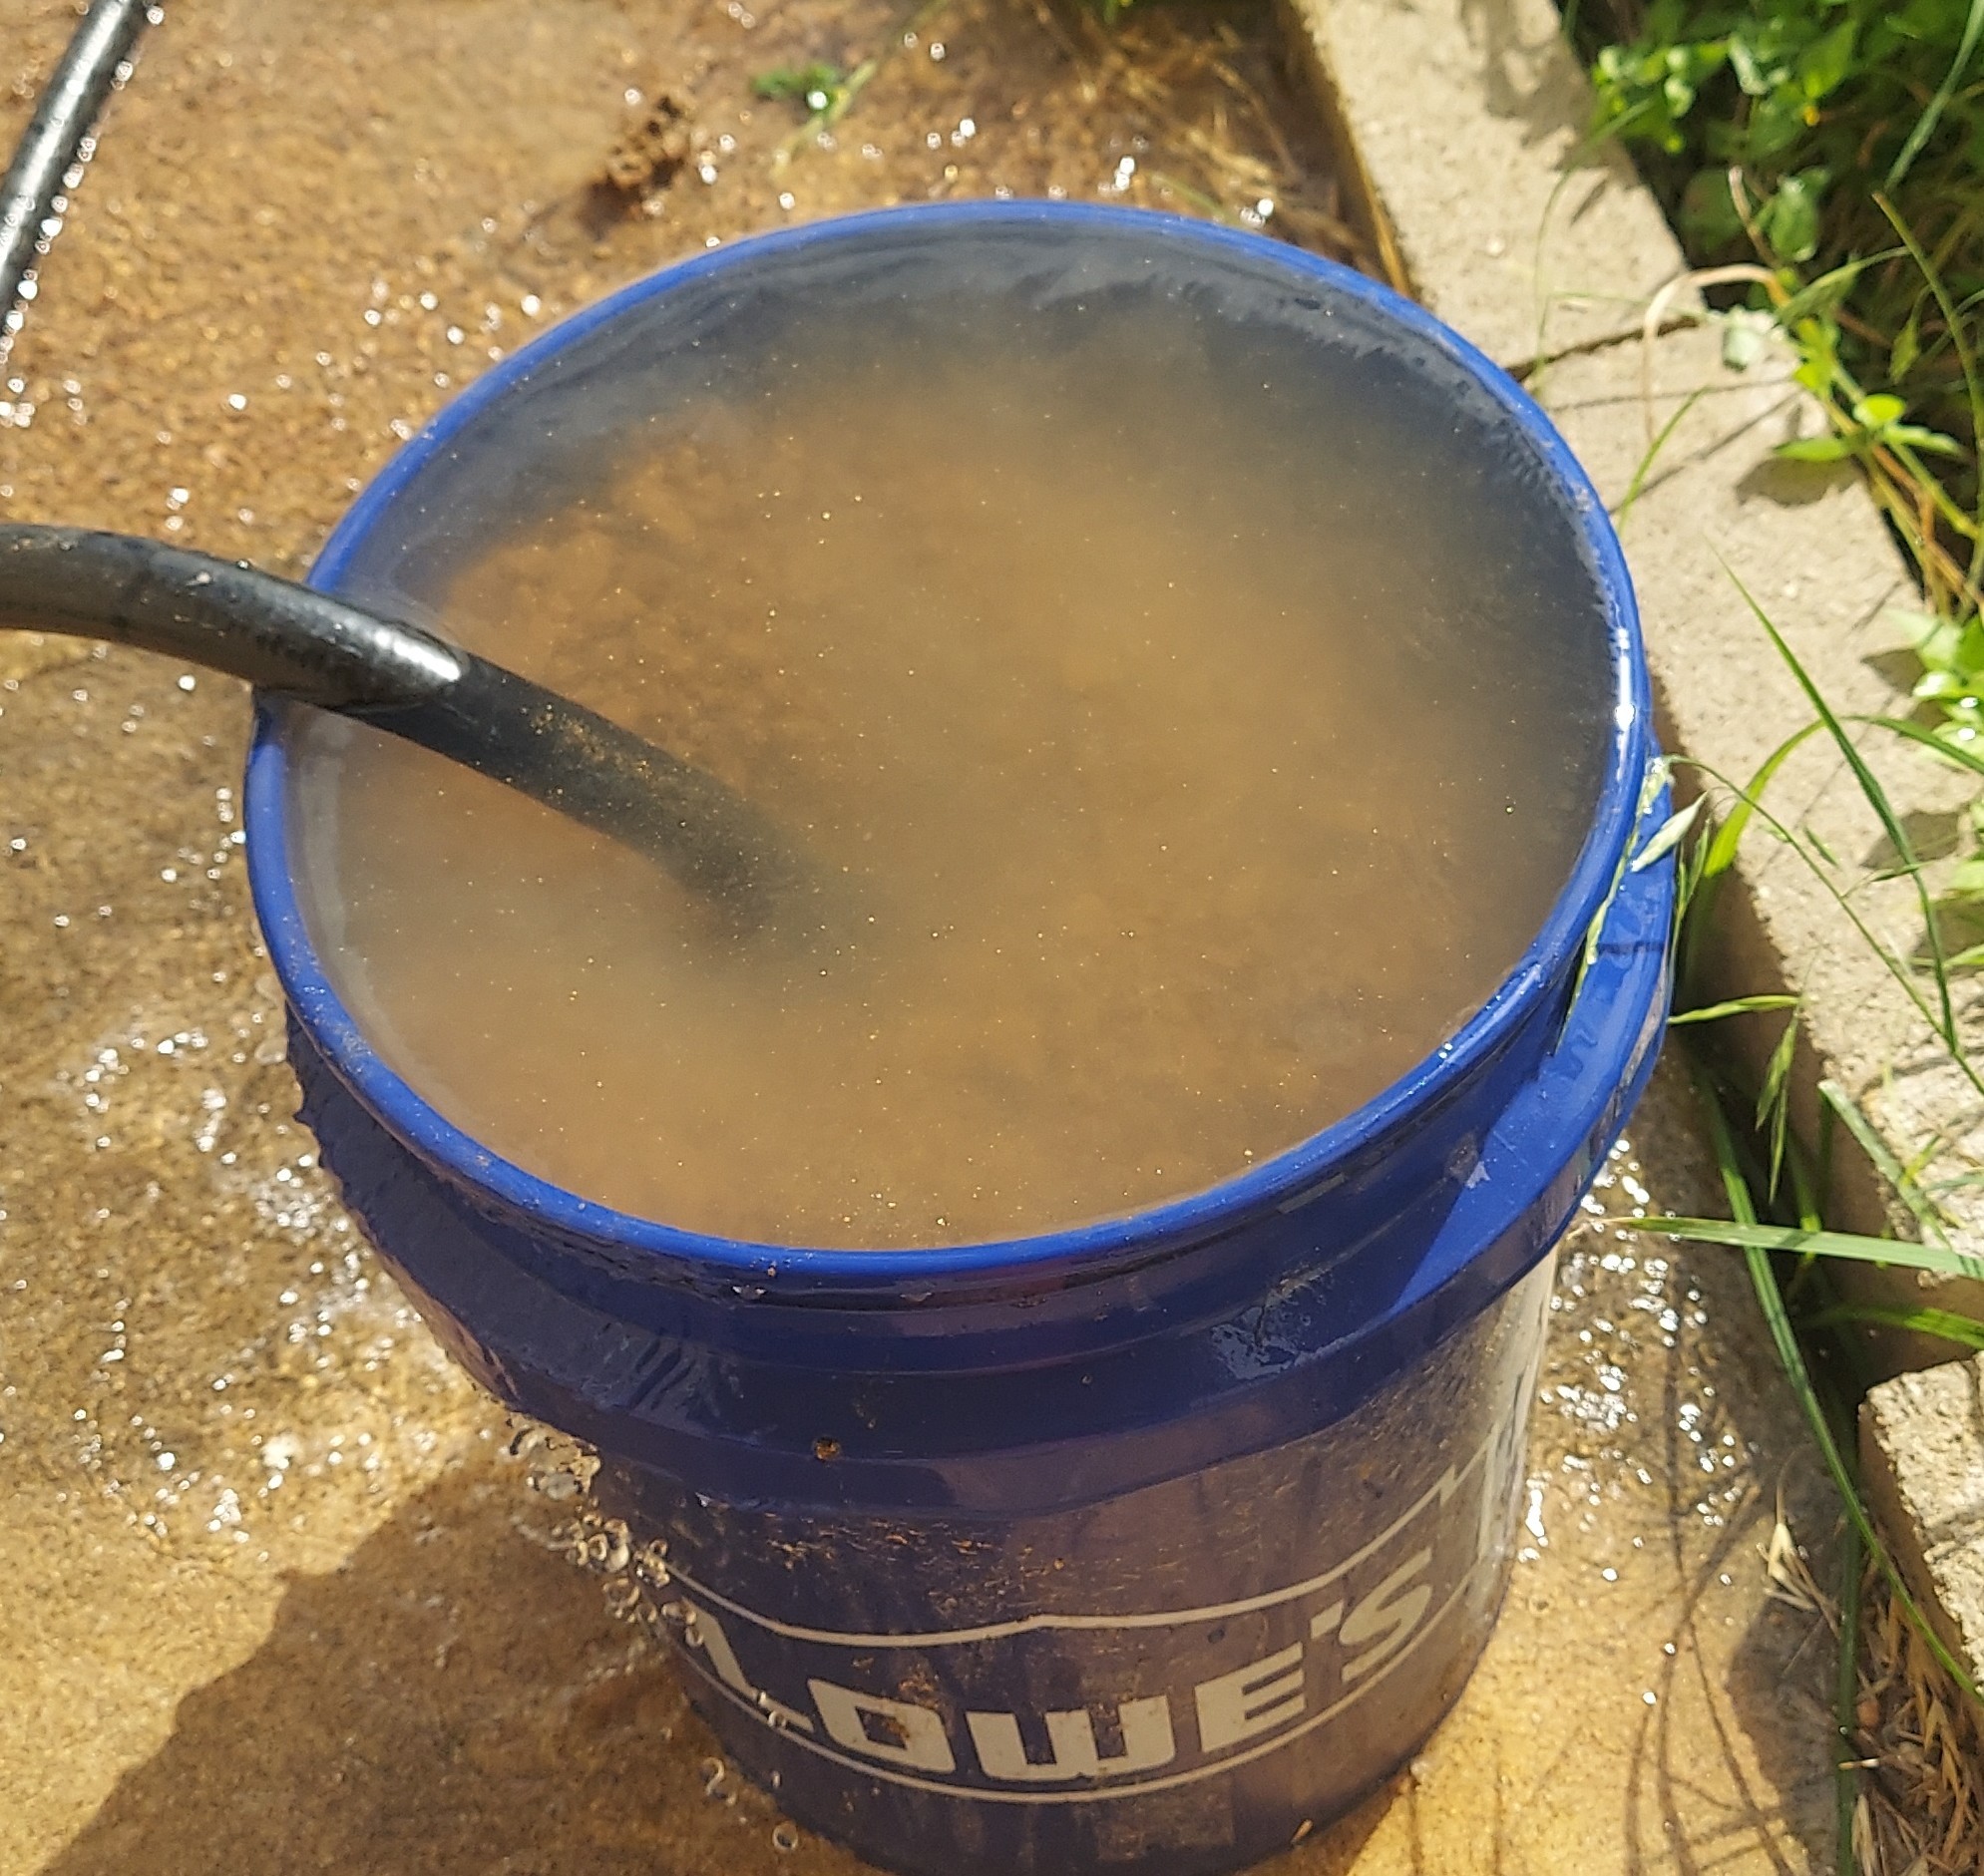
Once you have a sieve, you need to put it over some kind of container. I have a planter with a hole in the side. What I am able to do is to take several scoops from the bag of decomposed granite and drop them in the sieve while it sits on the planter. Then I use the garden hose to rinse the material in the sieve. What happens is
- large rocks stay in the sieve
- small rocks drop into the planter
- dust and powdered material flow away with the water
This process uses a huge amount of water, but water is basically free where I live. Once the material has washed through the sieve, the rocks in the sieve are thrown into one clean bucket. Repeat this process until your bag of decomposed granite is empty.

Cleaning off the rocks
Once you complete the sieve-ing process, you have a bucket of large rocks and another filled with small material. What we want to do is to use the hose and the water to agitate this material as much as possible. All the dust and small material is kicked up. The water is poured off without losing the heavier material. This process is then repeated.
You can keep doing this basically forever, but you get diminishing returns. I just did it a few times to get some of the dust gone.
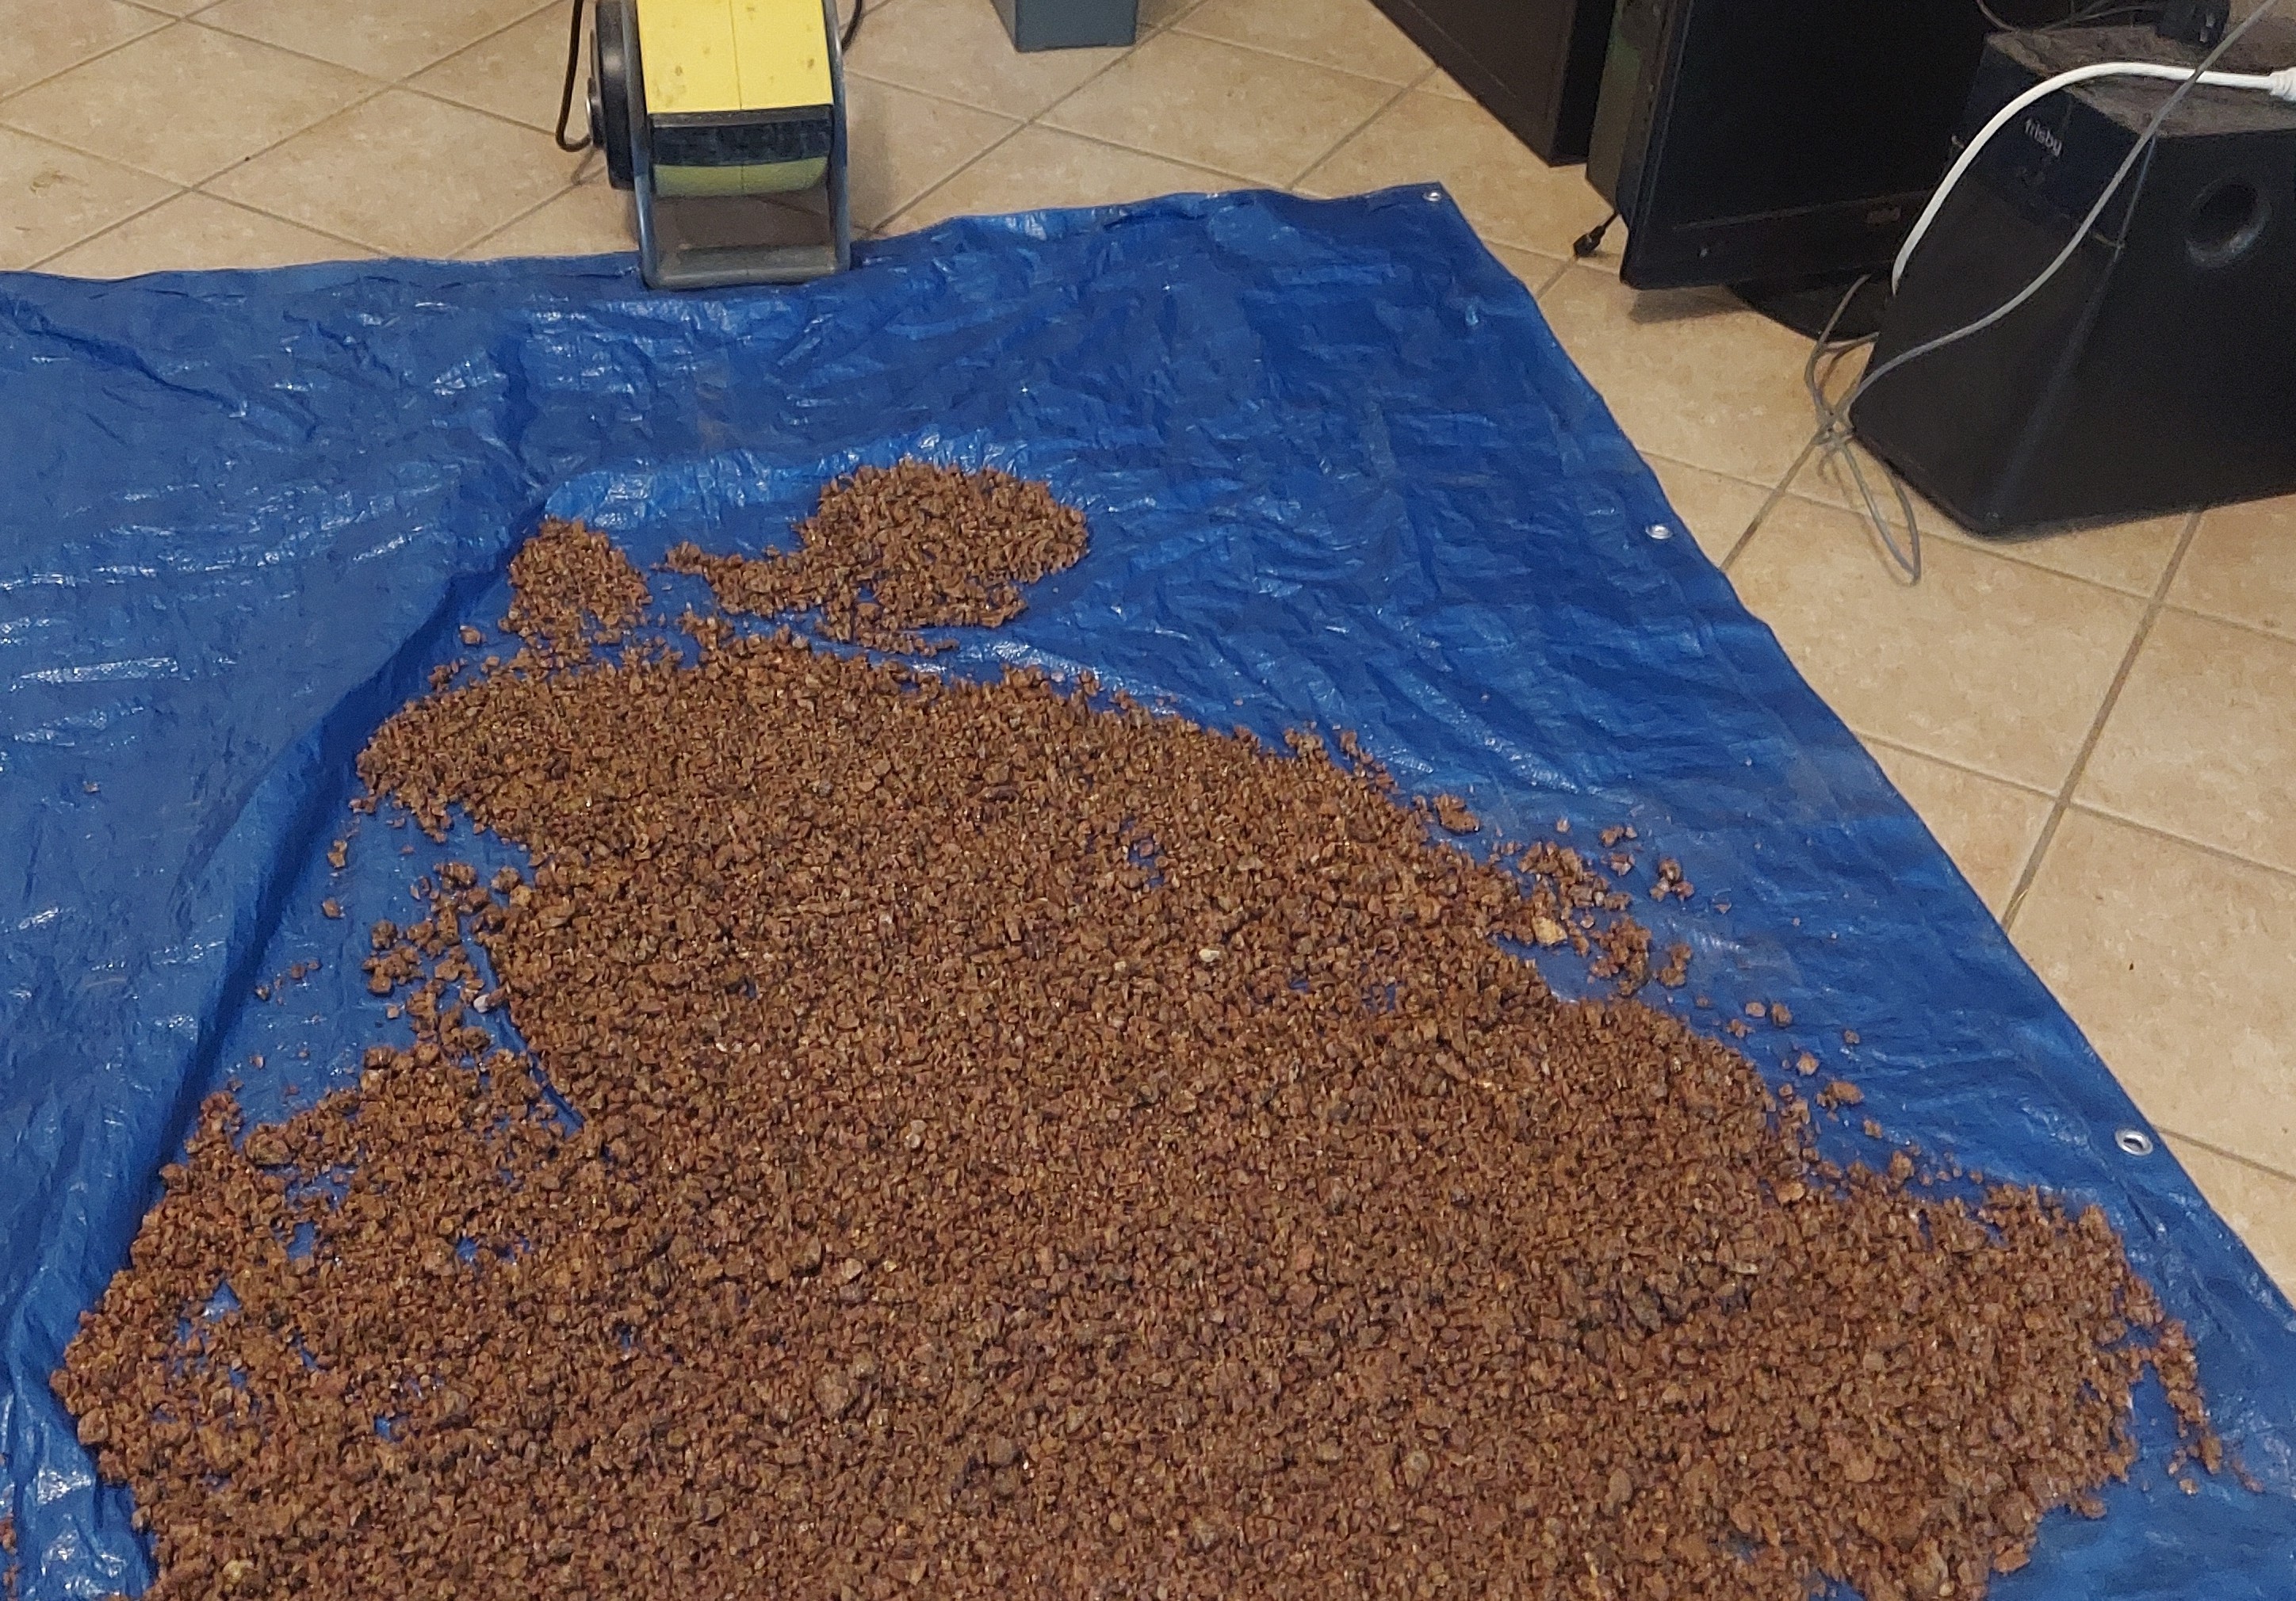
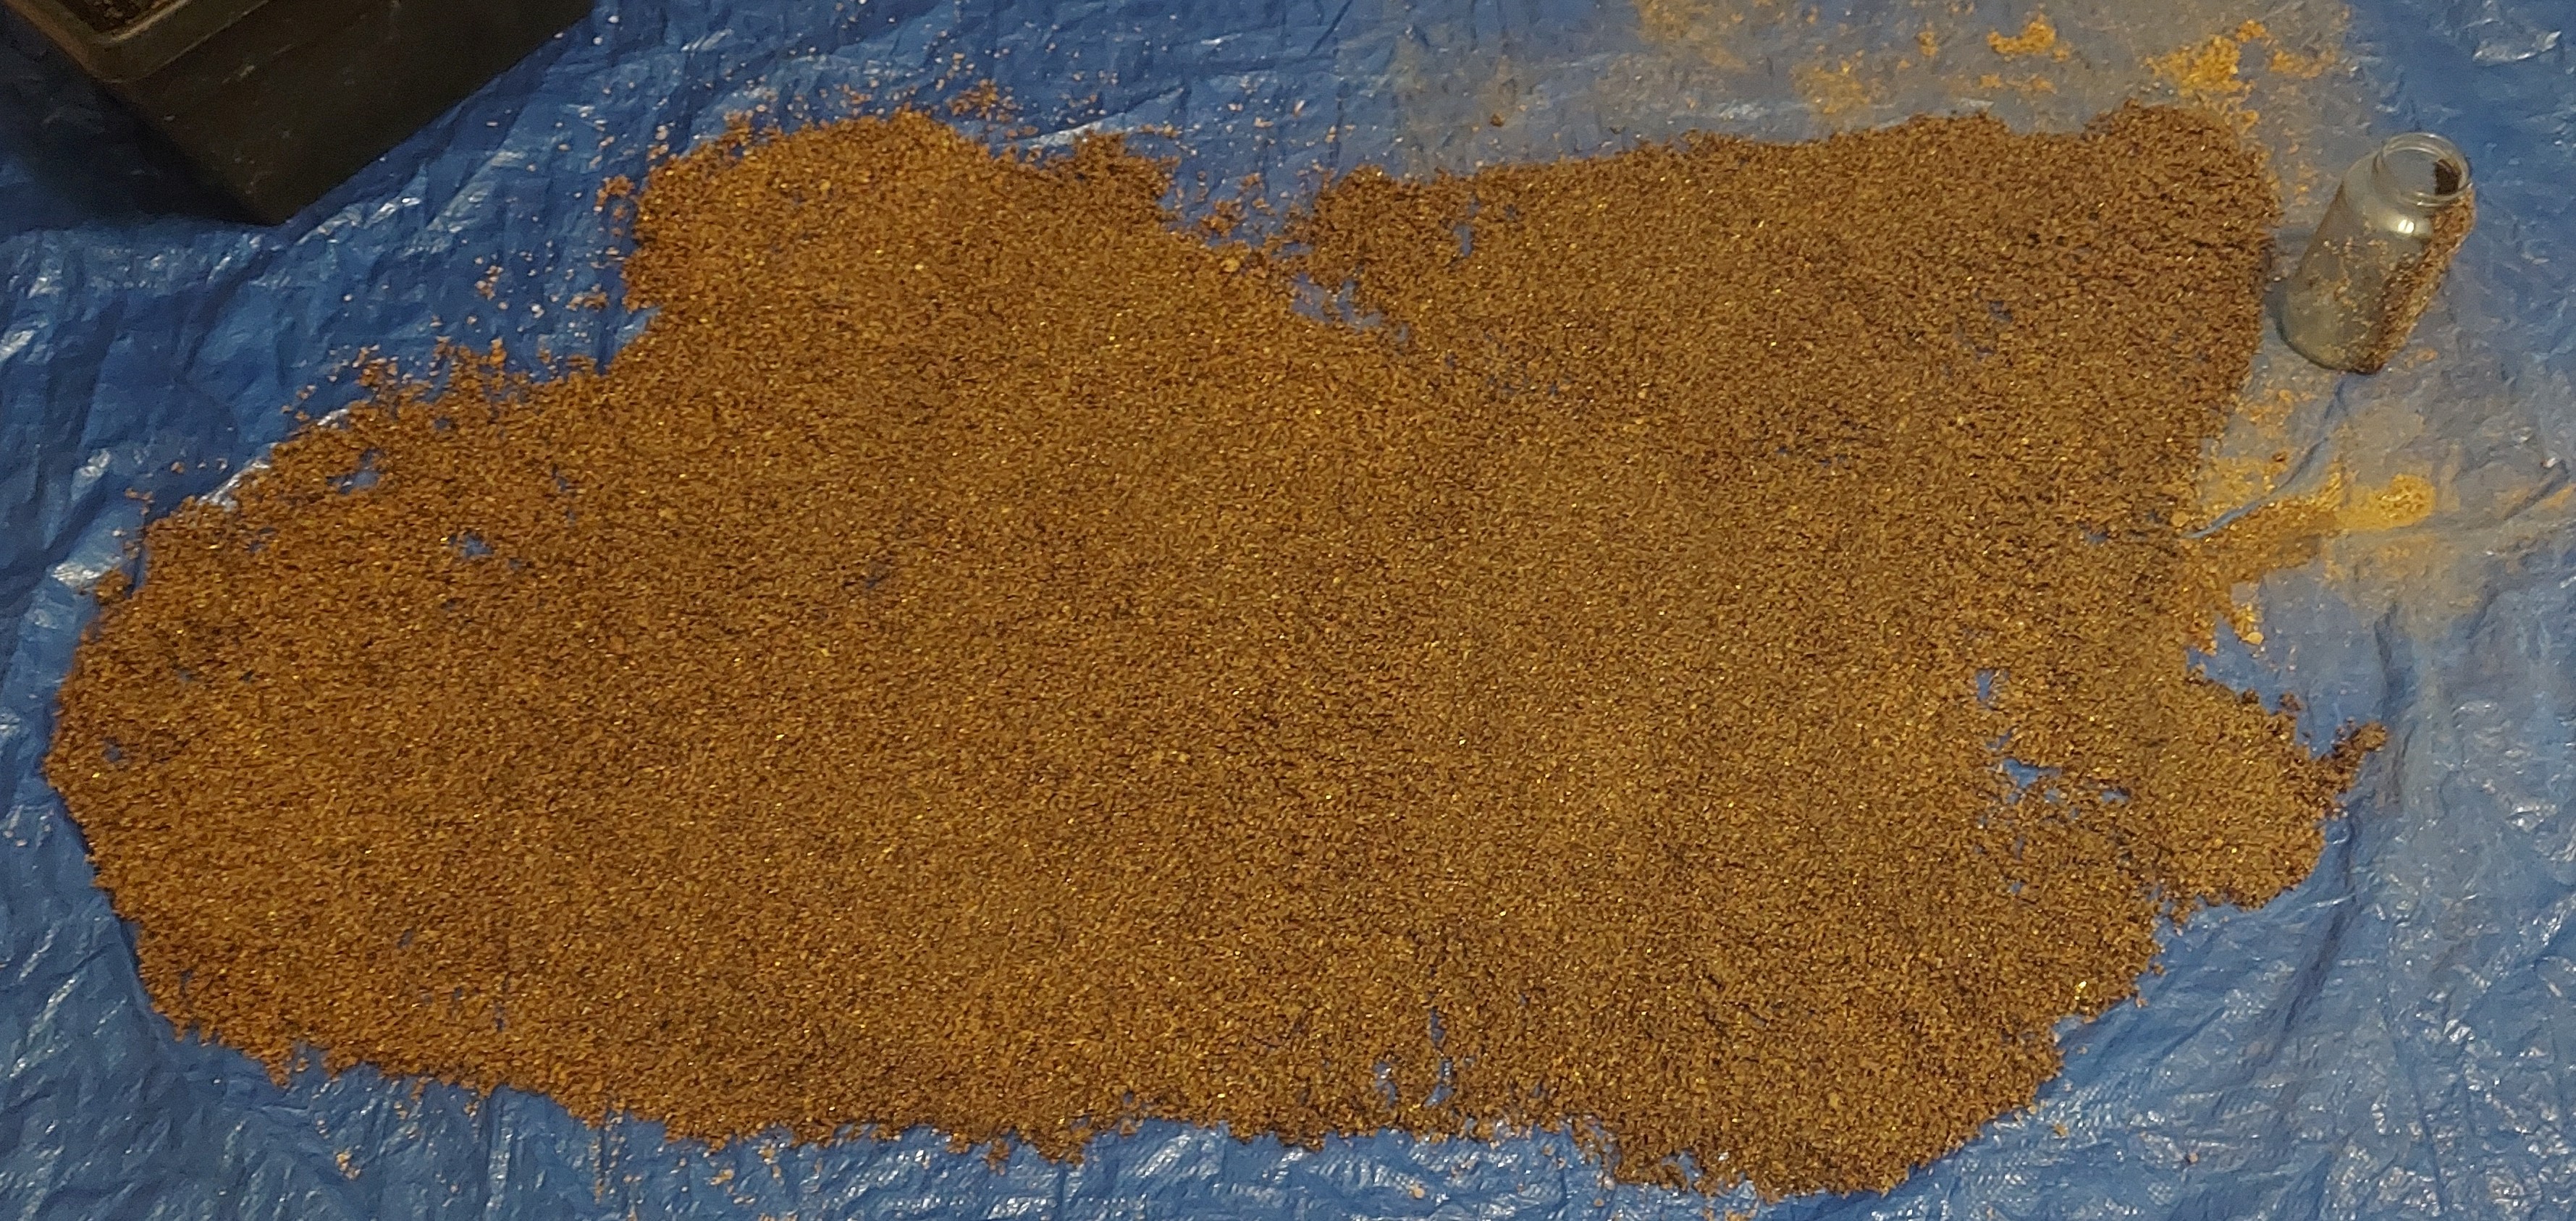
Drying the granite material
Now we have a bunch of wet large rocks and a very wet mixture of smaller fine grained rocks. All of this material needs to be dried. The humidity in my garage is fairly high this time of year. So I spread out a cheap tarp in my living room, then spread out the rocks on the tarp. I used a blower fan to push air across the surface. This takes a long time and you may need to turn the rocks to get even drying.
Granite before drying
Fine granite after drying
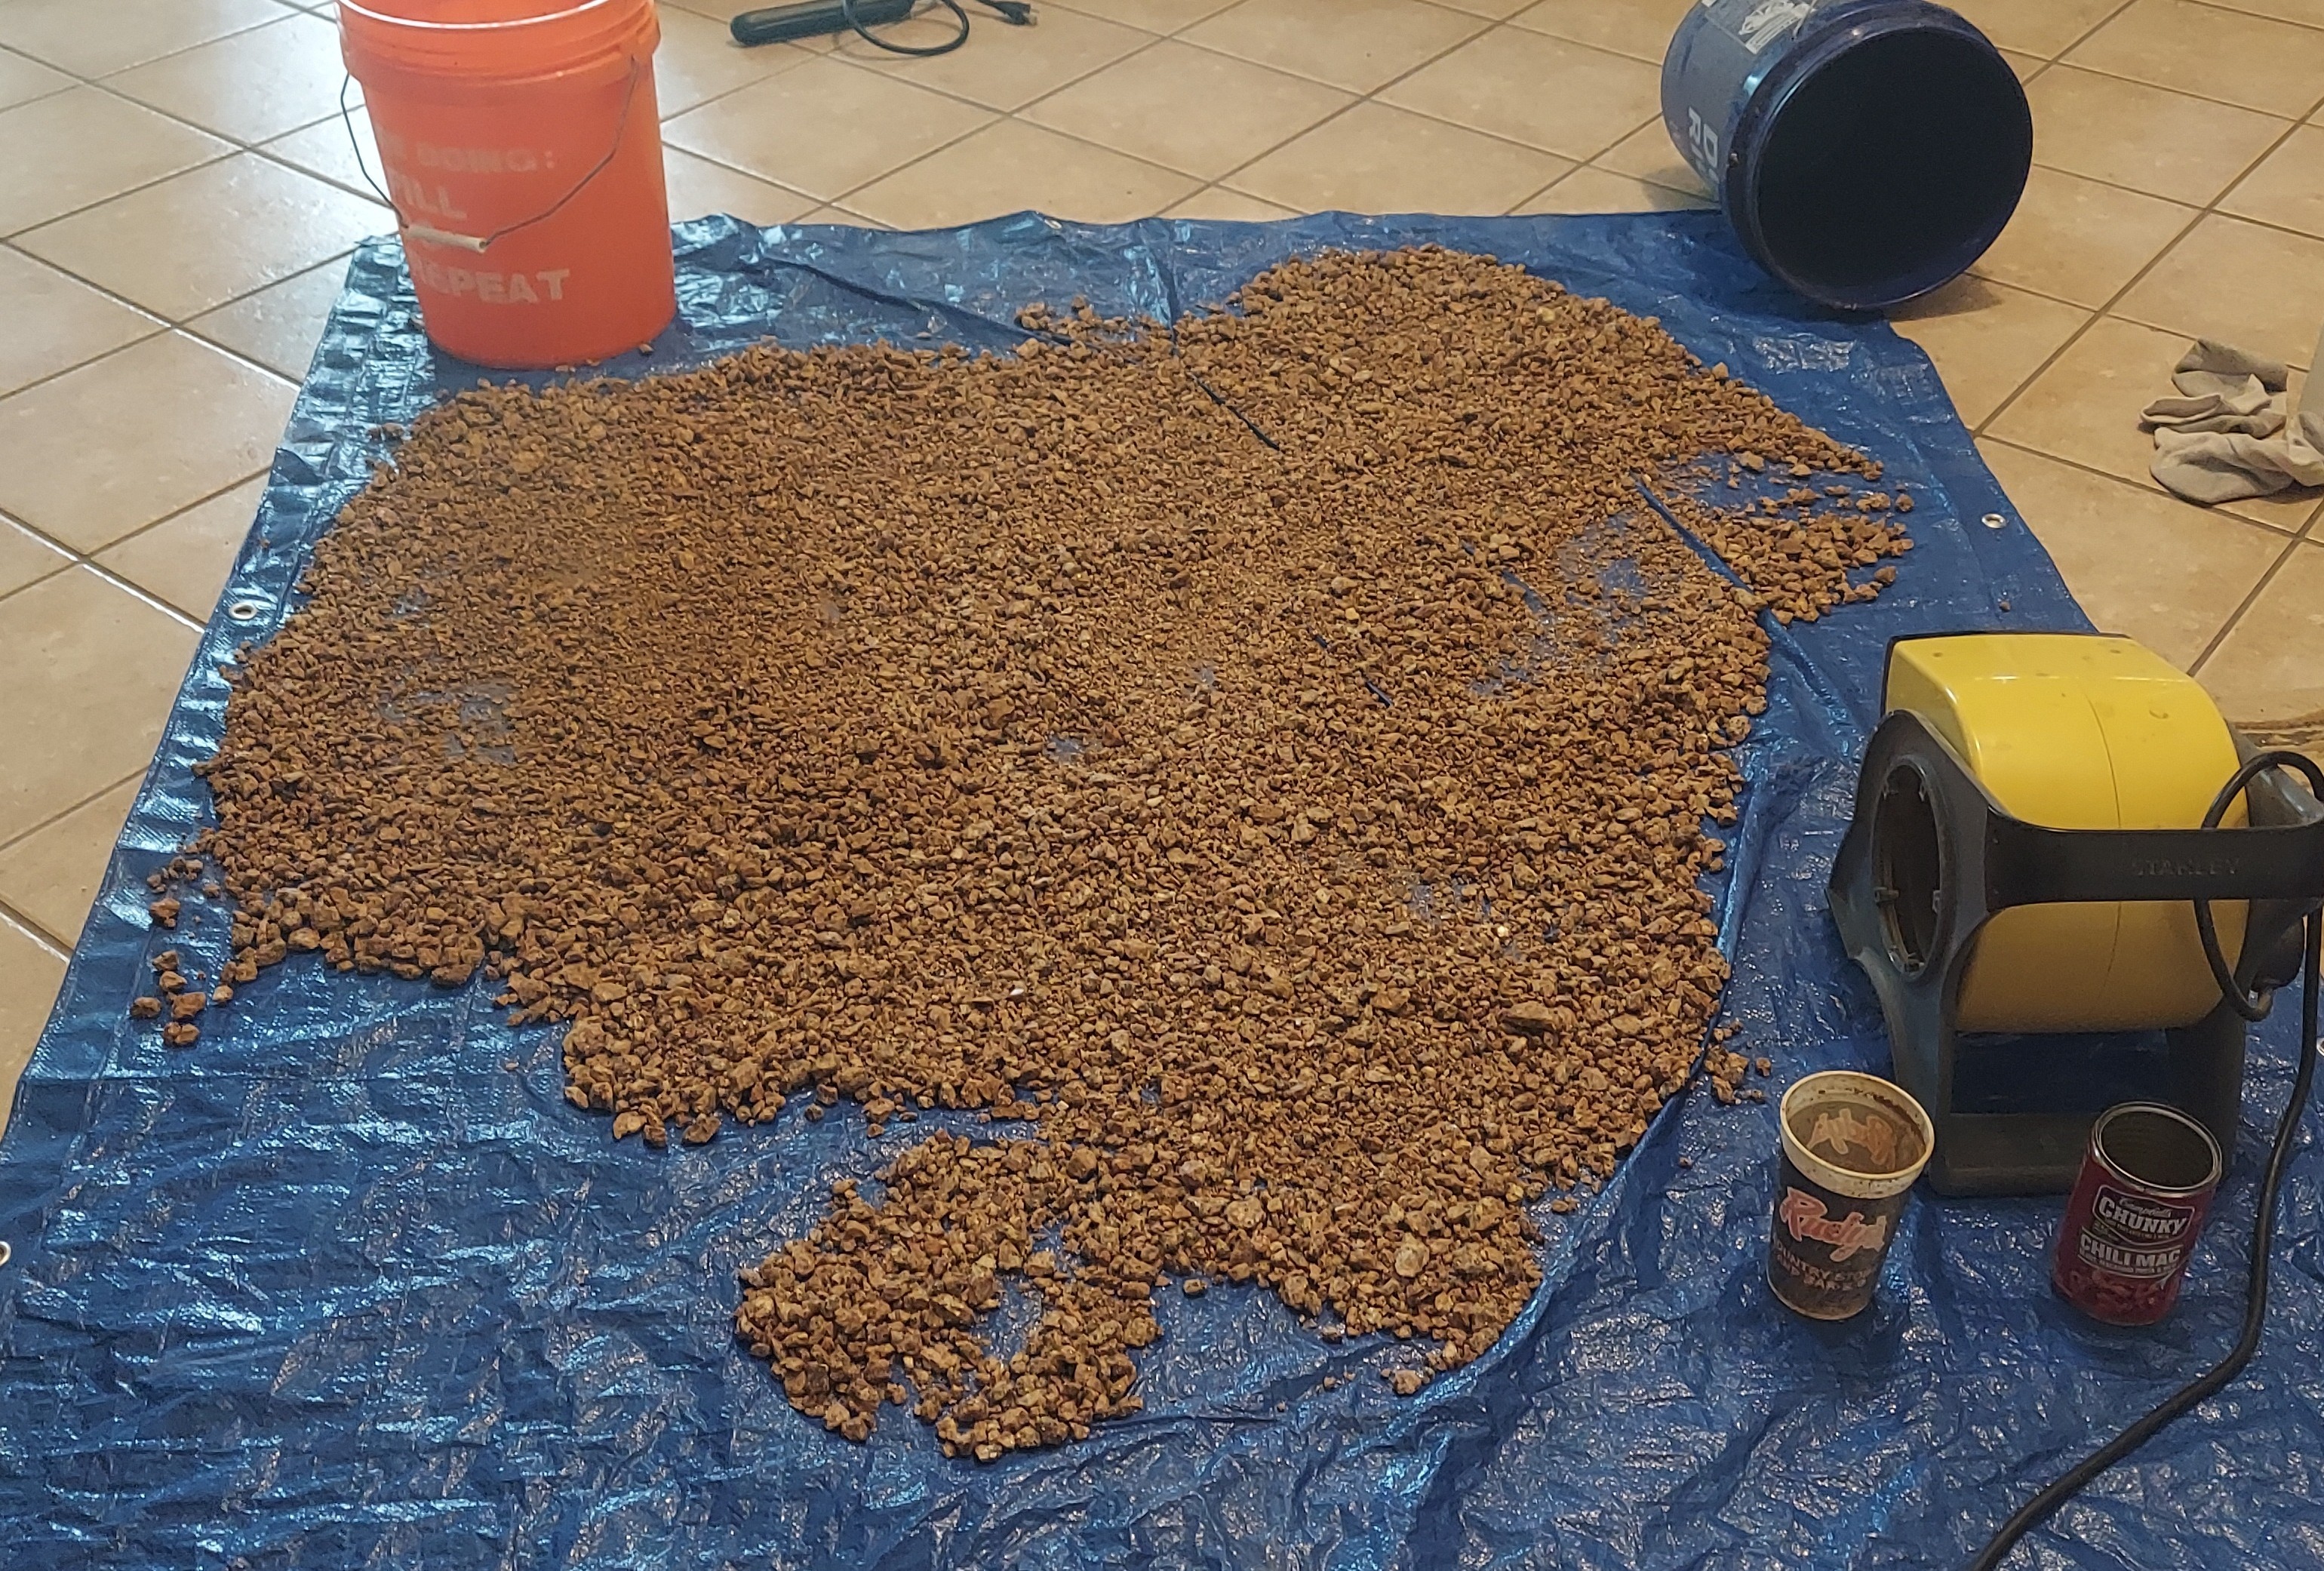
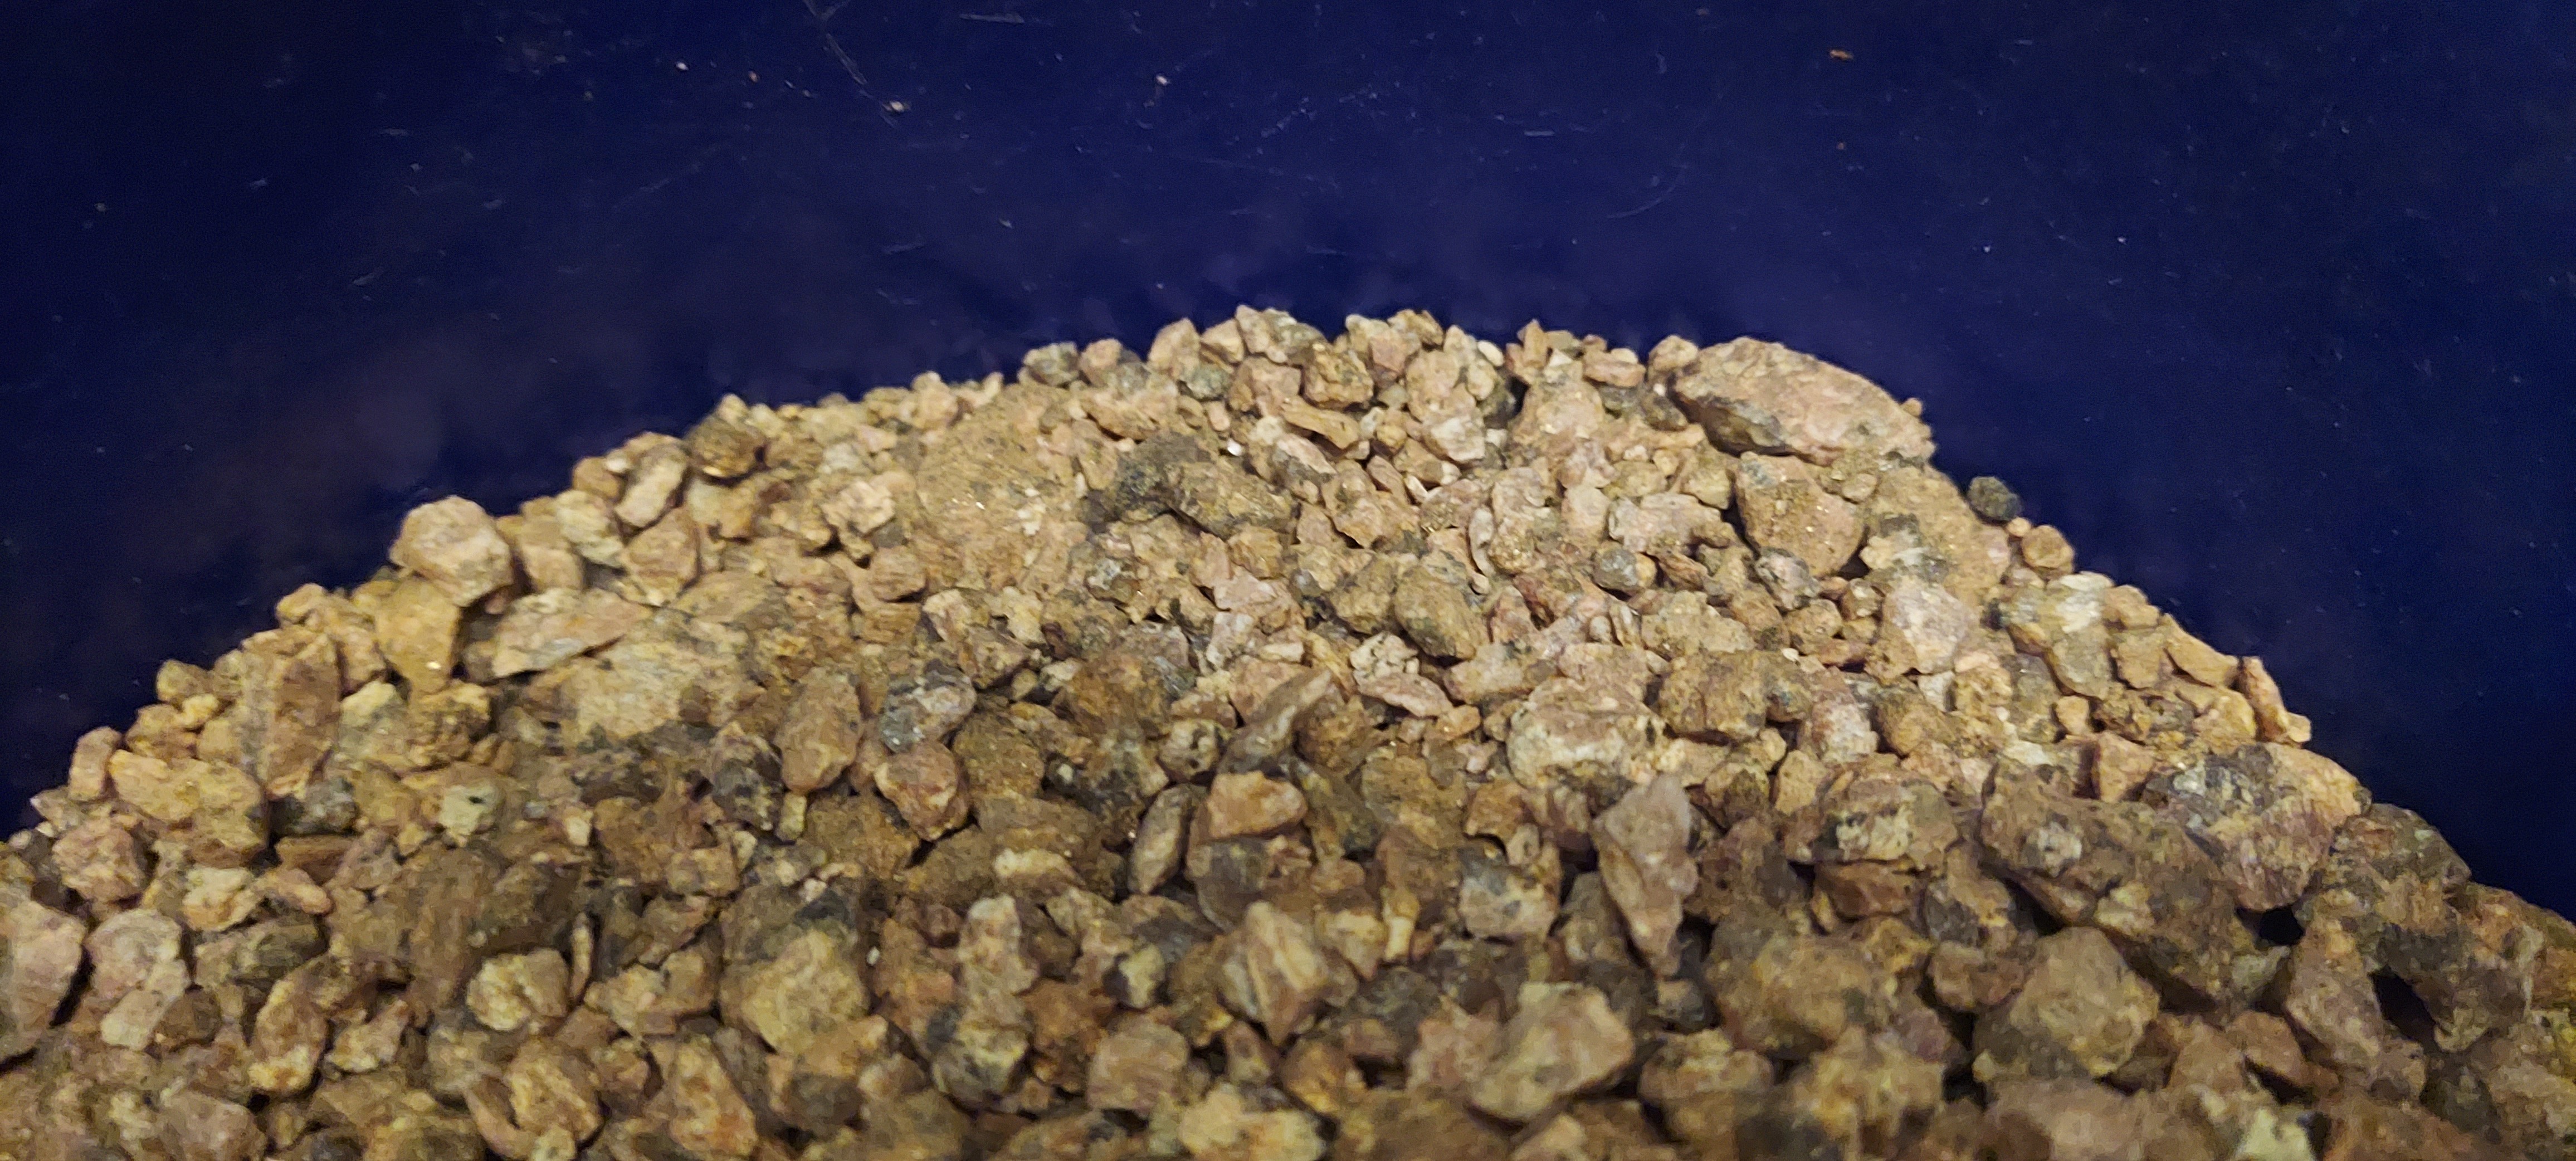
Granite after drying
Separating out the smaller material
When you dry the larger rocks, you'll notice it still has a bunch of smaller material mixed in. What I did was lifted up on the tarp edges to cause the material to form a narrow strip of a pile. On the top of this seems to be the larger rocks. So I skimmed that off and returned it to my bucket of large rocks. The remaining amount fine grained material was transferred into the bucket of the fine material.
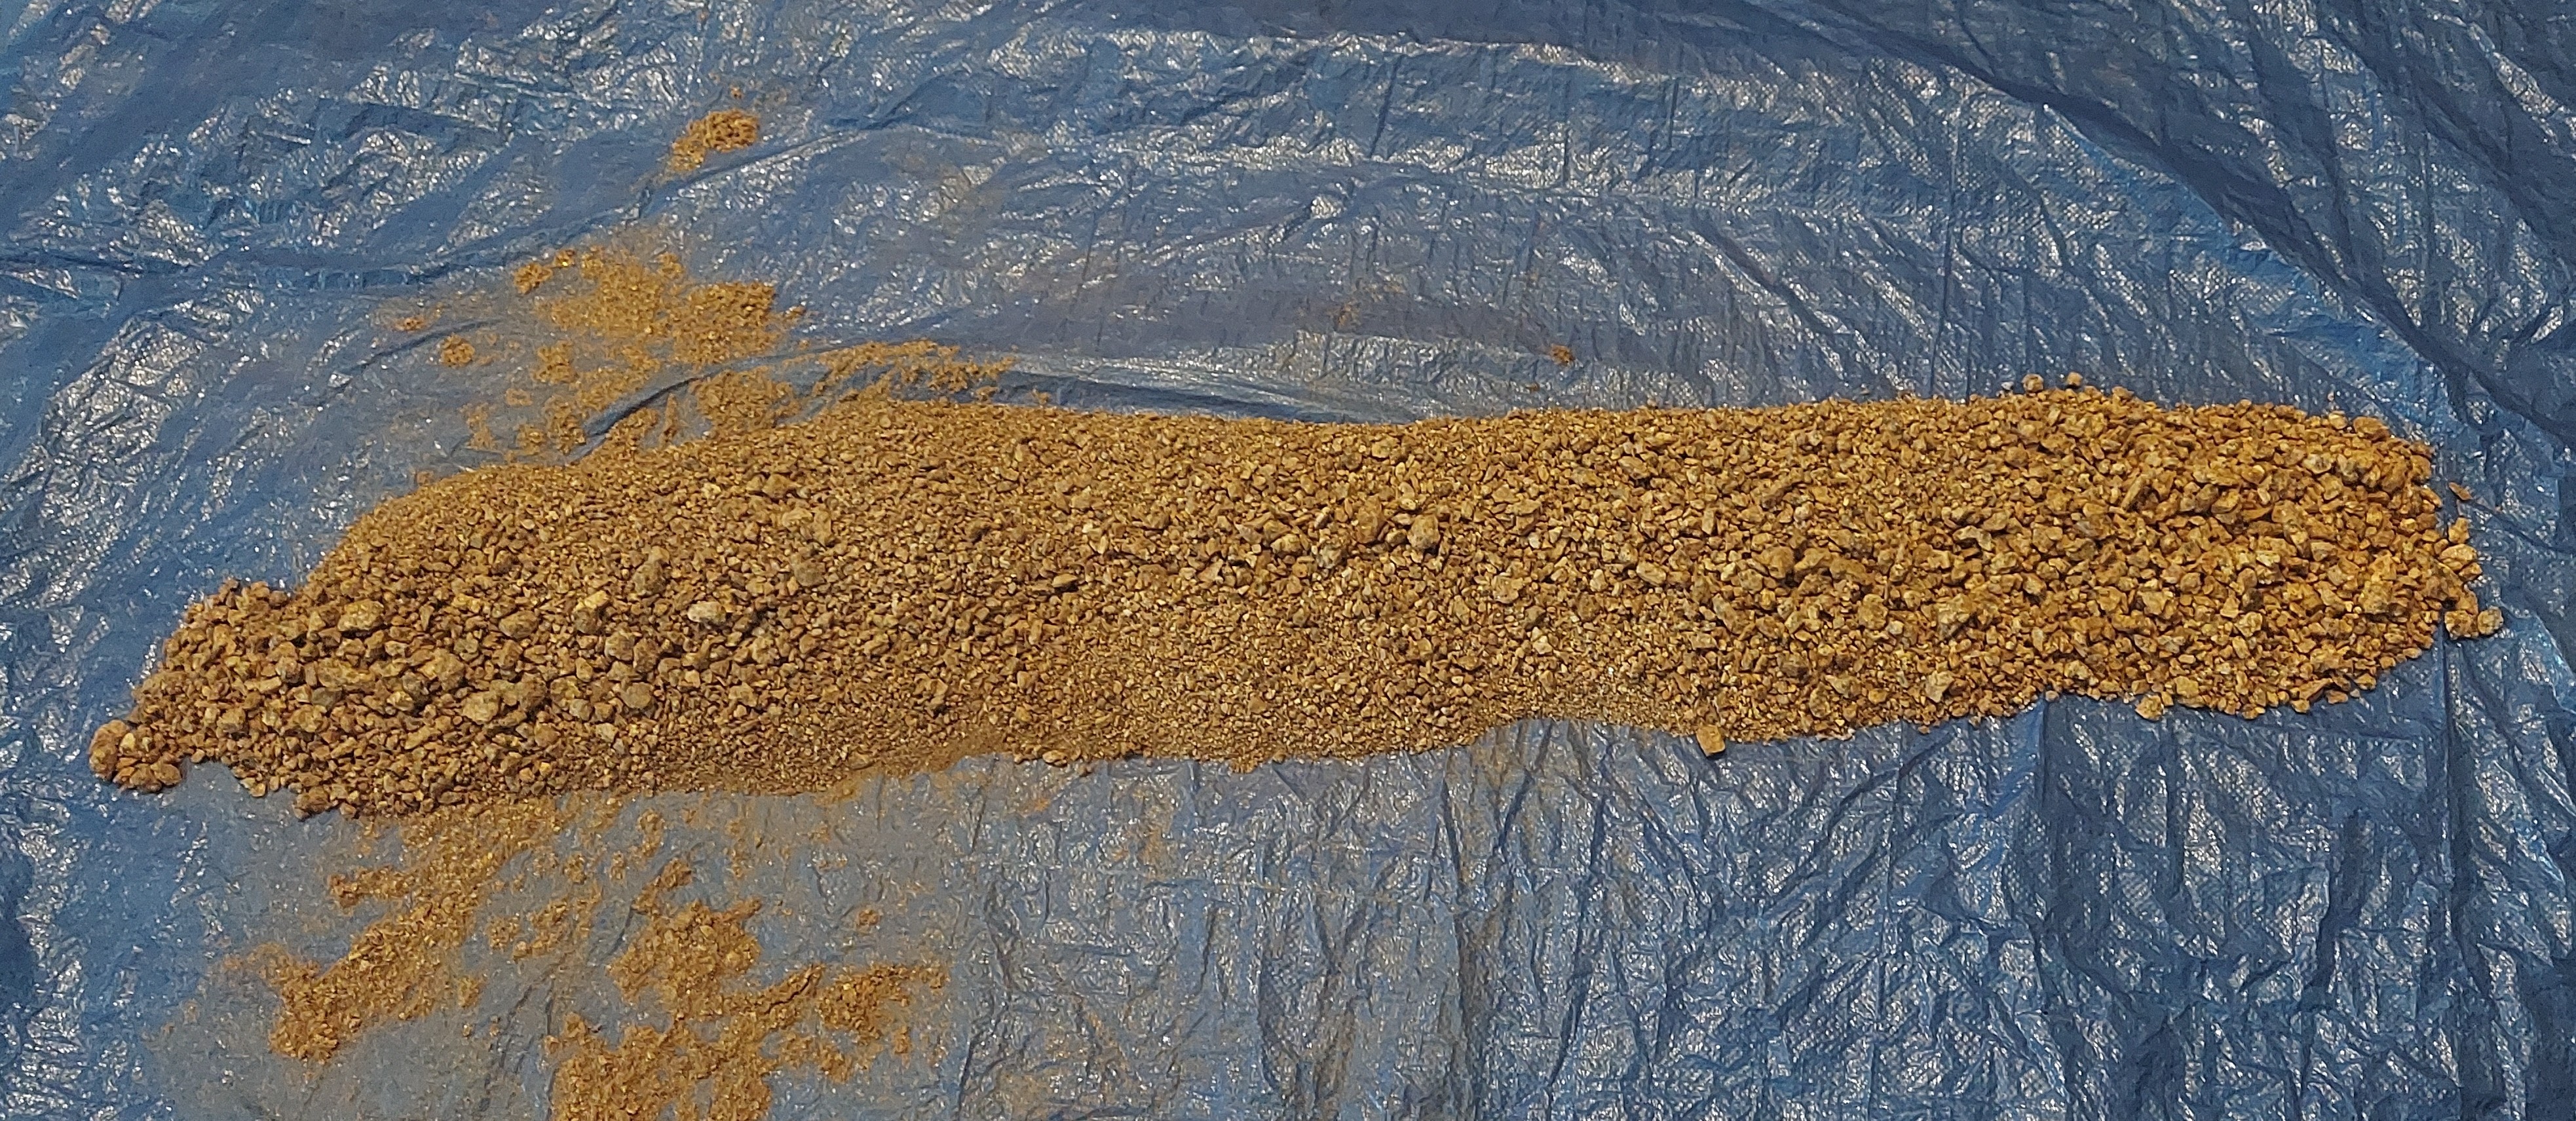
Smaller rocks fall to the bottom on their own
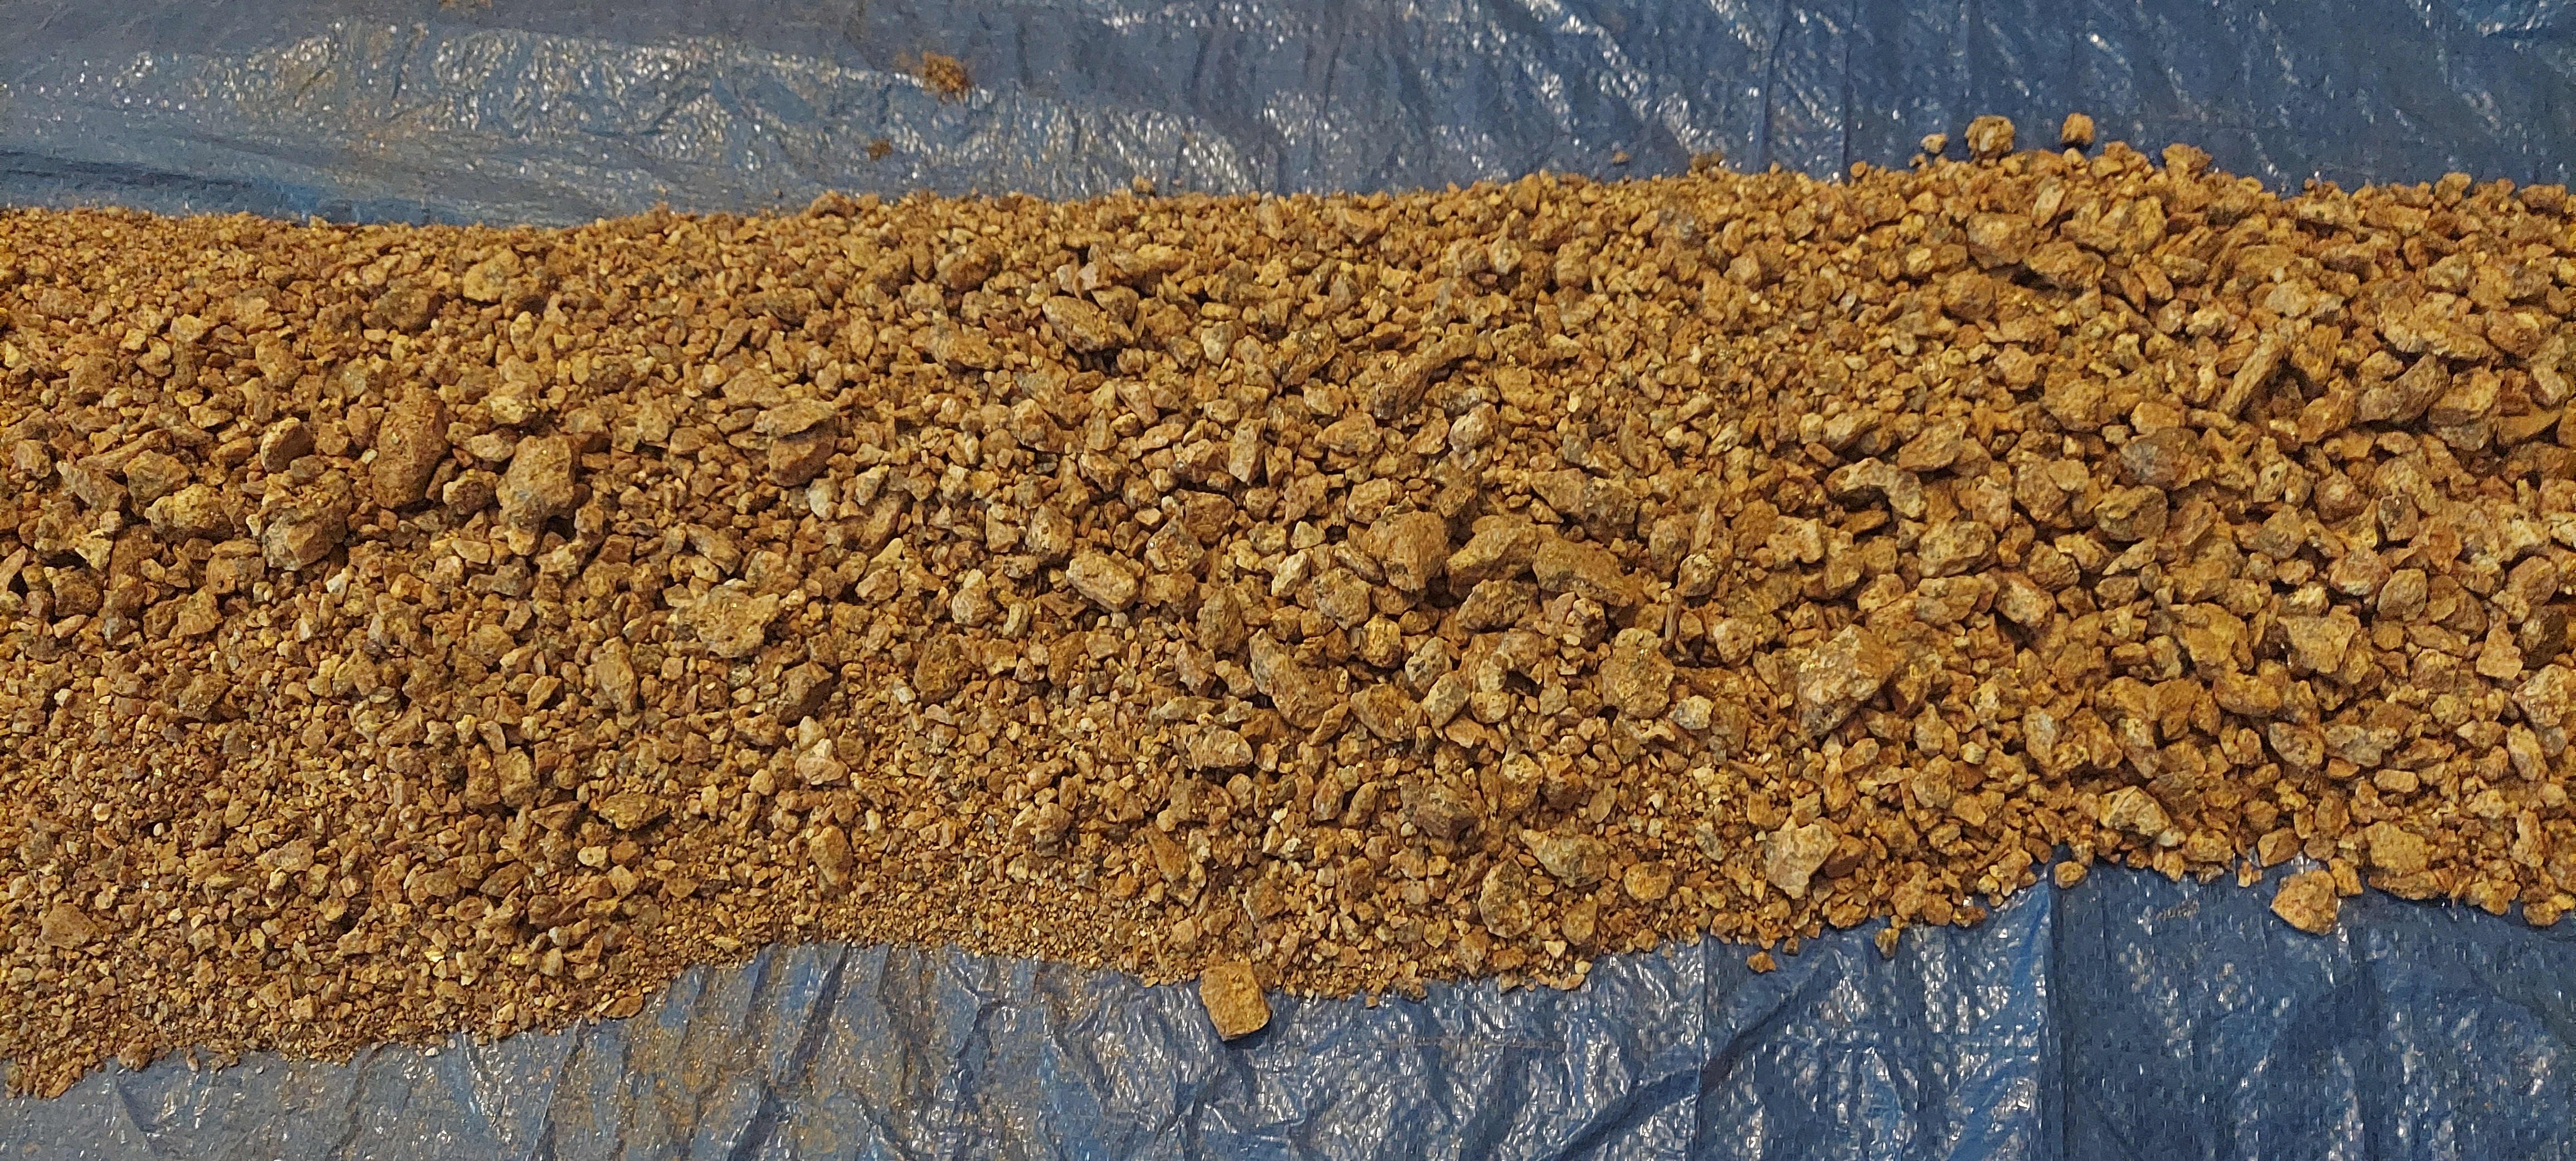
Final material
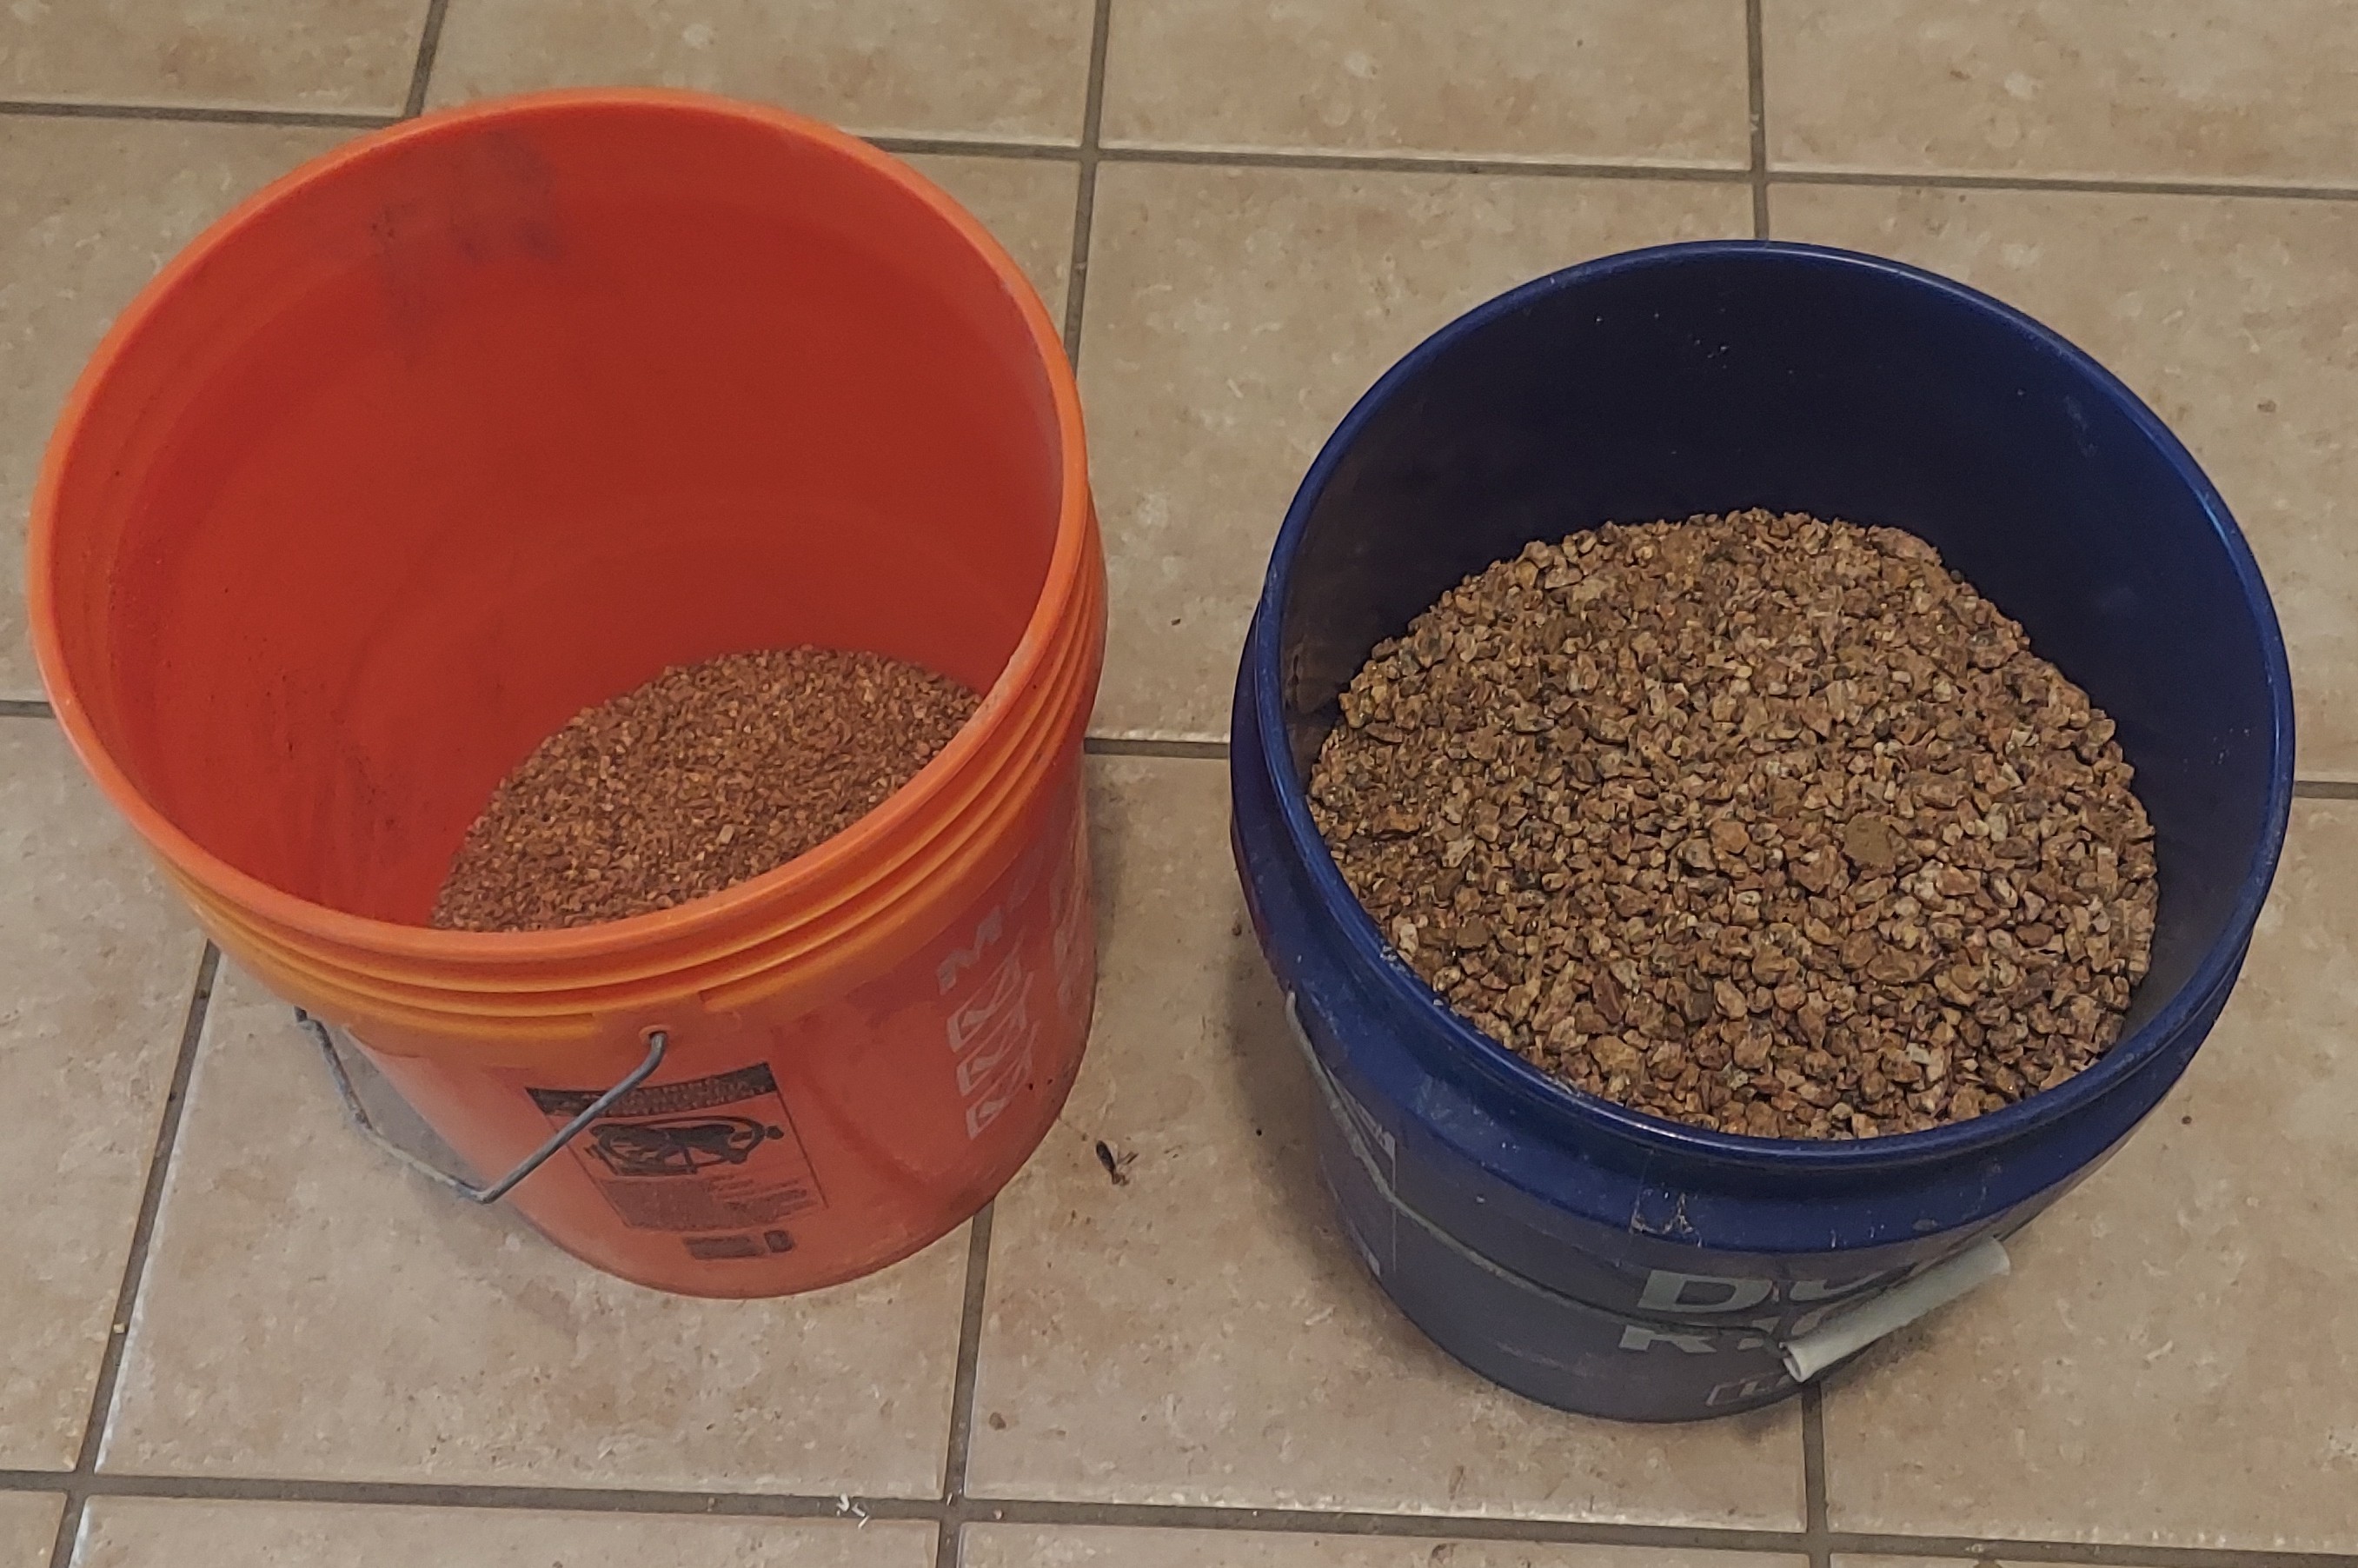
When you are done you should have two containers of material: fine & coarse.

How to mix the West system epoxy
West system epoxy uses a ratio of 1:5 for the hardener and resin. This means for 5 parts of the resin I need 1 part of the hardener. Practically this meant mixing up 10 oz of resin and 2 oz of hardener to make usable batches. Since I am using the "slow" hardener I probably could mix up a huge batch and just use that. But it is harder to handle and could lead to waste in some circumstances.
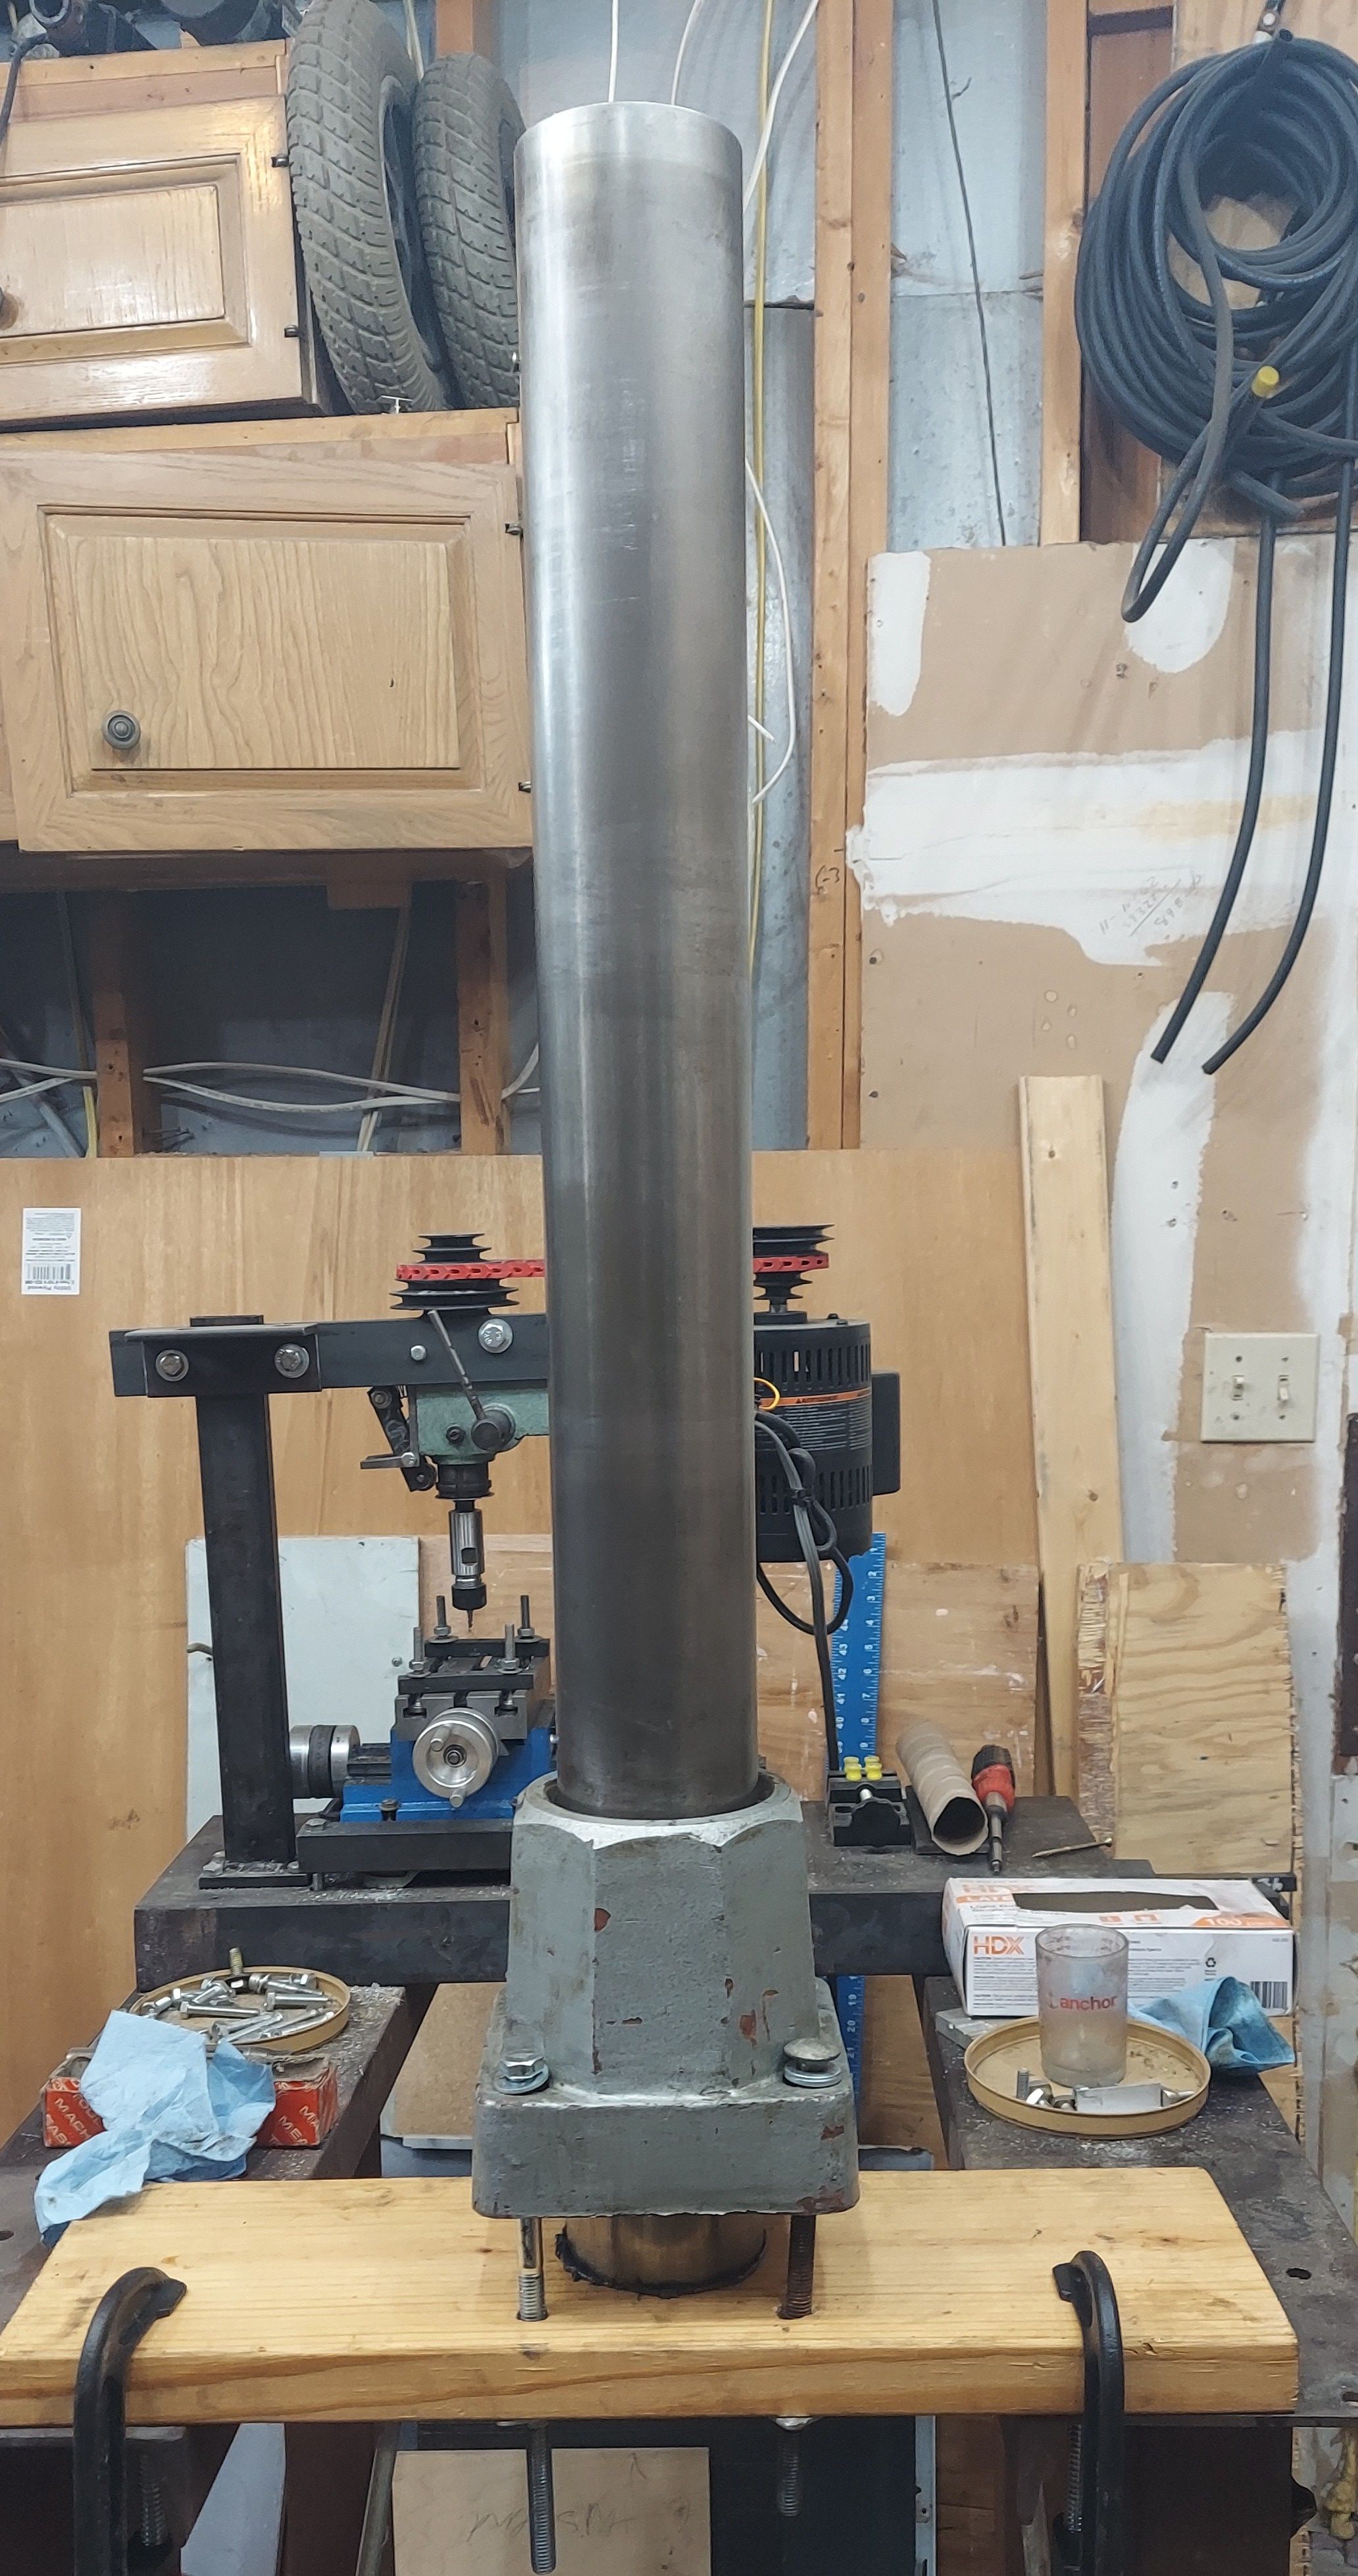
Filling the column
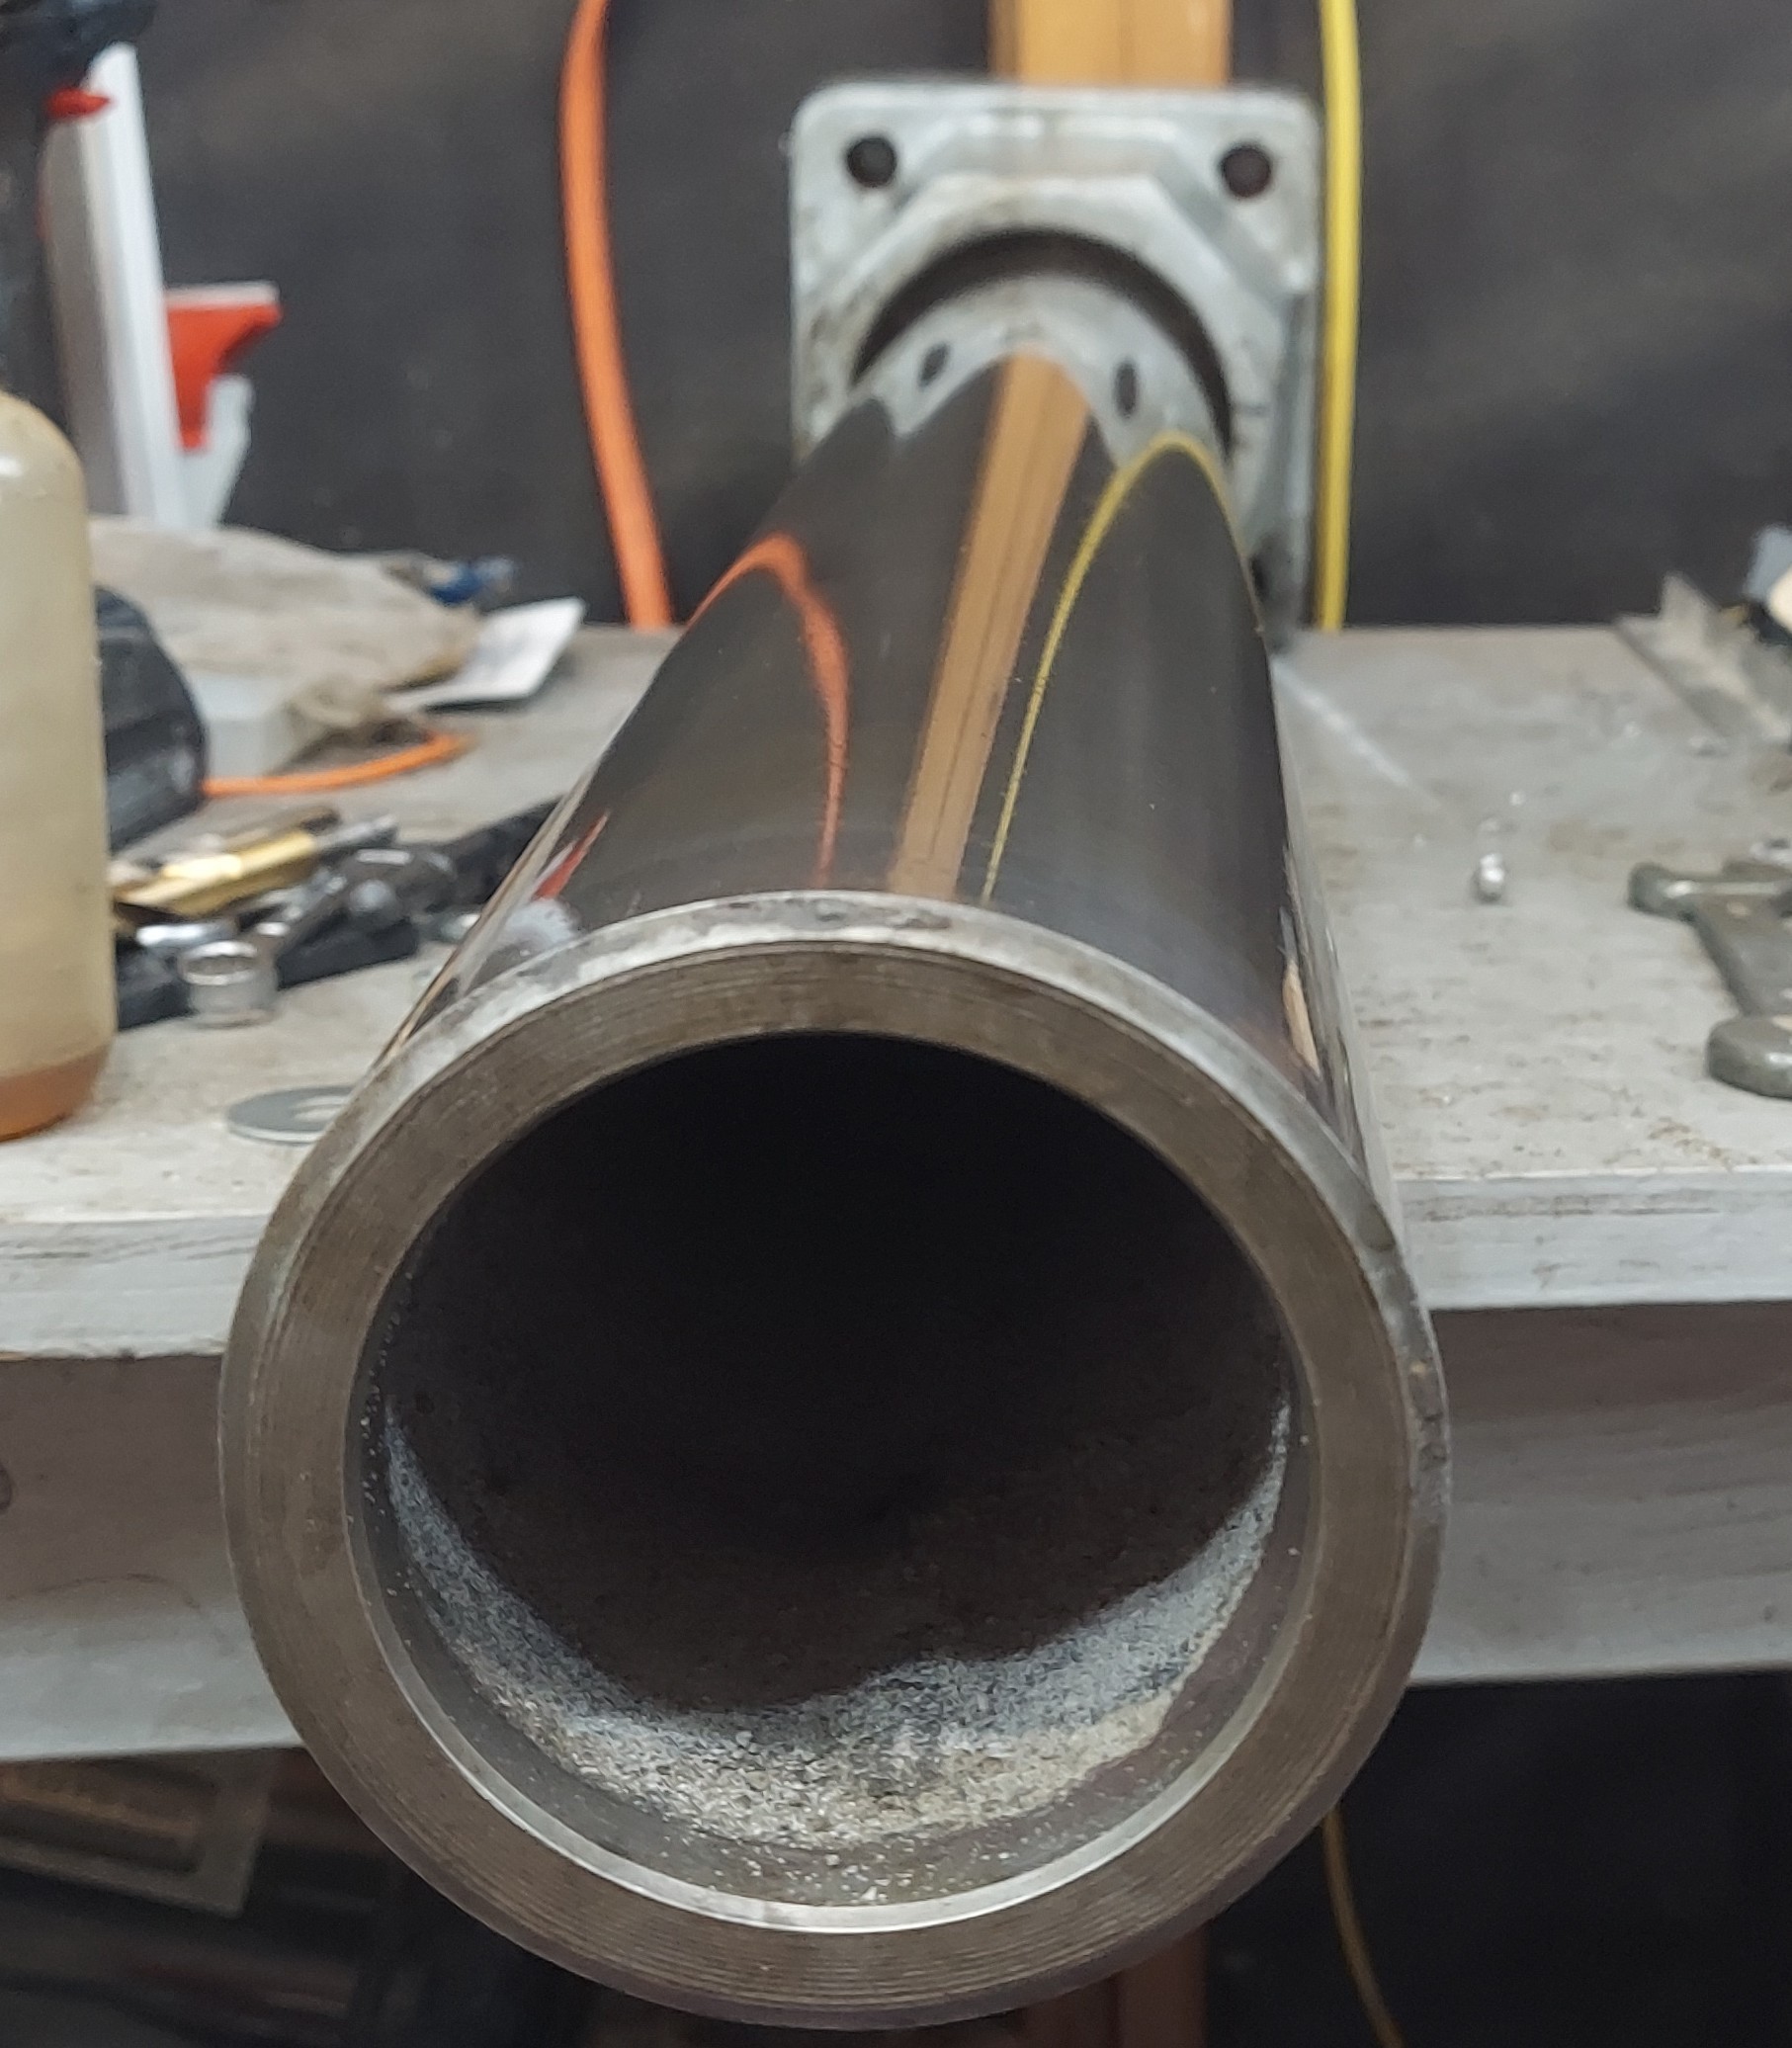
The outside diameter of the column is 4 inches. The diameter of the inside of the column is about 3.5 inches or so. The inside is rough cast, so I can't know the inside diameter exactly. The overall length is 41 inches. Interestingly enough, the inside of the column still has some casting sand on the interior. I don't have a bottle brush, but I found that I could just lift the column and sit it down abruptly on a steel plate on the floor in my garage. This left a big ring of casting sand on the plate. I did this a while and got some of it out. I imagine any remaining sand just had the epoxy resin flow into it and is now permanently part of the column.
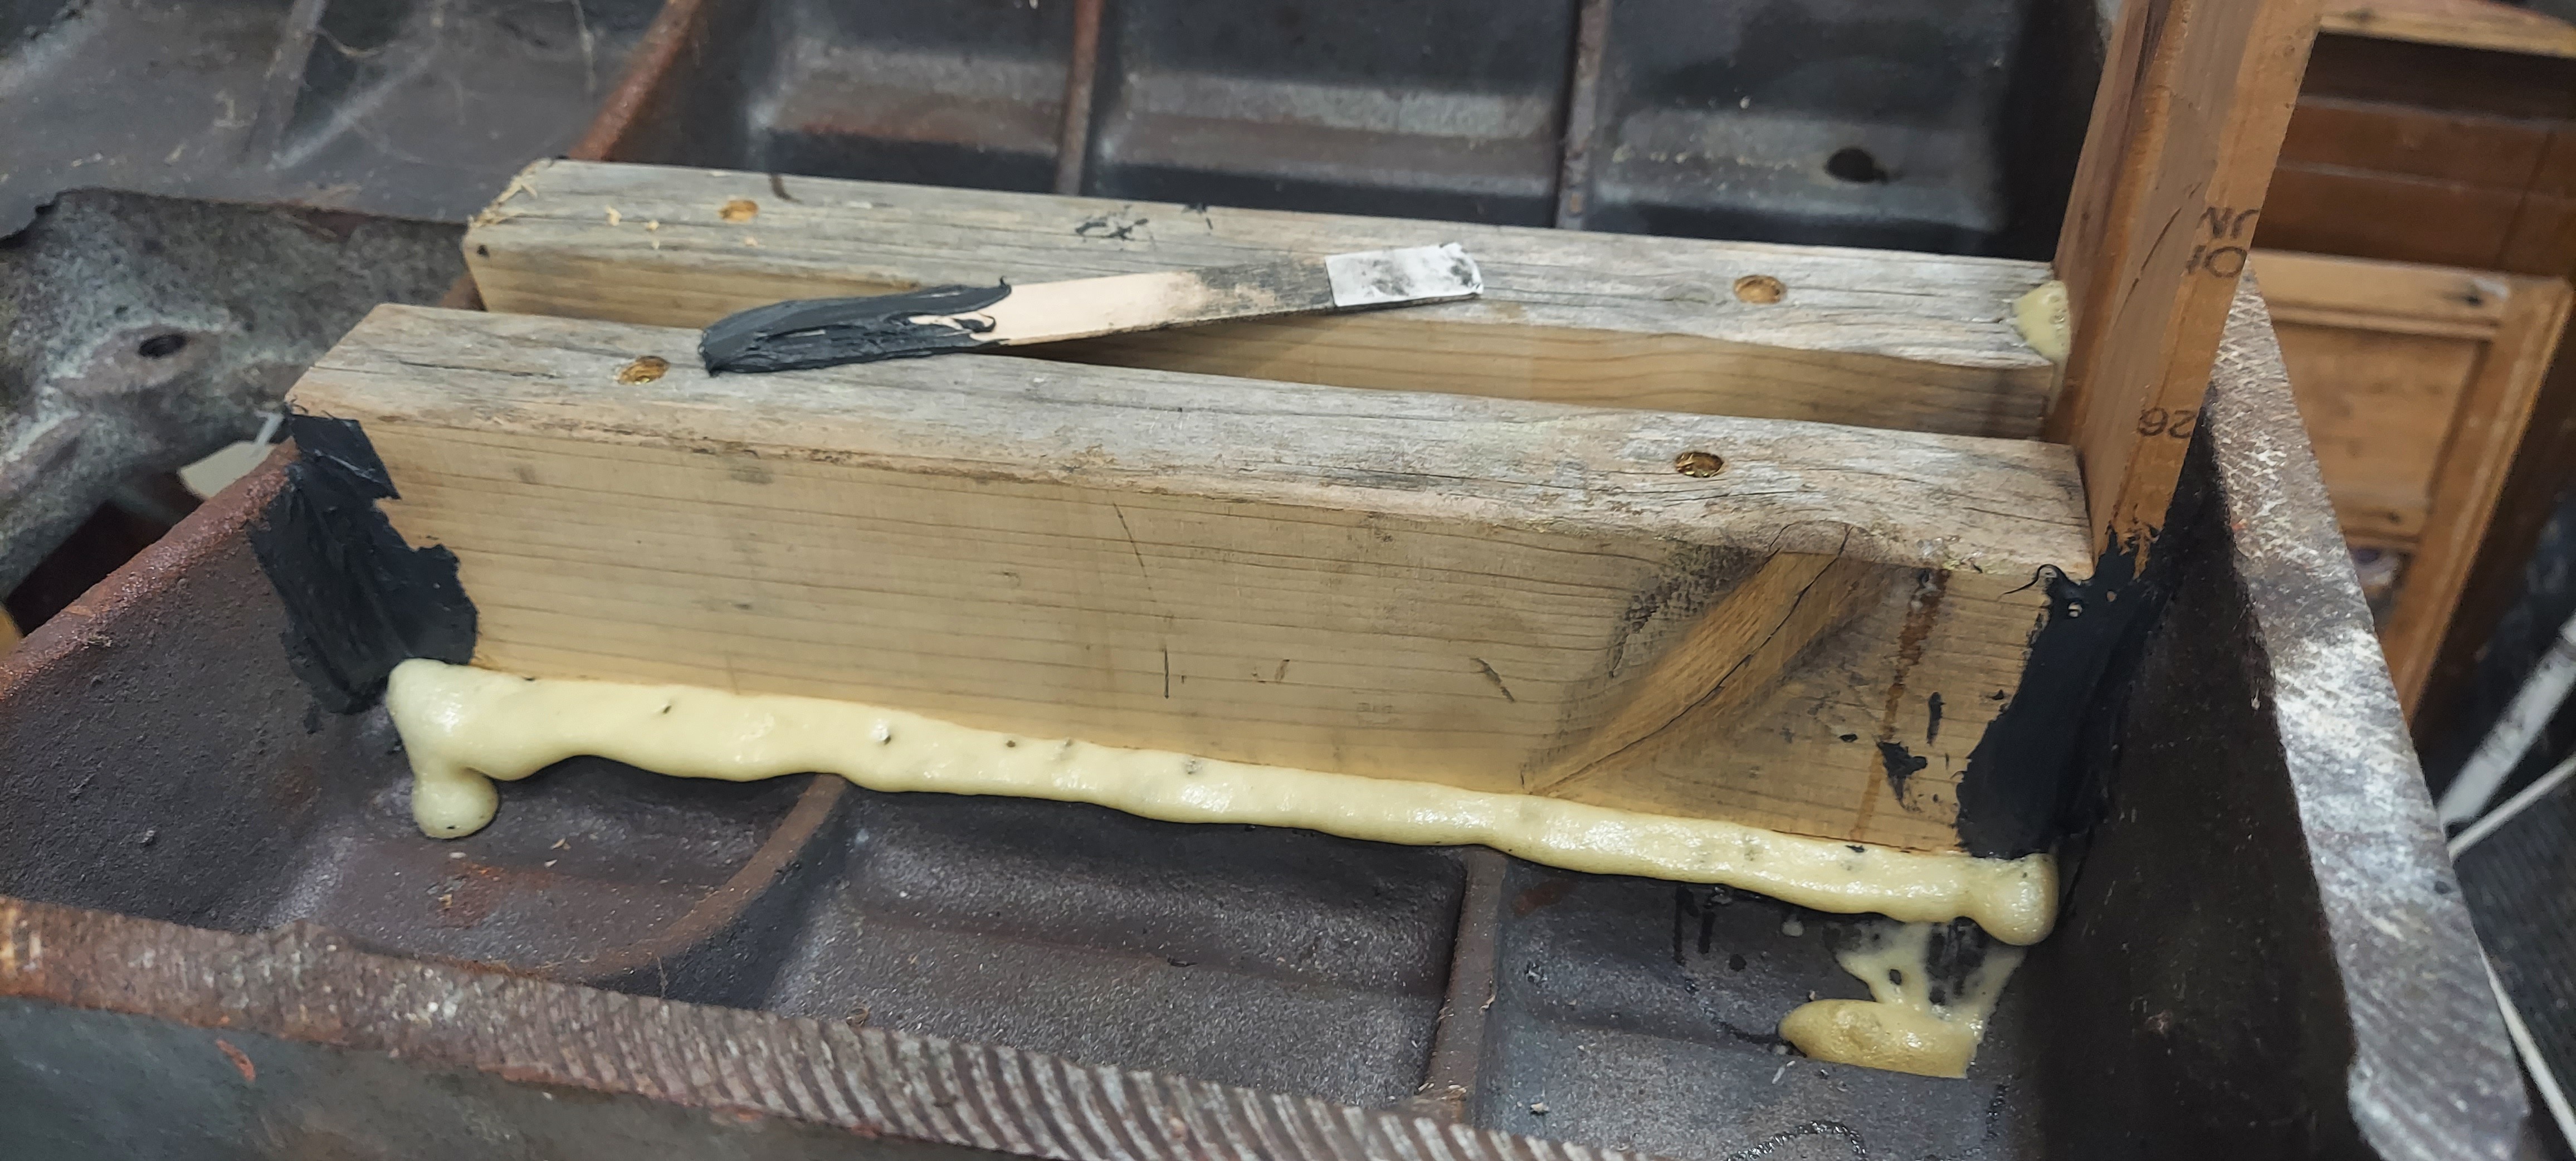
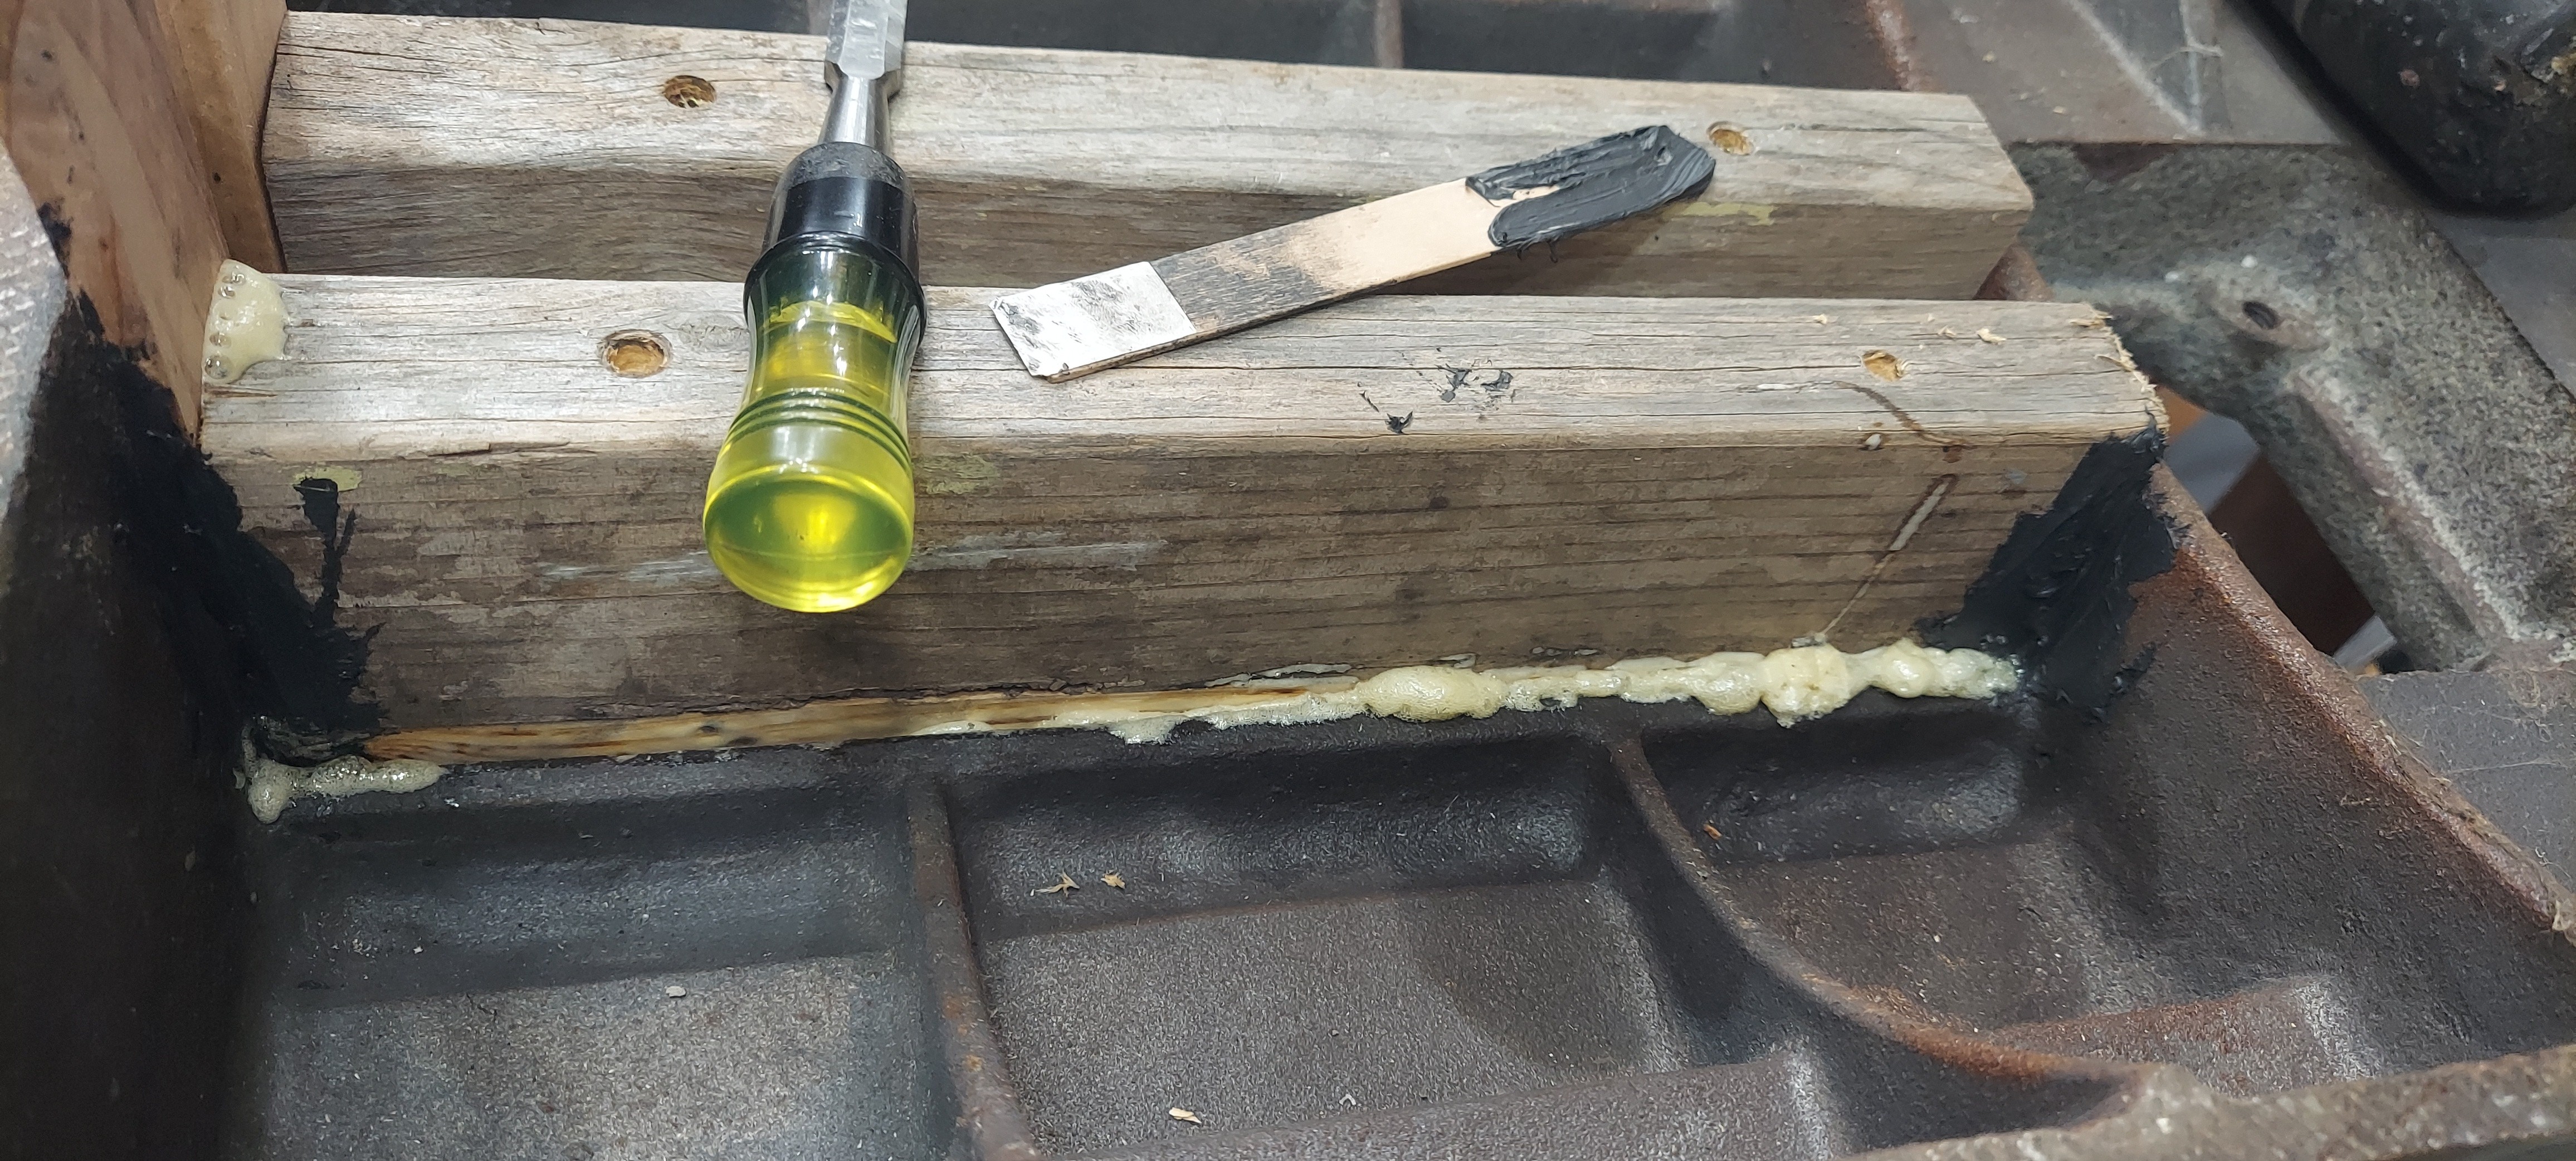
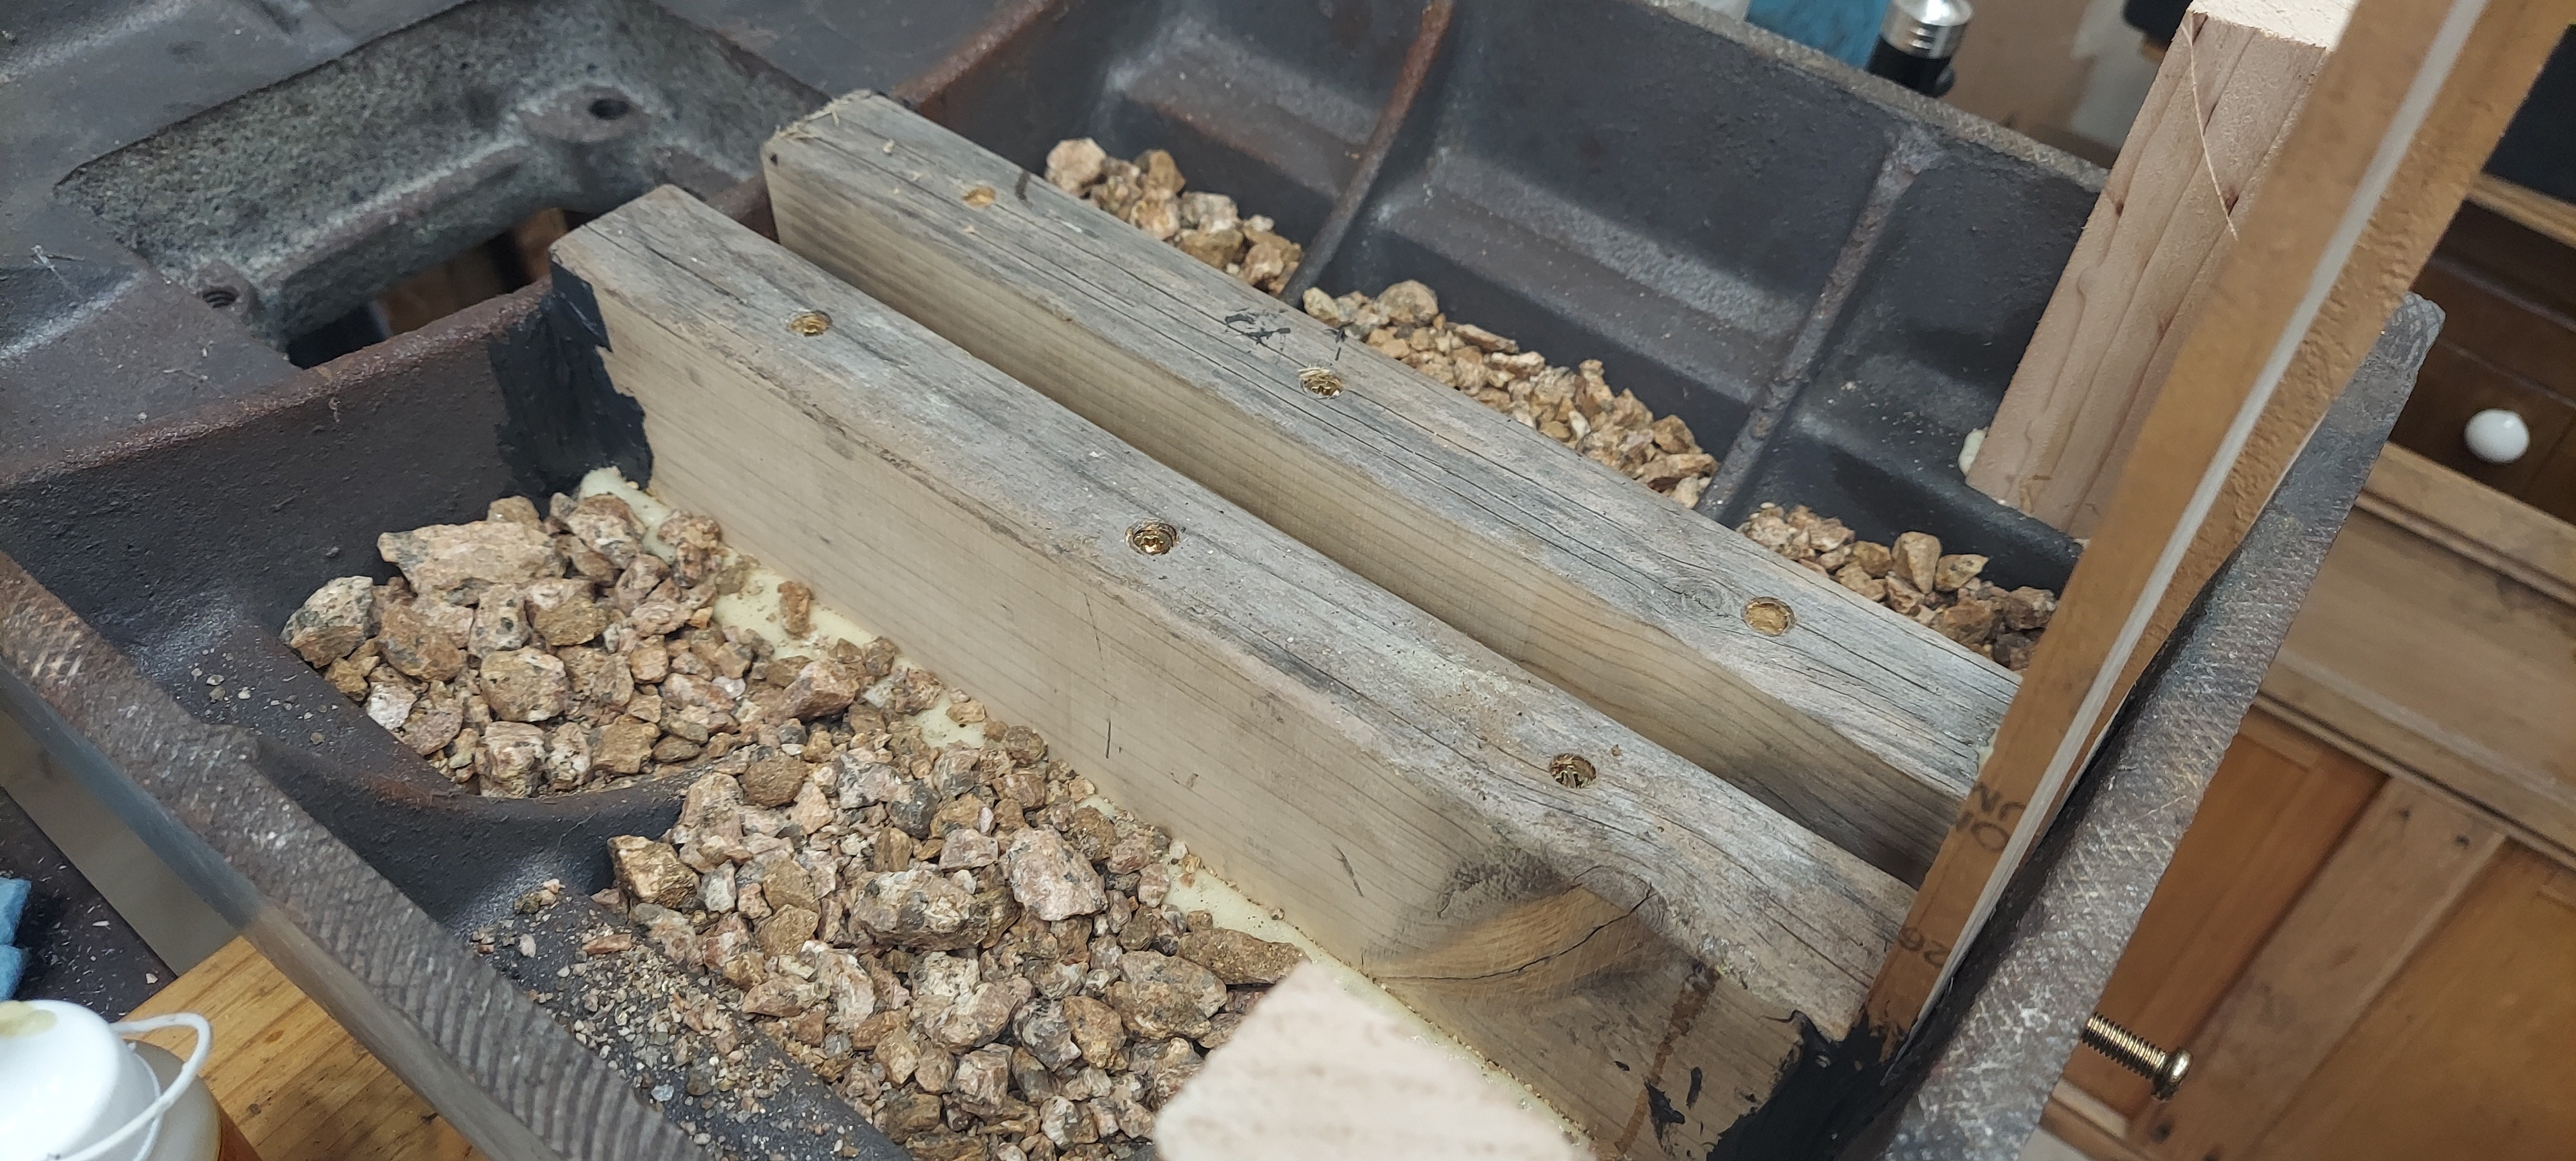
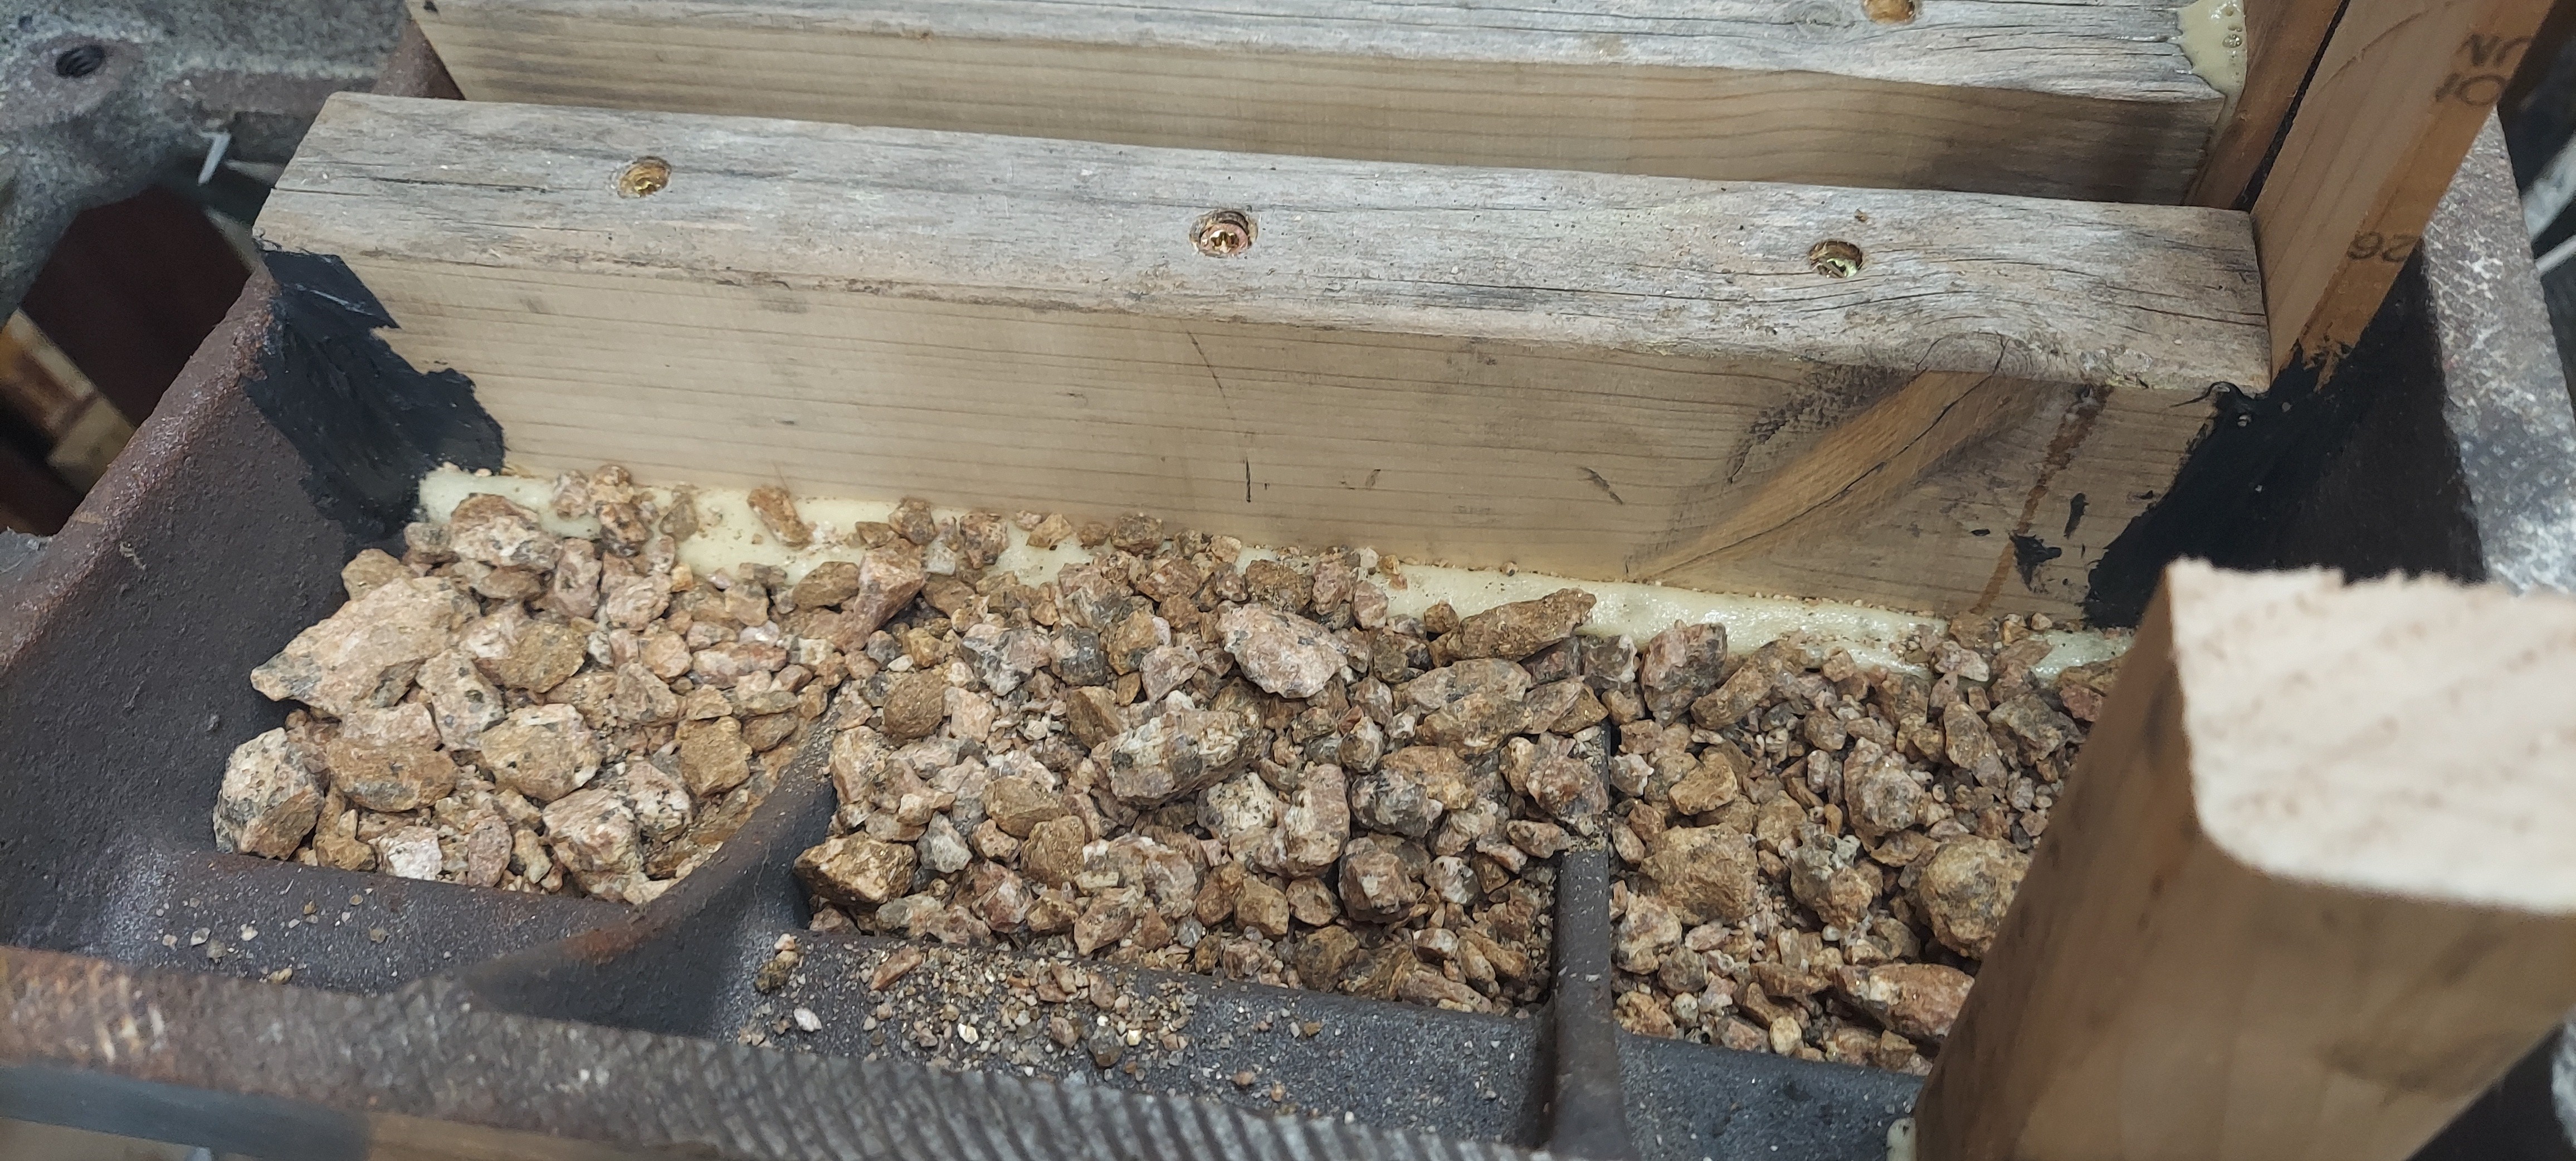
Sealing off the bottom of the column
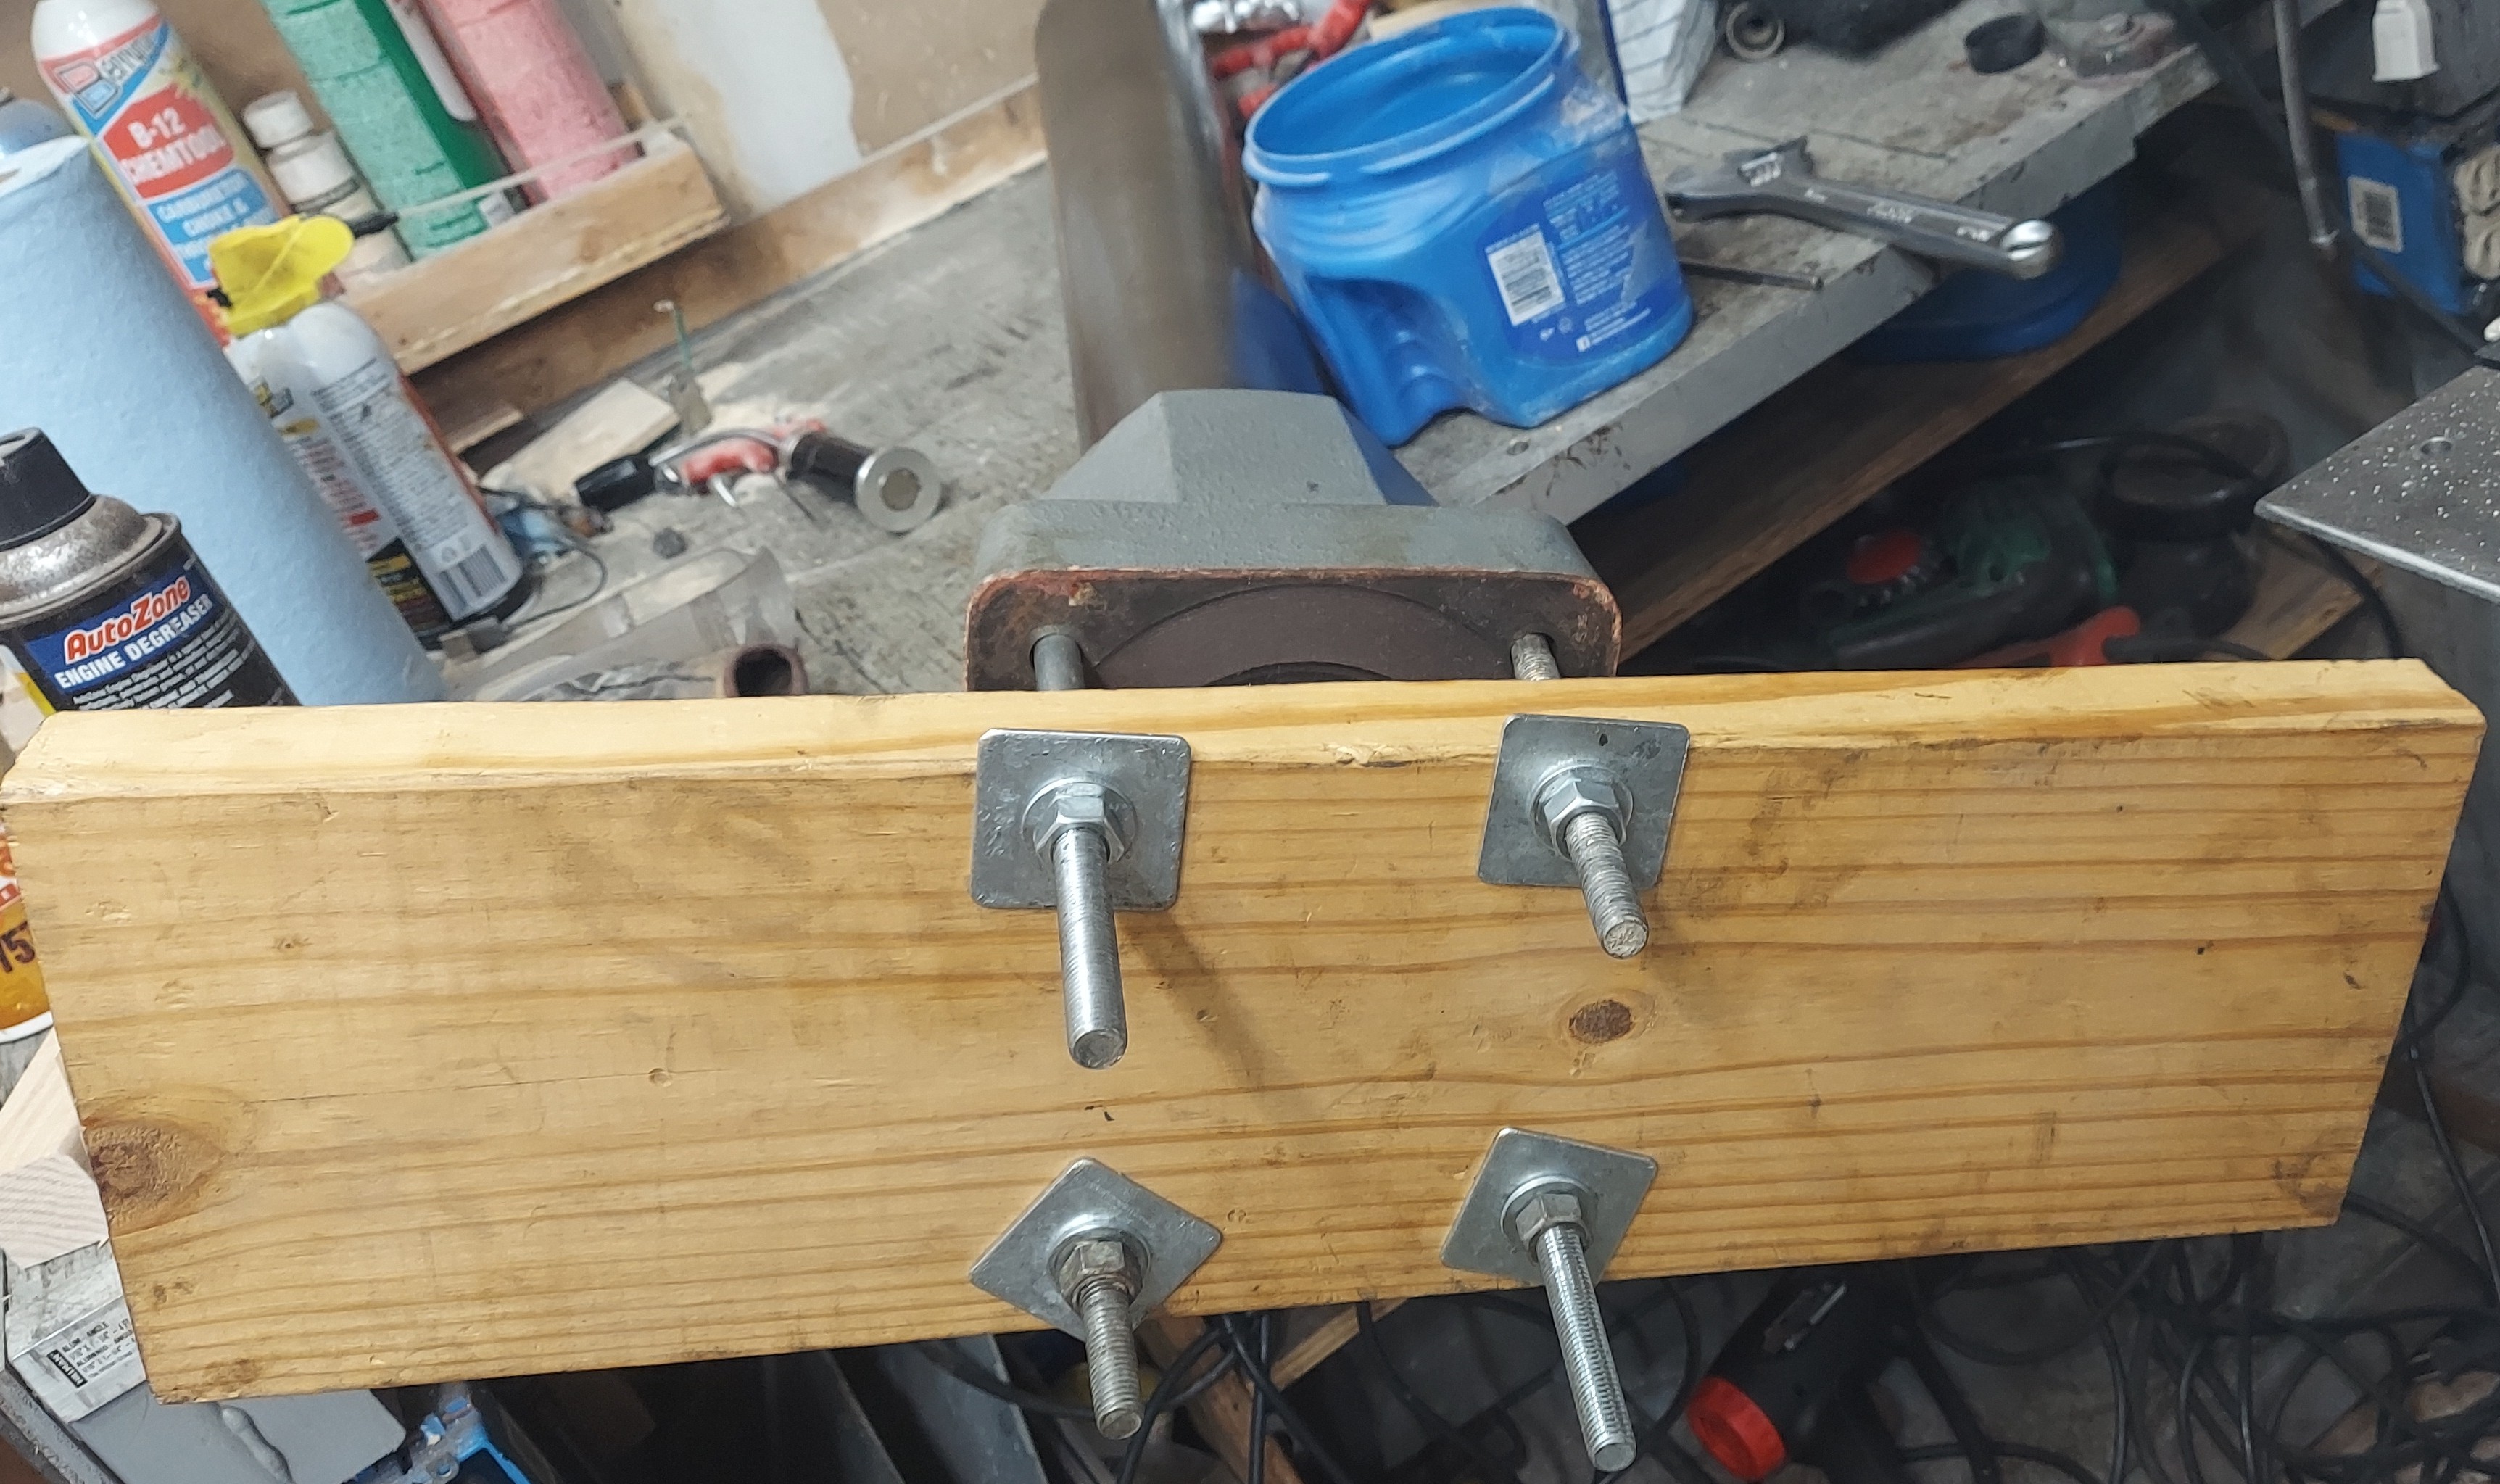
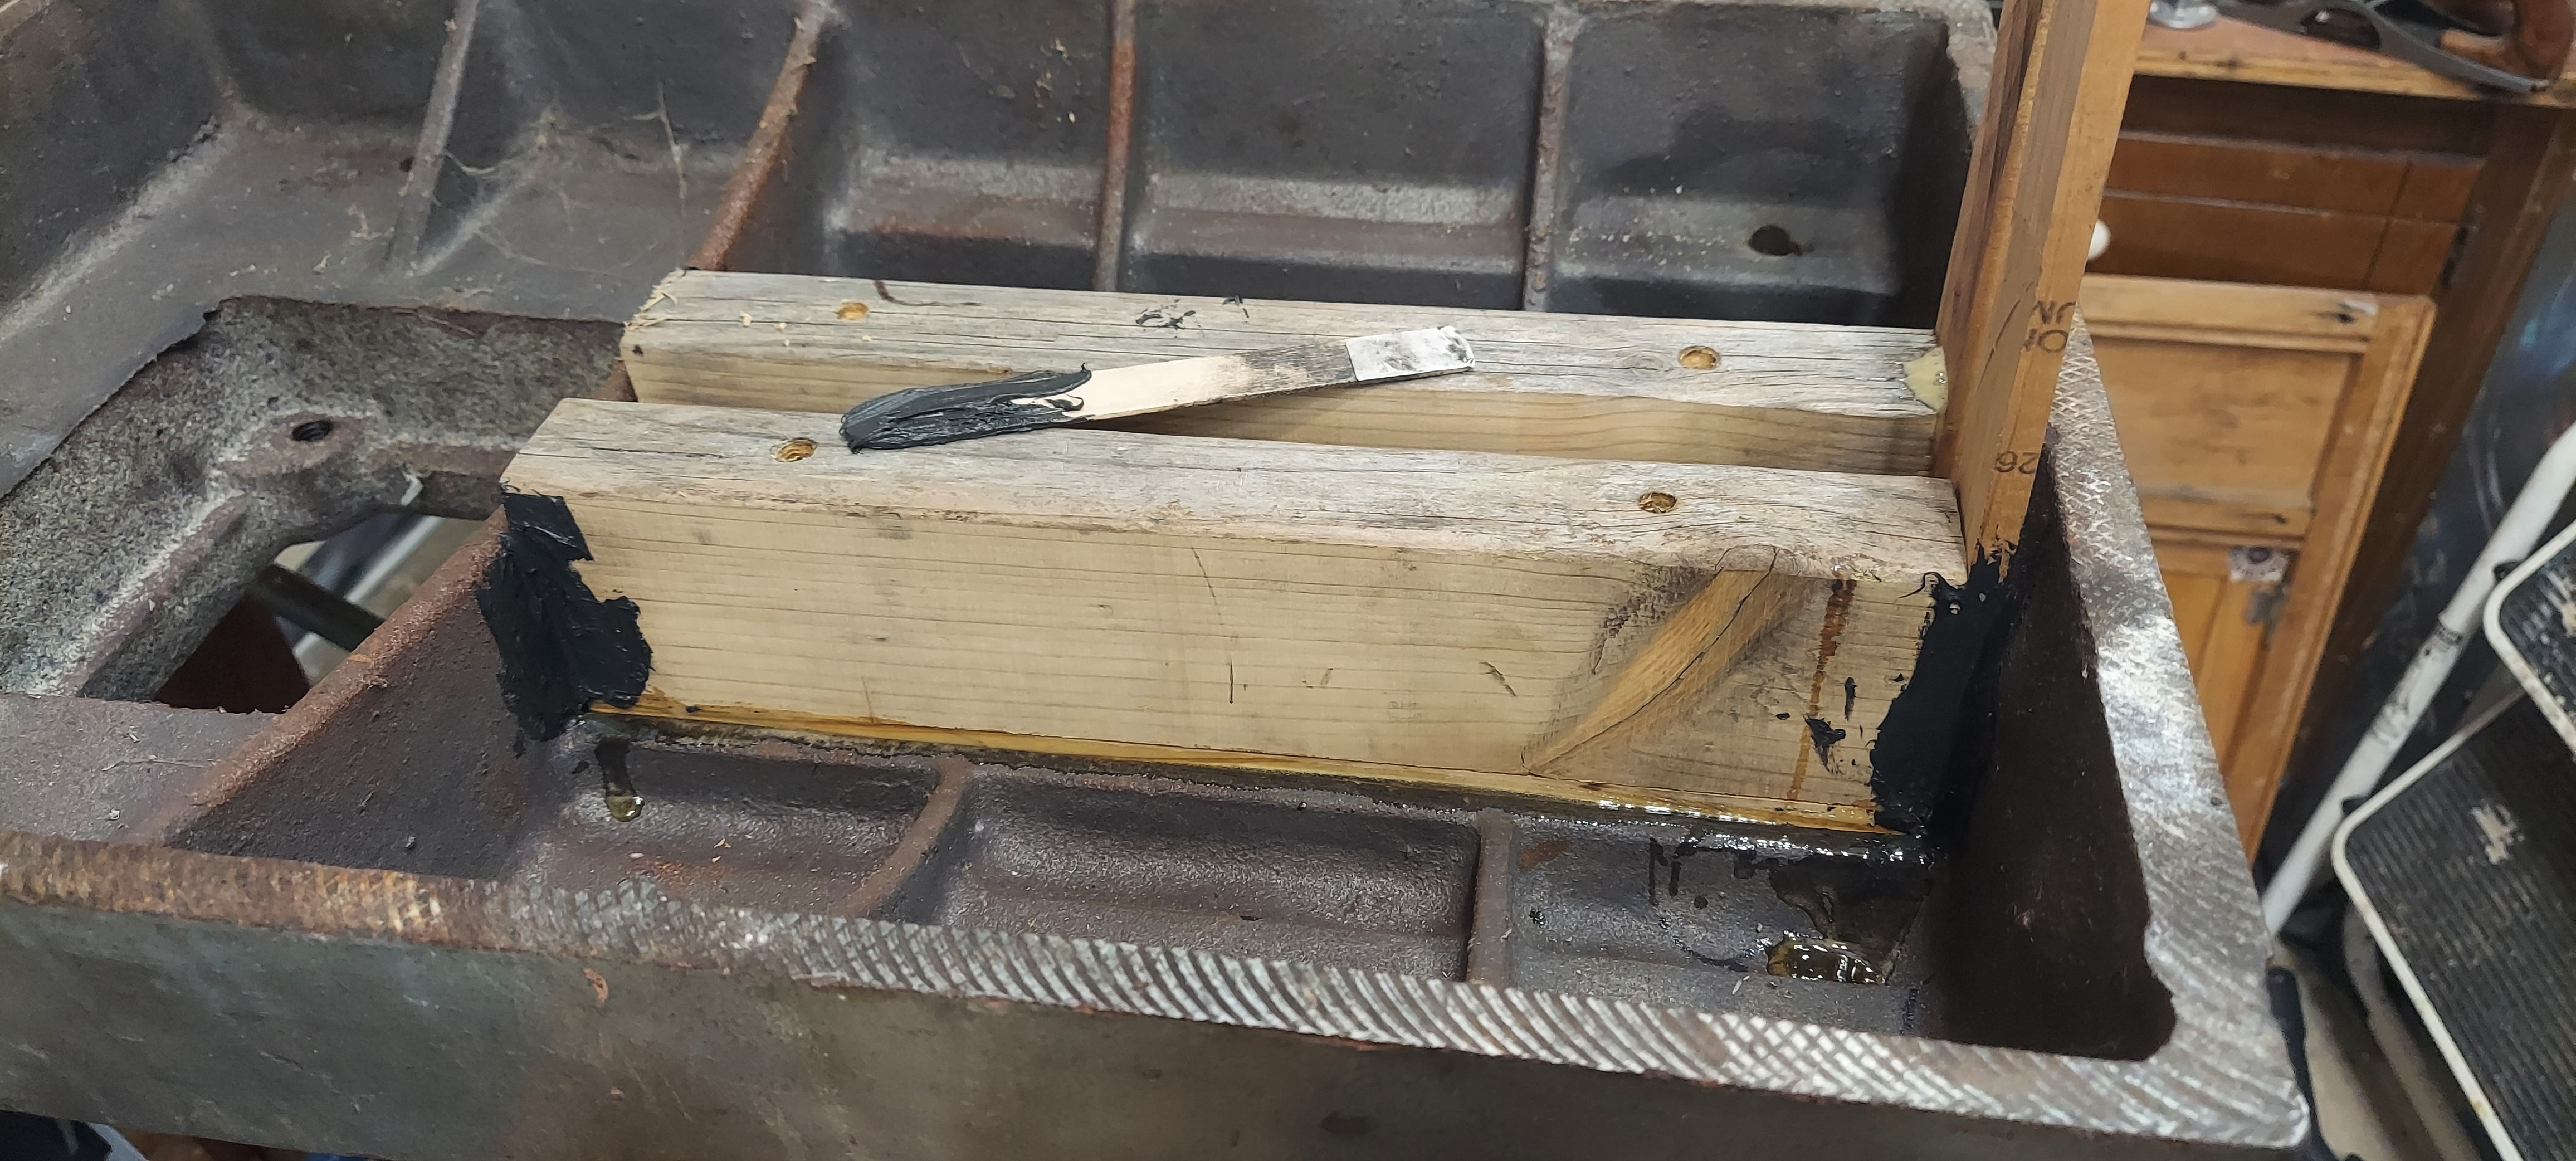
To seal off the bottom the method I chose was to use the existing holes to secure a piece of 2x8 lumber to the base. This alone is not good enough to seal out the epoxy resin. So I used some RTV on the bottom of the column. By some I mean I used a huge amount of RTV. The area of the wood was painted with some ATF to prevent the resin from adhering. I like using this because it has a bright red dye that makes it easy to see where it is applied. It's also free because I have some lying around the shop at all times. You can use any clean oil you have for this, including vegetable oil.
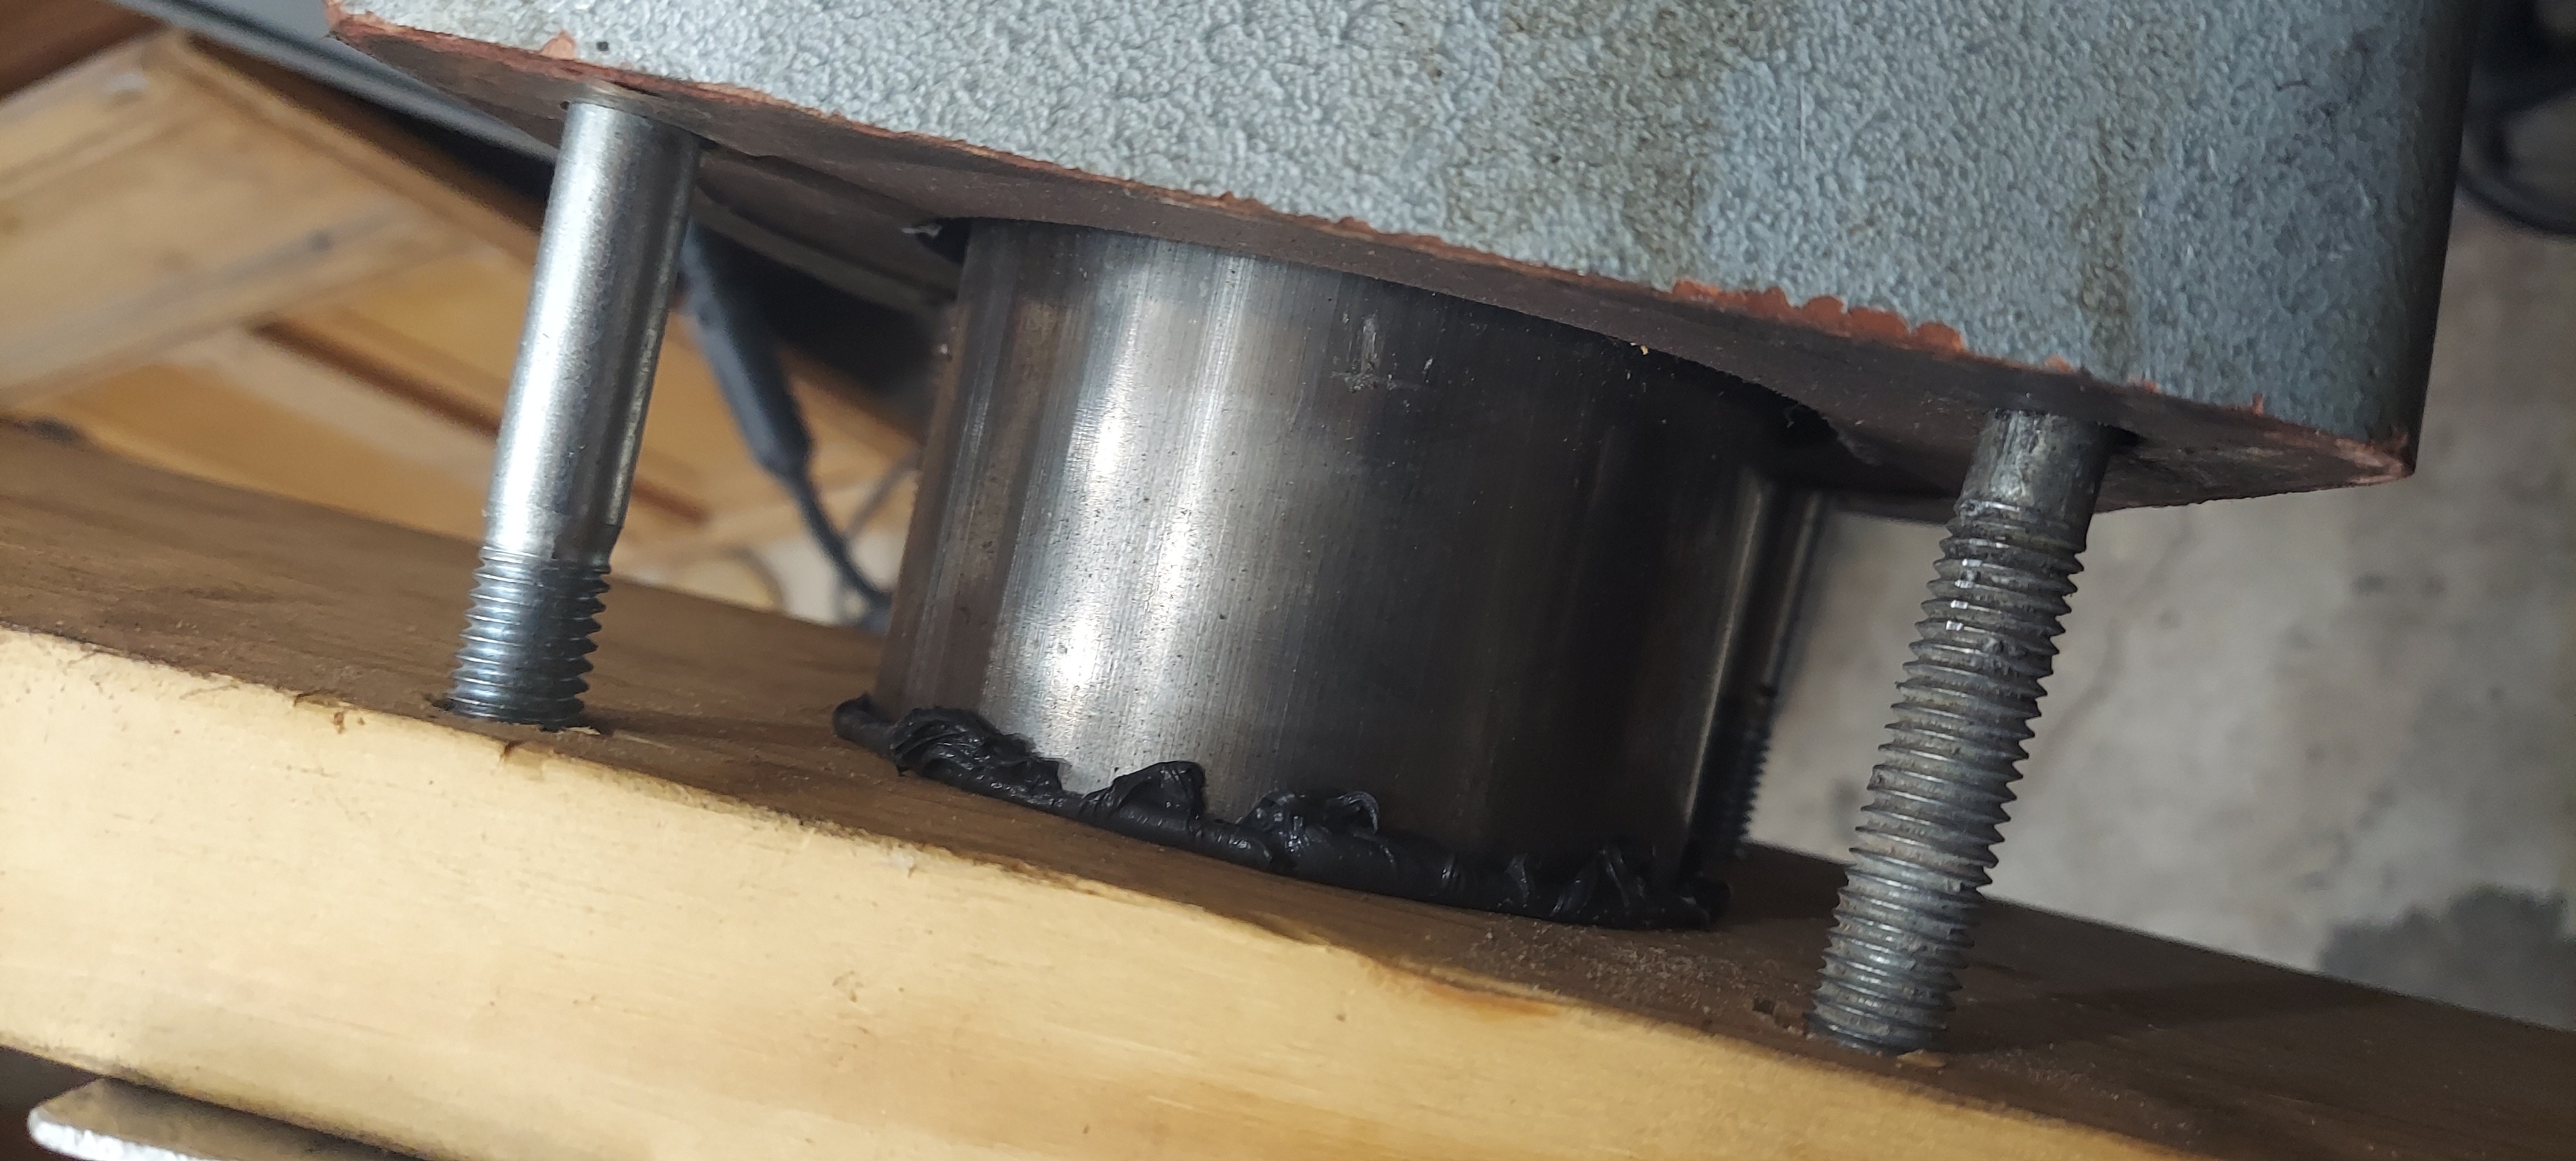
Creating plugs for the pins
Due to the design of this column, it has a toothed track that is secured with some precision ground pins. This is simple. The removal process for these pins is to tap them through into the column. They fall all the way to the ground and then you collect them from the floor. This means that I cannot simply fill the column with epoxy granite. First off, the epoxy granite would run out the two holes. Secondly I could never get the track back on. So I need to create some voids inside the machine for the installation and extraction of these pins.
I did this by cutting two pieces of pine scrap into square sections. Then I used my belt sander to make a triangular shape on one side.
Each triangular piece is then secured with RTV and a single screw through the original pin hole.

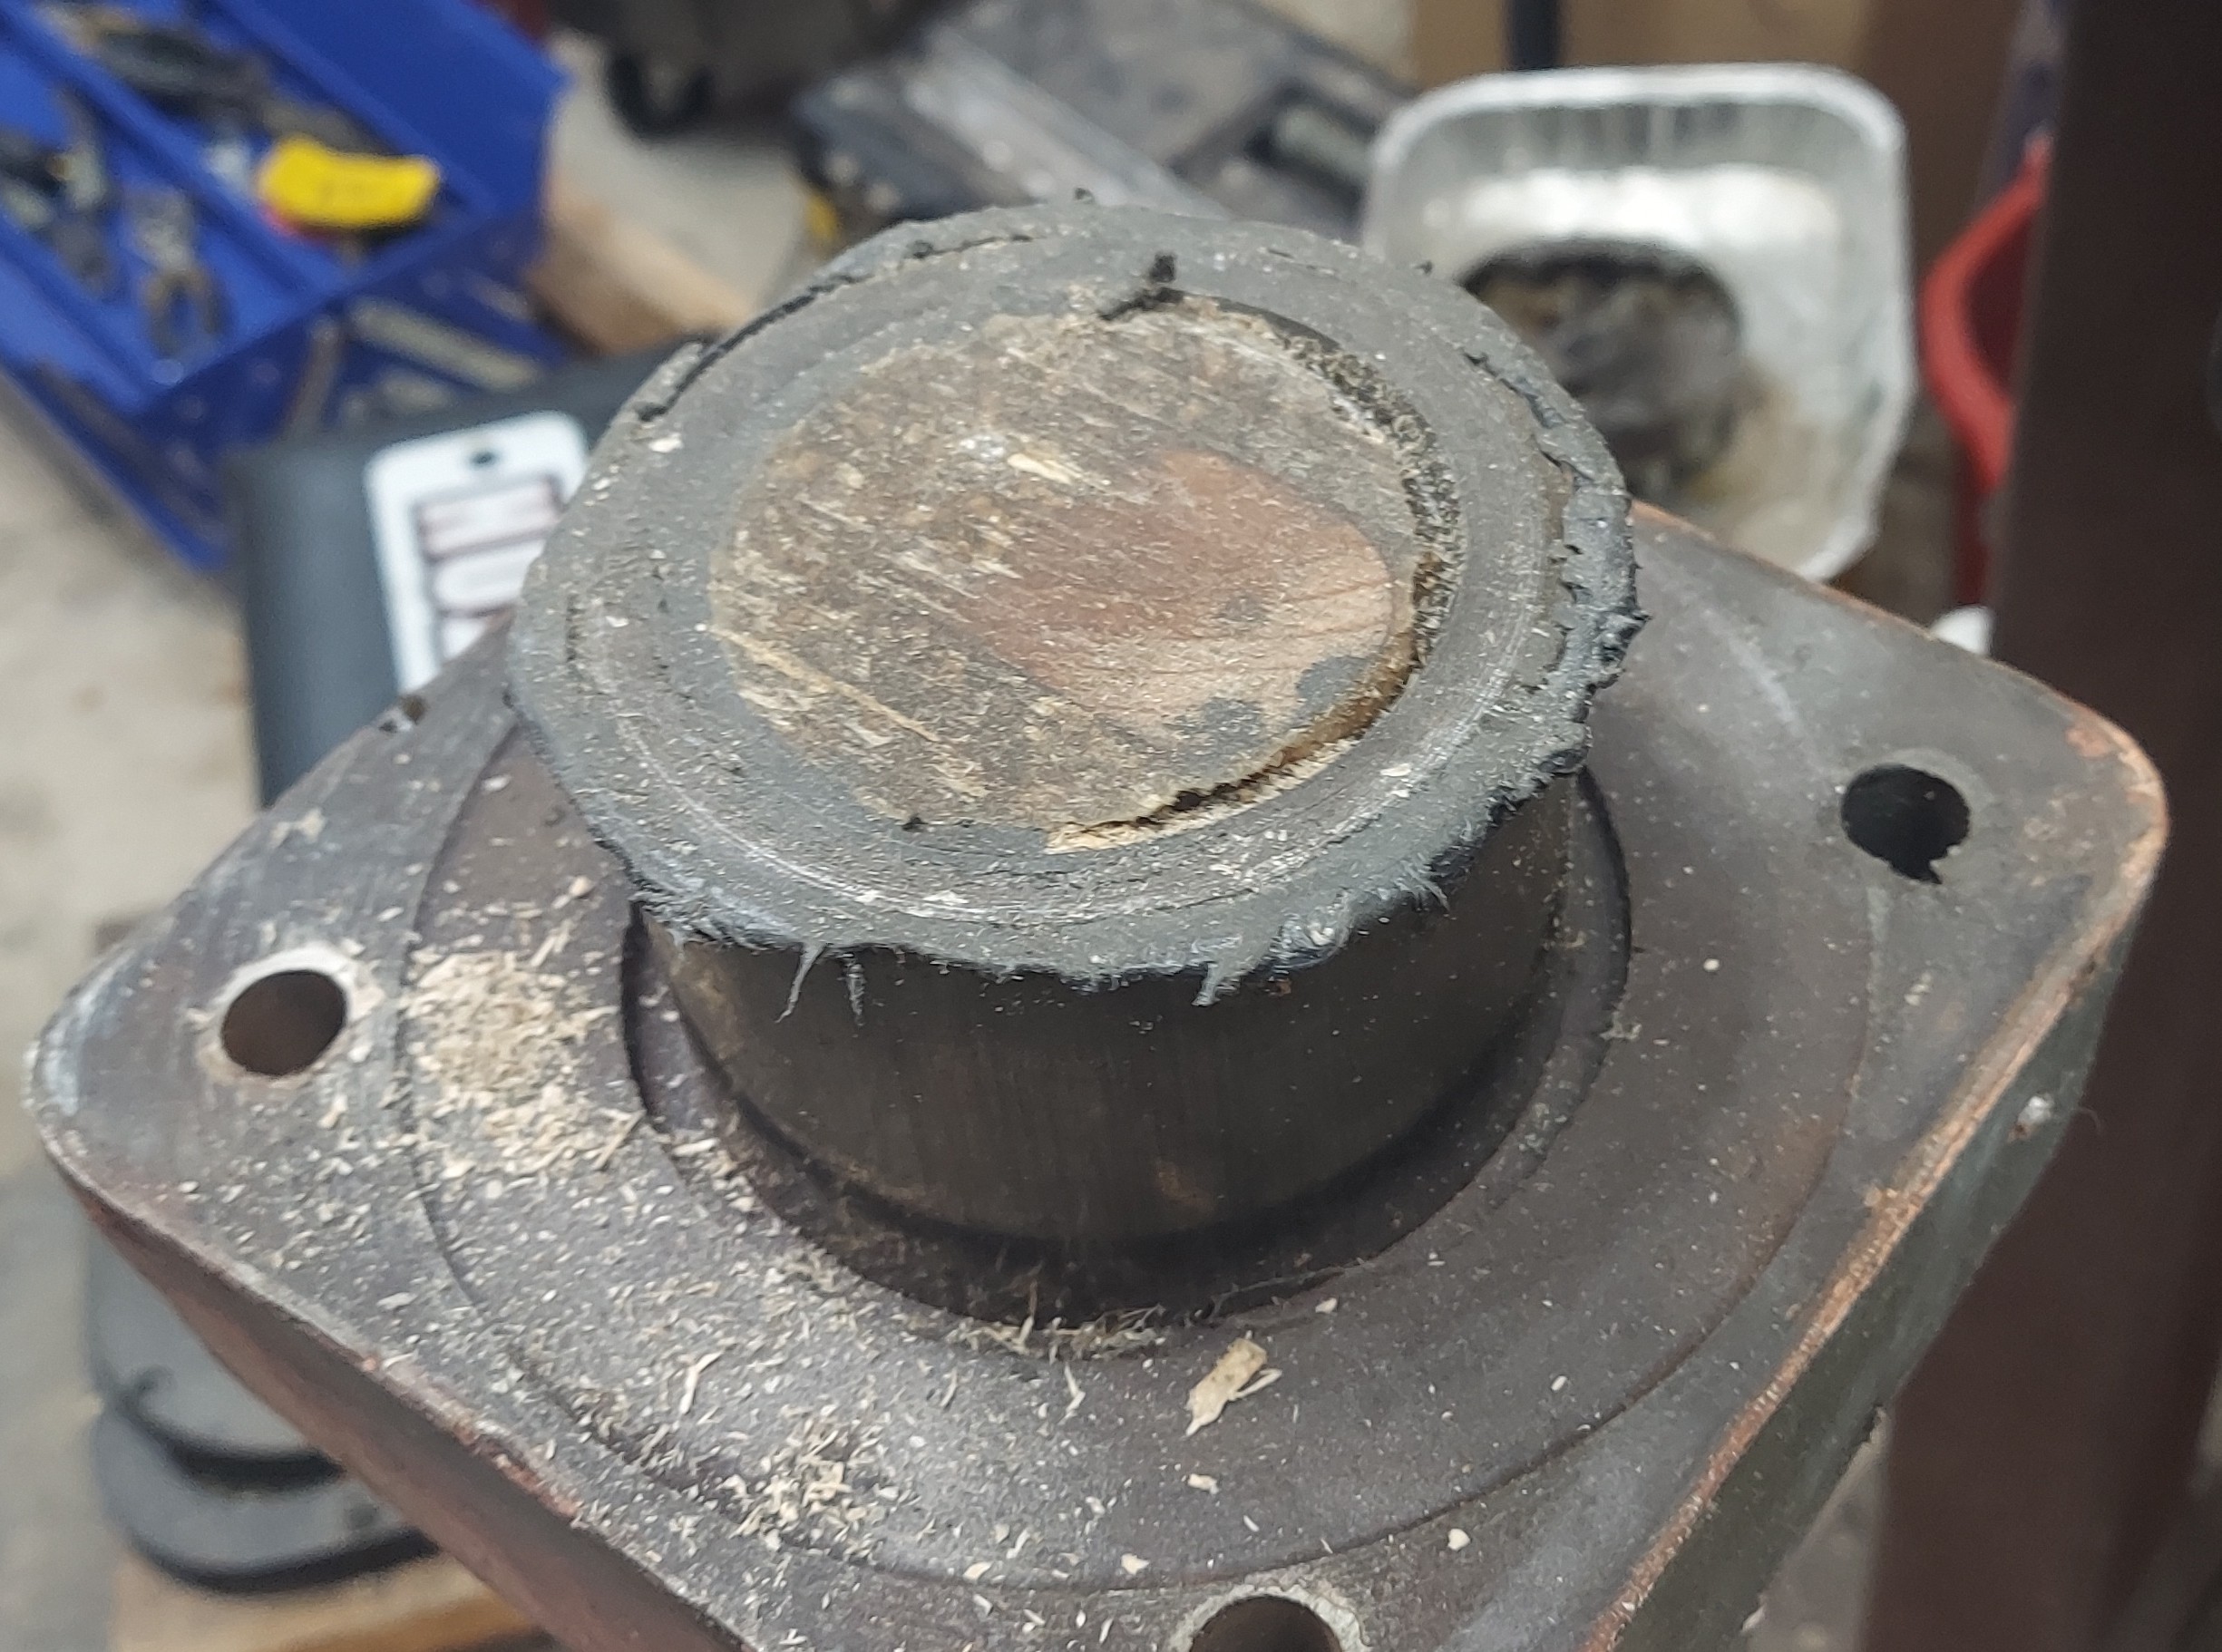
The wood plug for the bottom pin

The pine material after belt sanding it to shape
Adding epoxy granite to the column
Since the column is around 6 times as tall as it is wide I decided to premix the epoxy granite mixture and pour it in. The I poured it in from the top. The mixing is done in a disposable aluminum cookware tray. I was able to mix up a batch by doing the following
- measure out 10 oz of epoxy resin
- measure out 2 oz of hardener
- add the resin to the tray
- add the hardener to the tray
- mix the components with a popsicle stick
- add one scoop of the coarse granite
- add one scoop of the fine granite
- mix it all with the popsicle stick
The last steps of adding granite and mixing are repeated until I could not see any liquid resin in the tray. The rocks should look "wet" which is easy to see because they appear shiny and smooth with wet resin on them.
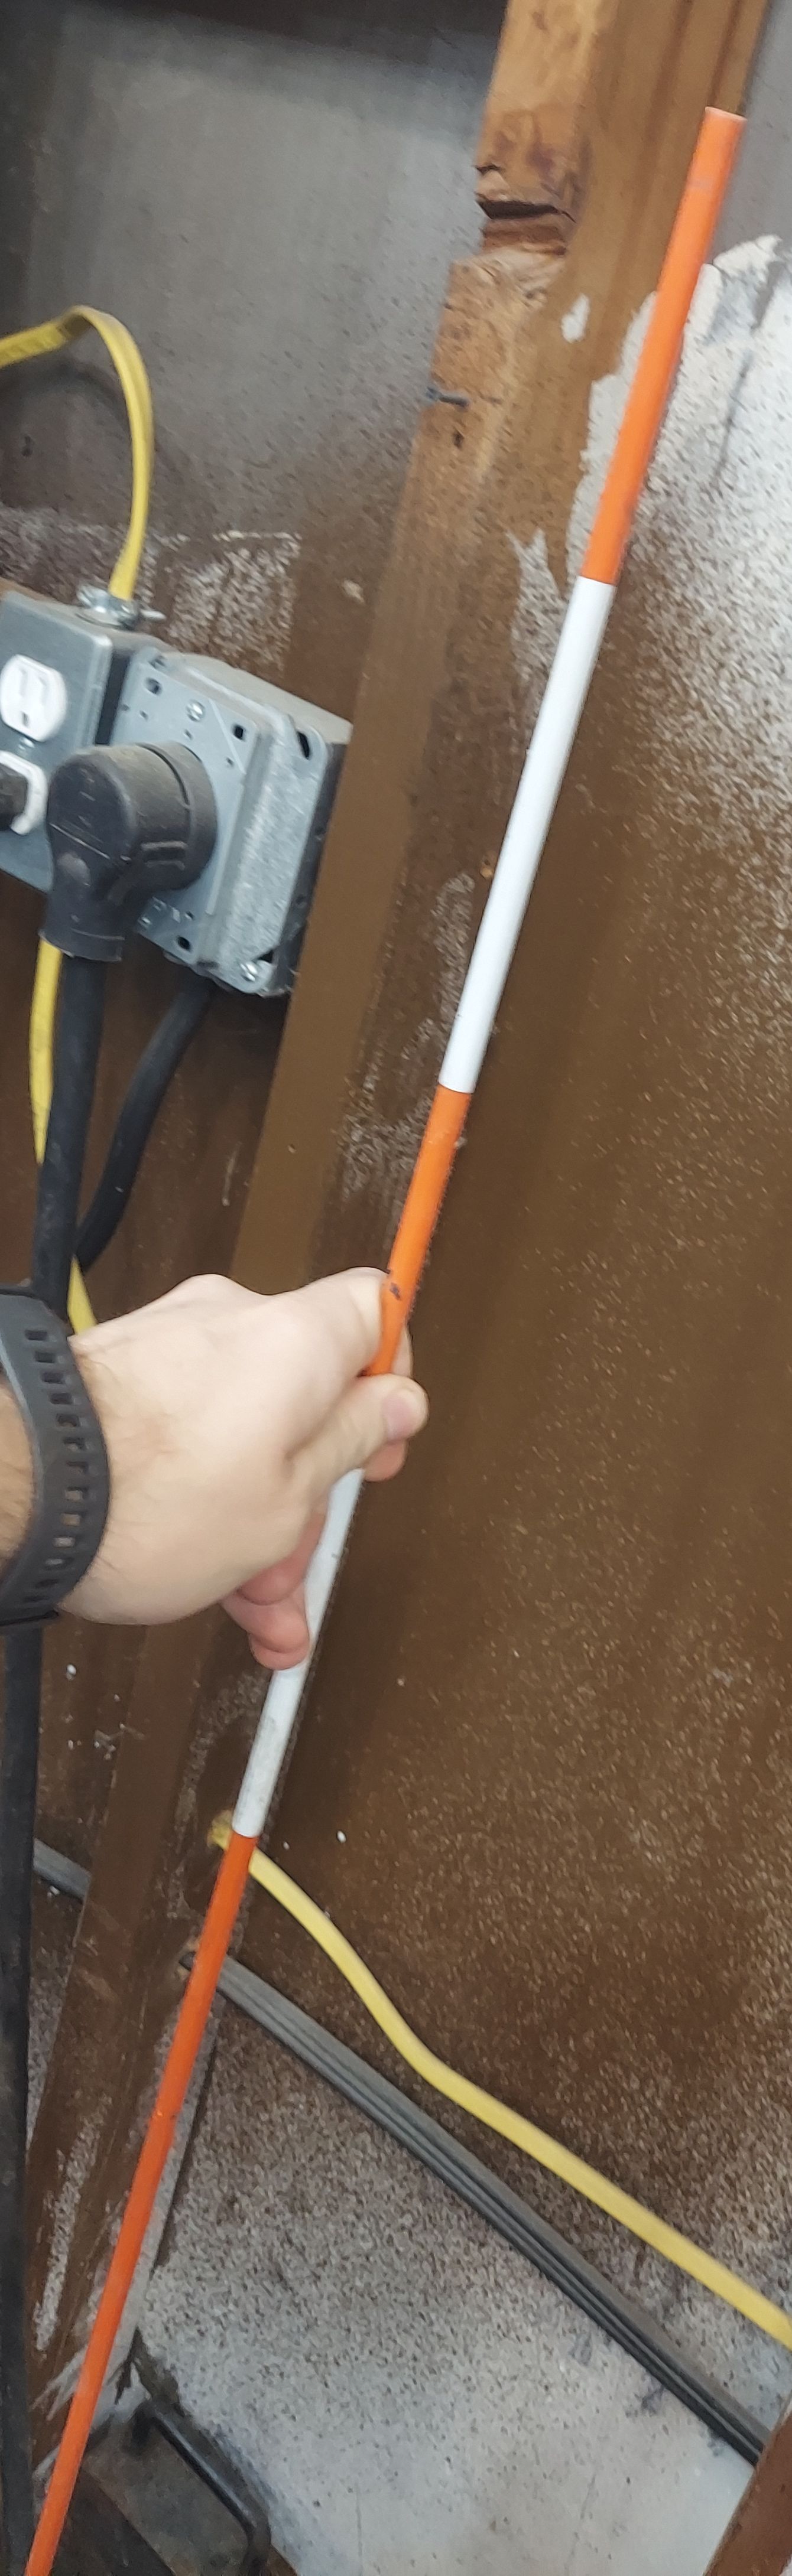
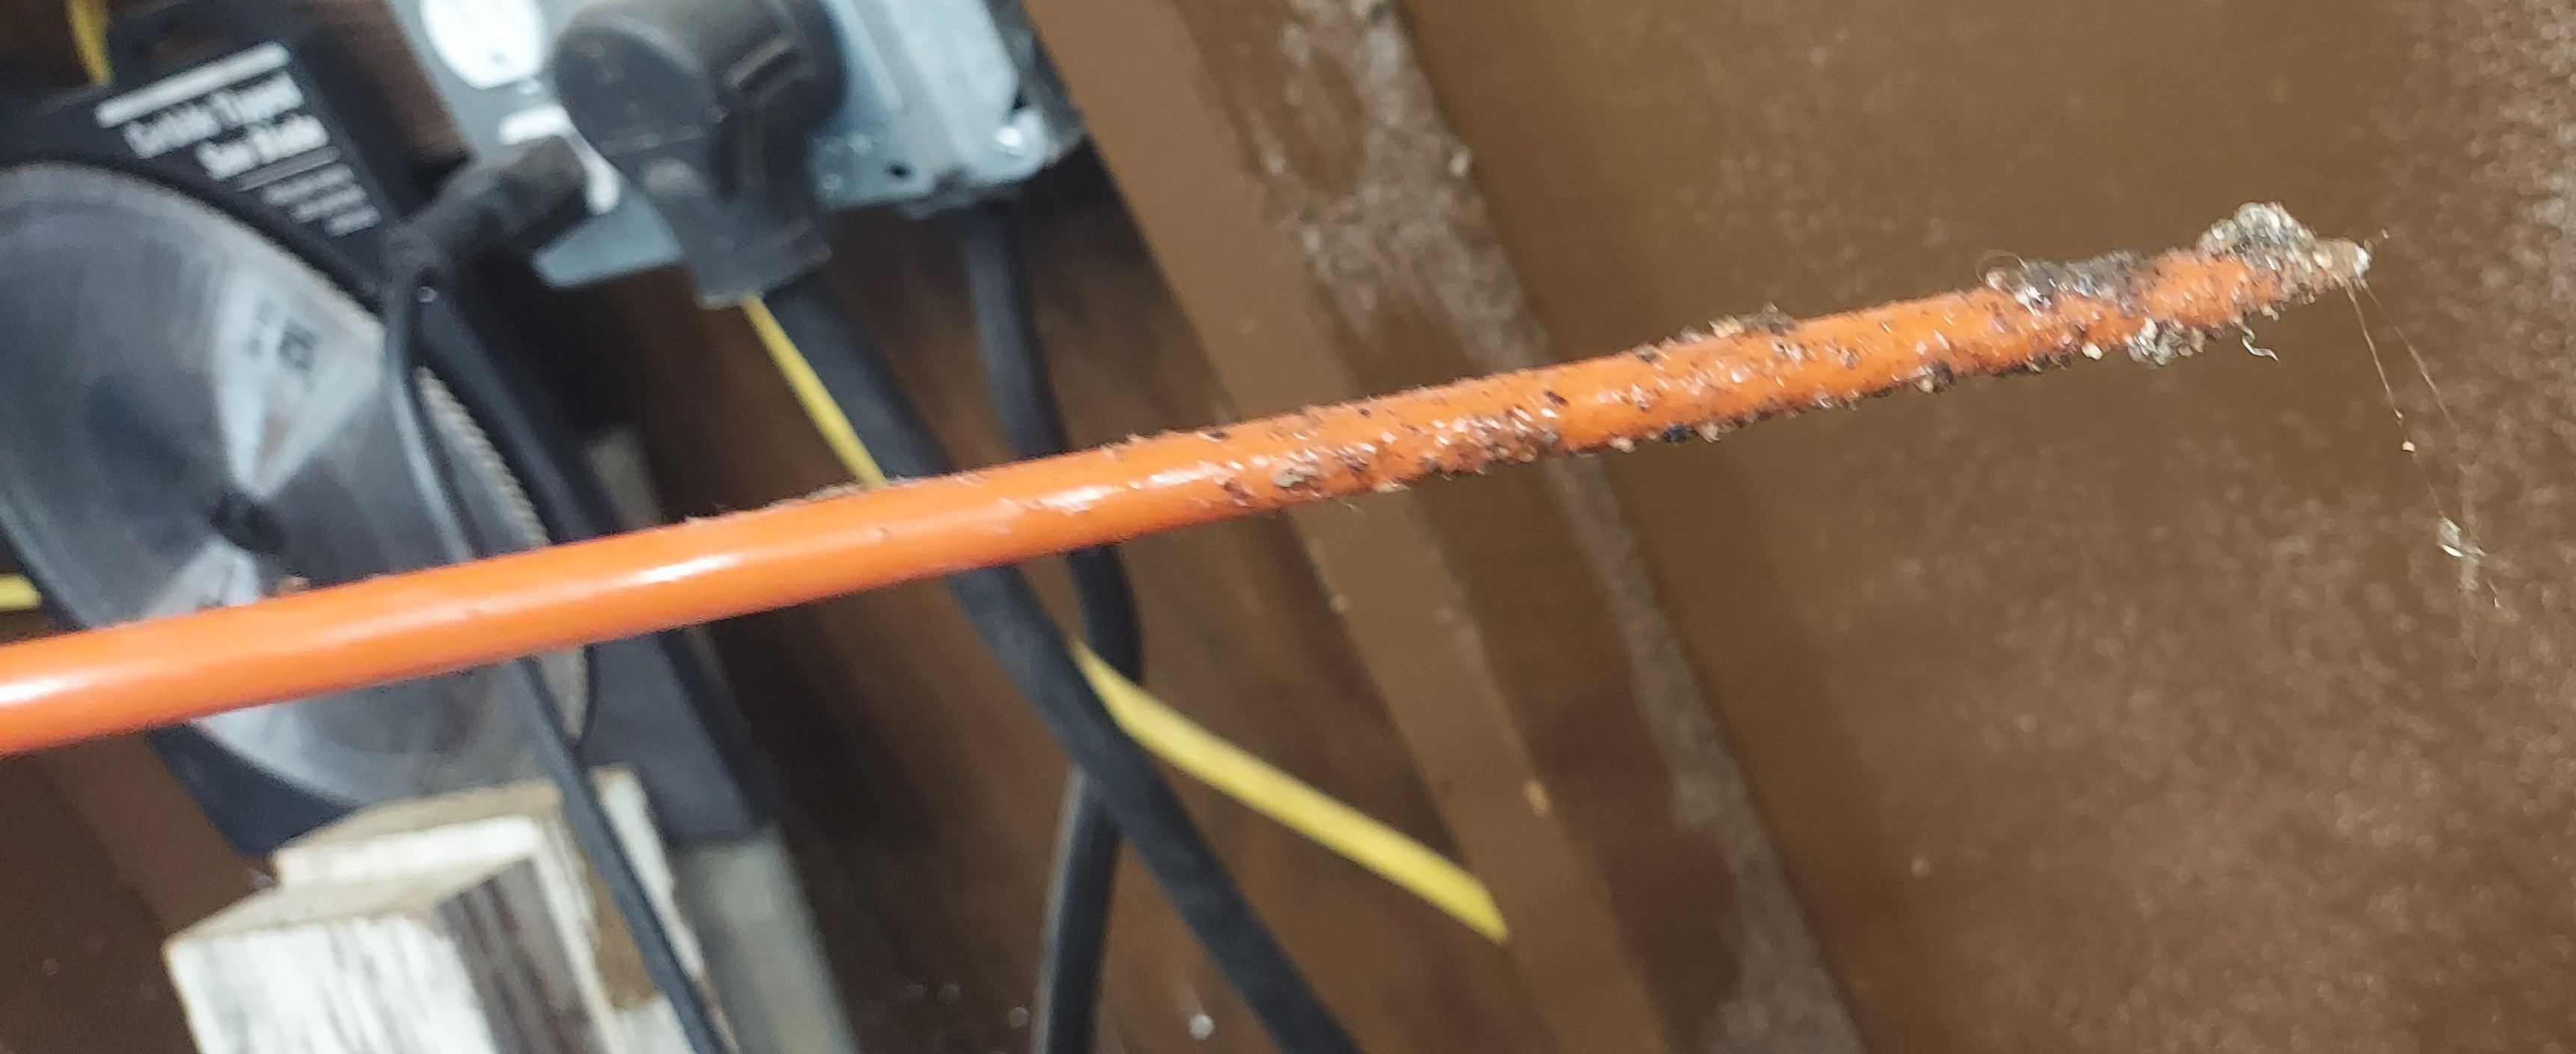
It turns out pouring it in quite difficult because the material is irregular in size. I had to do this very carefully and still dropped some rocks. I collected anything I dropped and disposed of them into another container. You can wipe most of the resin away with a good paper towel while it is still liquid. There is no easy way to take photos of this process since it takes two hands. Each time I poured in a batch, I shoved a long fiberglass rod down into the mixture several times. This is actually one of those reflective sticks meant to mark a driveway. This is intended to remove any air pockets in the column. It ends up with epoxy and rocks stuck to it, but I can just keep it for any future work like this.
I kept mixing batches like this until I got near the top pin hole. Then I had to reinstall the wood plug with RTV and wait for it to cure. I then mixed up one more batch to fill out the top of the column and poured it in.
Removing the wood from the column
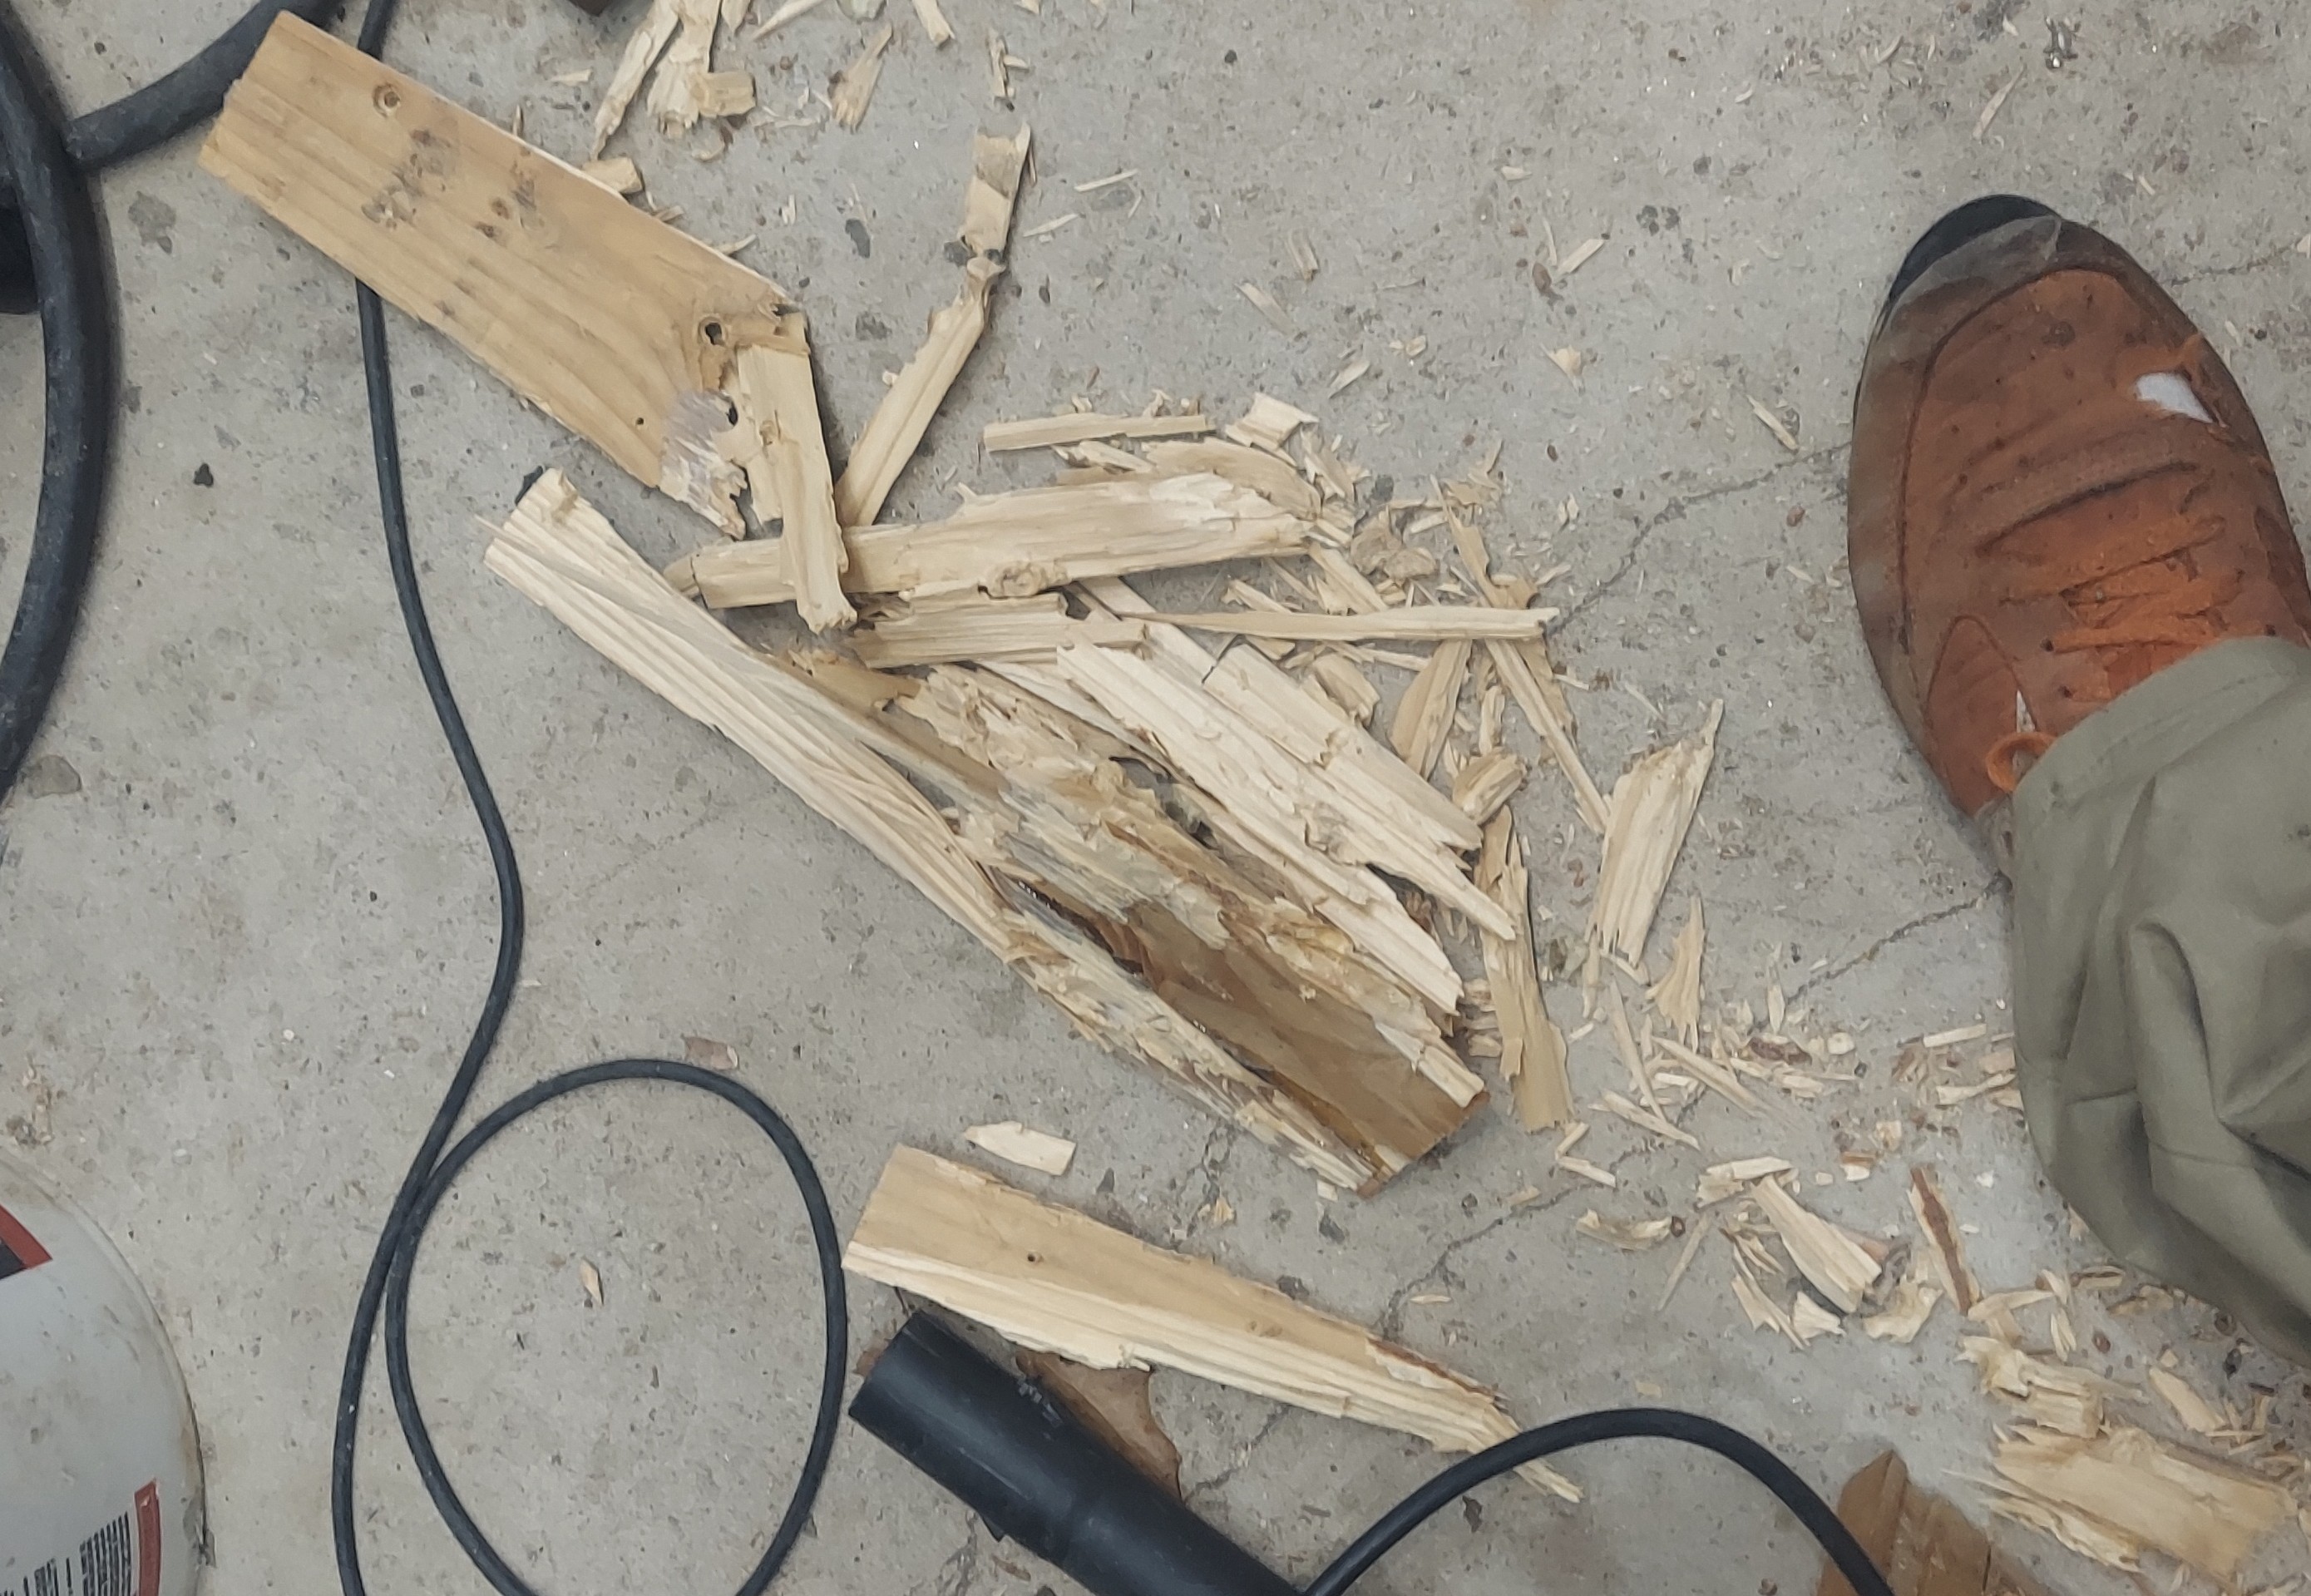
I let the column cure for at least two days. After that I was able to extract the top plug with just a wood chisel. I basically just broke up the pine until I could vacuum it out.
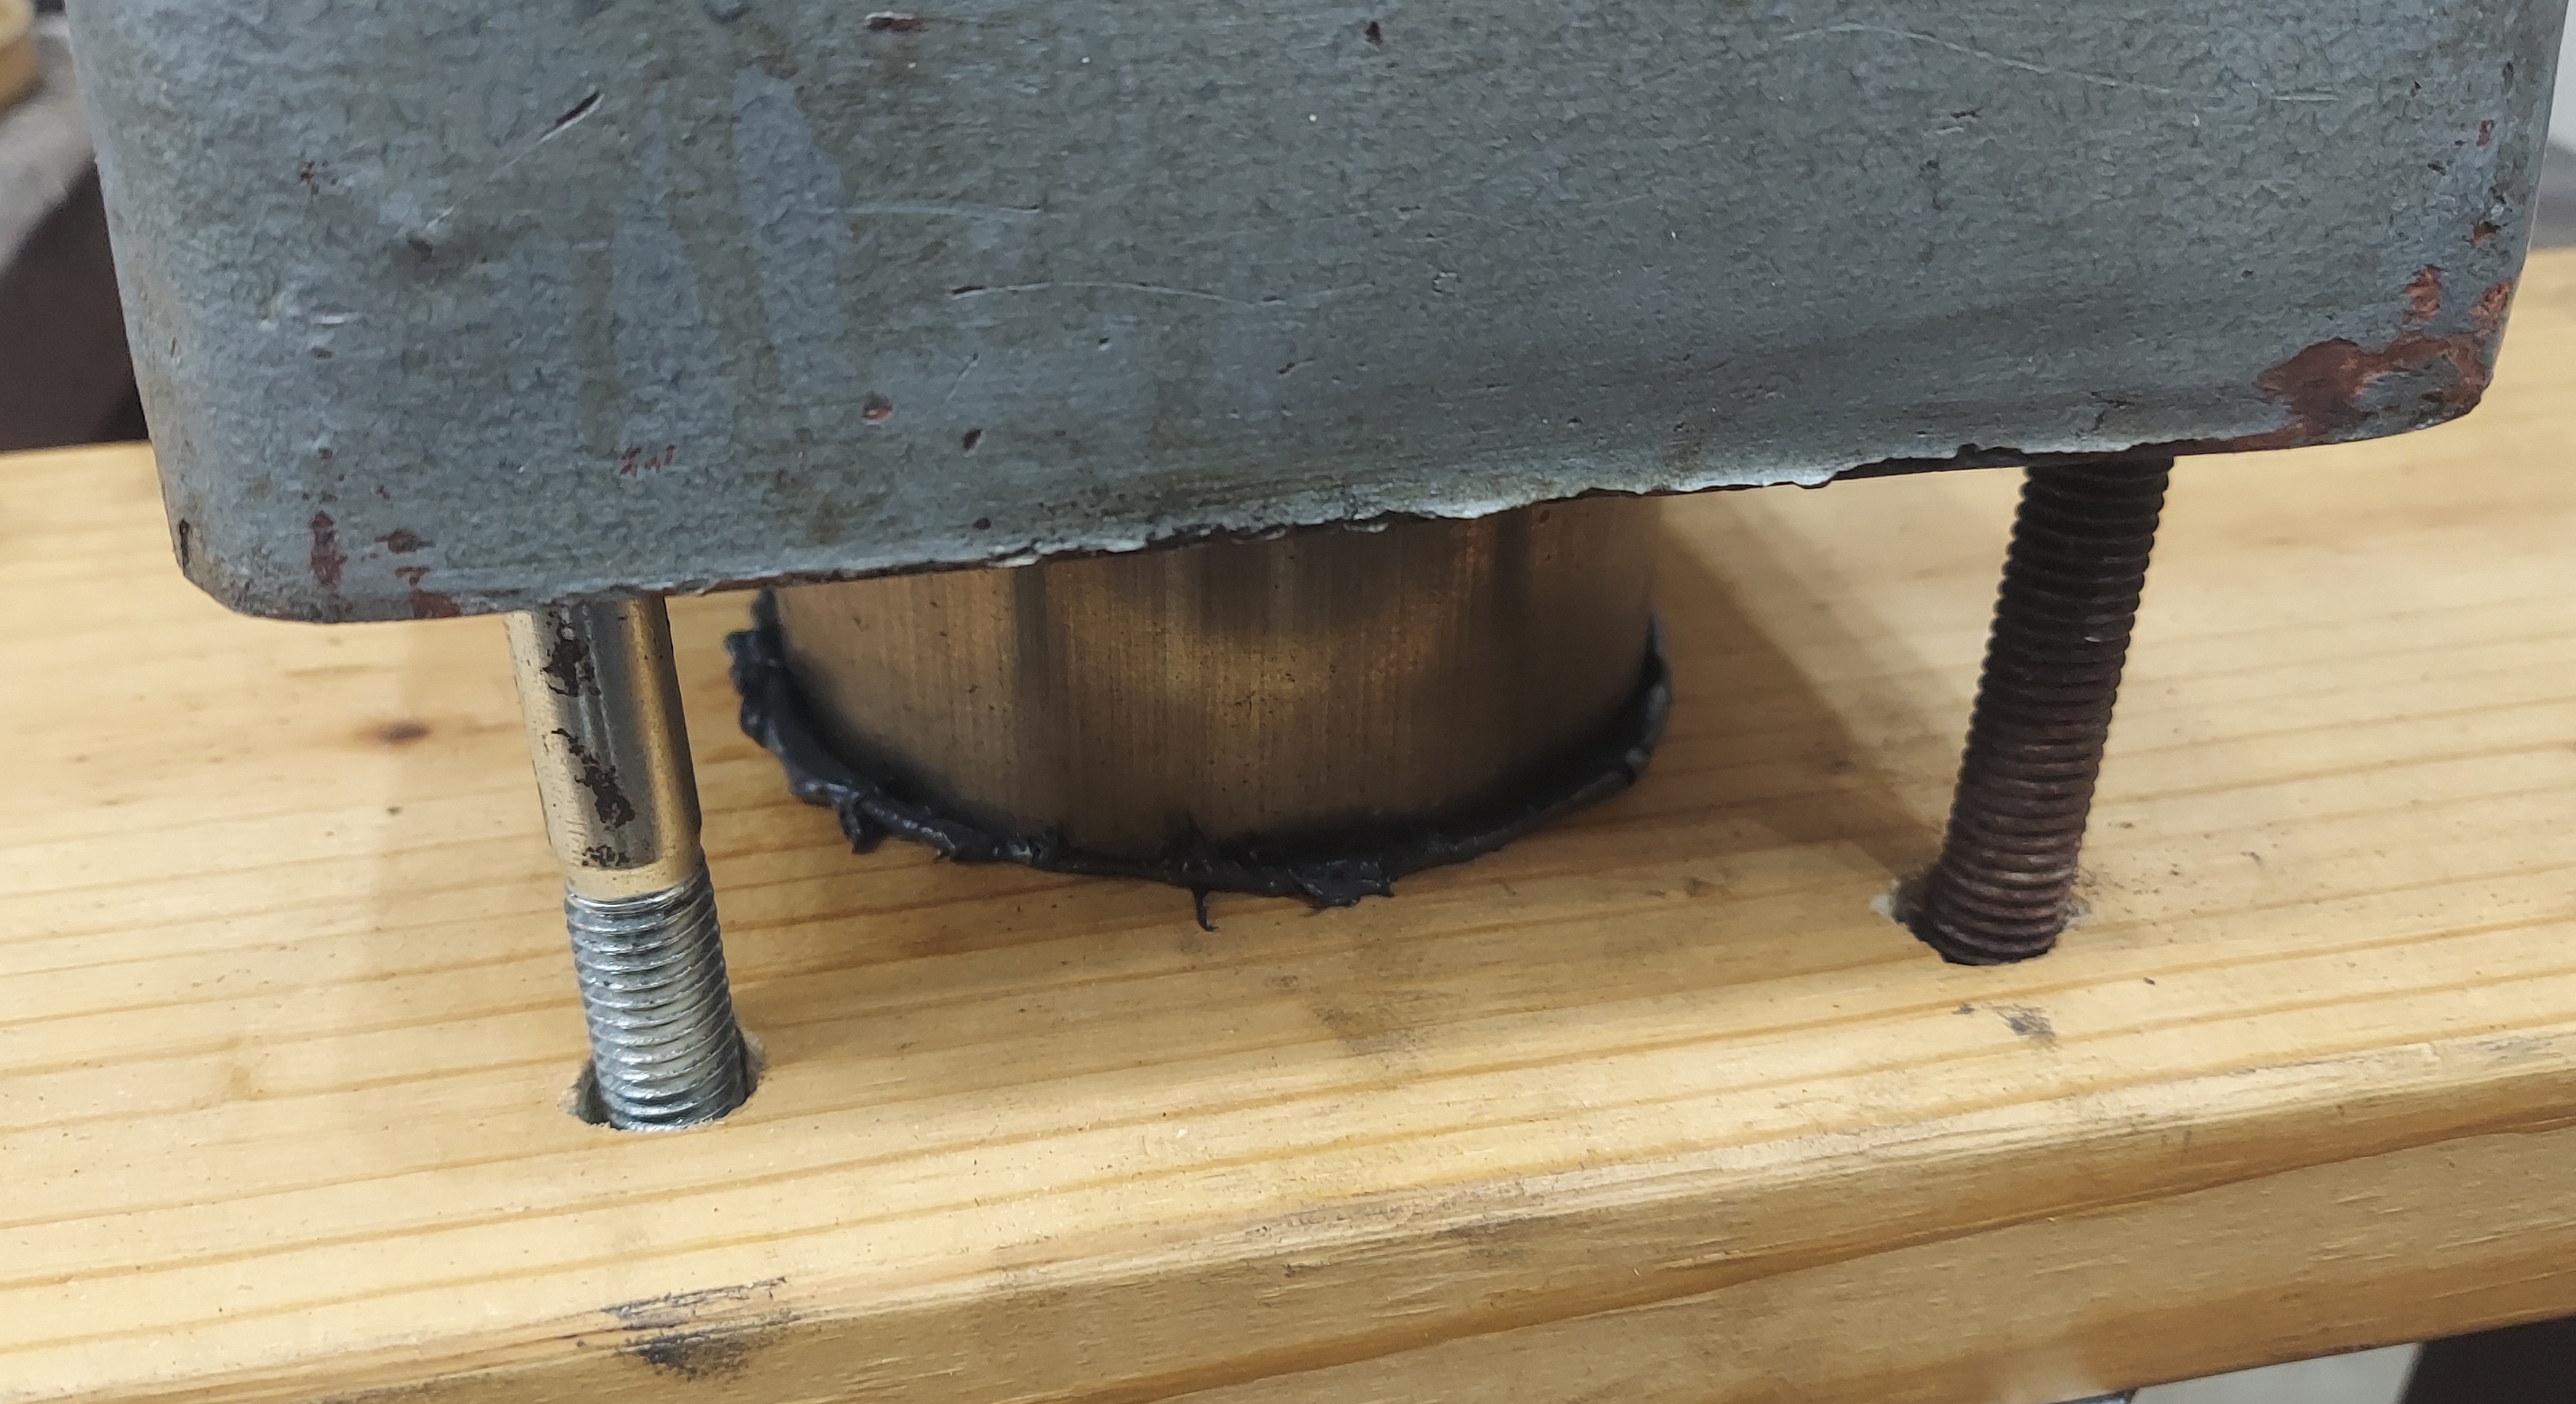
The bottom board came off easily once I had the bolts out. I just used a rubber mallet to tap the column until it was free.
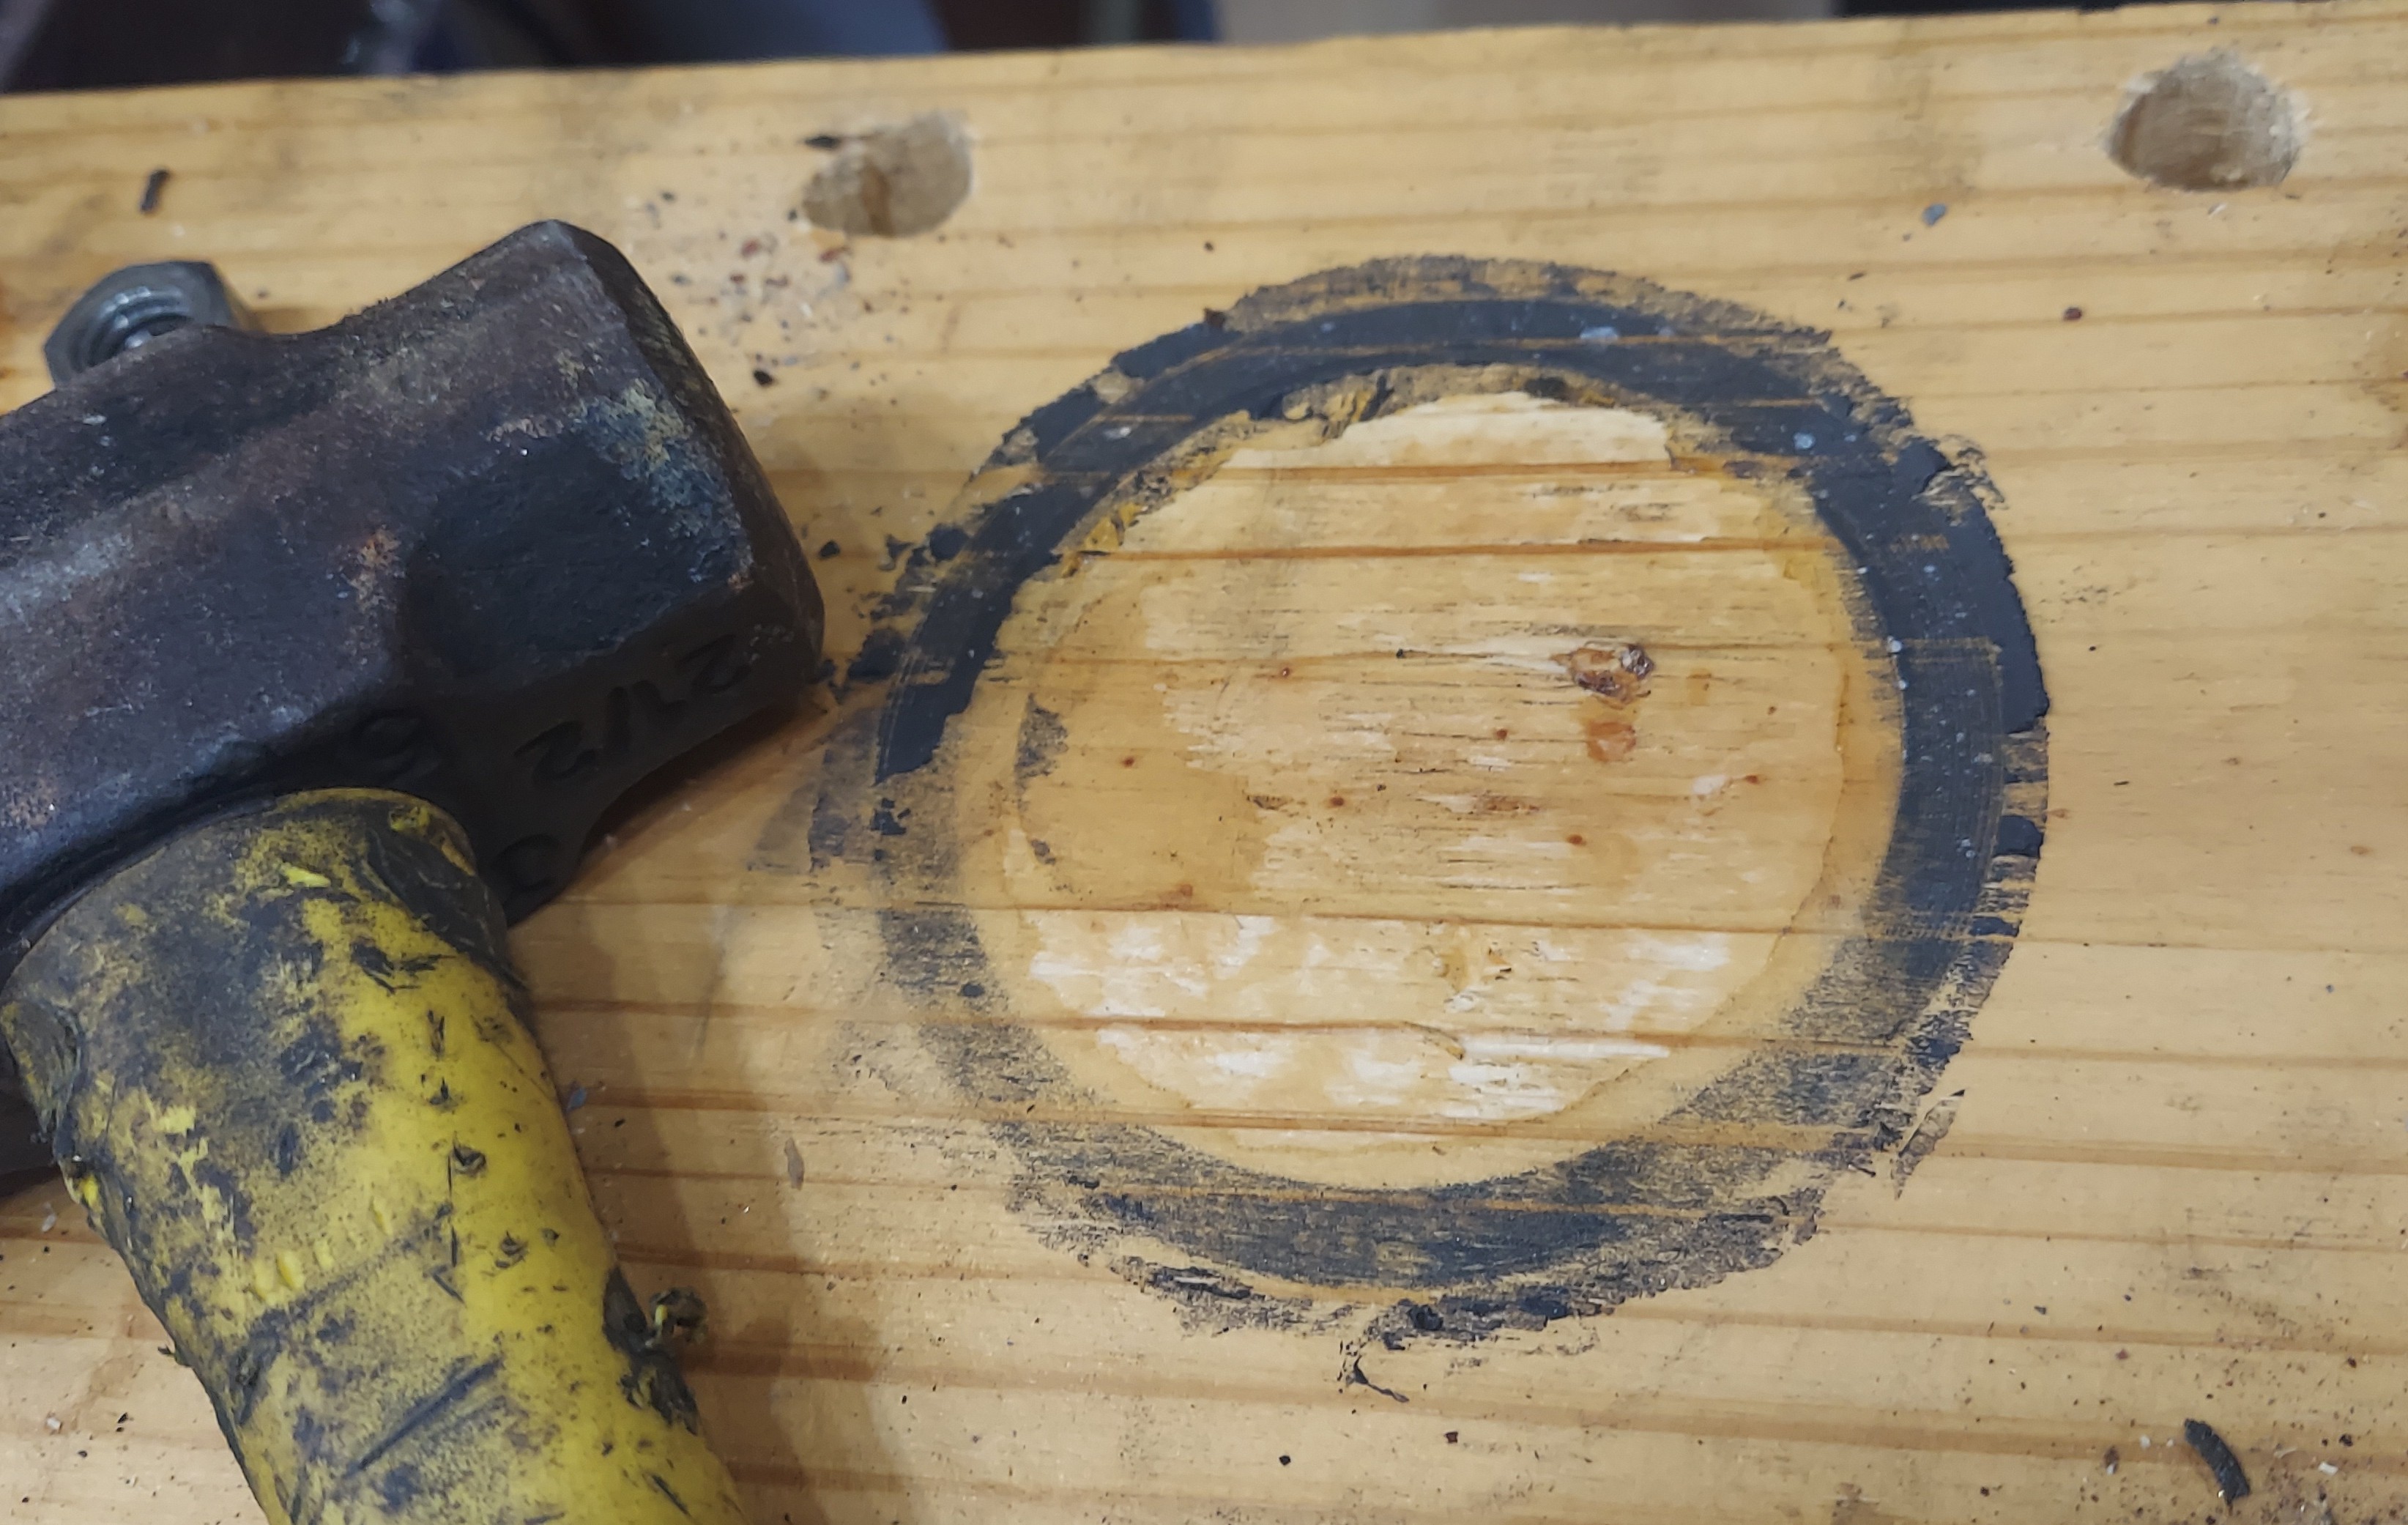
The RTV did a great job of keeping the epoxy resin in
The bottom plug was a bit more complex. Since it had to be very long, I needed to remove a huge amount of material. So what I did was rigged up a 1 inch wood spade bit on my drill with an extension. I was able to use that to drill the entire length of it out.

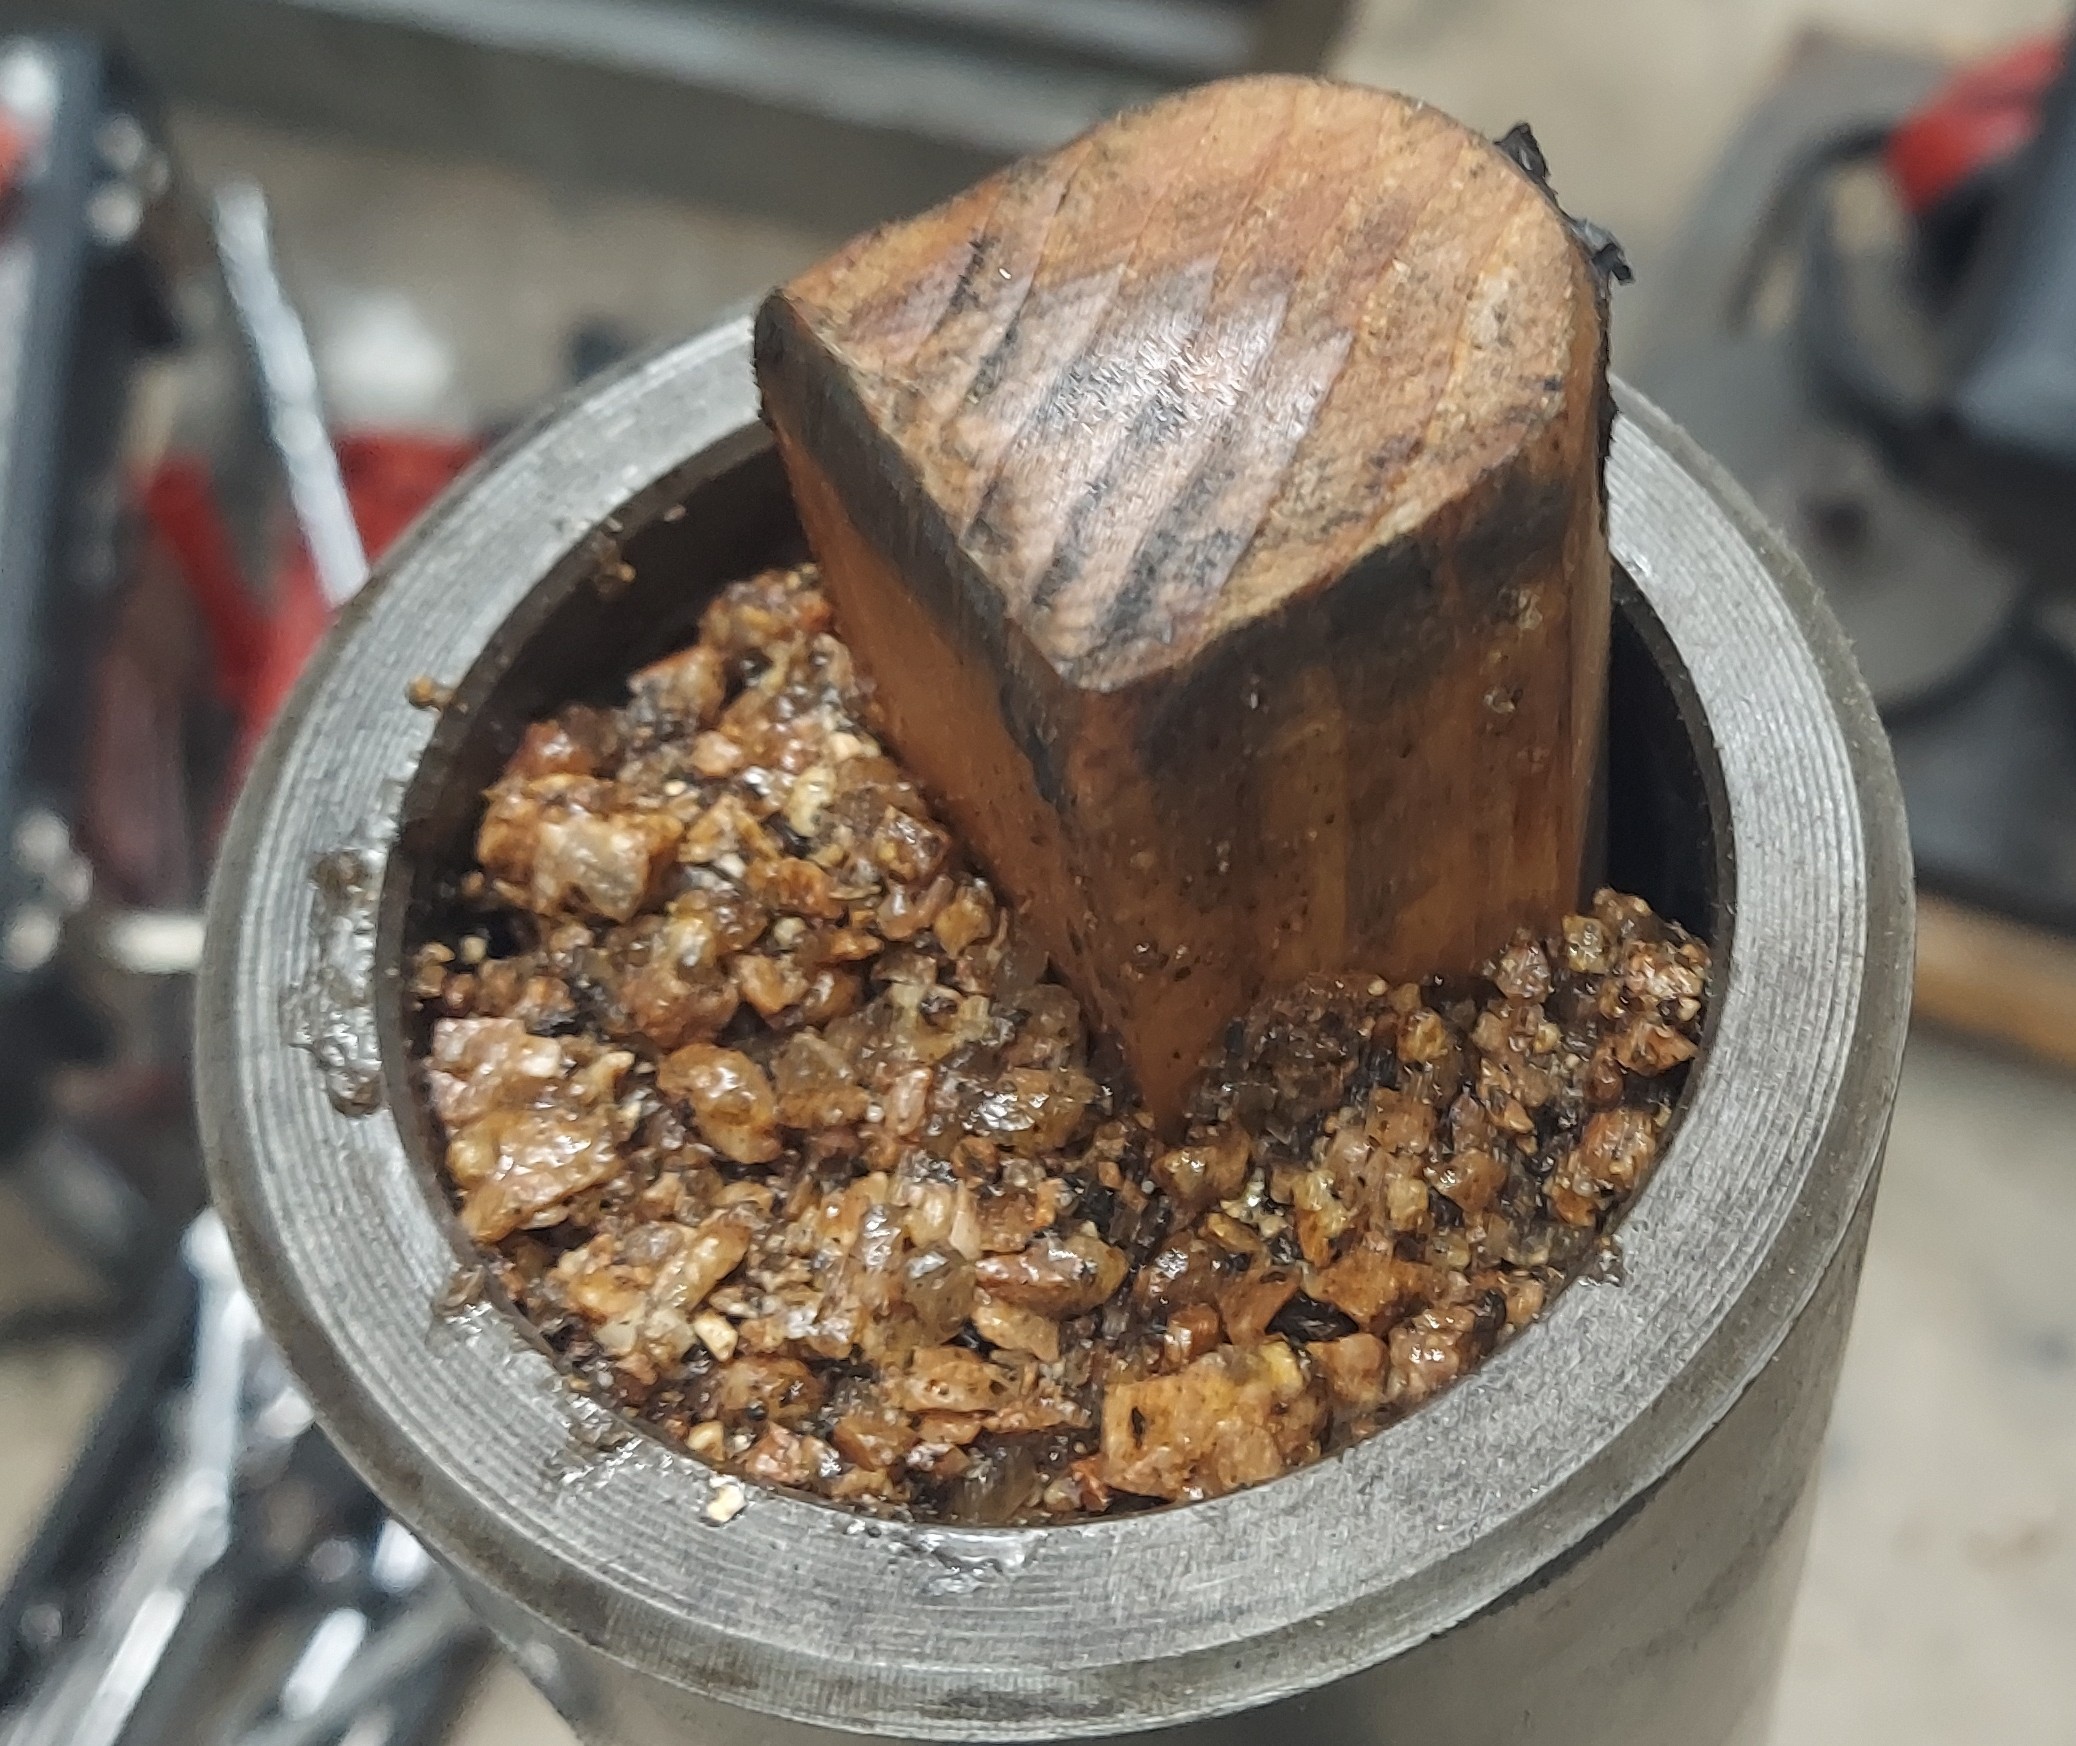
The column immediately after curing
The top plug after the epoxy resin cured
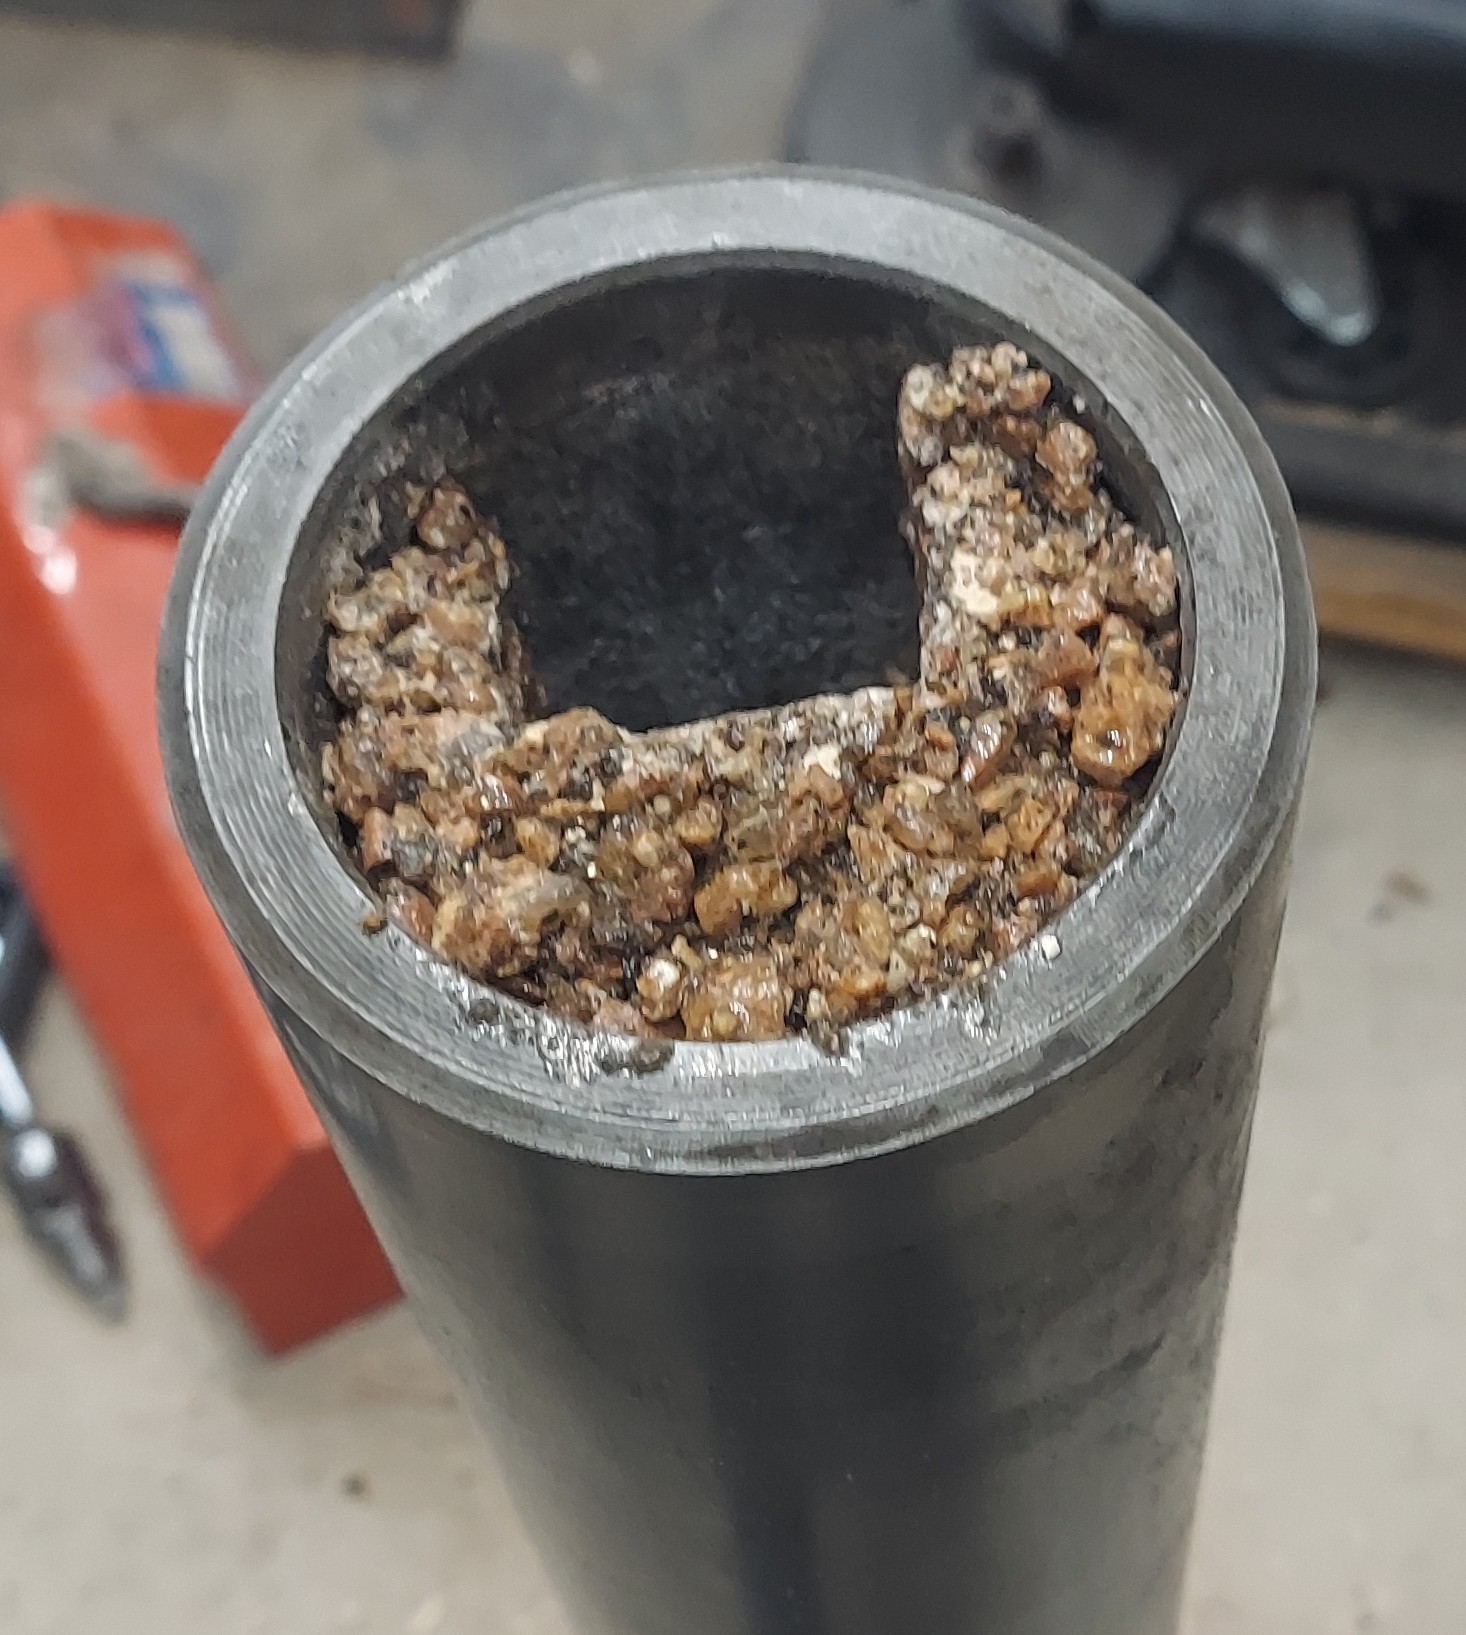
The void left by the top plug
The bottom plug after curing
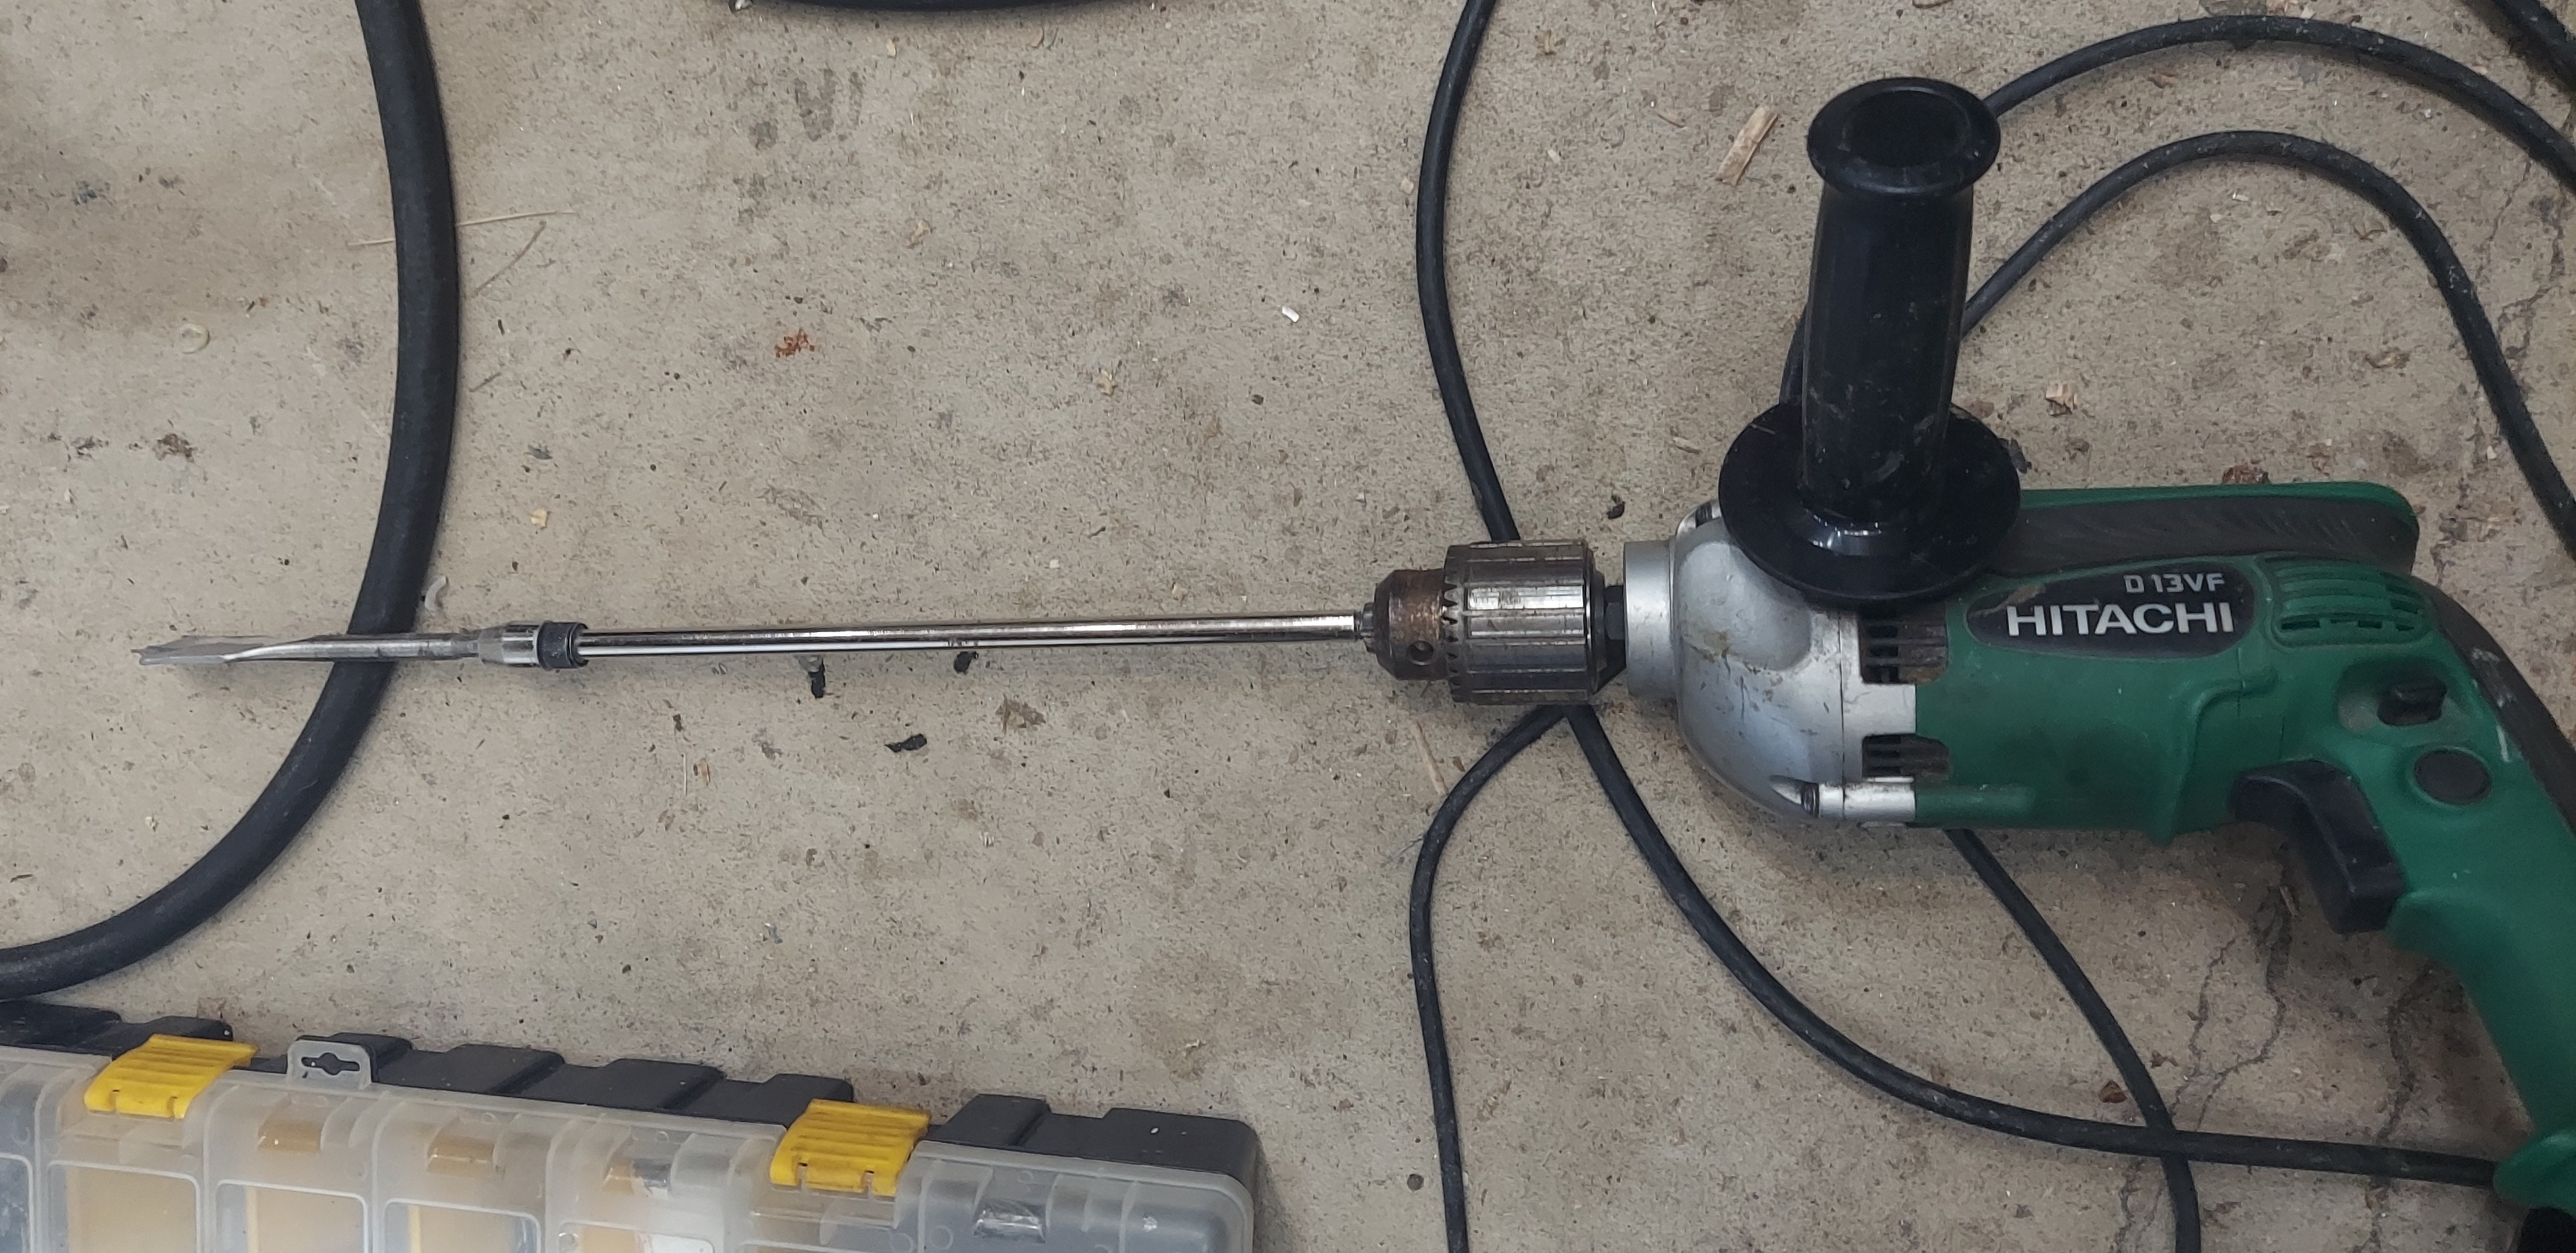
The drill used to remove enough of the wood plug from the bottom
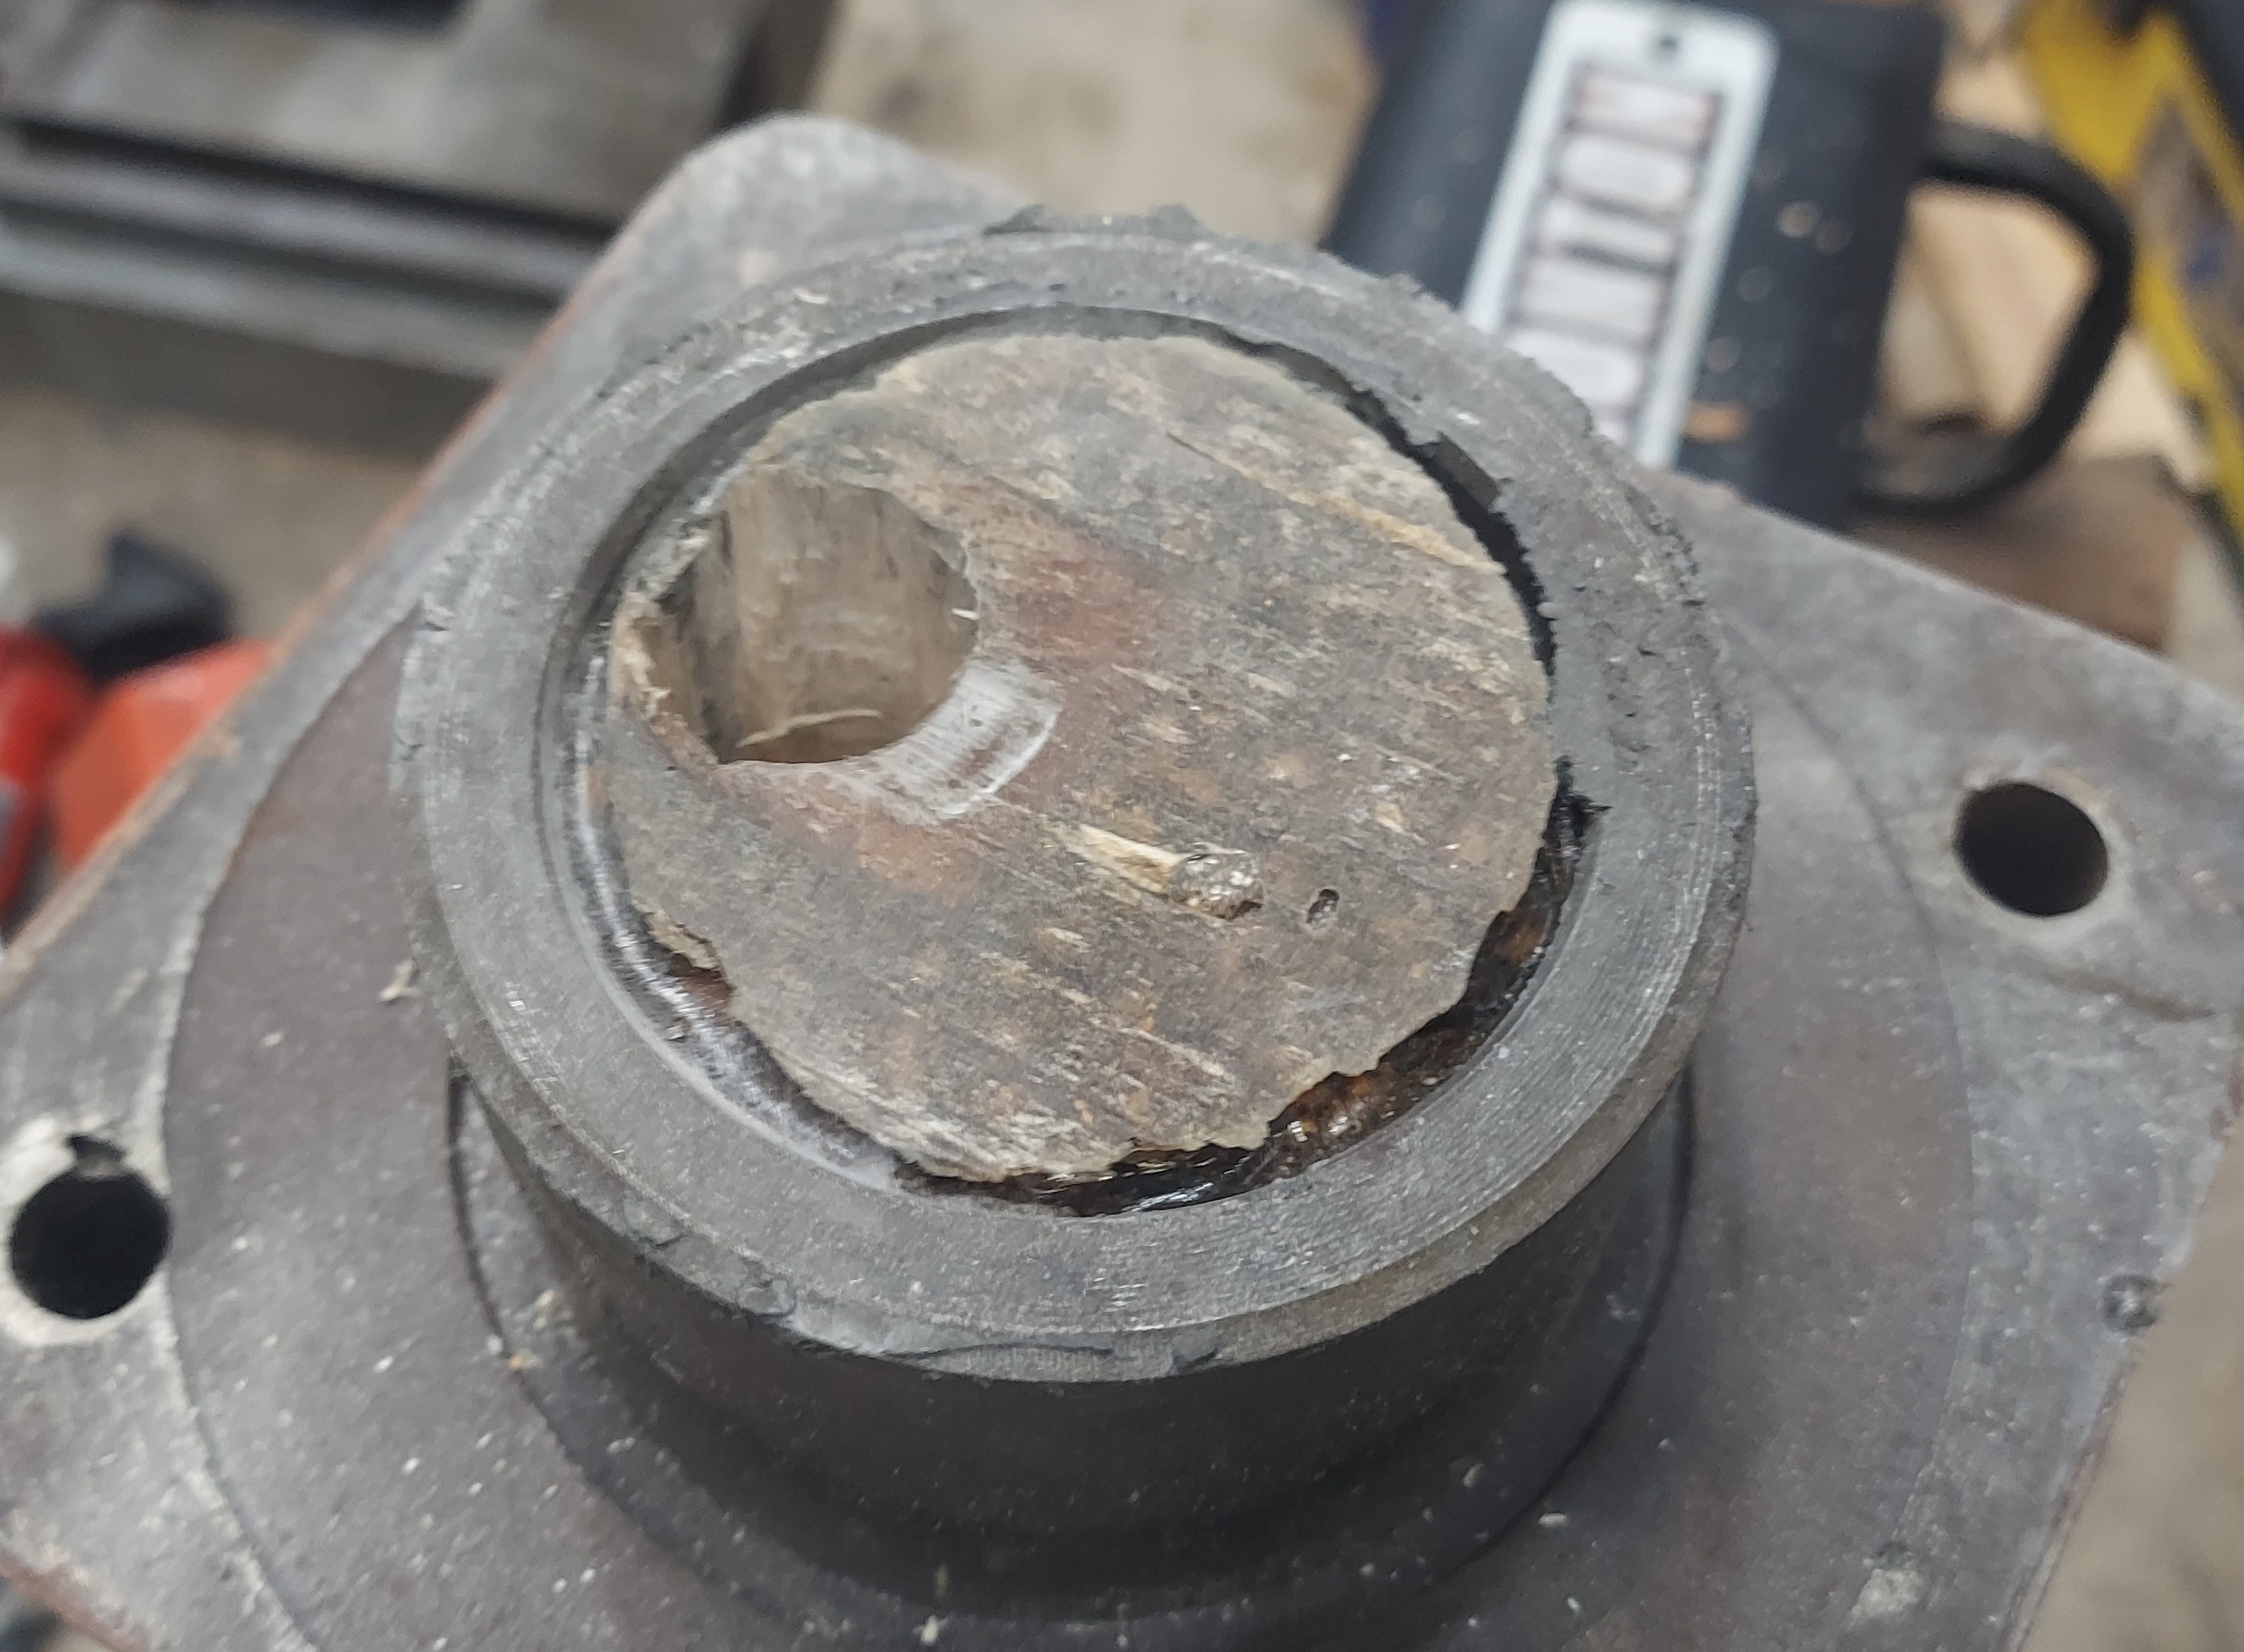
The passageway created by the drill
Filling the base
I also wanted to add as much material as I could to the base. The geometry of the base is completely different and requires a different approach.
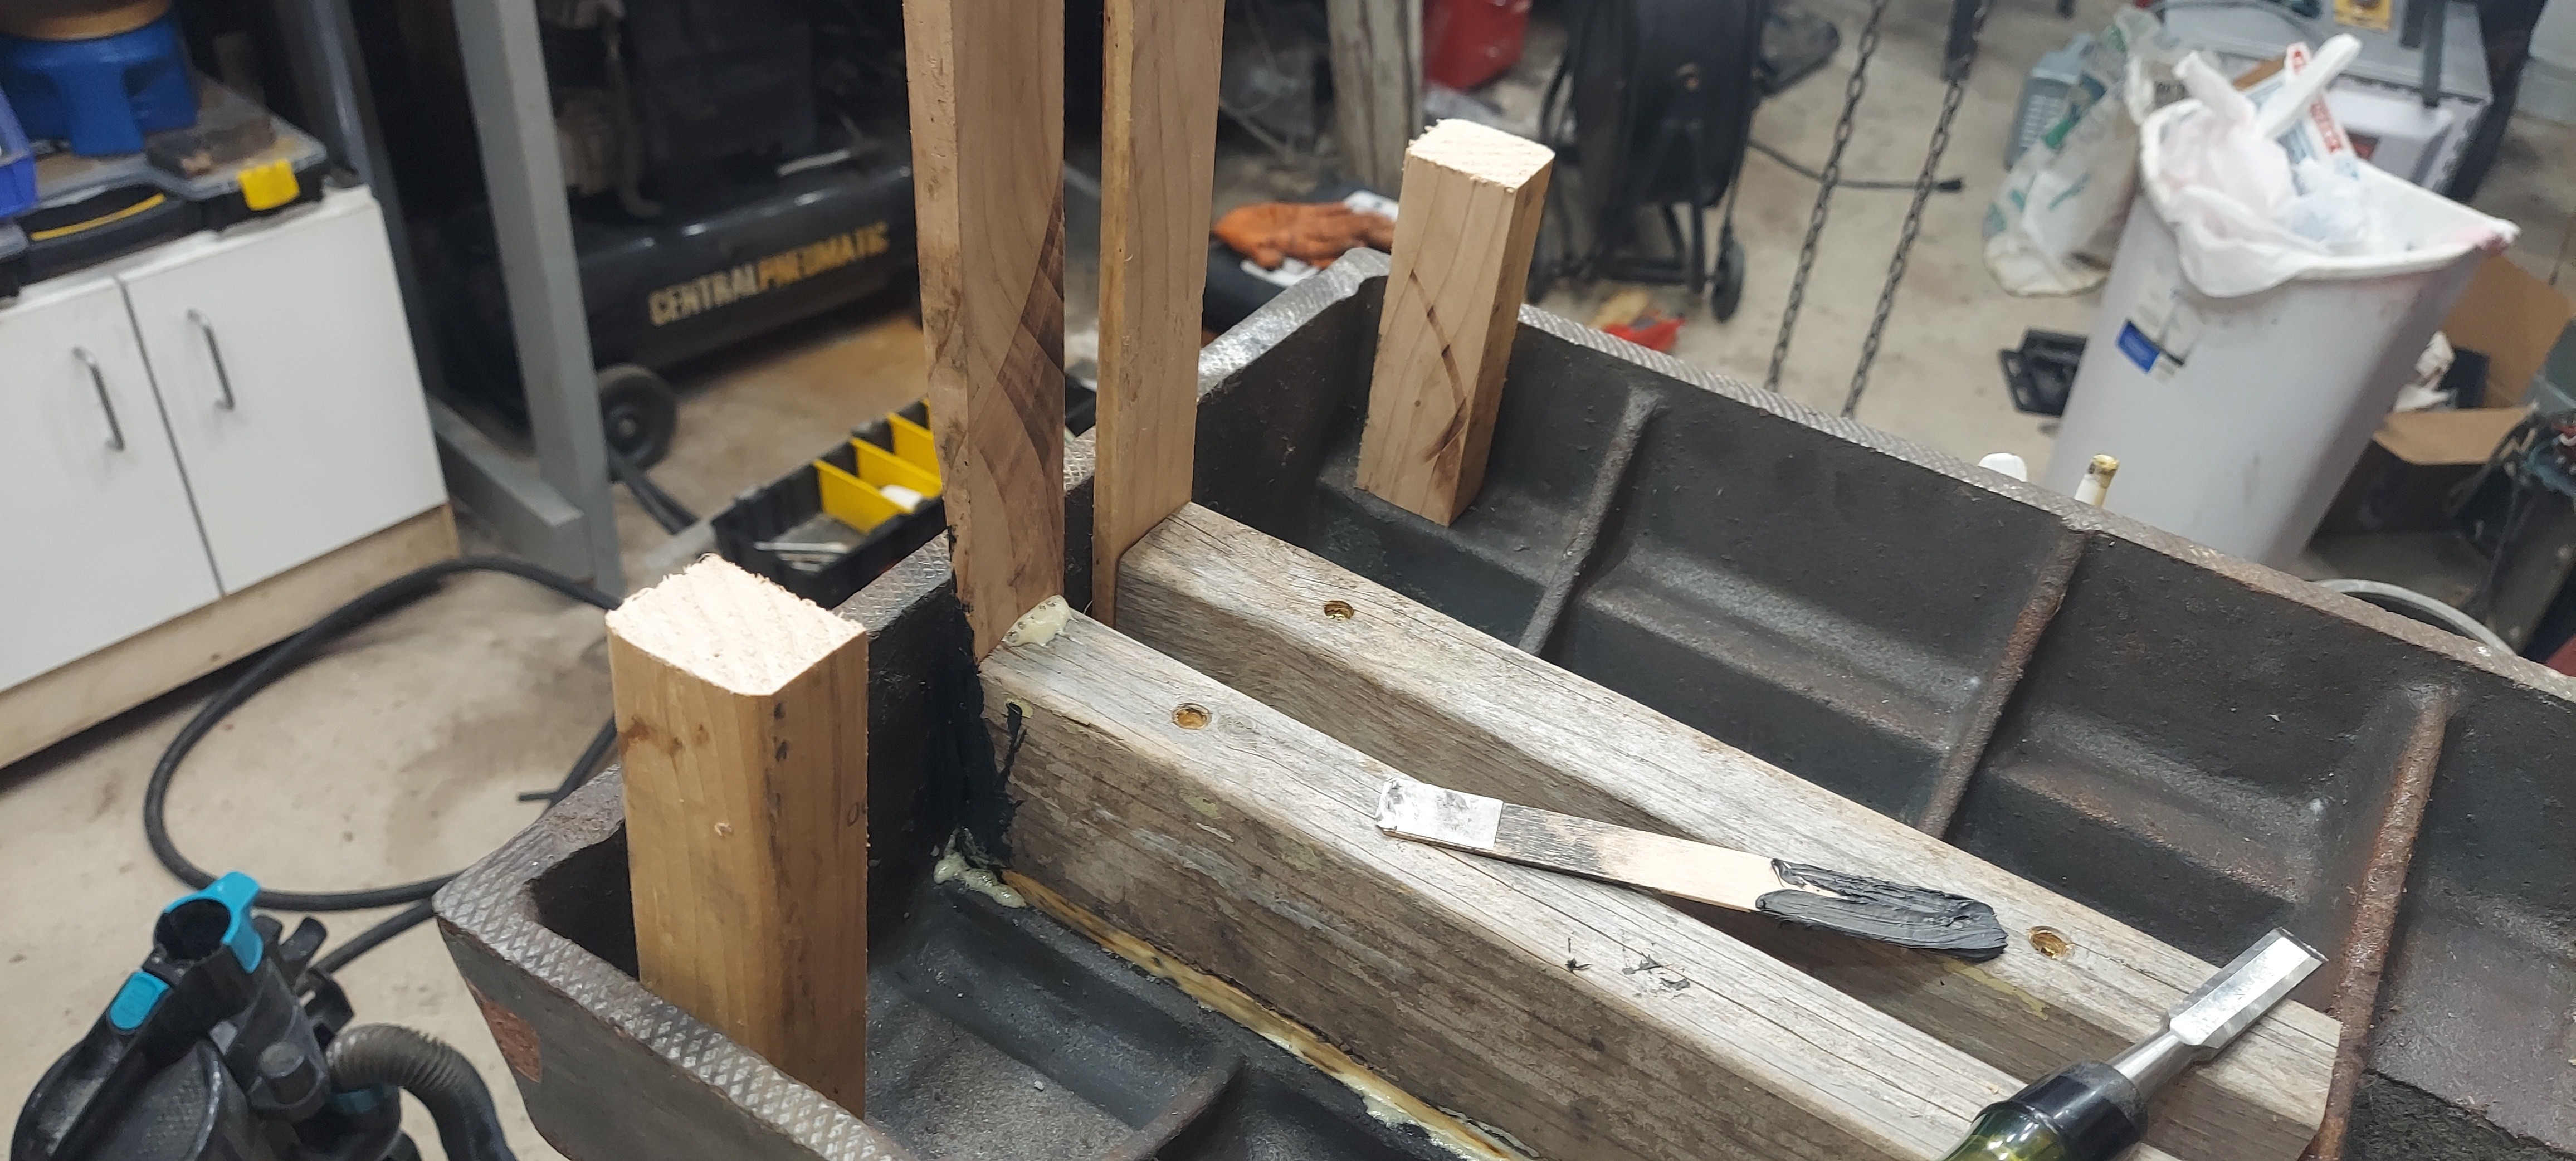
Plugging the central passageway
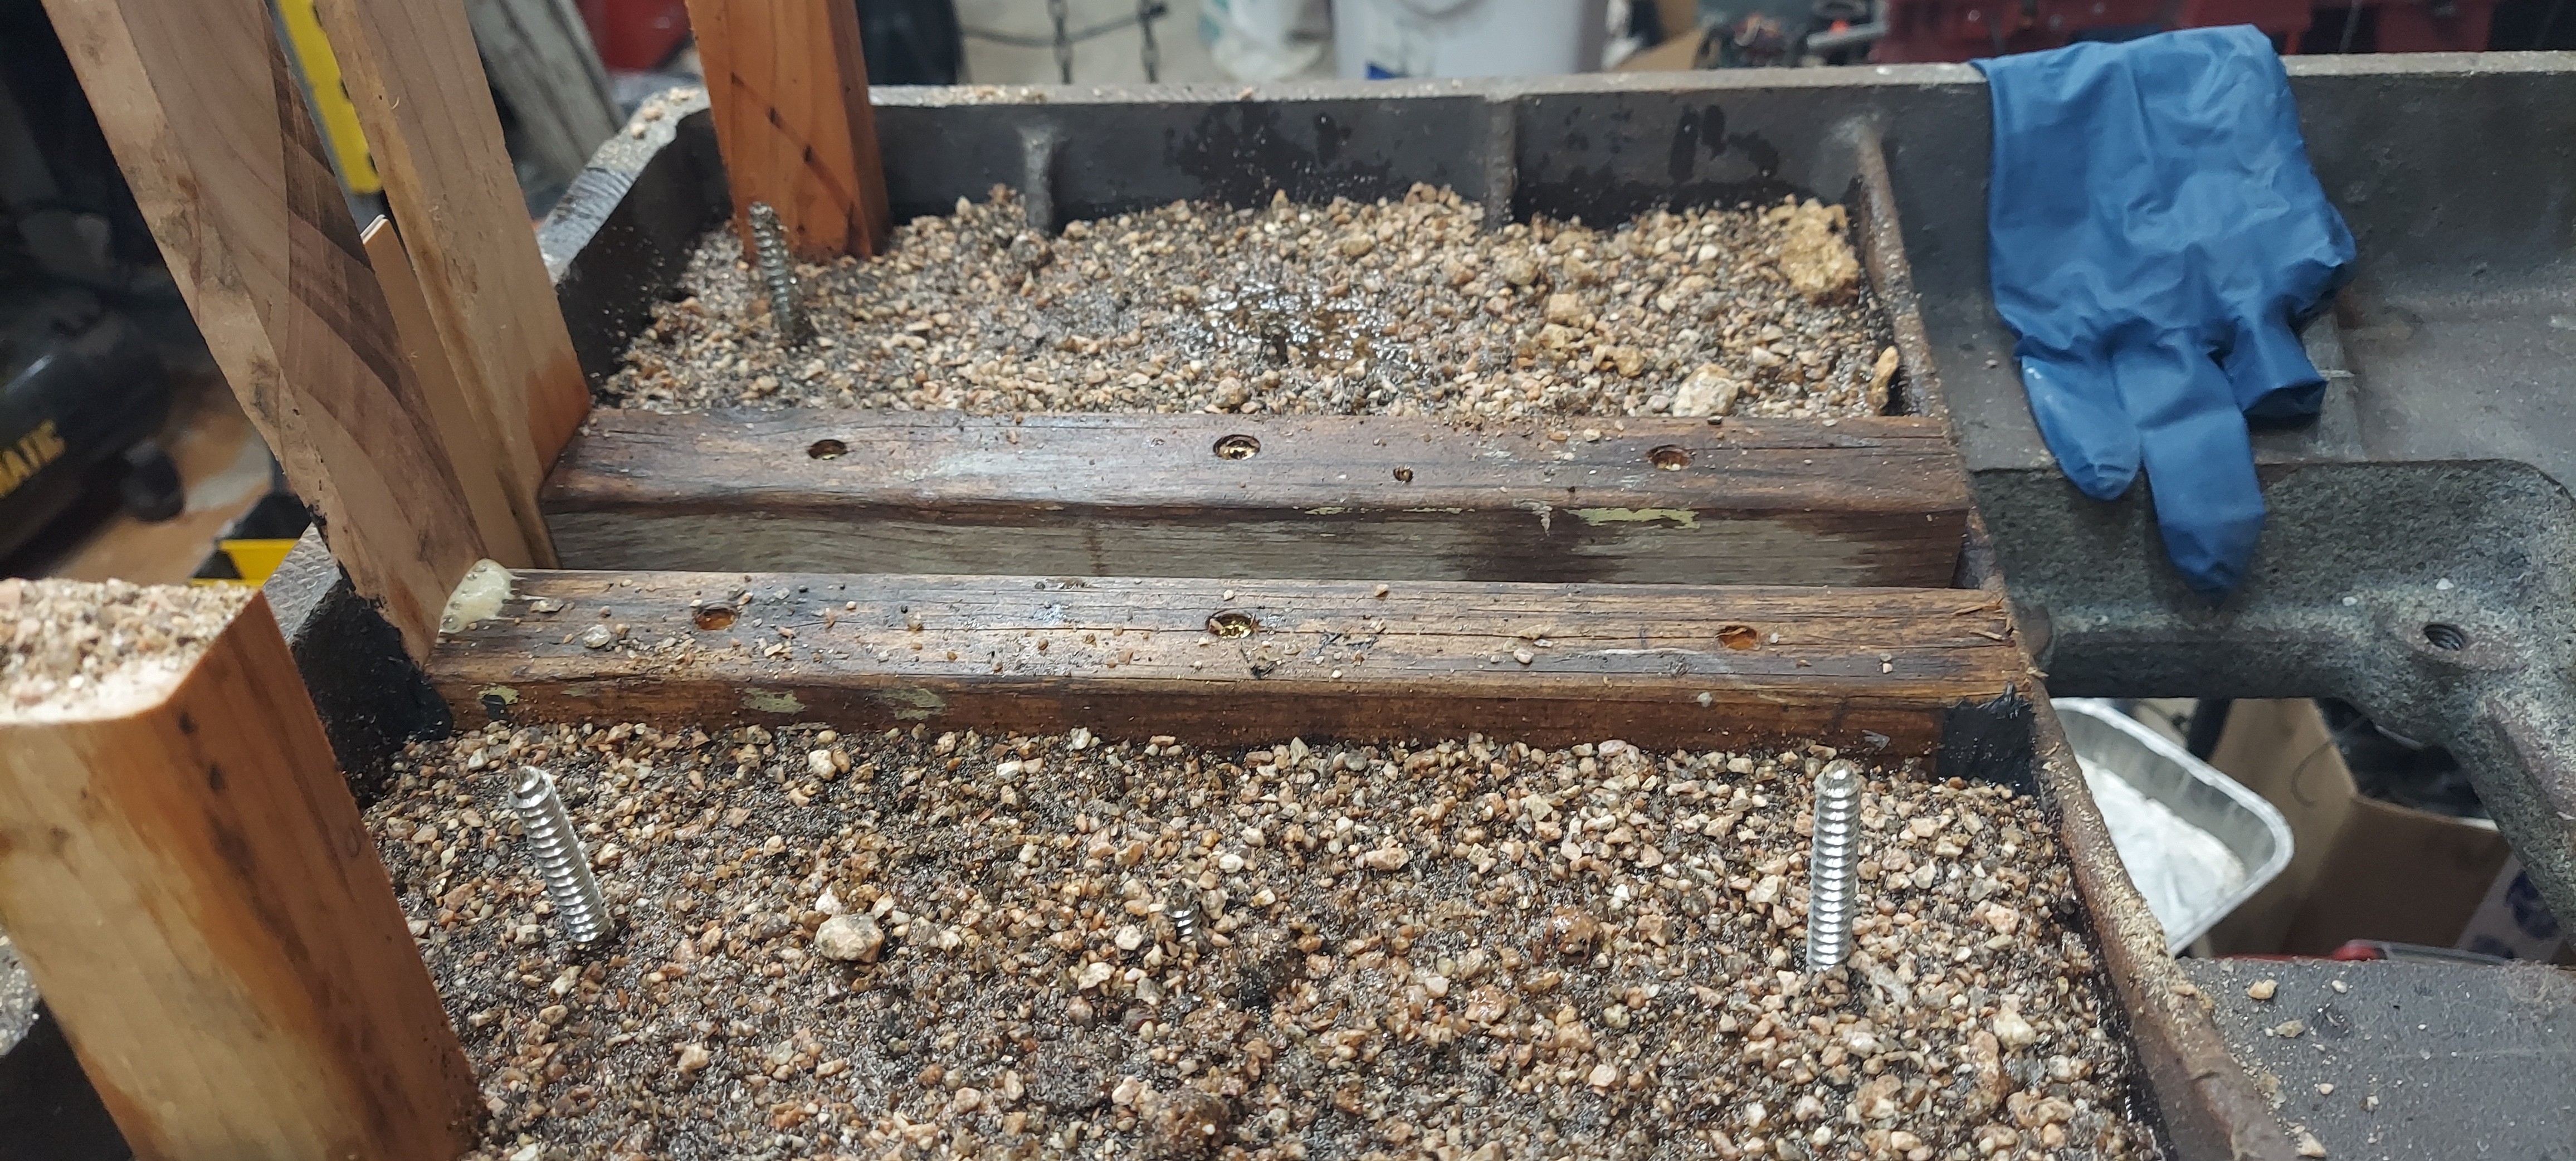
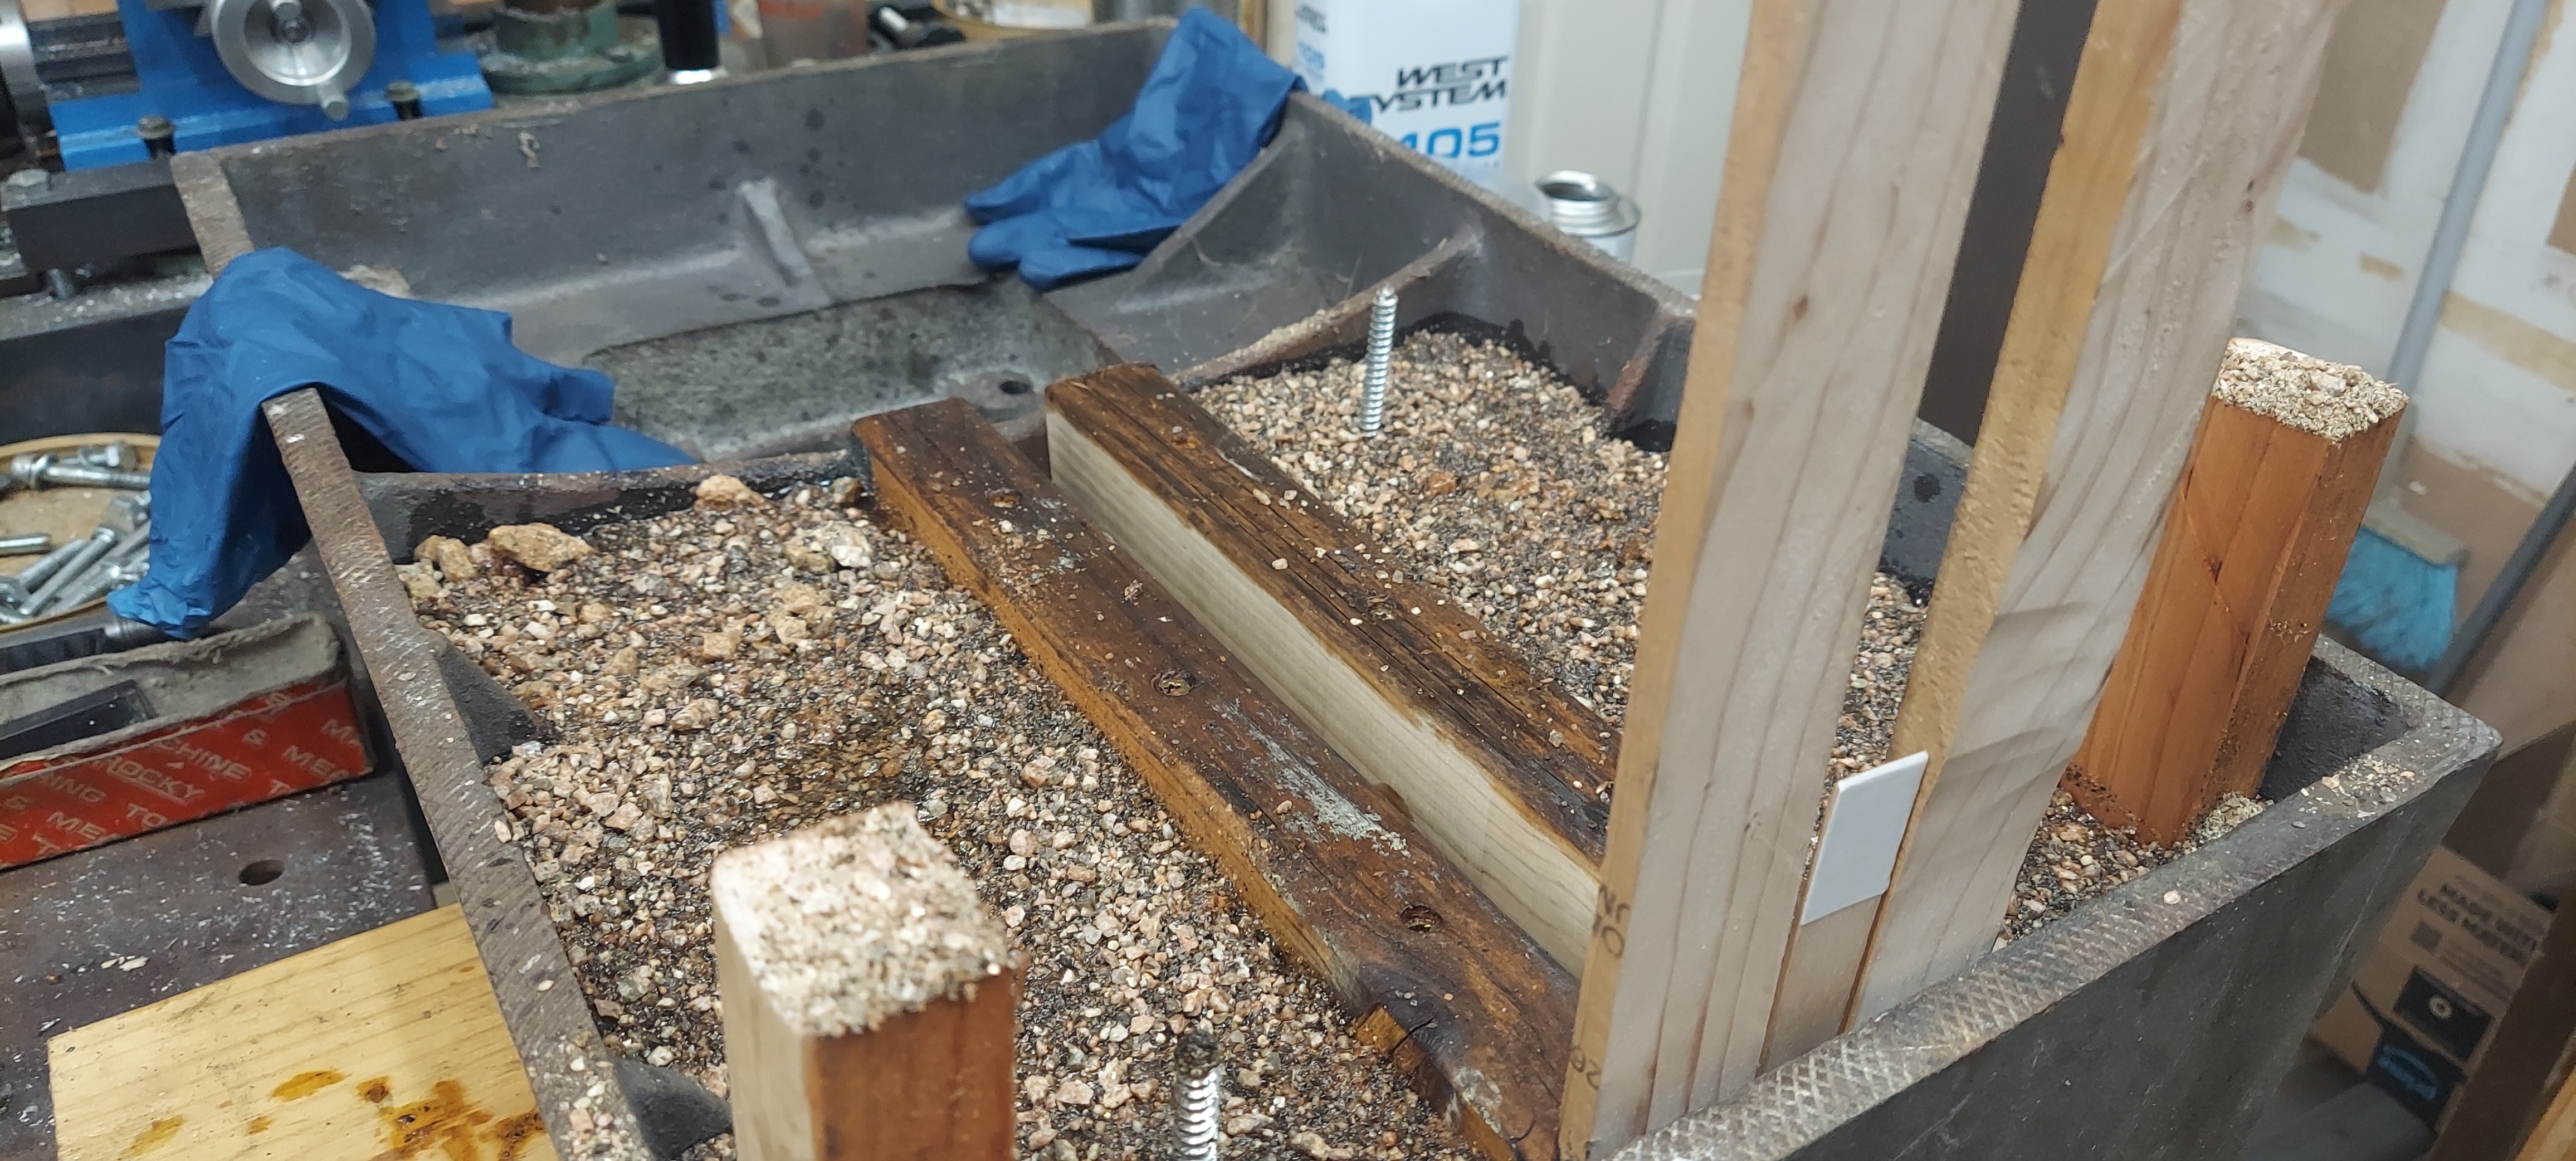
To fill the base I need to plug up the central passageway with something. This area normally has the leadscrew in it for the milling machine table. So I can't fill it solid, but also need to put in as much material as possible. I used my table saw to cut up some scrap 2x6 to make a plug. The casting has a bunch of rounded corners so I used the belt sander to round the edges of one side of this plank. This fits down into the passageway. This is installed using RTV as a sealant. Then I screwed through it into the board the base is sitting on. I then cut down two pieces of 2x4 to make walls in the center portion. After this I made some shims with the table saw & the belt sander to take up the gaps on one end. The entire thing was then sealed up using RTV and gorilla glue. Gorilla glue is just expanding polyurethane foam, so it is acceptable as a temporary sealant.
Plugging the mounting holes
There are two mounting holes in the base I needed to retain so I used two more pieces of scrap wood to make plugs to occupy that space.
Plugging the leadscrew mounting holes
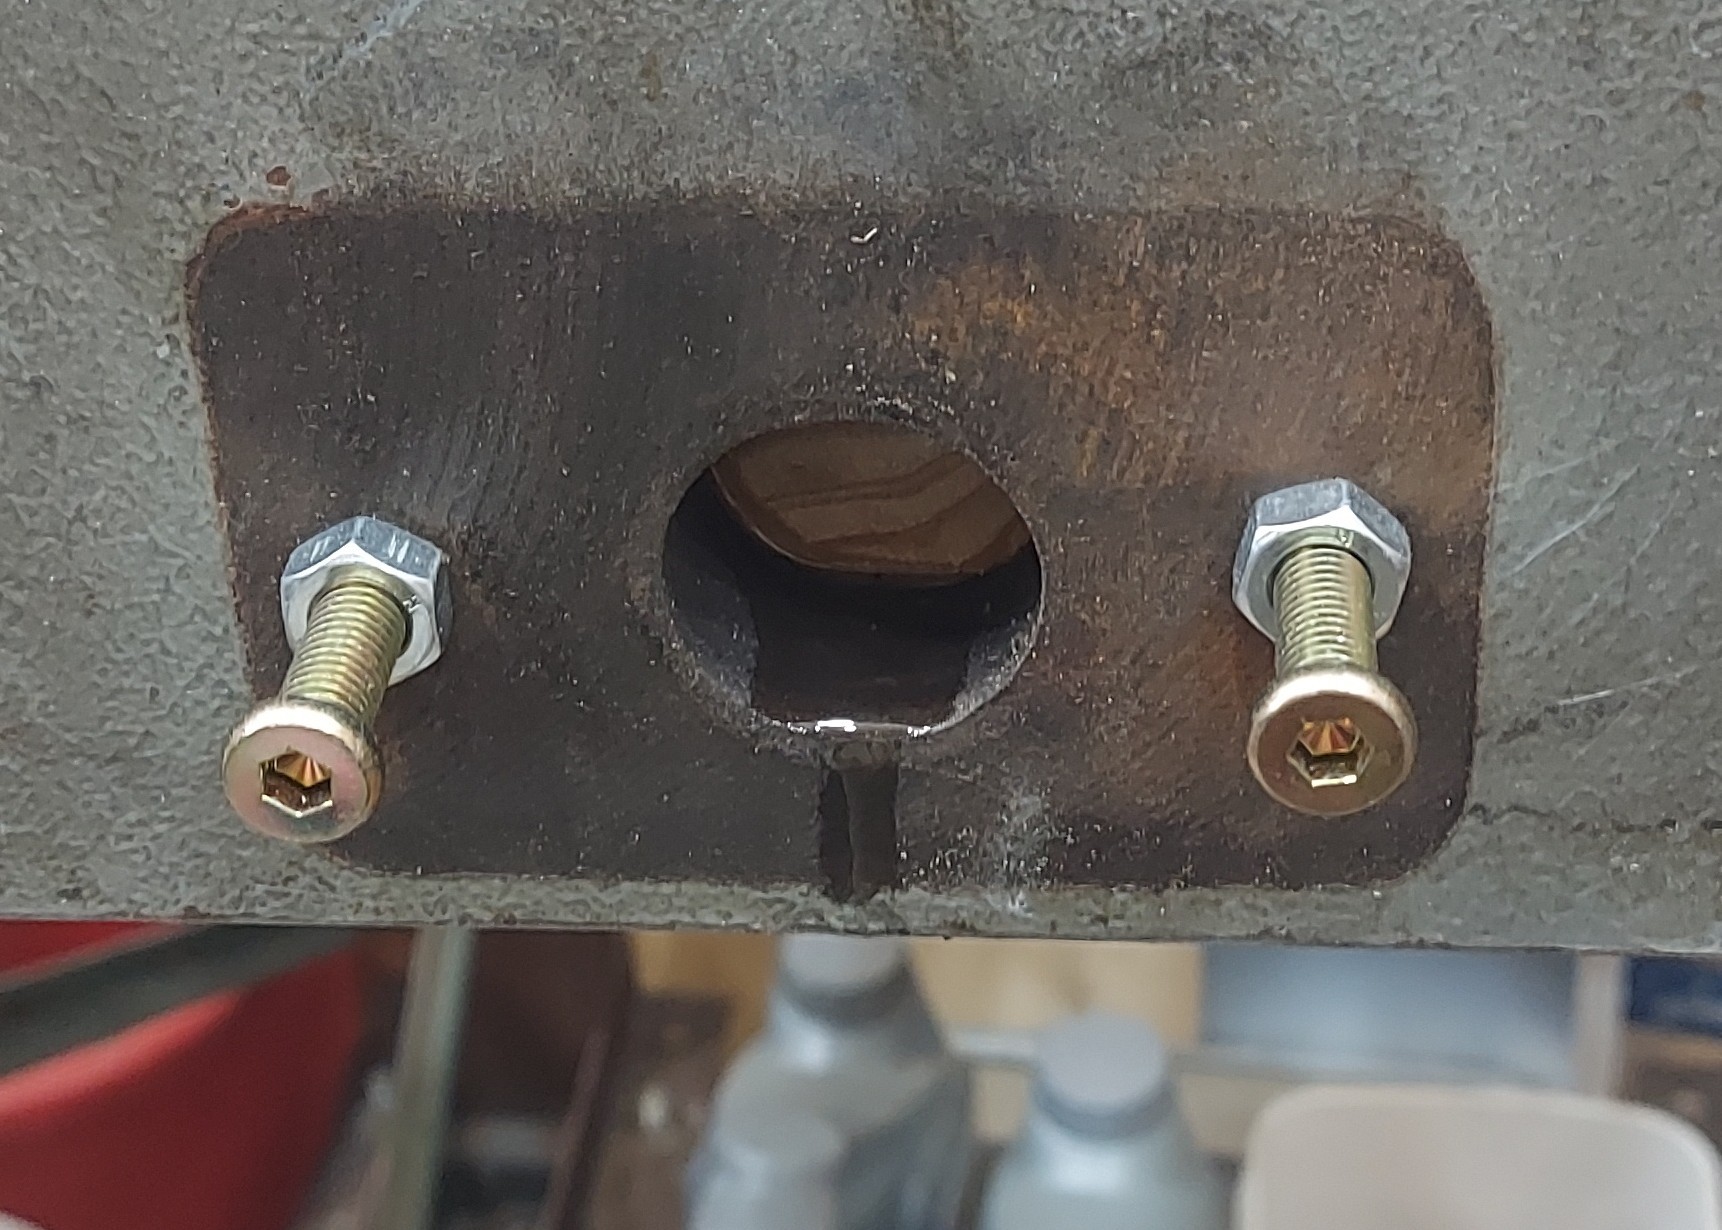
There are two mounting holes for the leadscrew on the front of the machine, so I just put some spare bolts in there and left them in for the duration.

Adding initial granite epoxy
All the wood was painted with ATF before pouring any resin in. Don't make a mess but ensure you get complete coverage. Since the base is so easy to work with, I actually just threw in some rocks, then poured in the resin and the hardener. After that I mix with the popsicle stick. I alternated between coarse material and fine material
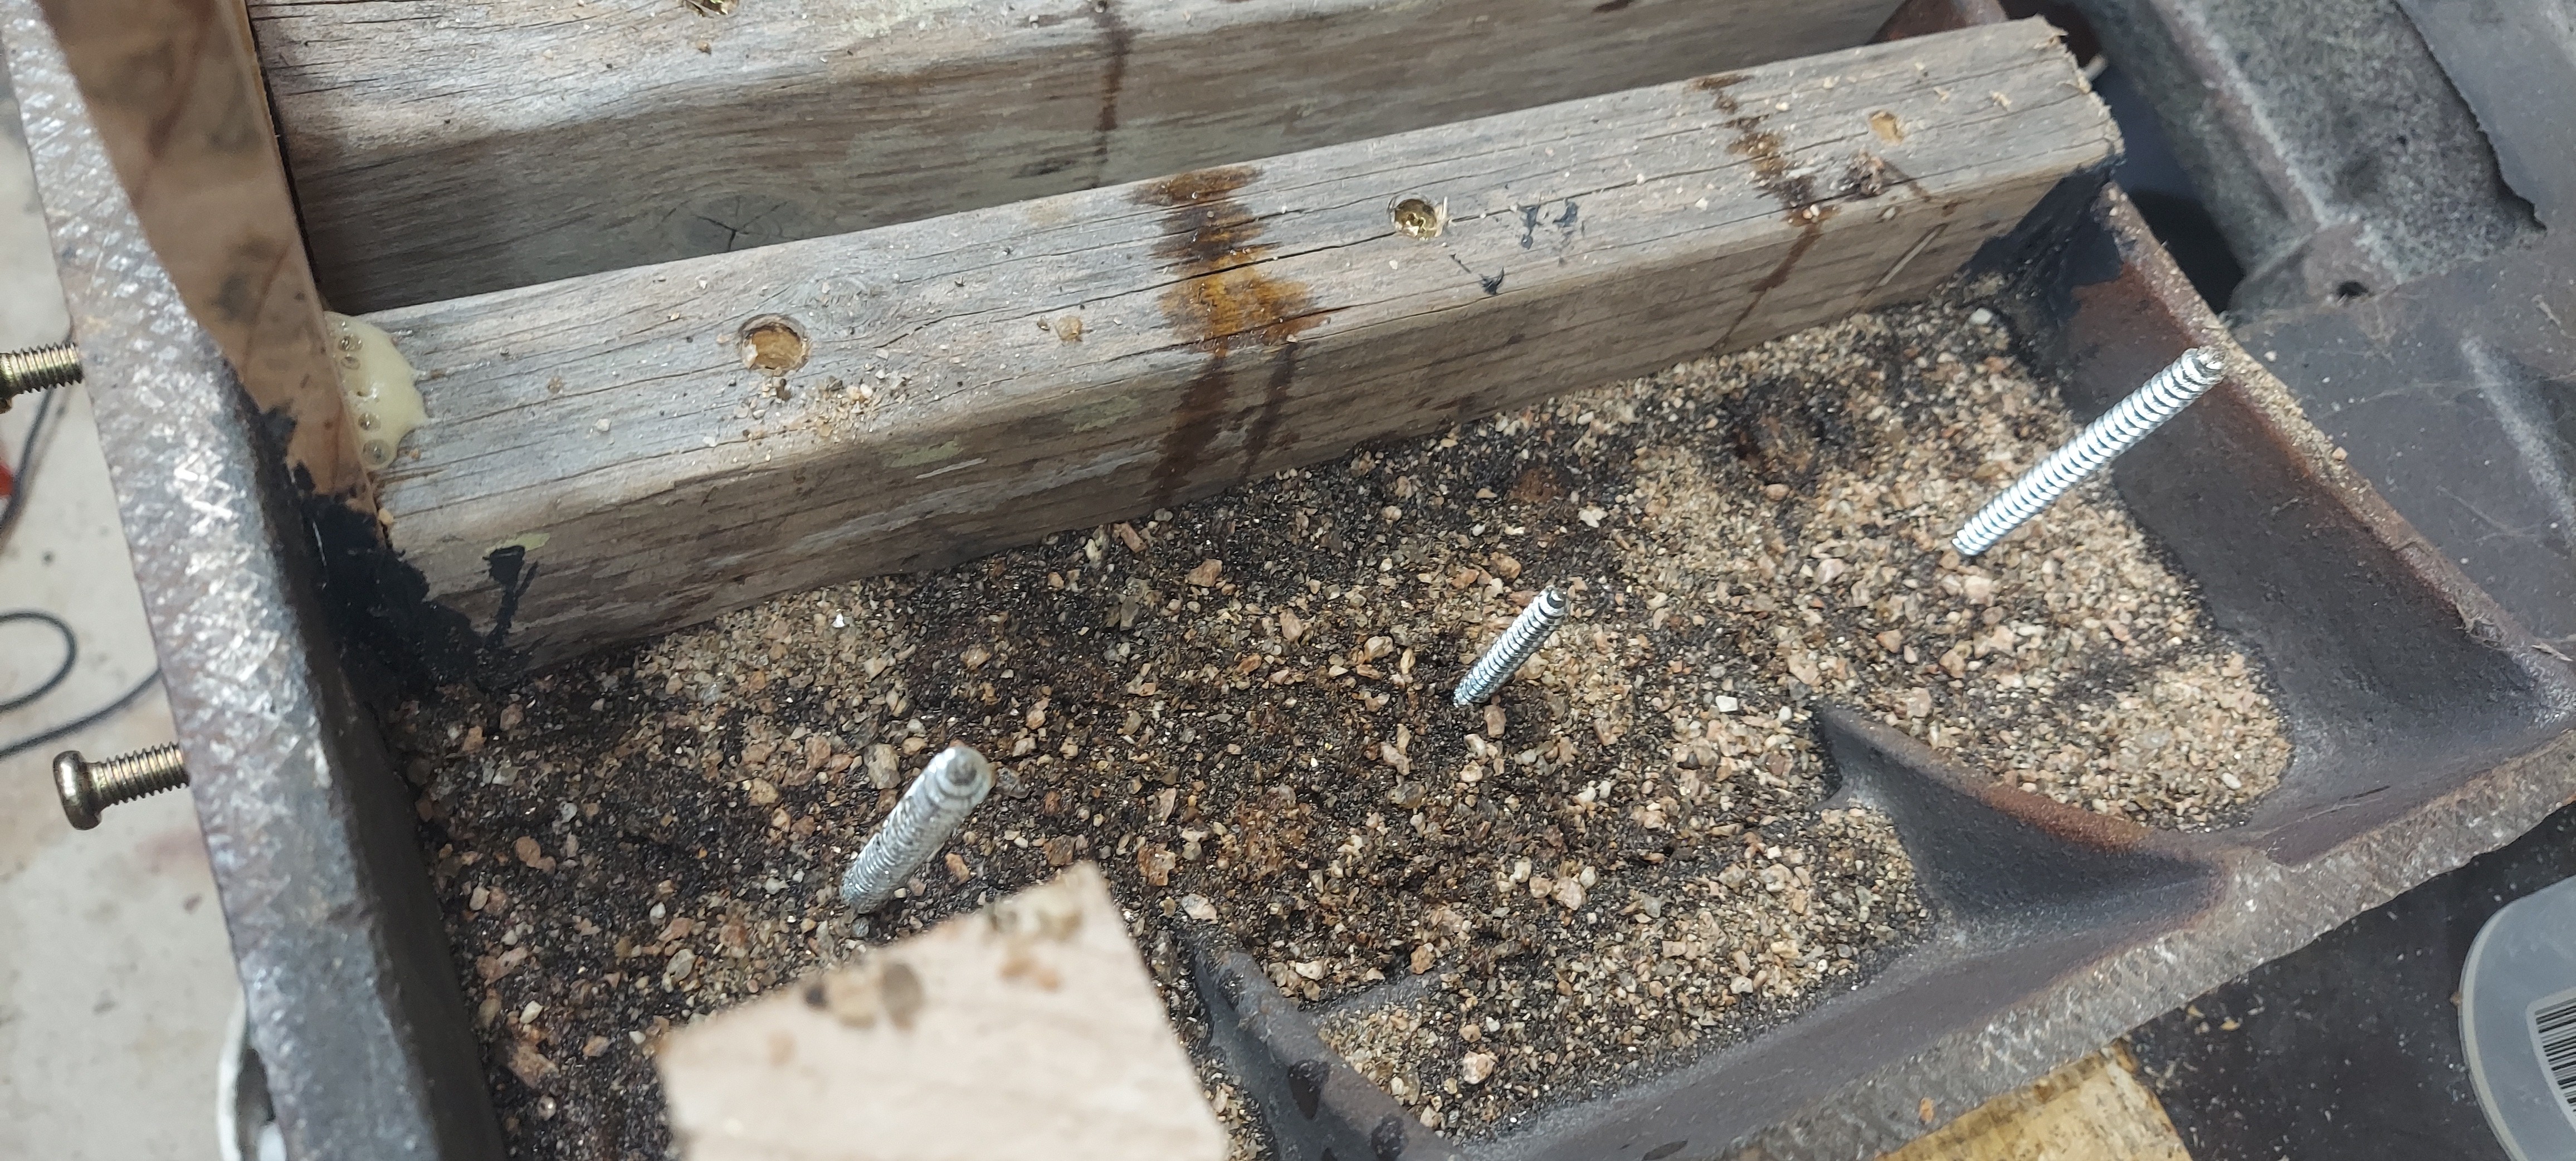
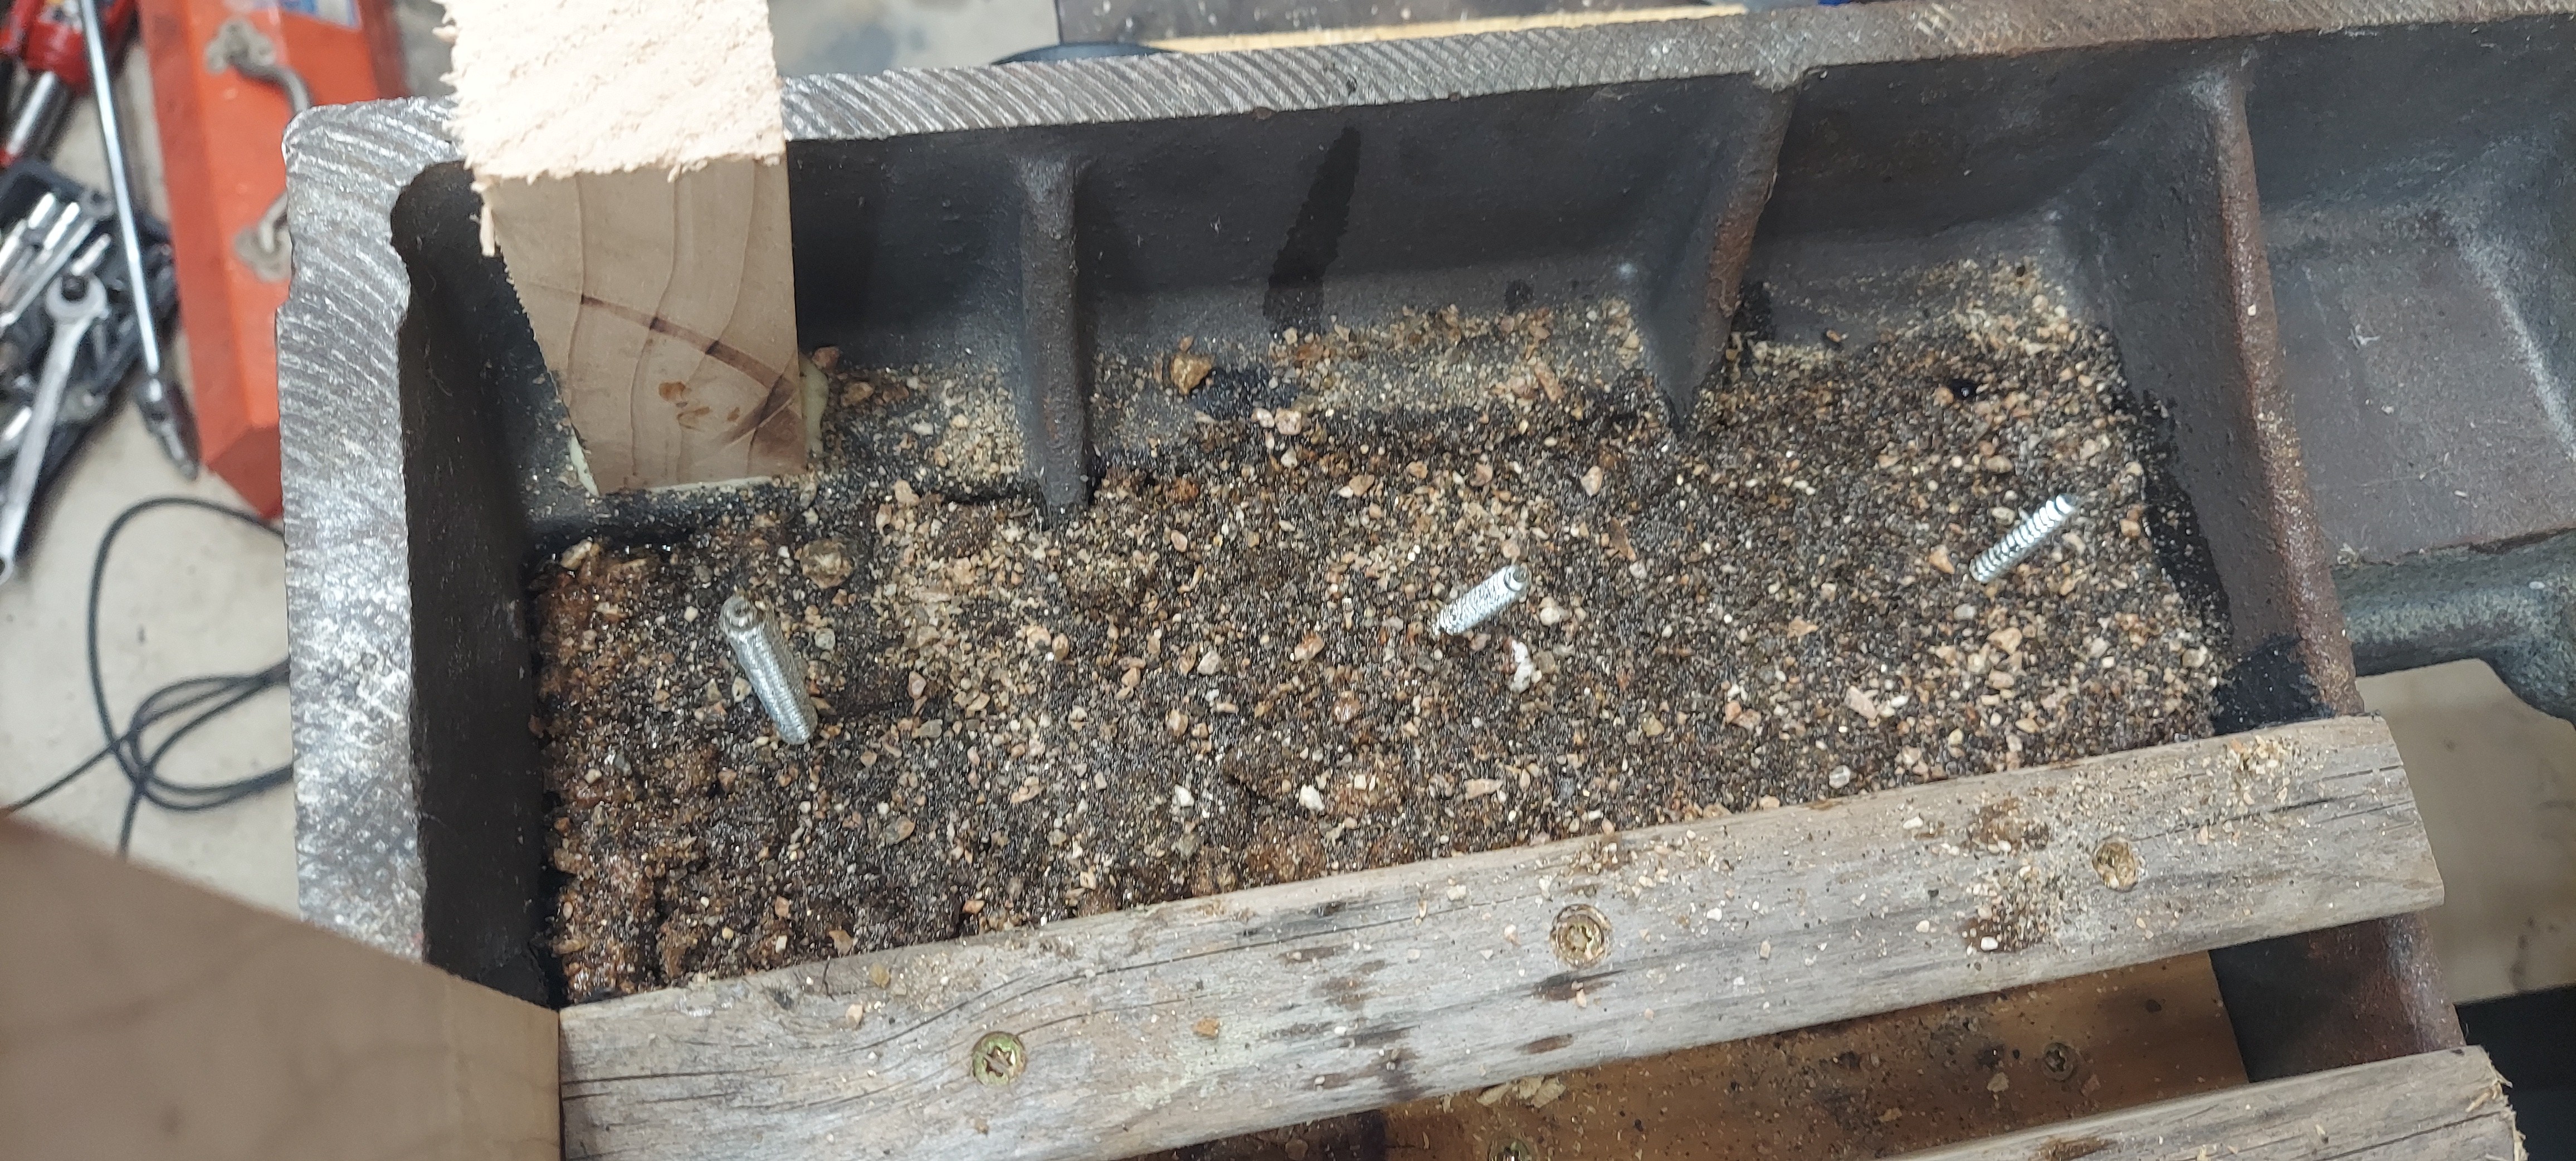
Dealing with leaks
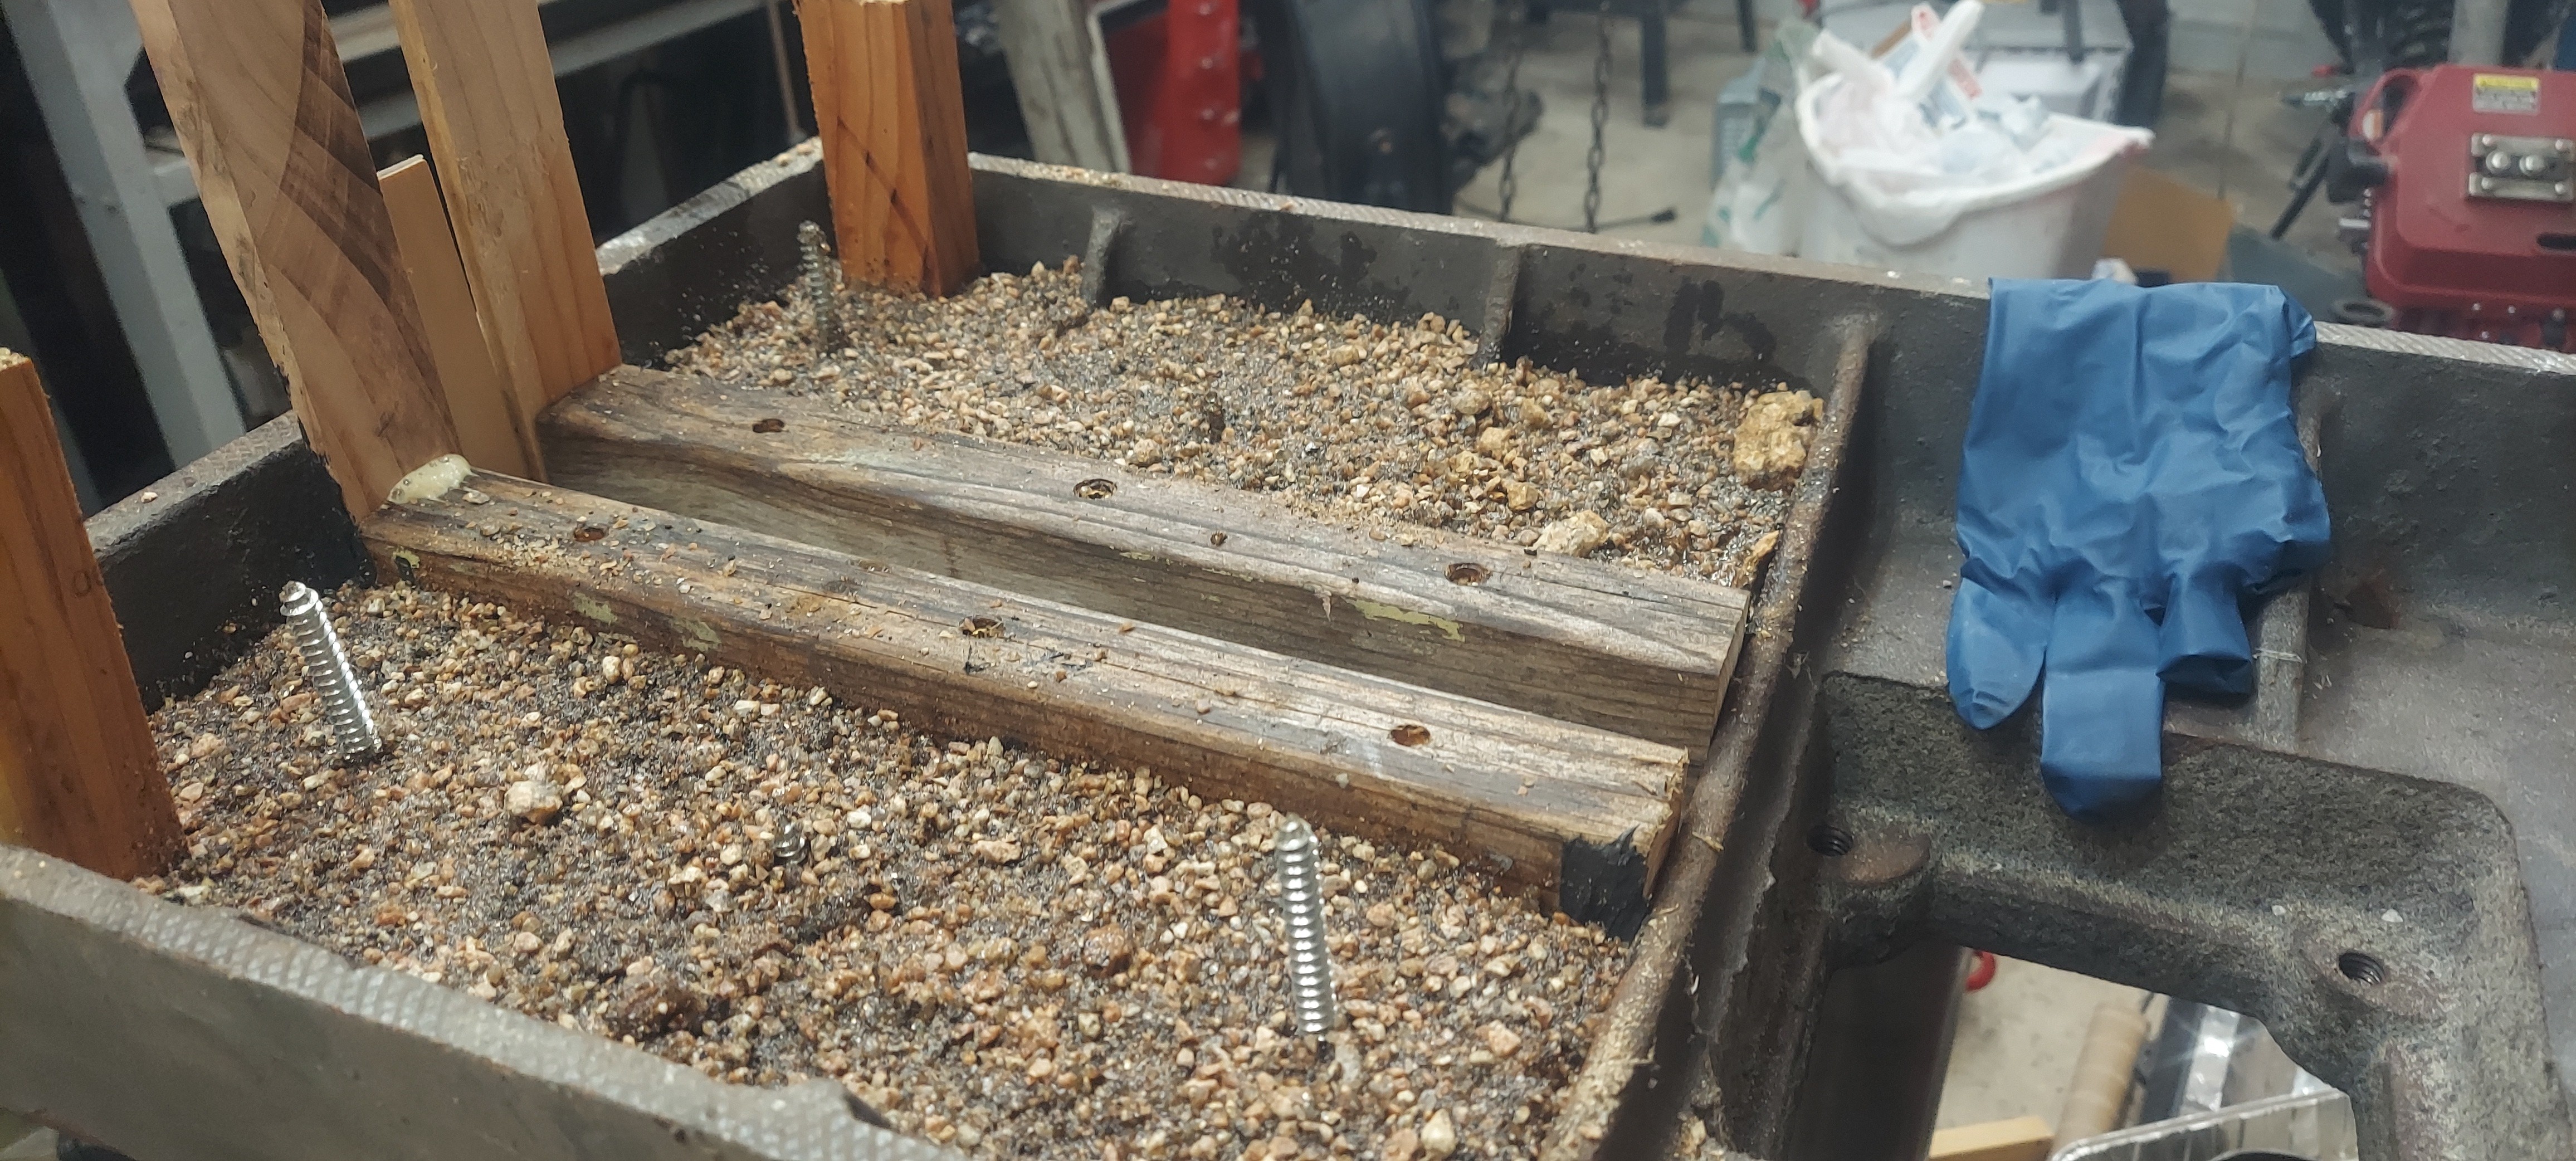
Even with all the effort put into sealing up the wooden plugs, I got leaks of the epoxy resin. It is thicker than water but still finds its way through gaps. So whenever I got leaks I just stopped adding epoxy resin. At this point I did two things. First I put in some random lag screws so I could later add more material and have the layers join together. Then I let this section cure for a day. Since the epoxy resin had filled up whatever gaps I had left, this solved the problems of the leaks.

Adding final granite epoxy
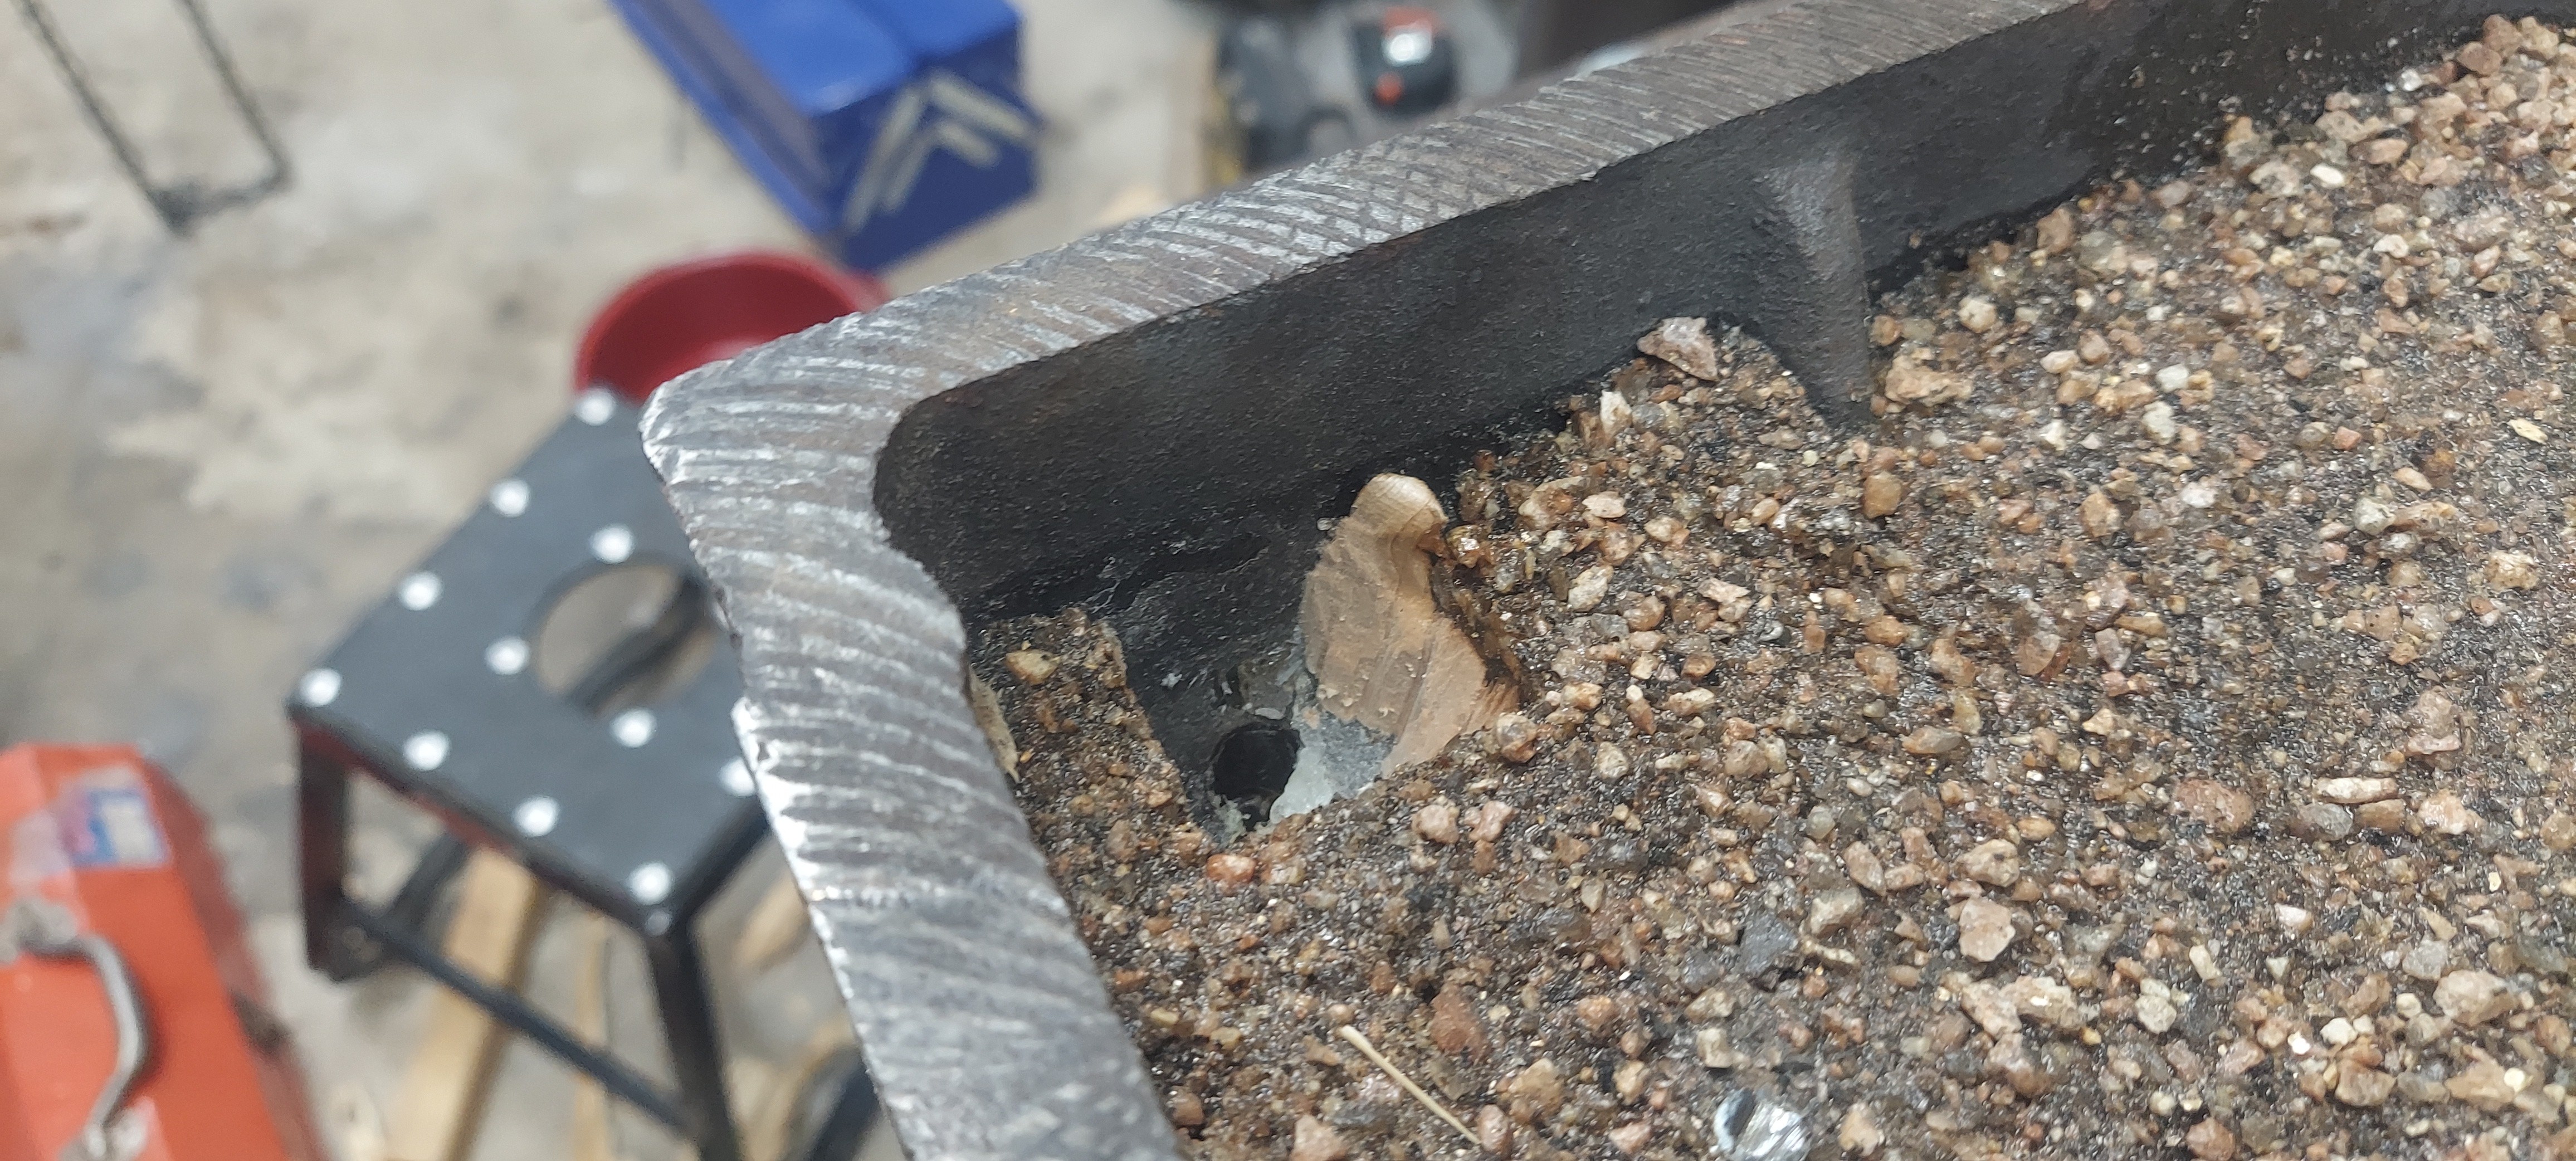
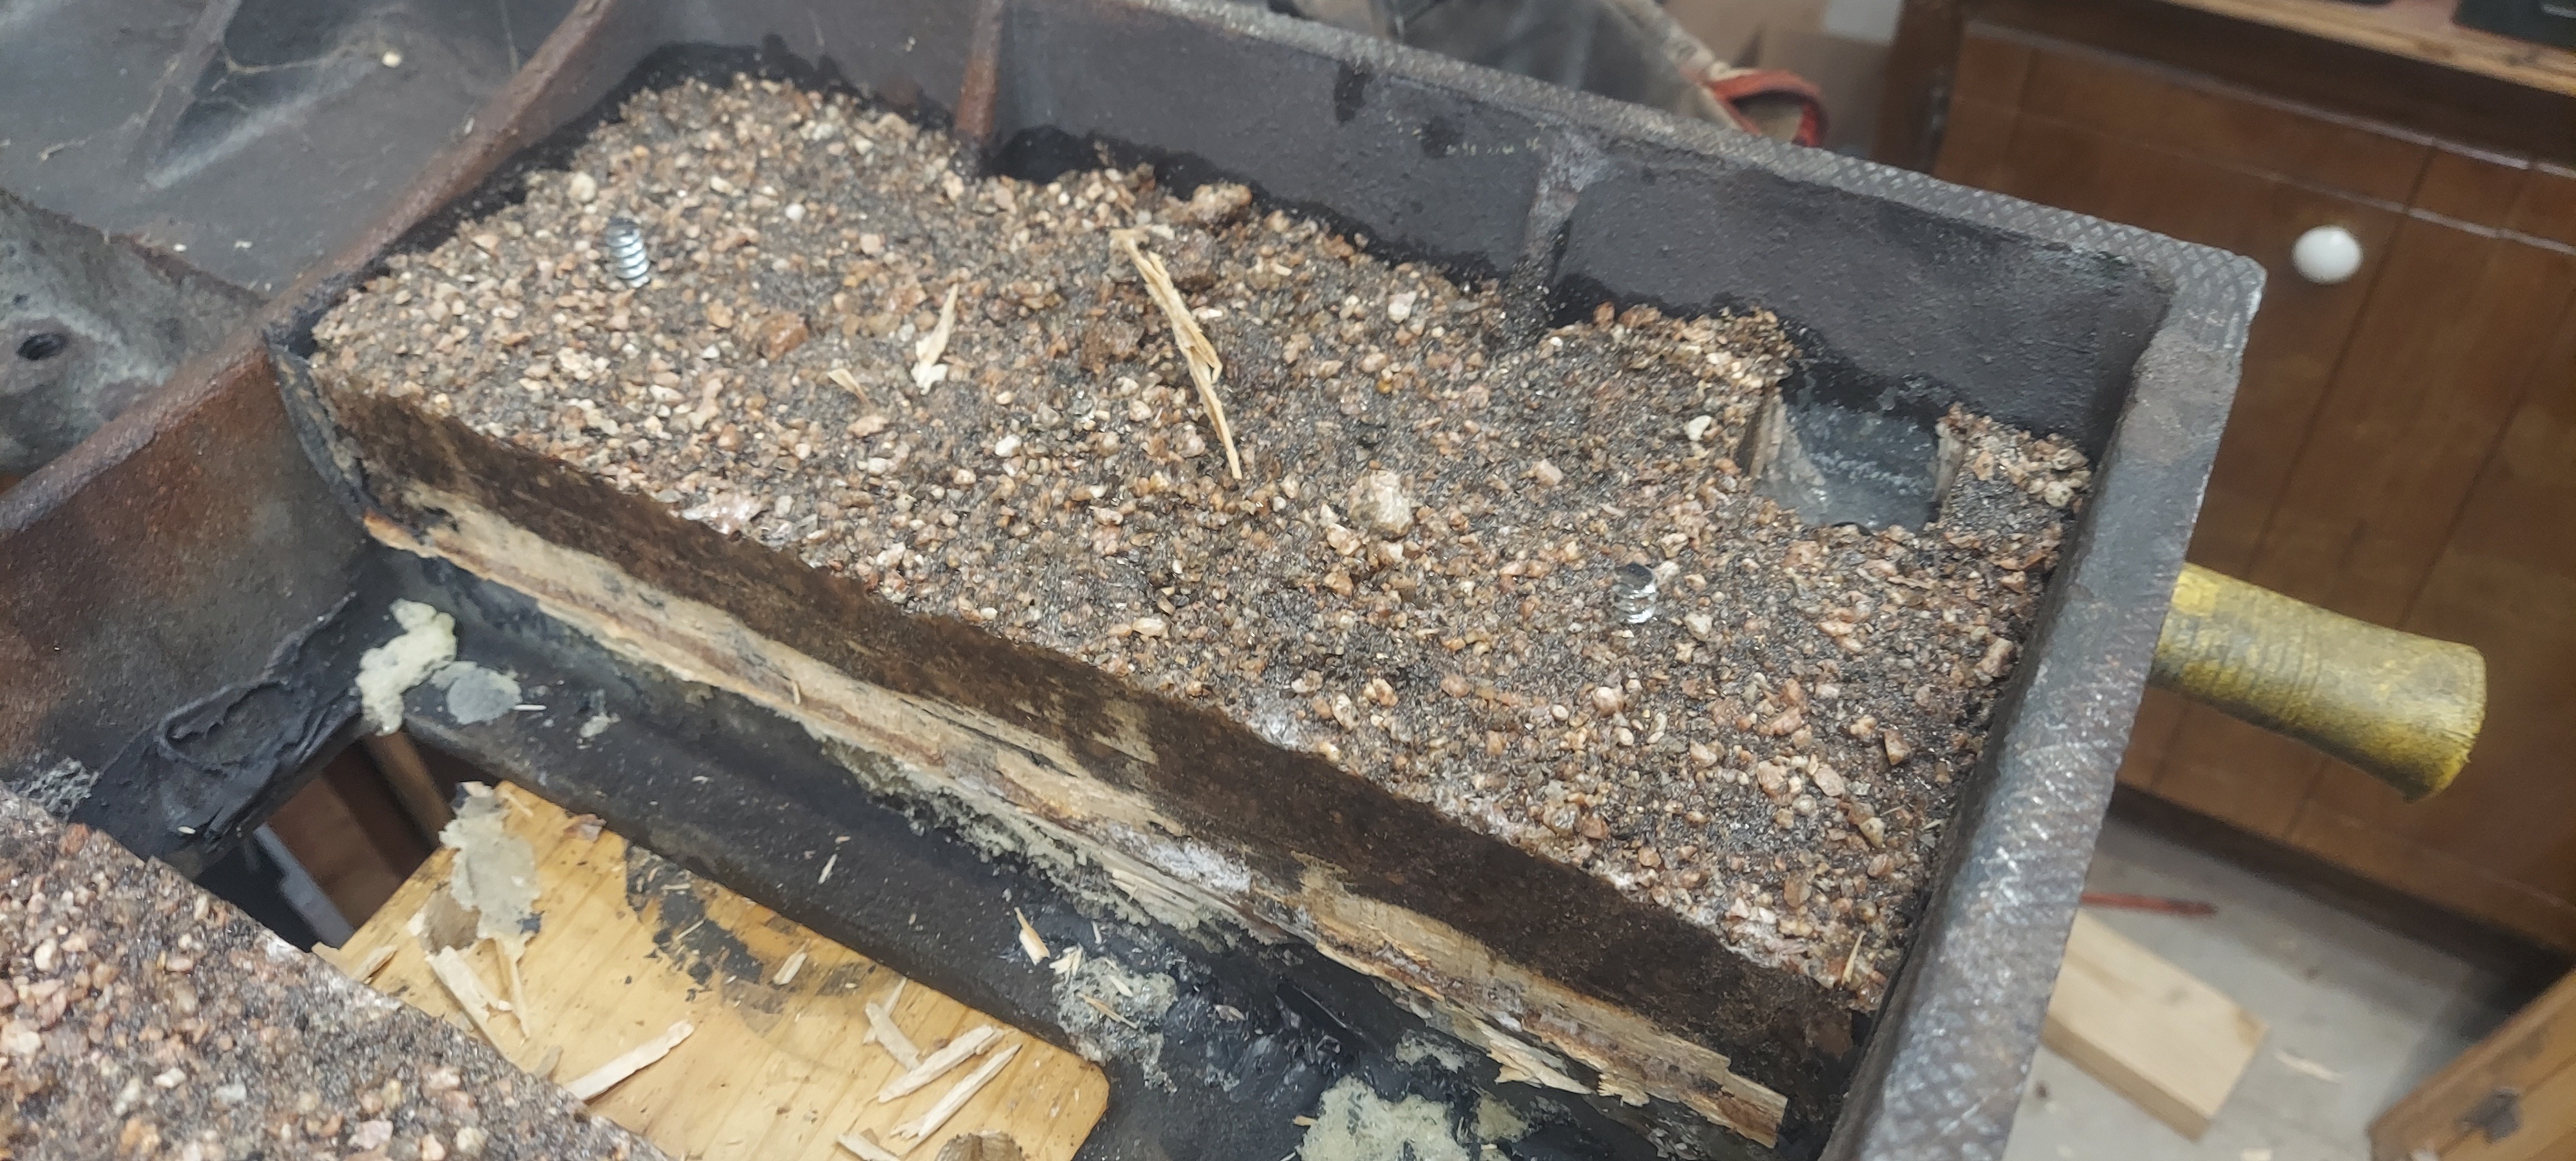
With the base completely sealed I went back and added as much epoxy granite as I could. Once I had the area full I just added fine material until I couldn't get anymore in.
Removing the wood afterwards
I gave the base three days to cure, then I set about removing the wood. I removed all the screws first. Then I used a hammer and a chisel to break out a bunch of the boards. The main board I had in the bottom was incredibly hard to get out. What I had to do was flip over the base back to the normal orientation. Then I used a piece of 3/8th mild steel rod and a sledge hammer. I was able to repeatedly drive this through the pine until it finally shattered and I could pull all the pieces out. This took about an hour total to do. It made a huge mess as well I had to cleanup. Thankfully, this is a one-off job.
All the extra length of the lag screws was cut off with an angle grinder.
Results
Evaluating the results of such a project is extremely challenging. I don't have the correct equipment or know how to measure the amount of vibration transmitted through a structure. Simply hitting any of the structures with a rubber mallet results in a dull thud rather than a ringing sound. I doubt this has much comparison to the forces involved when running an endmil through a piece of material. There is also the question of additional rigidity, which I have absolutely no idea how I would measure.
What I can say is that process is relatively simple. If you find a cheaper source of epoxy resin this project can be done without spending so much money. It is also fairly time consuming, but this is meant as one-off technique. Not something done for production means.
Looking at the finished material
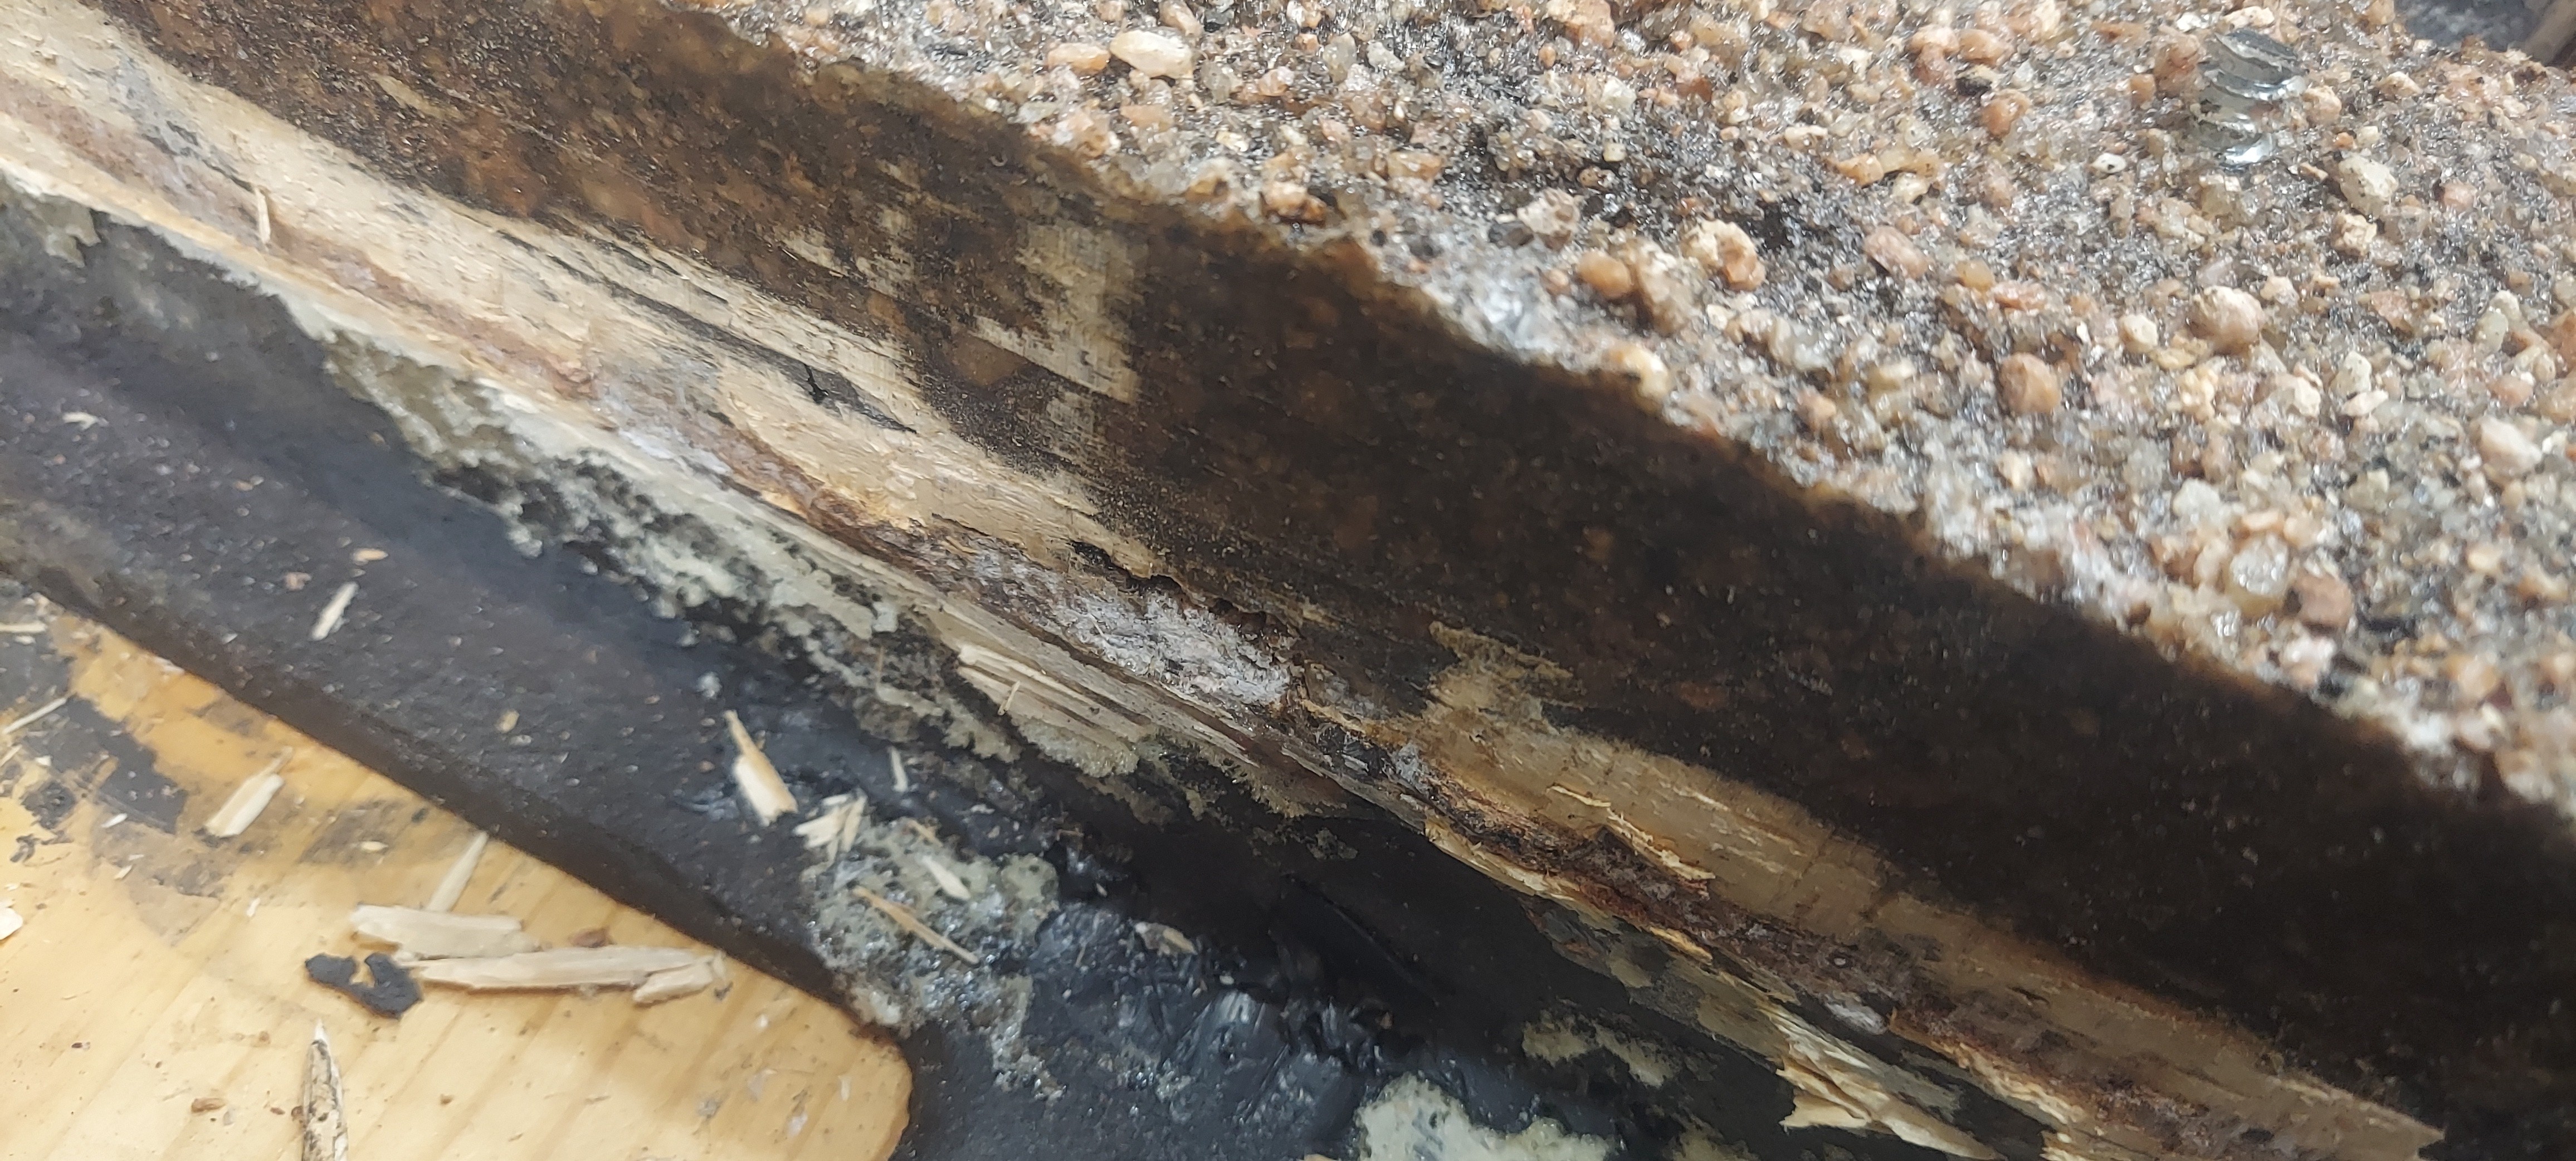
During the final filling of the column I had some leftover material. So I just dumped it into a soup can I had cleaned out. This I allowed to cure fully. Afterwards I basically just peeled off the can with some large pliers because the epoxy resin is much stronger than the sheet metal of the can.
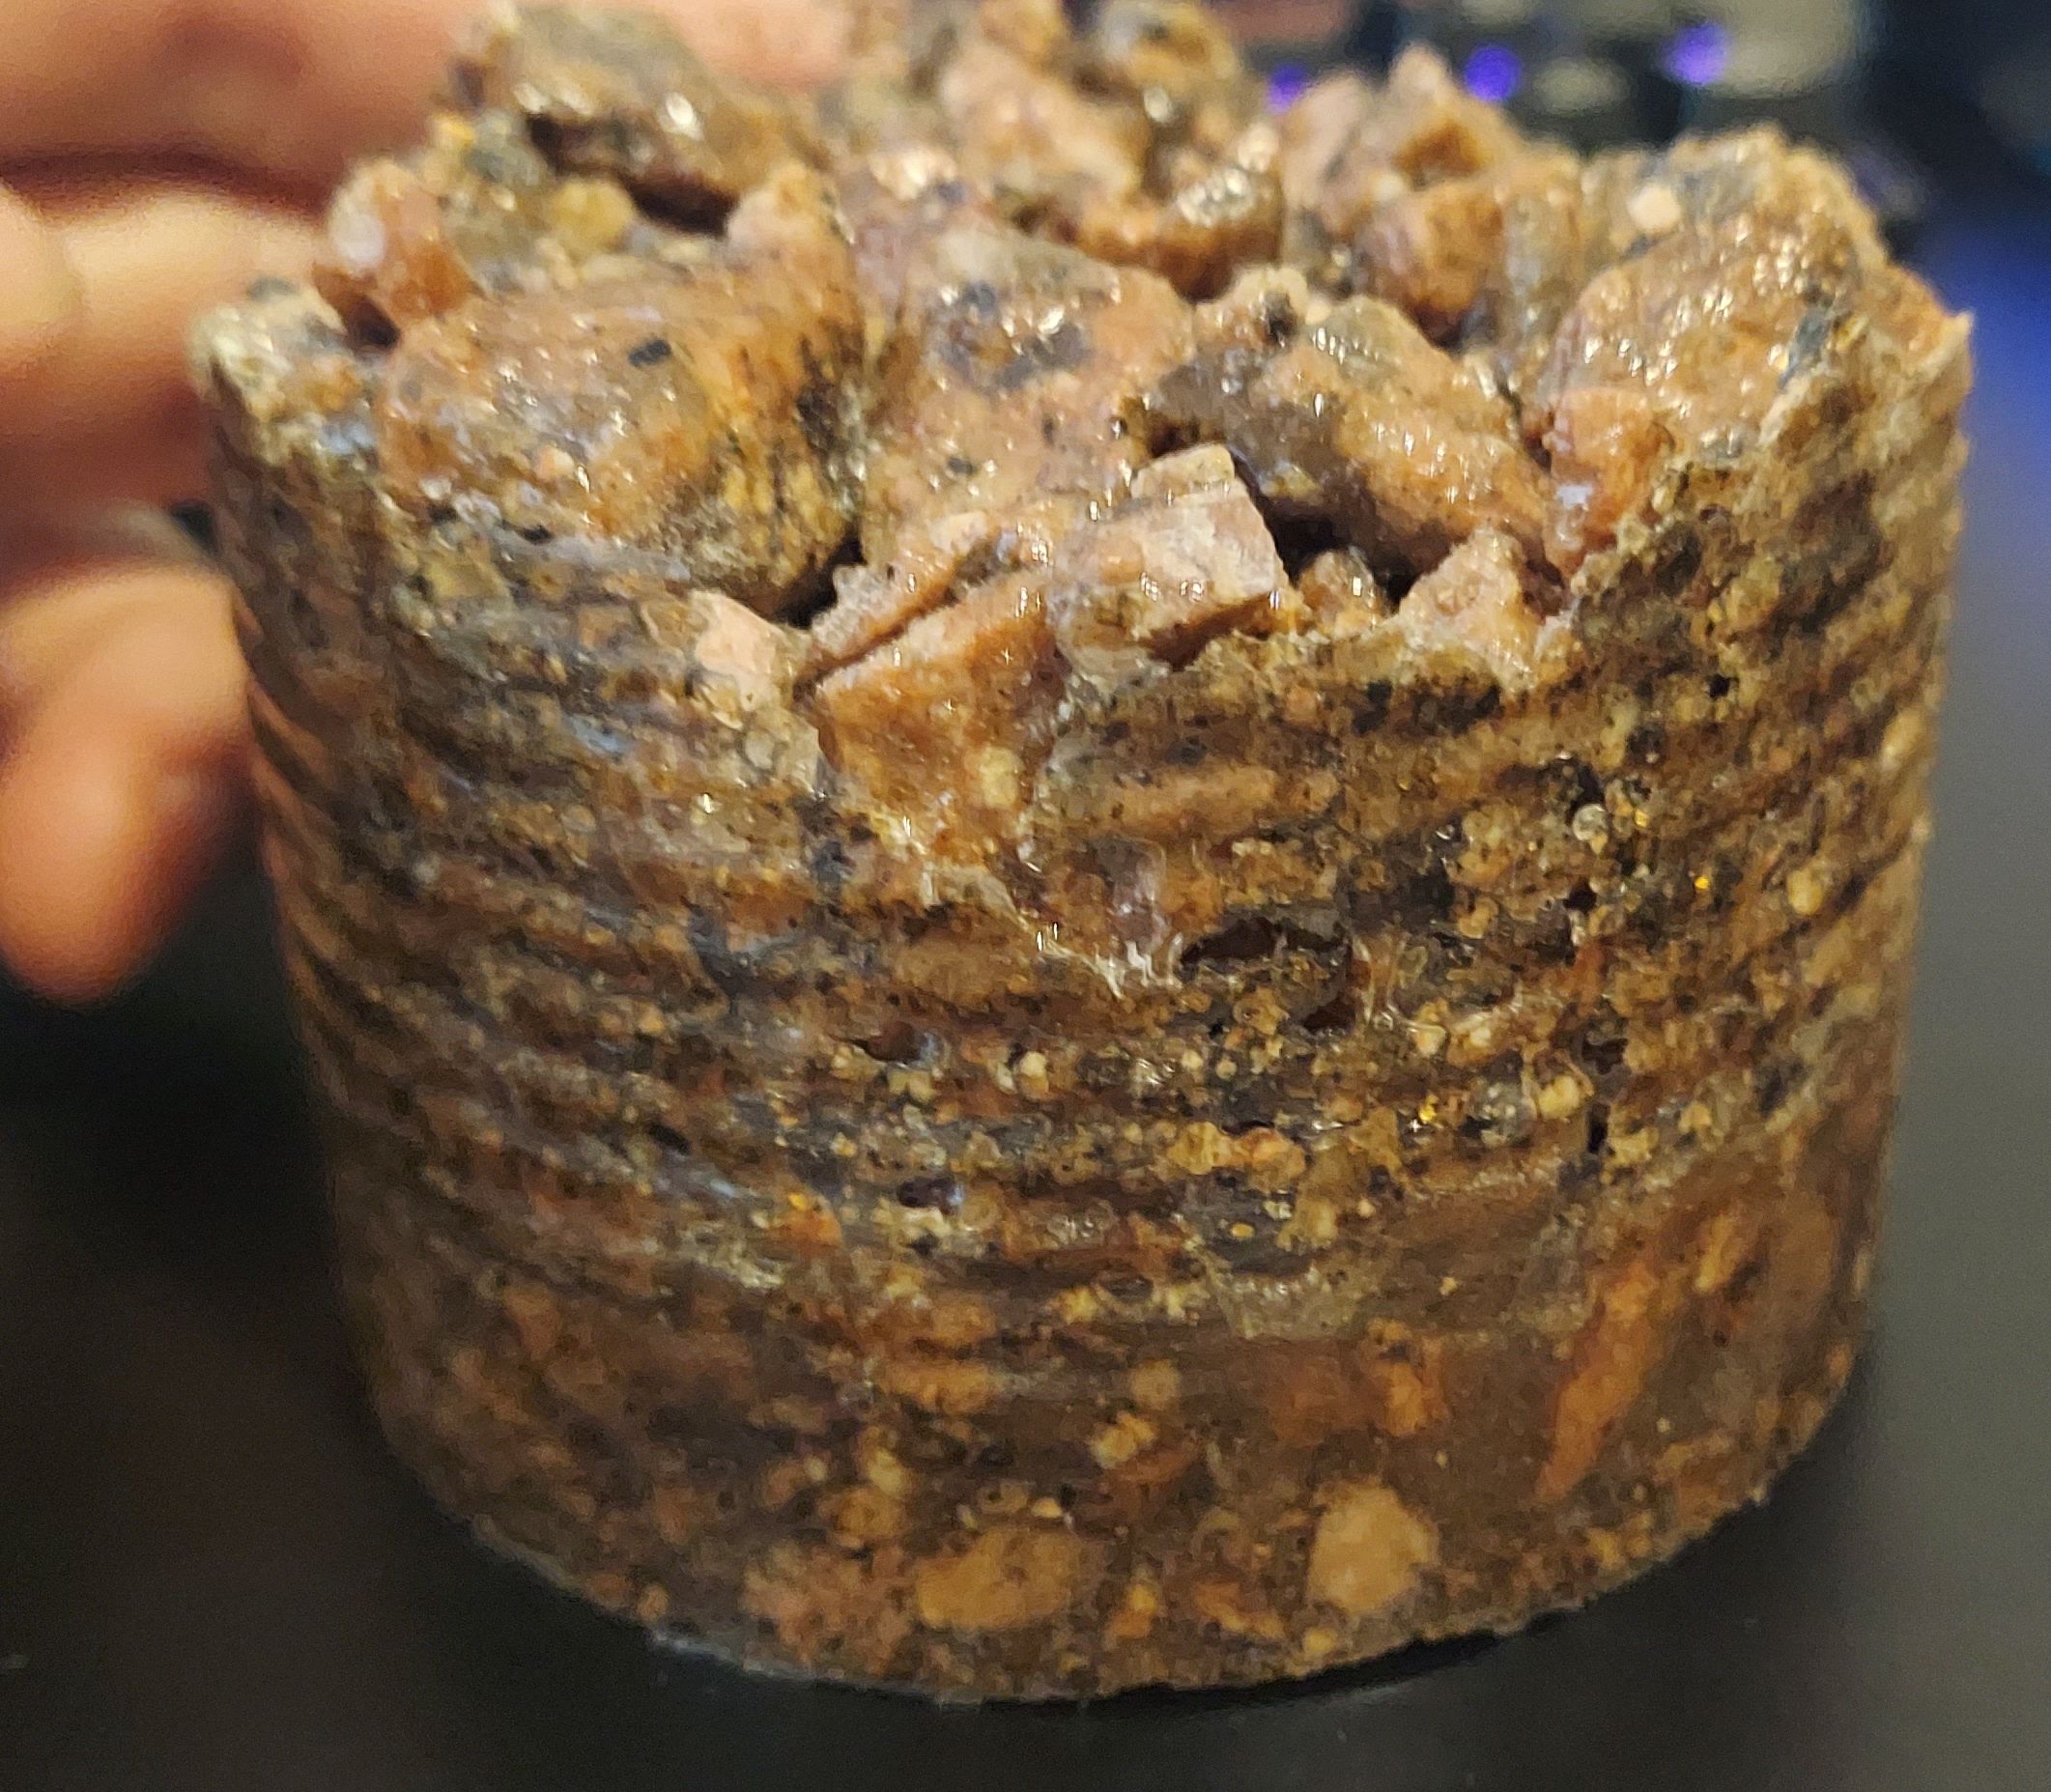
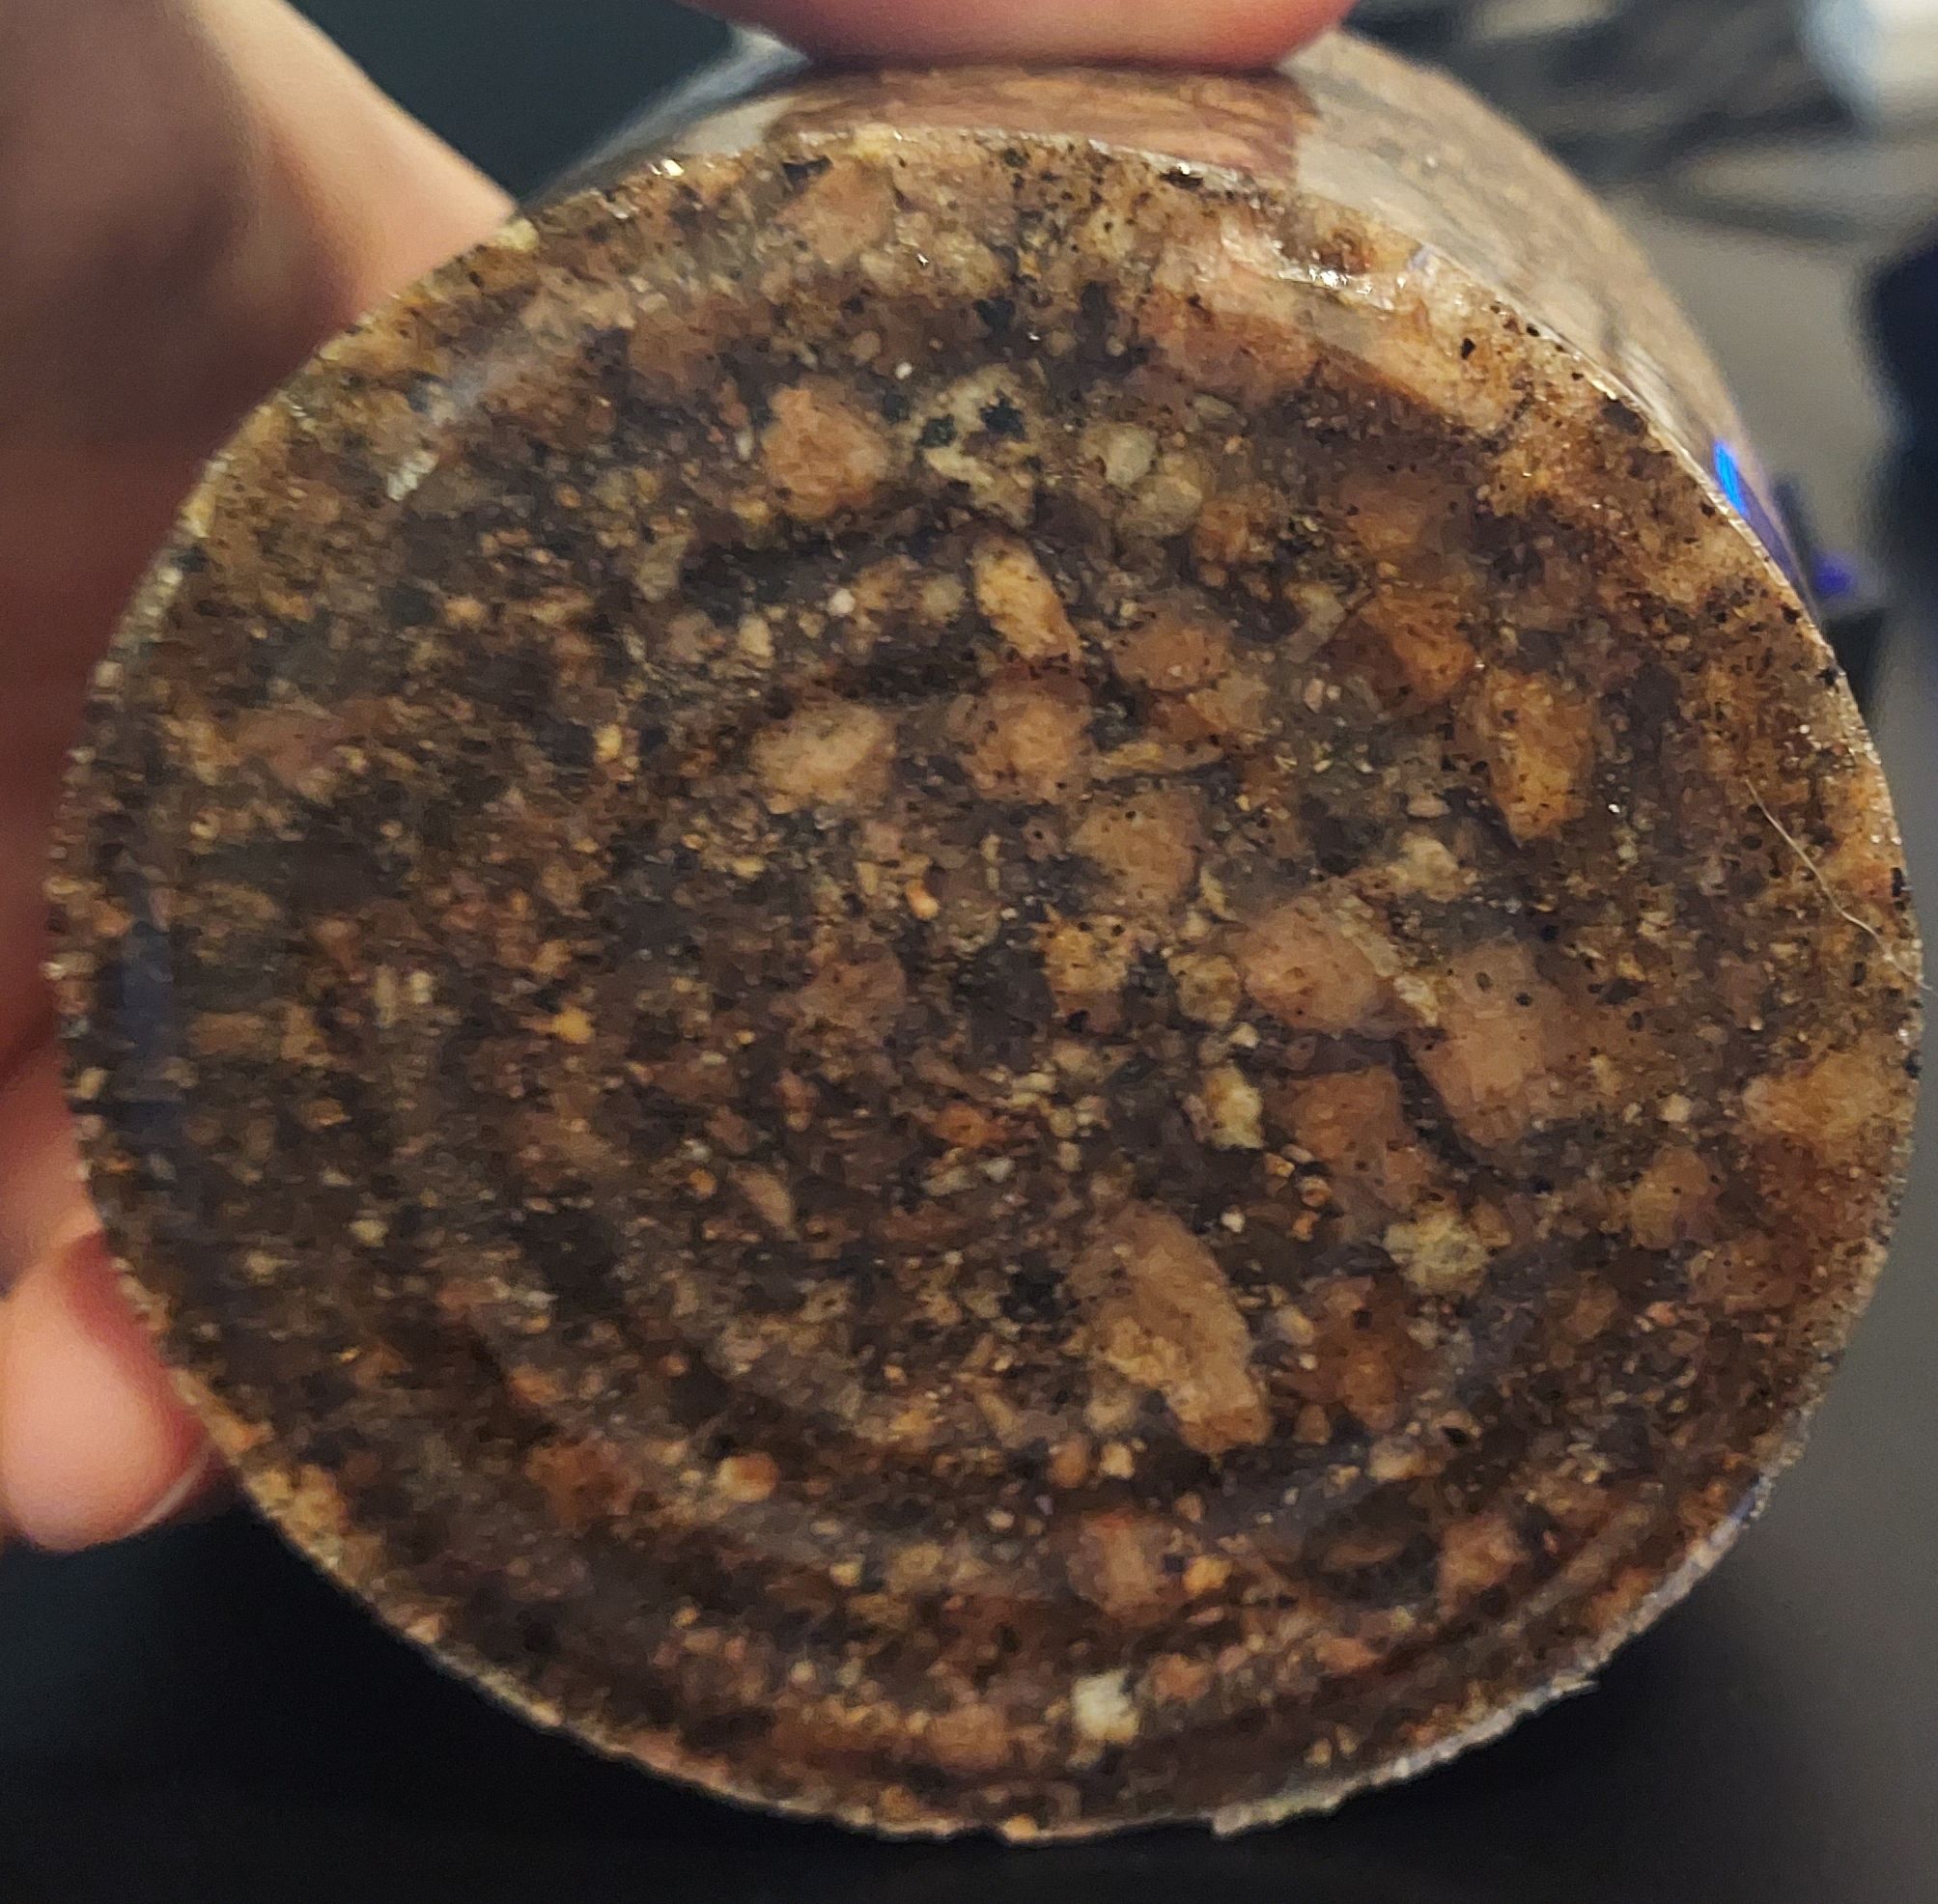
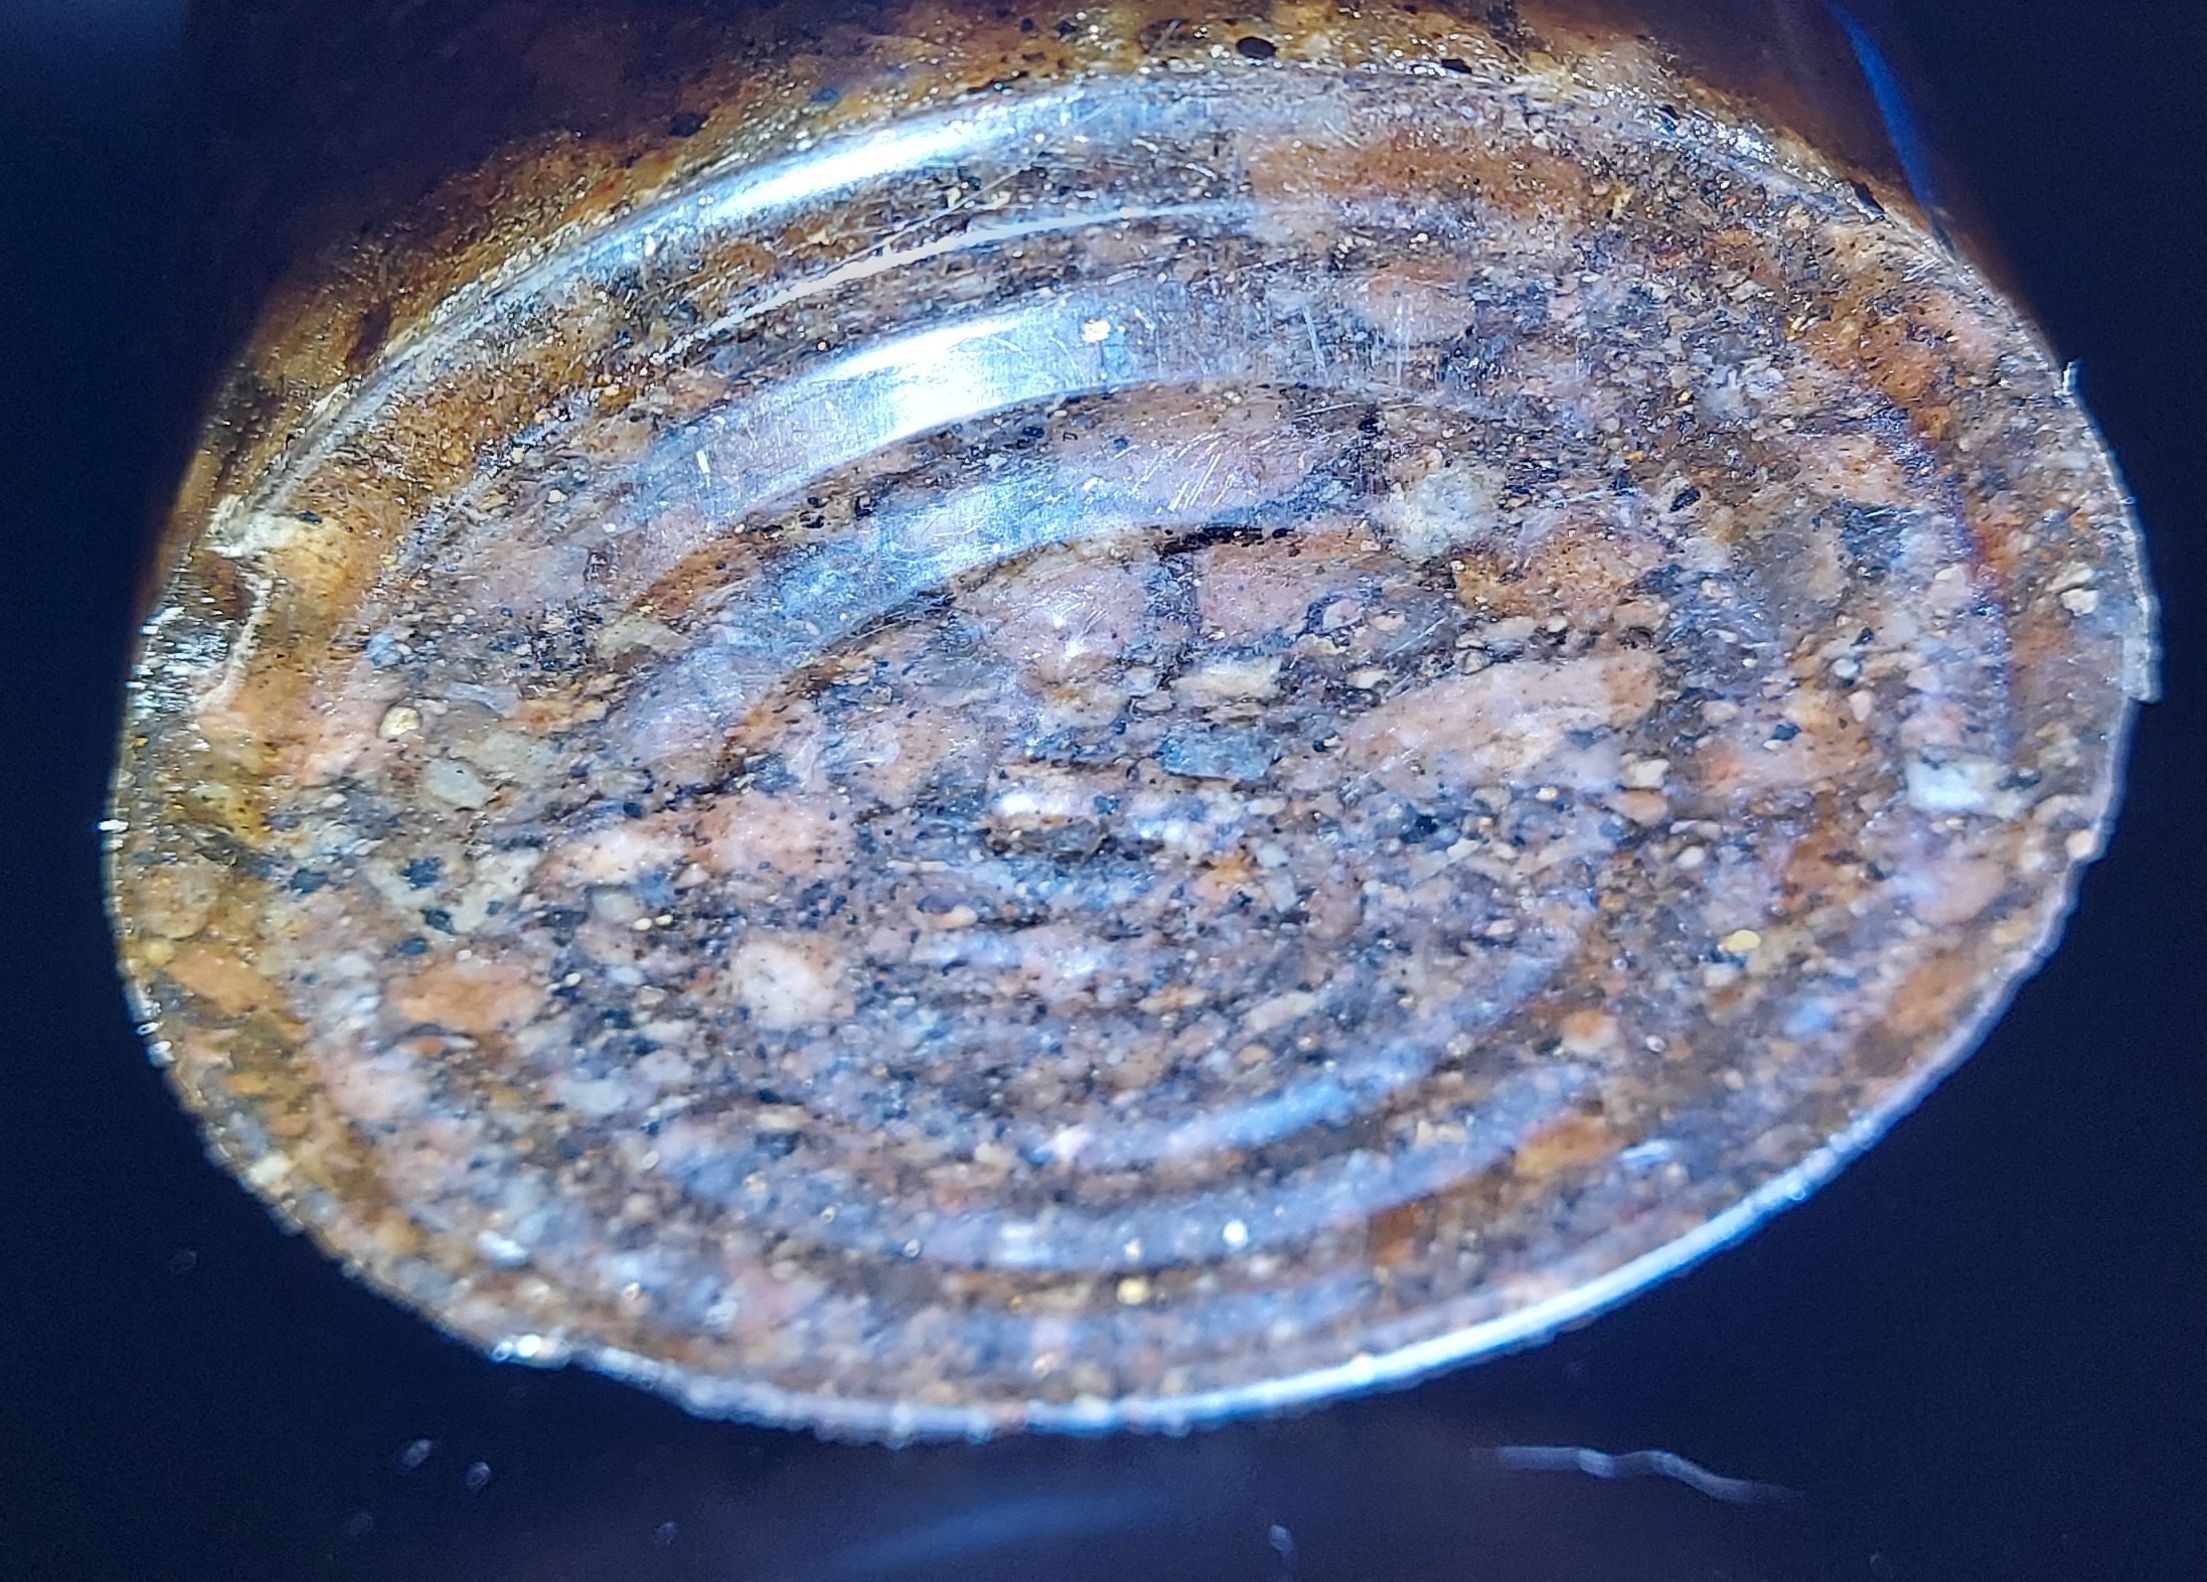
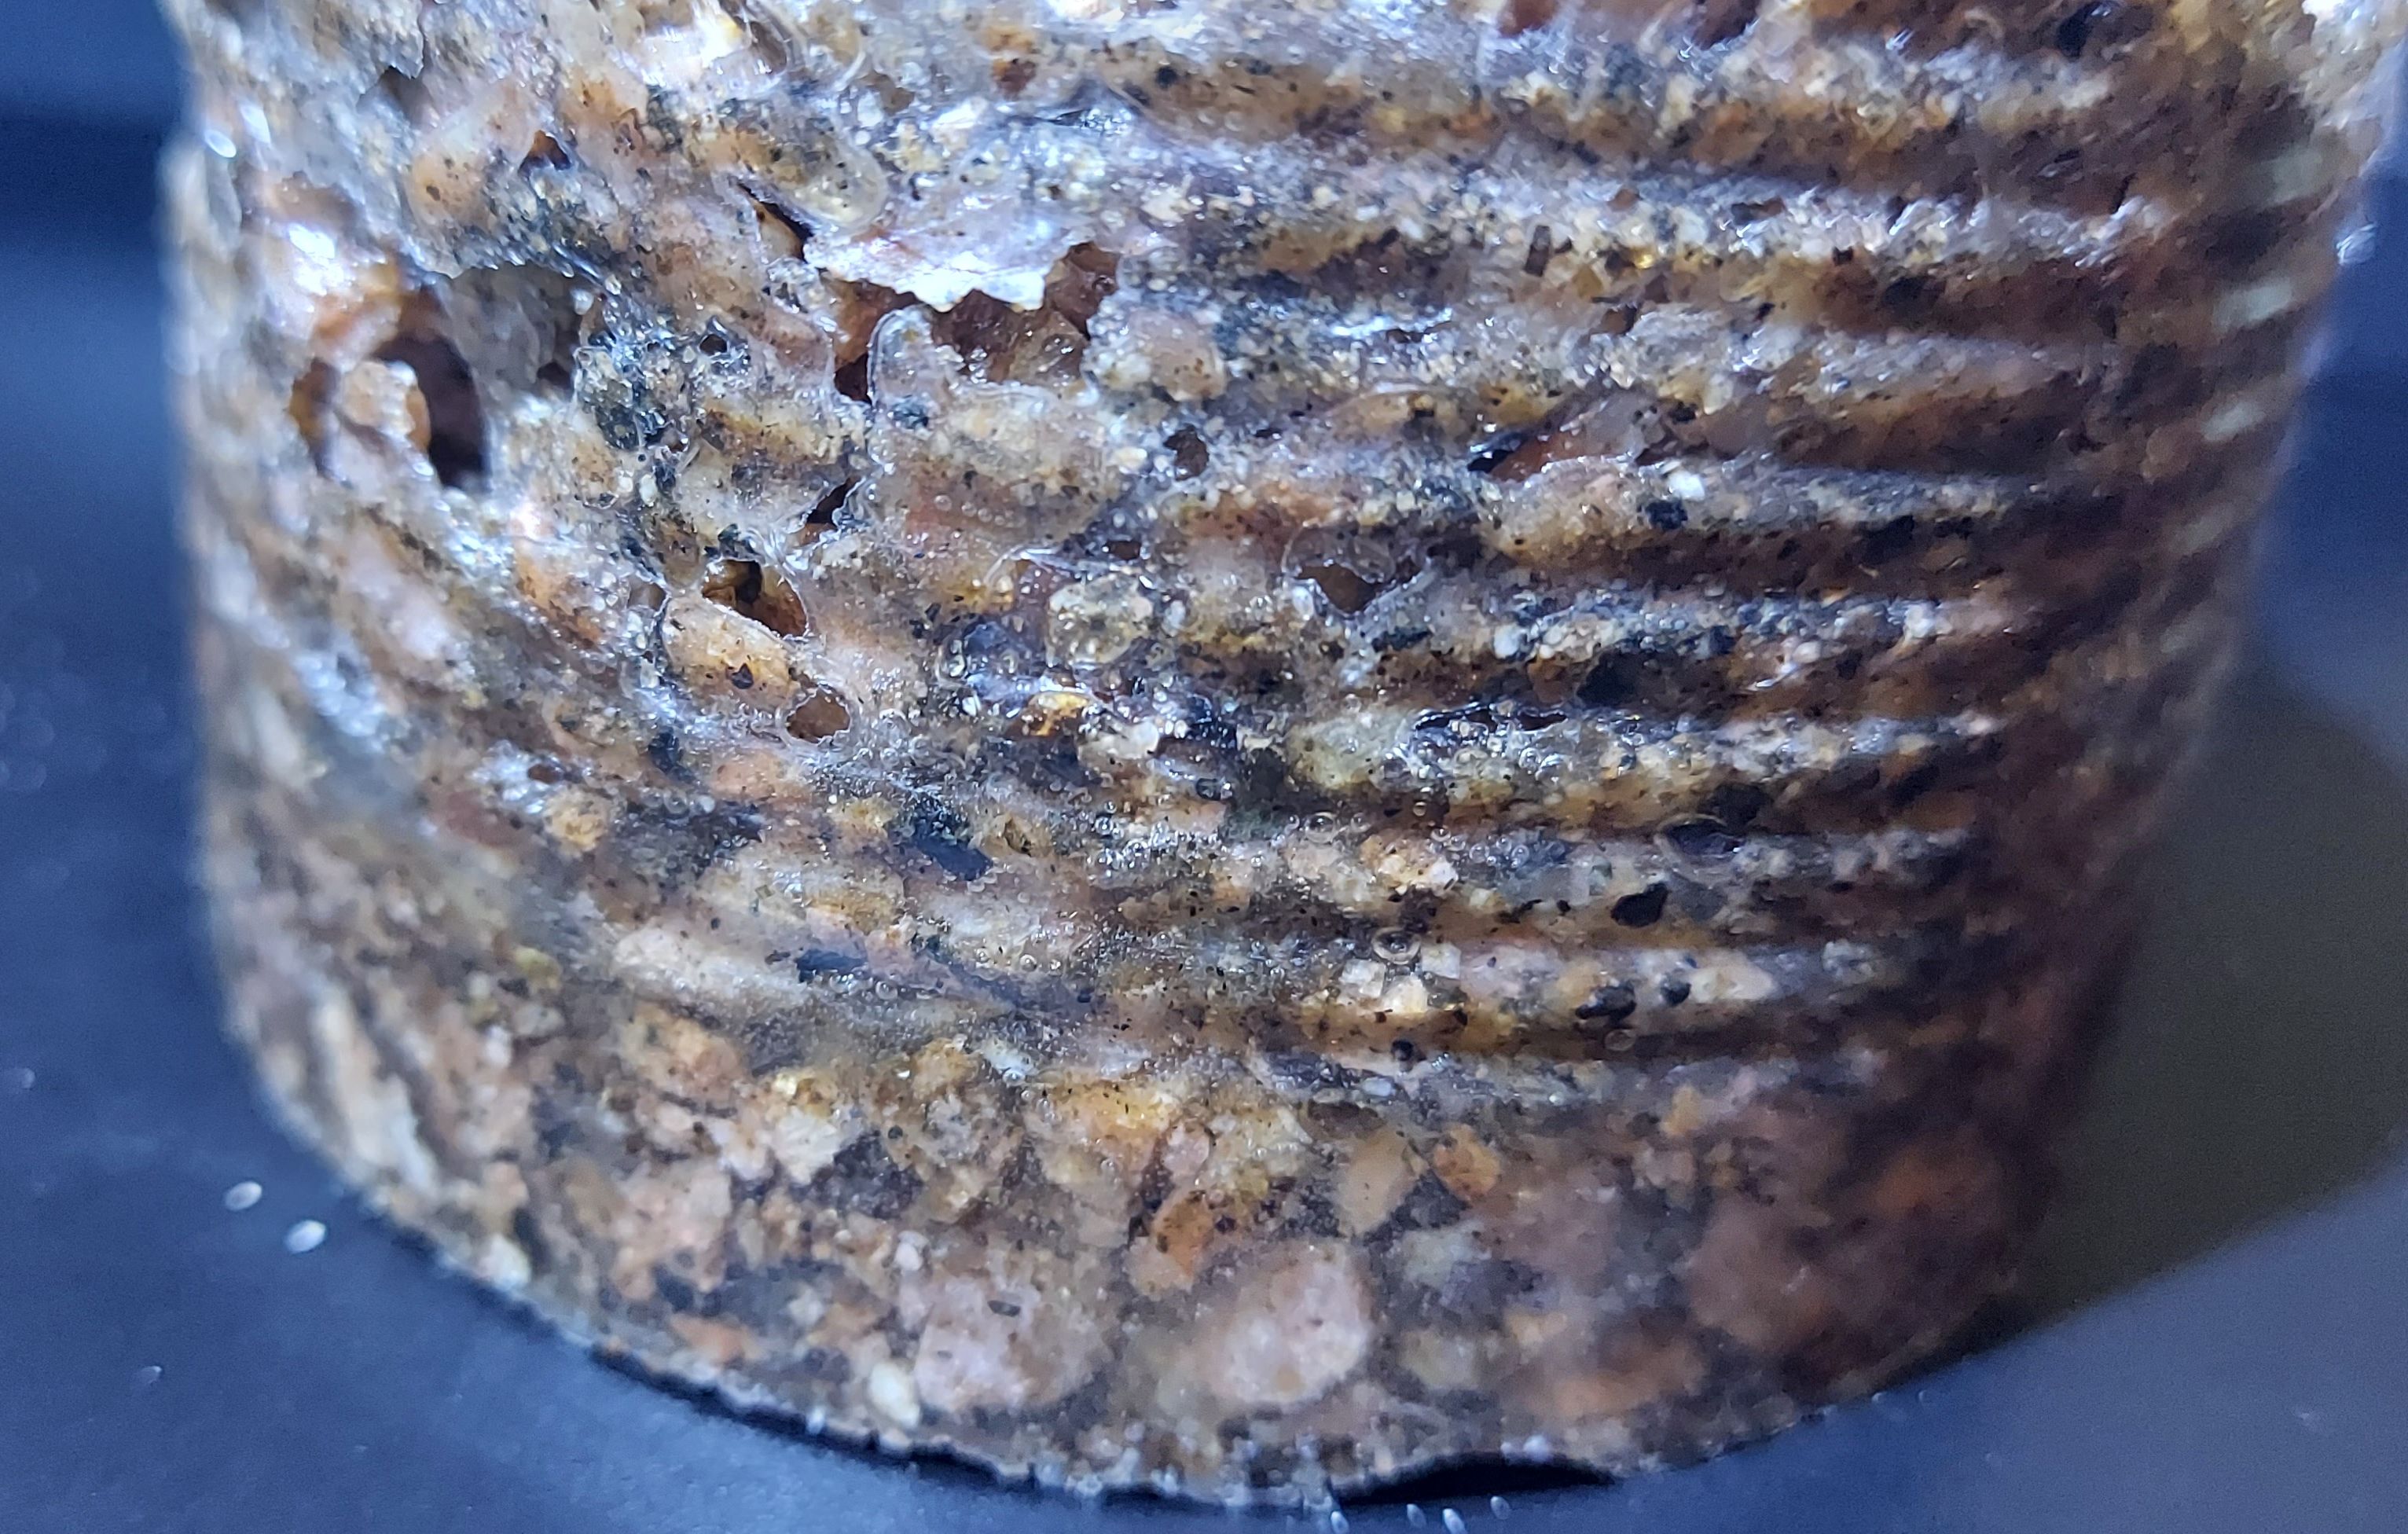
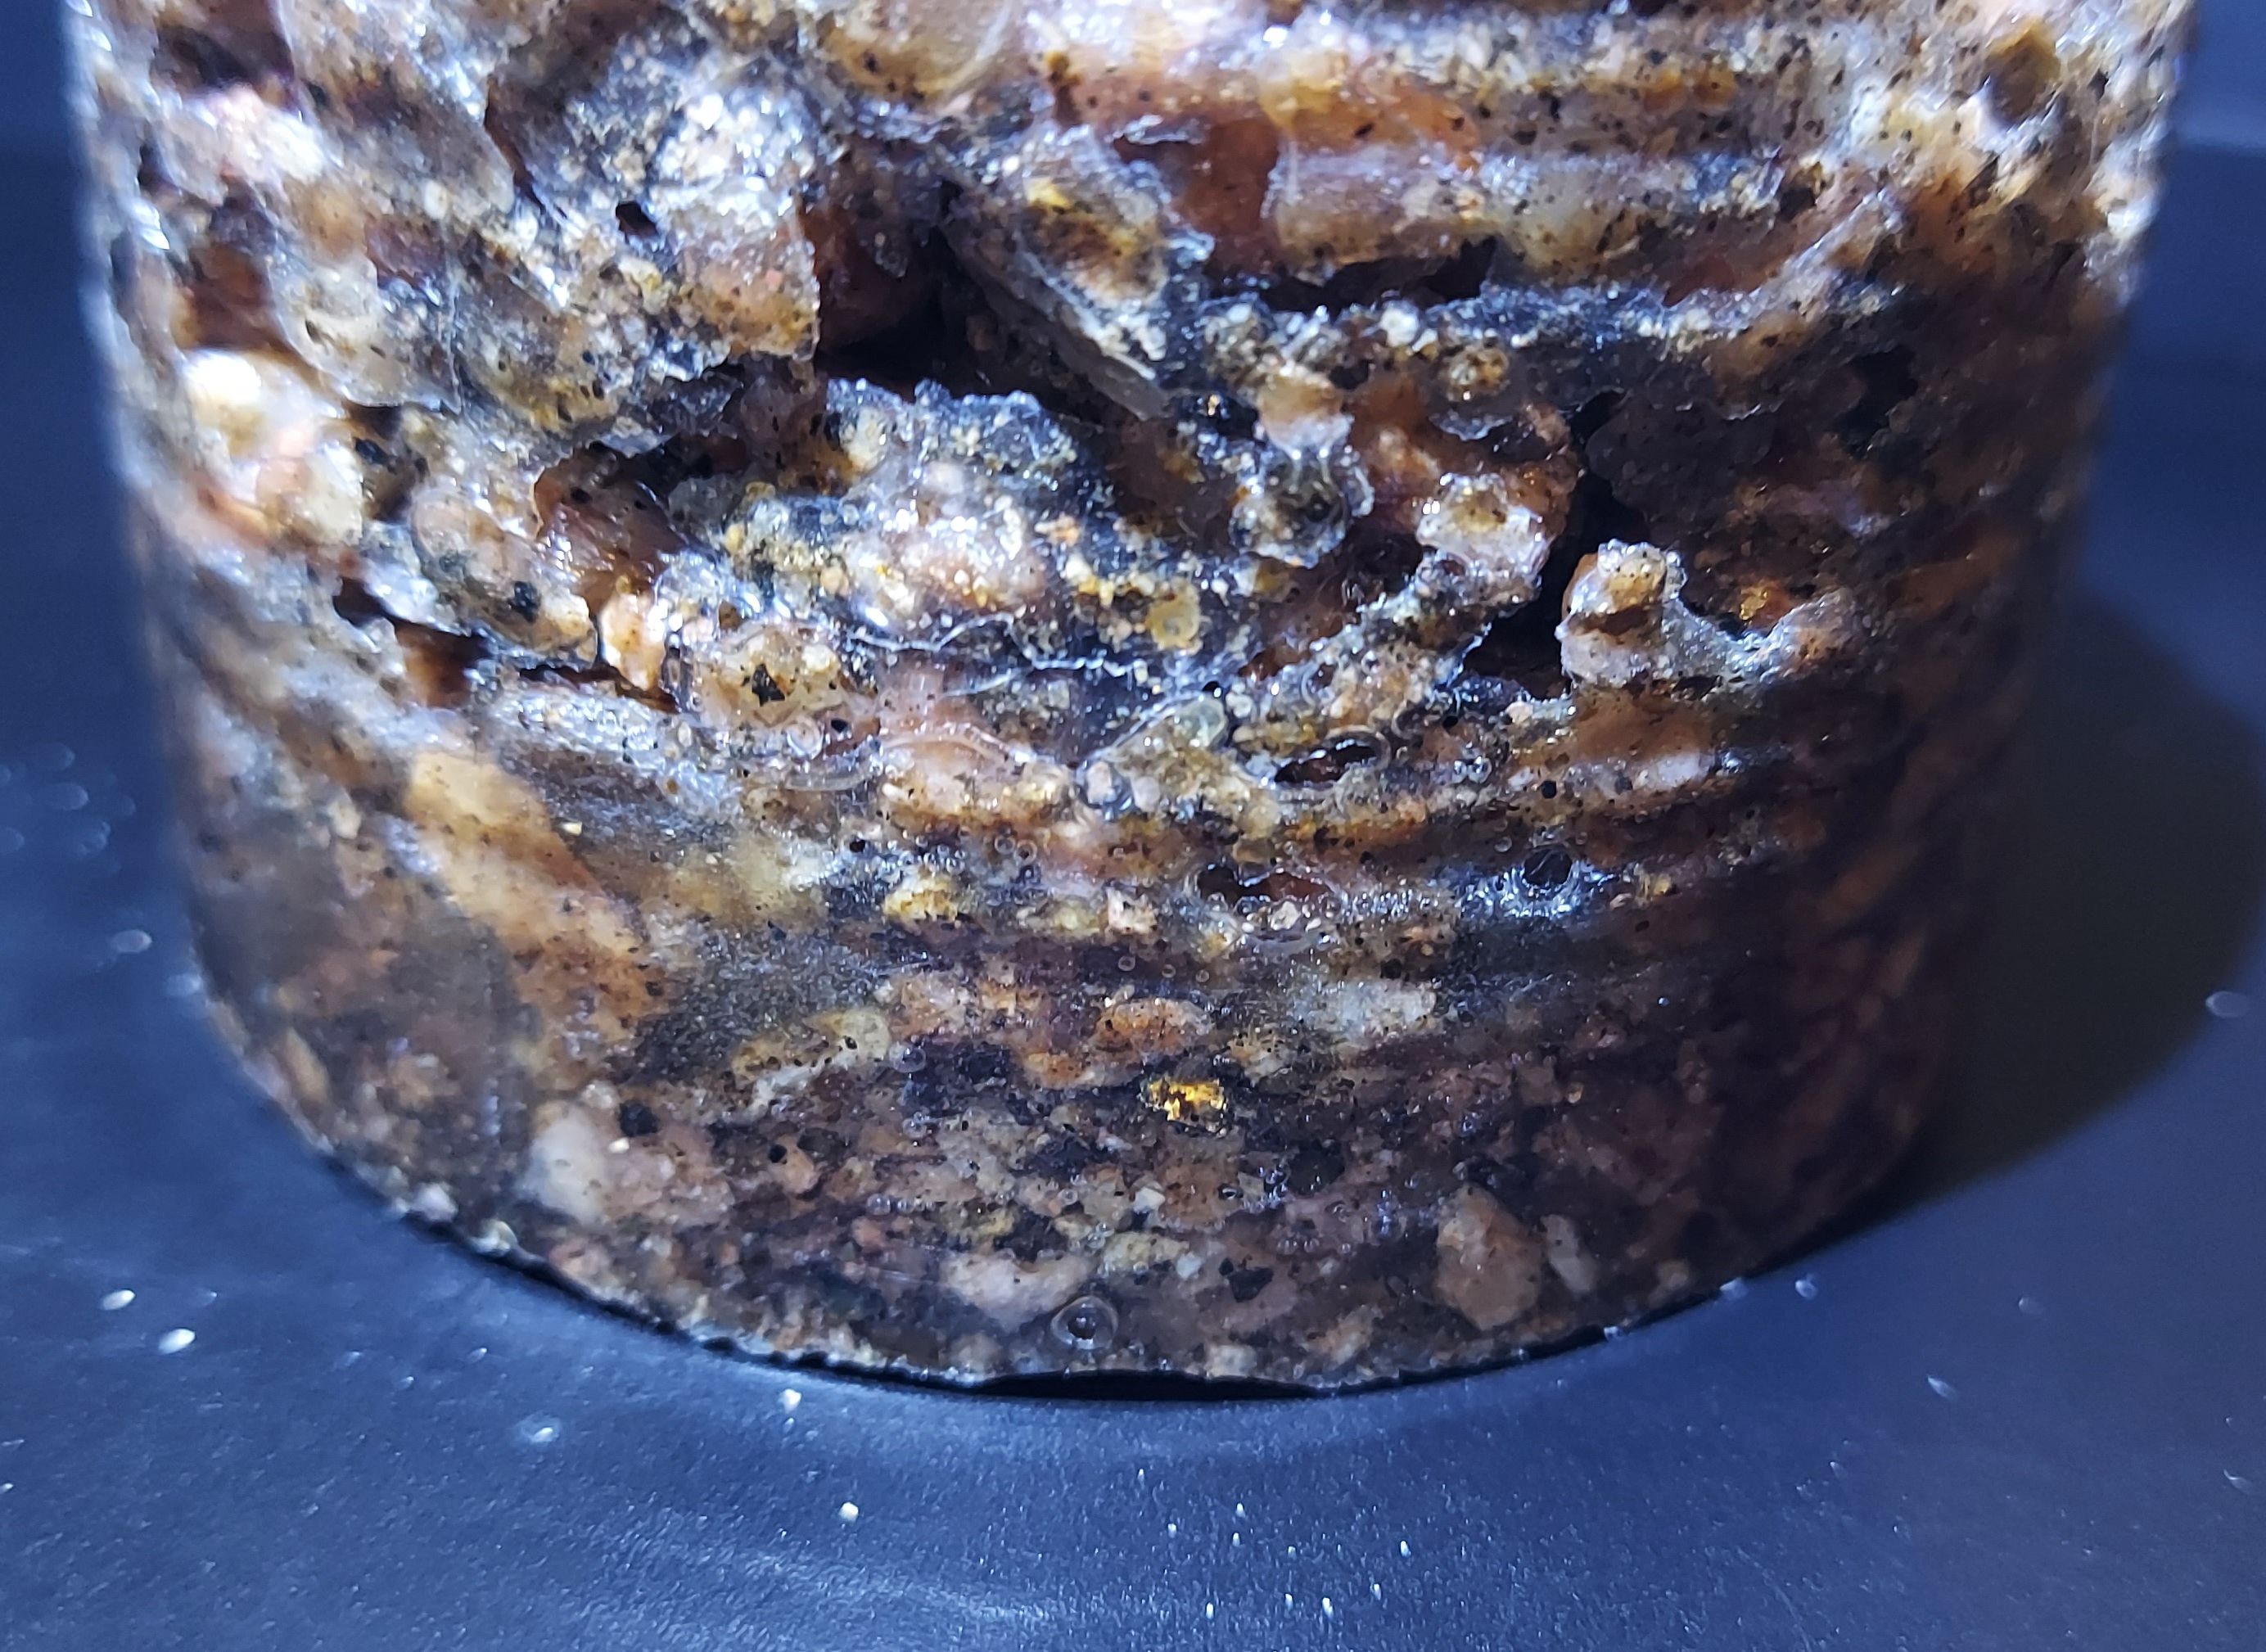
This allowed me to see a number of things that surprised me. The first is there are a bunch of voids in the mid section and not in the bottom. This confirms my suspicion that the epoxy resin migrates downward during curing. I imagine the finished product would be stronger if you add epoxy resin until the rocks are completely immersed. Secondly, there are actually big areas of the bottom that appear to be nothing but resin. I thought that all the stirring I did would make a mixture of large rocks infilled with smaller material. But apparently that is not the case. If I find time in the future I may try and split this apart so I can analyze the cross section.
Density of material
One thing I can try to estimate is the density of the added material. The base is irregular in shape, so I won't consider it. The column is 41 inches in length with an outer diameter of \(4\) inches. The walls are irregular on the inside, but I estimate the wall thickness has an average of \(5/16\) of an inch. So the effective diameter of the interior is \(3.375\) inches. This gives us the following for the volume
So the internal volume is \(366.8\) cubic inches. But I had to add the wood plugs. The wood plugs were not made to any specific dimensions. The cross section has an area of around \(2.25\) square inches. The overall length of both plugs combined is 17.5 inches. So the volume of the plugs is \(17.5 * 2.25 = 39.375\) cubic inches. This gives a final volume of \(366.8 - 39.375 == 327.4\) cubic inches for the area inside the column that I actually filled.
I know that when adding the epoxy granite, I used the following amounts of epoxy
- an entire container as pictured above - \(32\) oz
- one batch of \(10\) oz of epoxy resin
- one batch of \(5\) oz of epoxy resin - only half made it into the column
So for resin I used \(32 + 10 + (5/2) = 44.5\) fluid ounces of resin. But I also added hardener at the required \(1:5\) ratio. So that would be \(44.5 * (1/5) = 8.9\). This is a total of \(53.4\) ounces of epoxy resin. This mixture is quite obviously volatile, meaning some of evaporates and does not become part of the final product. Since epoxy resin should have minimal shrinking during the curing process, I just pretend this does not matter. One US fluid ounce is \(1.80469\) cubic inches. So I added \(53.4 * 1.80469 = 96.8\) cubic inches of epoxy resin.
So to calculate the volume of the added granite we just subtract from the internal cylinder volume the amount of added resin. \(327.4 - 96.8 = 230.6\) cubic inches. So I think I added \(230.6\) cubic inches of granite to the column. There are a bunch of different values for the density of granite. On Wikipedia I found a value of \(165\) pounds per cubic foot at the low end. A cubic foot contains \(1728\) cubic inches. This means one cubic inch of granite should weigh \(165 / 1728 = 0.0954861\). So I can determine that I added \(230.6 * 0.0954861 = 22.0\) pounds of granite.
The safety data sheet for West Marine 105 Epoxy indicates a relative density of 1.15. This is measured relative to water. So with water having a density of 62.5 pounds per cubic foot I arrive at \(62.4 * 1.15 = 71.6\) pounds per cubic foot for the density of the epoxy. Diving again by 1728 to get pounds per cubic inch I arrive at \(71.6 / 1728 = 0.041435\) pounds per cubic inch of resin. So I arrive at \(96.8 * 0.041435 = 4.0\) pounds of resin.
So the final density of the material is the sum of the weight divided by the total internal volume
This value is really small and not intuitive so I converted back into pounds per cubic foot
So the final density estimate I arrived at is \(137.2\) pounds per cubic foot for the epoxy granite mixture. For comparison, the existing steel in the milling machine should have a density around \(490\) pounds per cubic foot. That is 3.5 times the density of the epoxy granite. One of the more unusual ideas I have heard is since the epoxy granite is such a low density material it has no actual effect on vibration. I think this is a bad analysis for two reasons
- In my case I filled a hollow structure with material, thus density must increase
- The density of the material has absolutely no relationship to vibration damping
For the first point, my argument is I filled a hollow column with some material. Thus the total density of the milling machine is higher. If this doesn't make sense, consider starting with an empty gas can. They are usually plastic and when filled with just air weigh very little. If you go and fill the gas can with a few gallons of gas, it winds up weighing more. Thus the overall density of the container is higher. Filling the column is not significantly different. The only difference is the container is a steel tube that is already quite heavy. So the density goes up but not as dramatically as the gas can example.
The second reason is that vibration damping is not directly correlated with material density. If vibration damping were directly correlated with density the preferred materials would be things like lead, tungsten, and depleted uranium. Ignore the practicality or even availability of the materials, this is obviously not true. Lead has plenty of uses, but vibration damping is not one of them. It is true however that increasing the mass of a system can change the amplitude of a systems vibration. But that is not the goal of epoxy granite infill. The goal is to actually convert vibration energy into another kind of energy, which in our case is going to wind up being heat.