KLX300R front brake rebuild
- Saturday April 29 2017
- brakes
The front brake on most dirt bikes is a hydraulic unit consisting of a hydraulic brake line, master cylinder, and caliper. The caliper is the portion near the front wheel, the master cylinder mounts to the handlebars, and the brake line connects them. This explains how to rebuild a Nissin front brake off my Kawasaki KLX300R. This guide applies to many other motorcycles using a Nissin front brake system.
The front brake master cylinder is a very simple design. The entire unit is a single aluminum casting. The box shaped section on top is a reservoir for brake fluid. Directly beneath this is the bore. Inside the bore is the piston. The front brake lever bolts to the master cylinder. The front brake lever presses directly on the piston. As the piston travels, it displaces fluid from bore. Since this is connected via the hose to the front caliper, this applies the front brake.
The front caliper is a much simpler component. Each piston in the front caliper is responsible for applying pressure to the front brake. Each piston has a set of seals associated with it. The pistons themselves can also be replaced, but that should only be necessary if they show signs of rust, corrosion, or physical damage. This caliper design is what is known as a "floating" caliper. This means the caliper can slide left to right on pins. This allows a single set of pistons to apply pressure to pads on both sides of the front brake rotor. The caliper slide pins are generally included a rebuild kit. Depending on their condition, you may be able to re-use the existing components.
While the idea of operation is very simple, there are many other small components that allow the front brake master cylinder to function correctly. This include seals, springs, etc. All of theses components are expected to be replaced as part of normal maintenance of the motorcycle. When you decide to rebuild the front master cylinder, you will want to order a 'rebuild kit'. Pay special attention to what comes in the kit. Some kits only include about half the seals you need for a proper rebuild. You should always get a kit that includes all the seals. The piston is also a replacable part. However, if your brake has been maintained properly it is usually not needed to replace the piston. If the piston is noticably corroded, replace it.
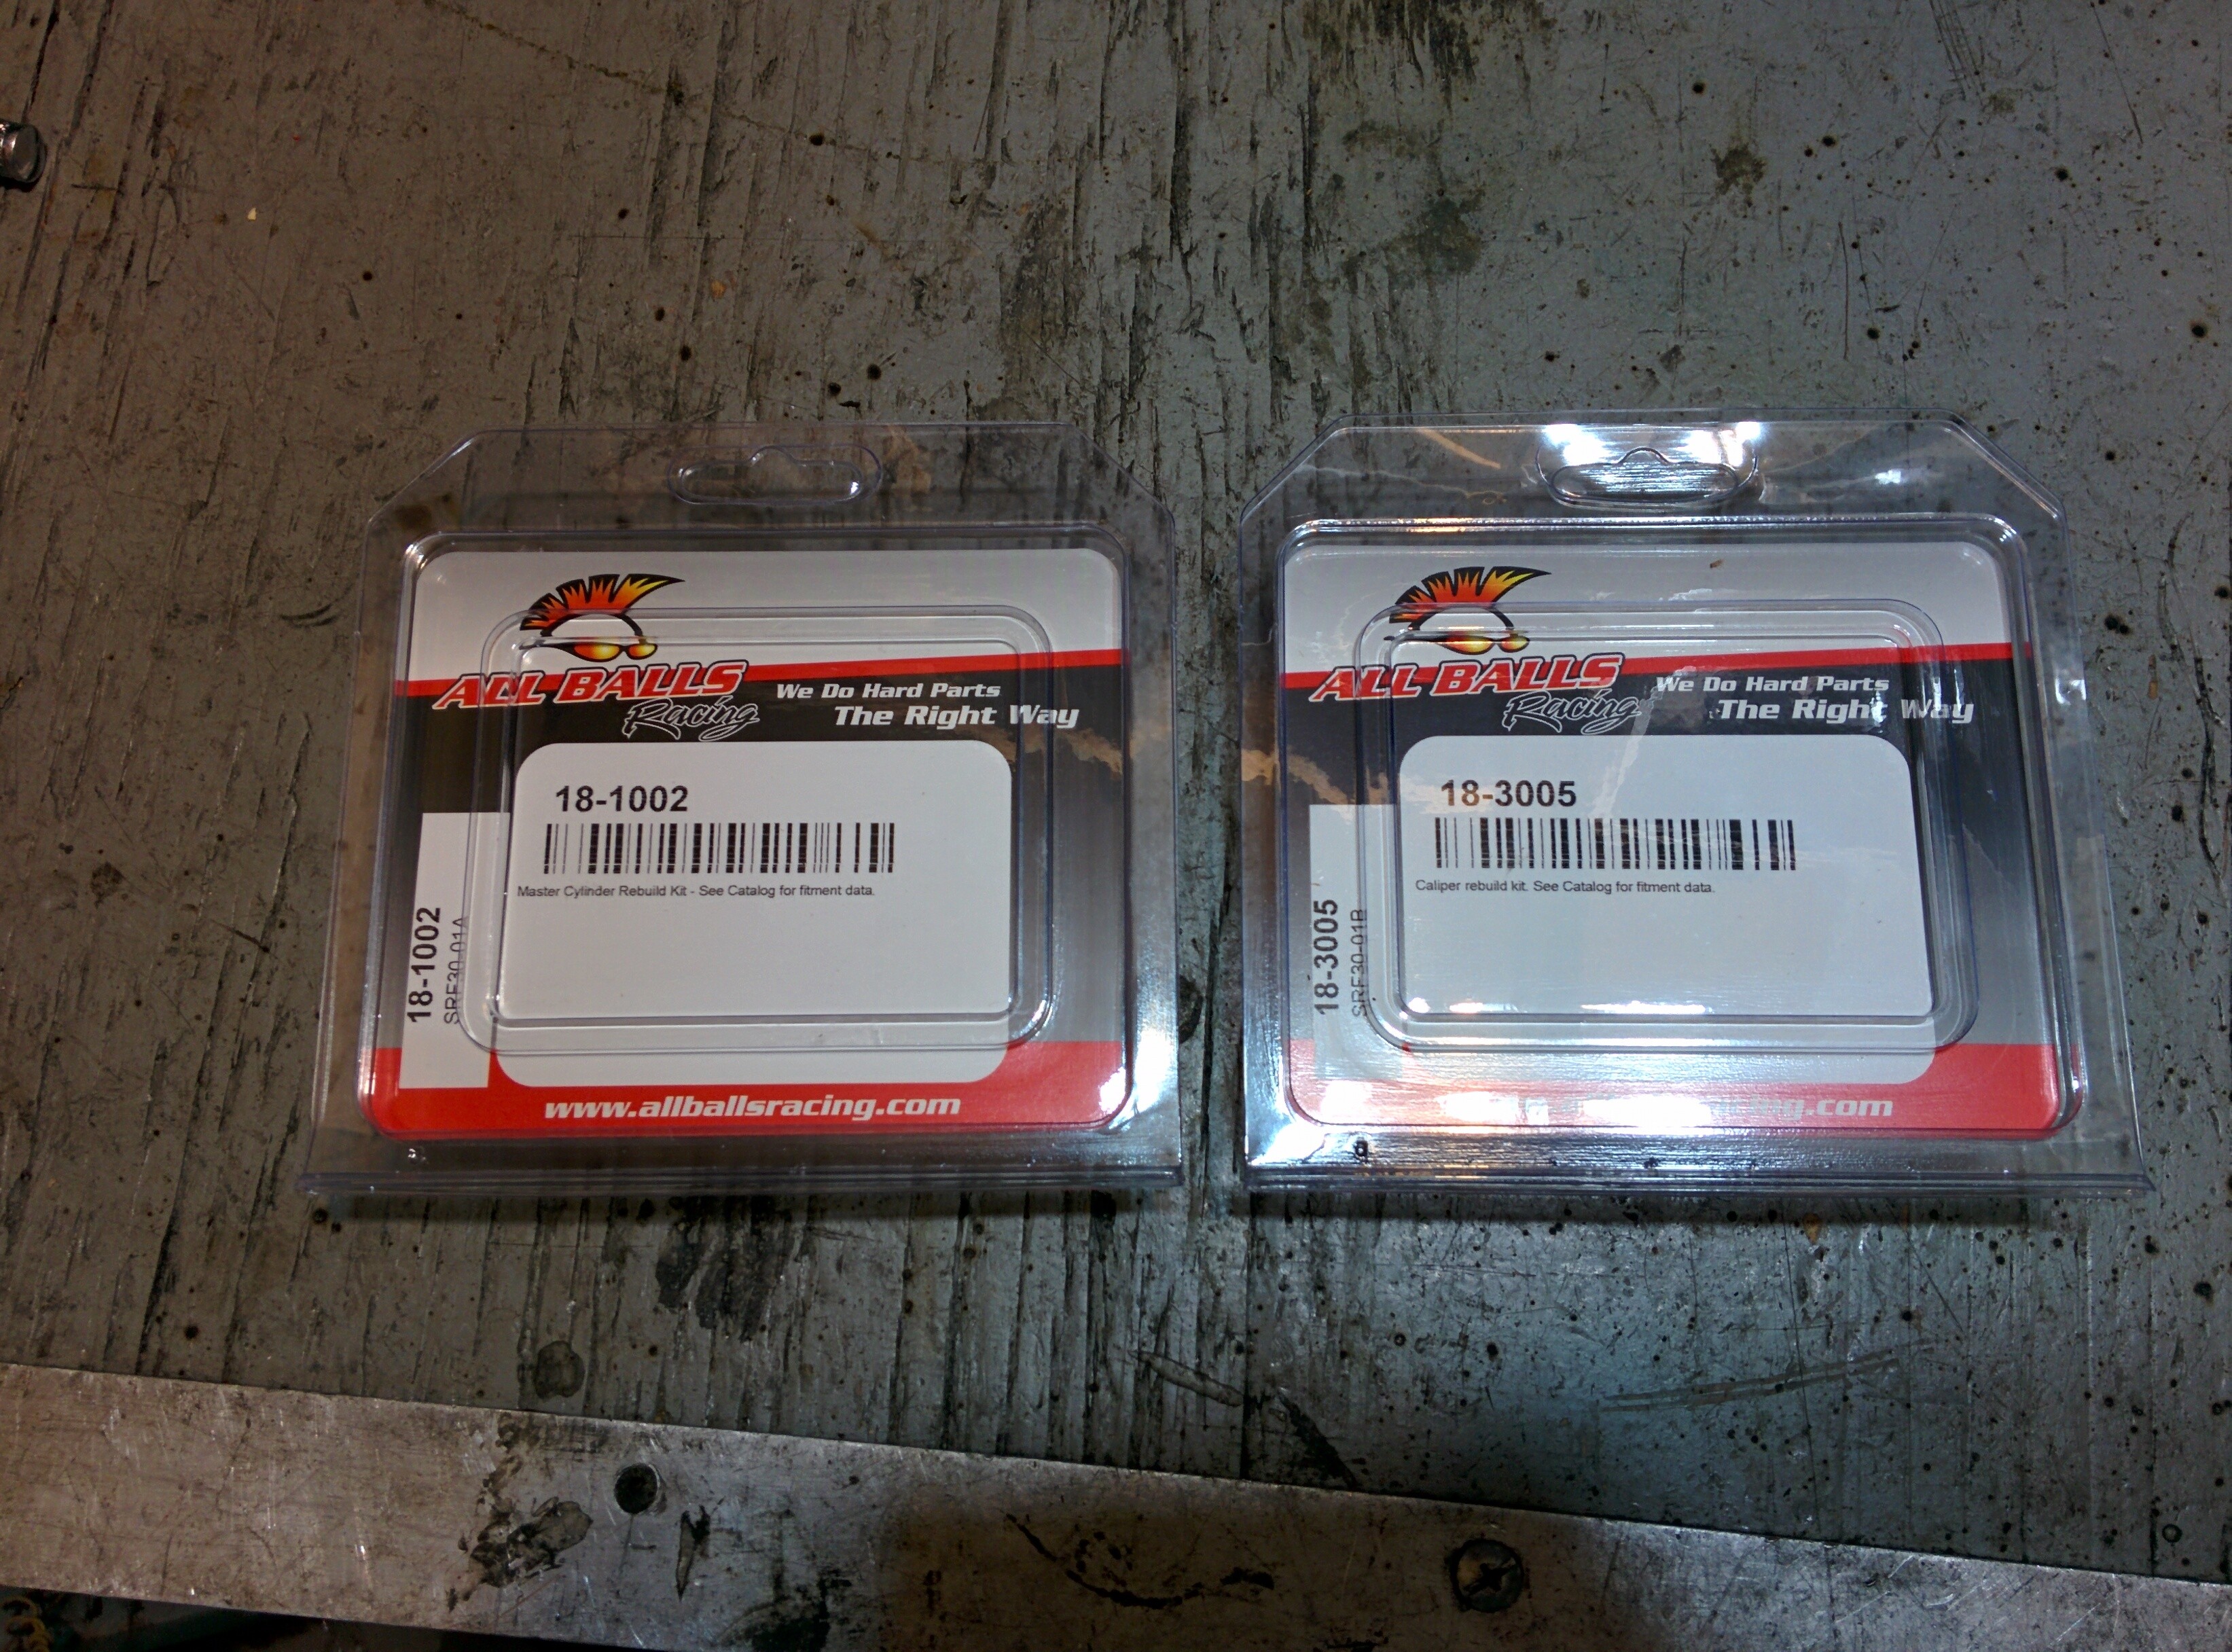
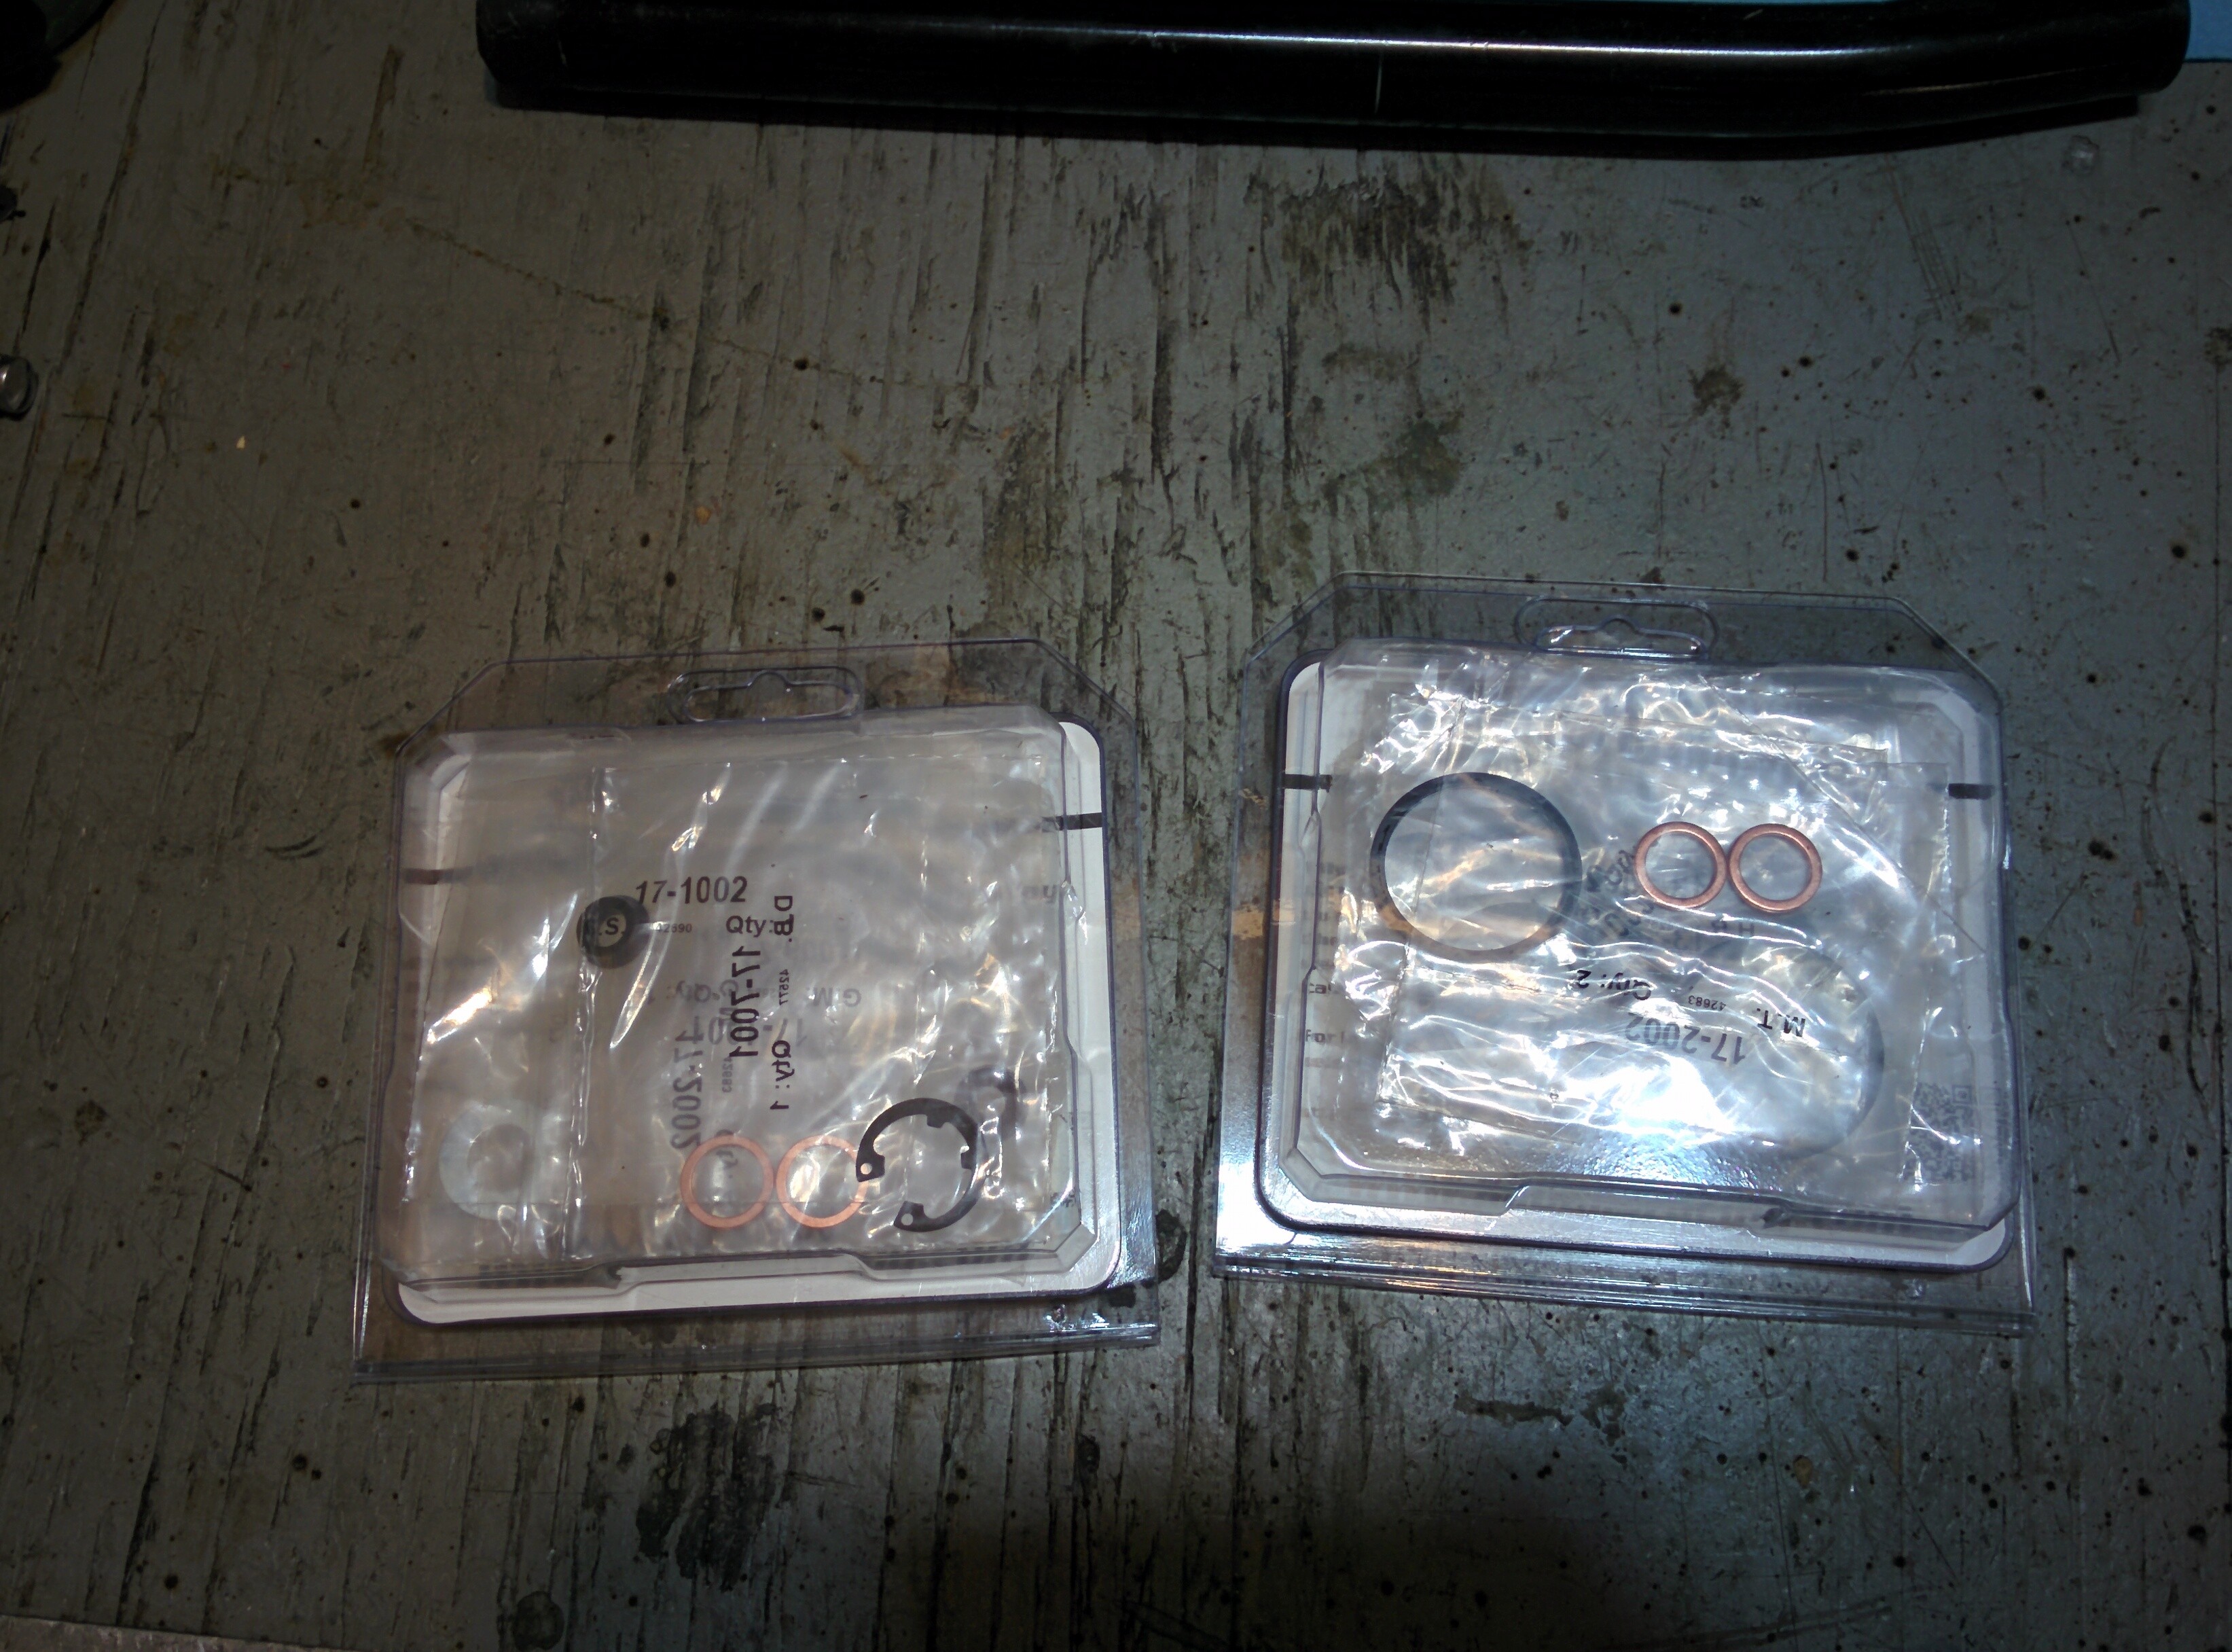
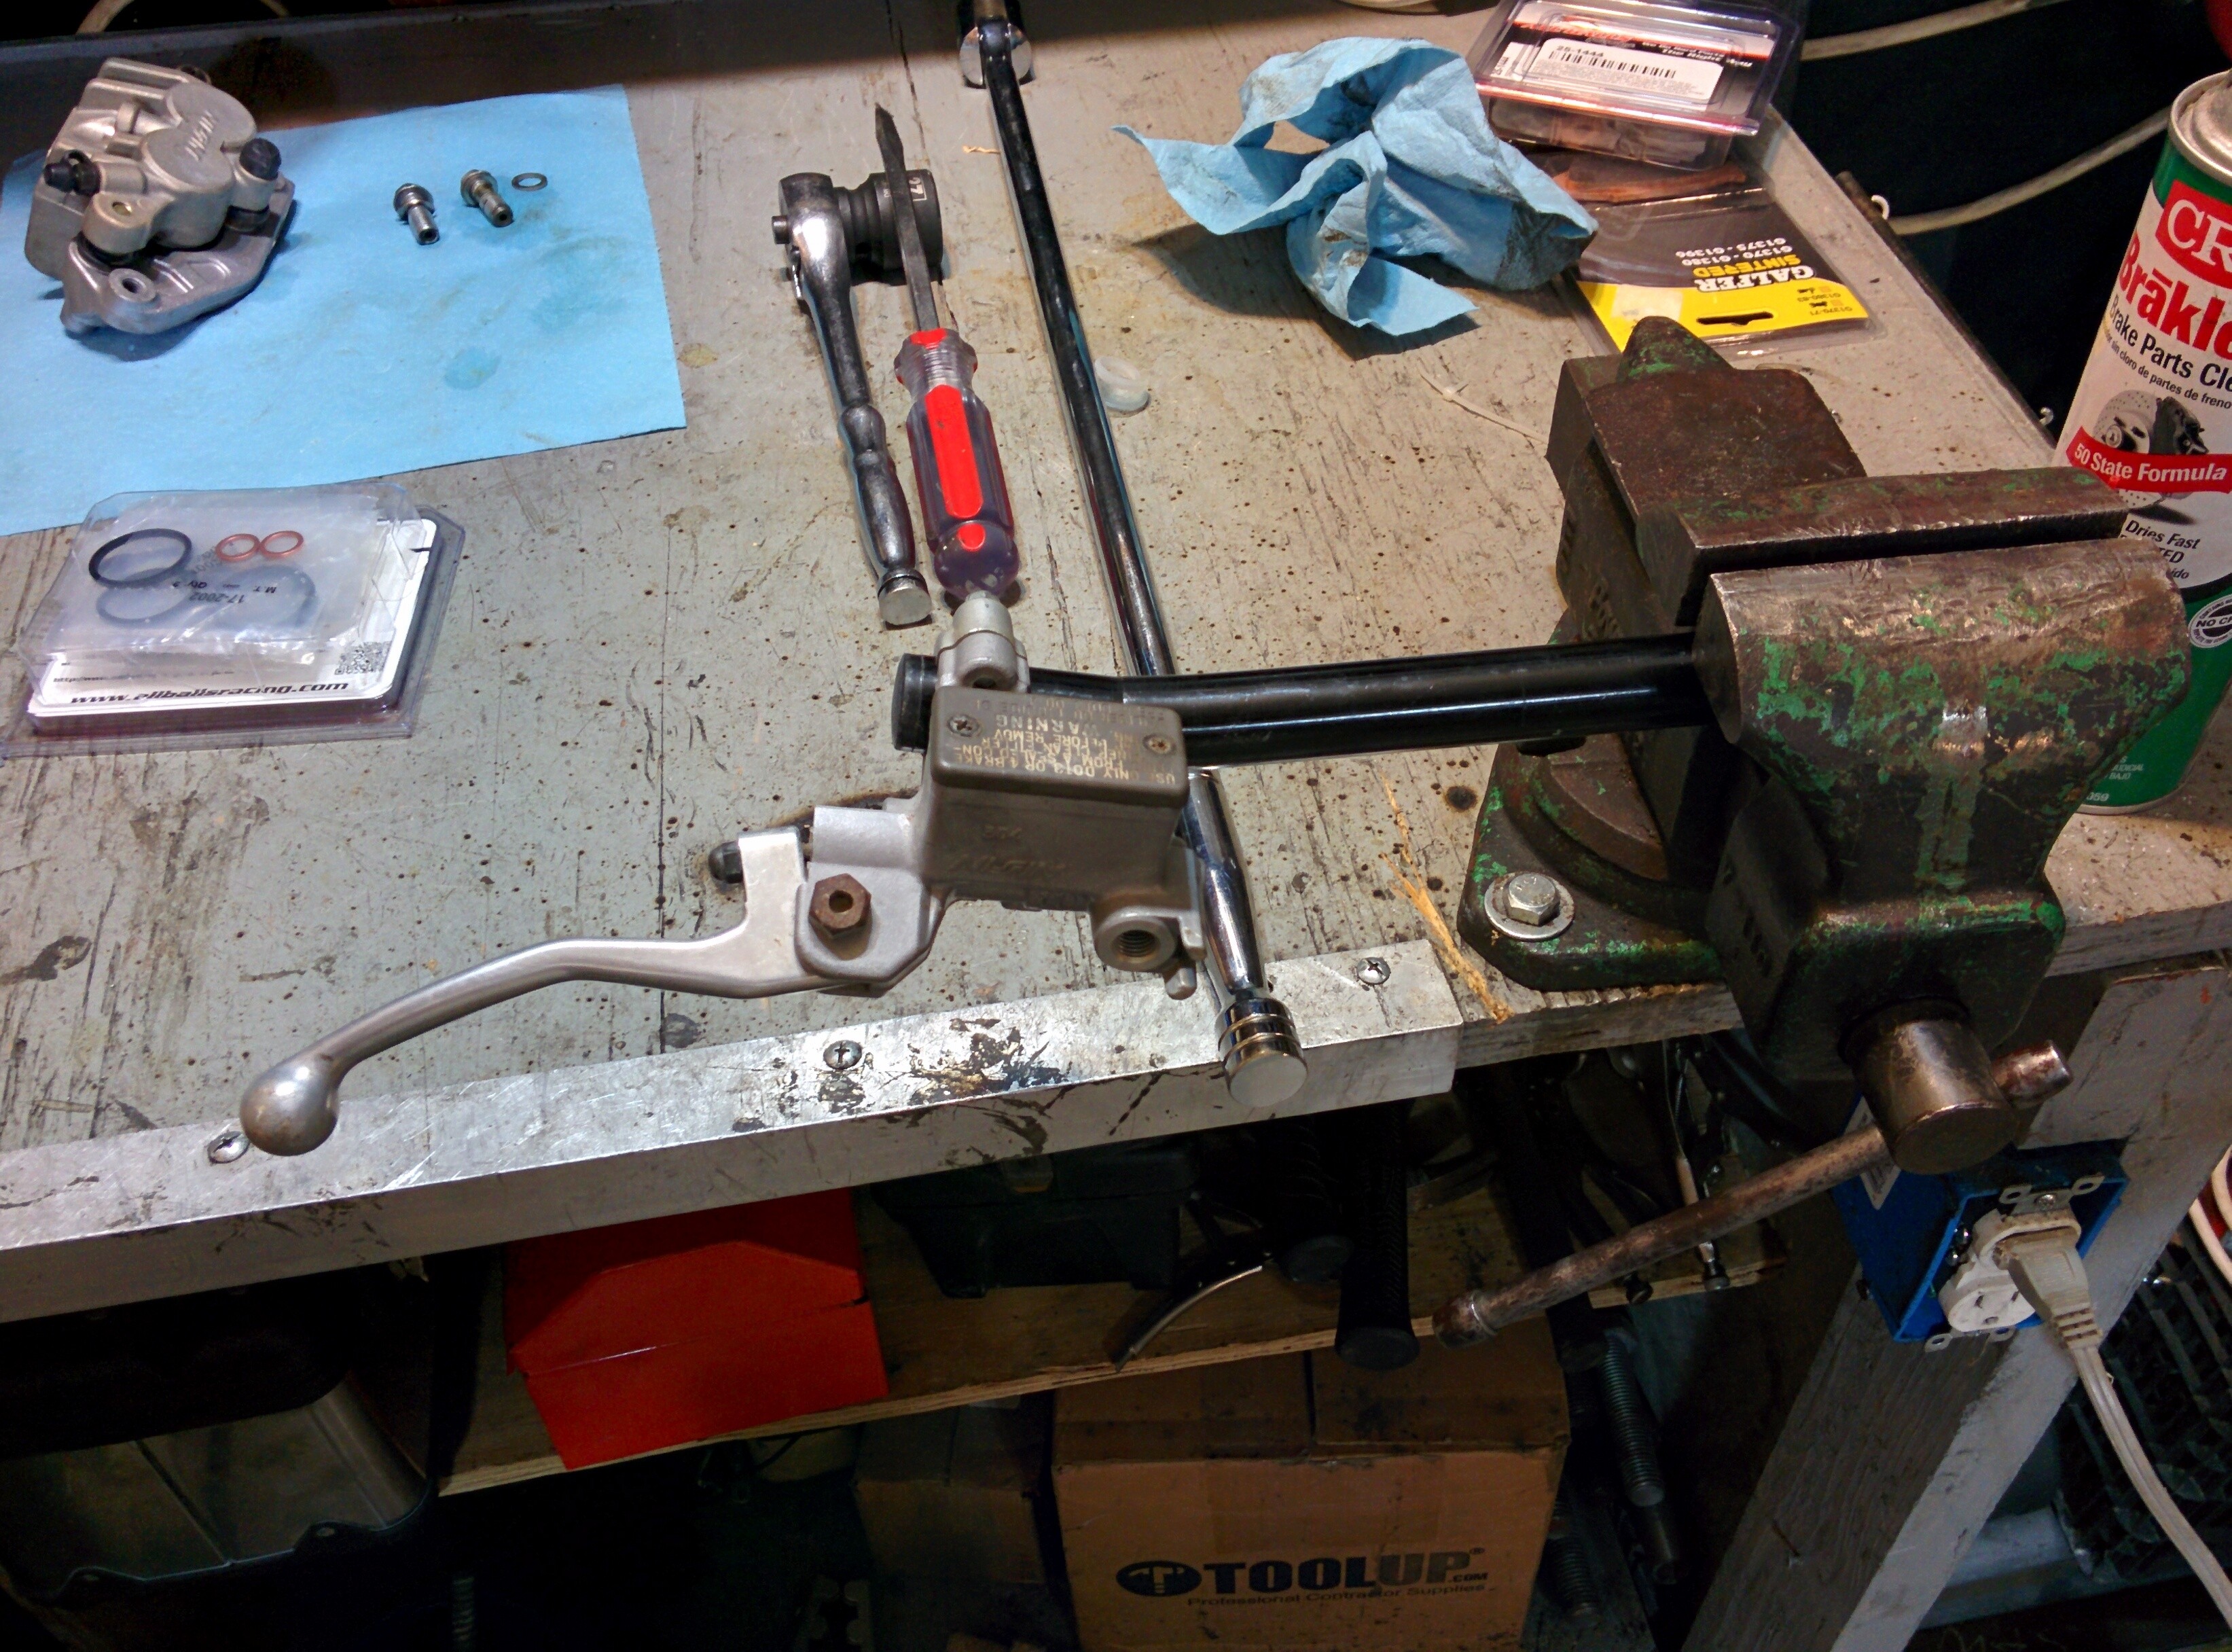
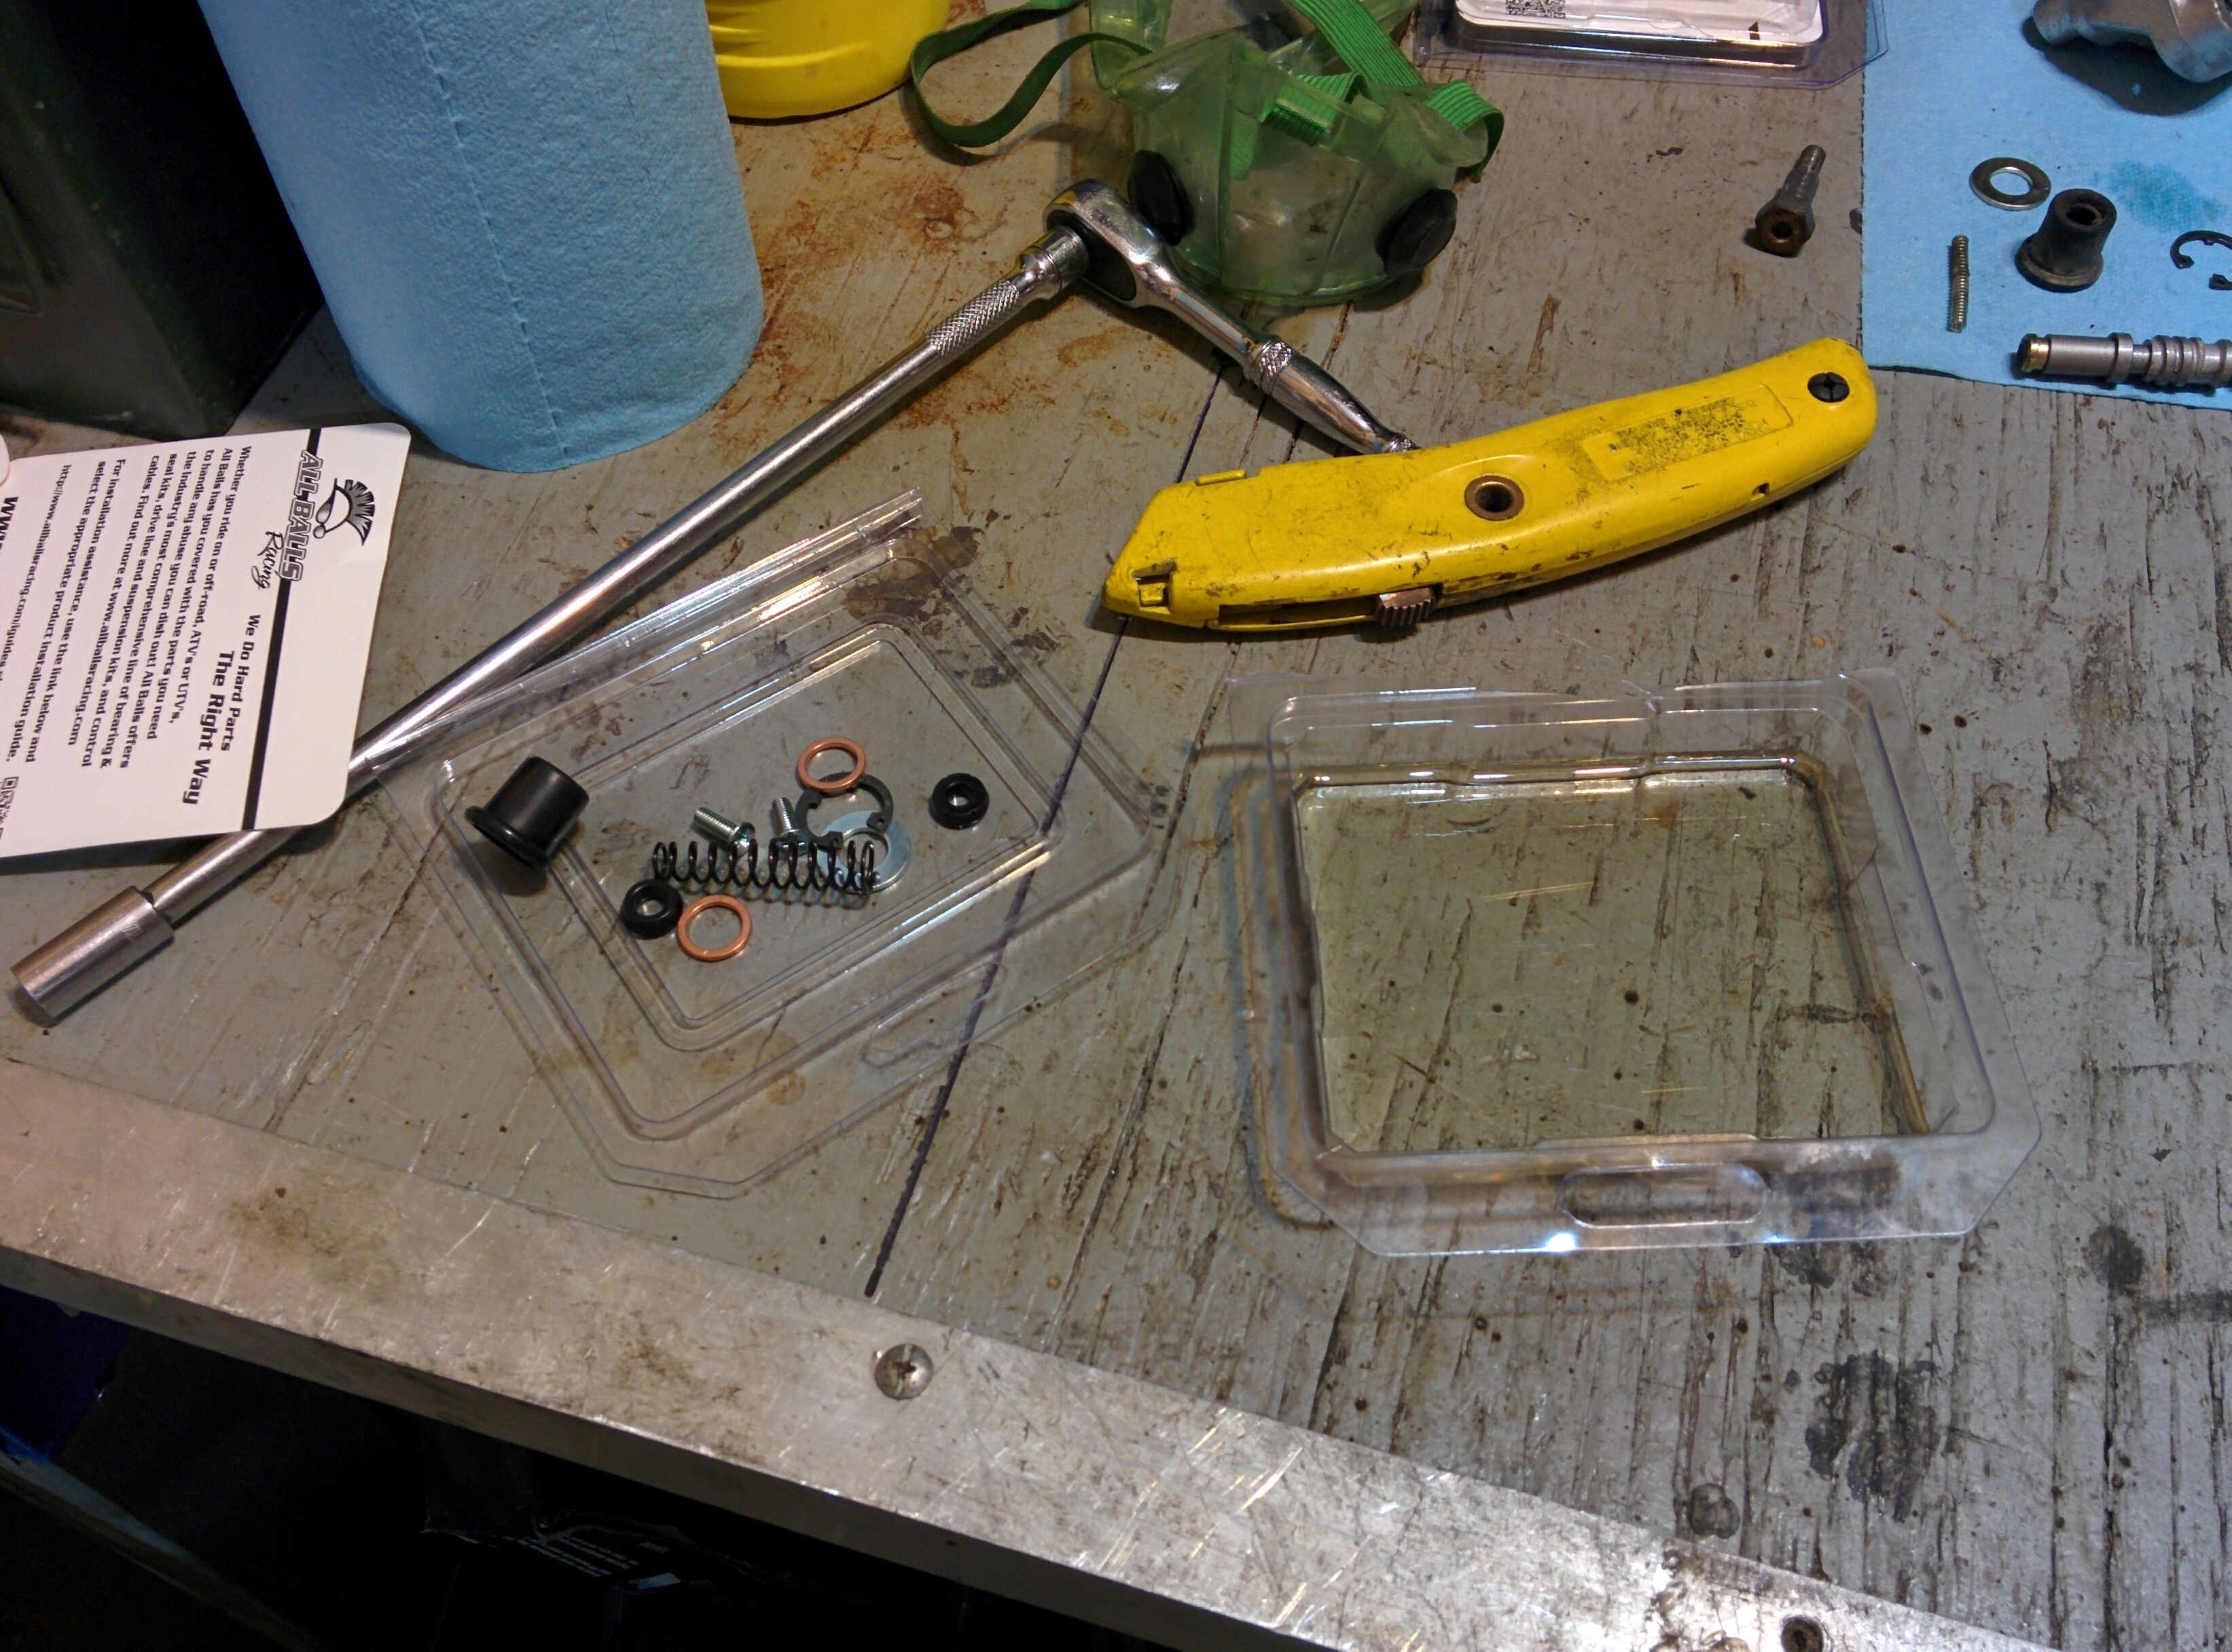
The rebuild kits I purchased, from All Balls Racing.
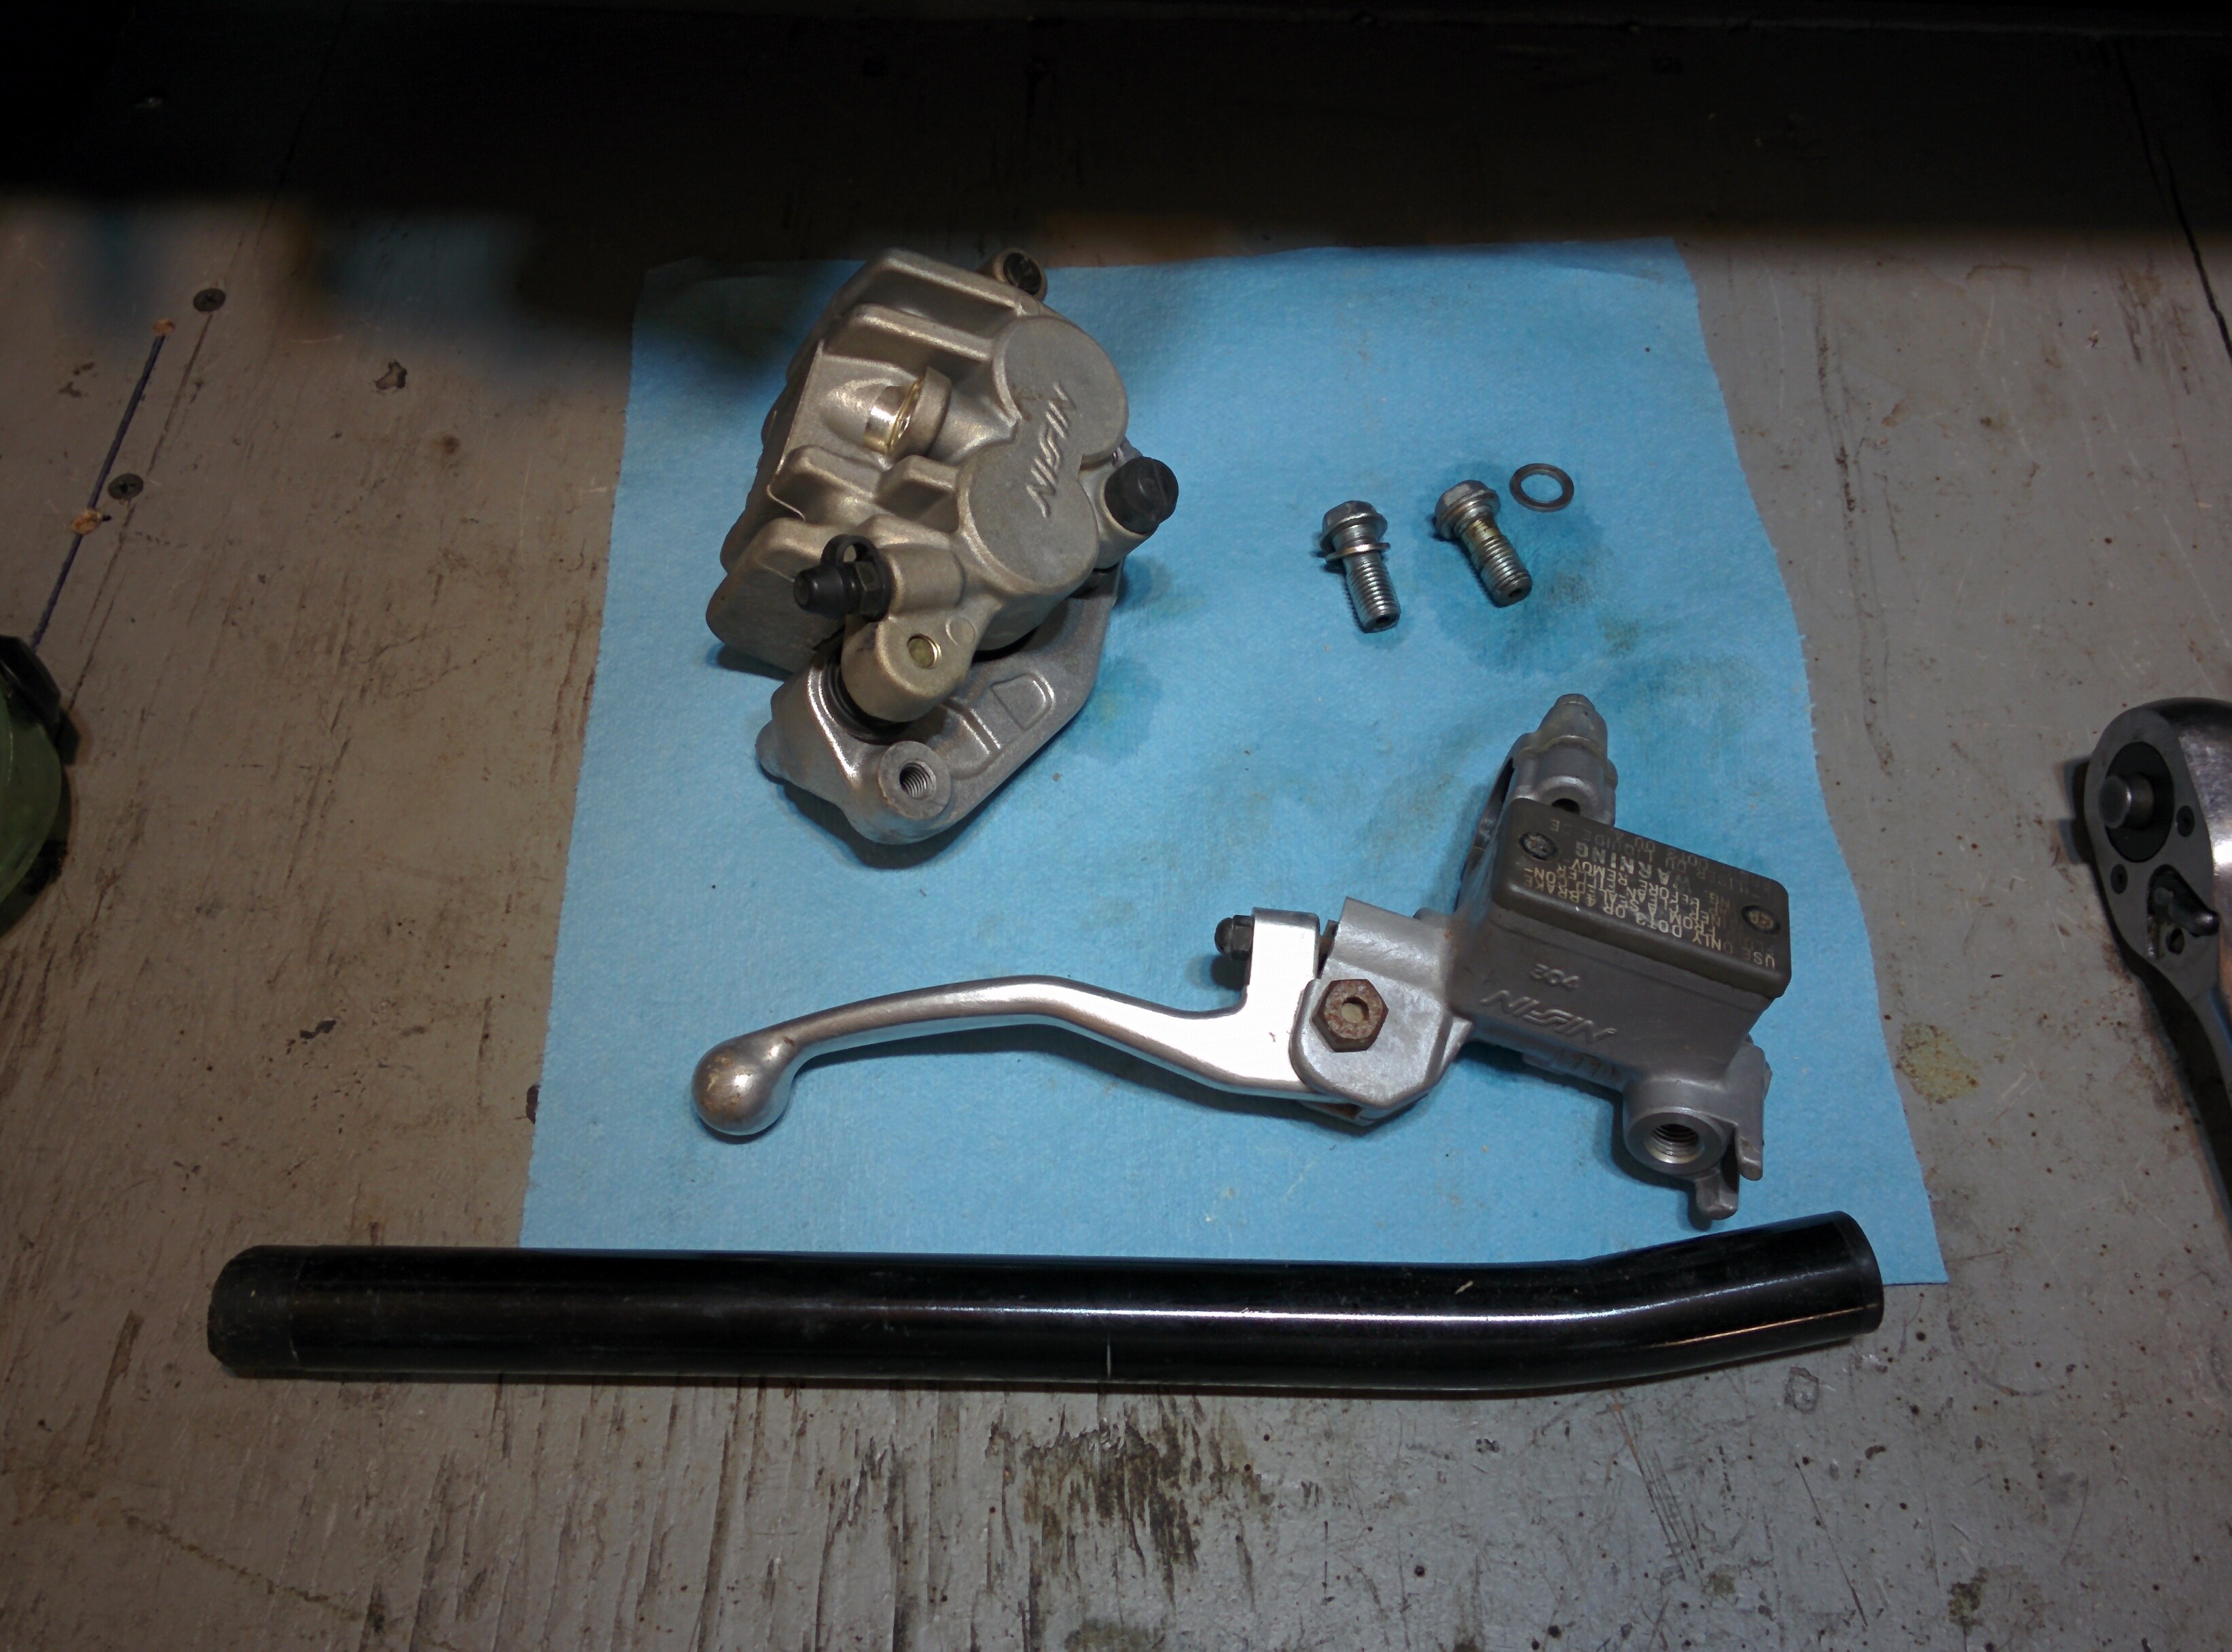
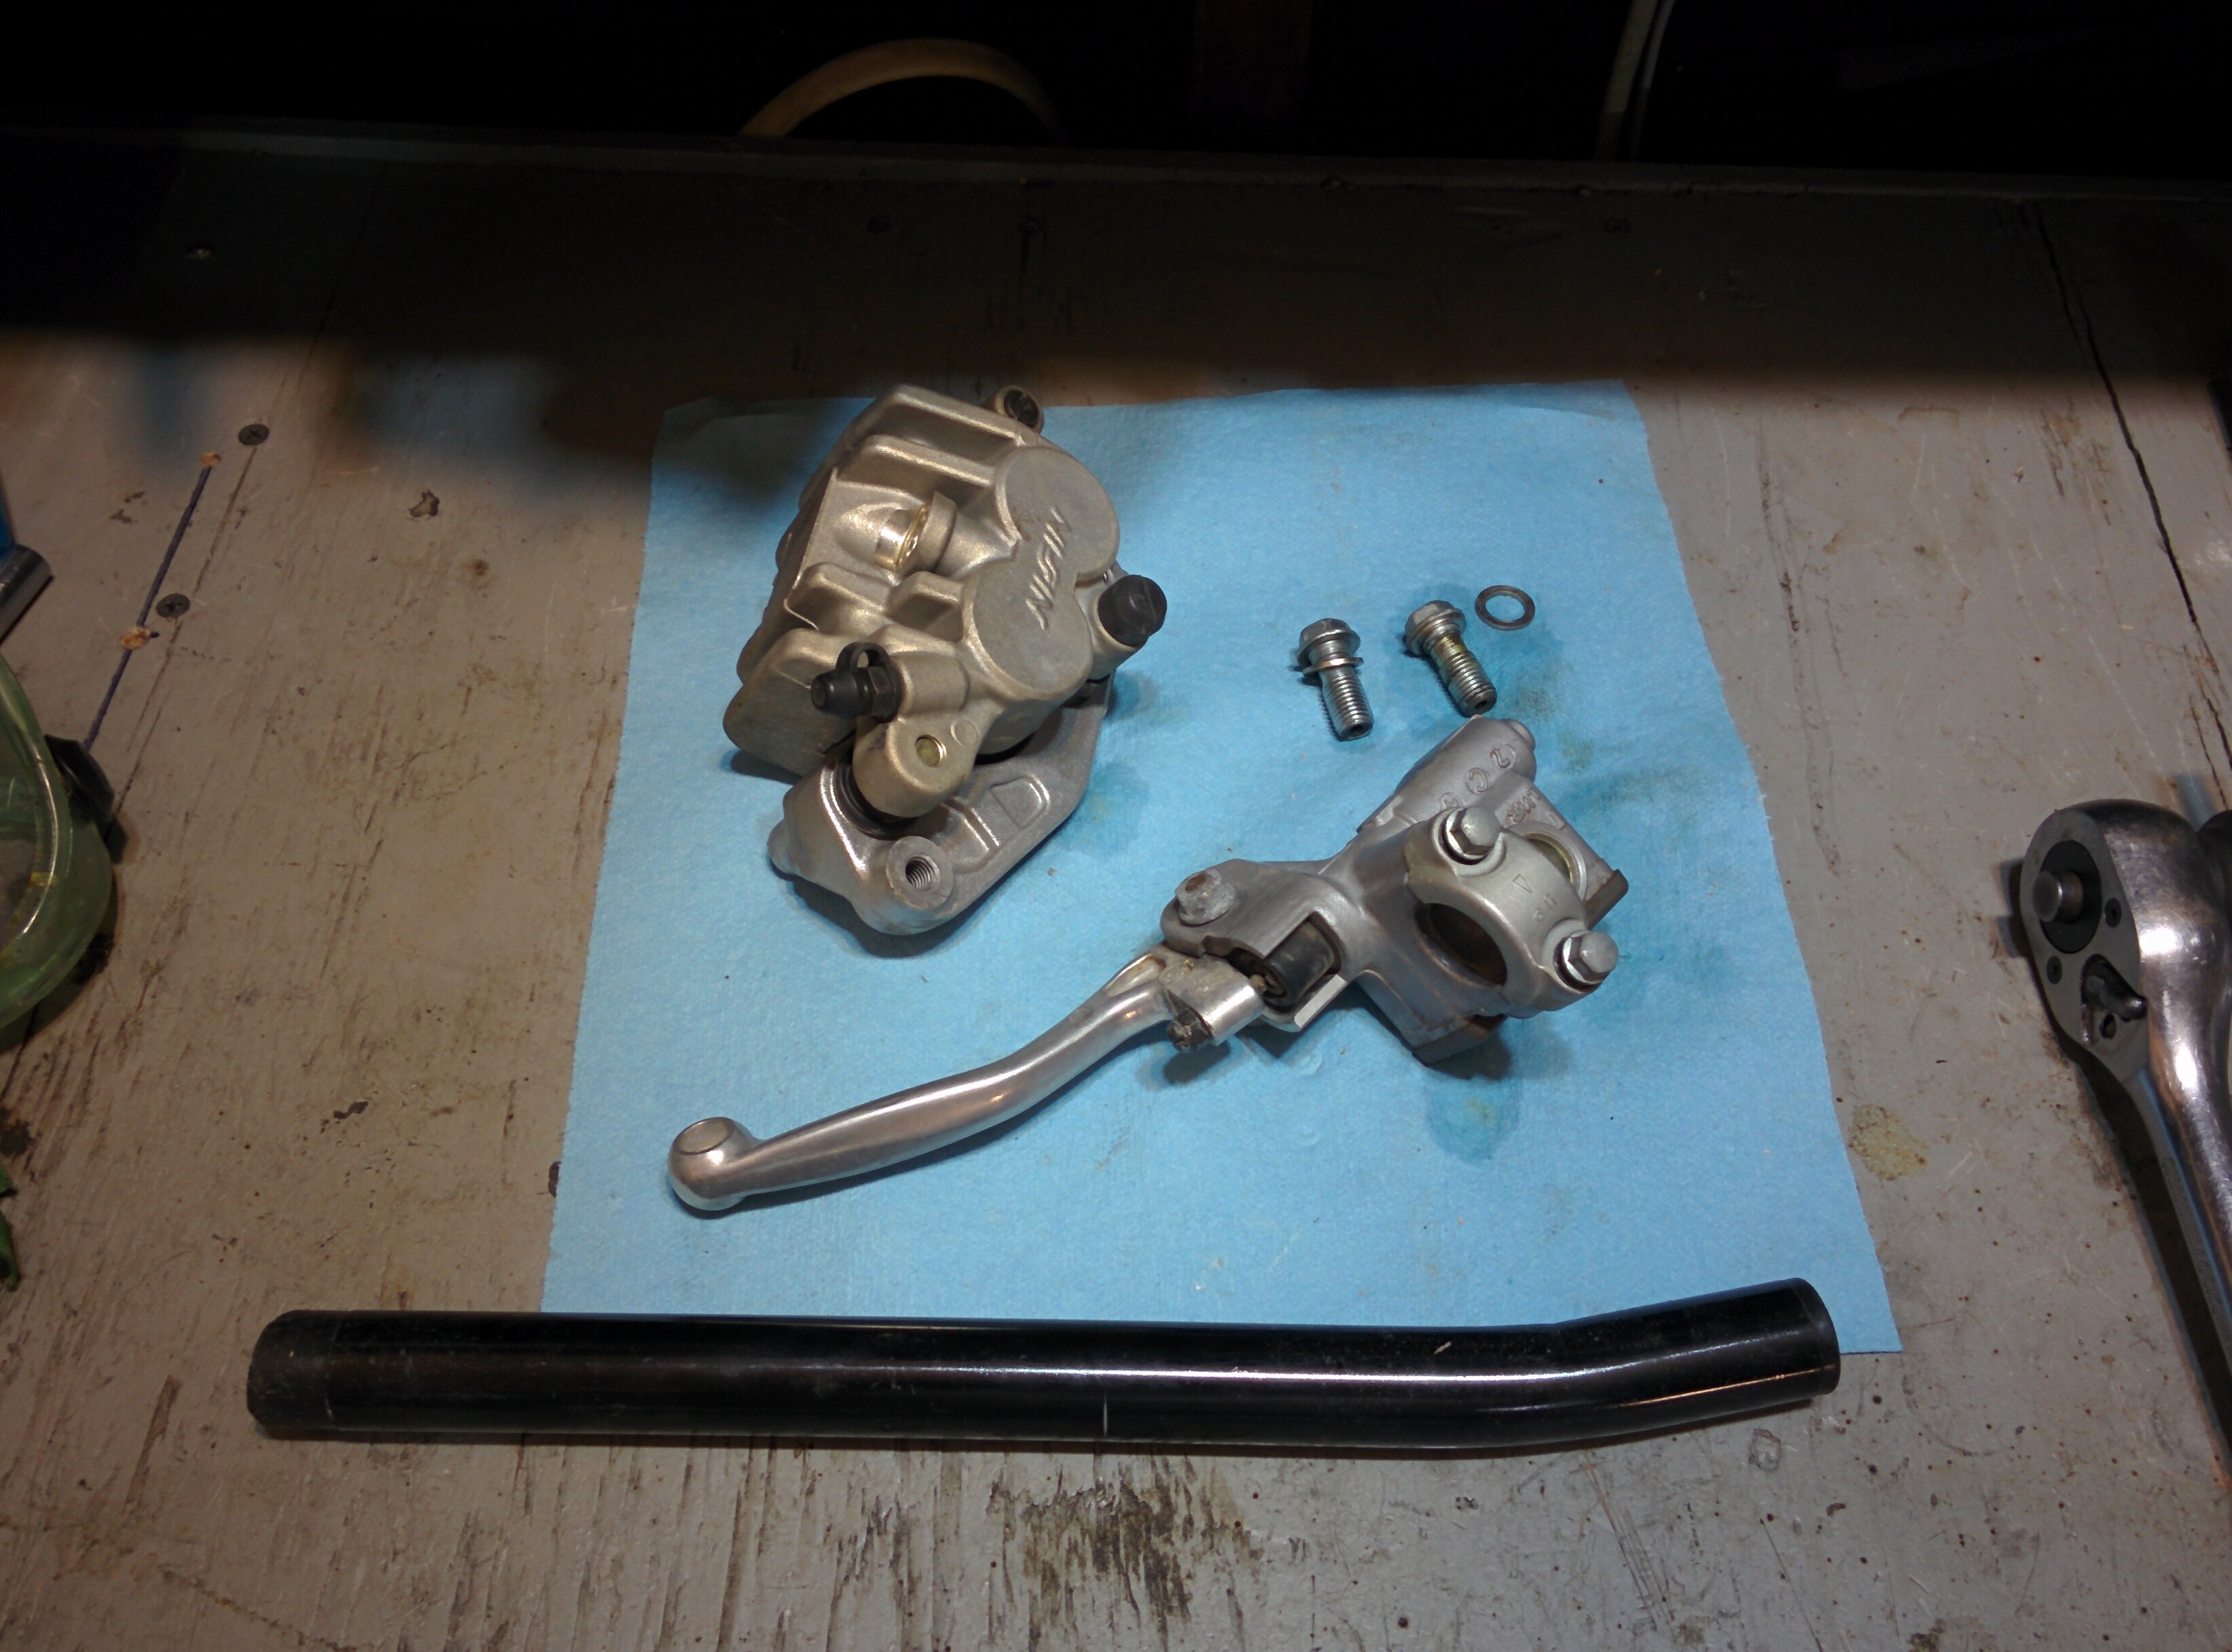
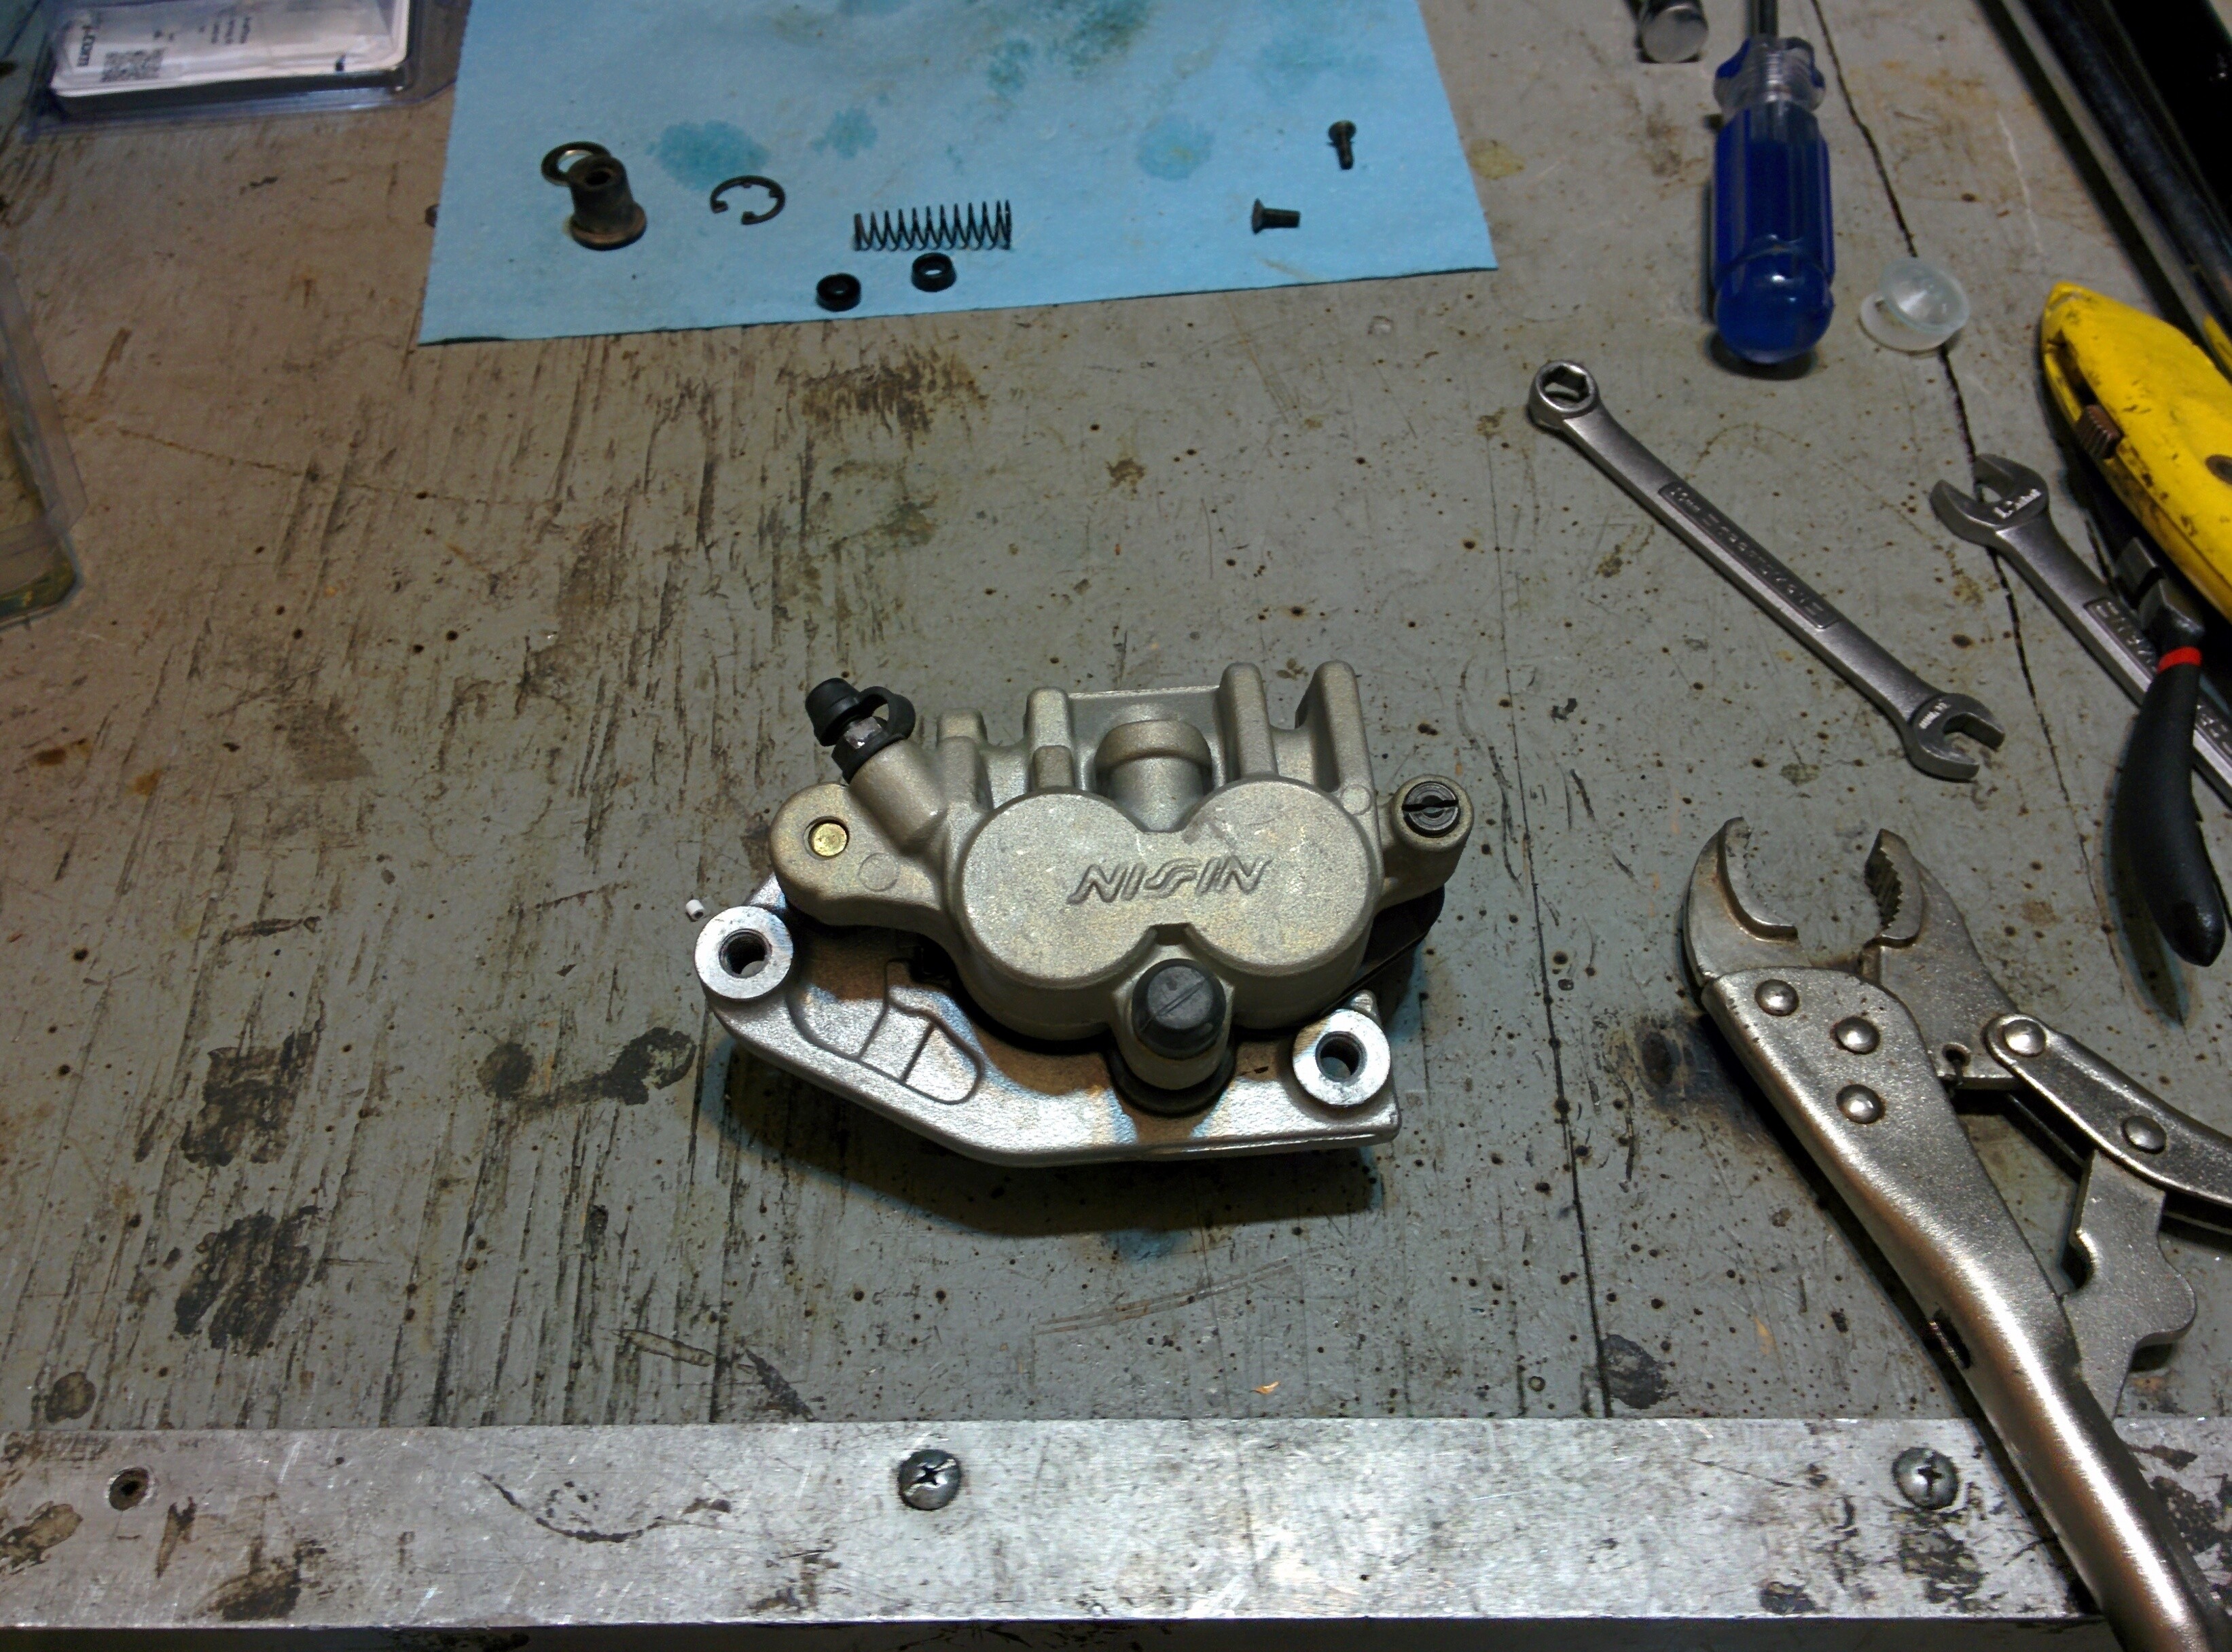
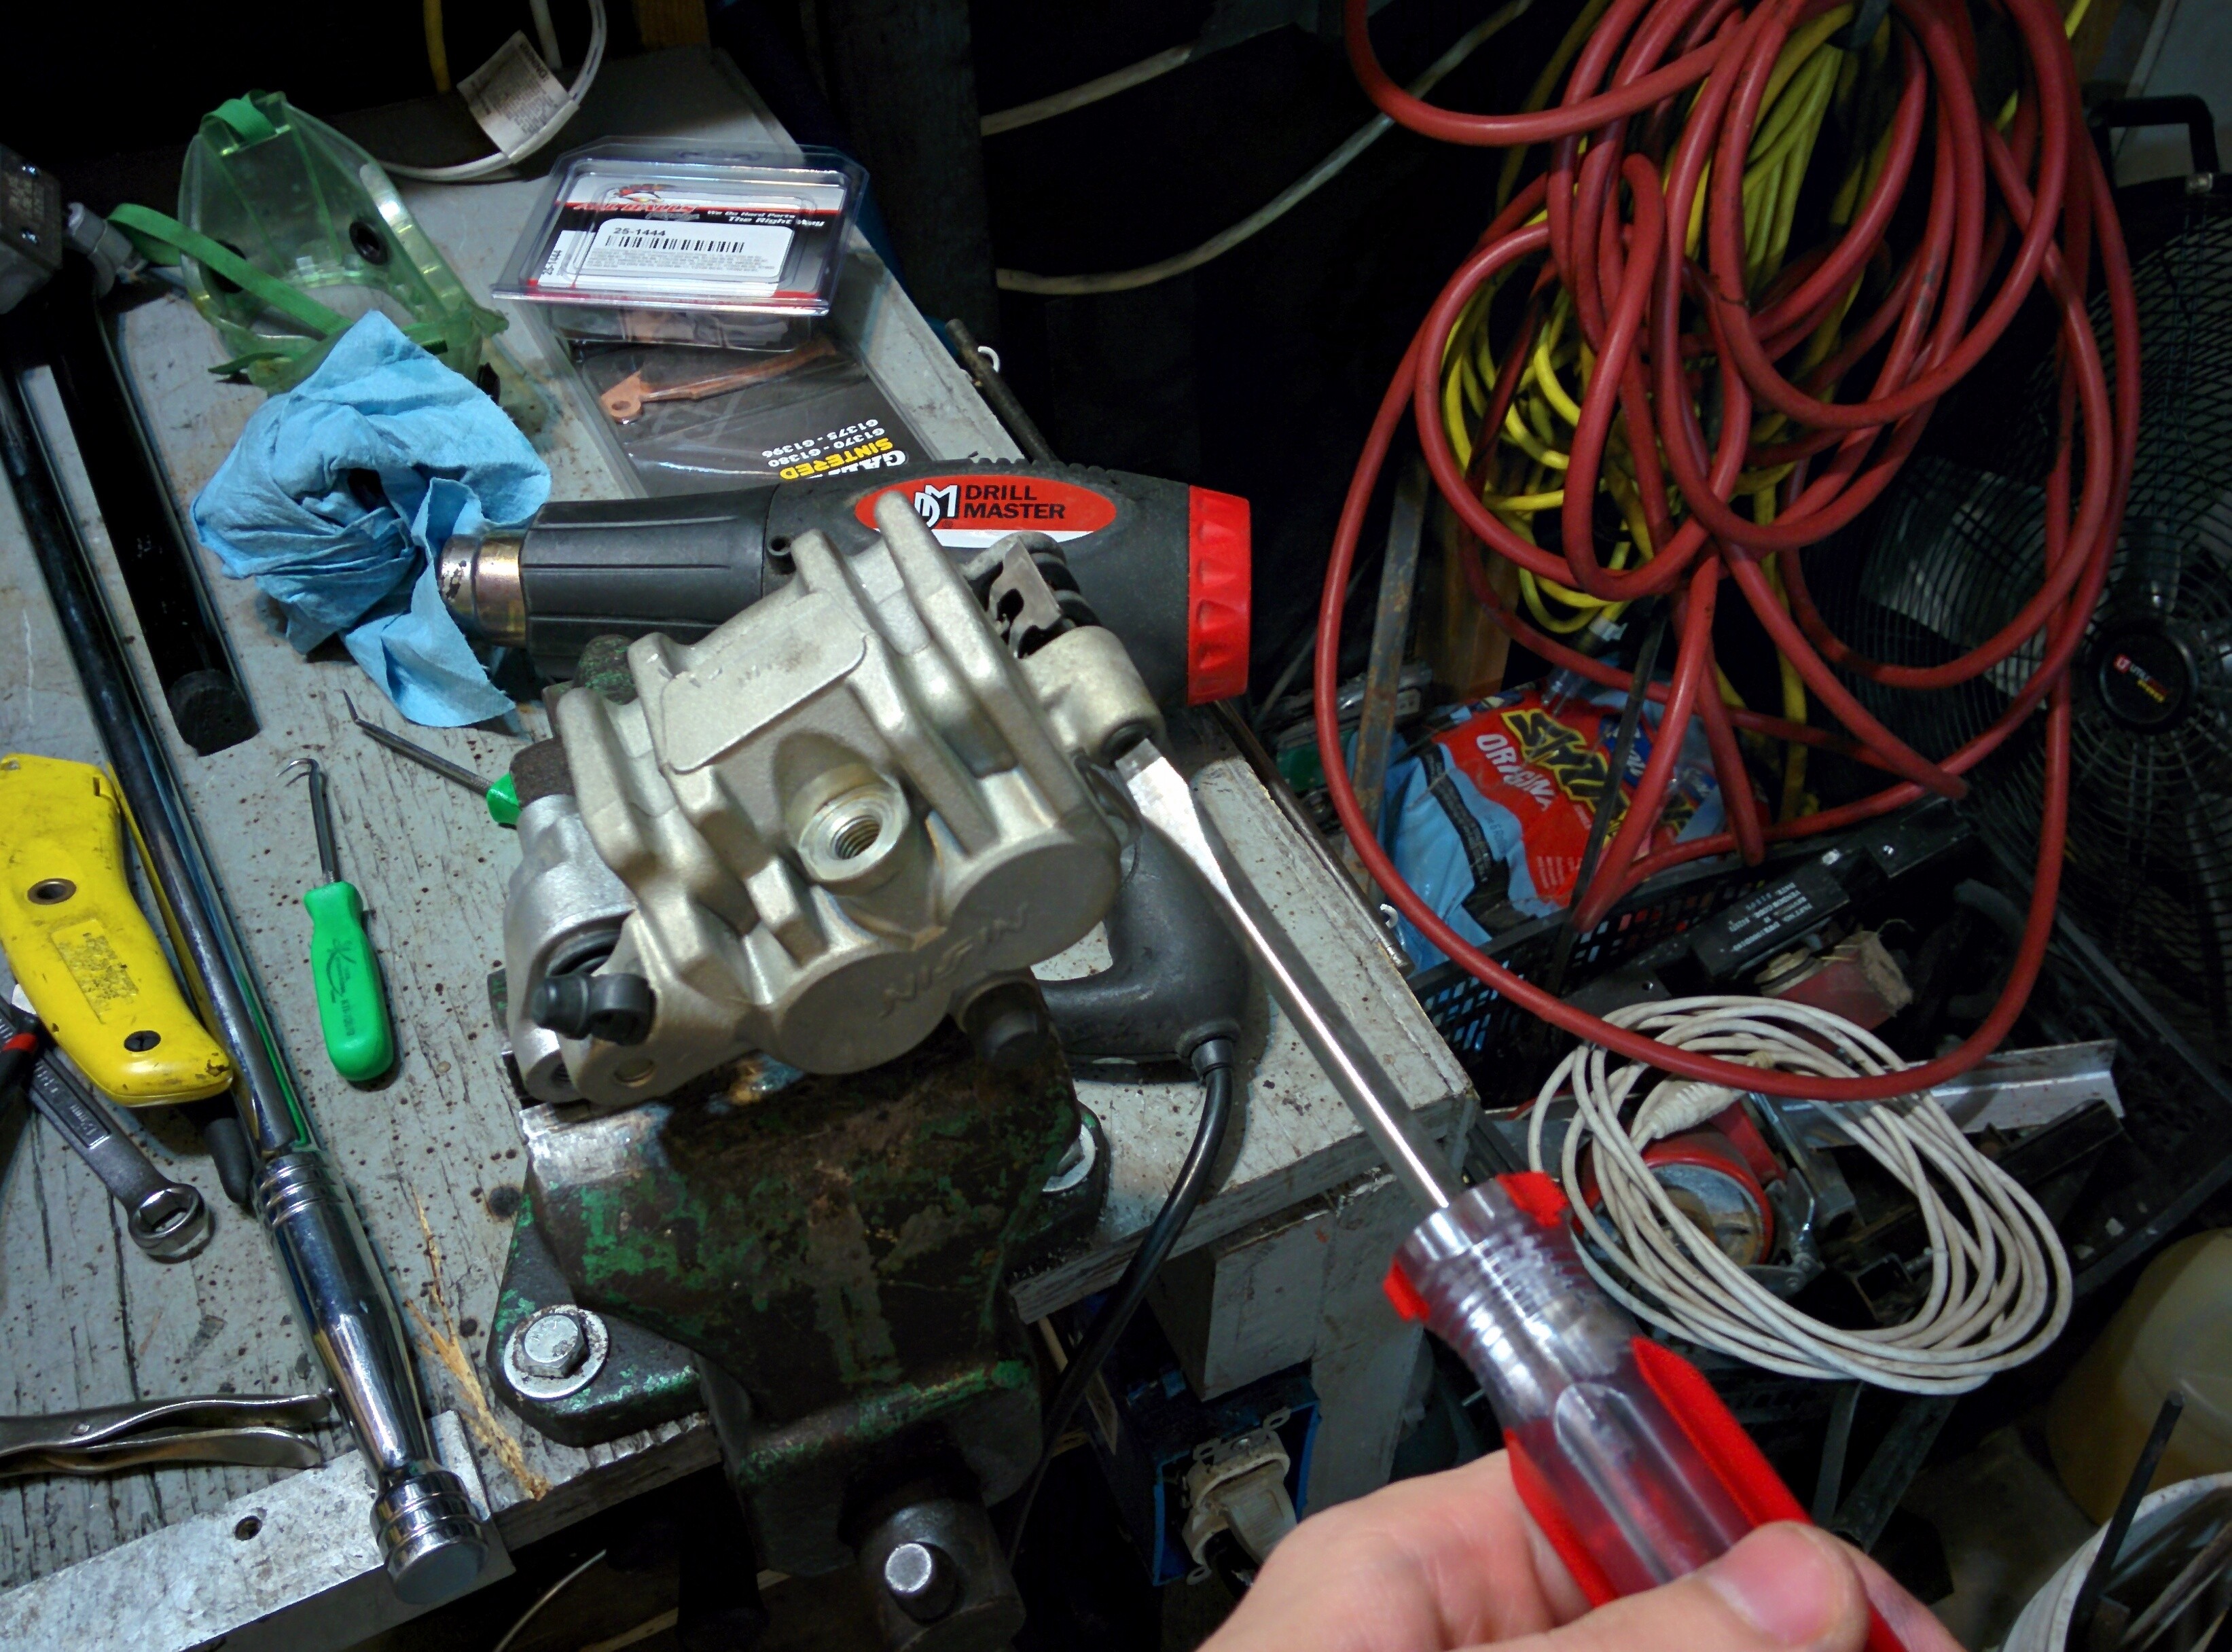
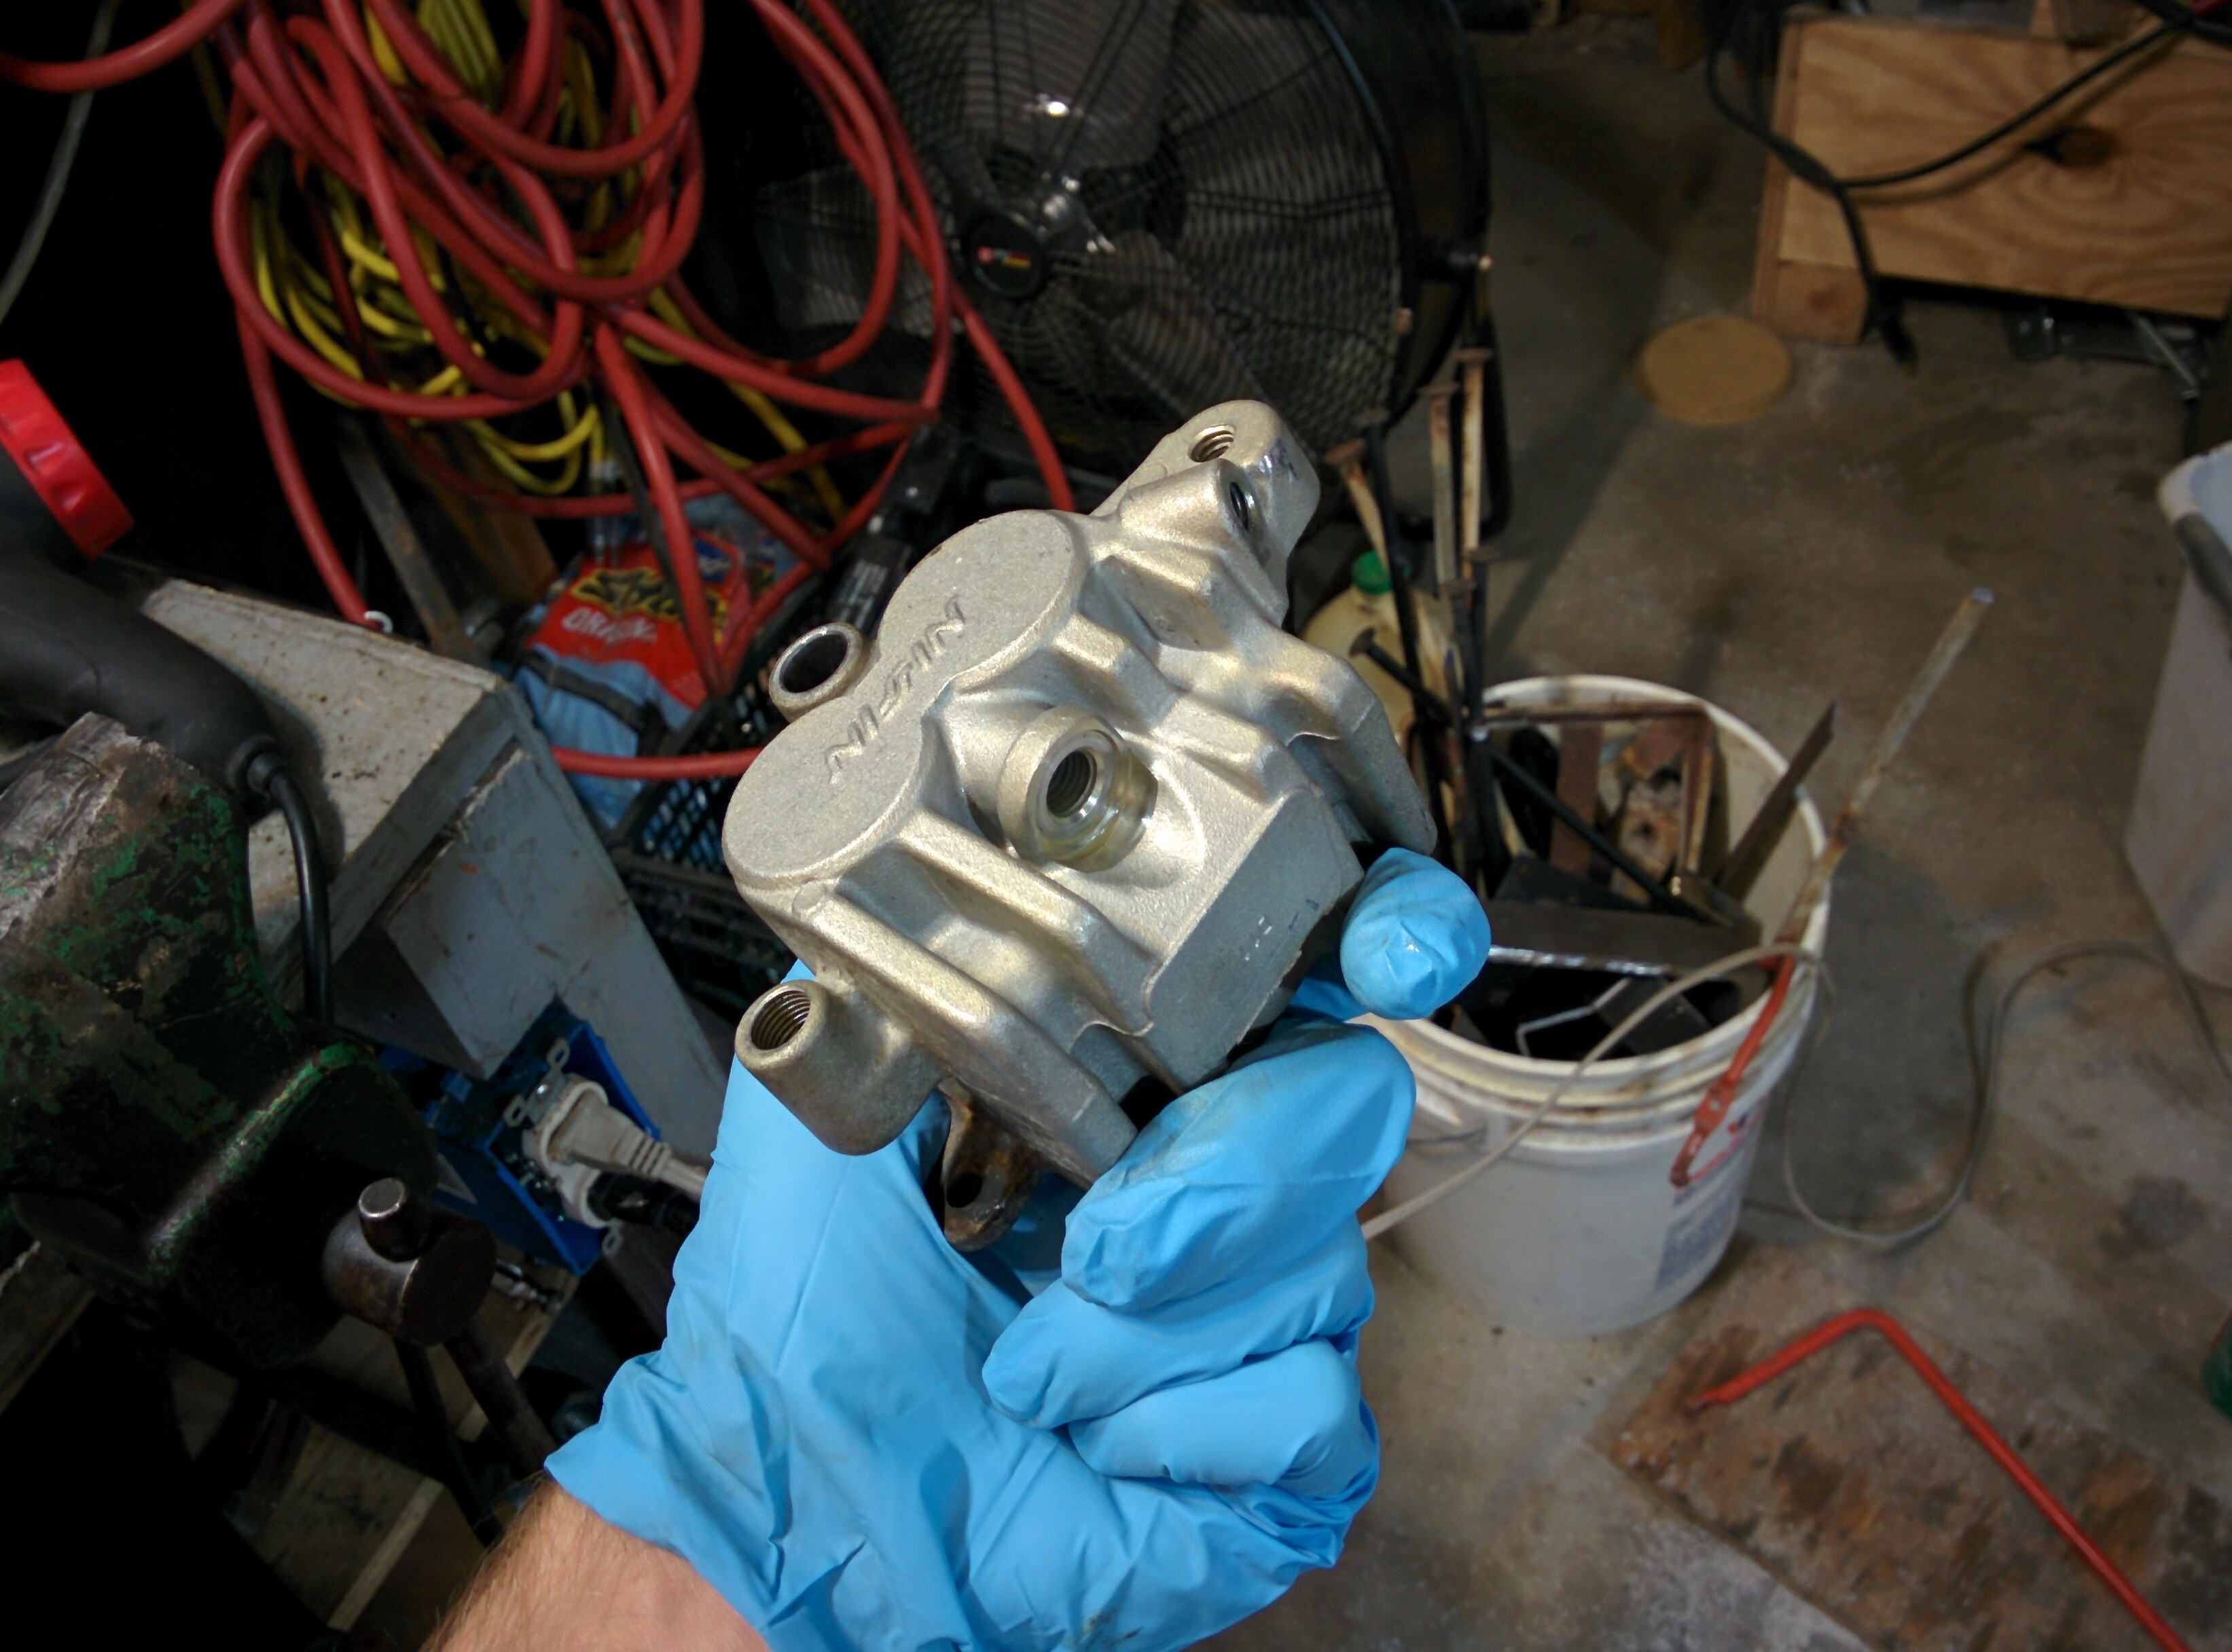
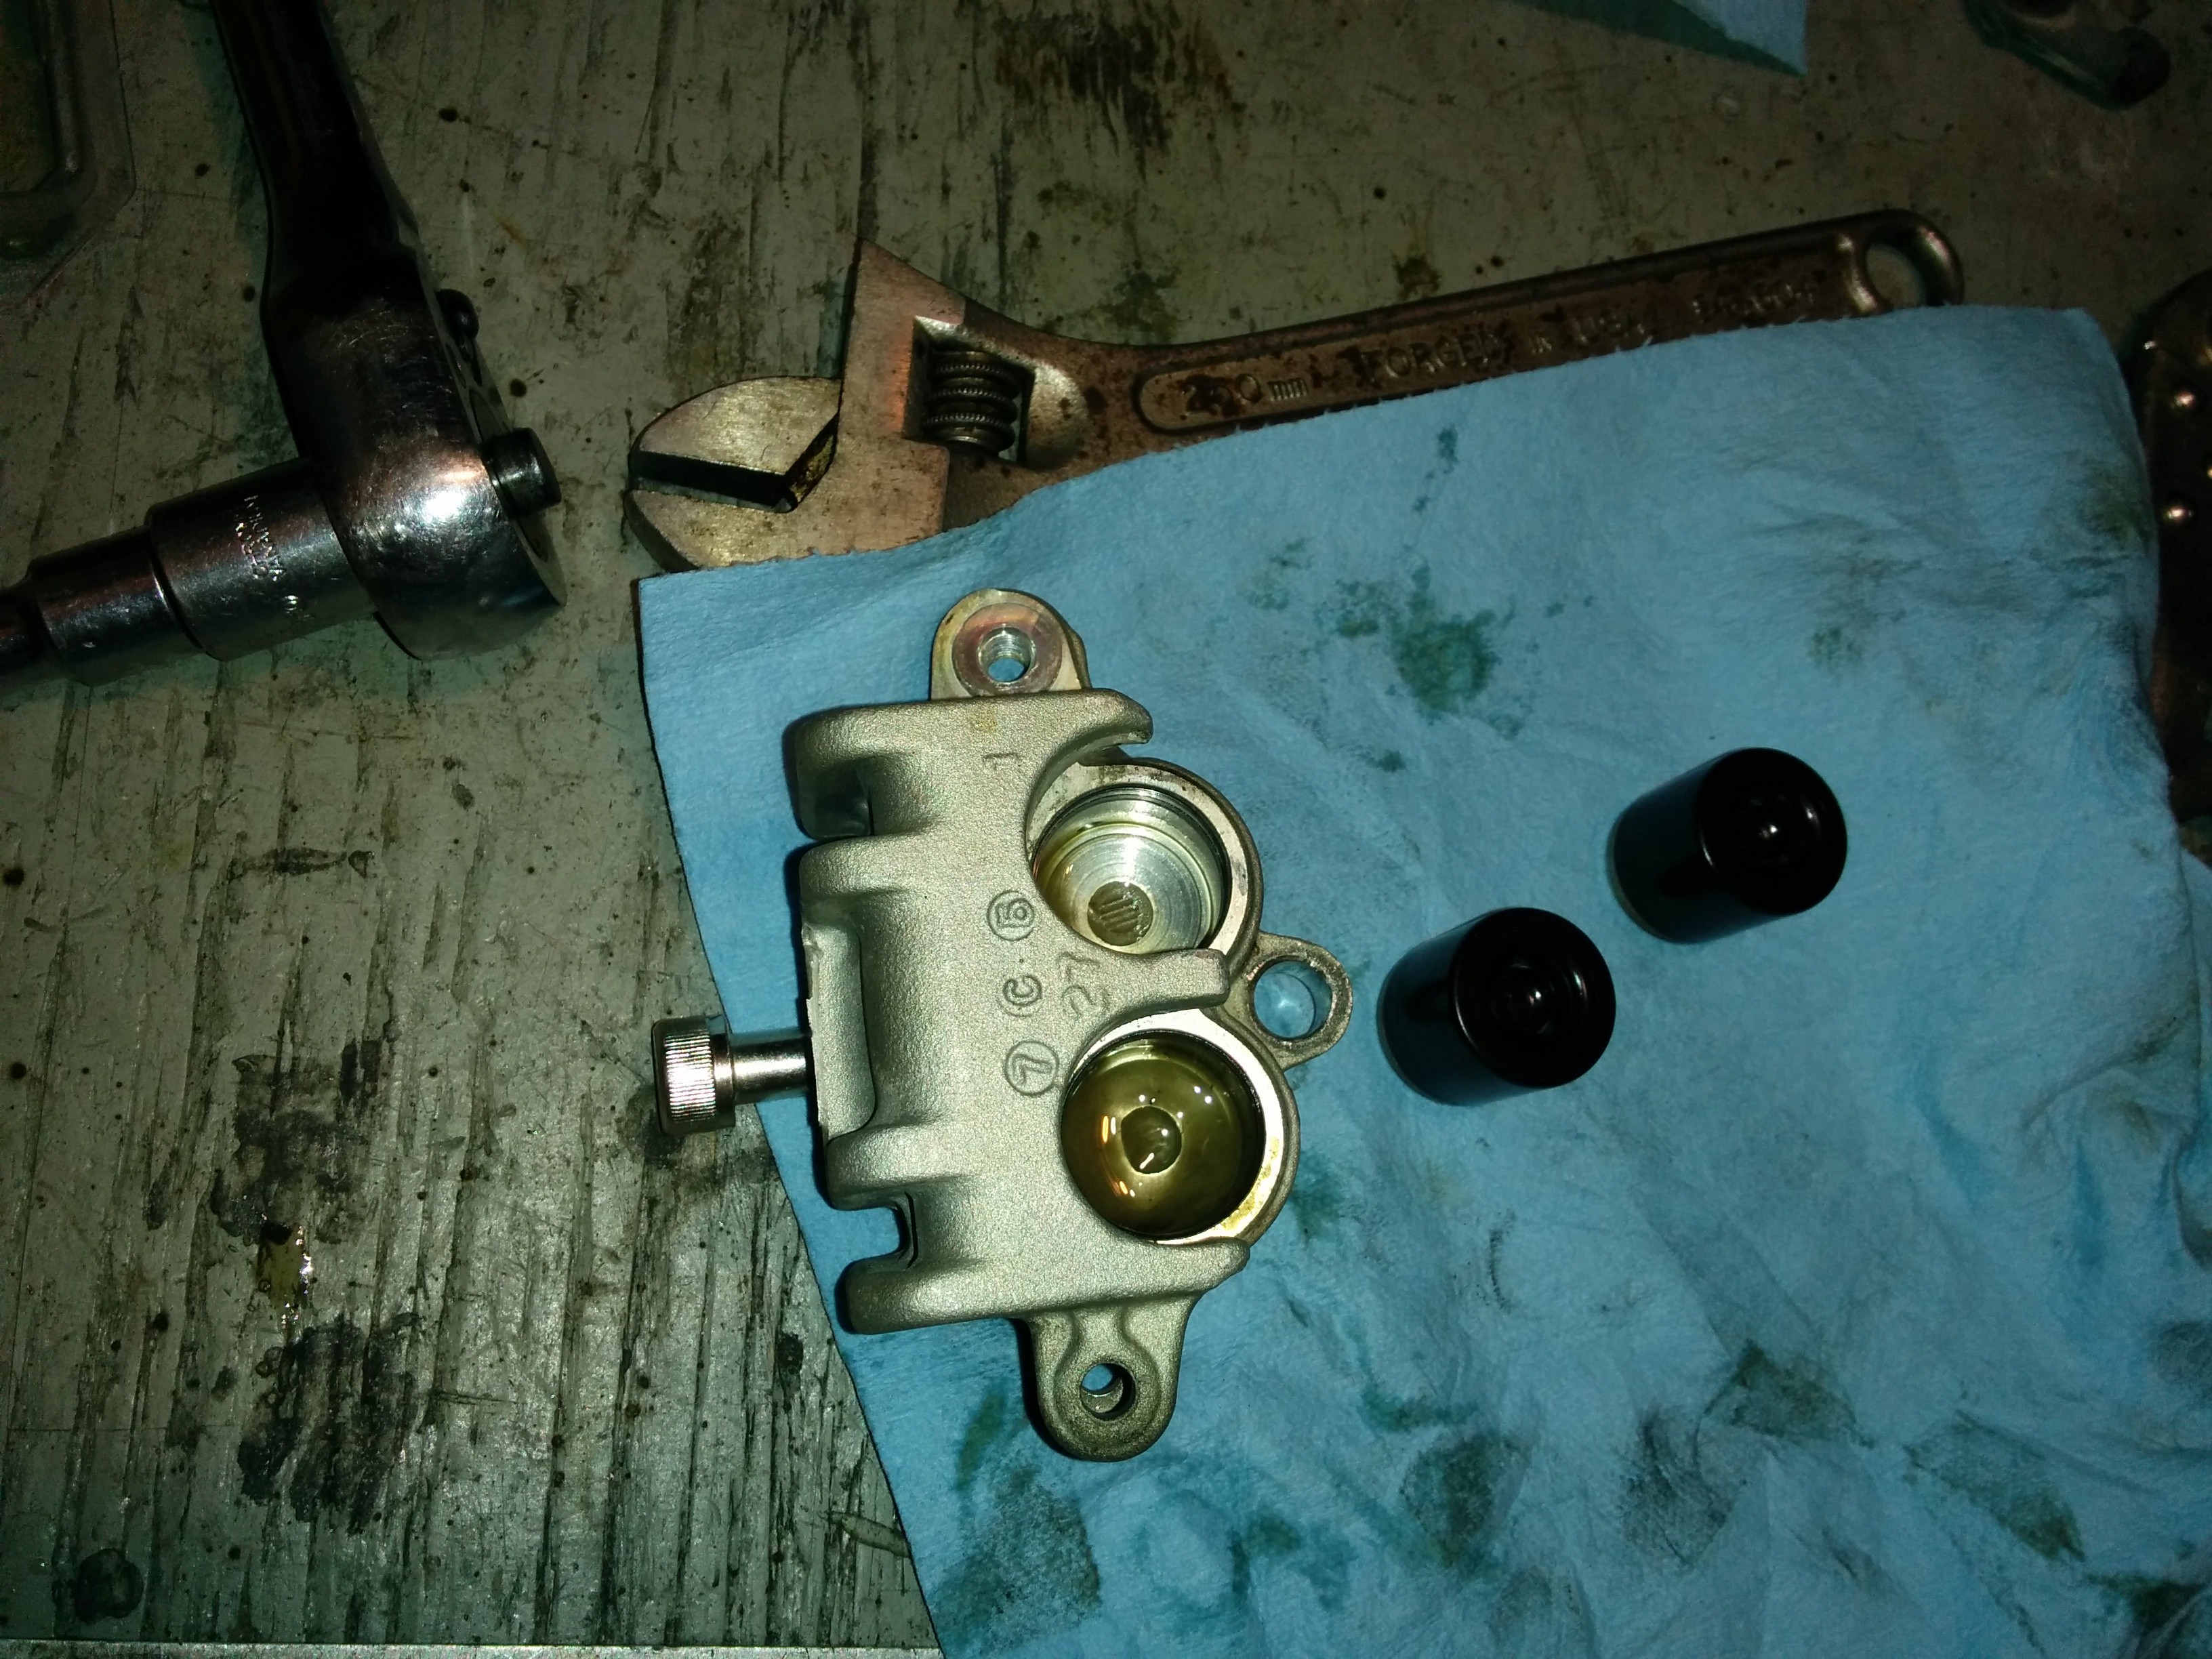
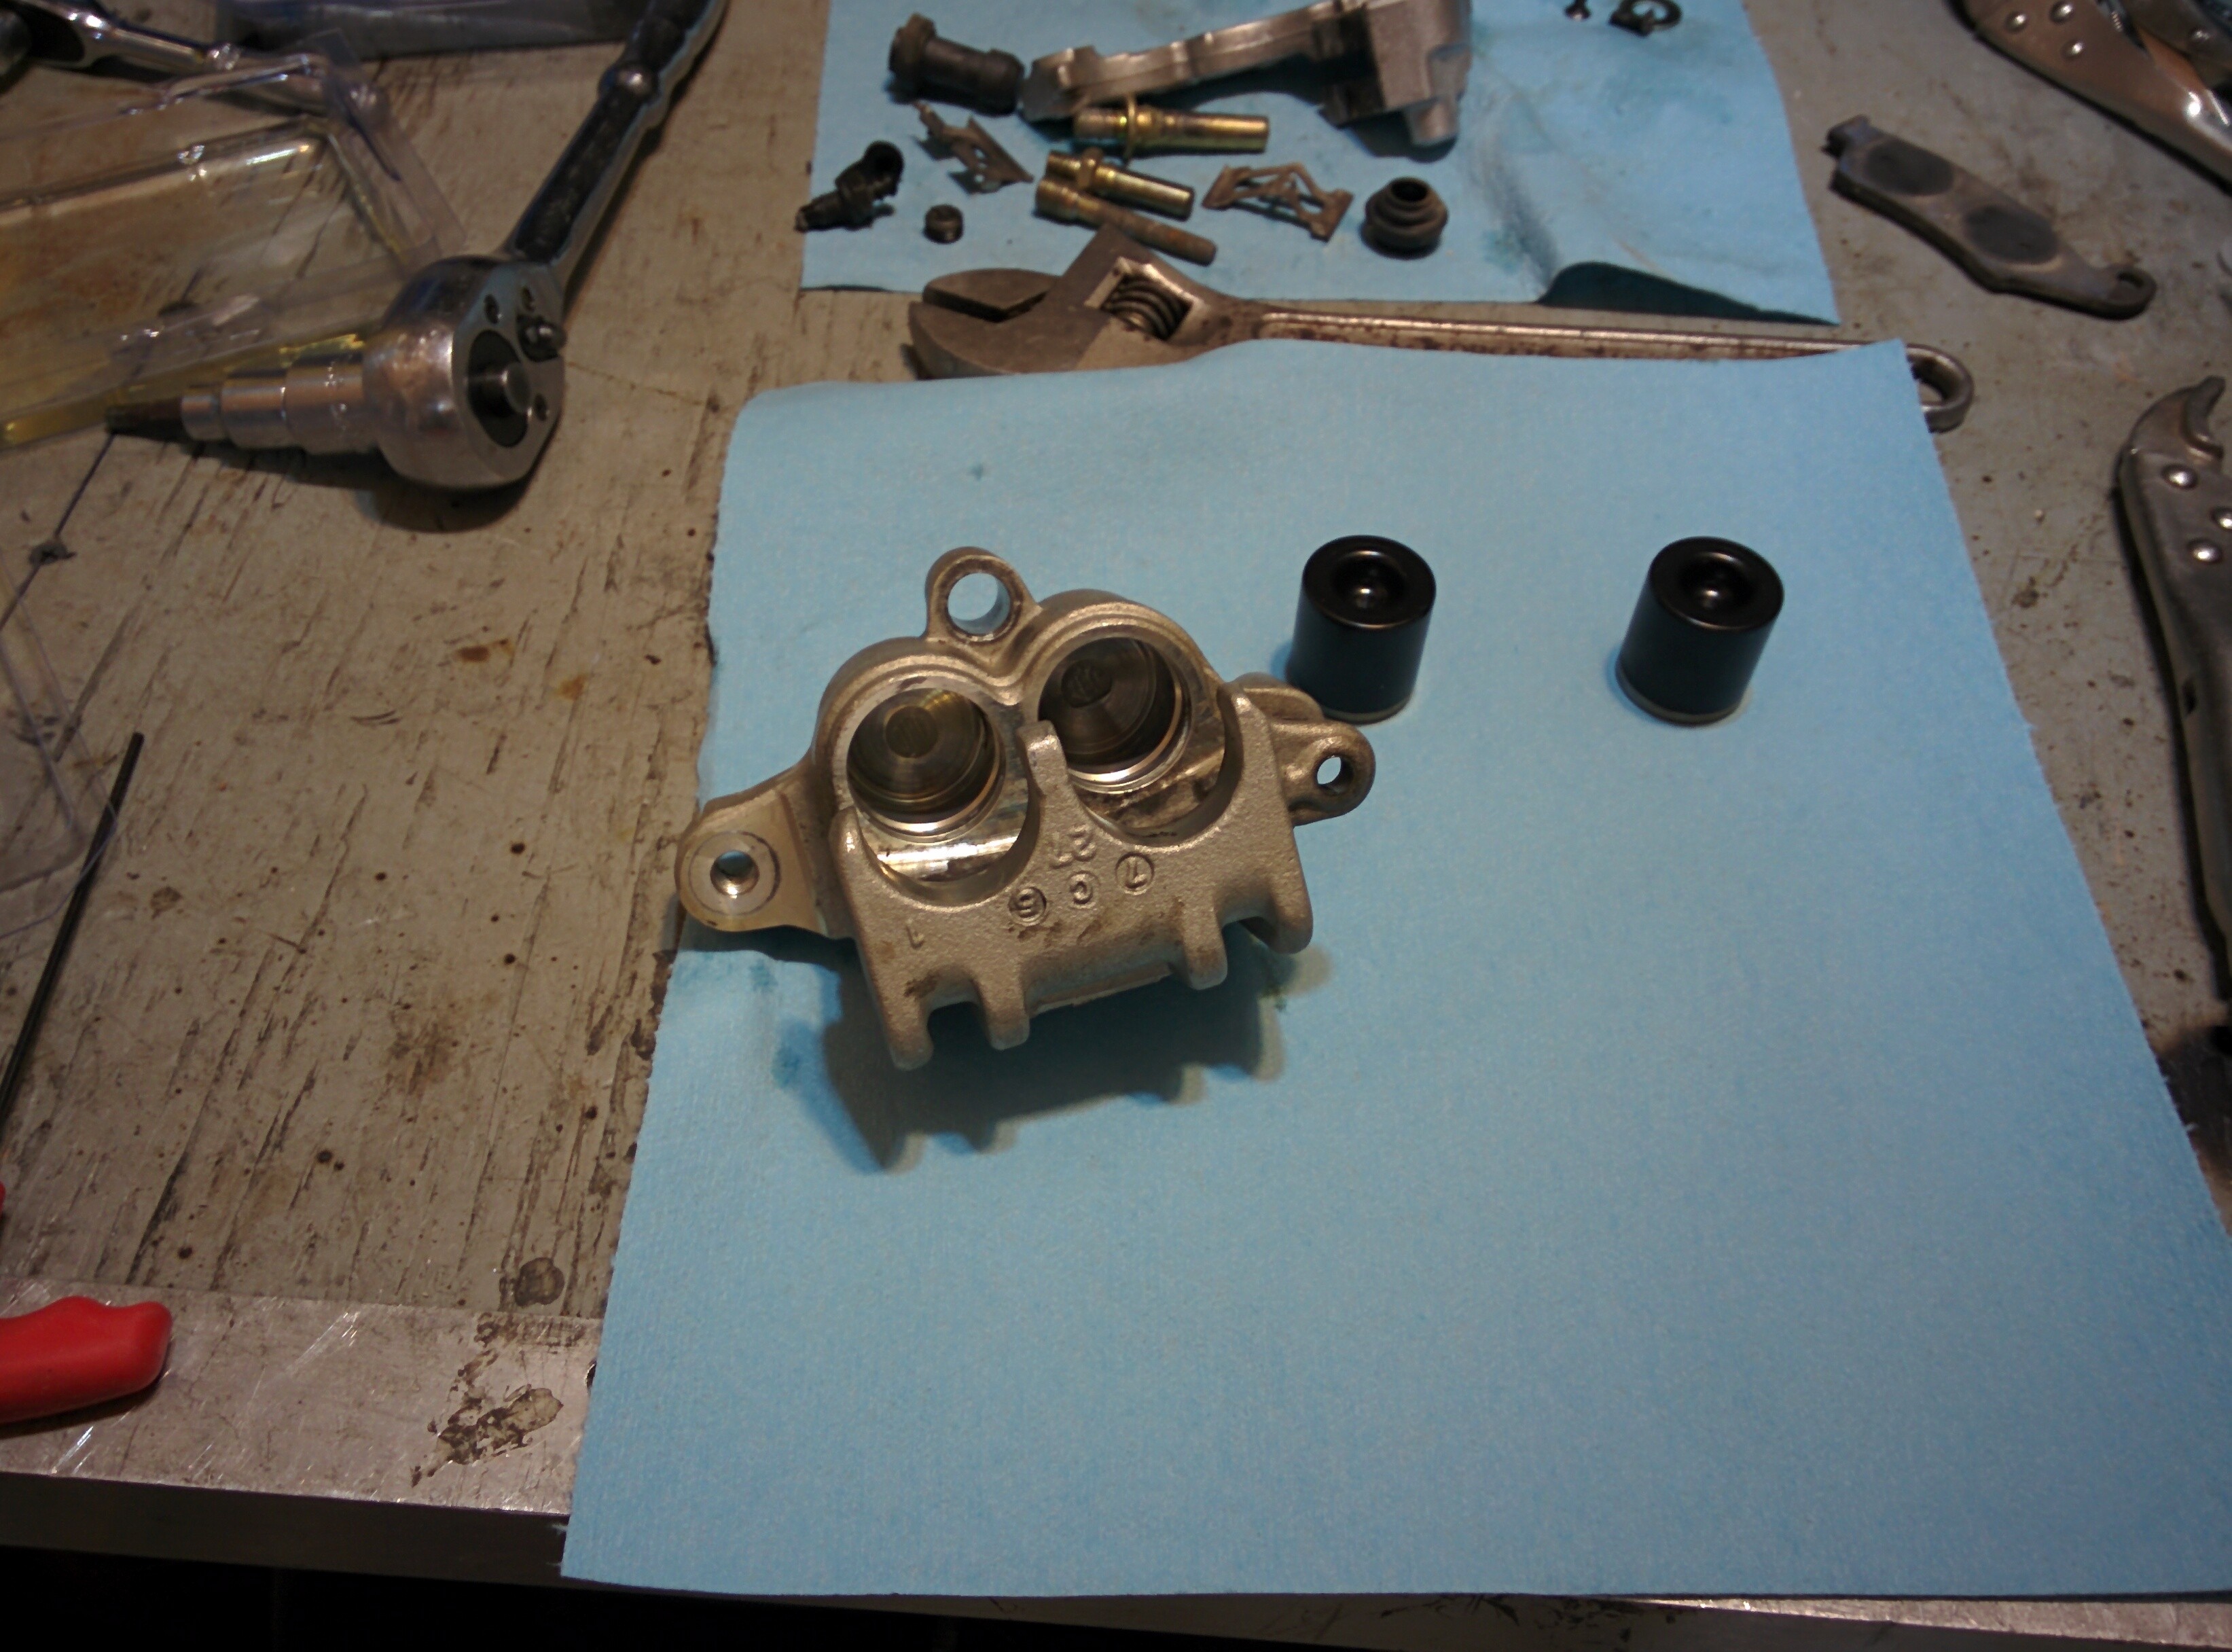
The master cylinder and front caliper.
Master Cylinder
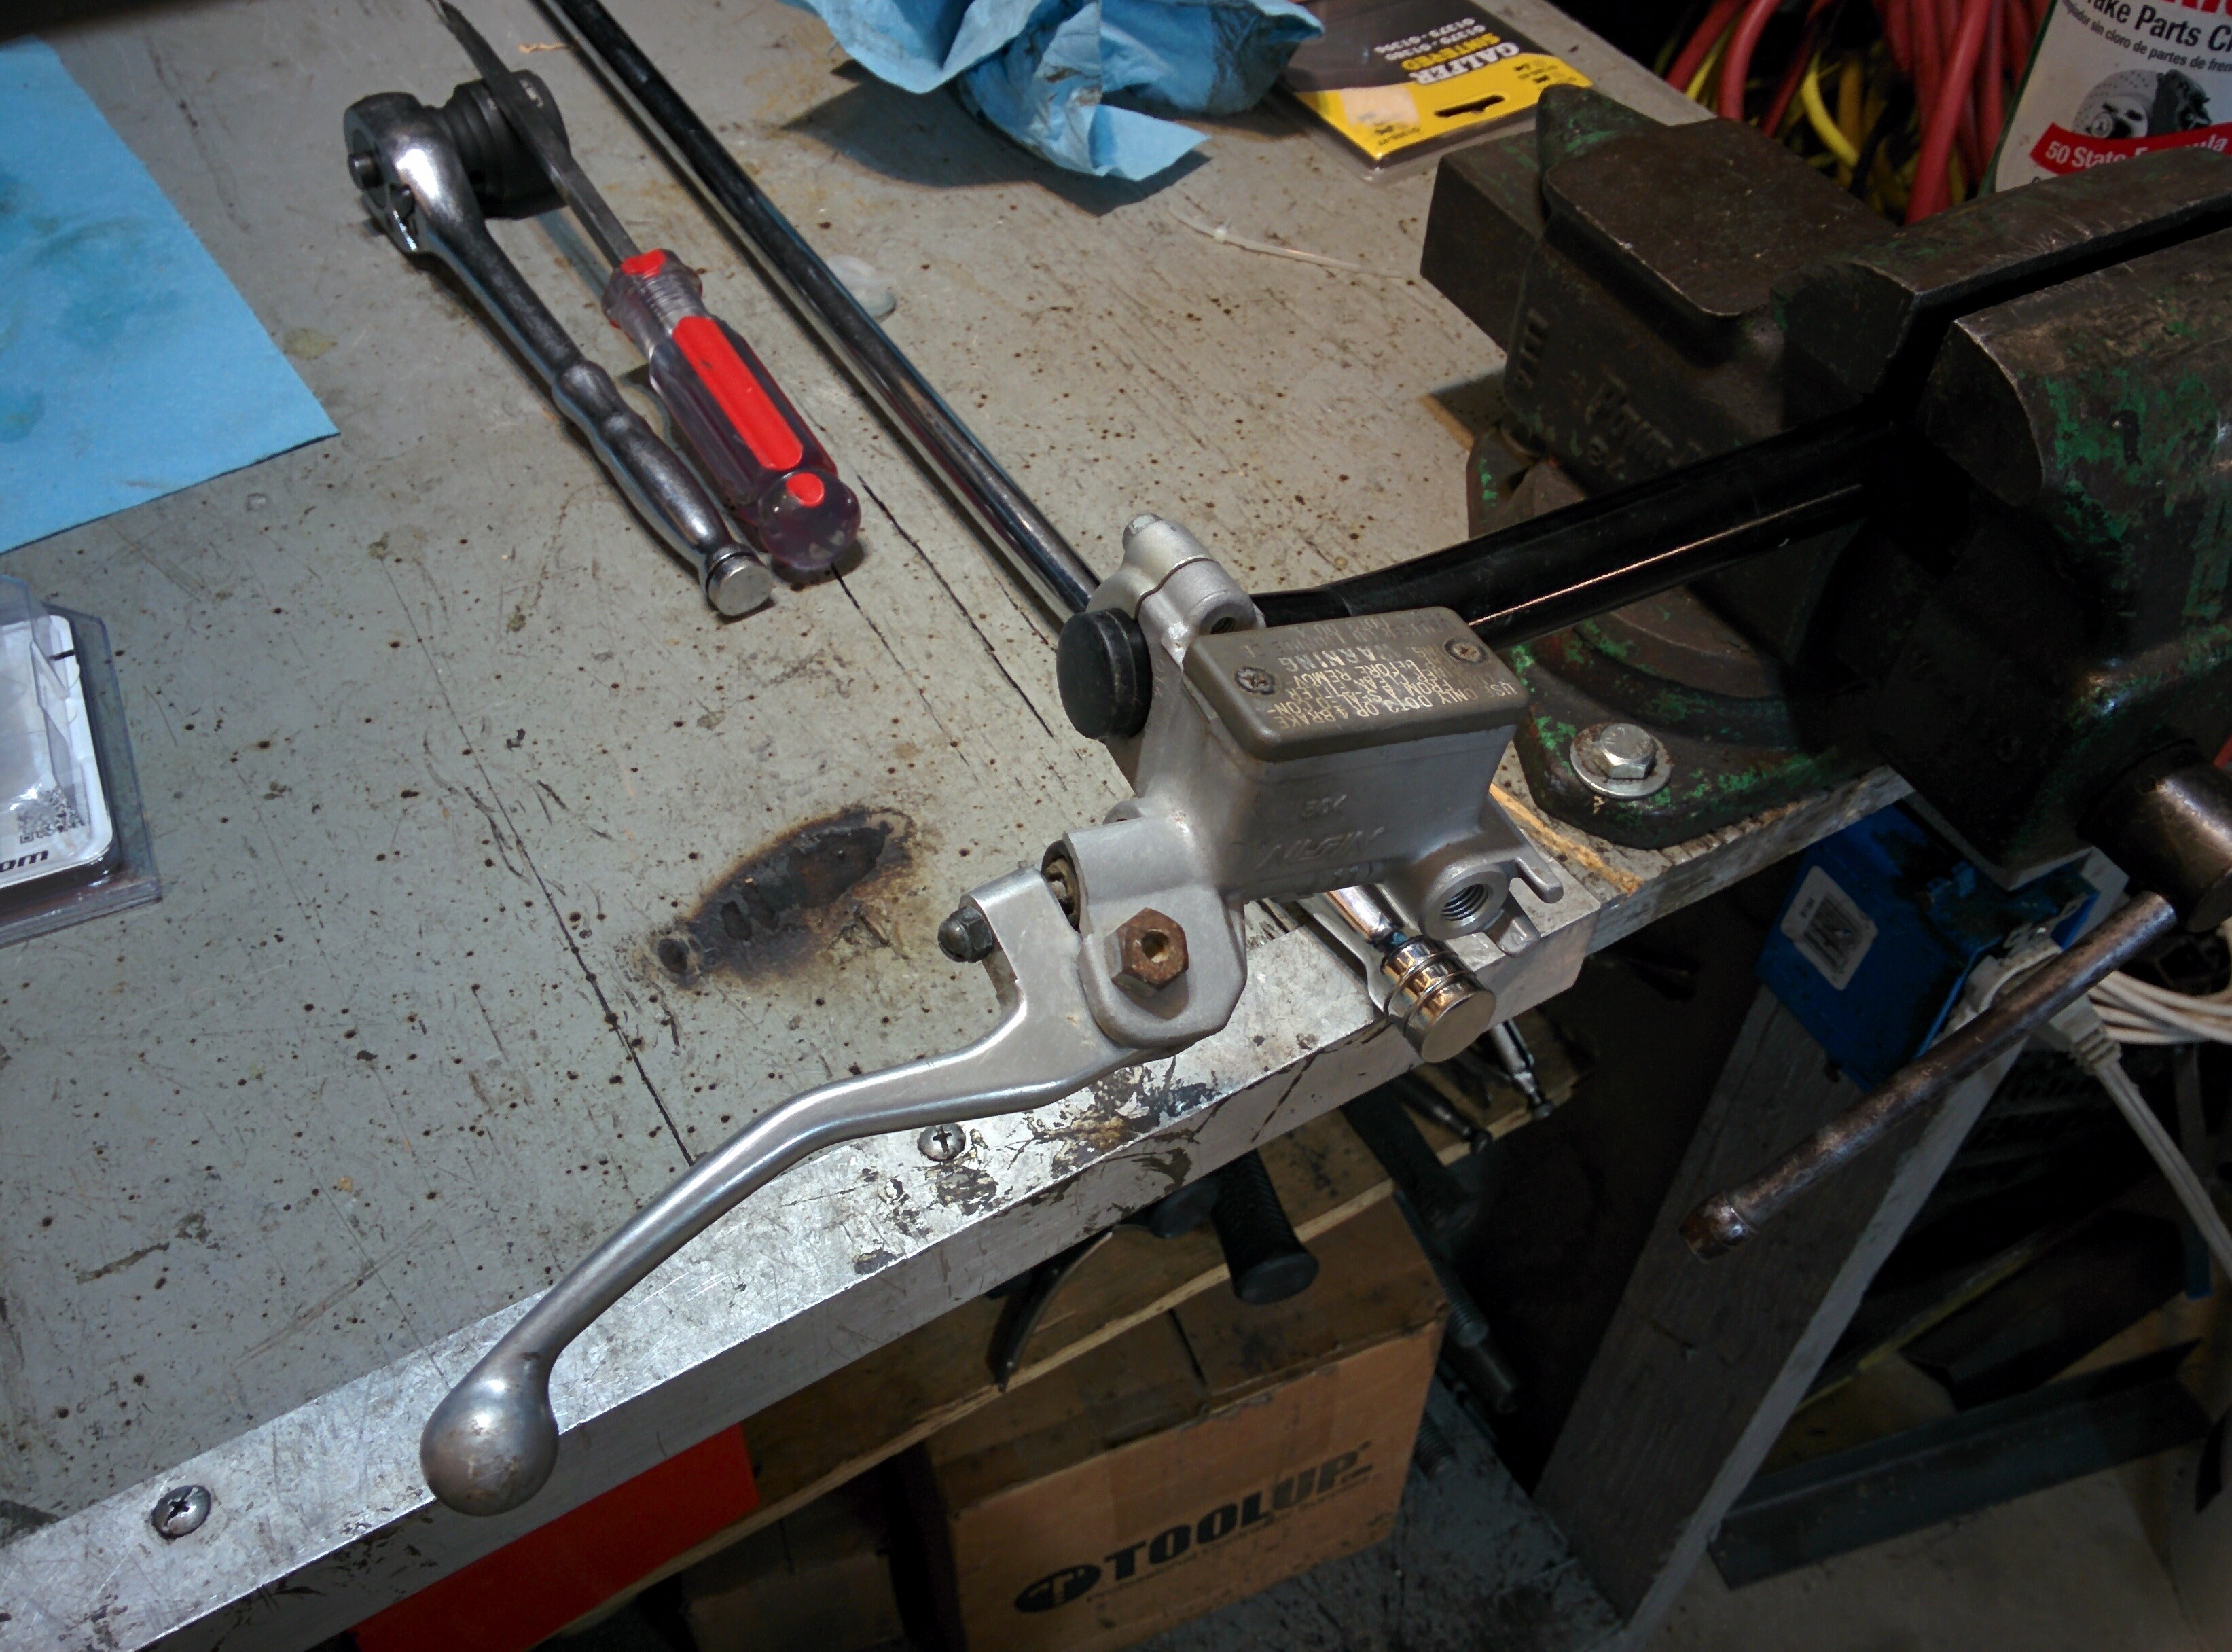
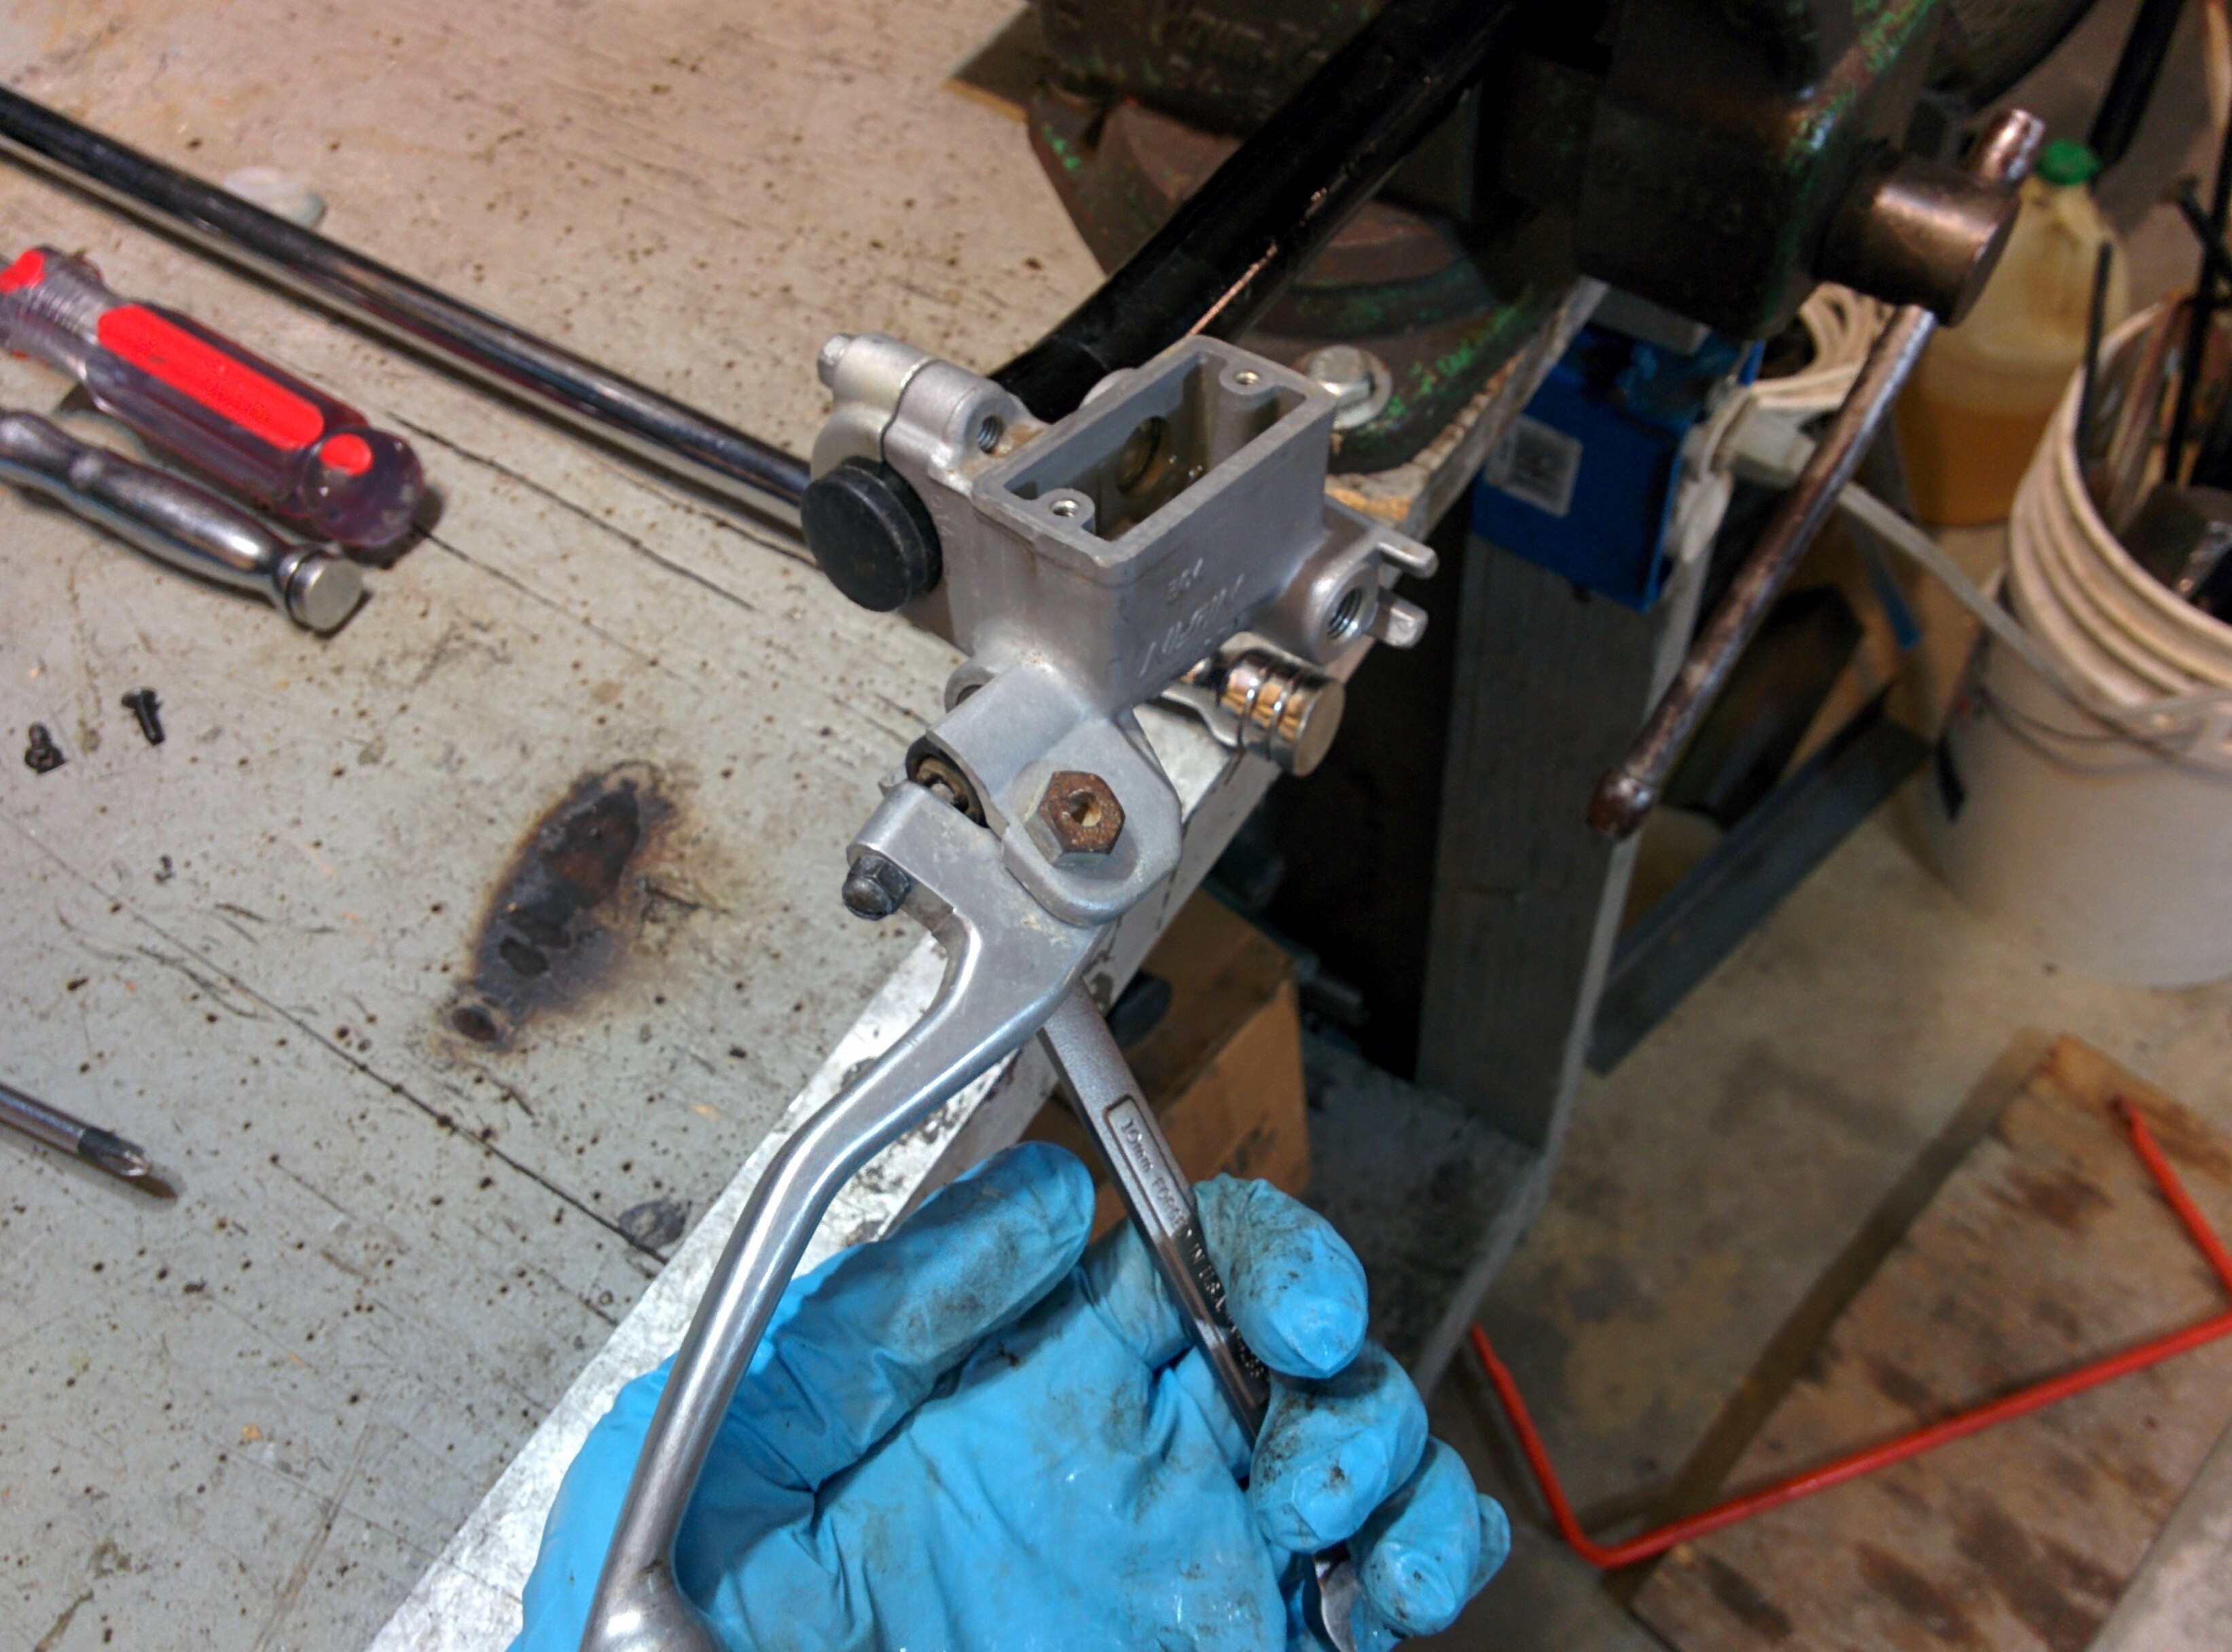
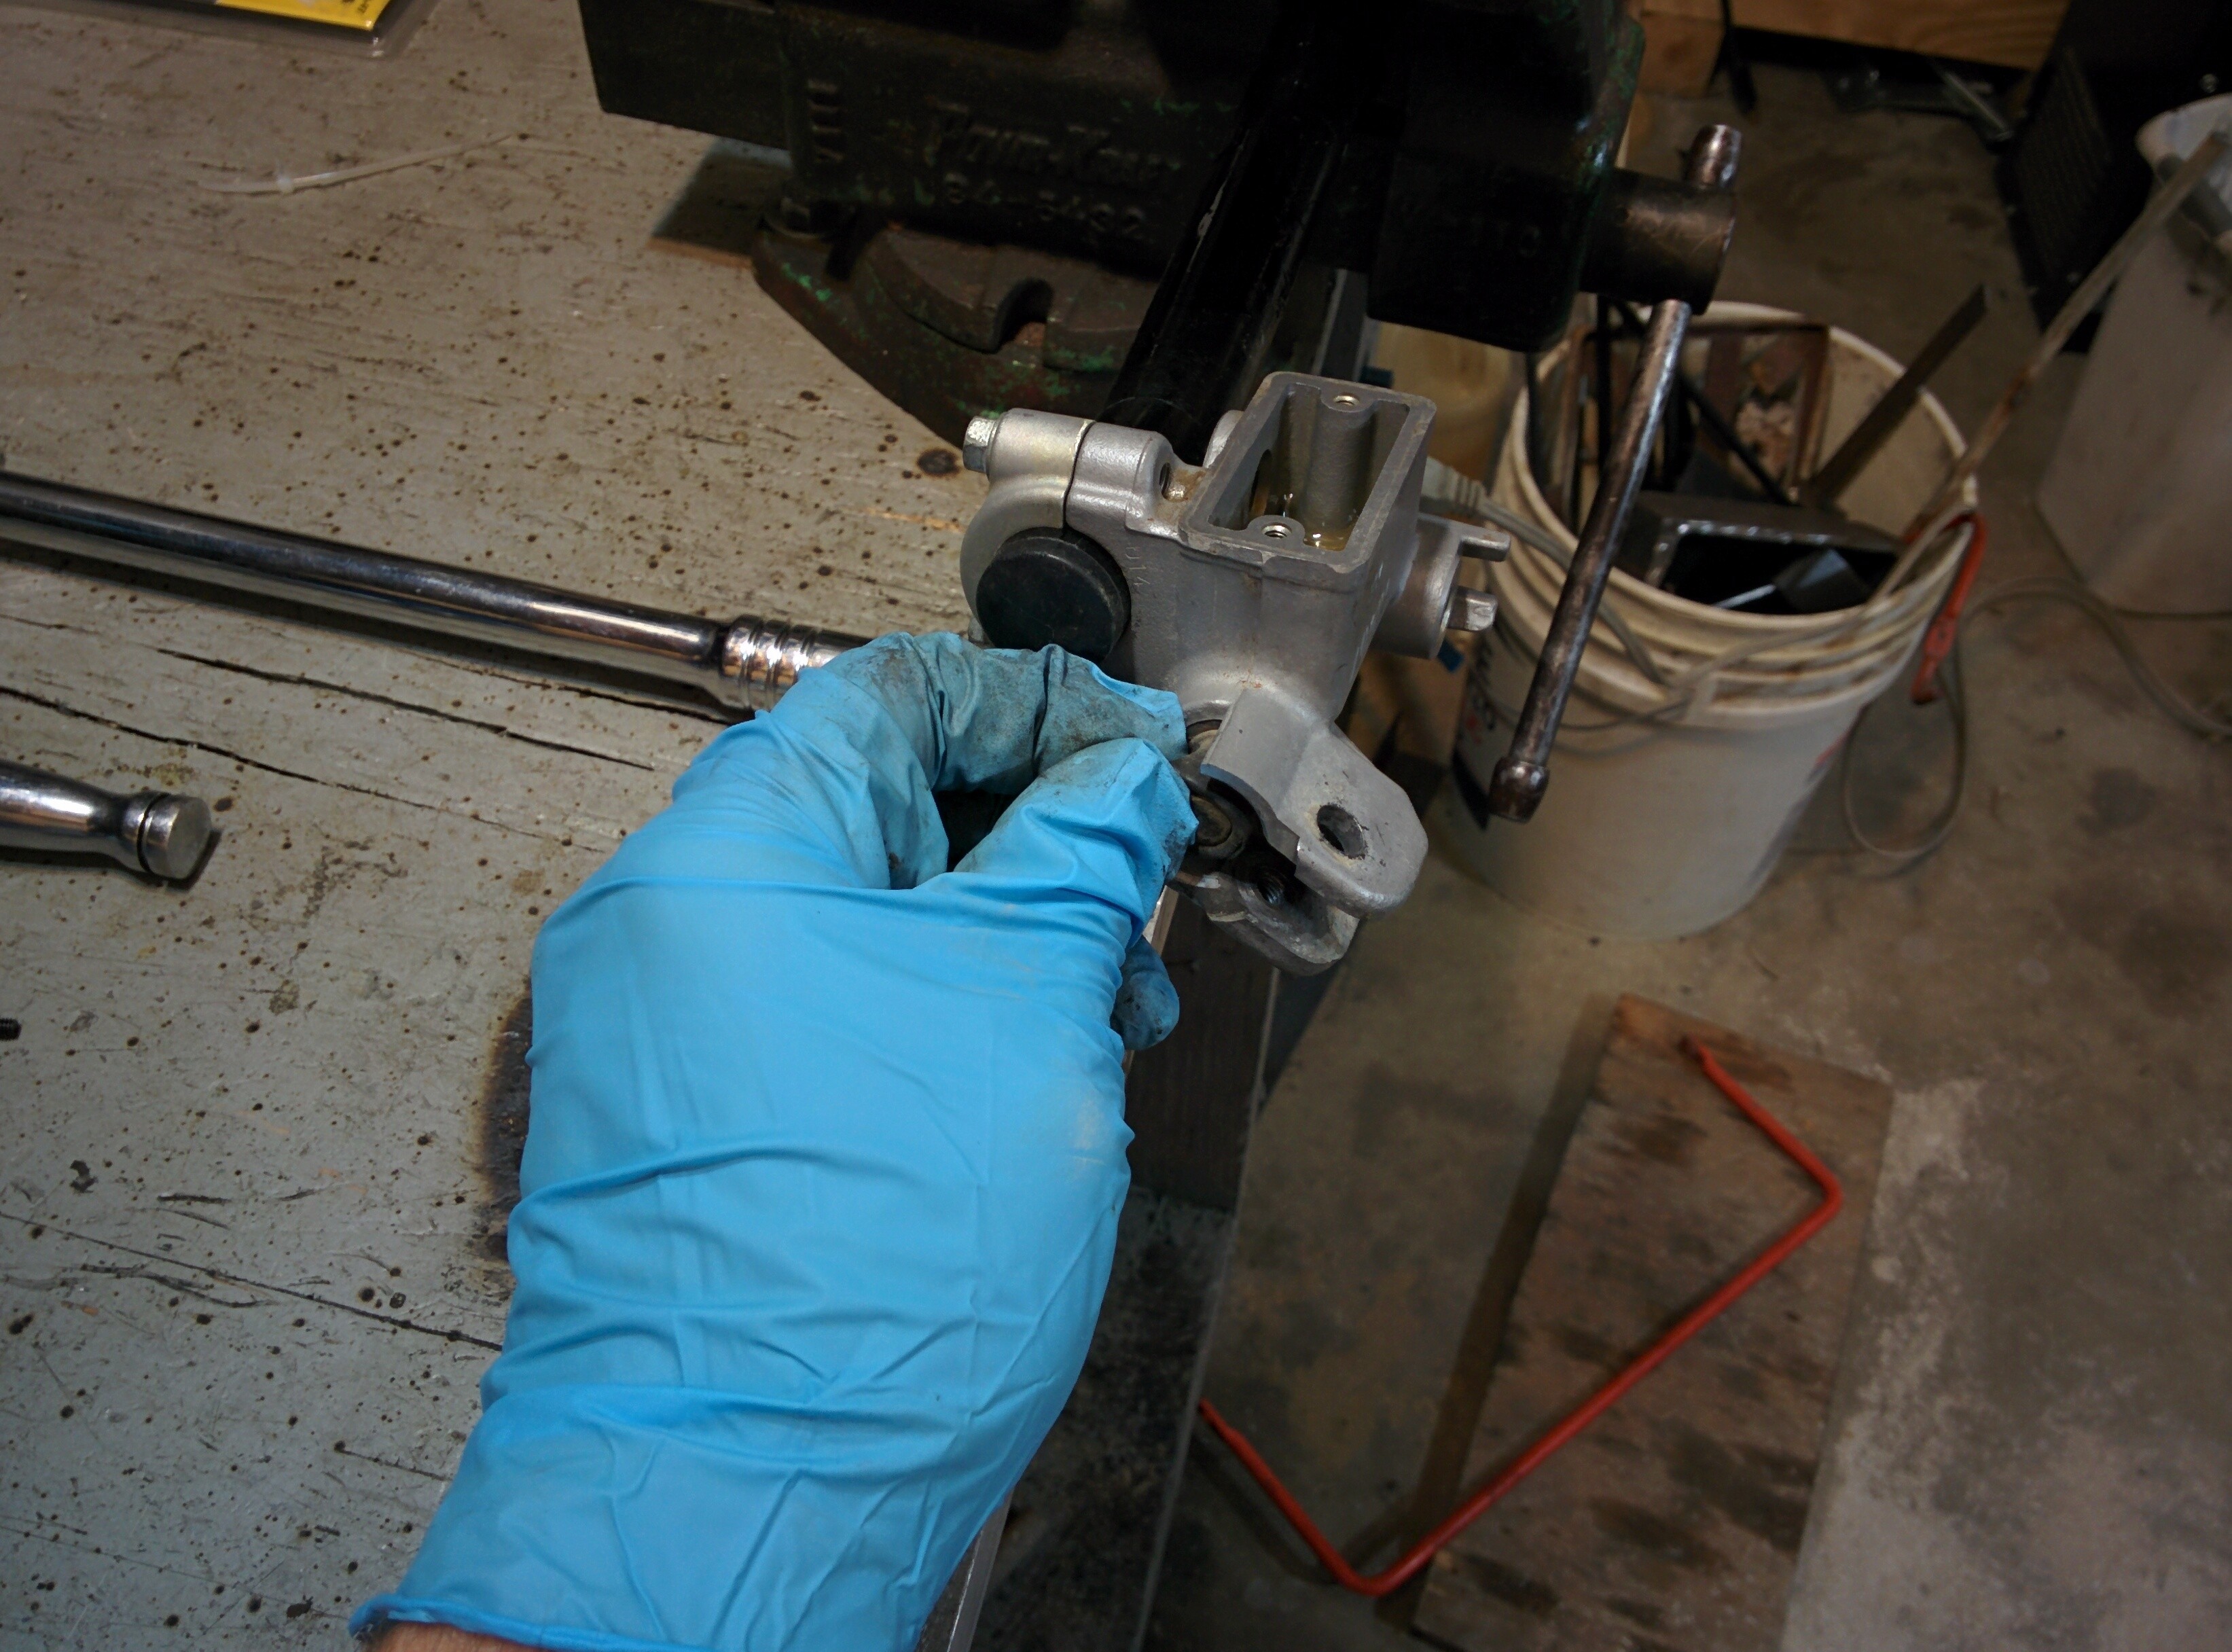
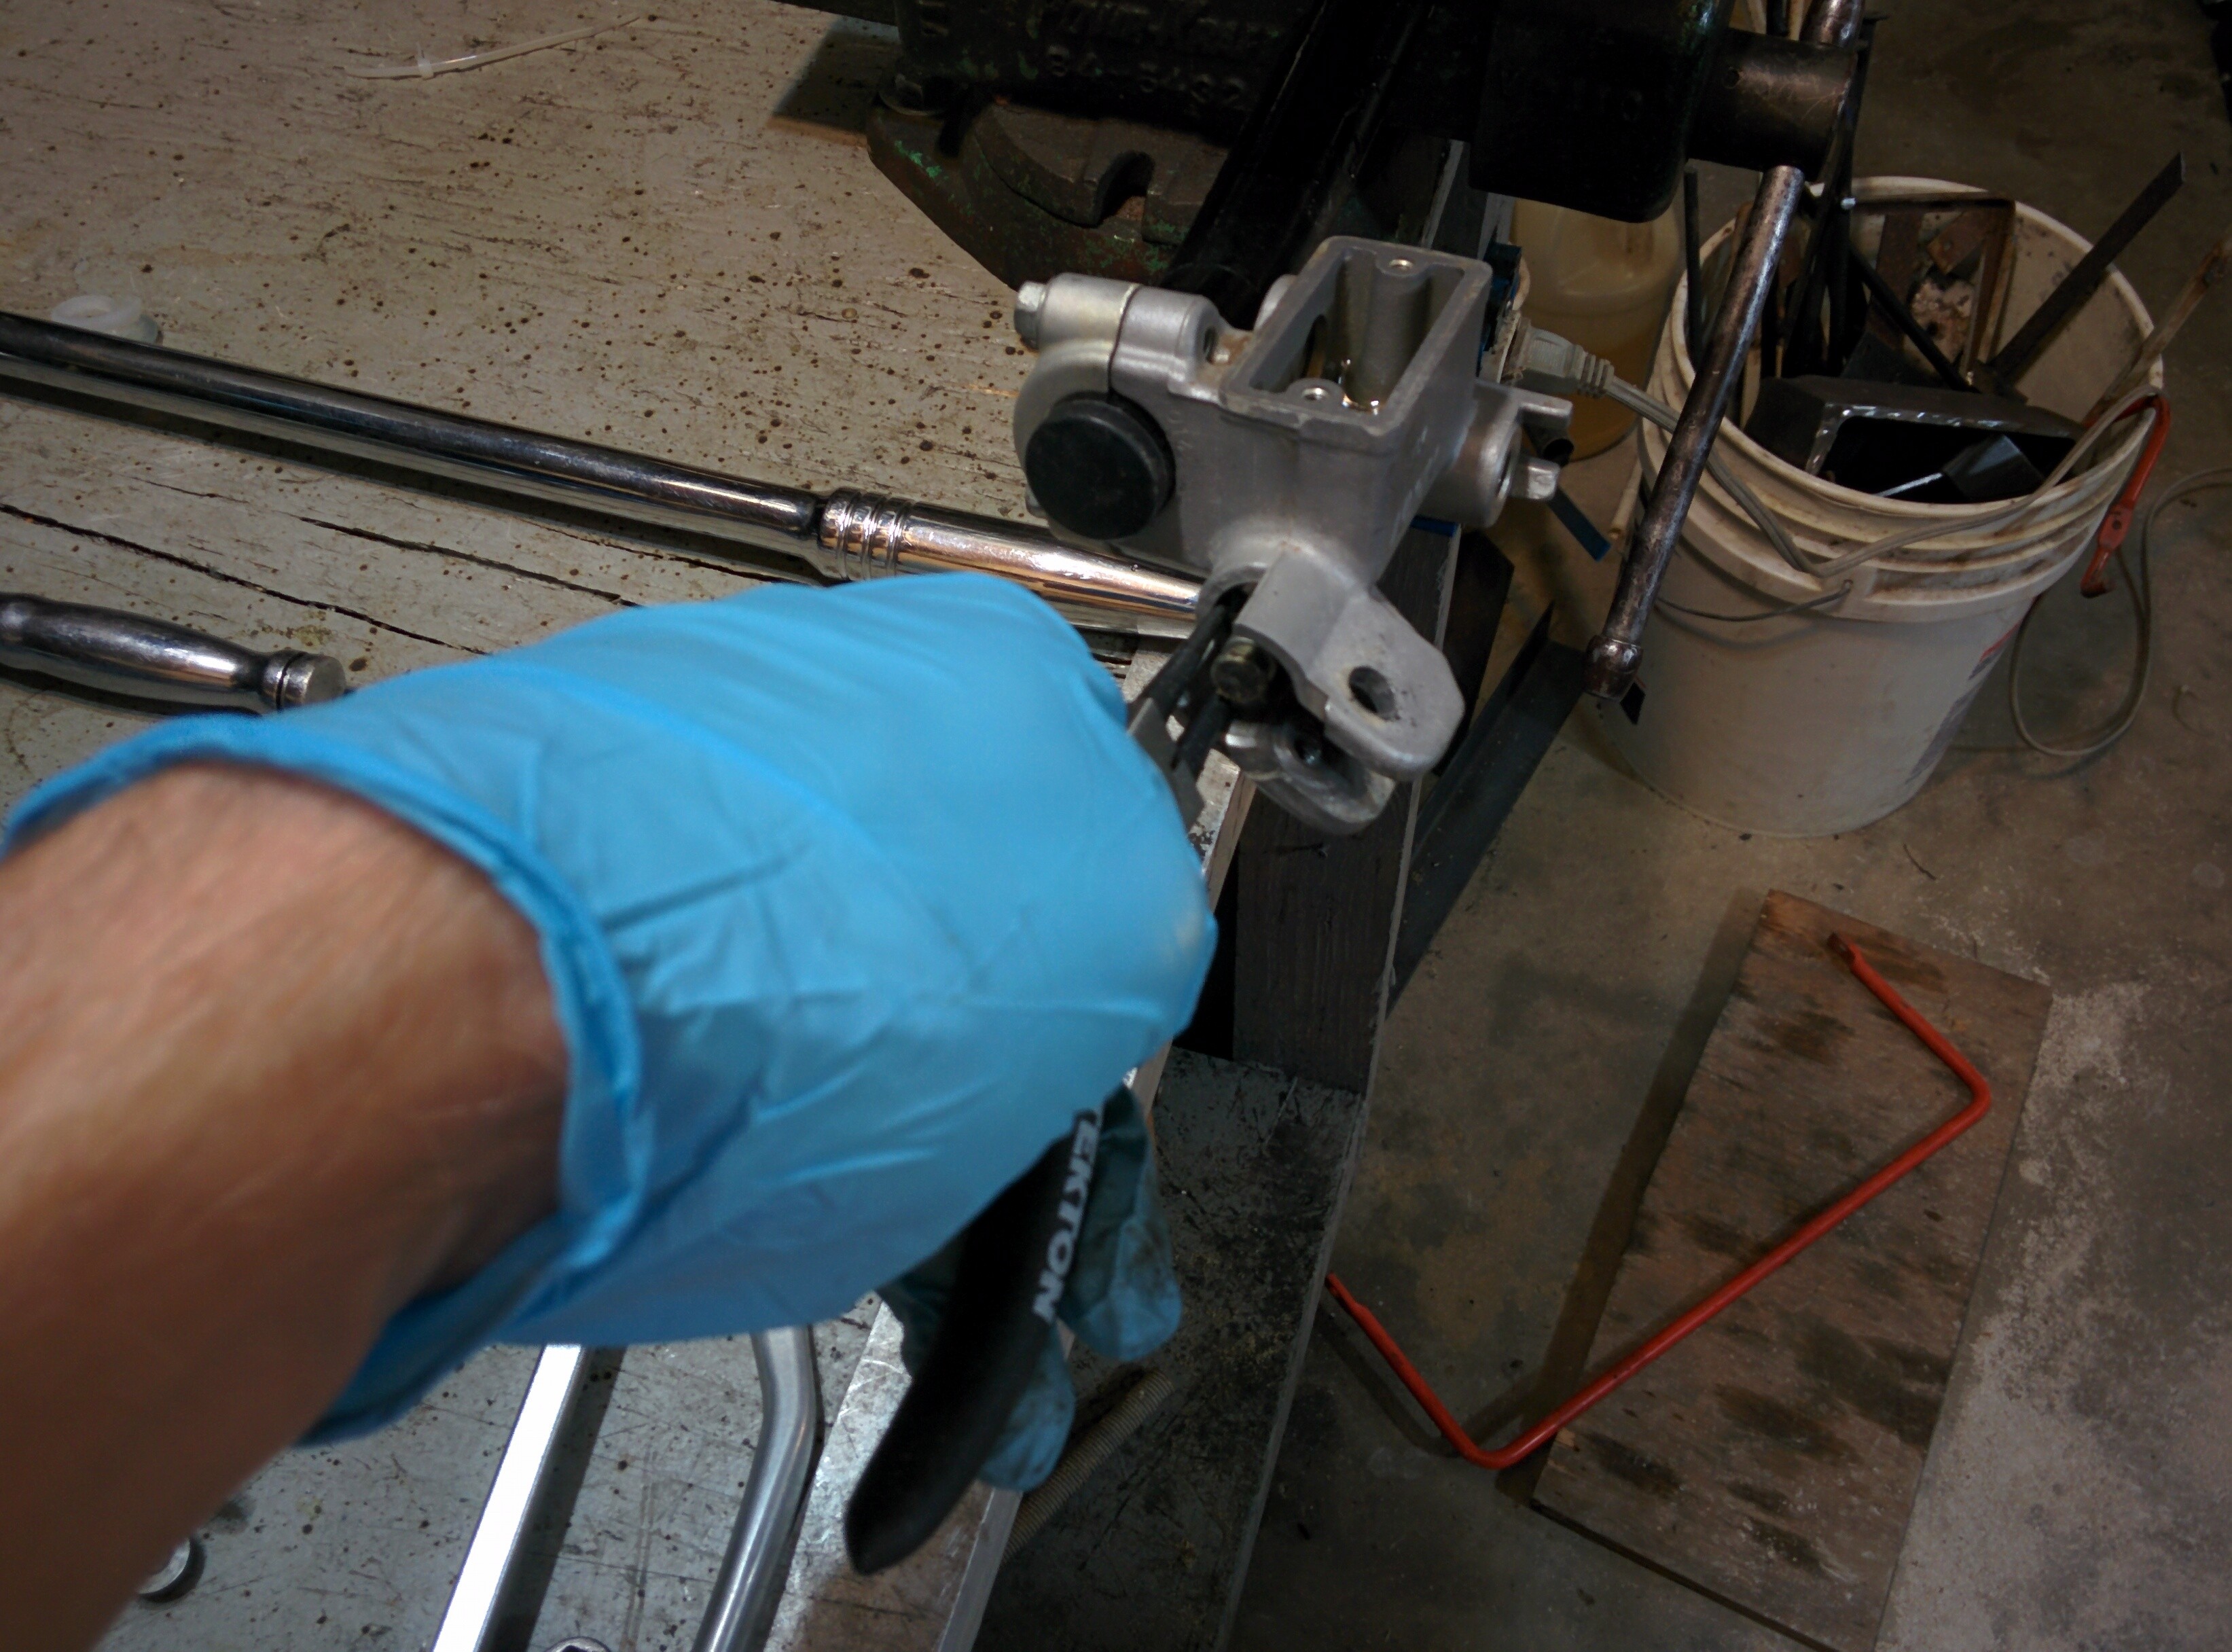
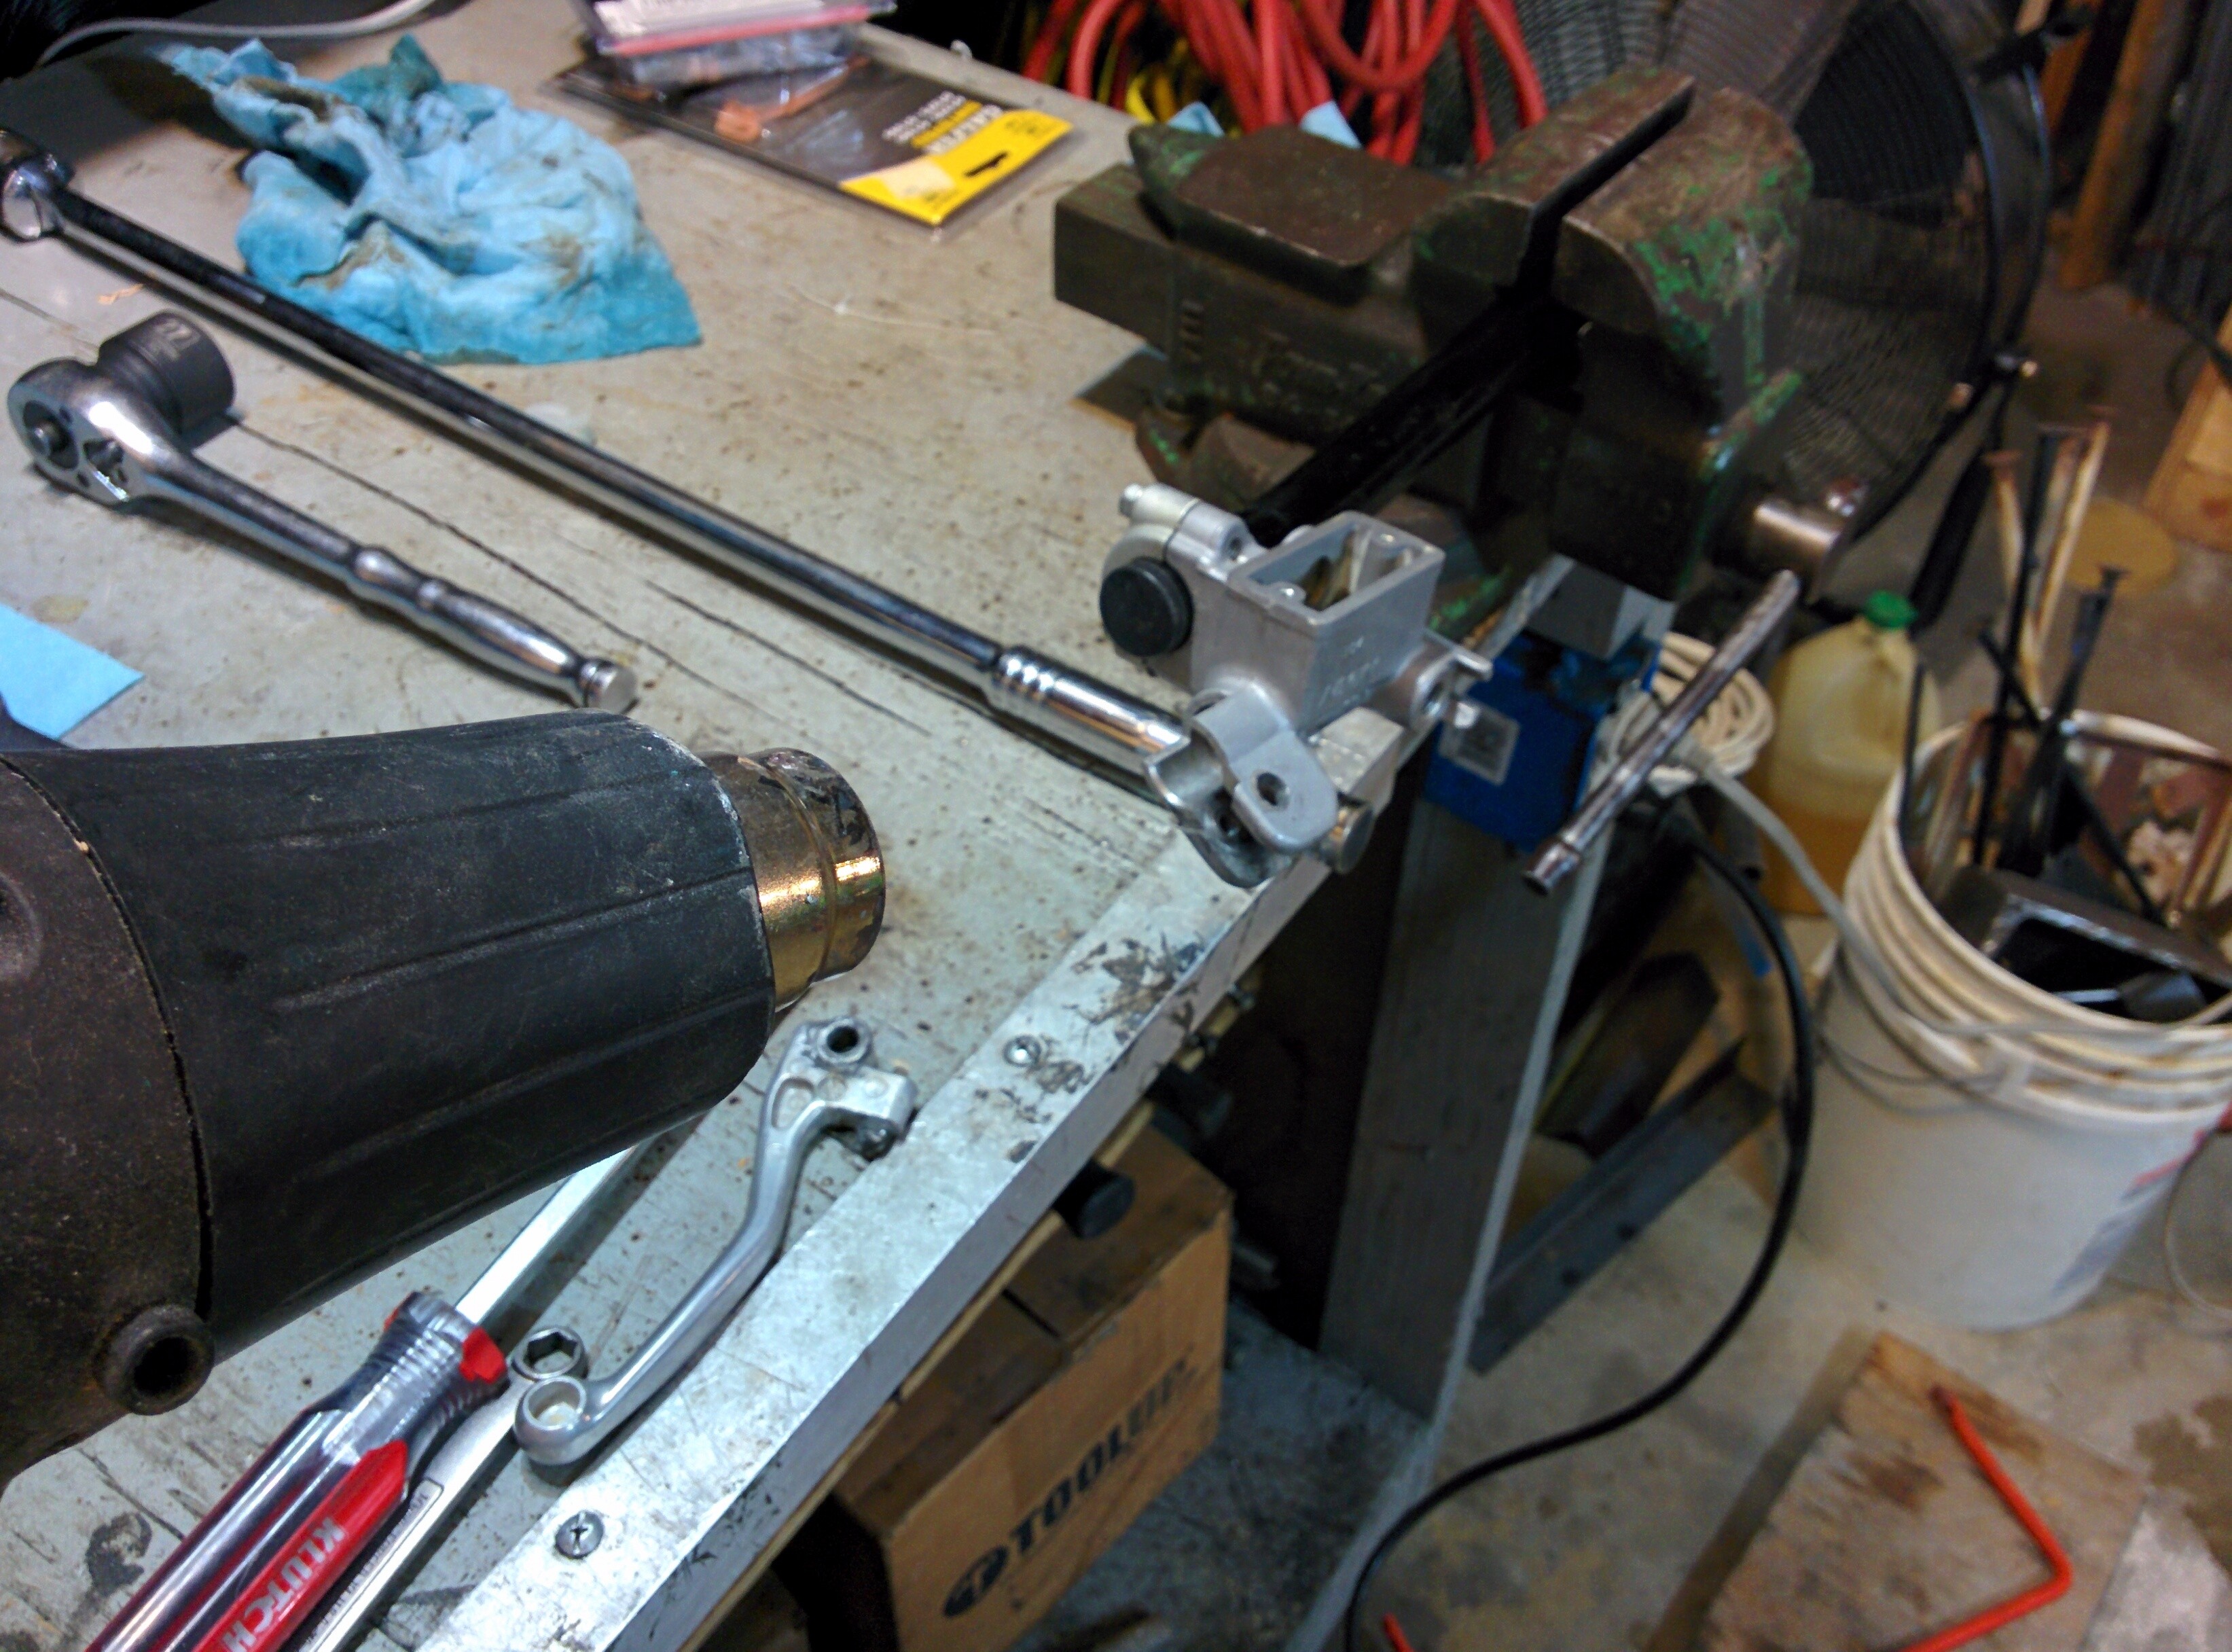
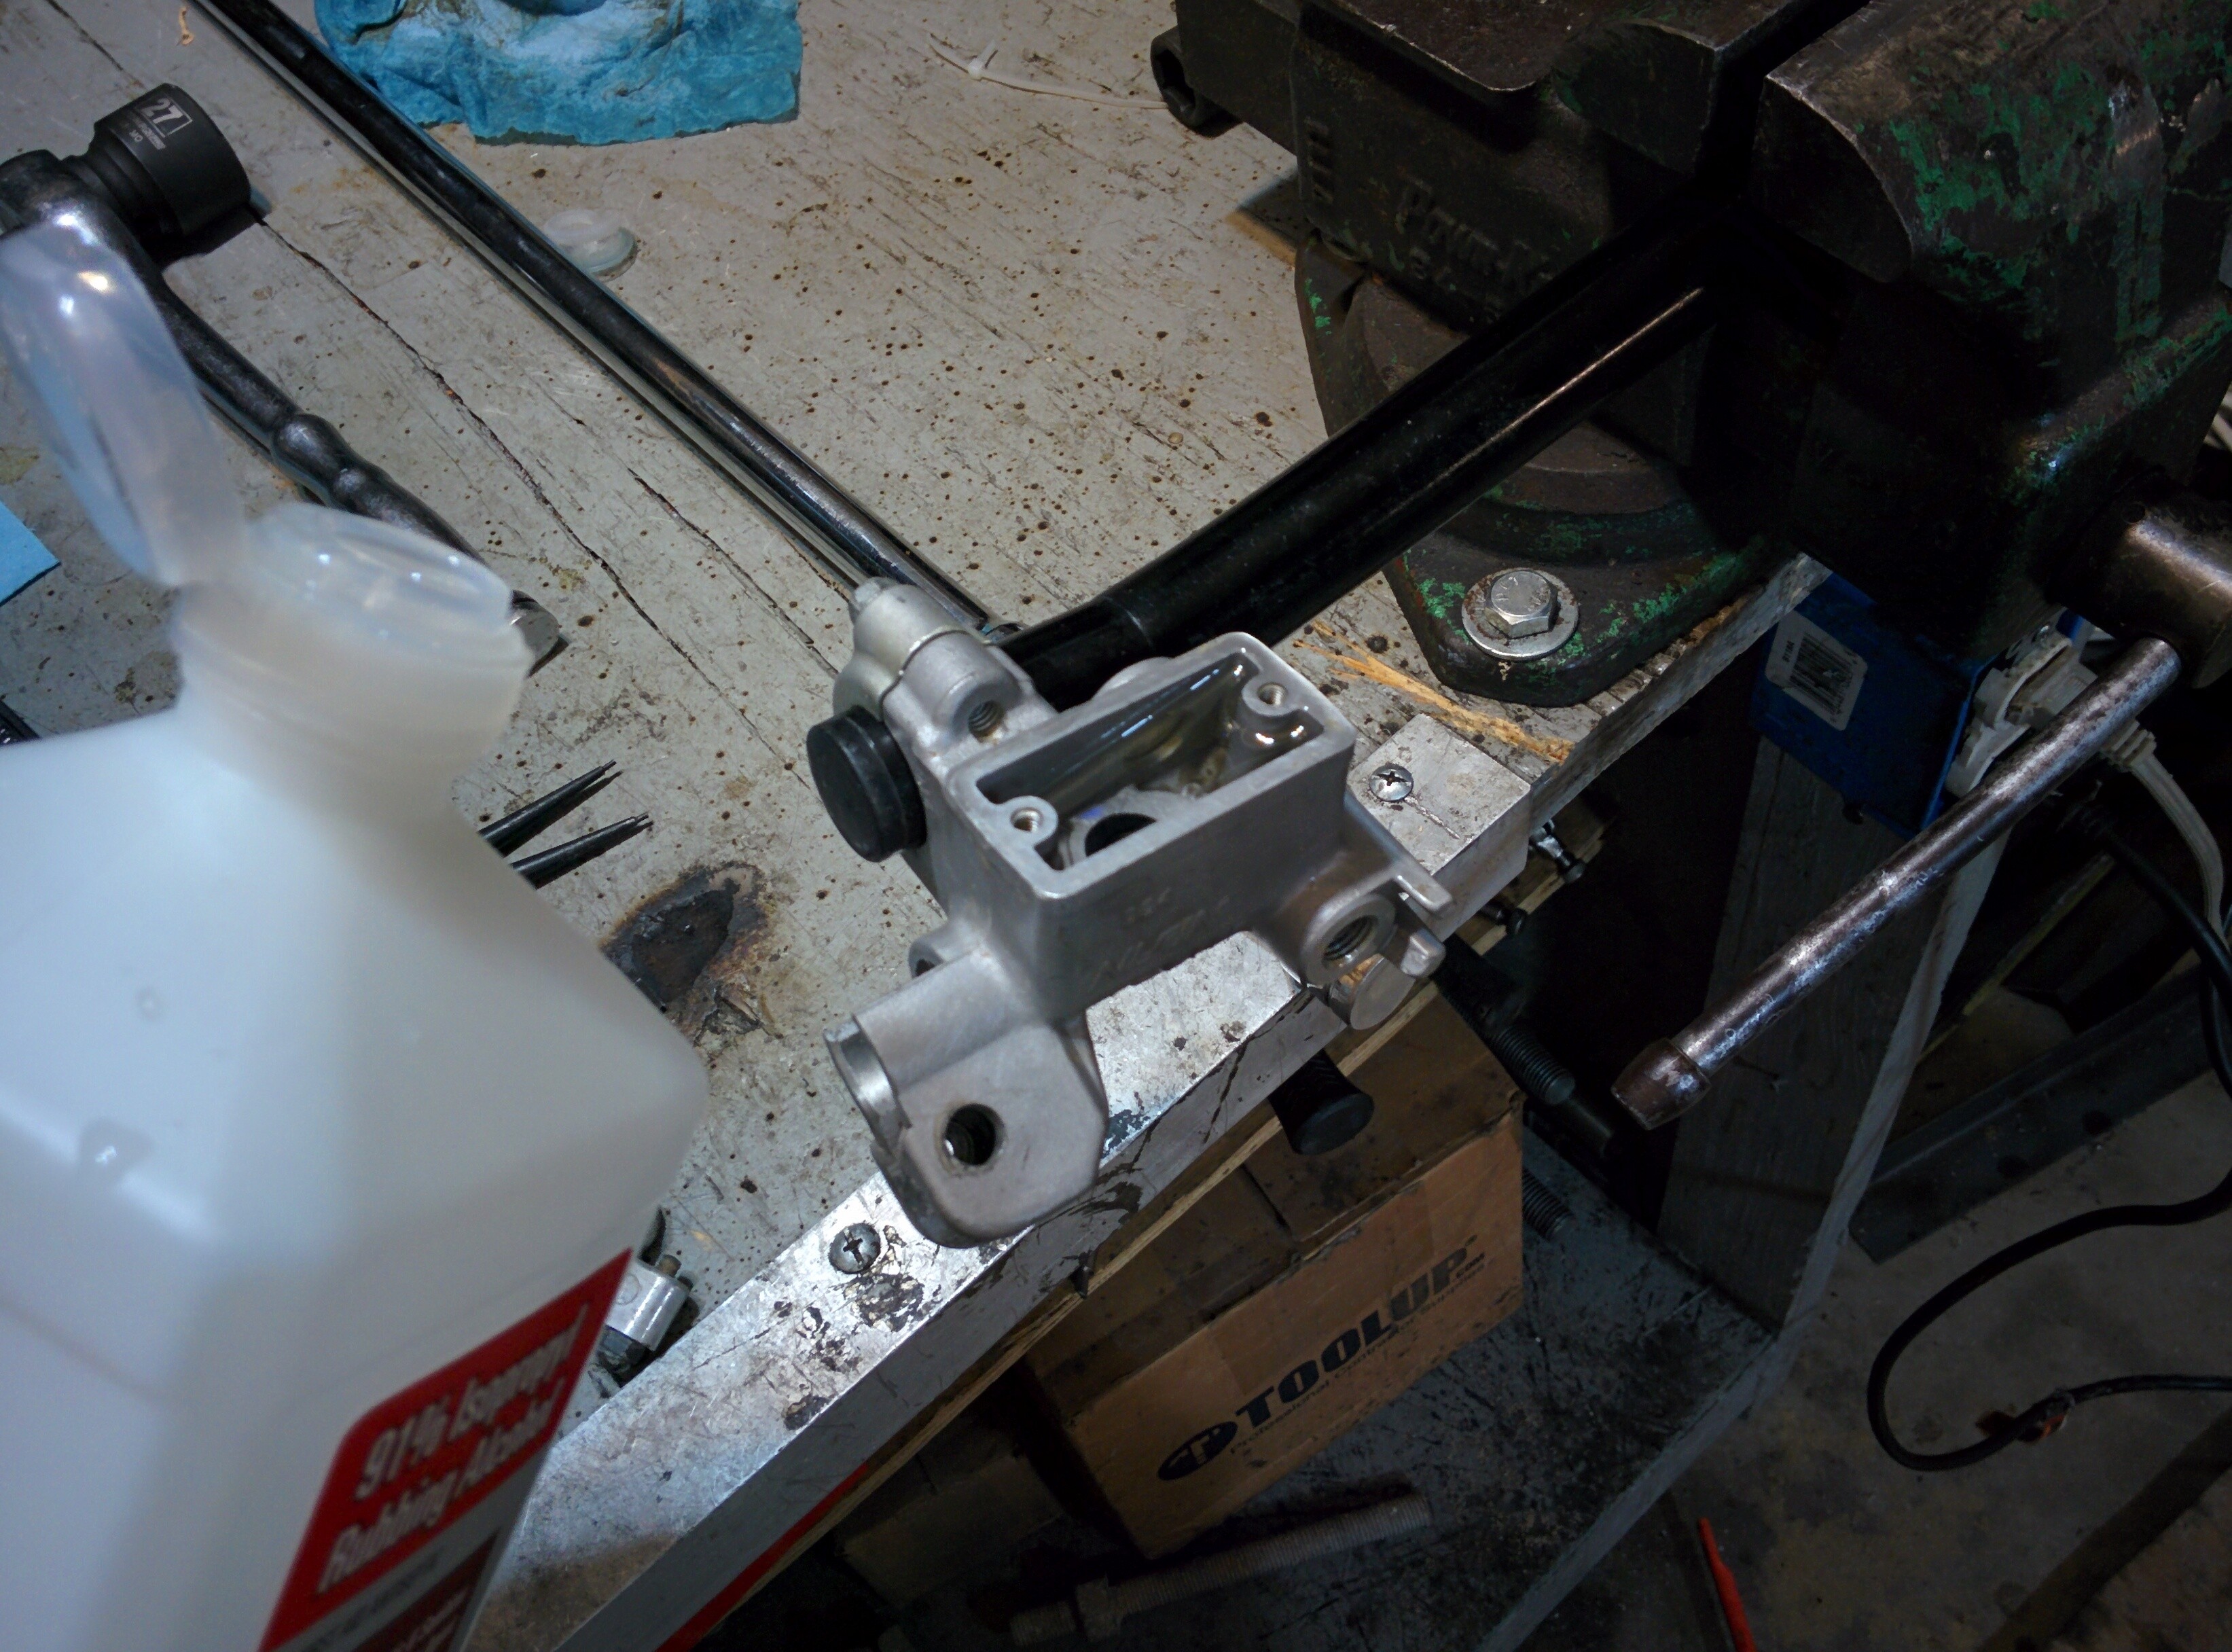
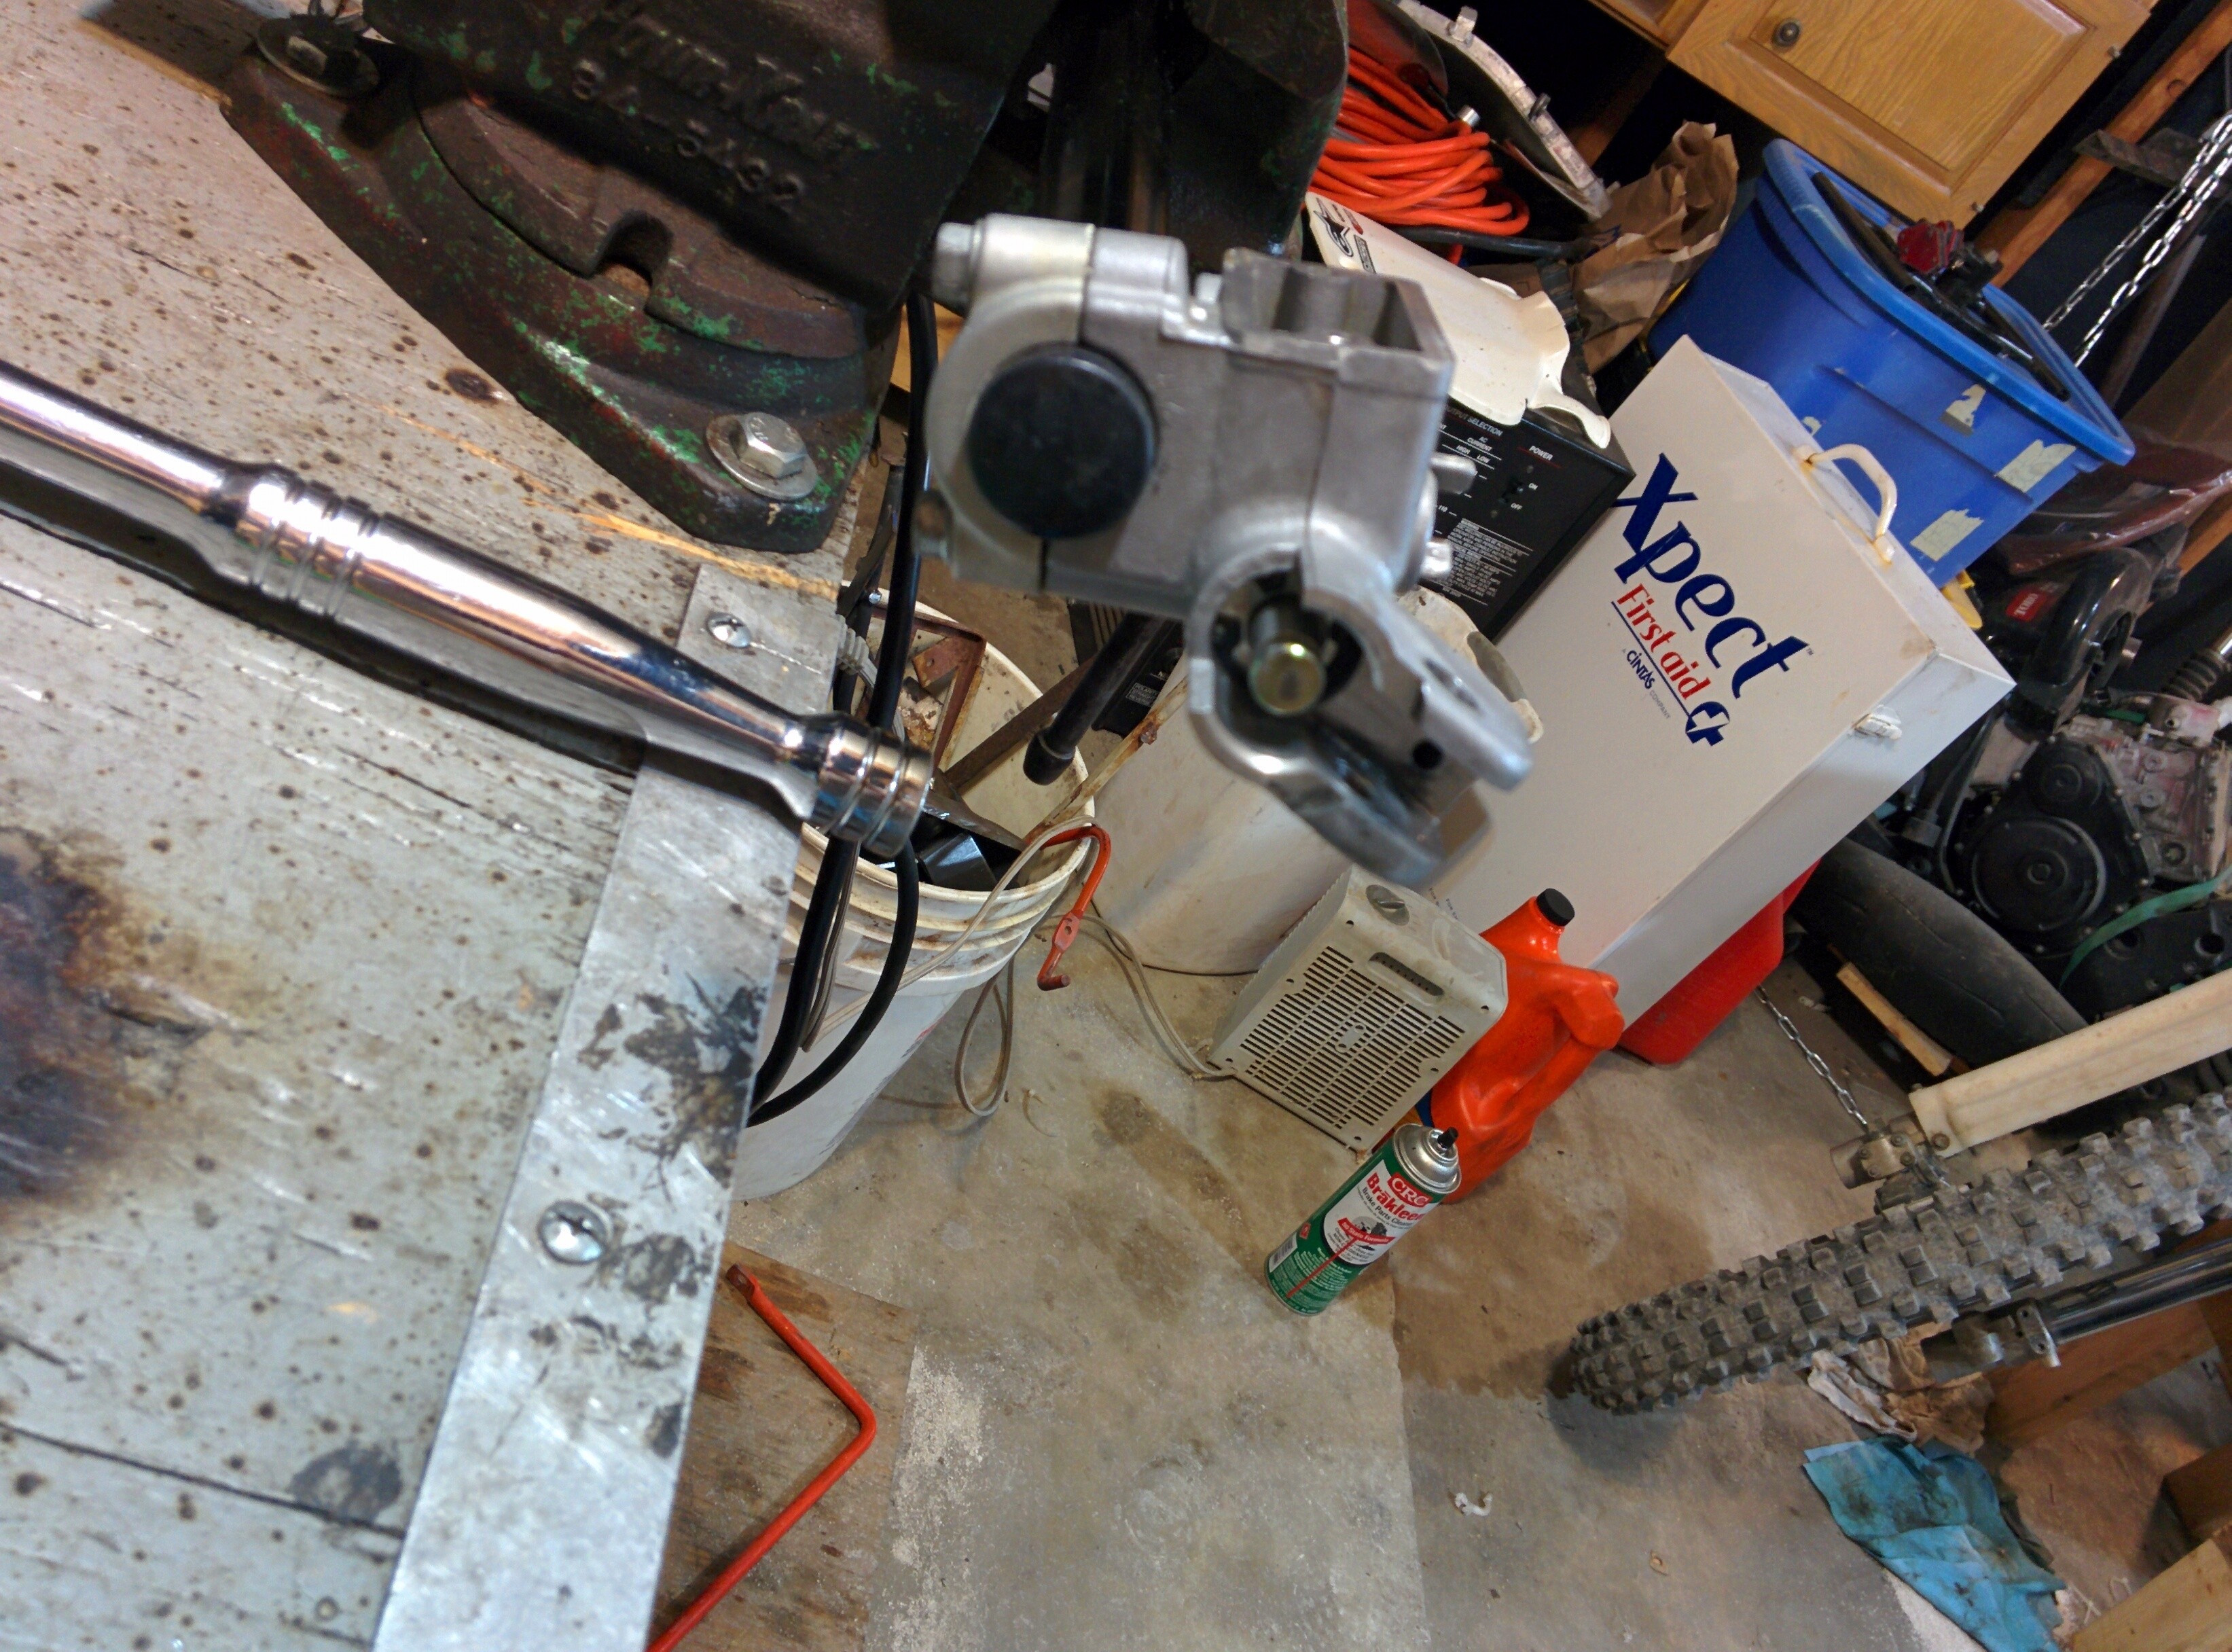
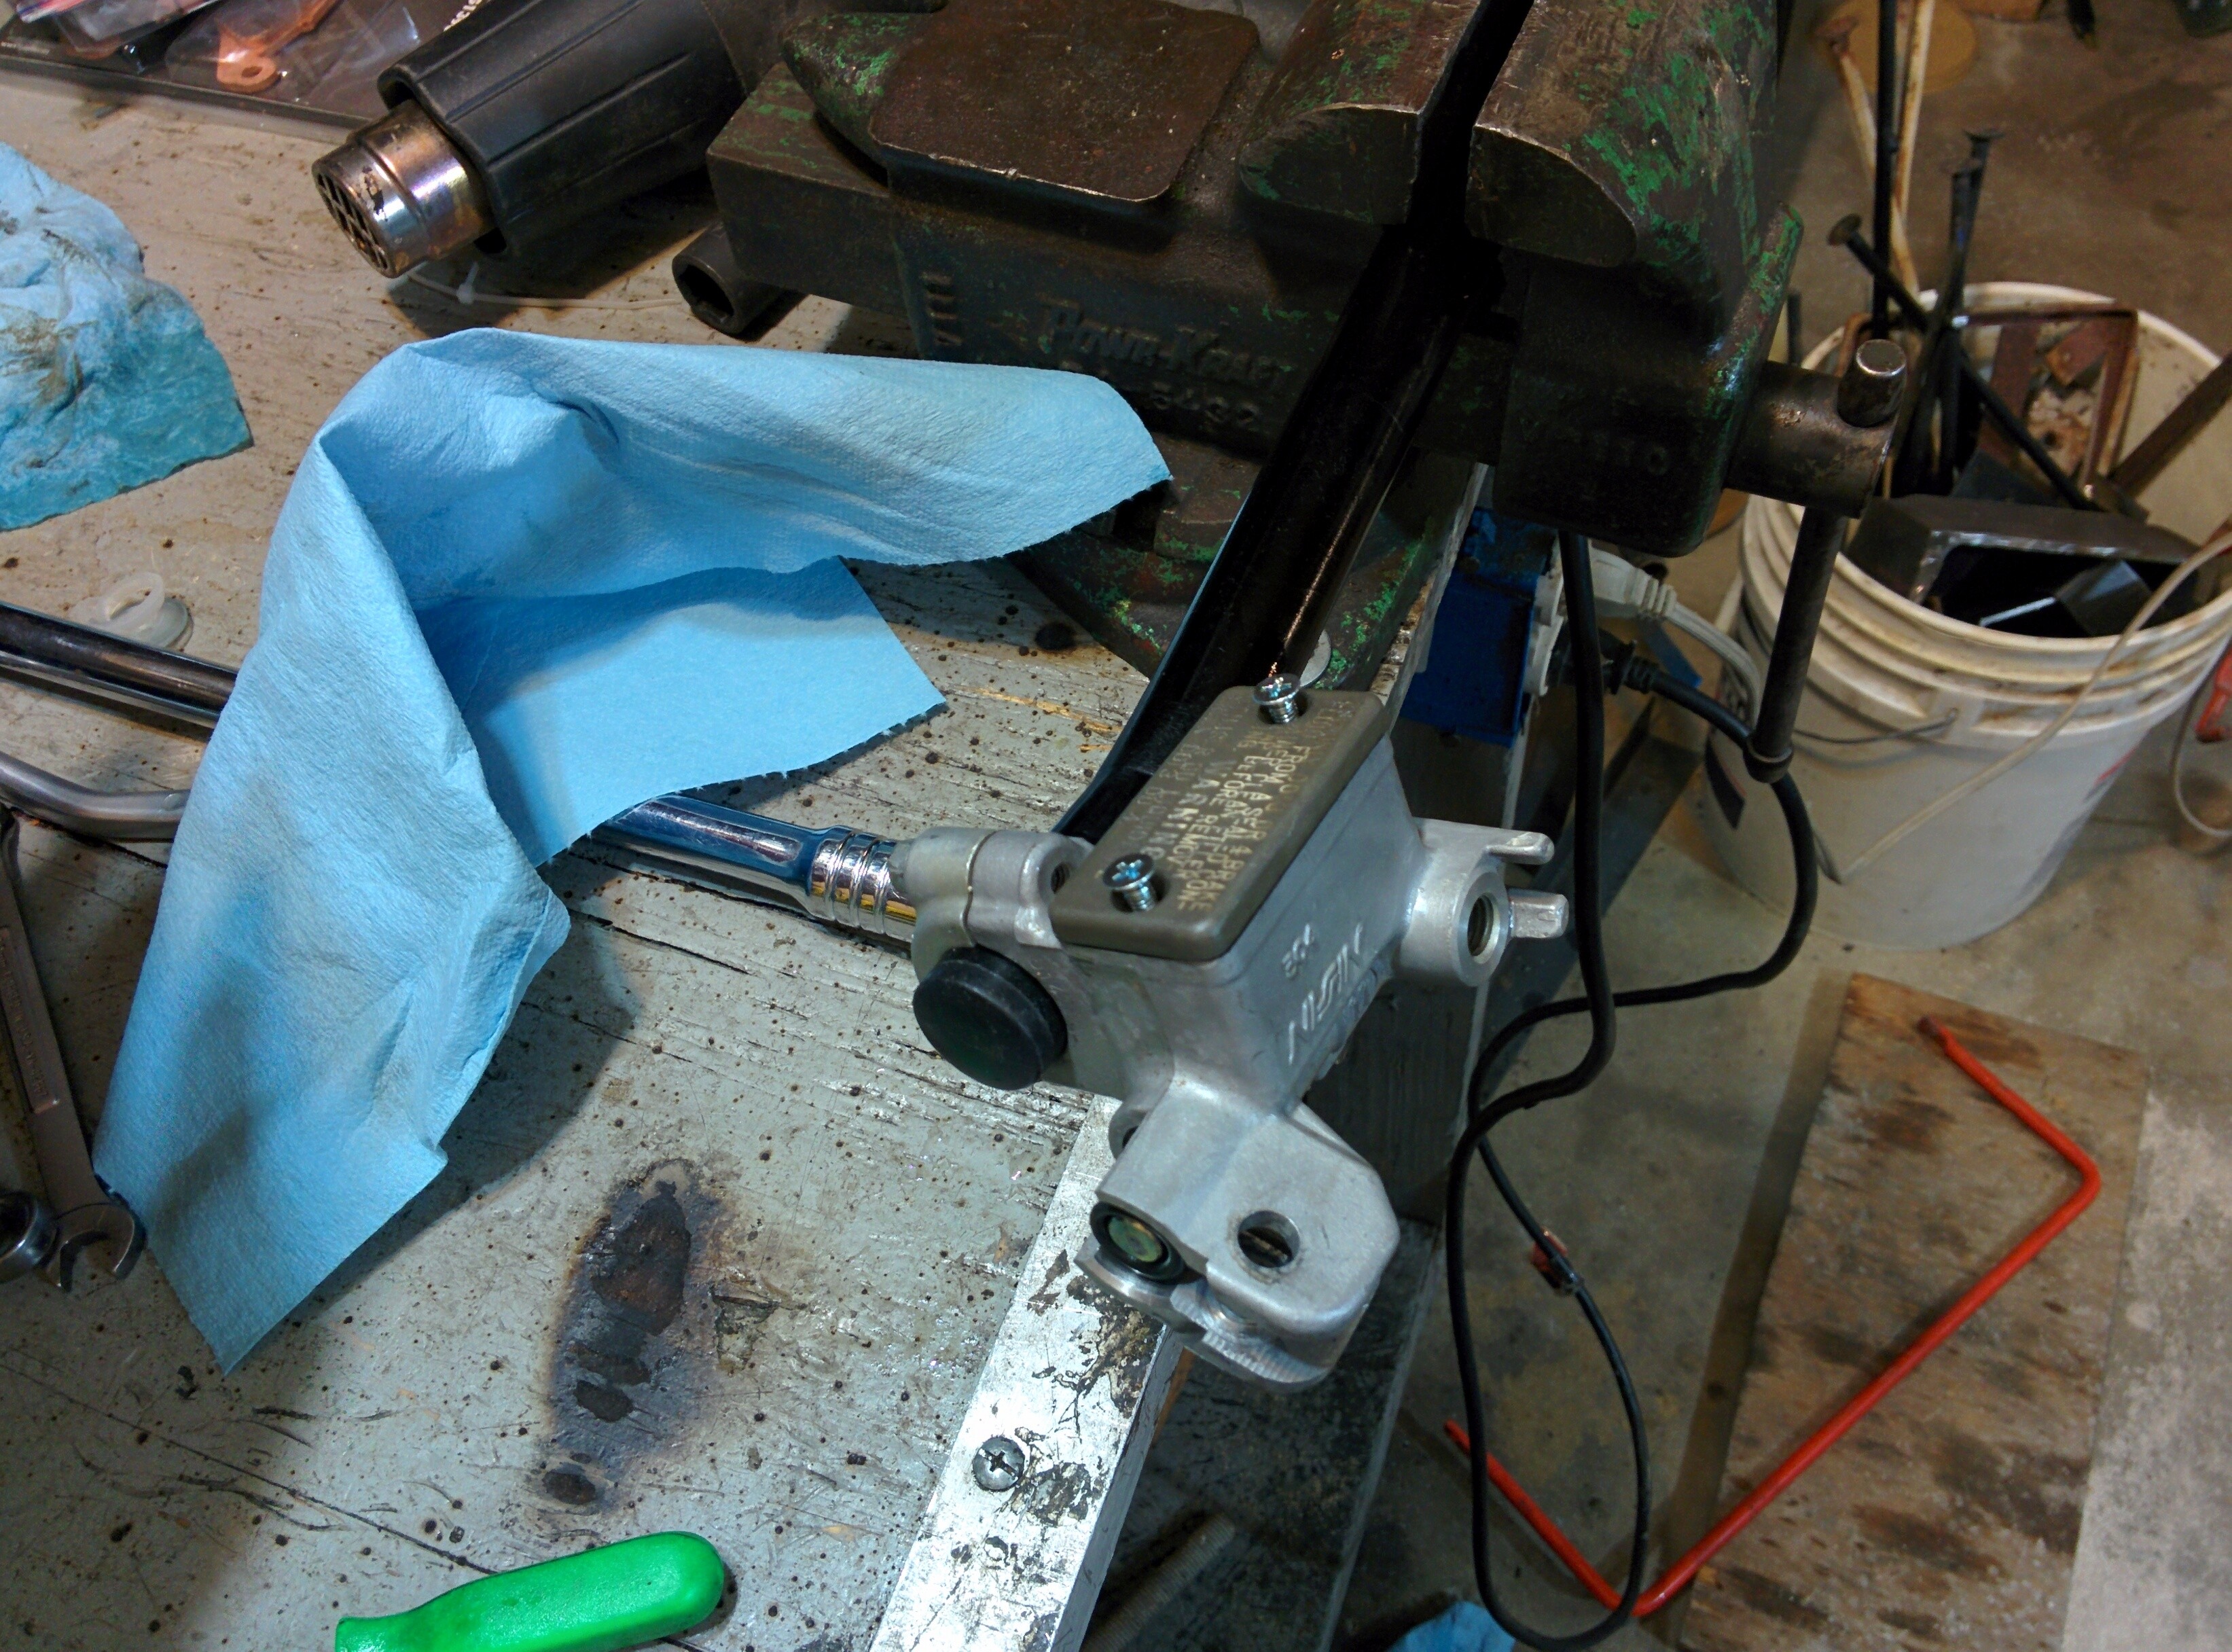
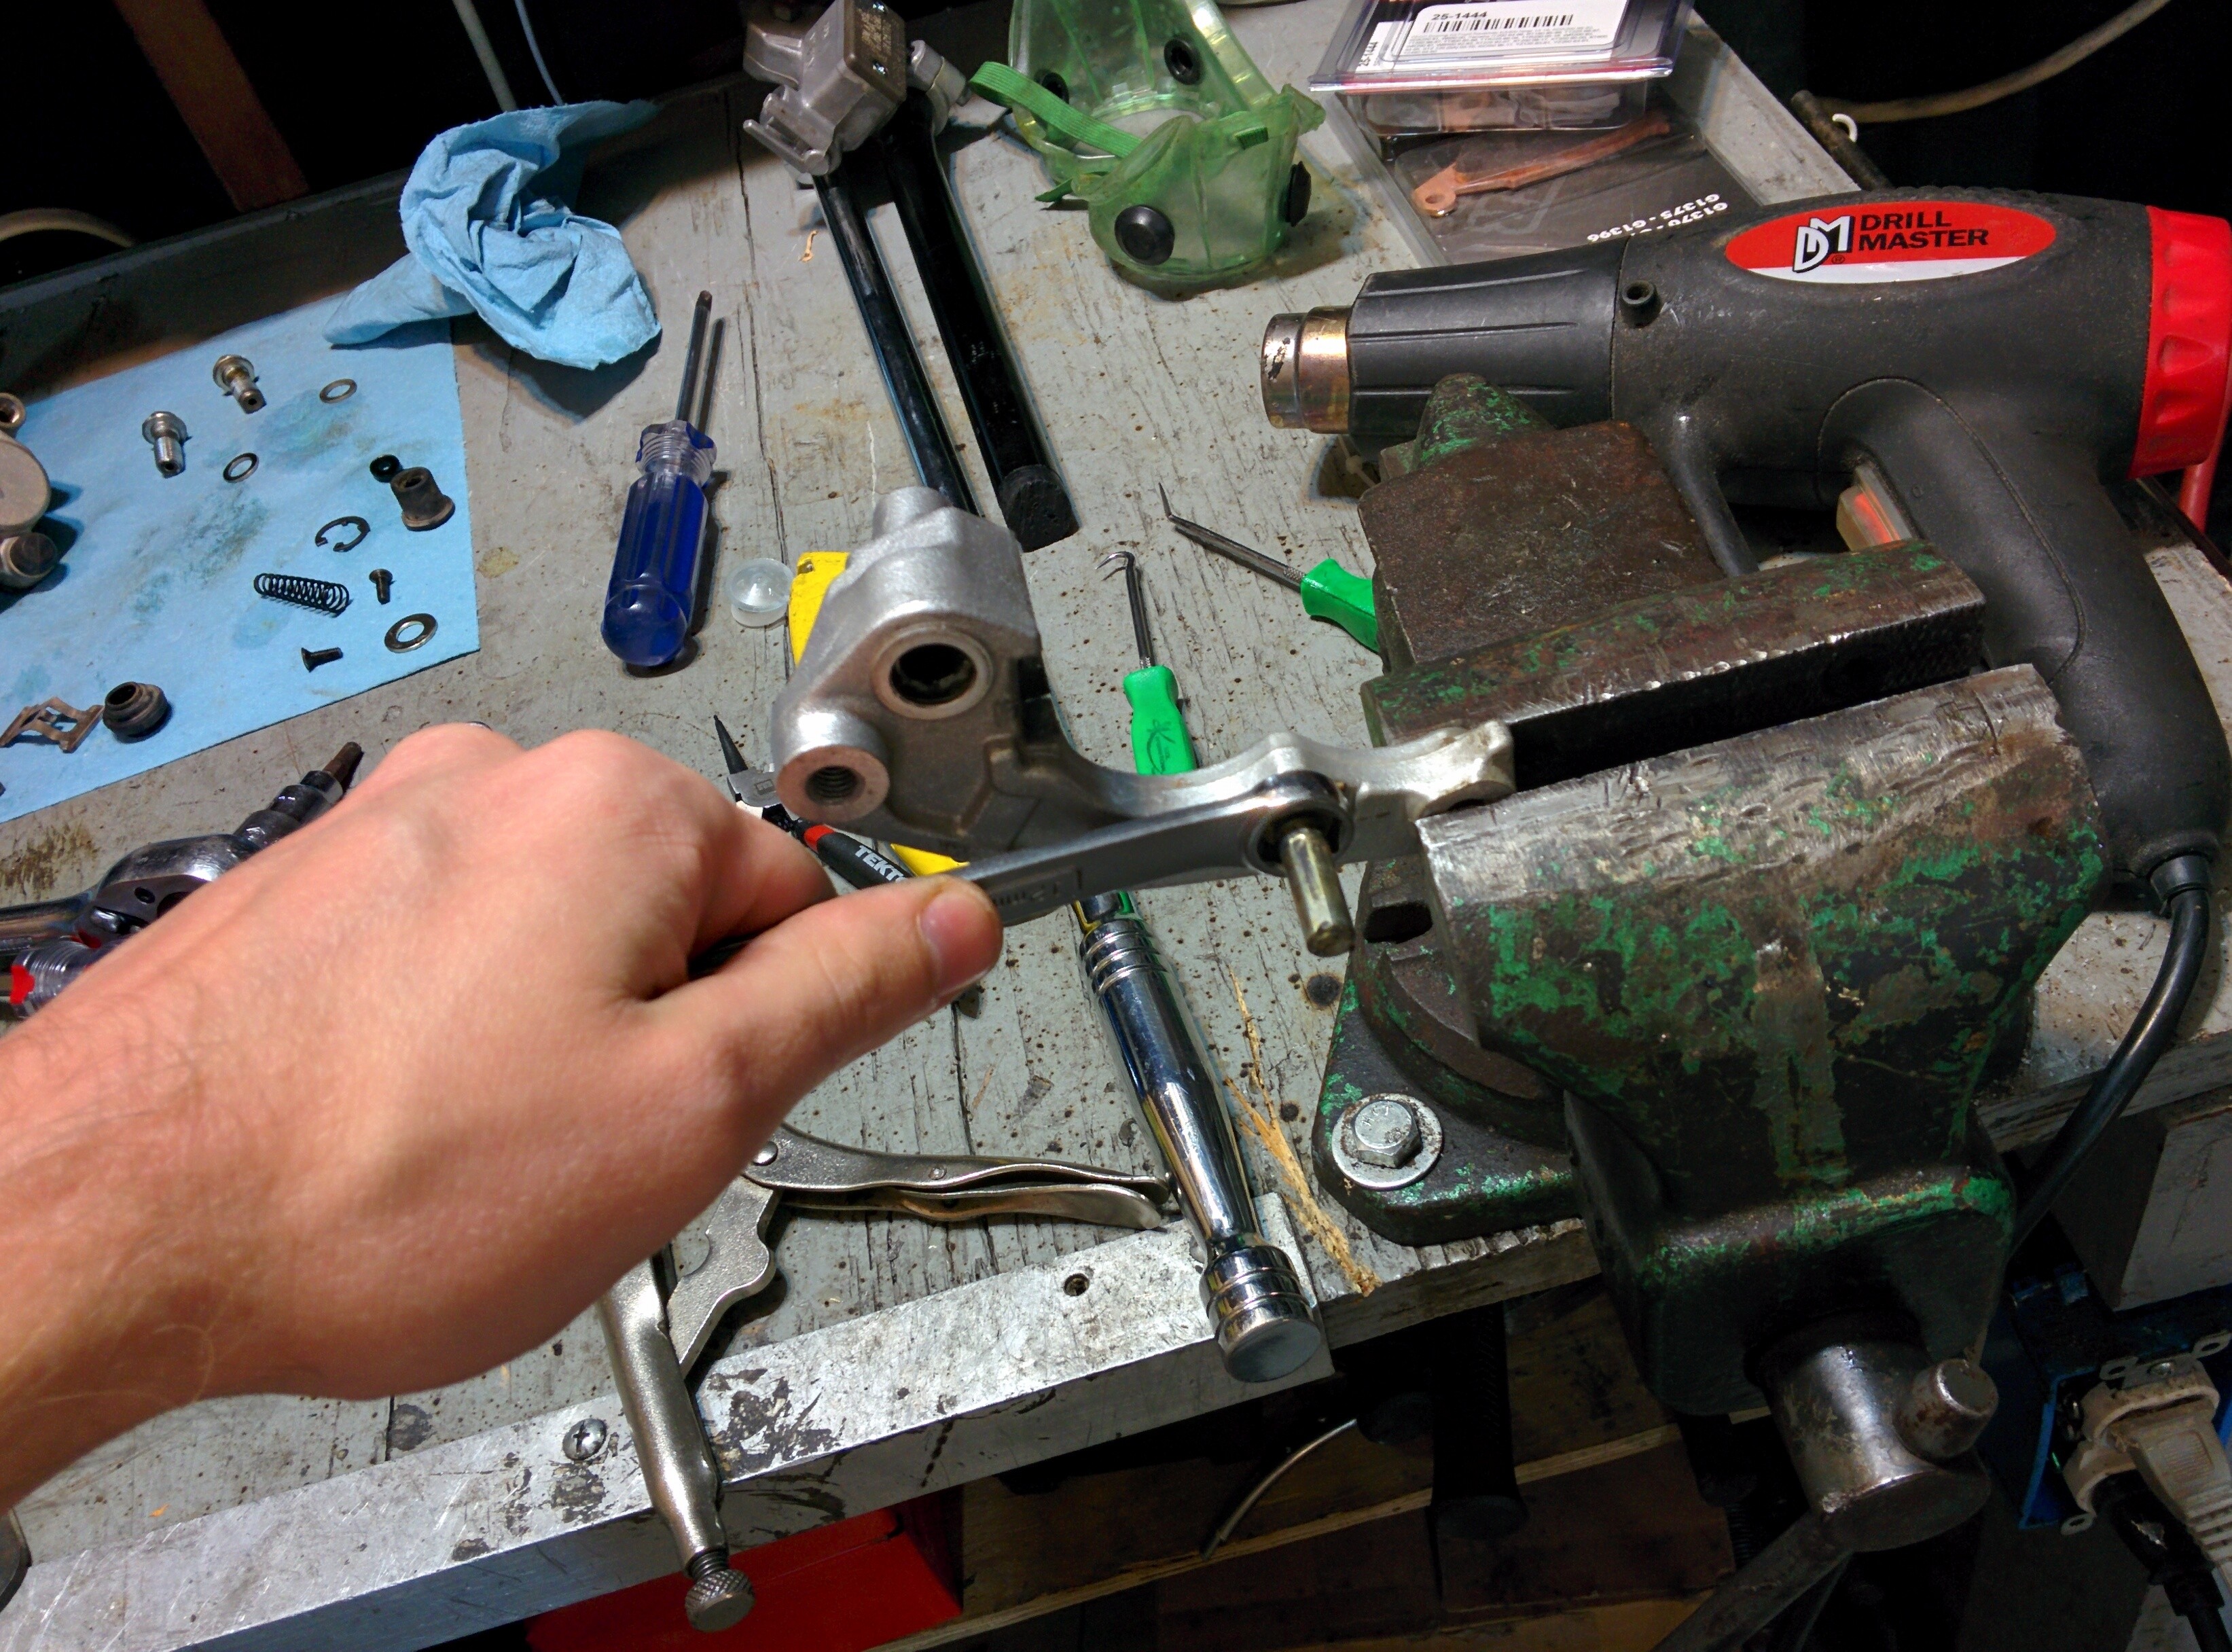
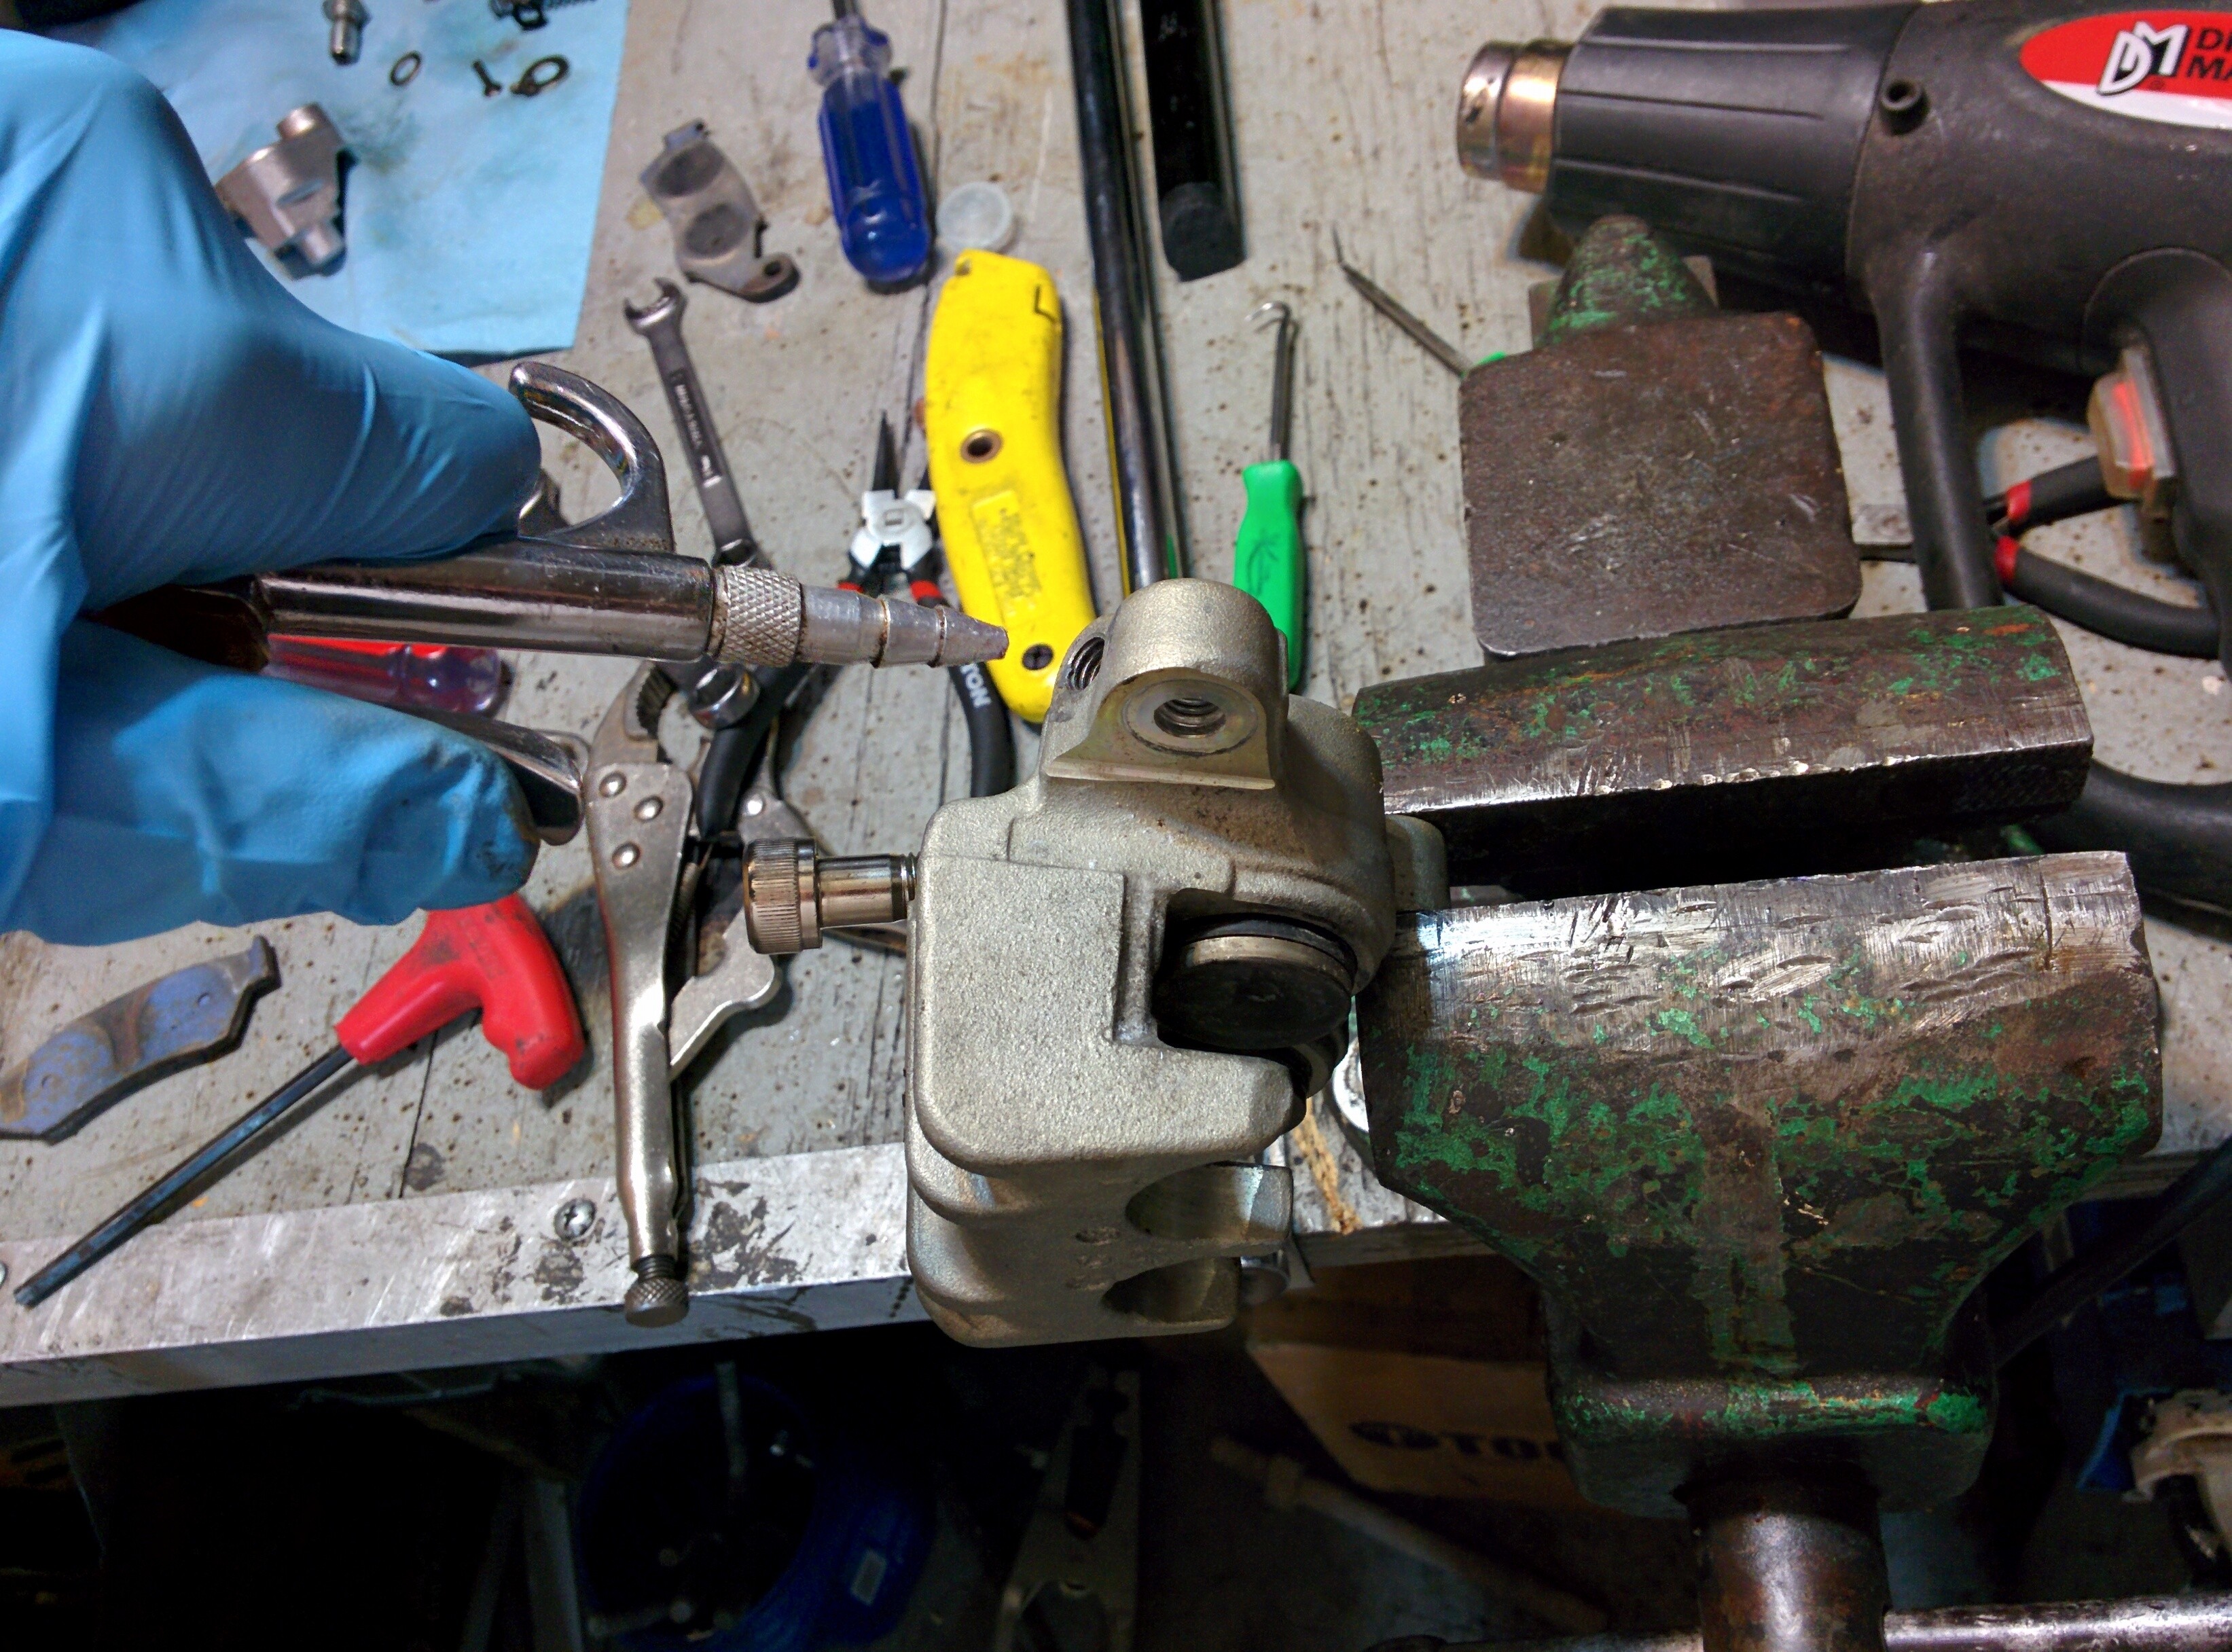
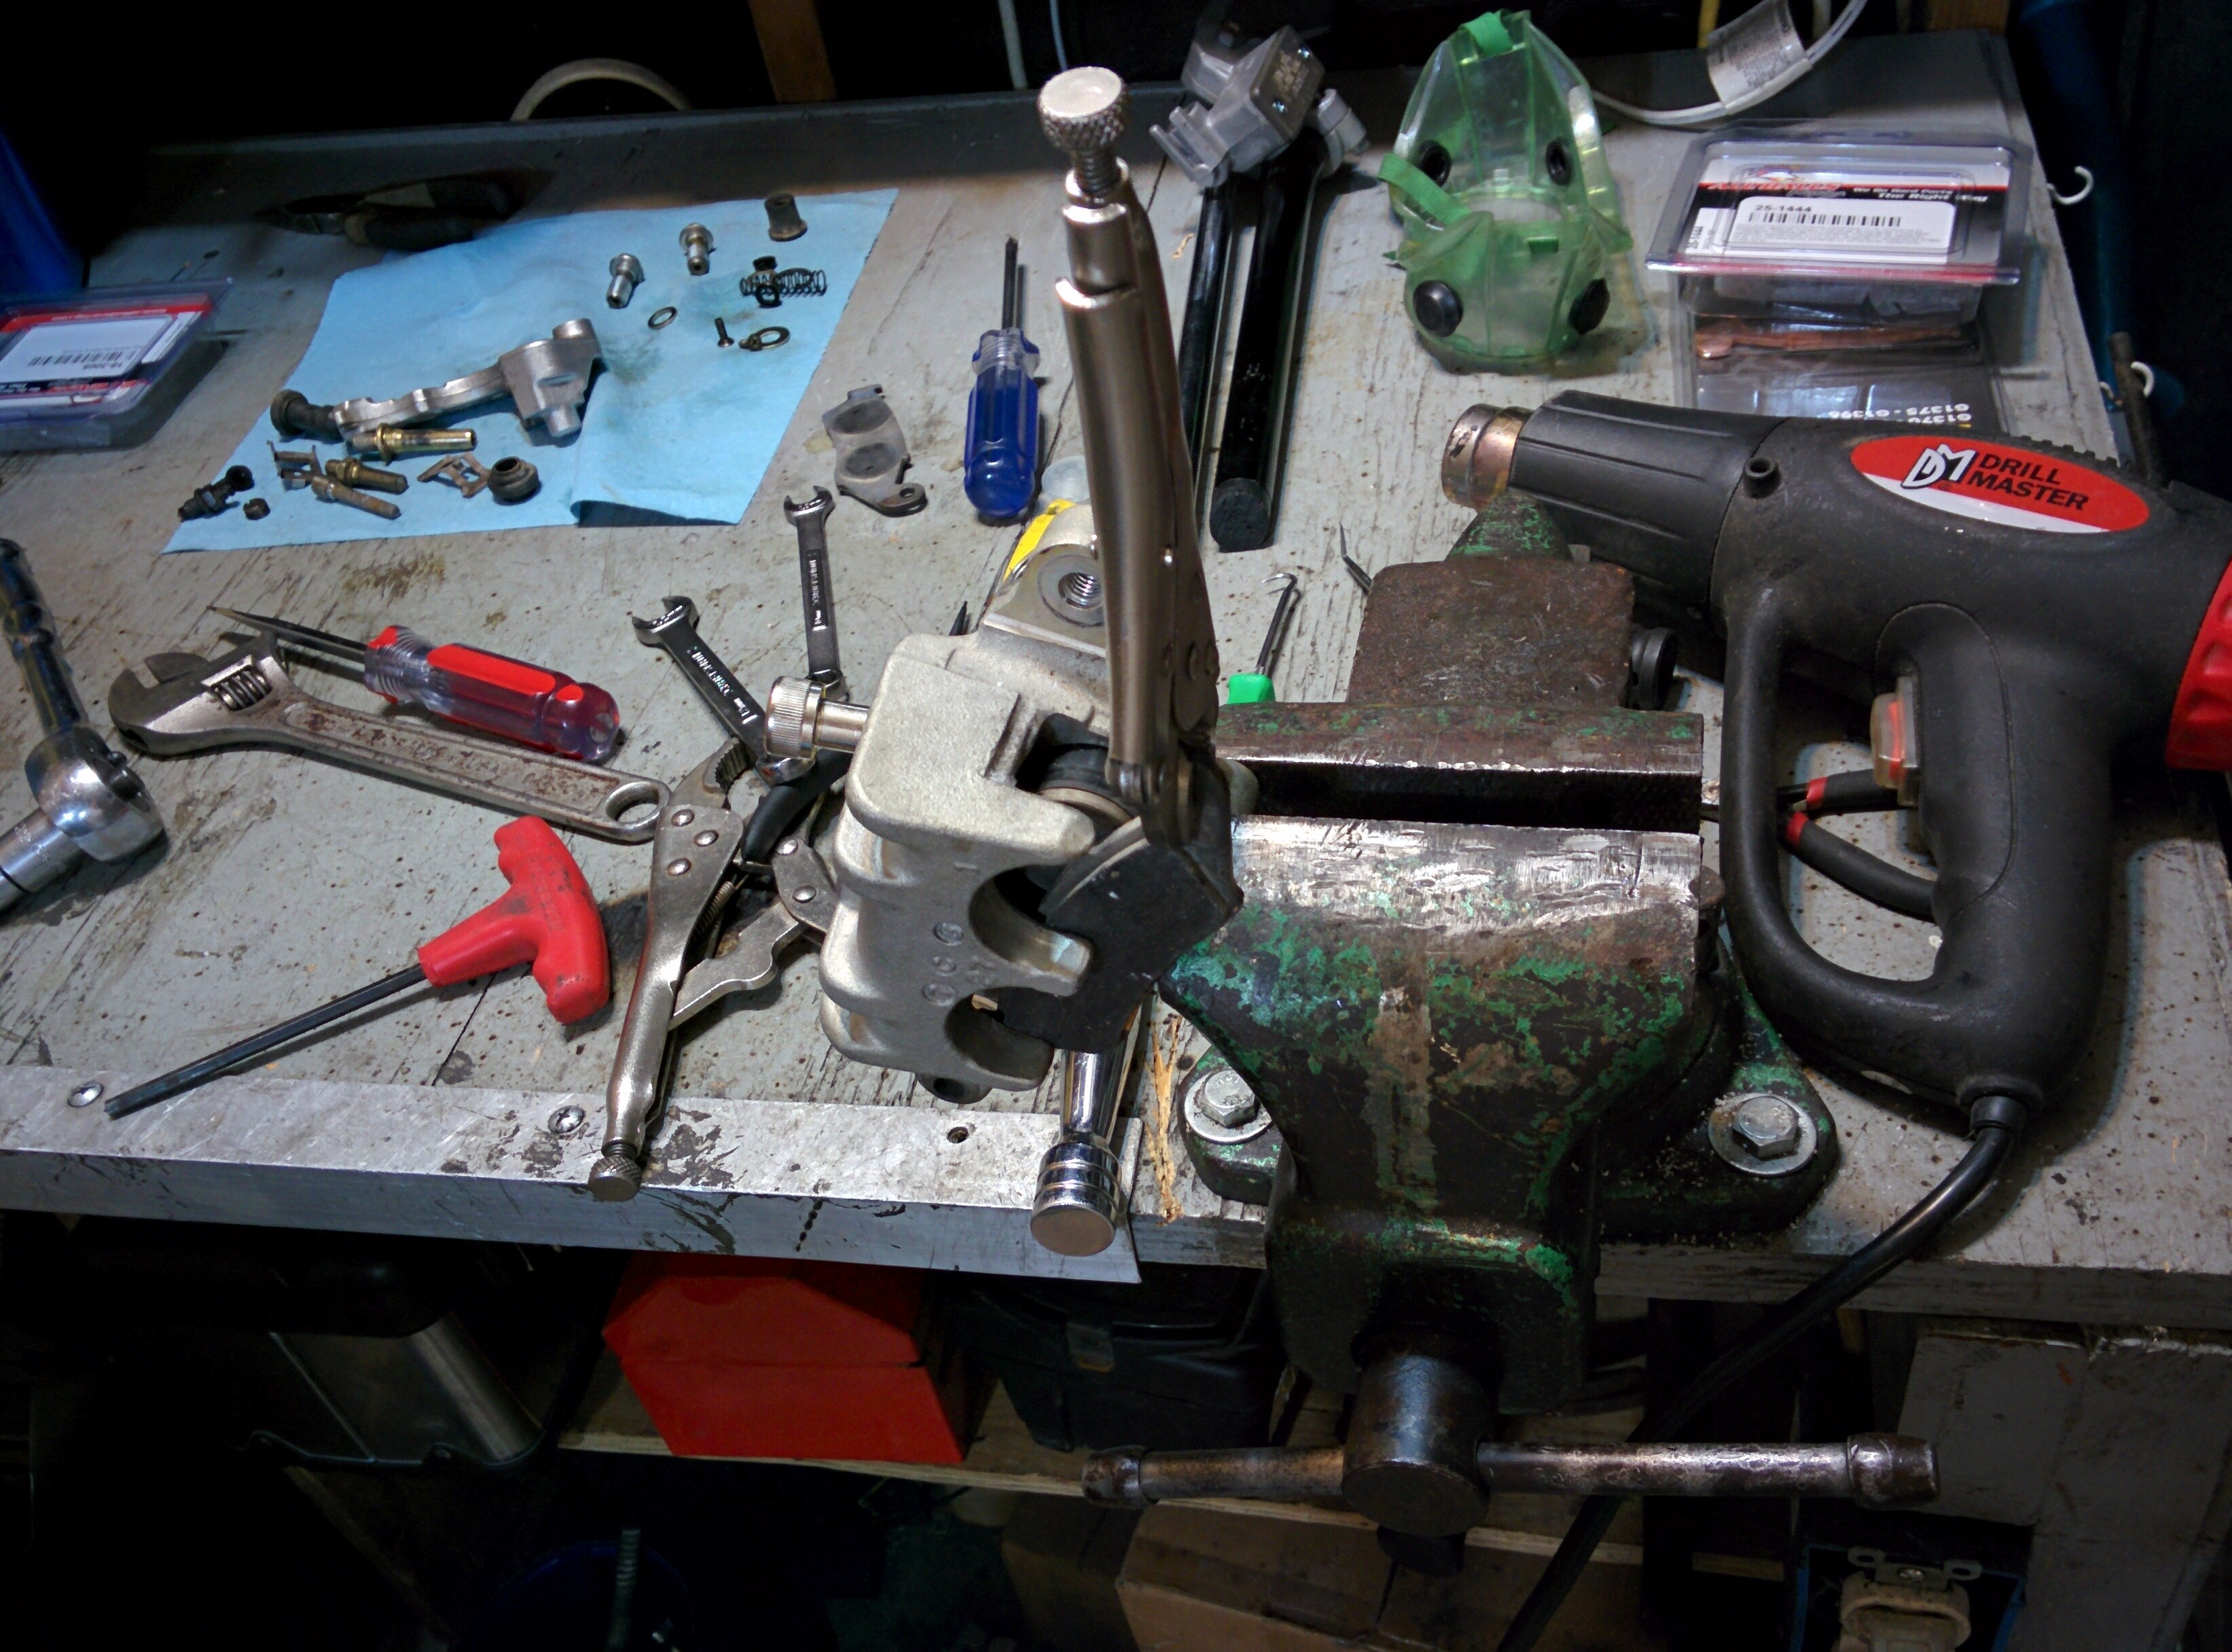
To disassemble the front master cylinder, we need to be able to work on it. To do this, I put an old handlebar in my vise and reattached the master cylinder to that handlebar.
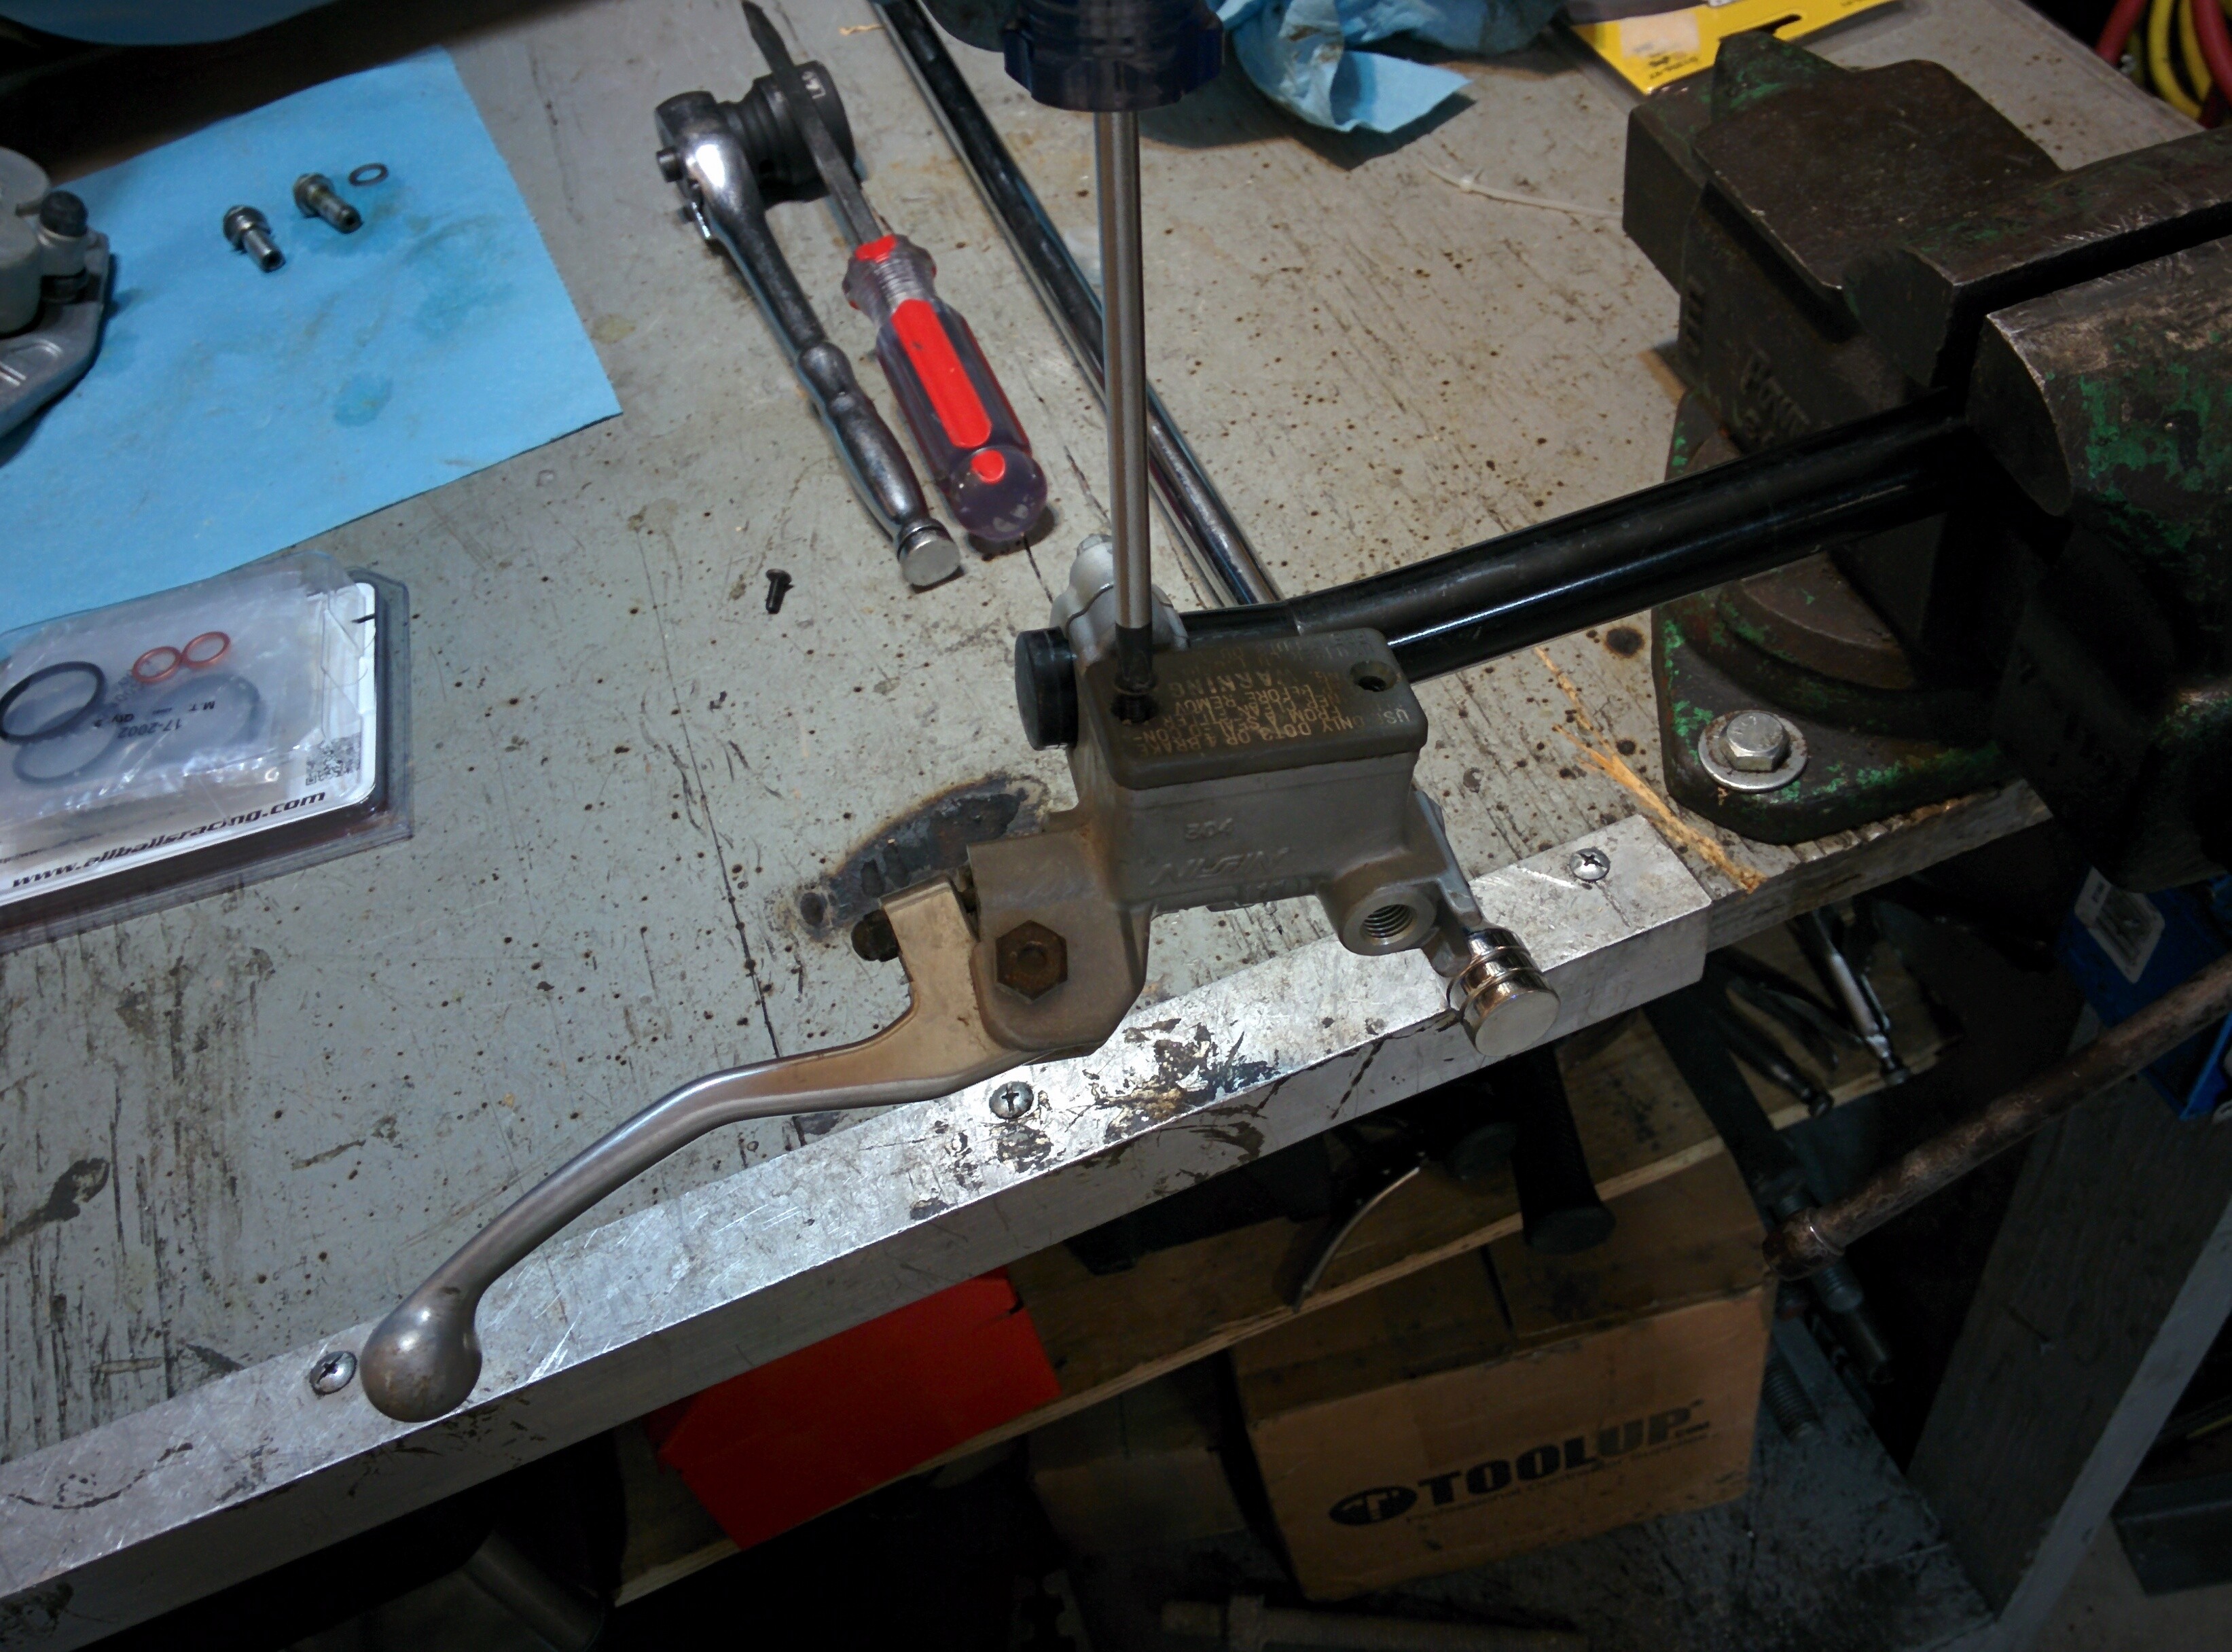
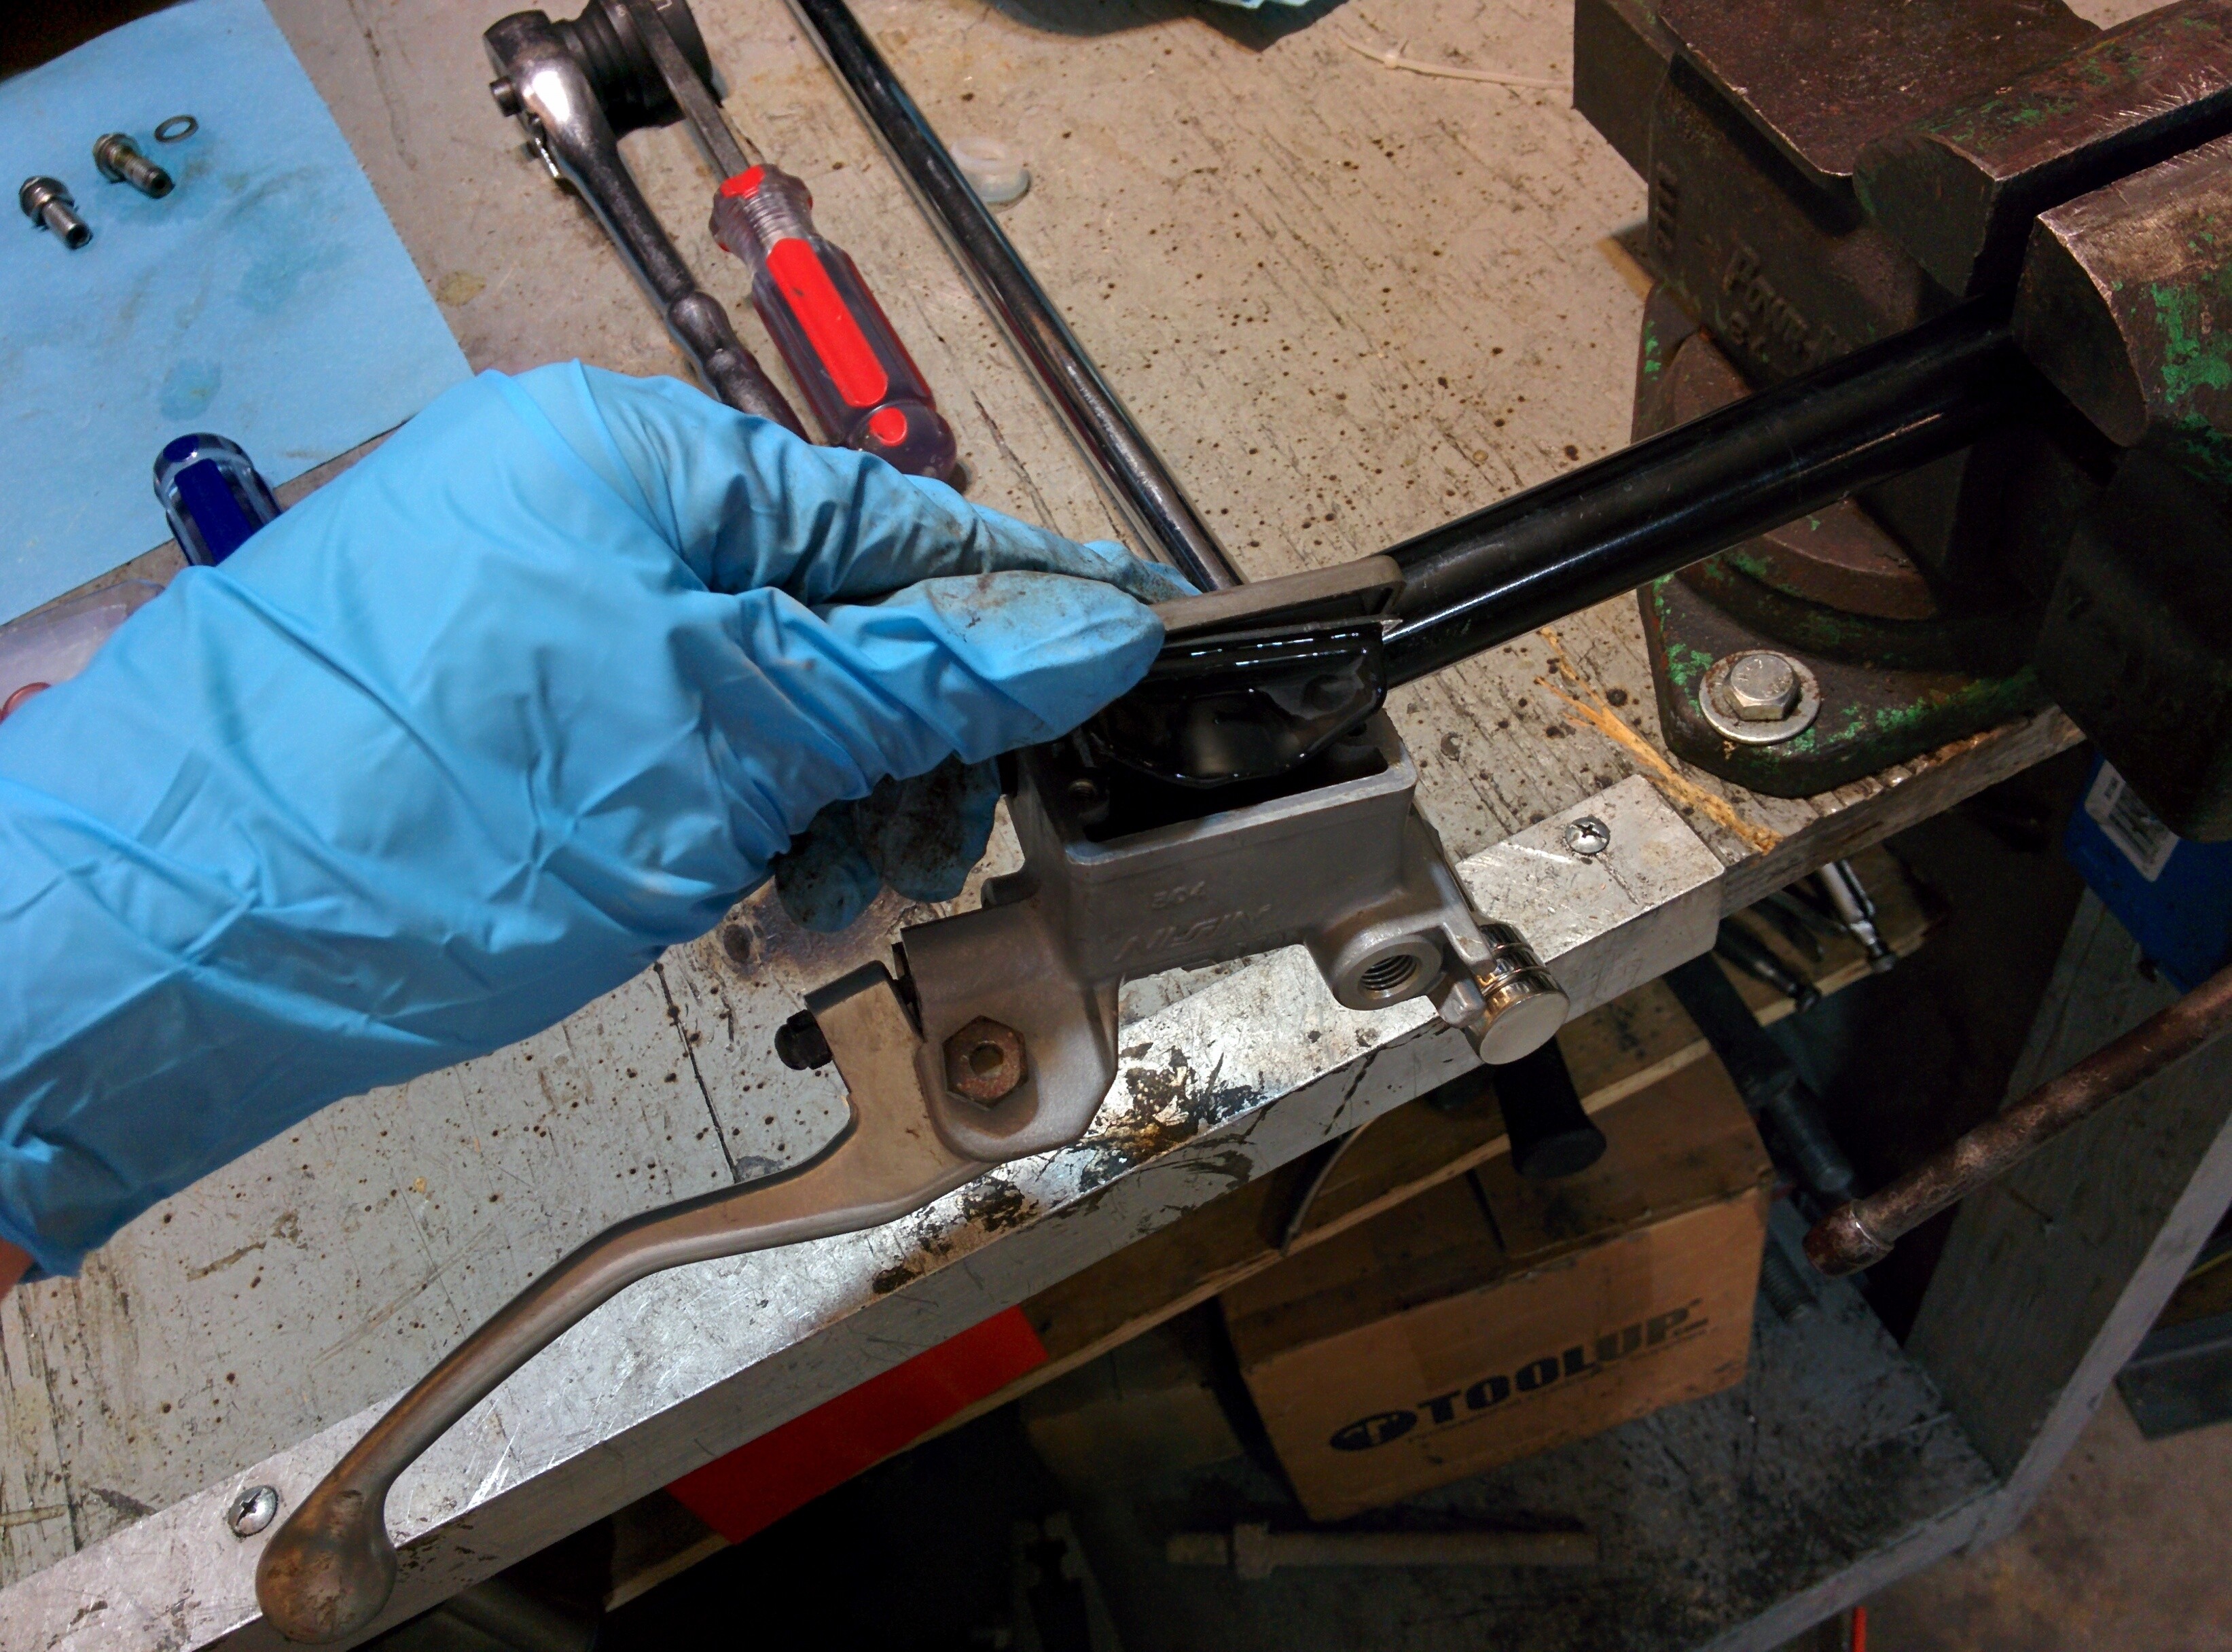
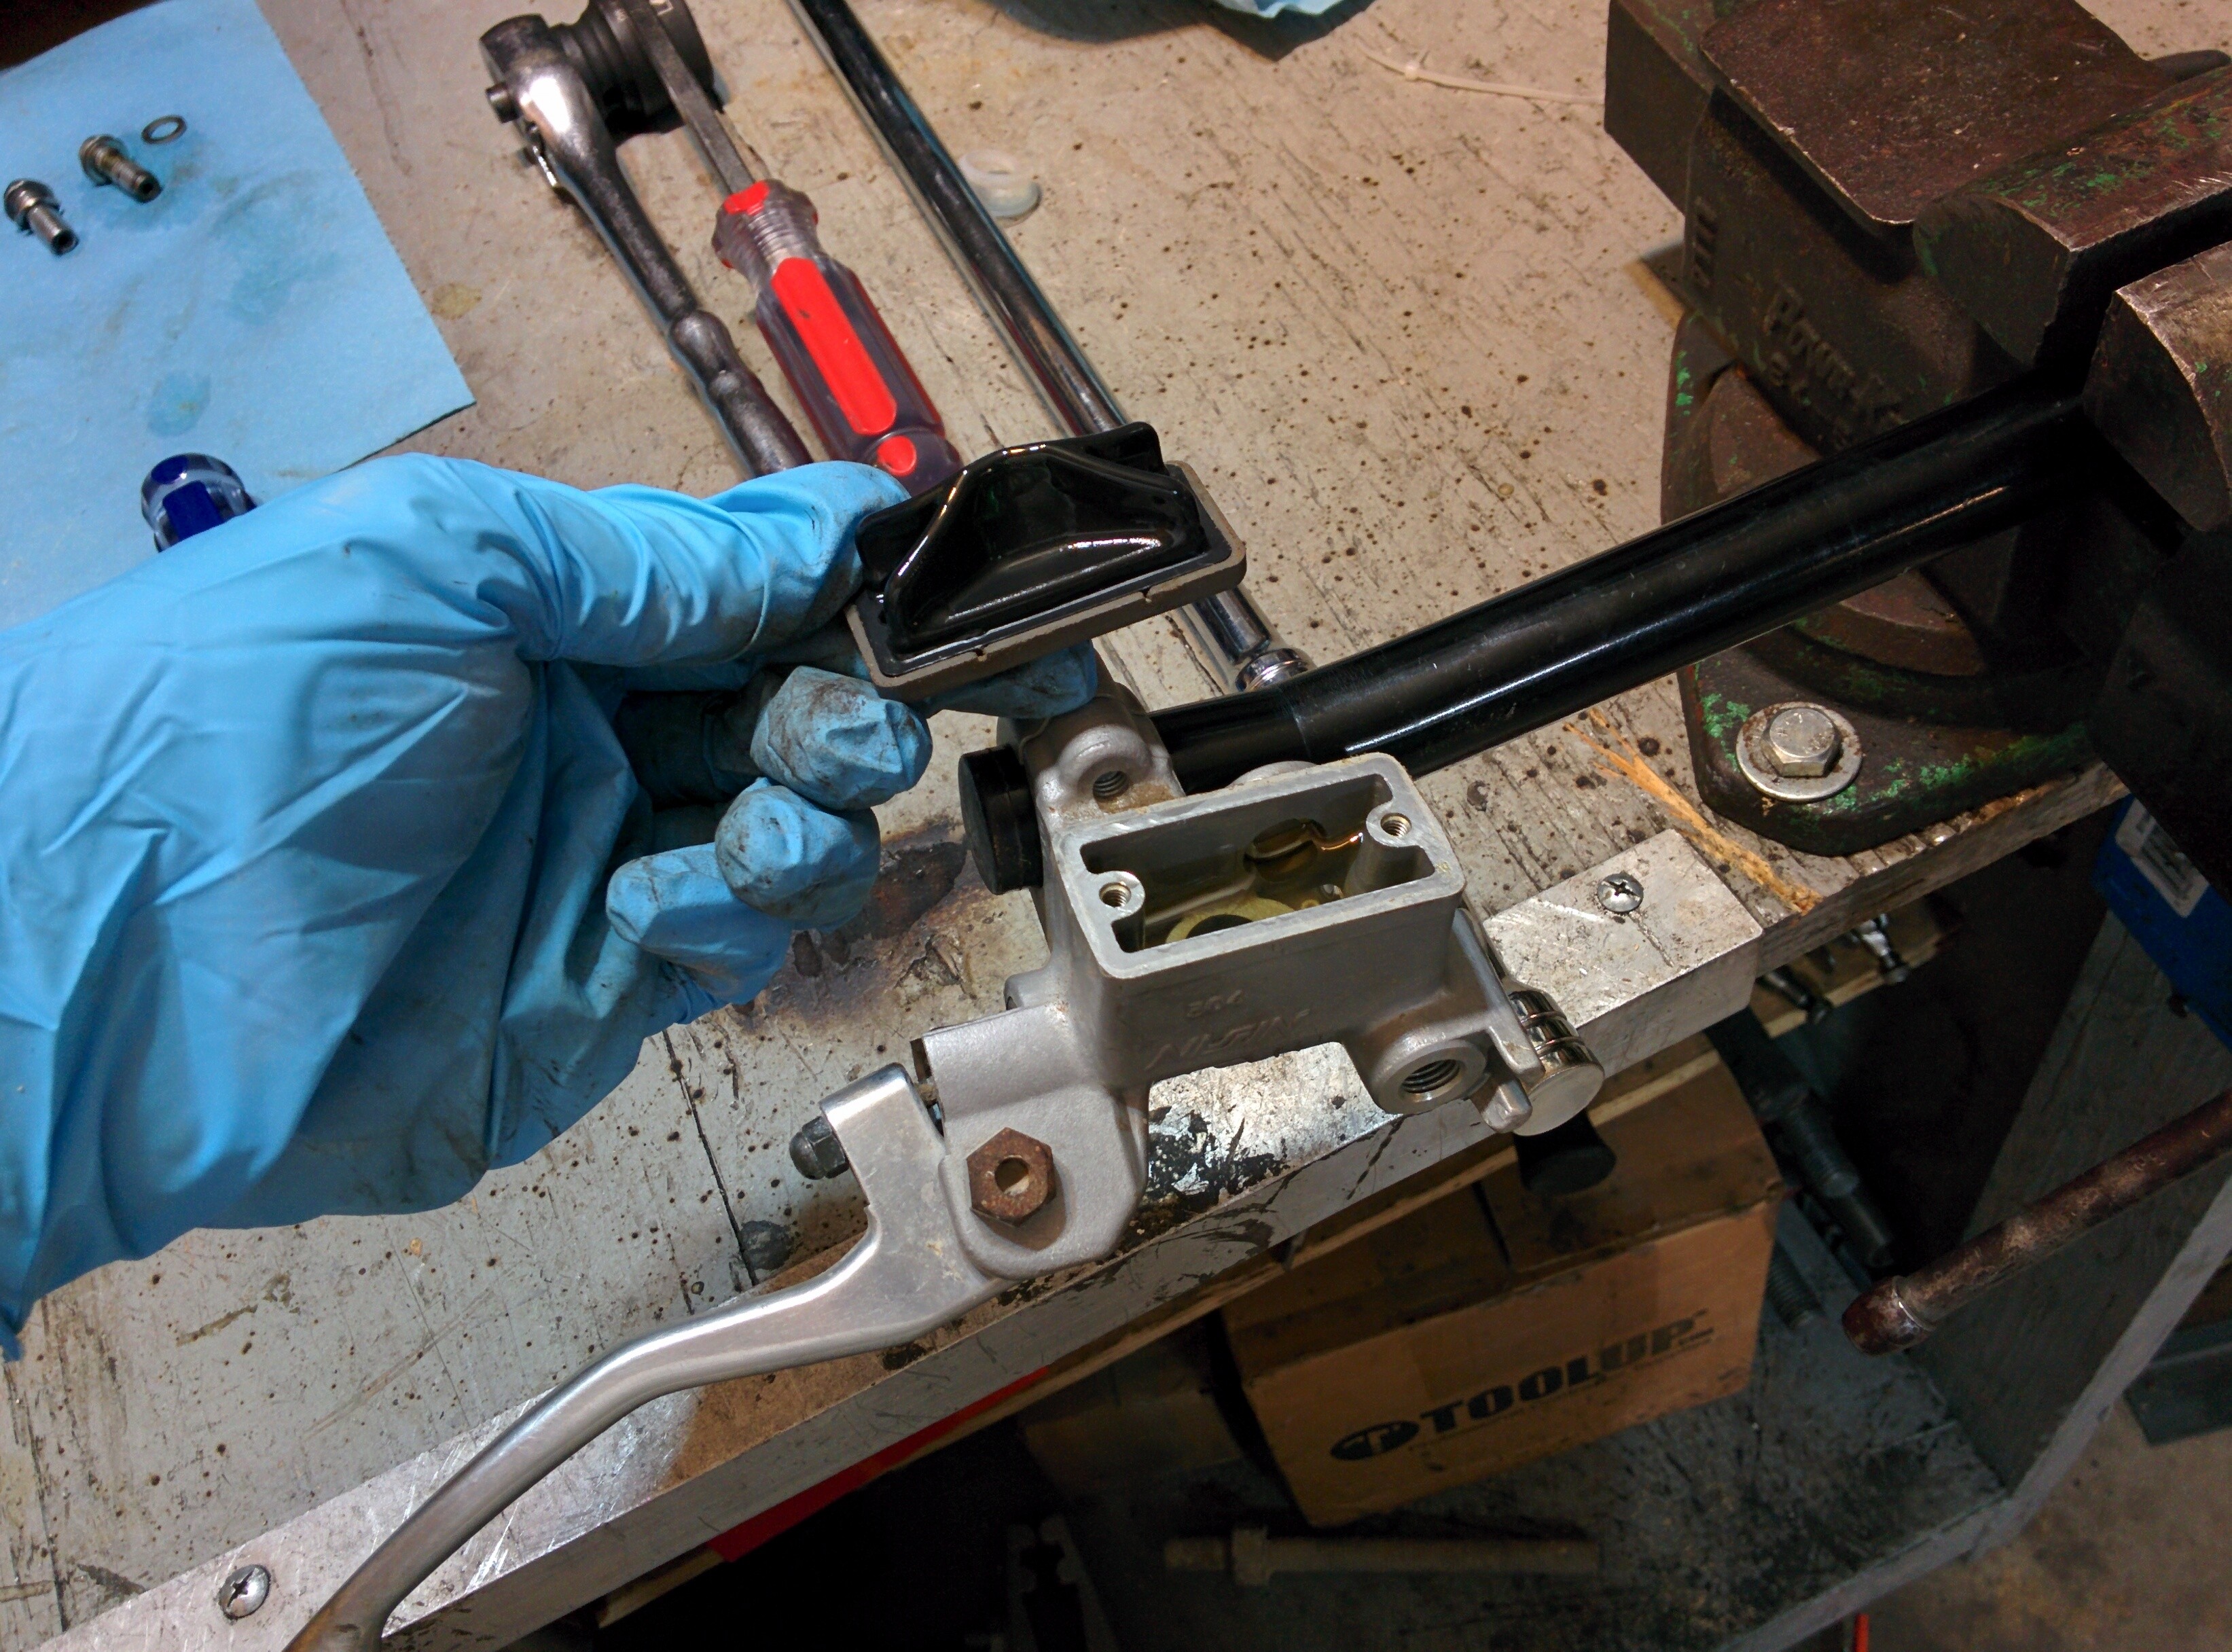
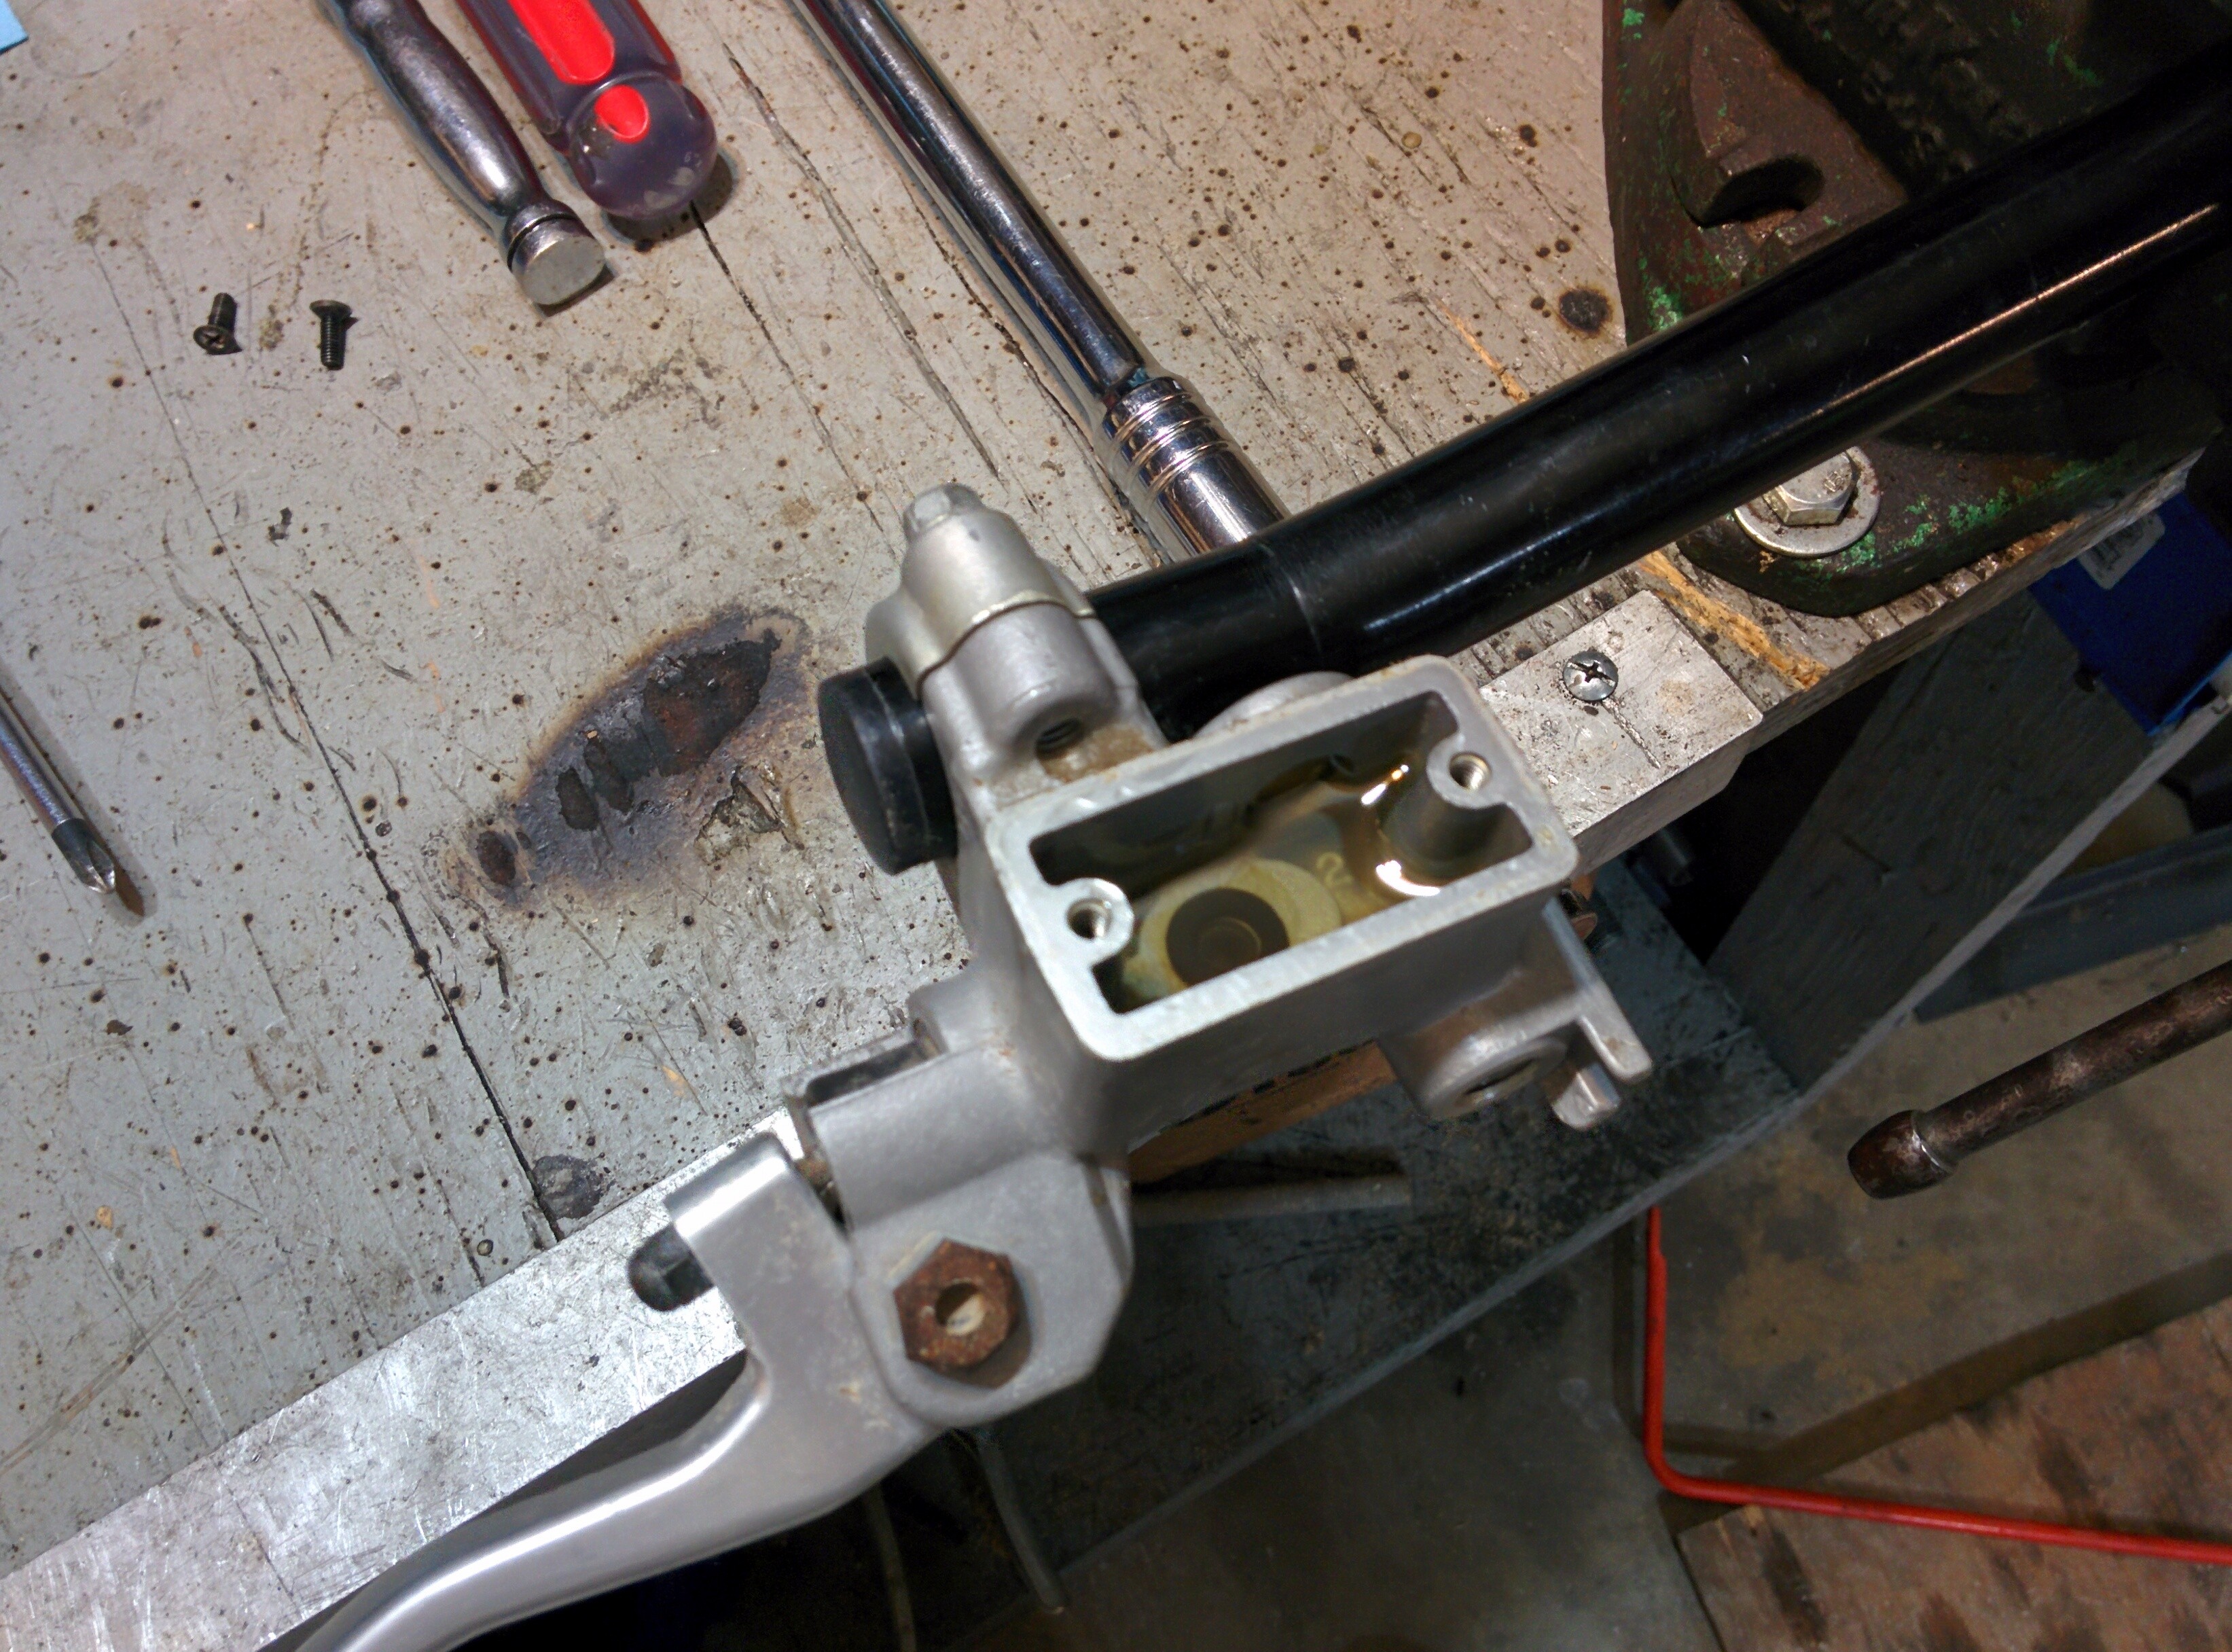
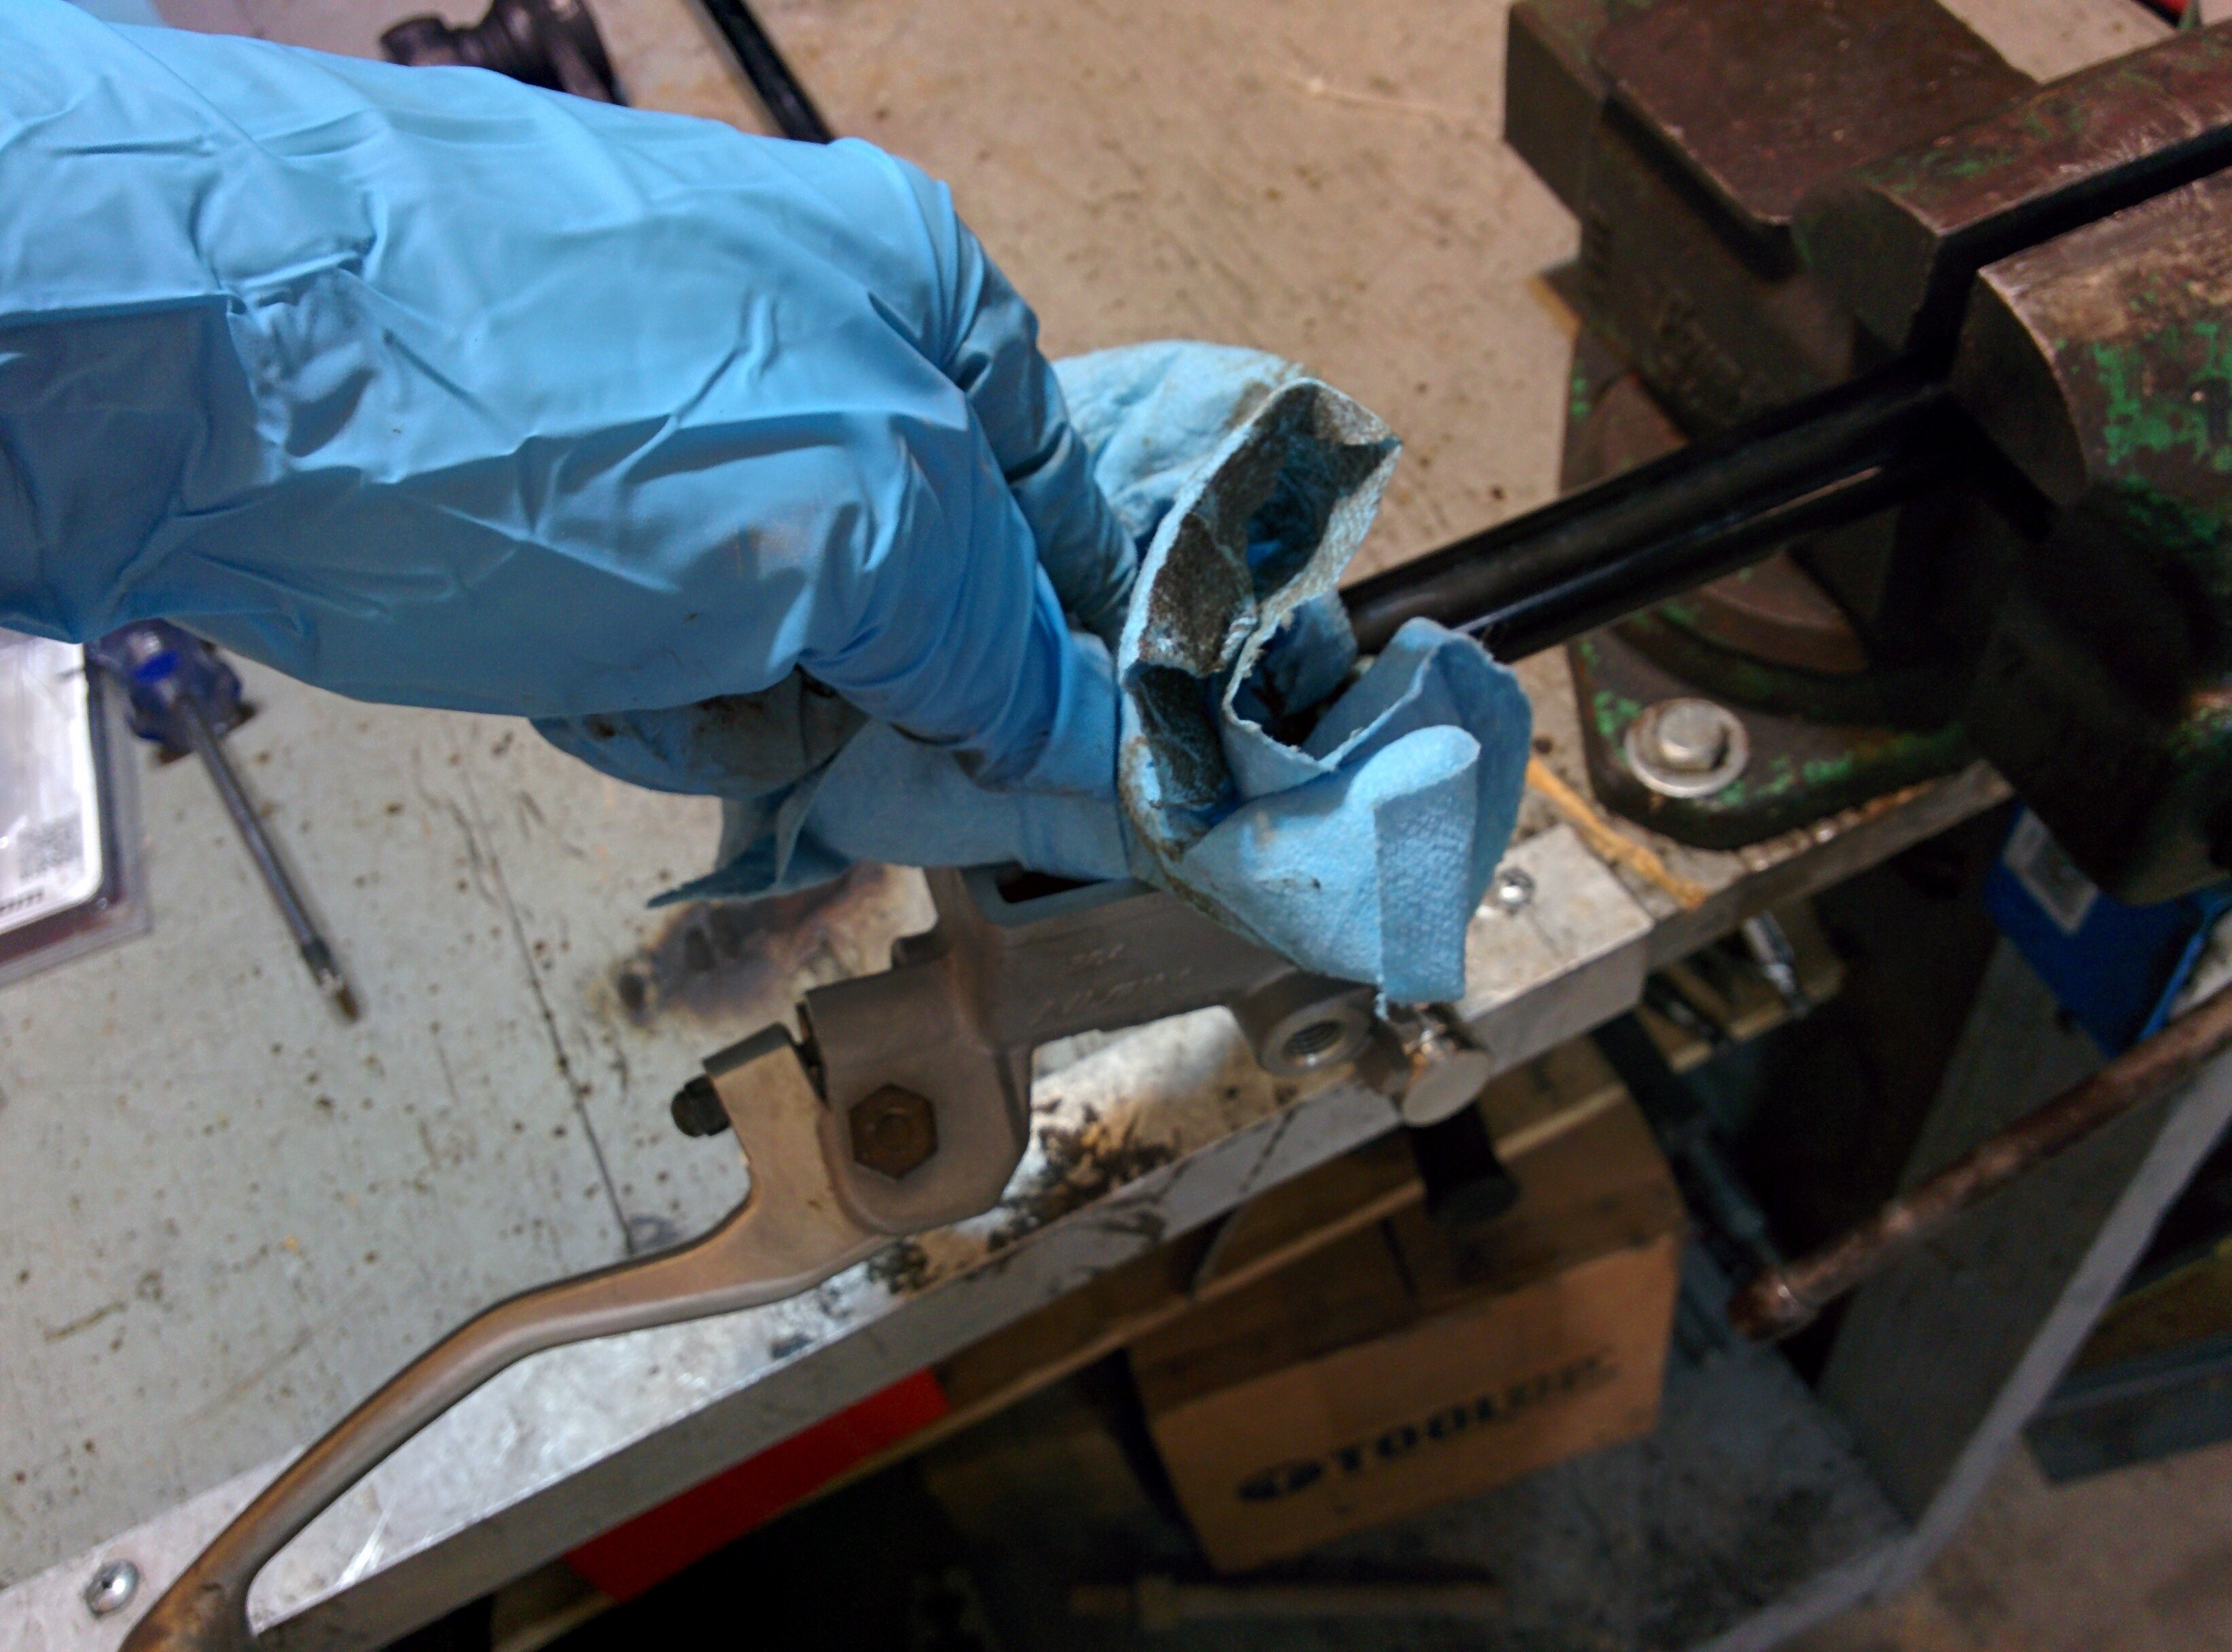
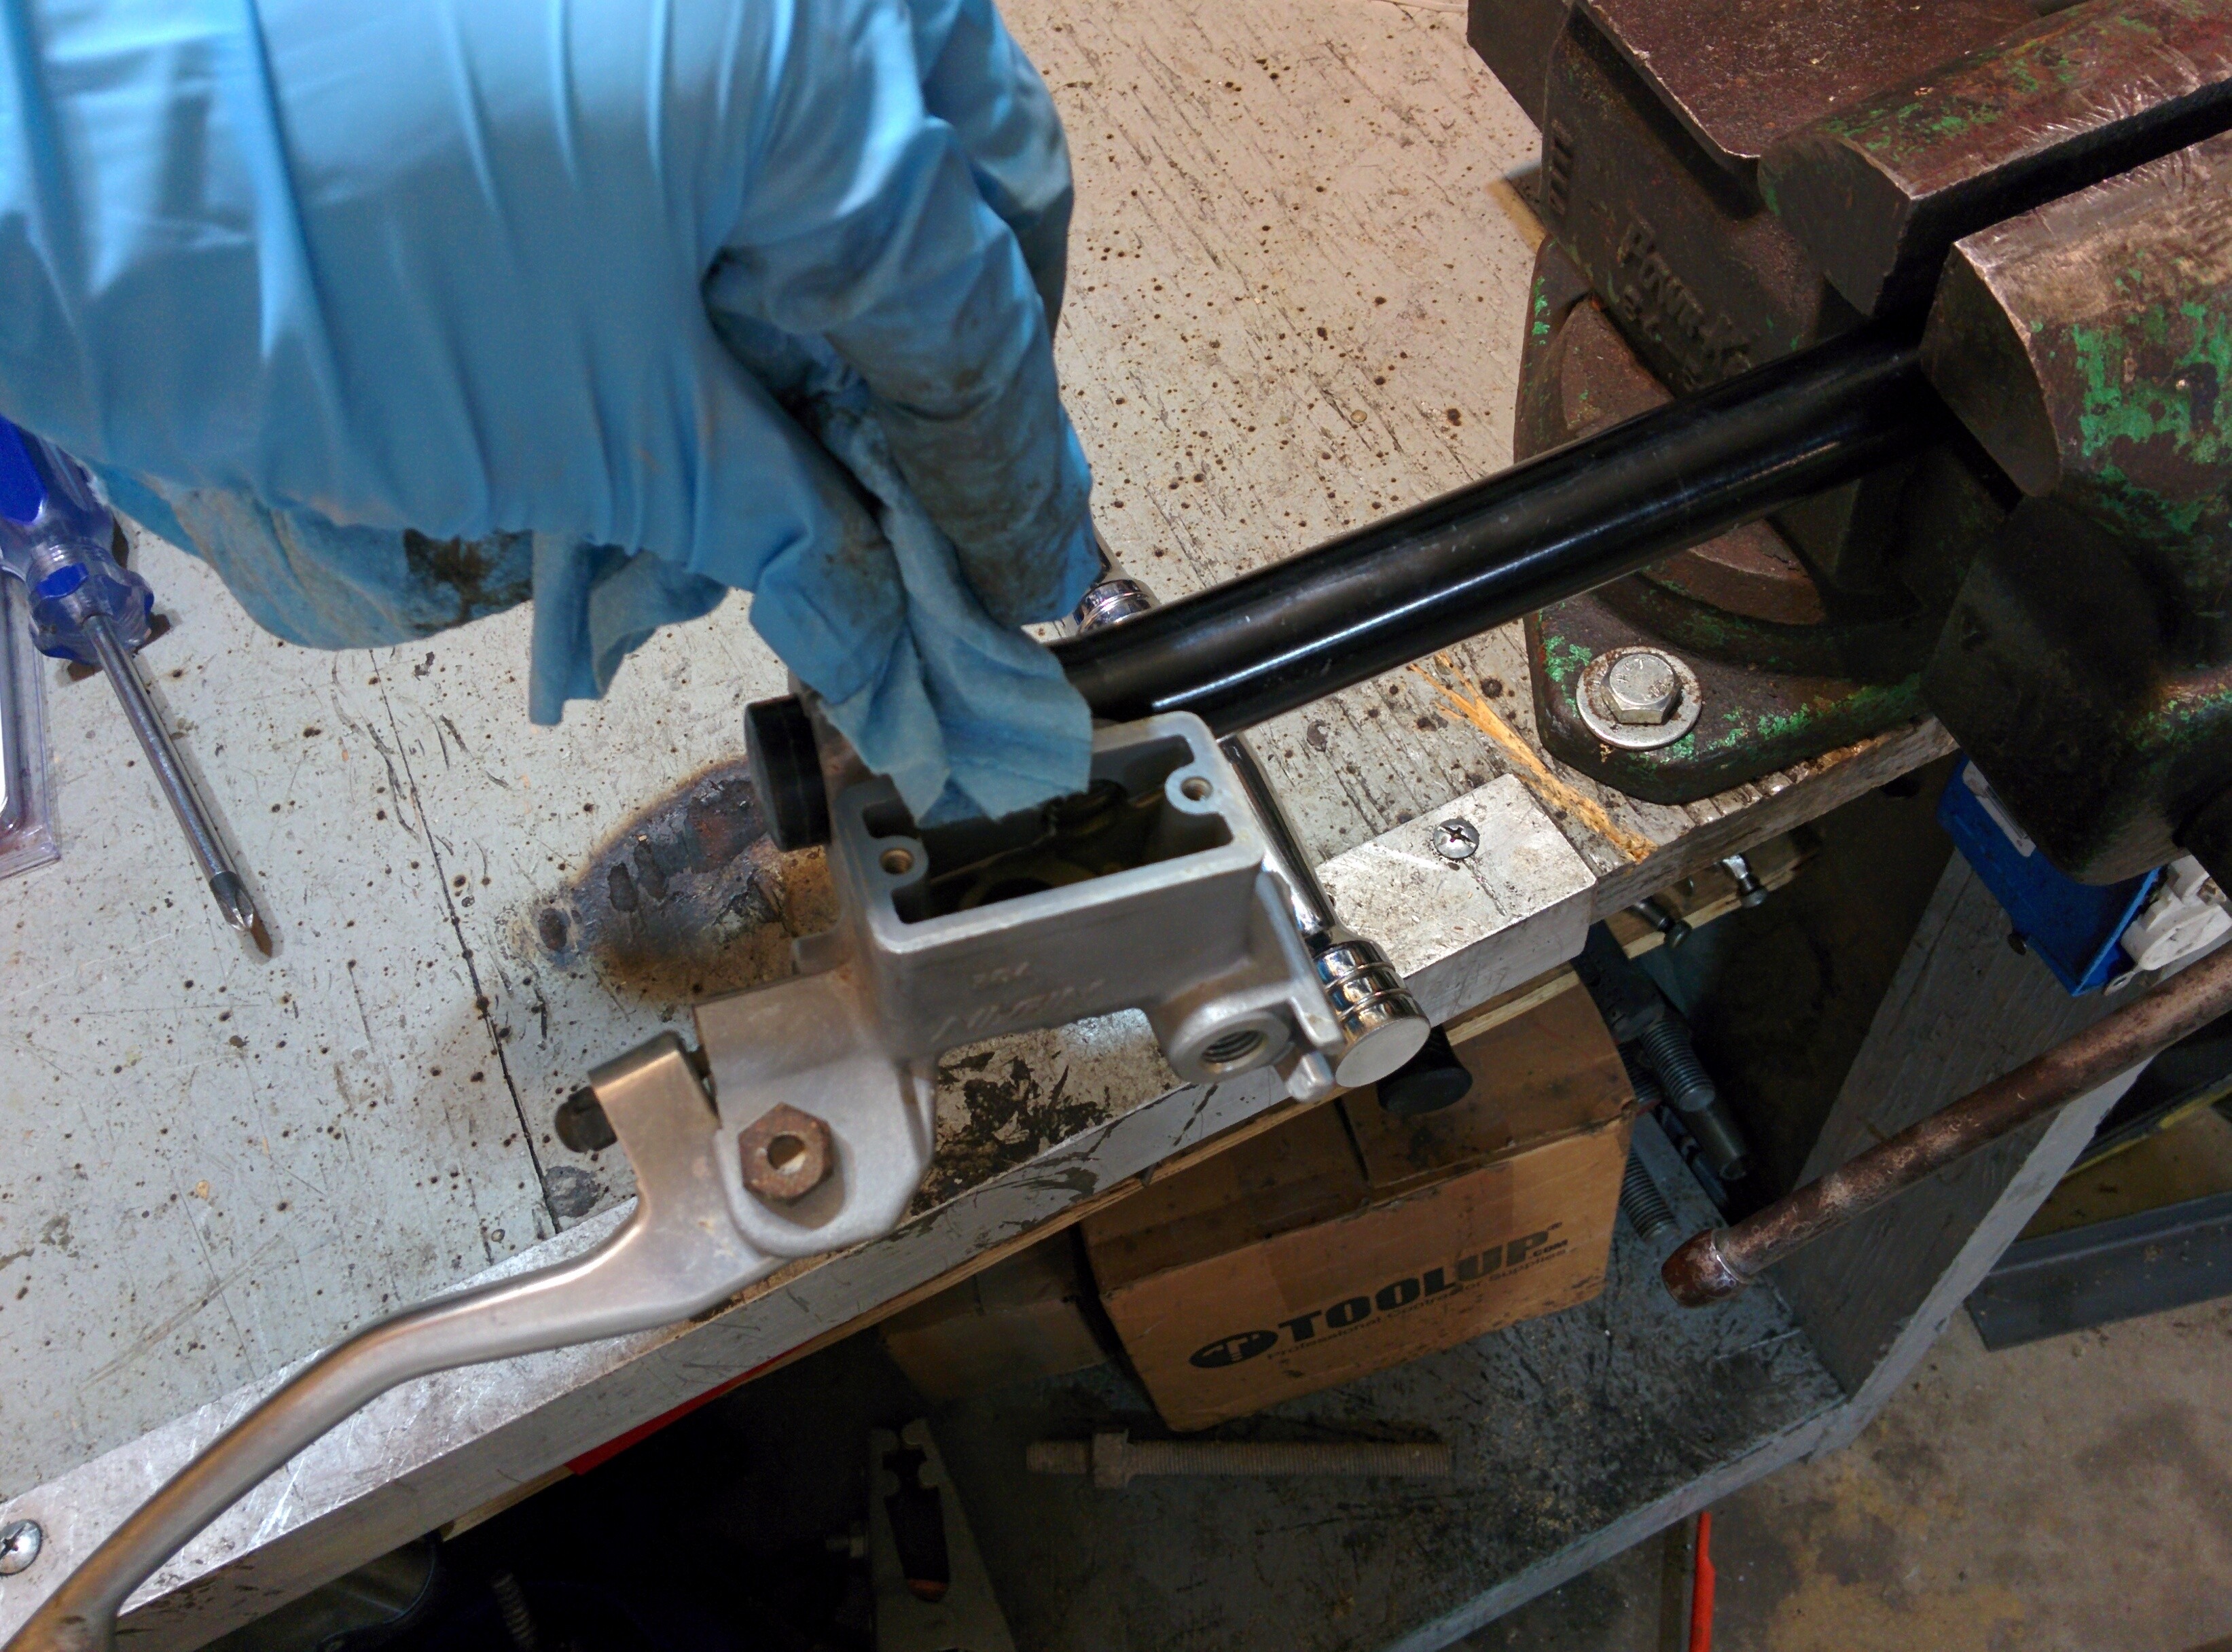
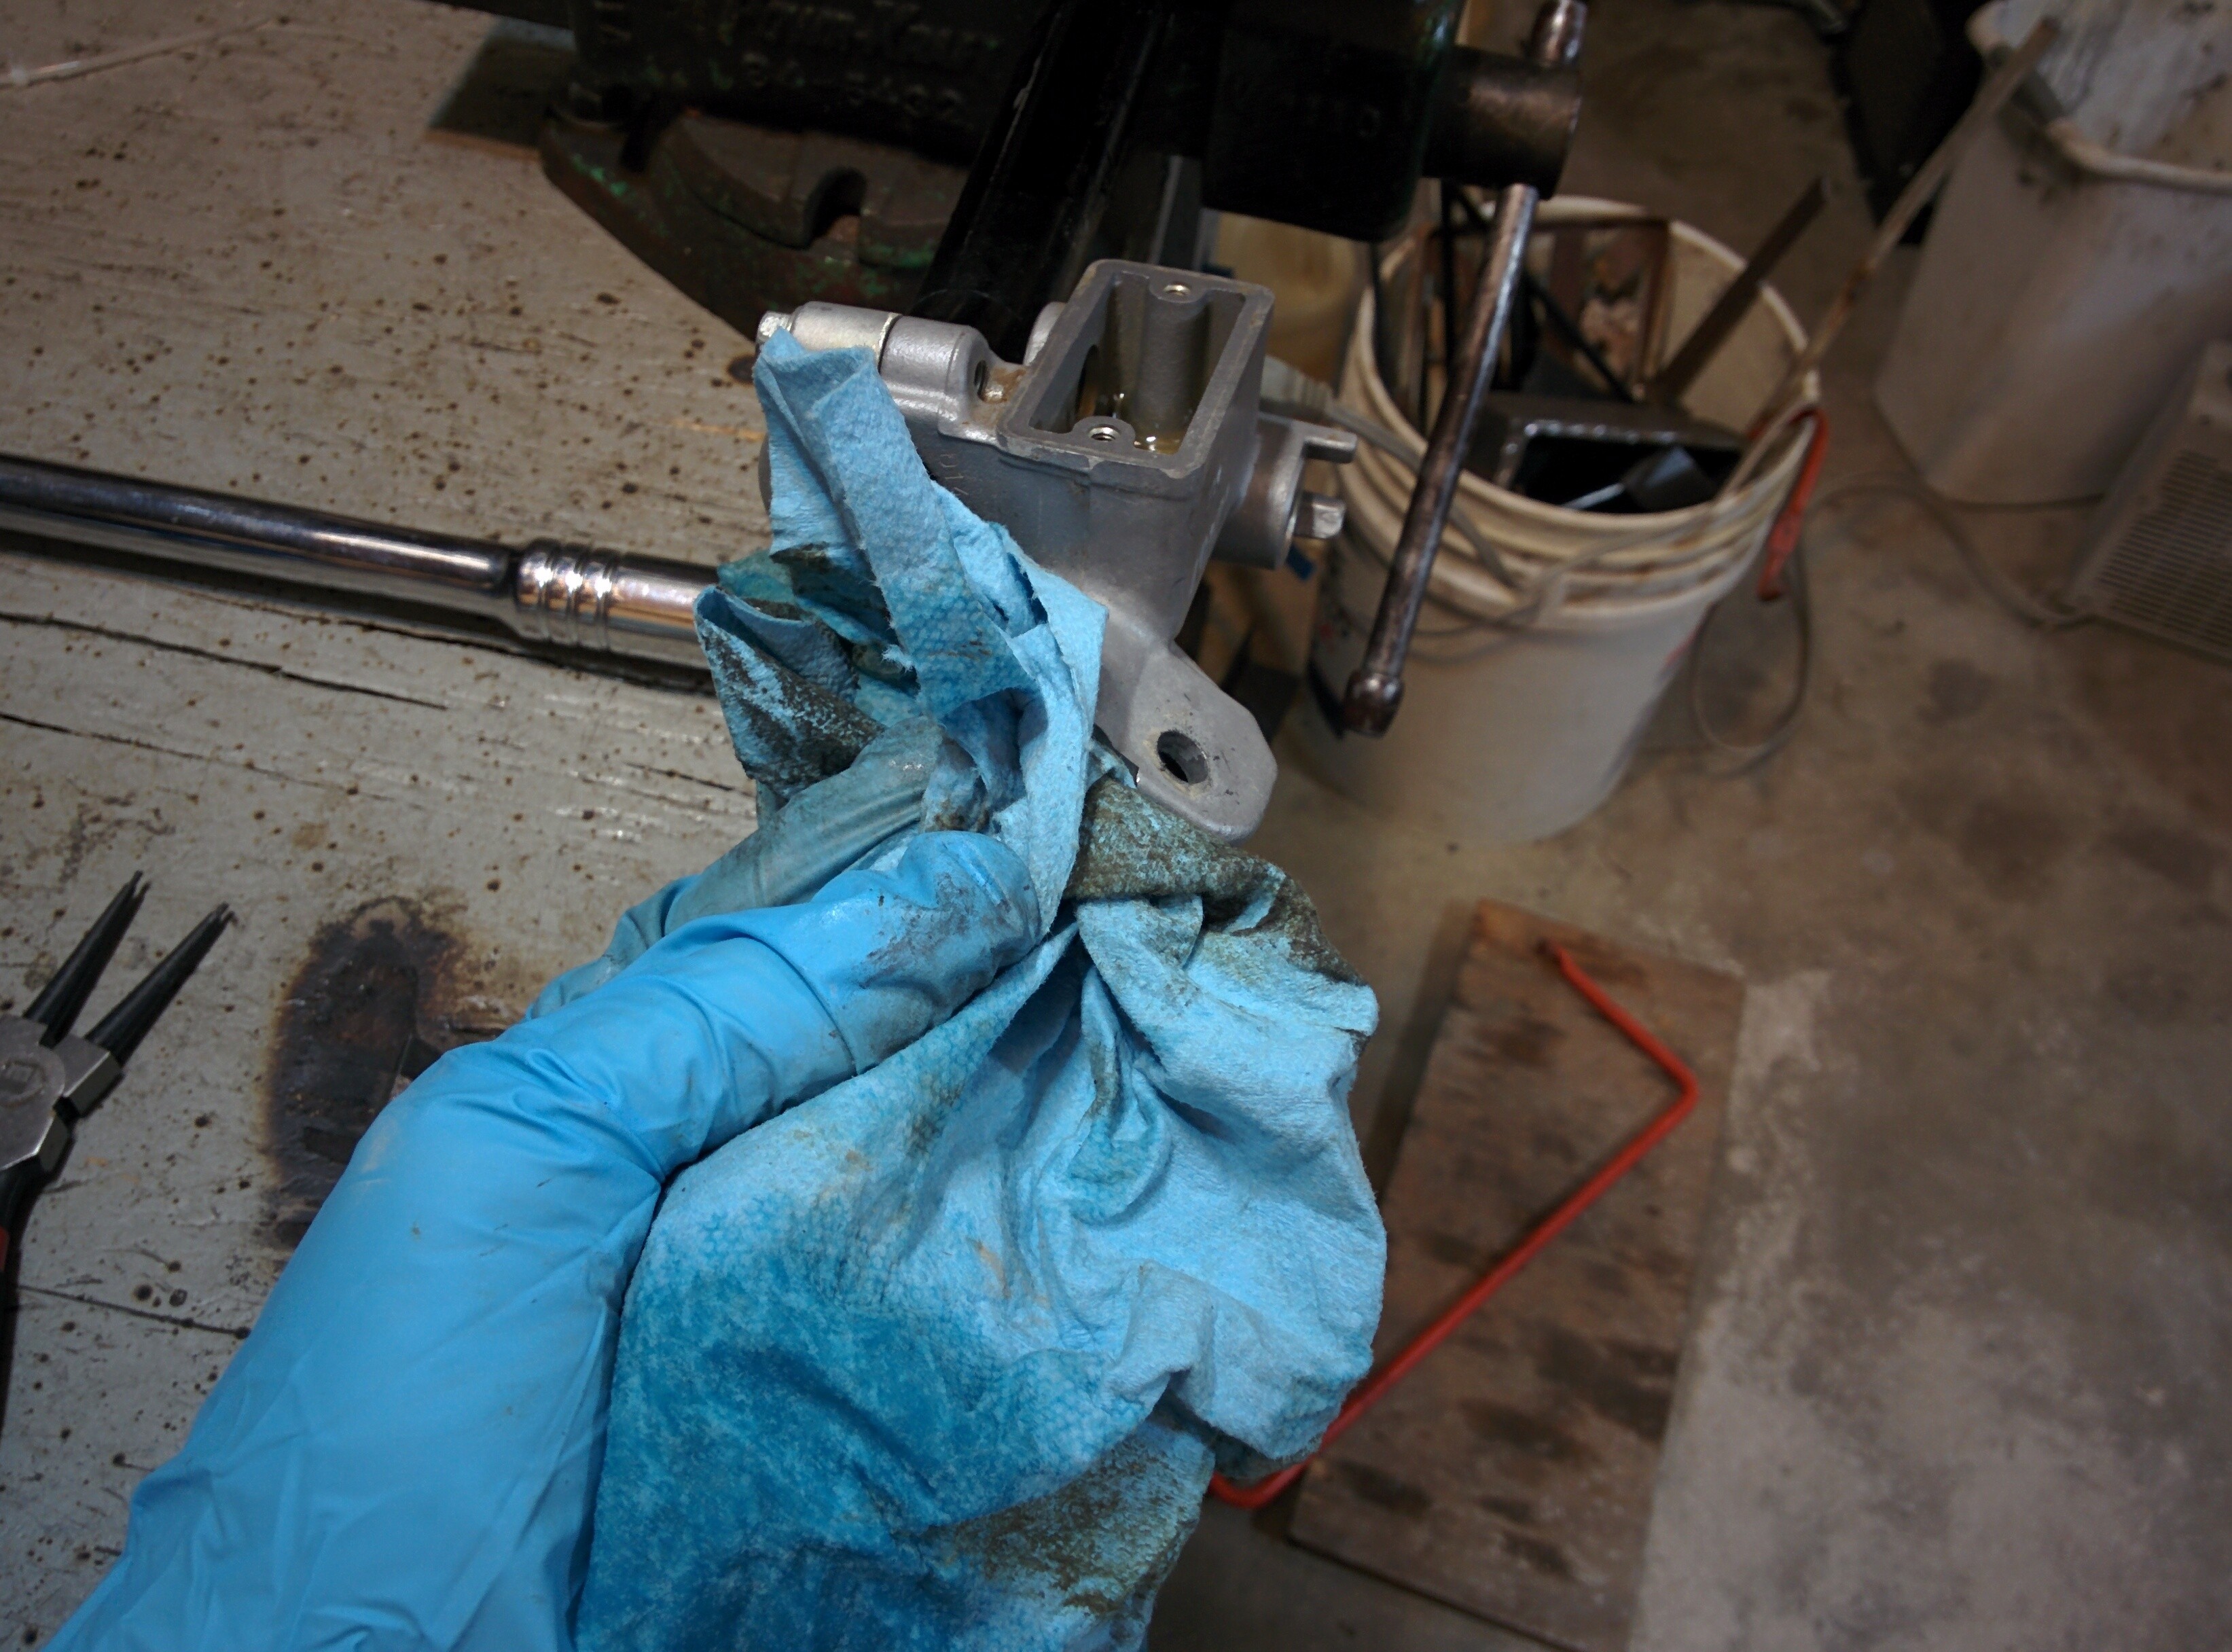
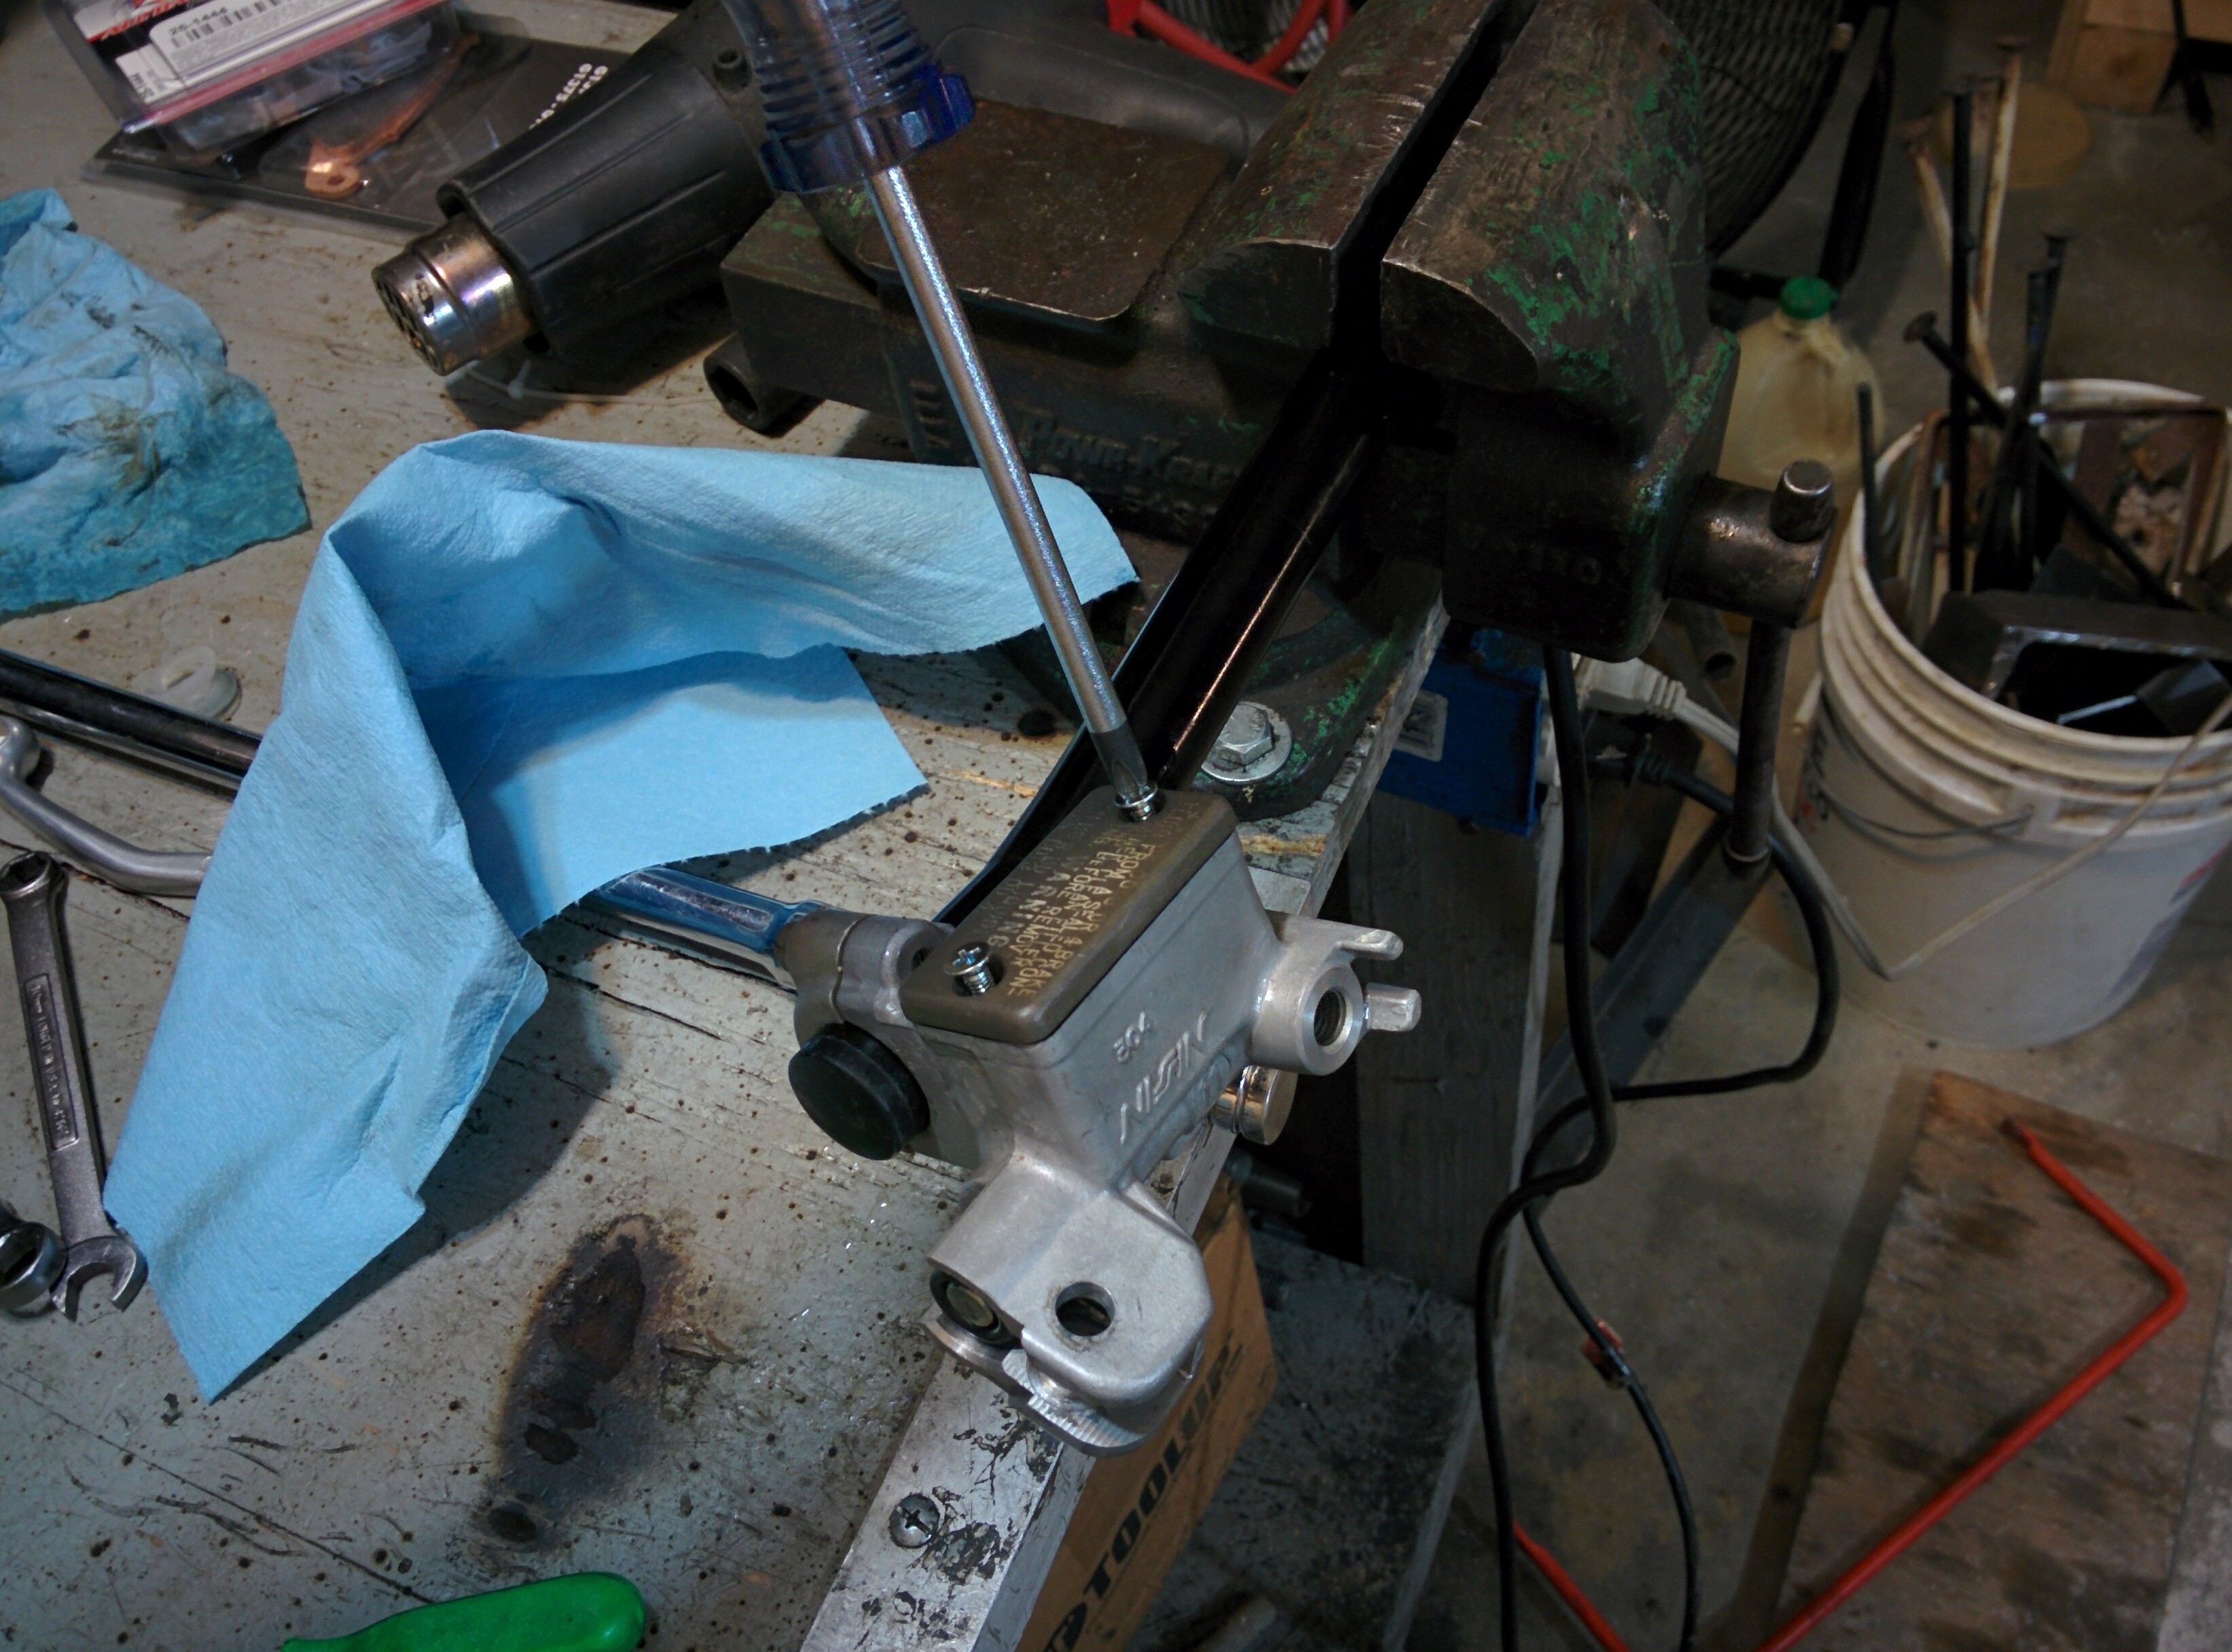
The first step is to remove the reservoir cover. Two phillips head screws in the top of the master cylinder are removed. After the cover is removed, wipe out all the remaining brake fluid with a shop rag.
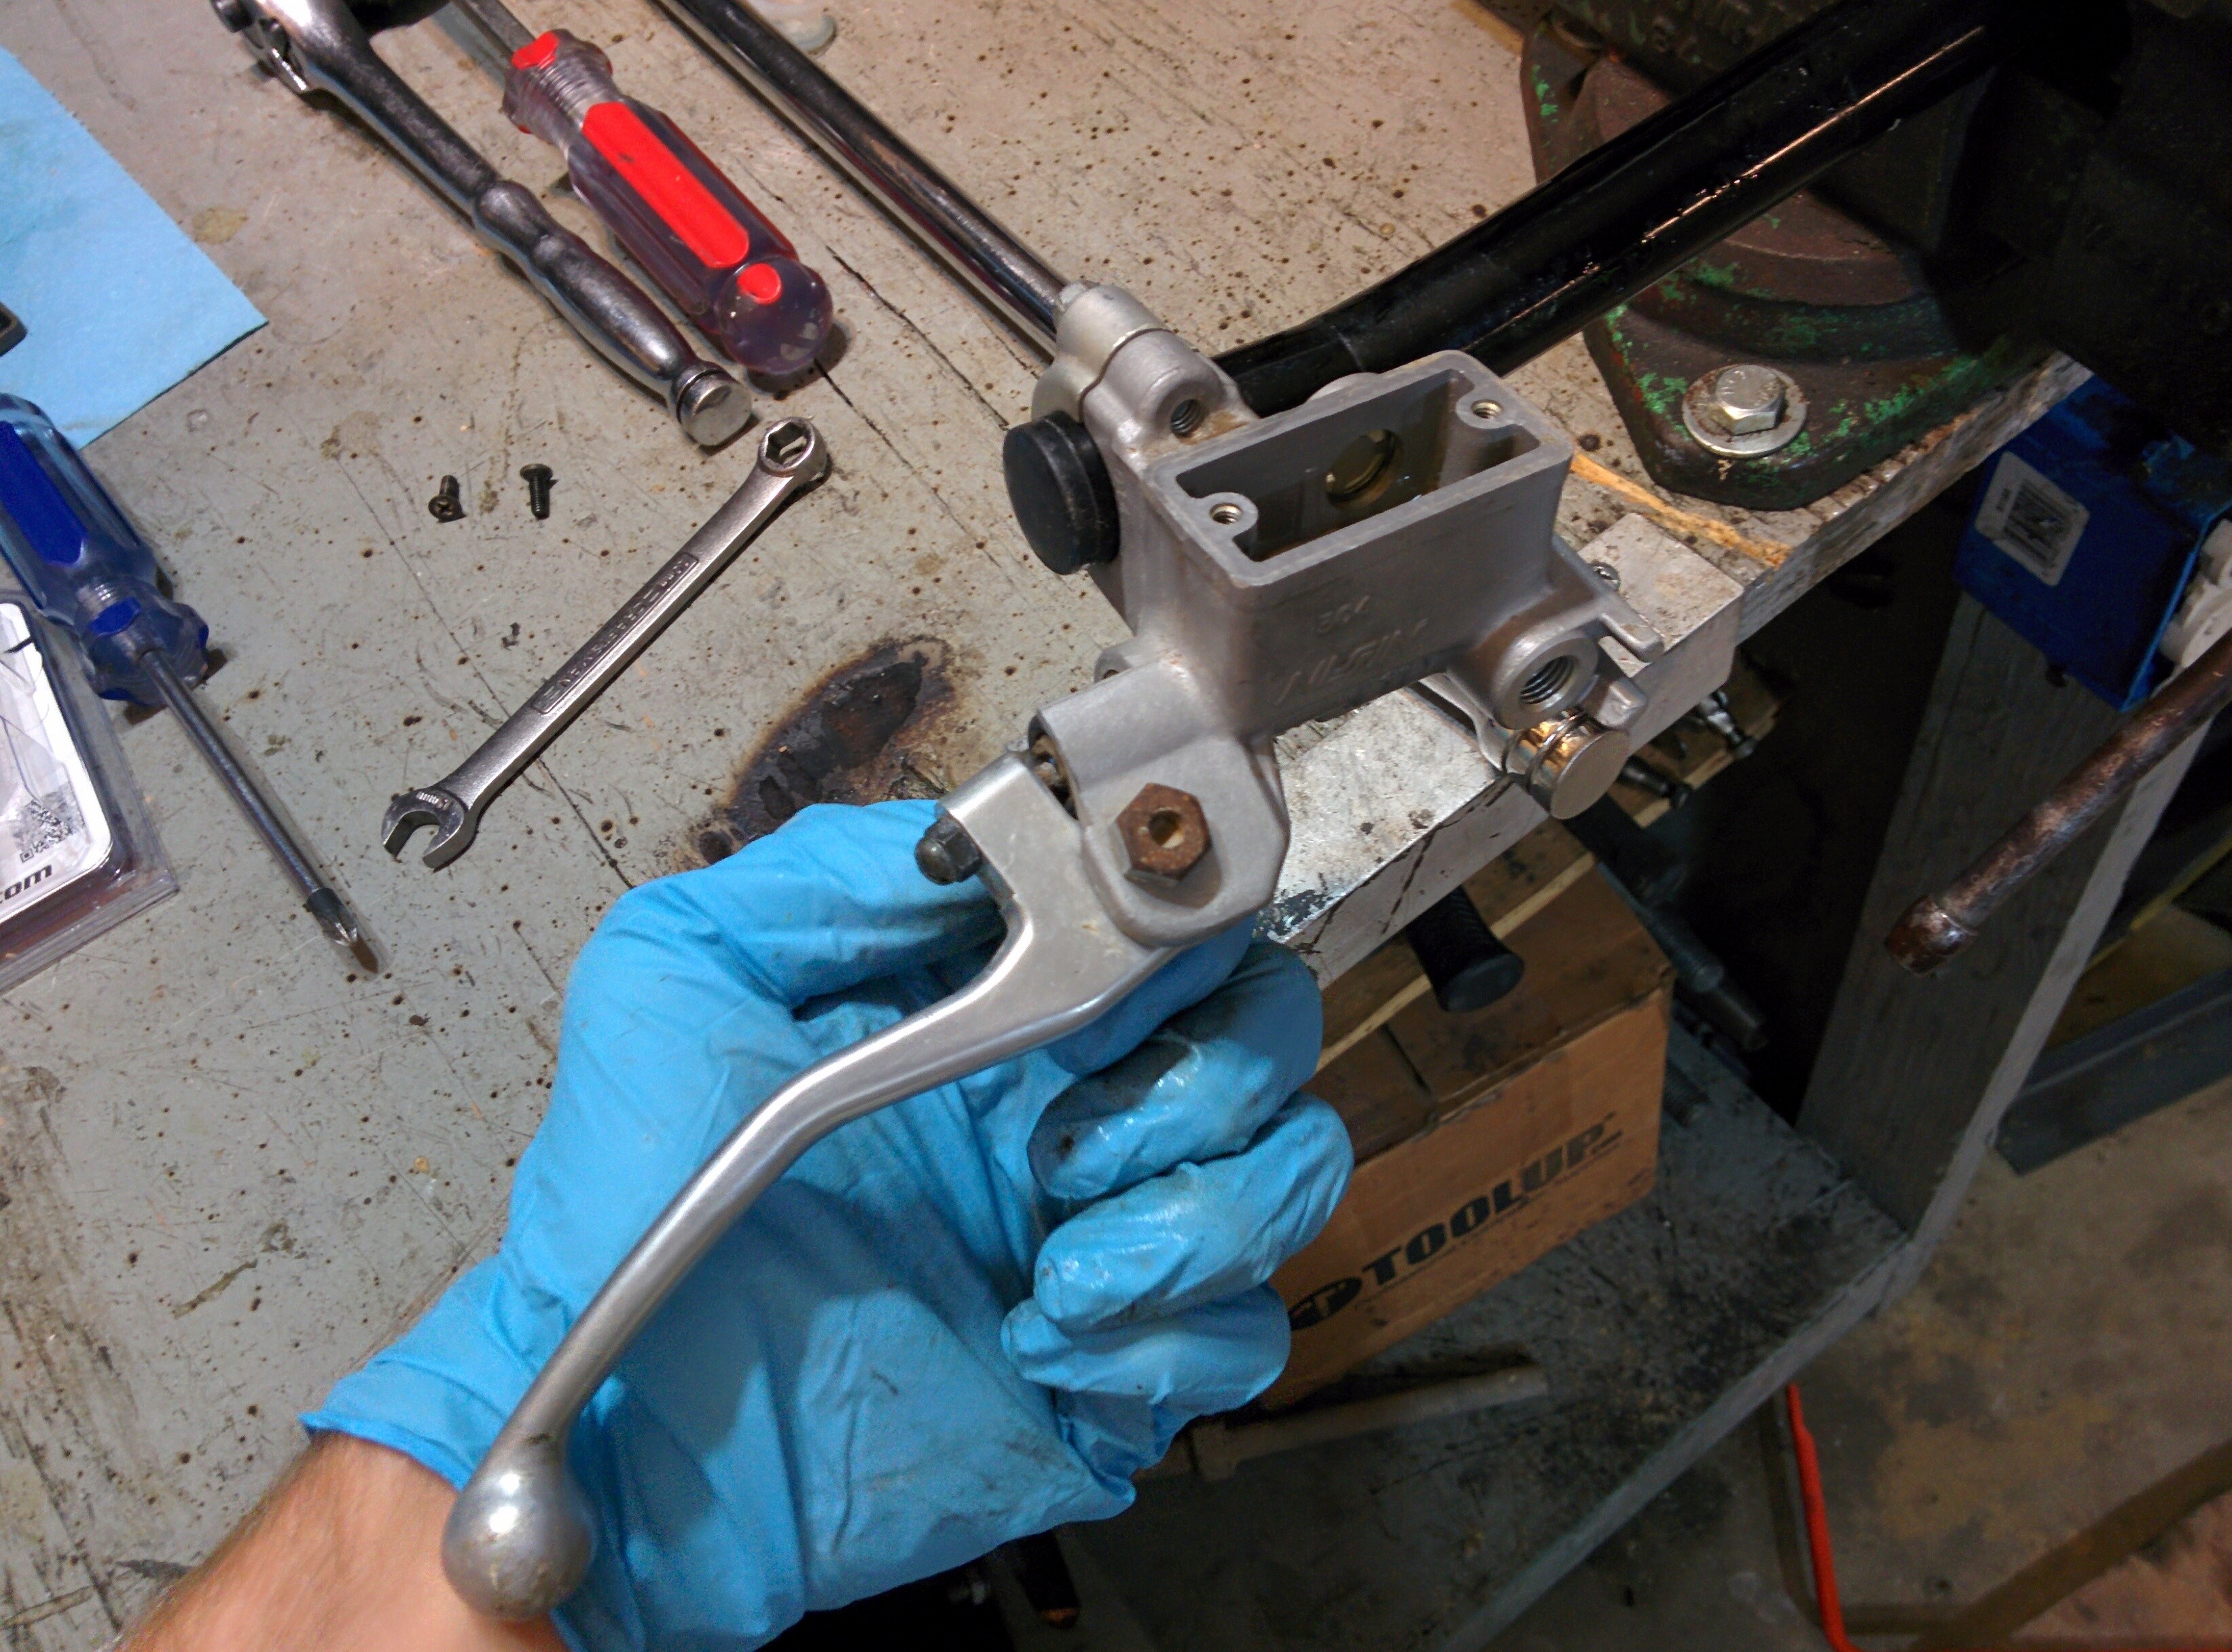
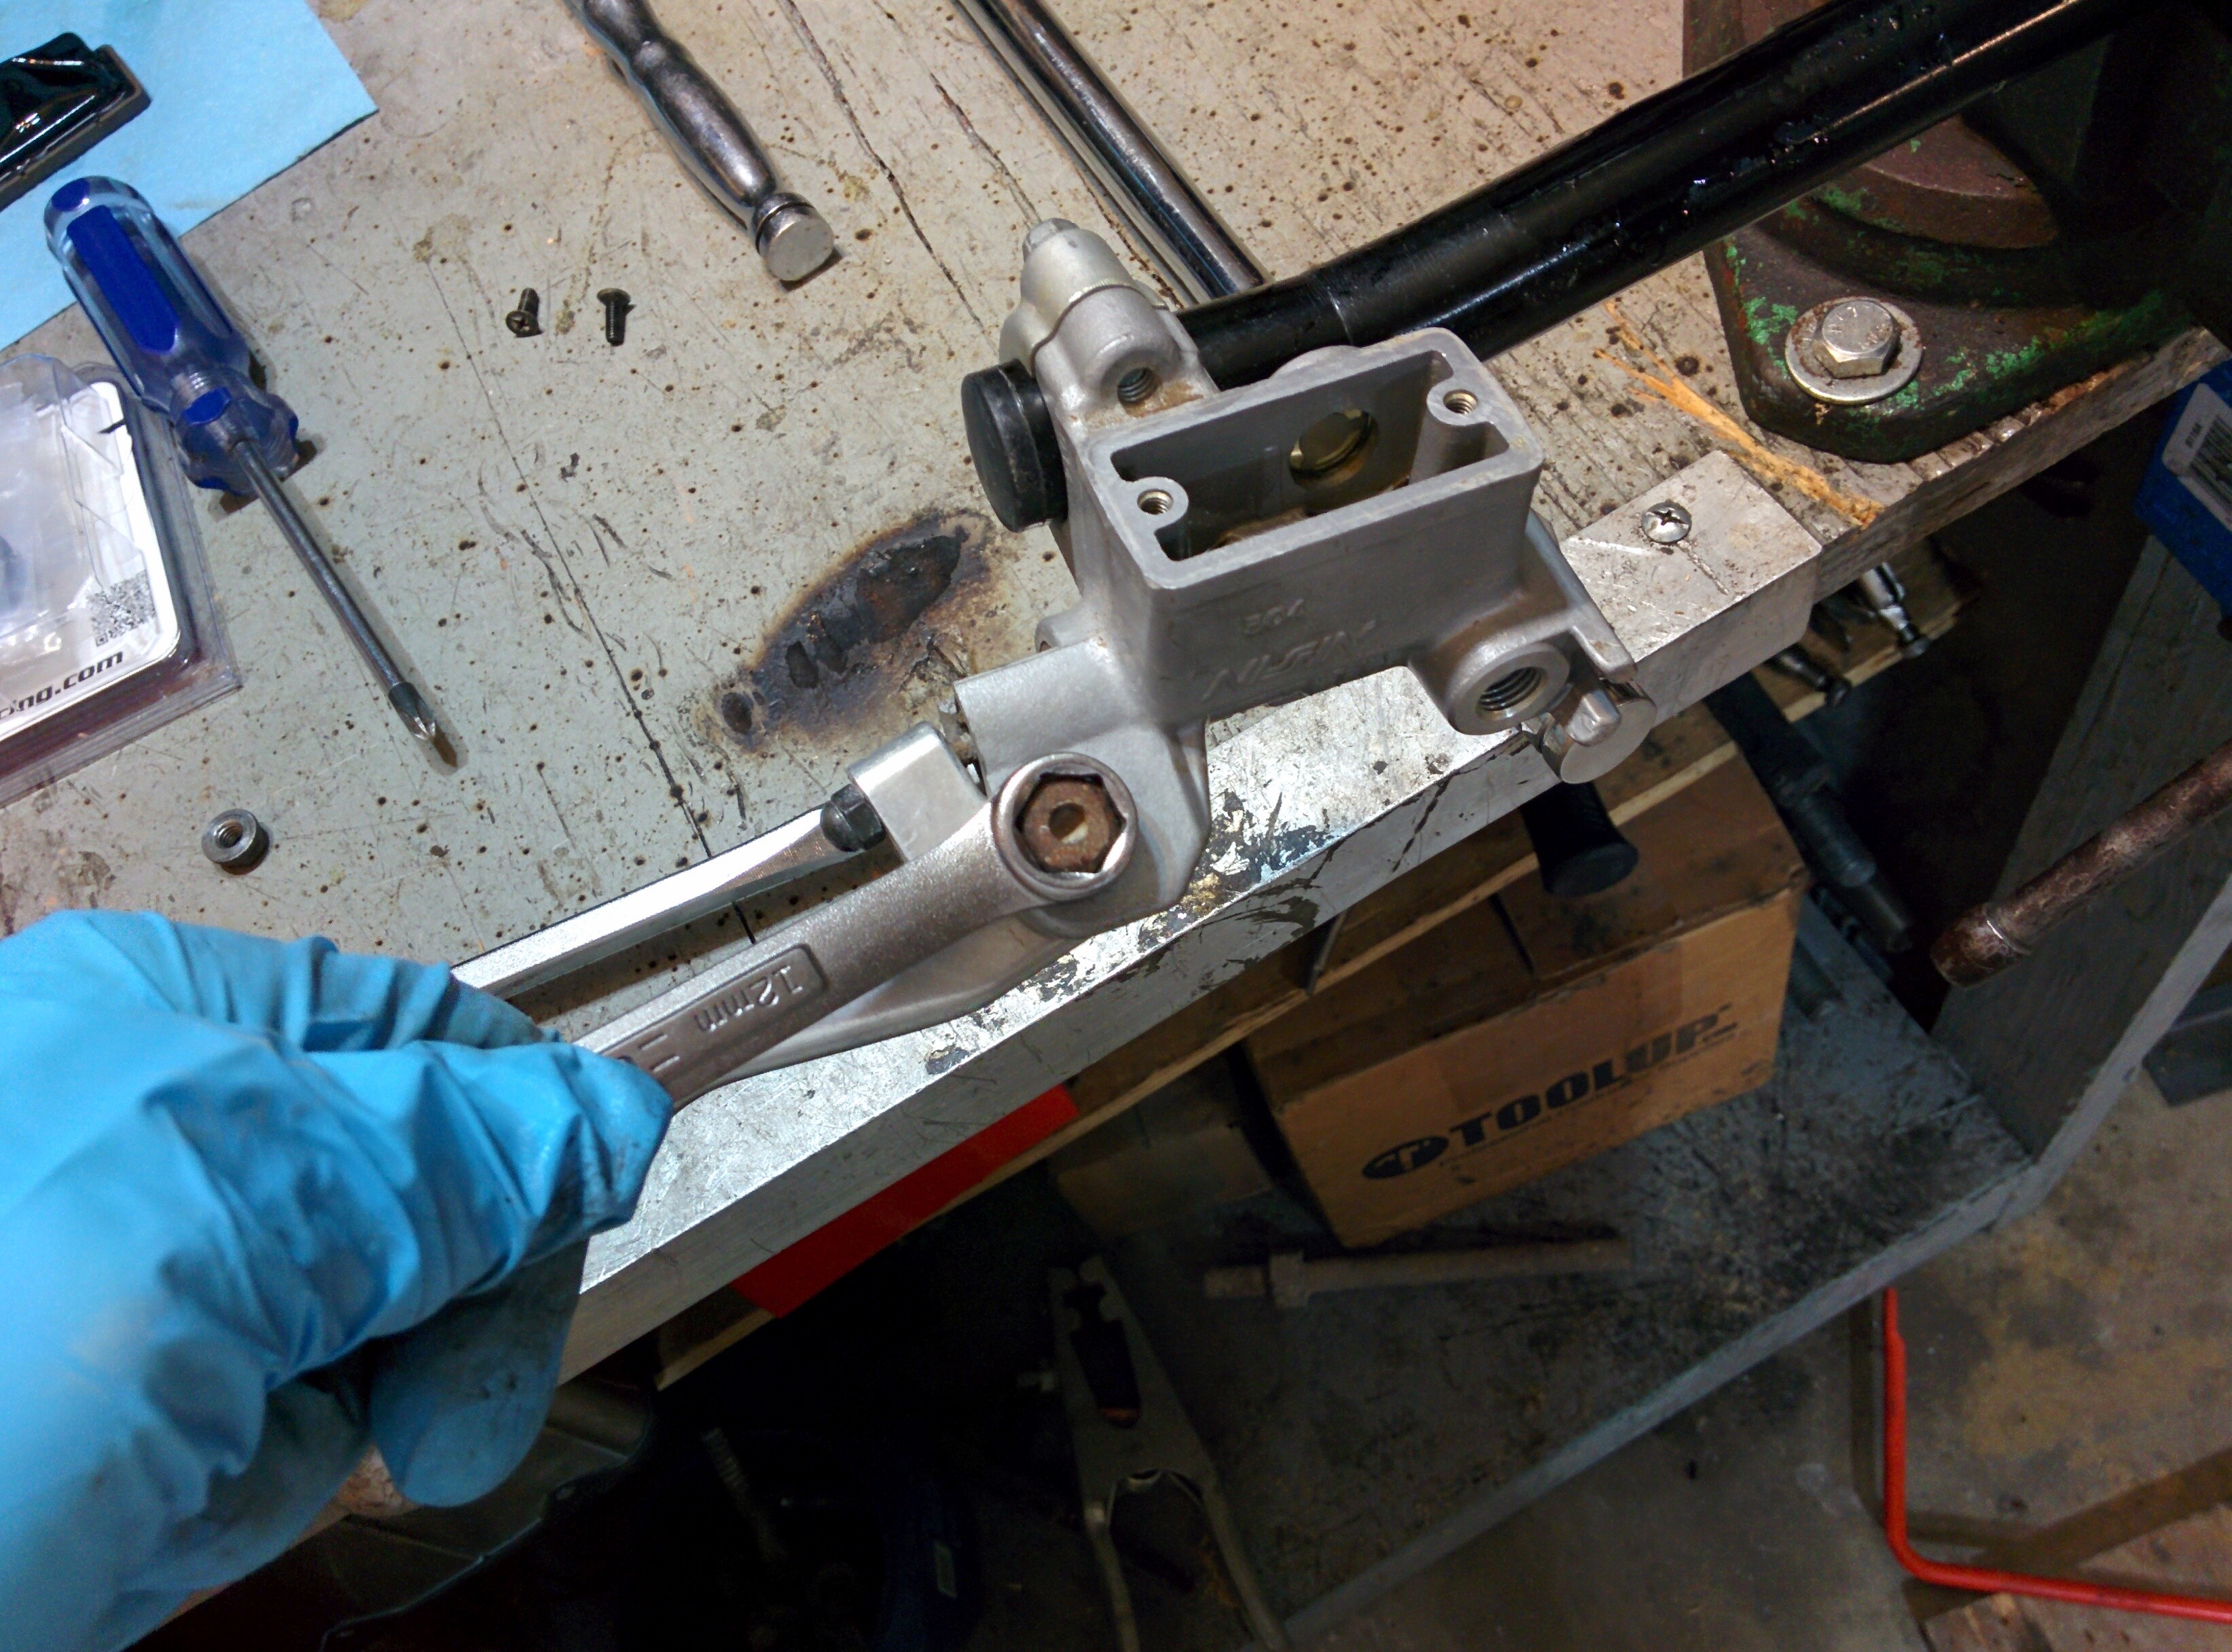
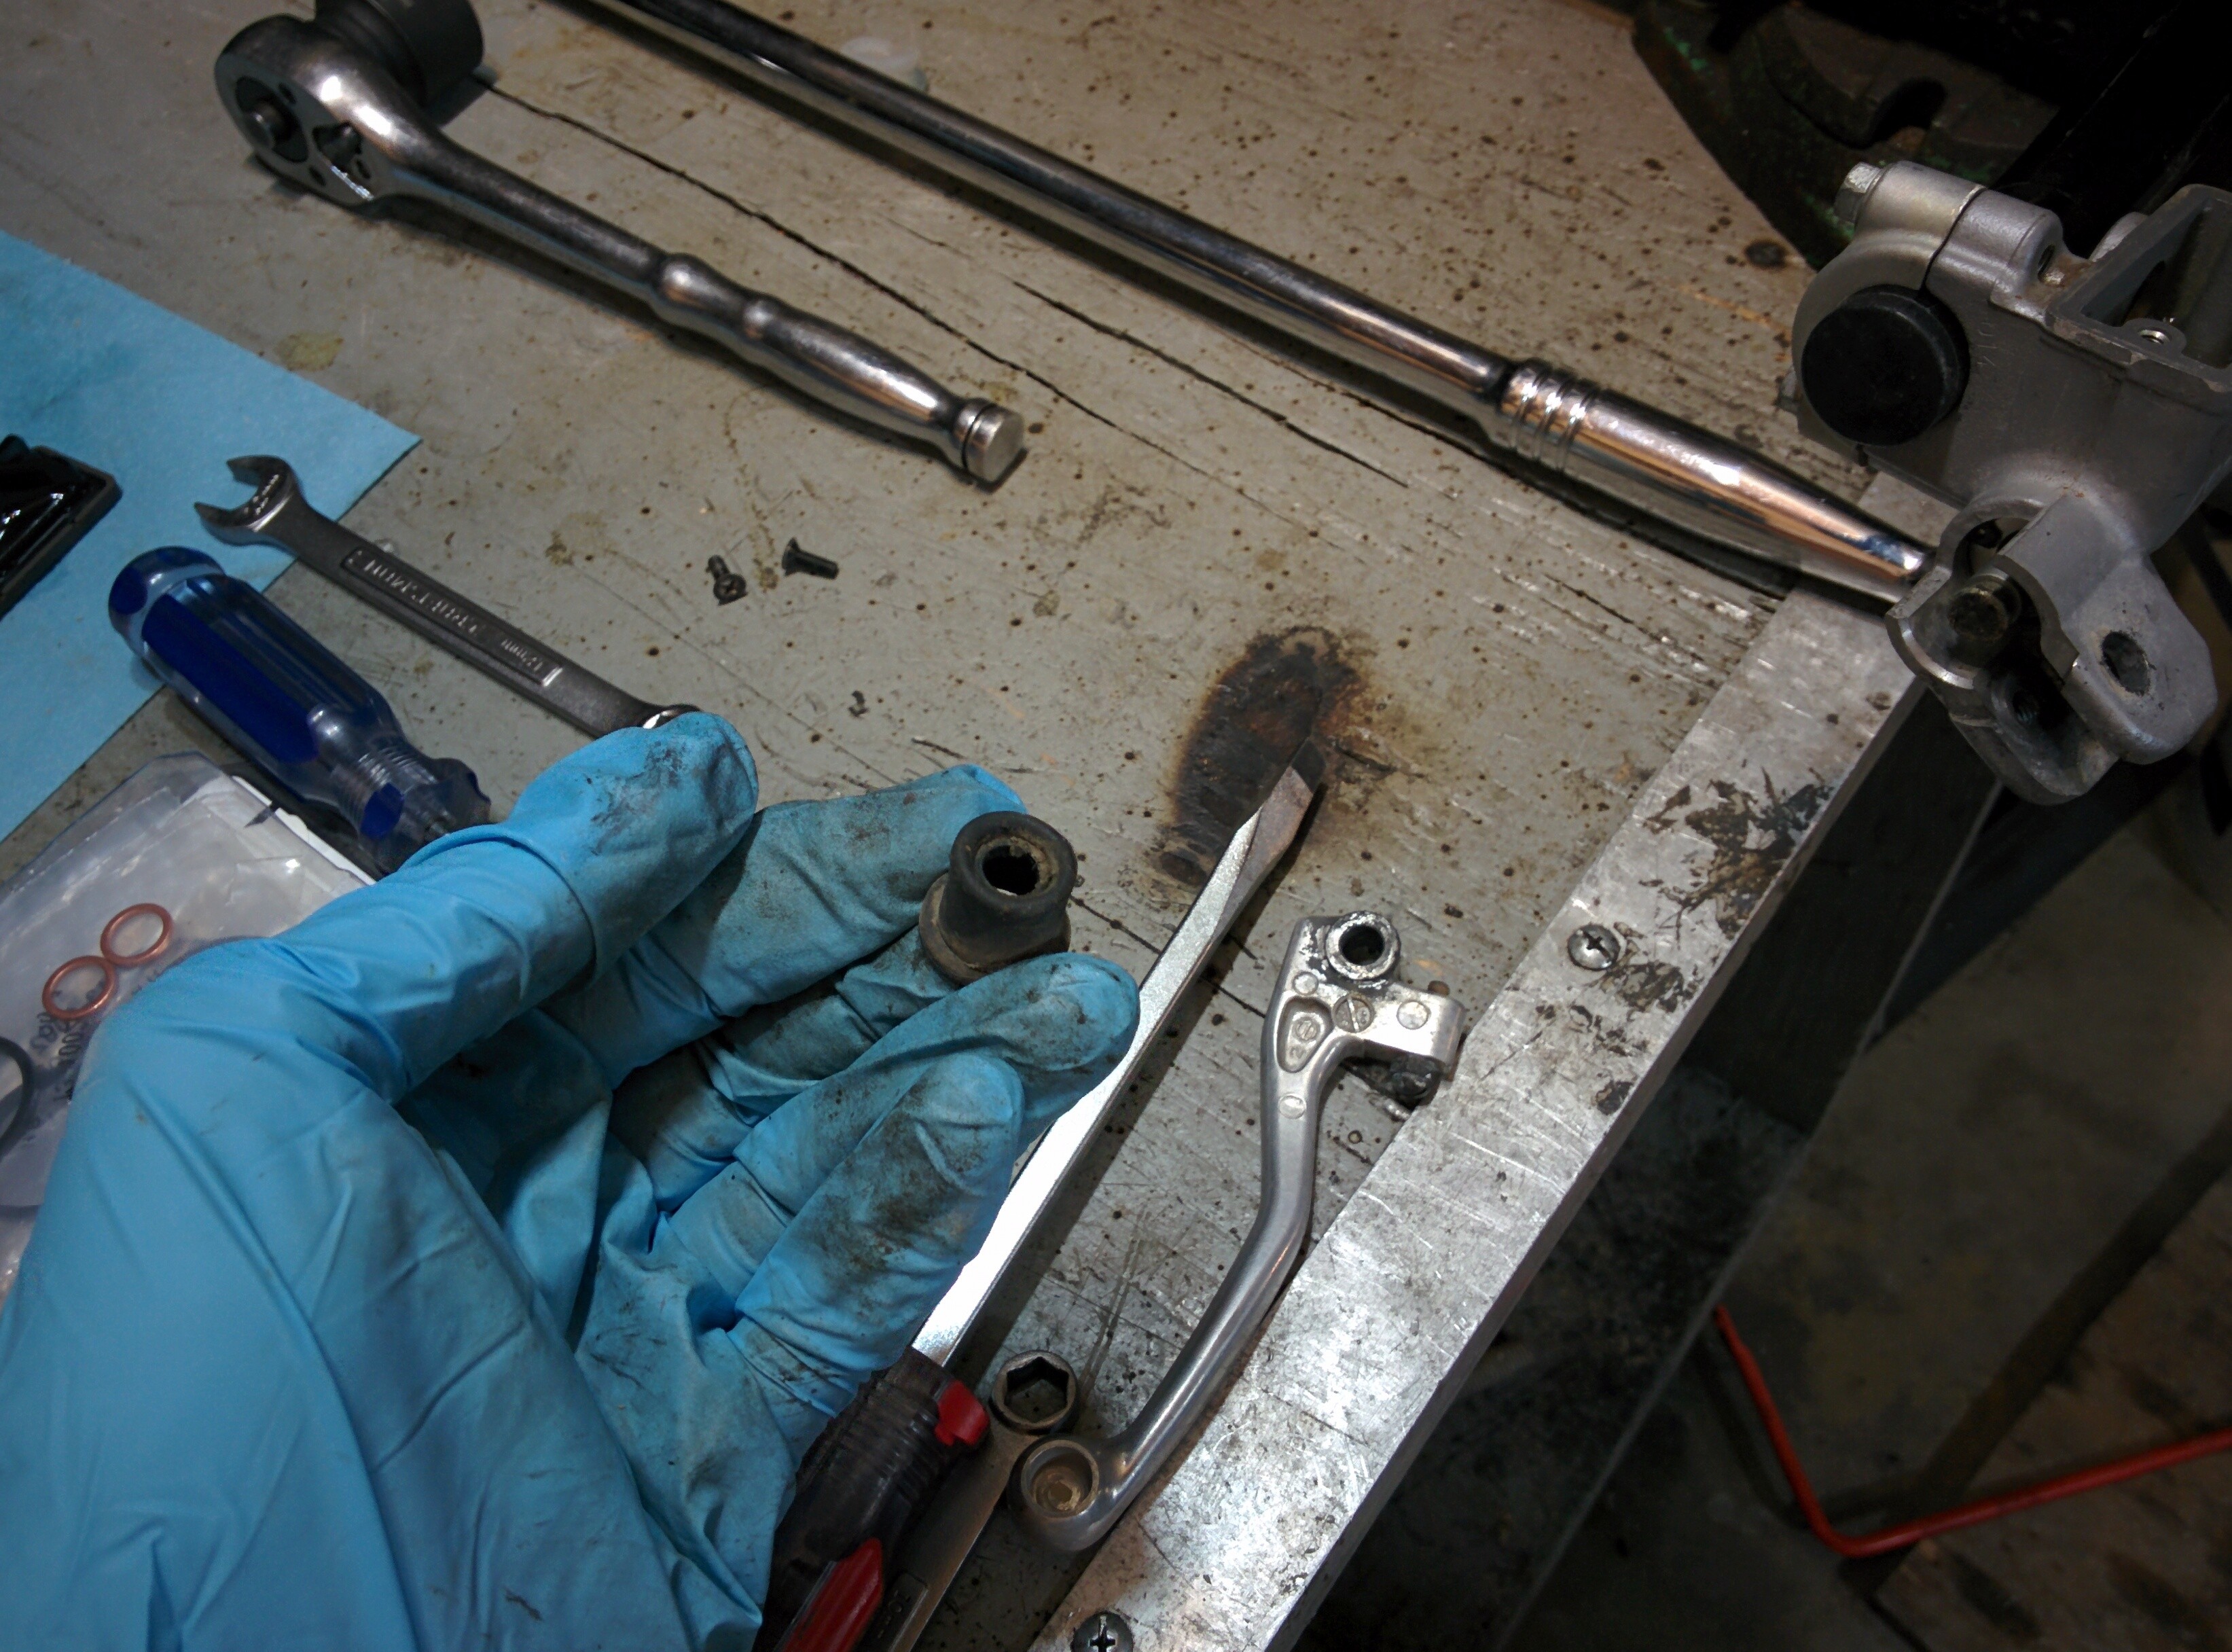
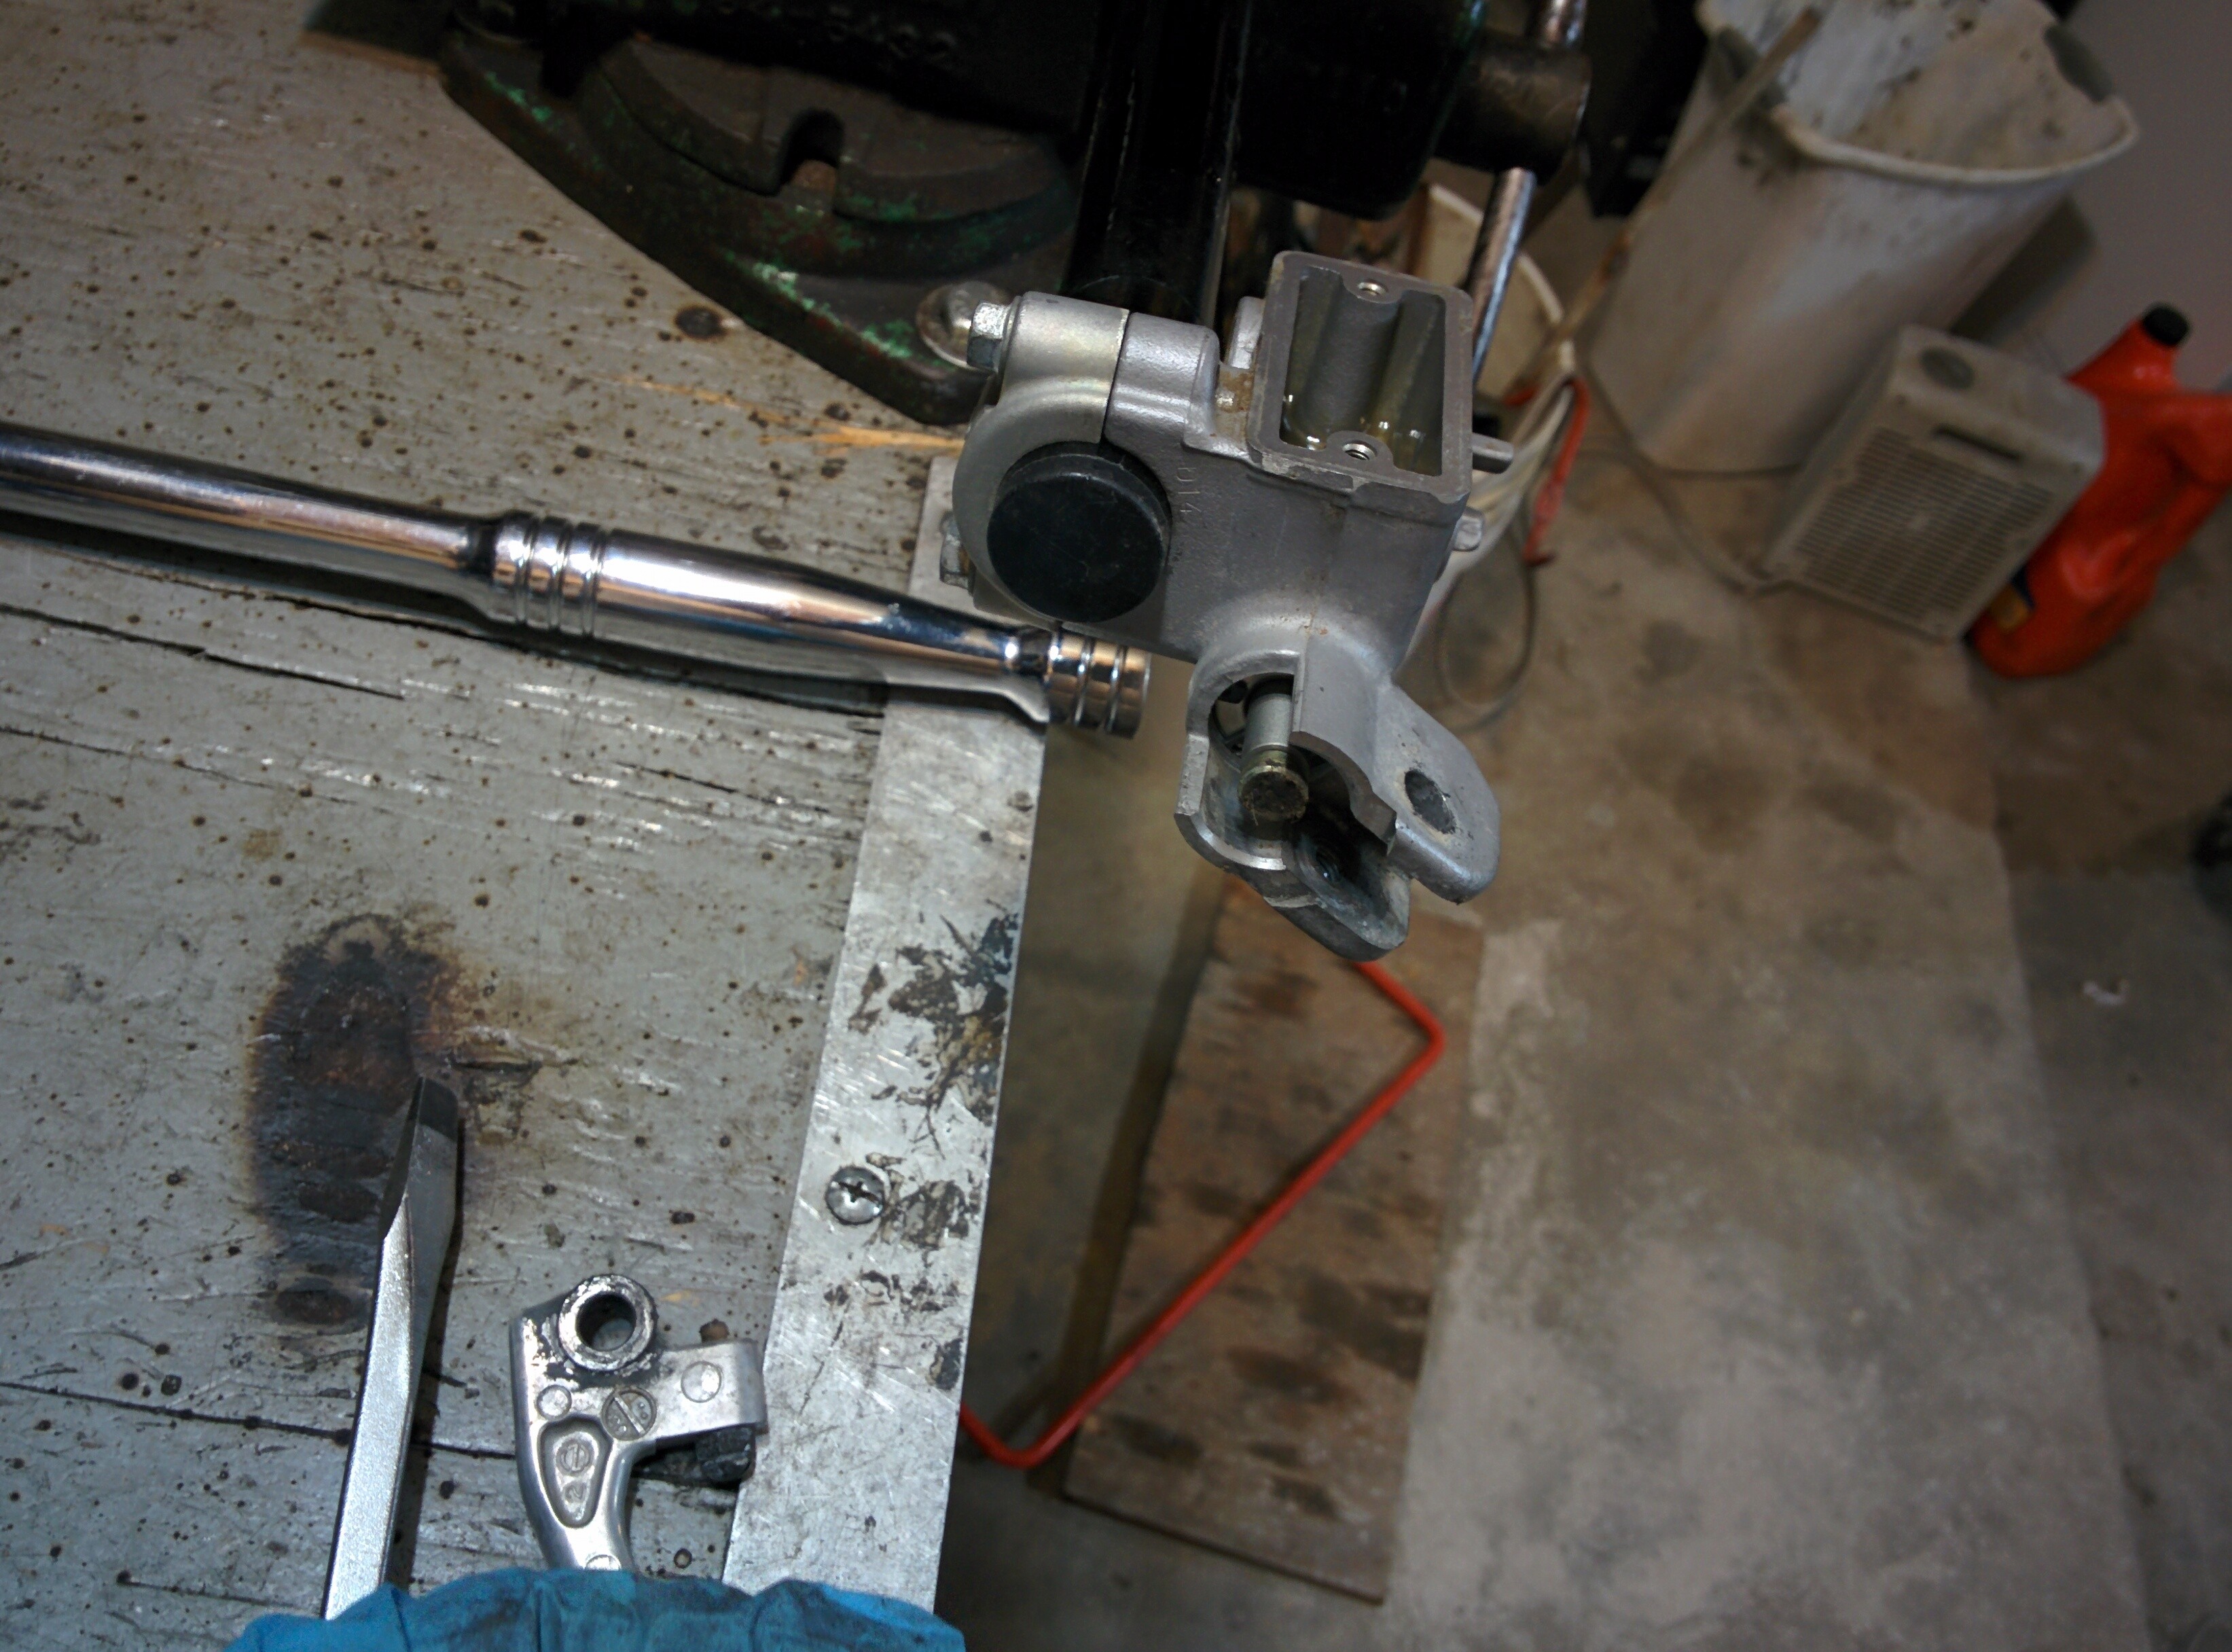
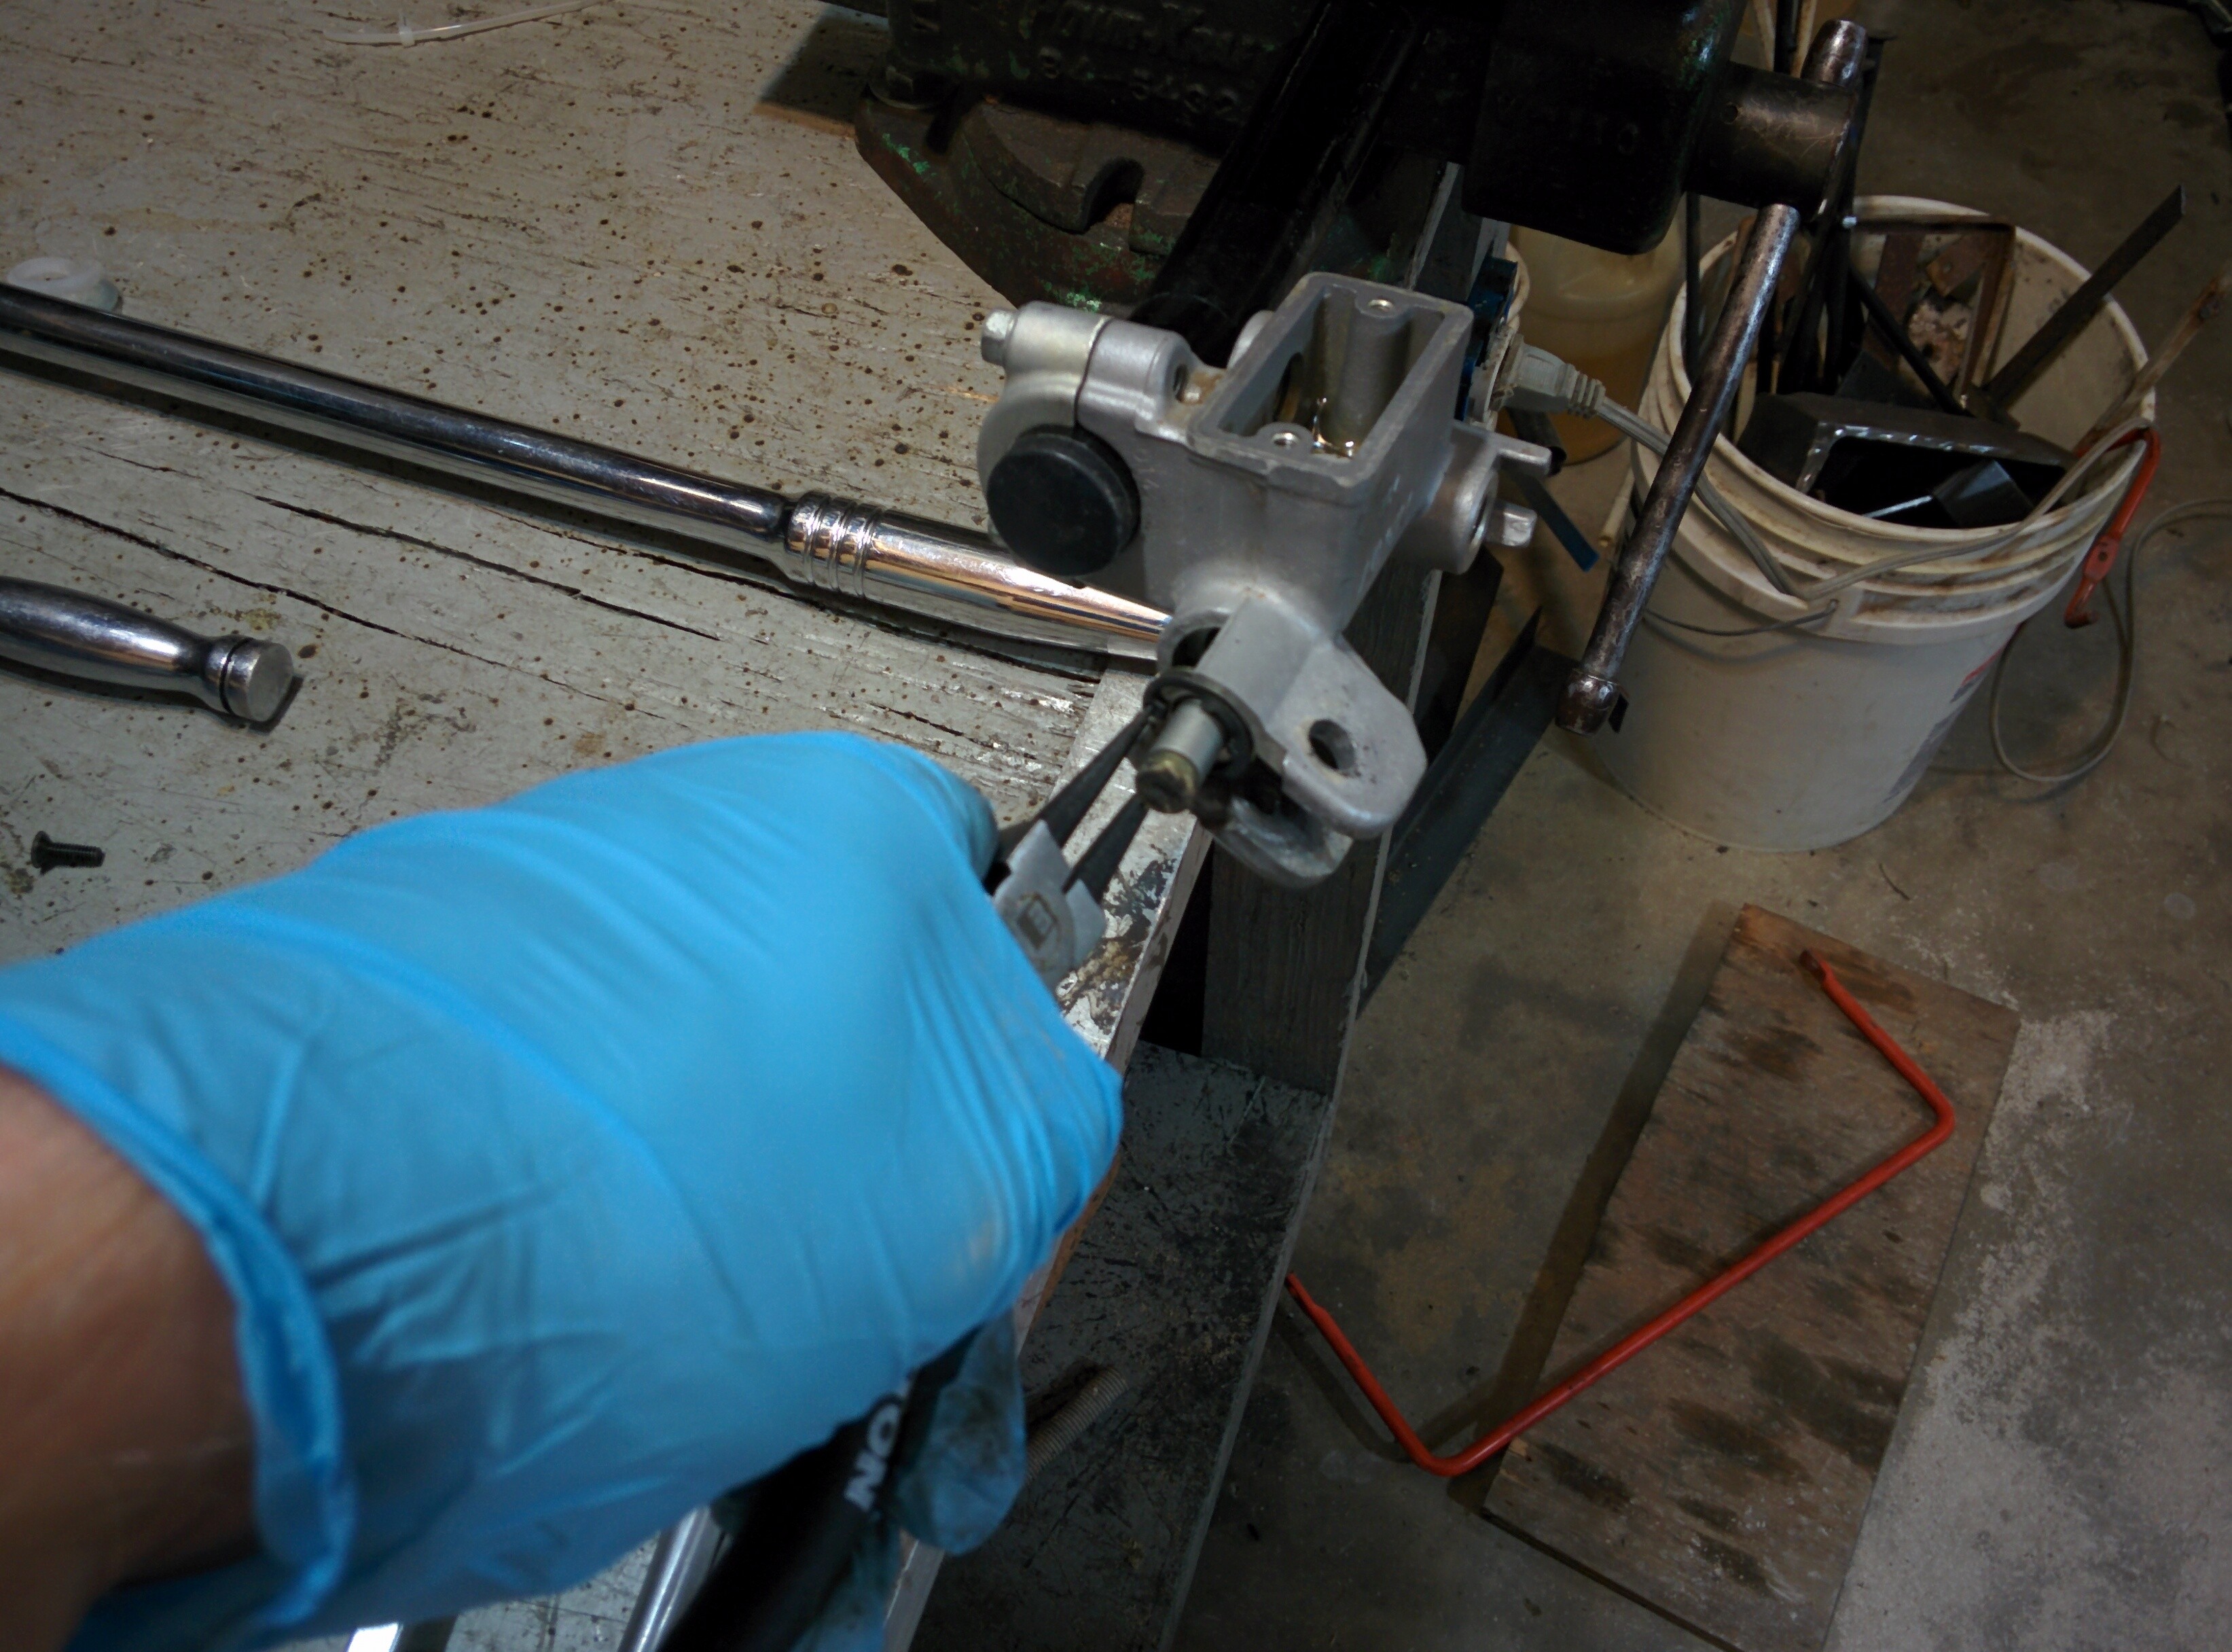
Next, remove the brake lever from the master cylinder. A locknut is on the bottom of the master cylinder which must be removed first. After that, the pivot bolt for the front brake lever can be unscrewed.
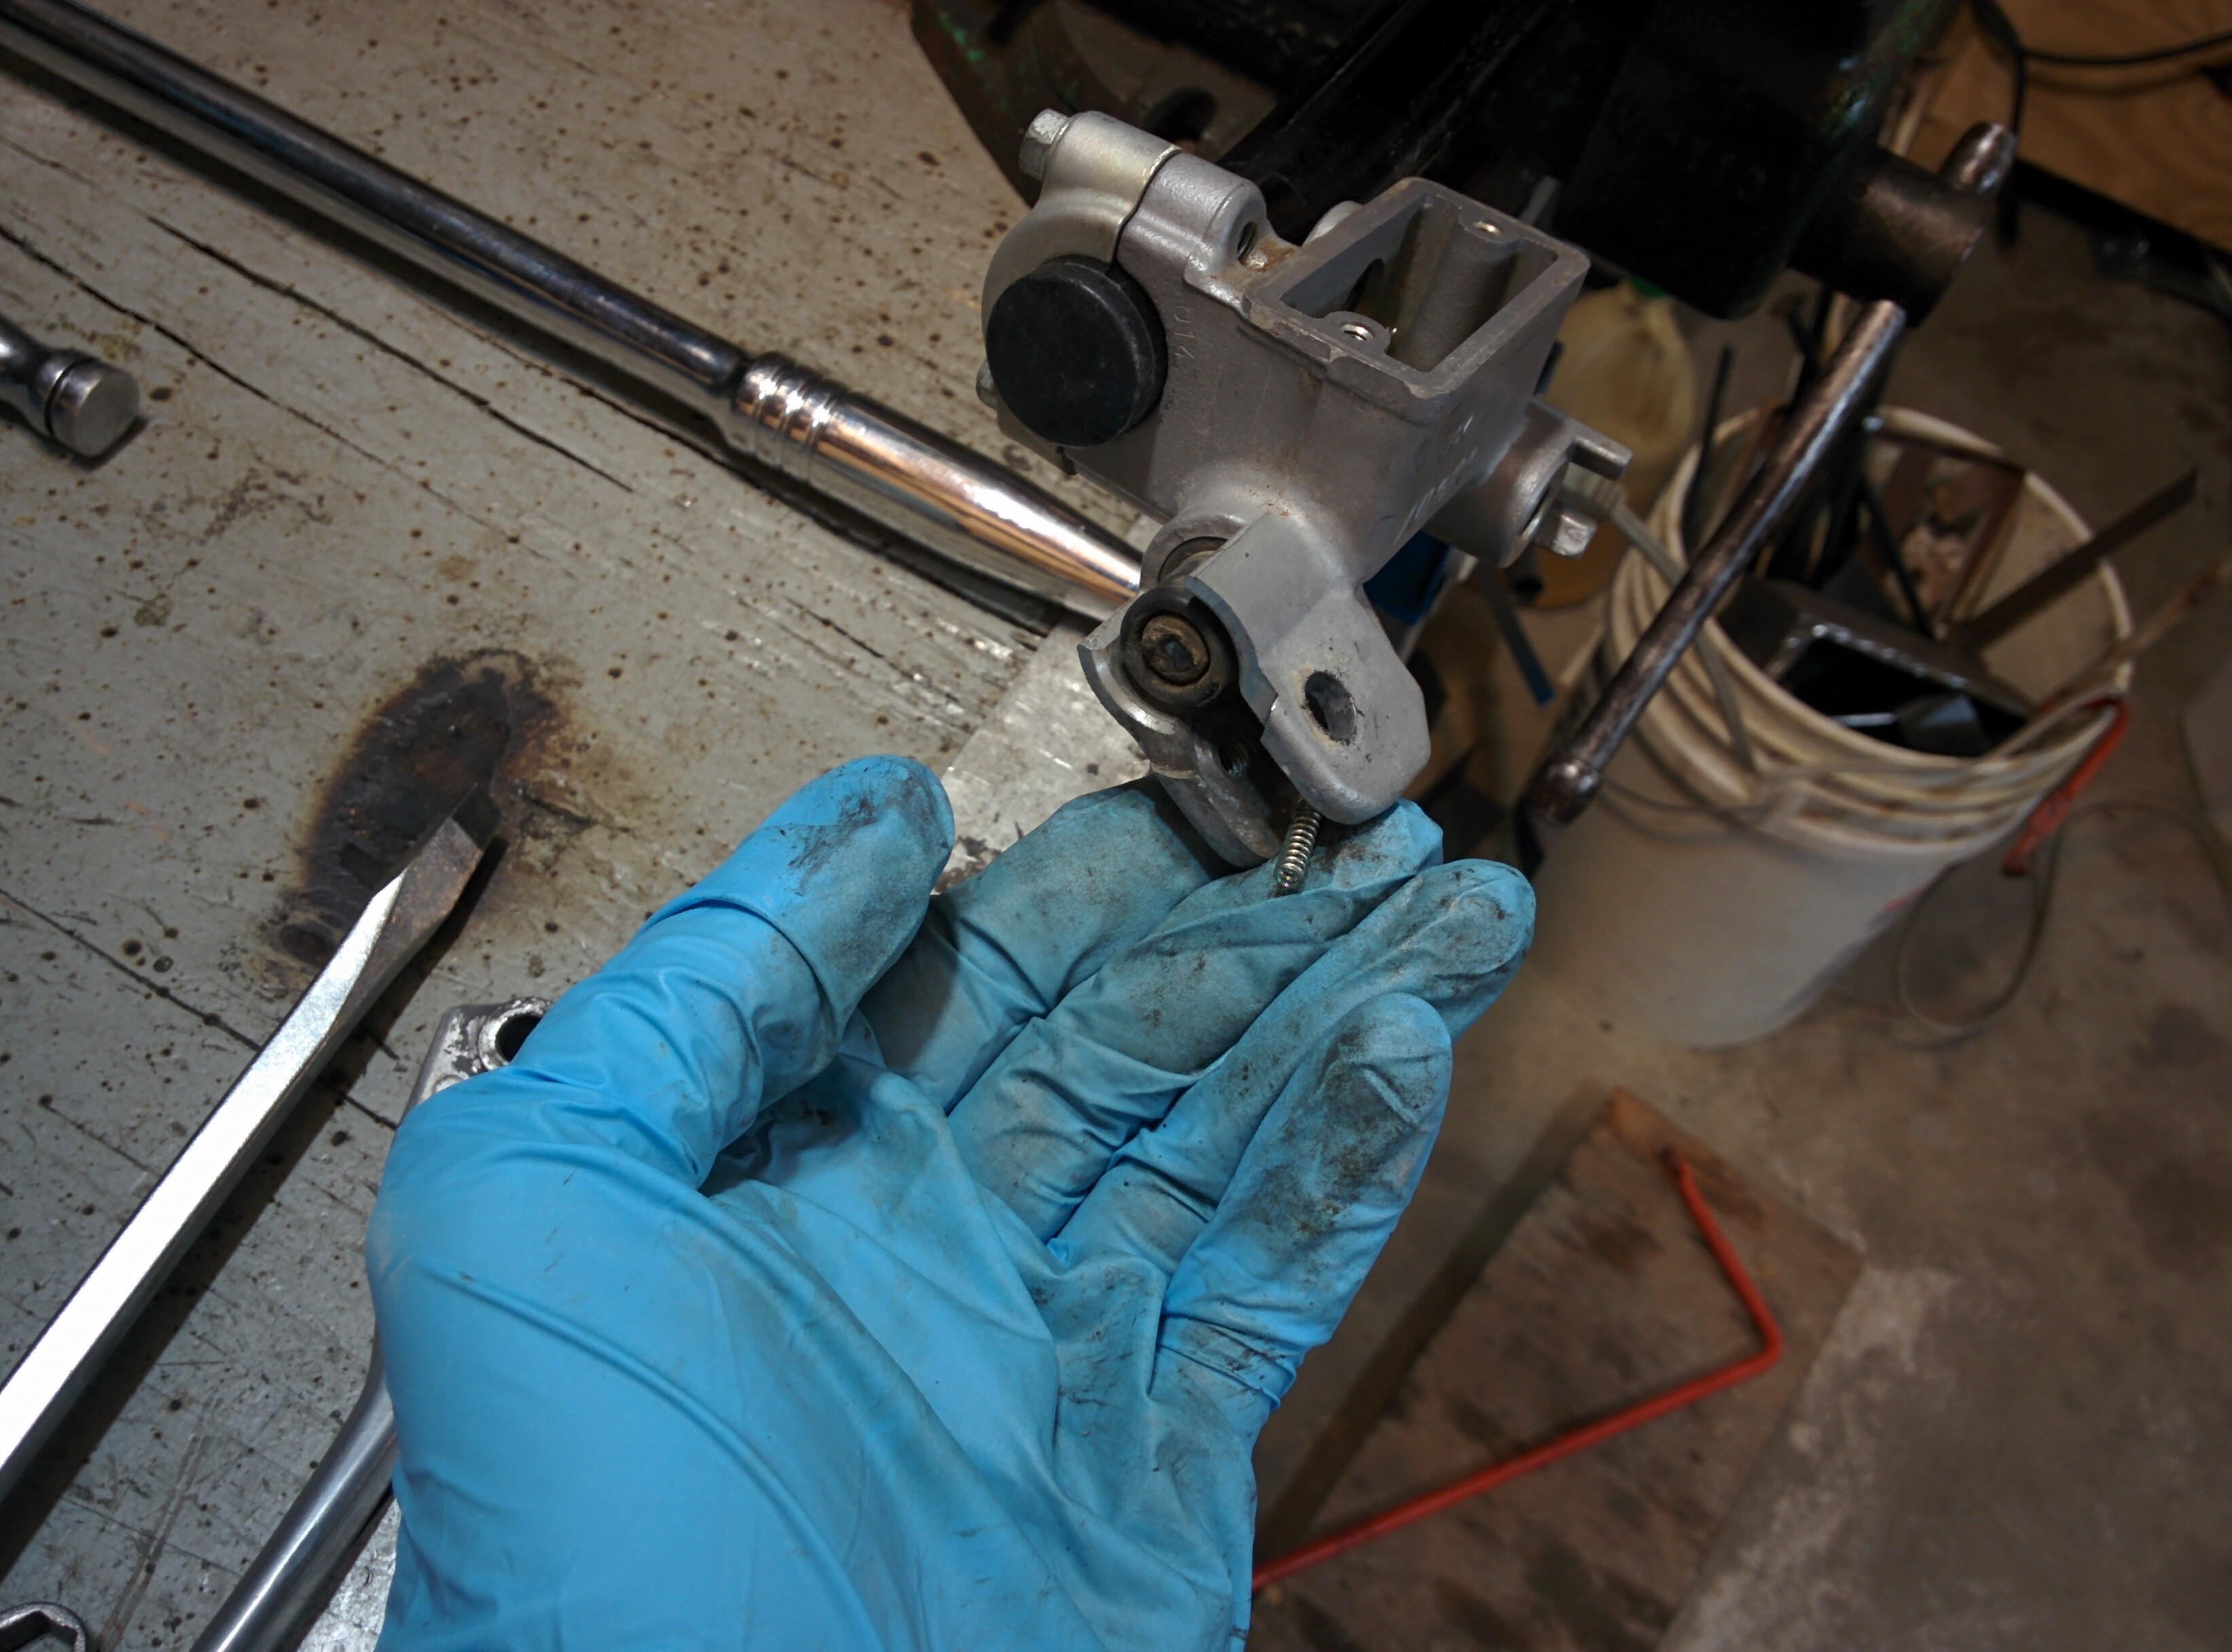
There is a small spring that is used to preload the front brake lever. Make sure you don't lose it once you take the front brake lever off.
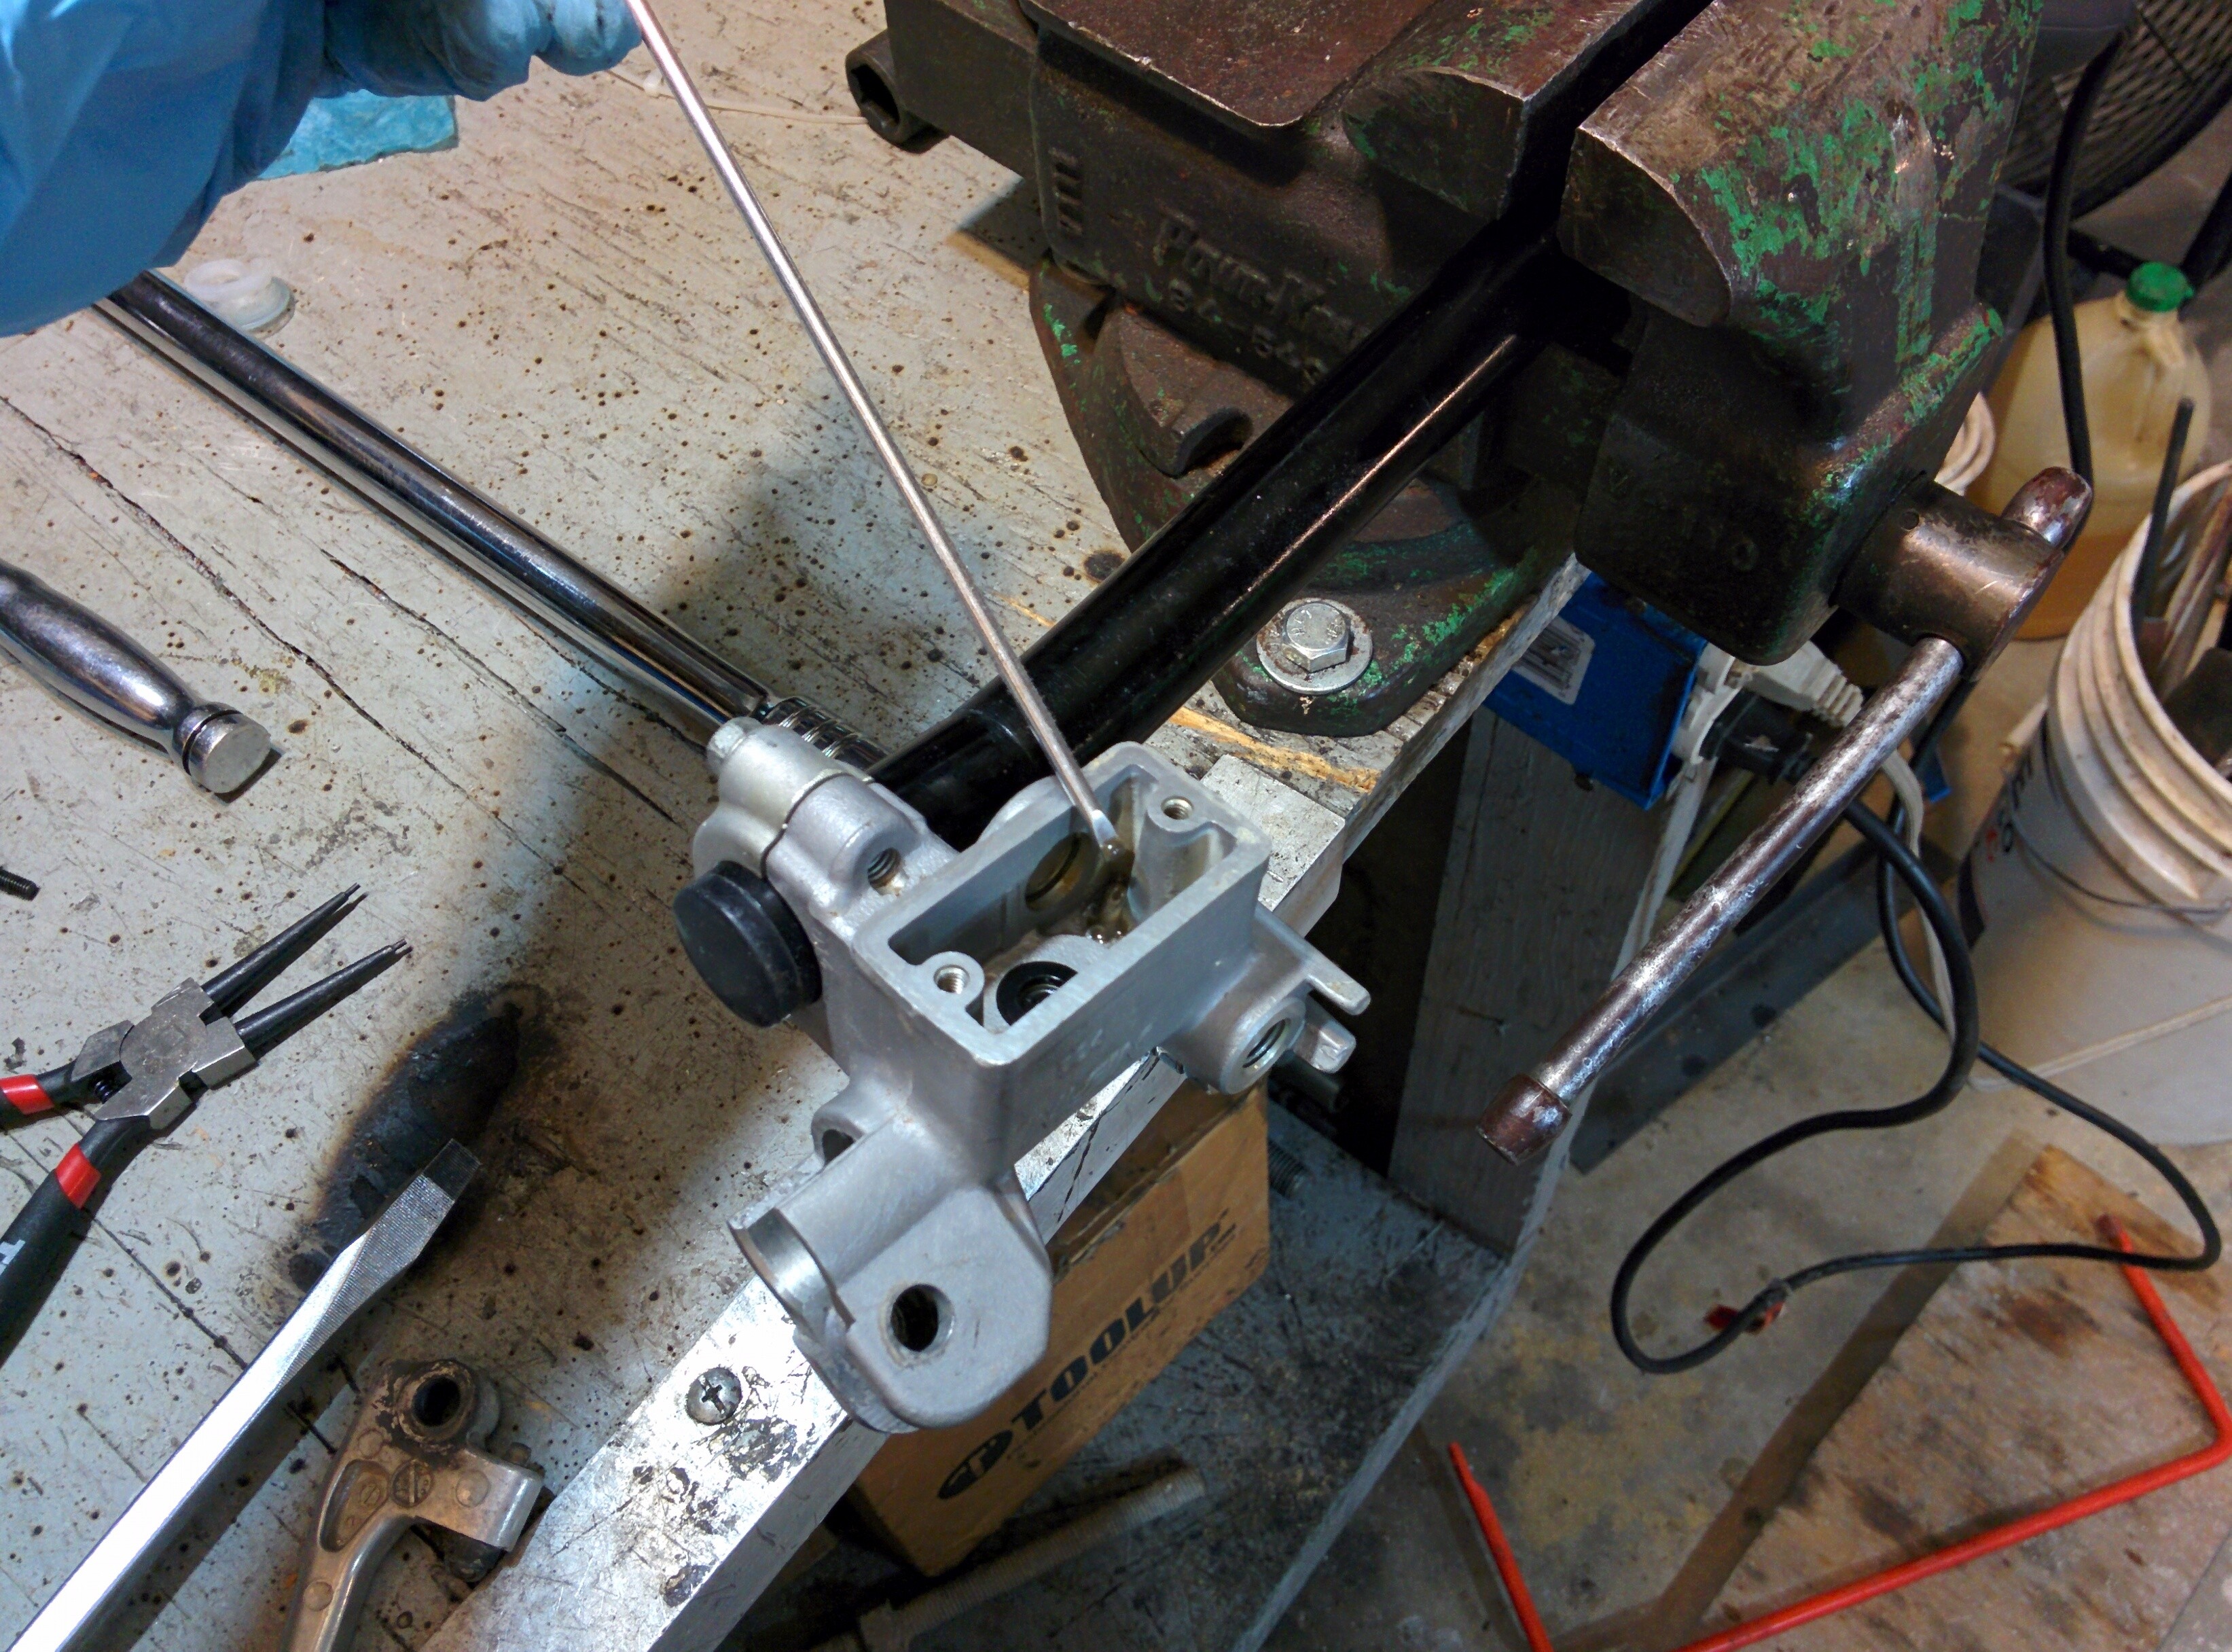
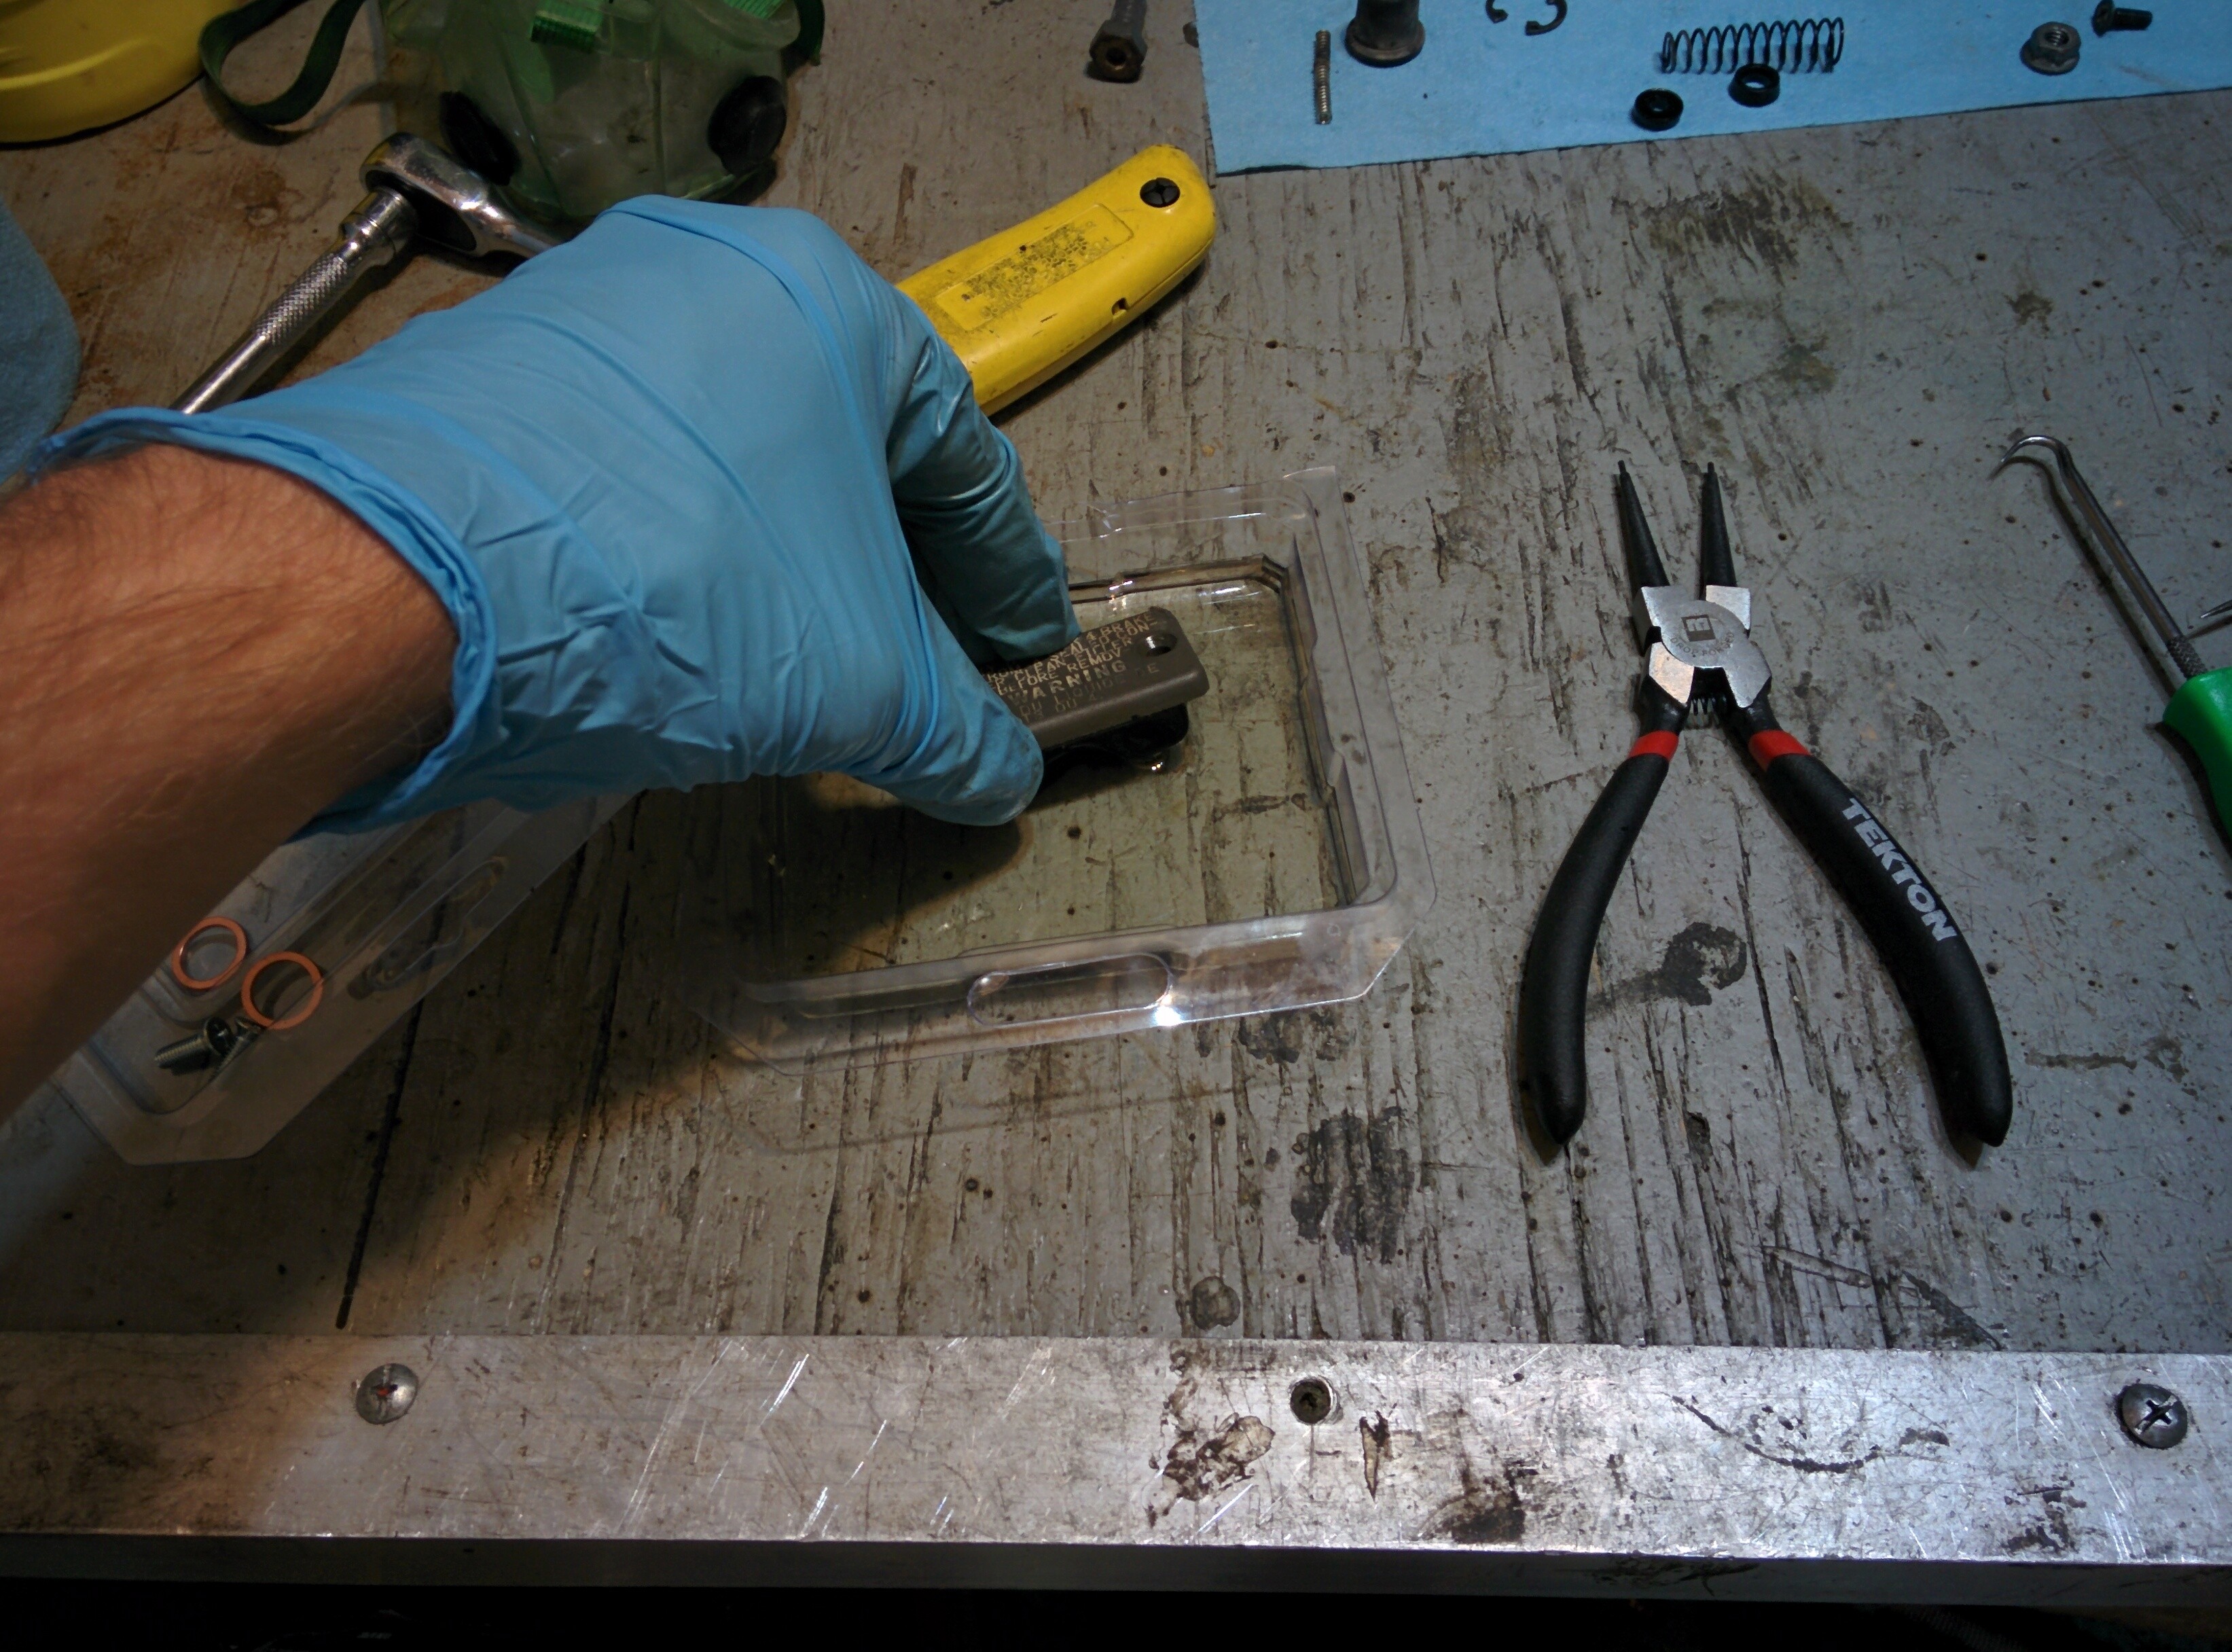
After you have the lever off, the piston is exposed. The first step is to remove the small dust boot covering the piston.
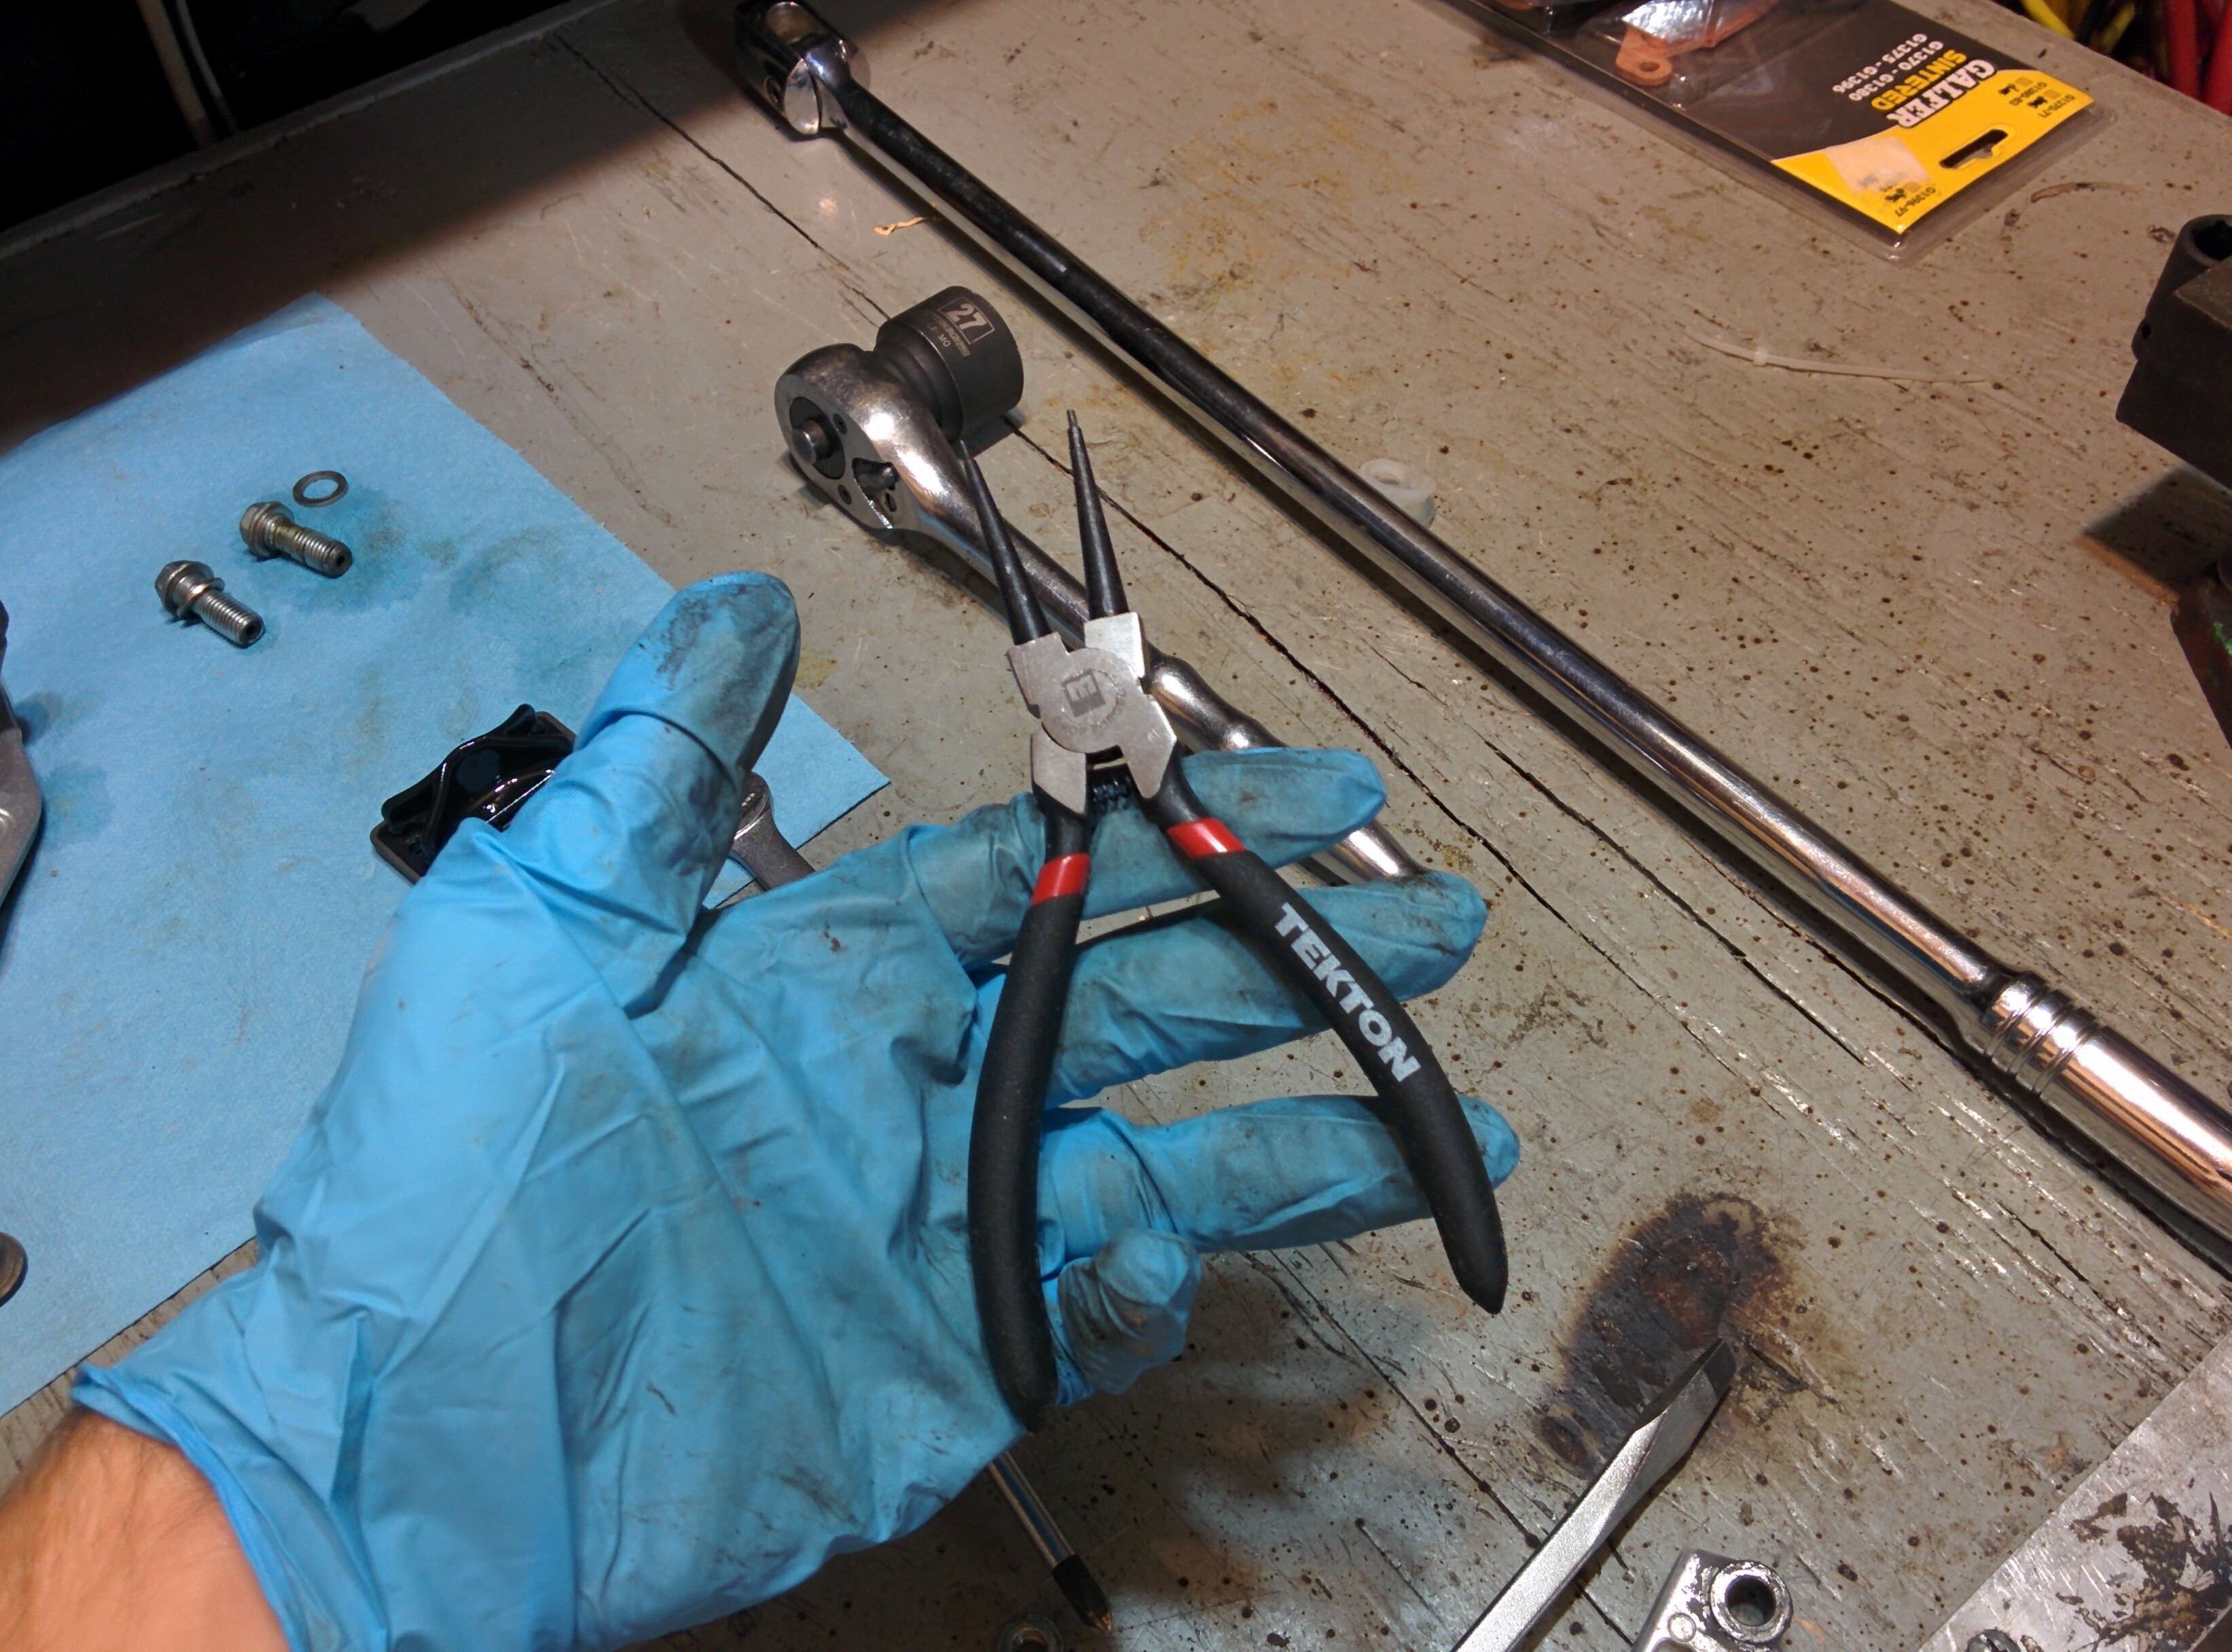
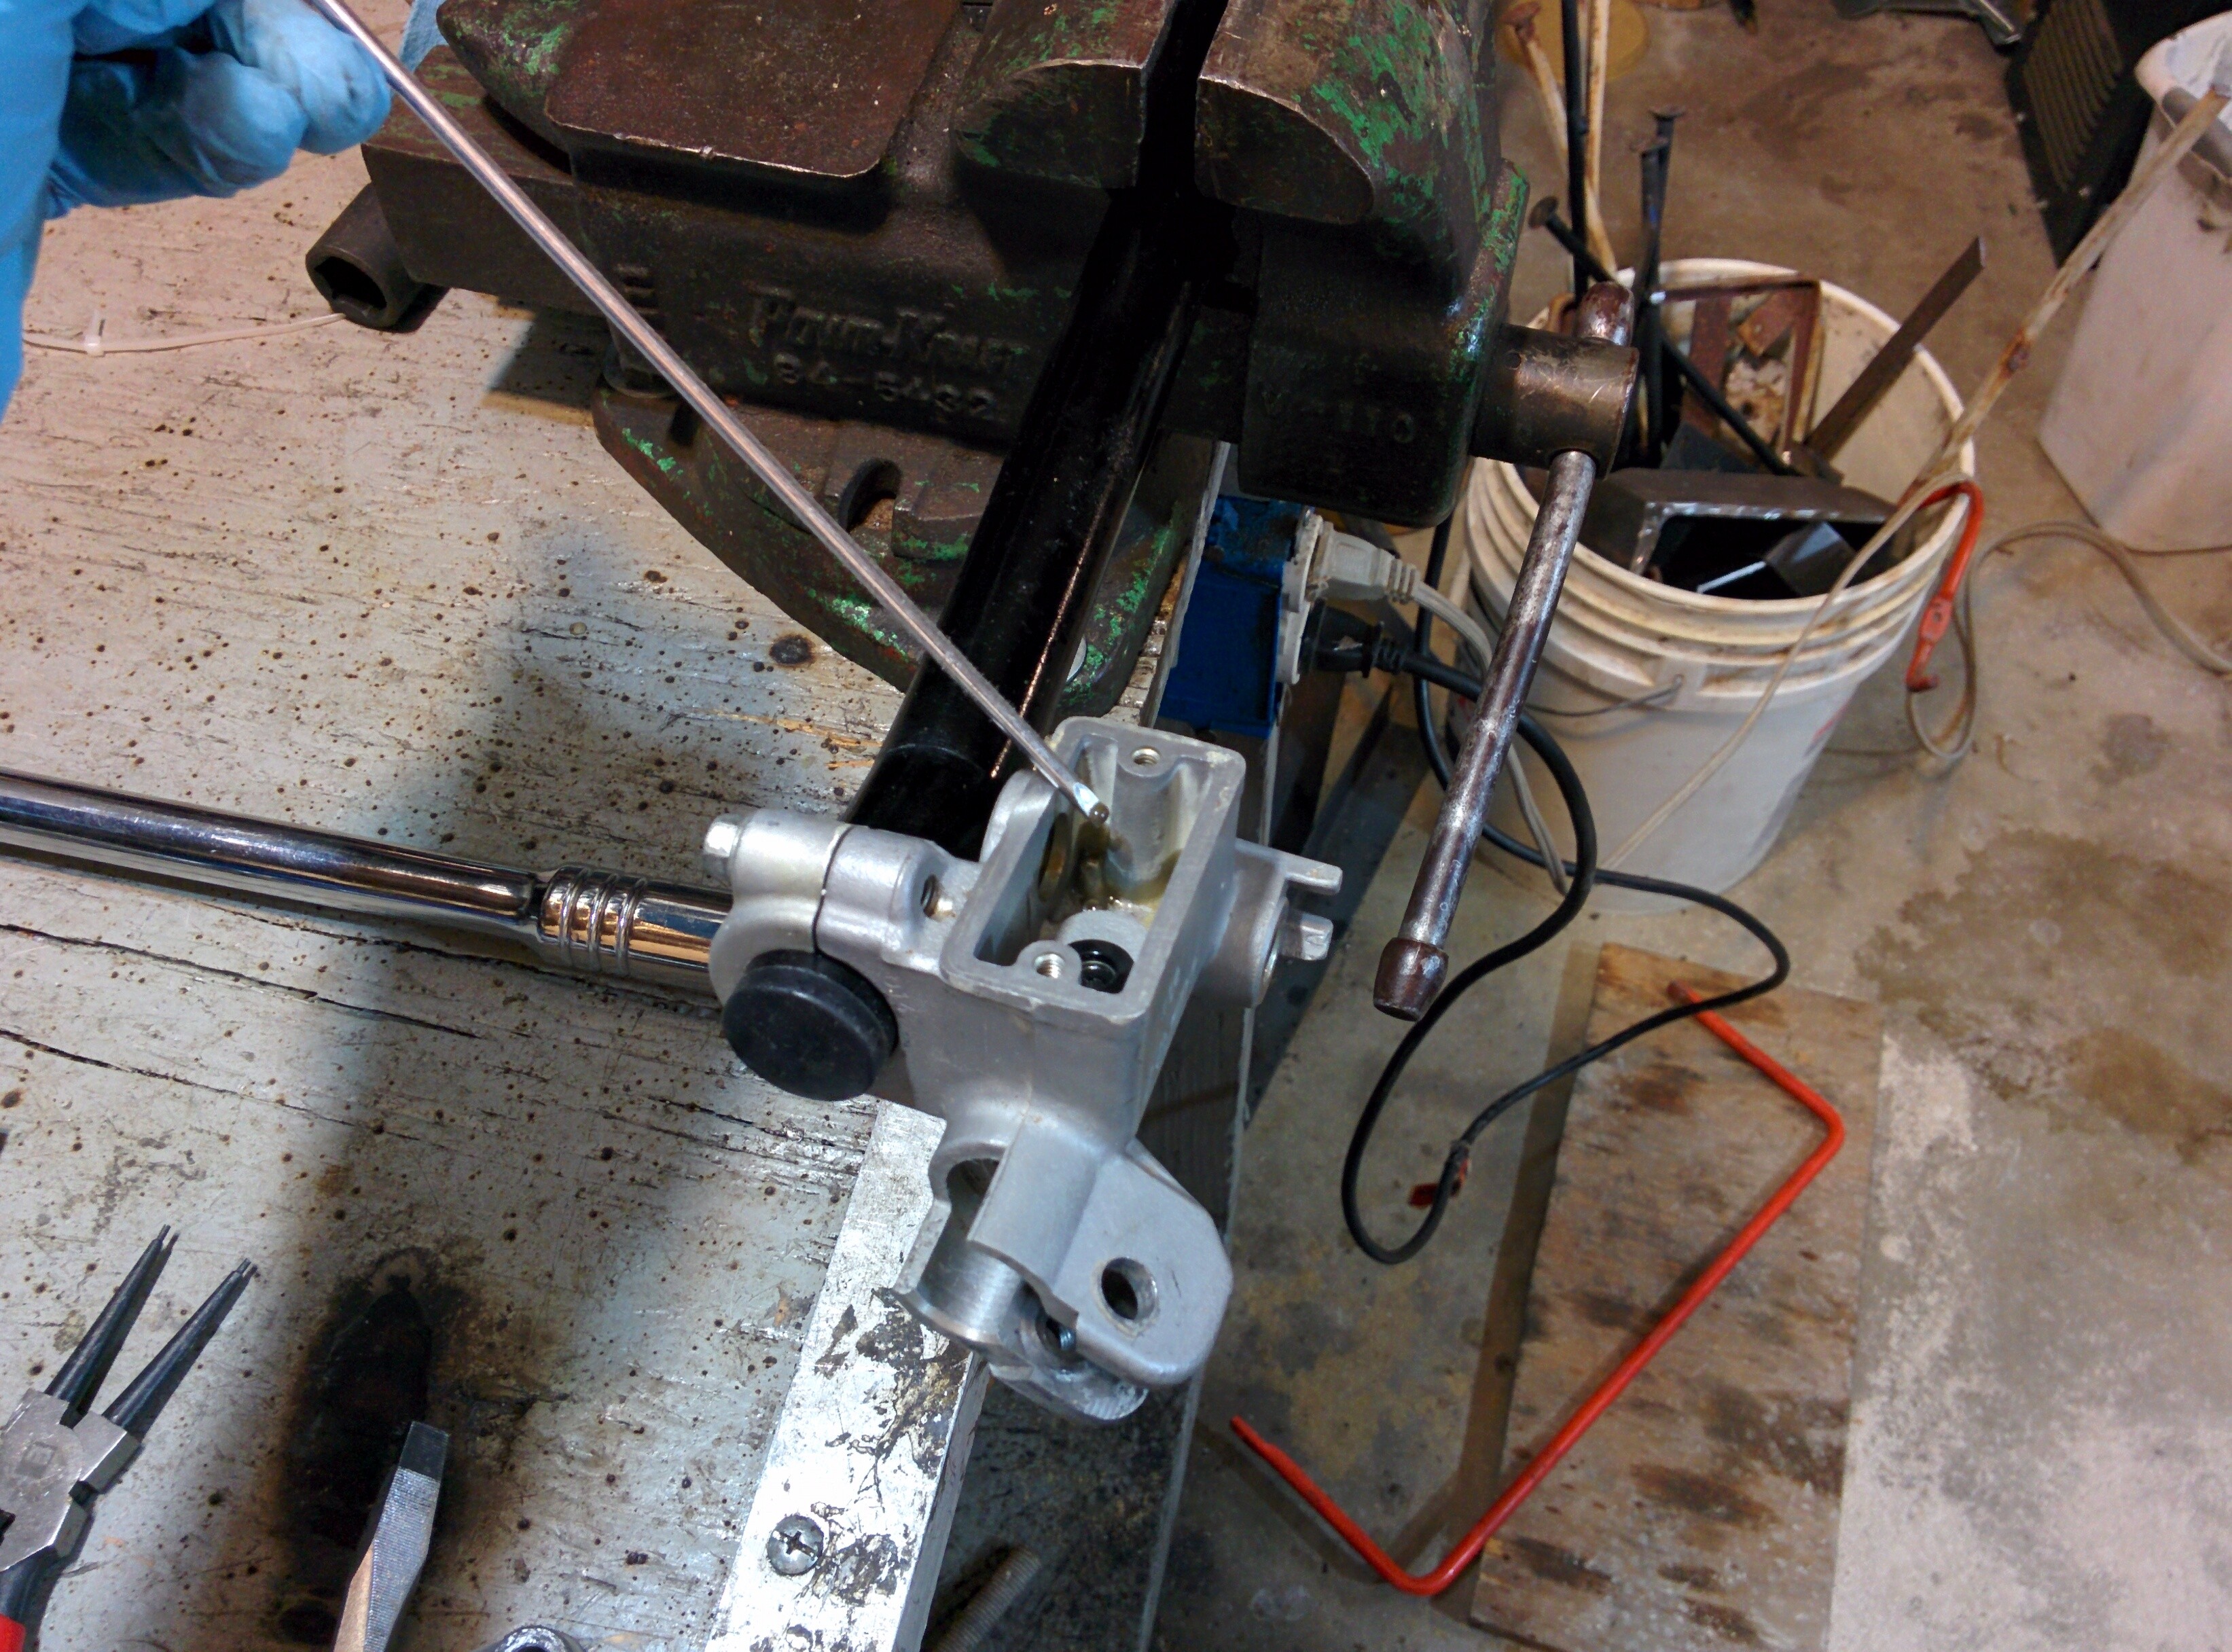
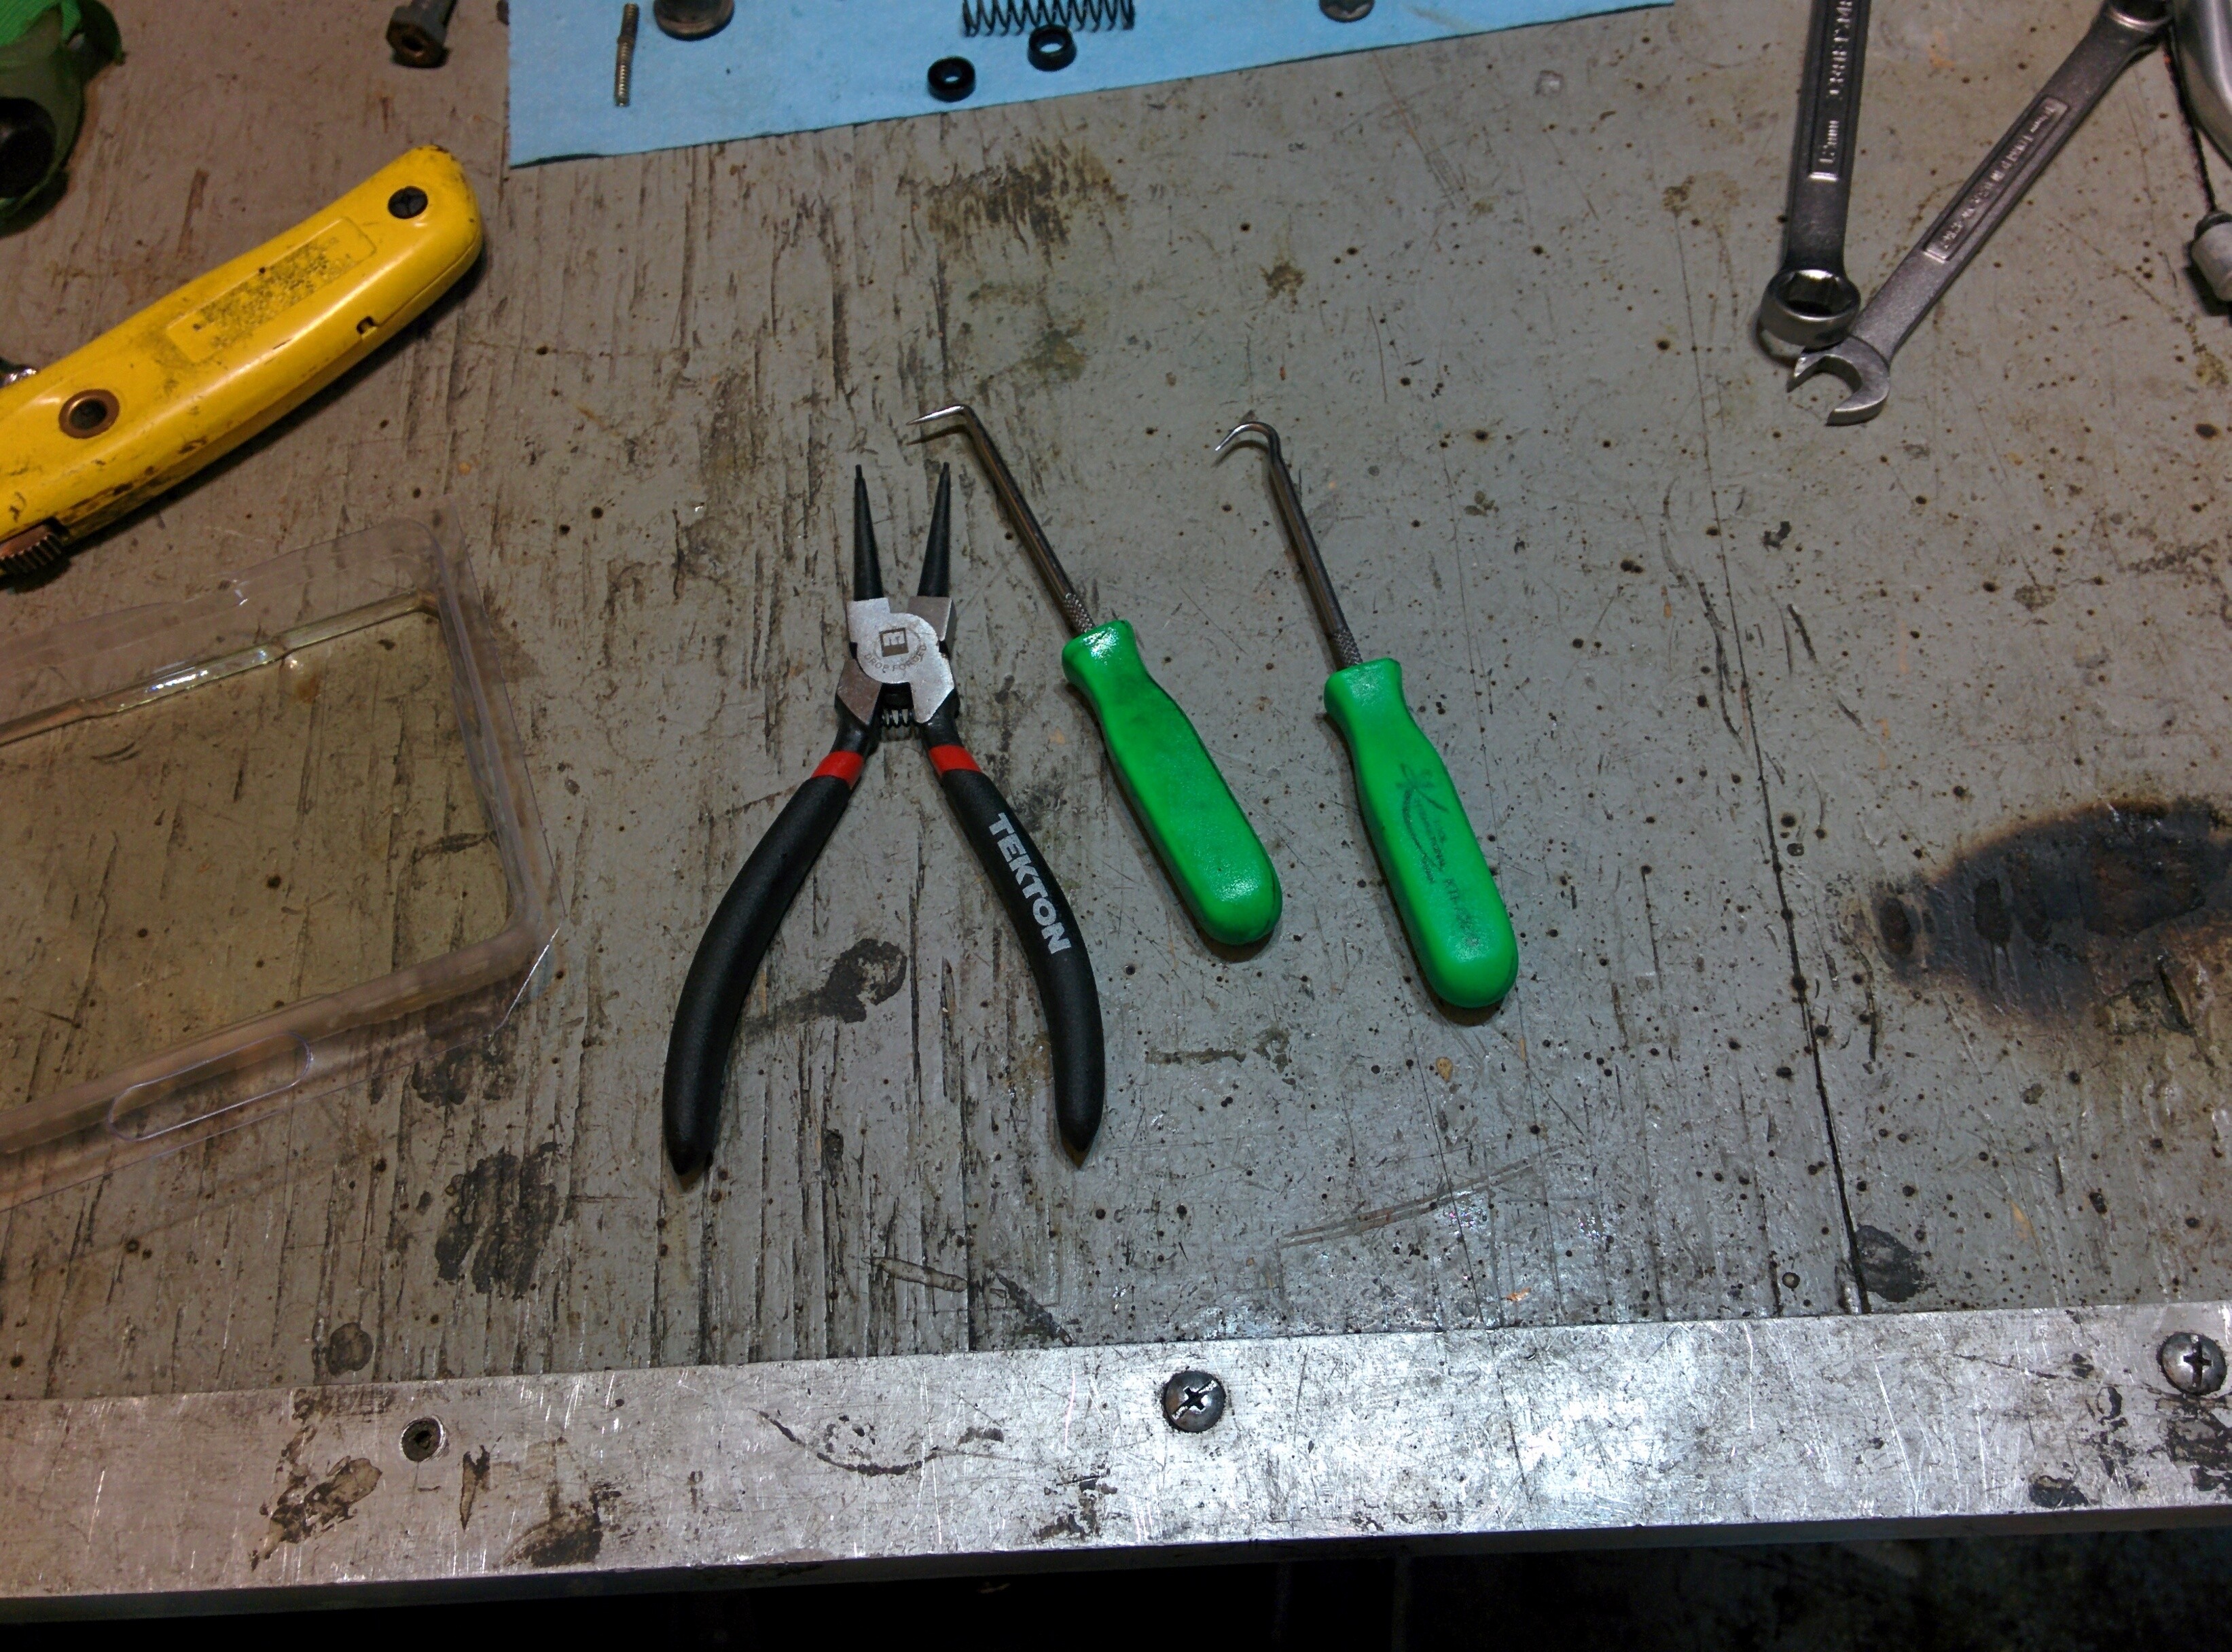
With the dust boot removed, the retaining clip of the piston should be visible. There clip is a small inner circular clip. It must be removed using circular clip pliers that compress the ring so it can be extracted.
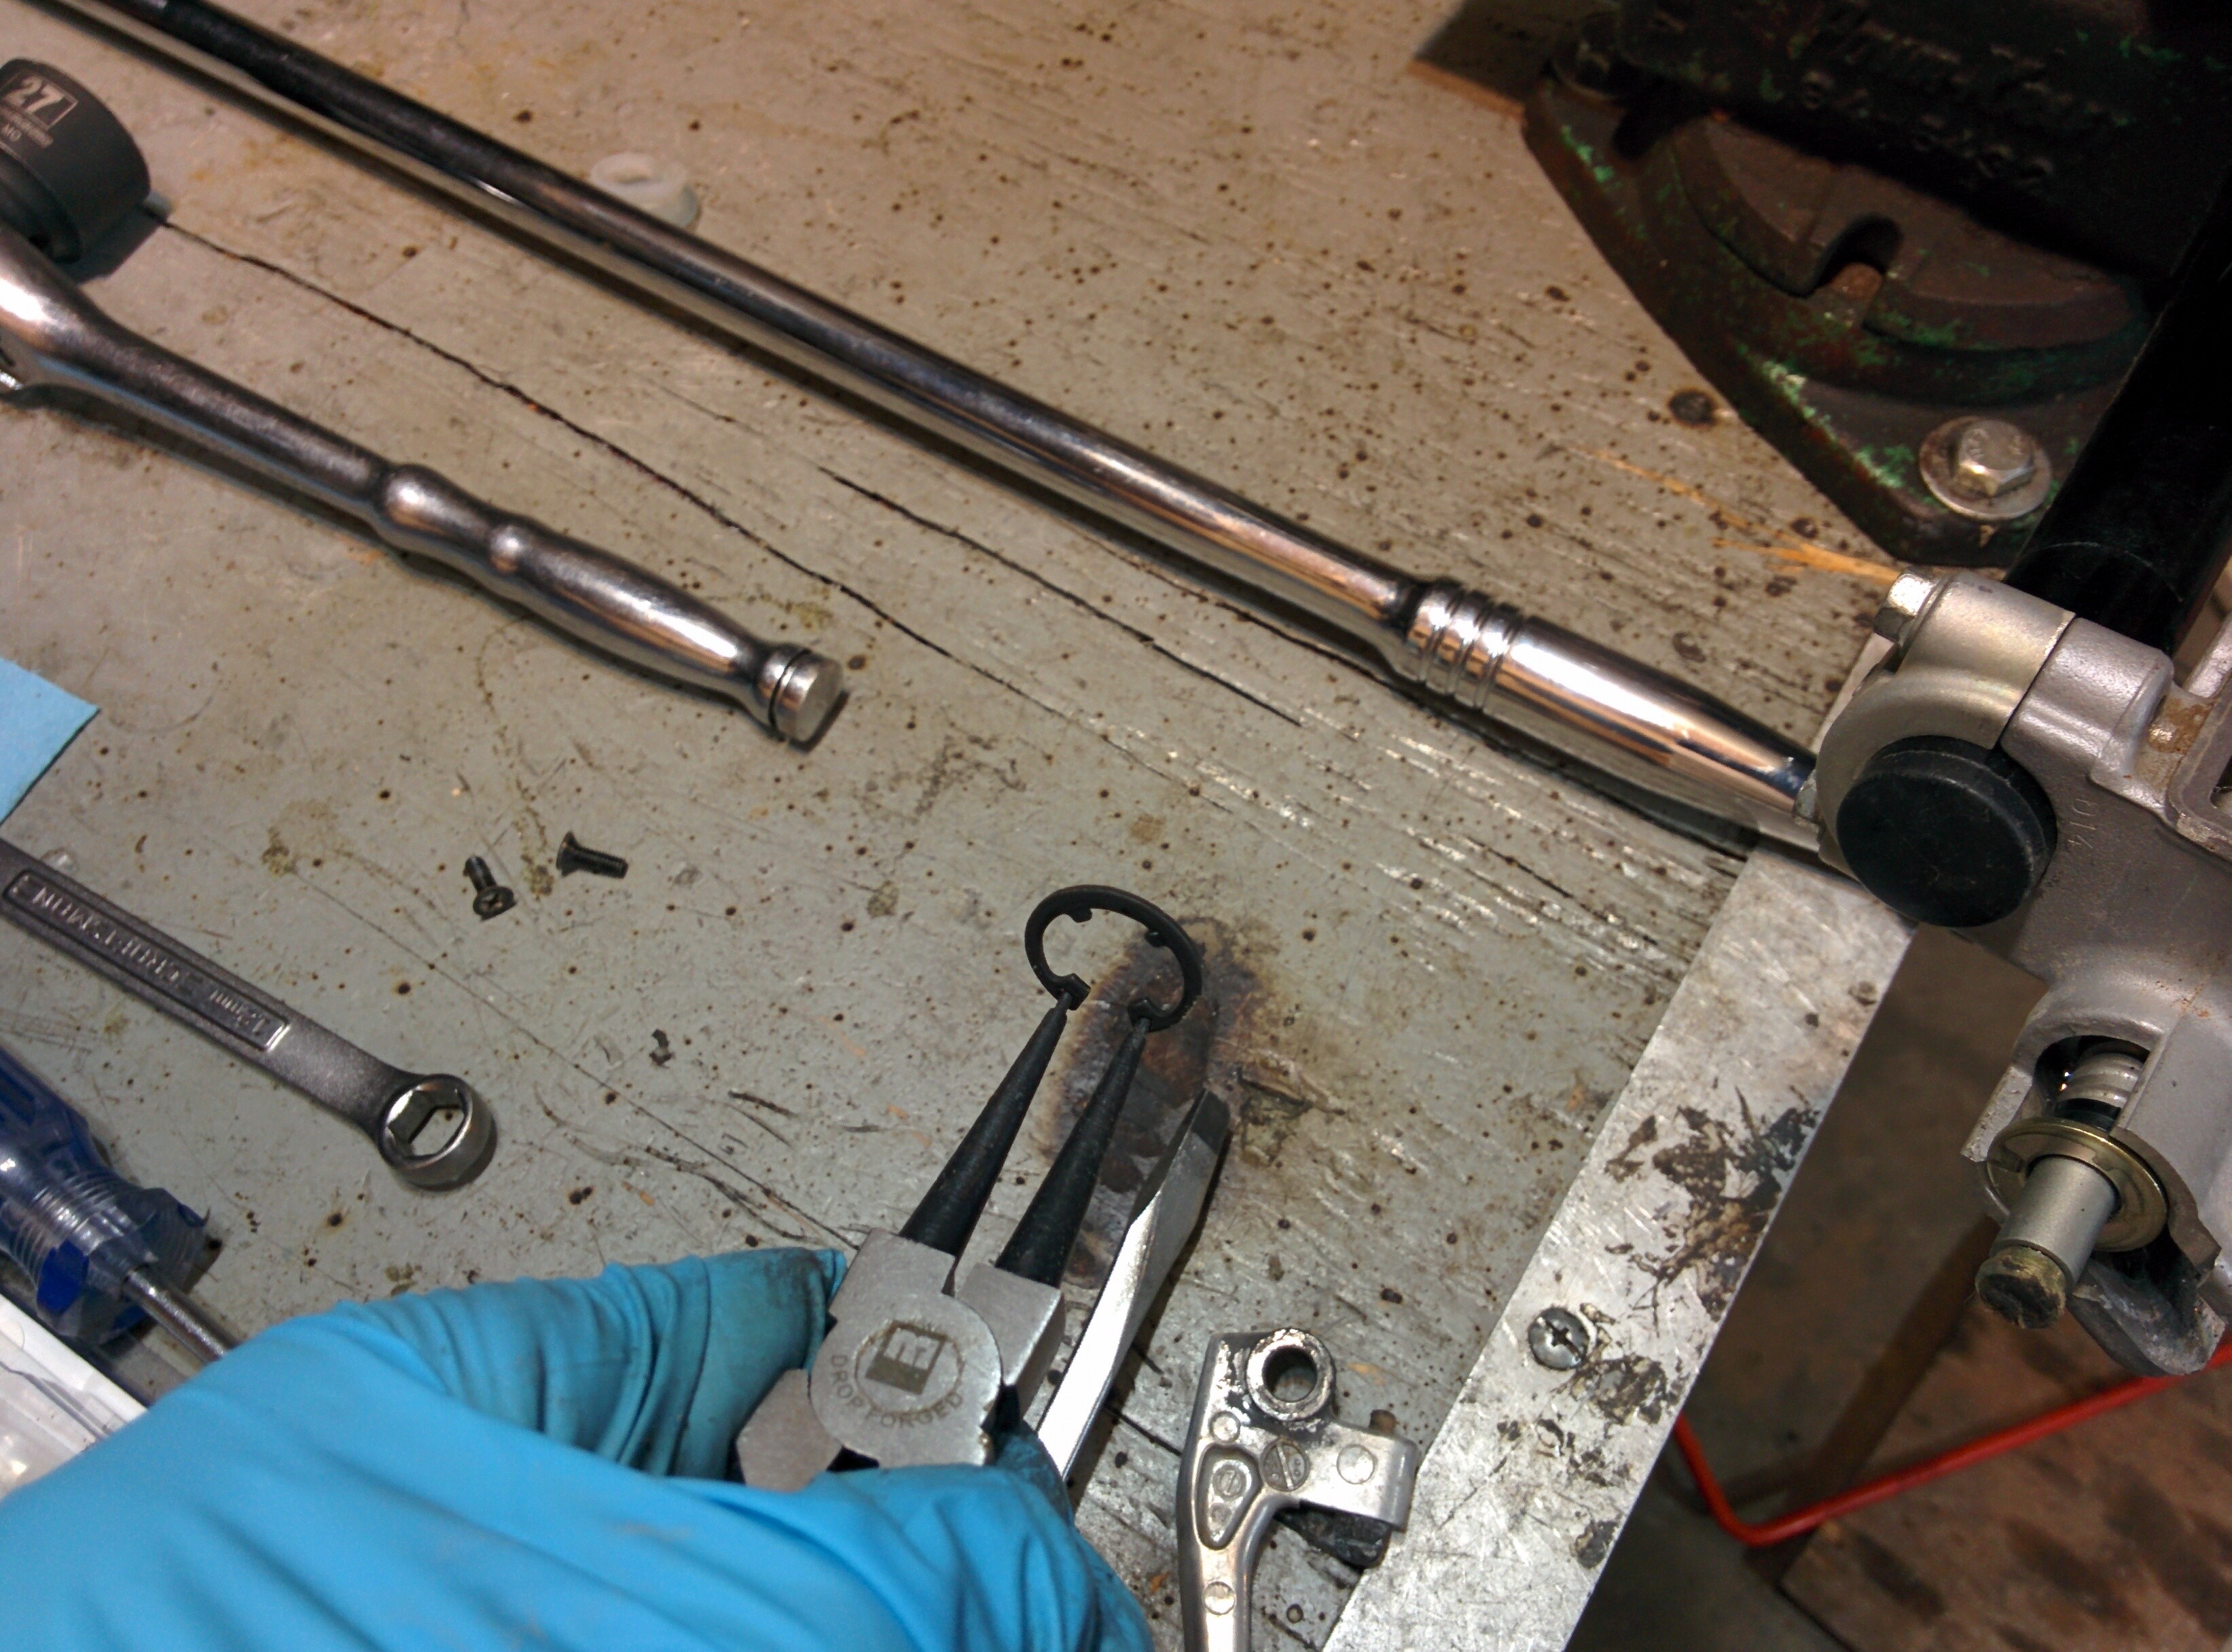
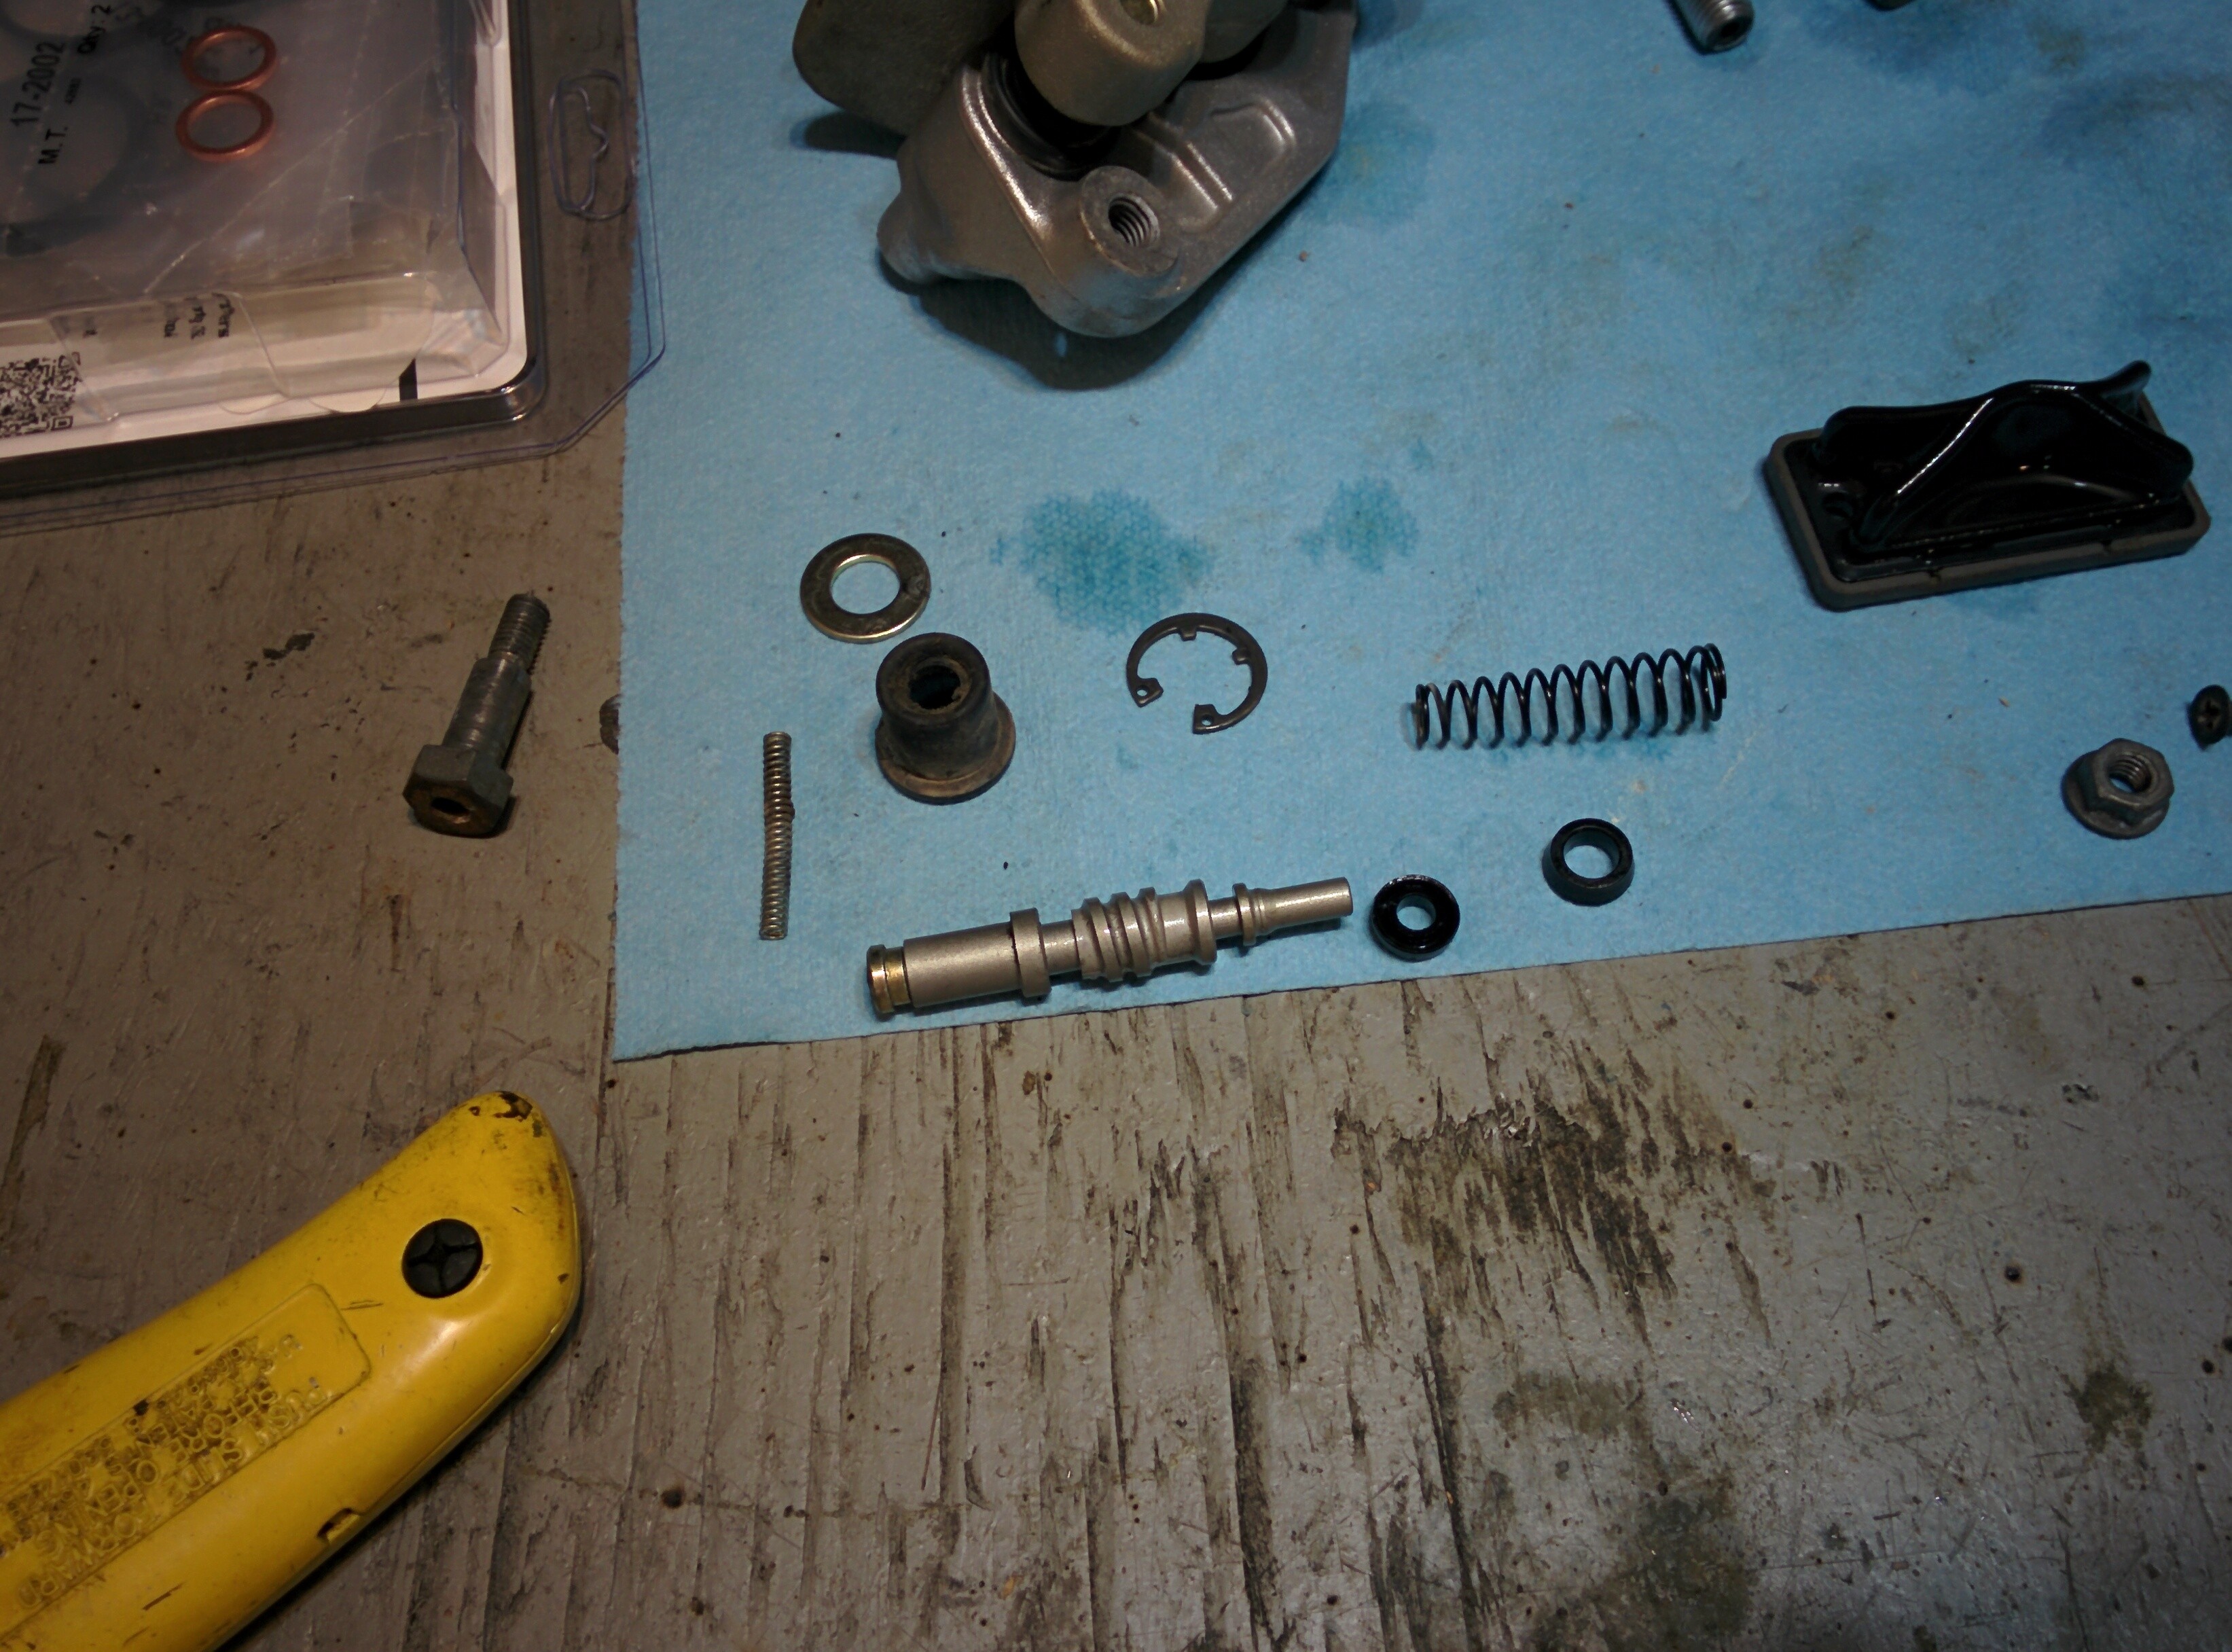
After the retaining clip is removed, there is basically nothing holding the piston in. You can extract the piston at this time, sme other components come out with it.
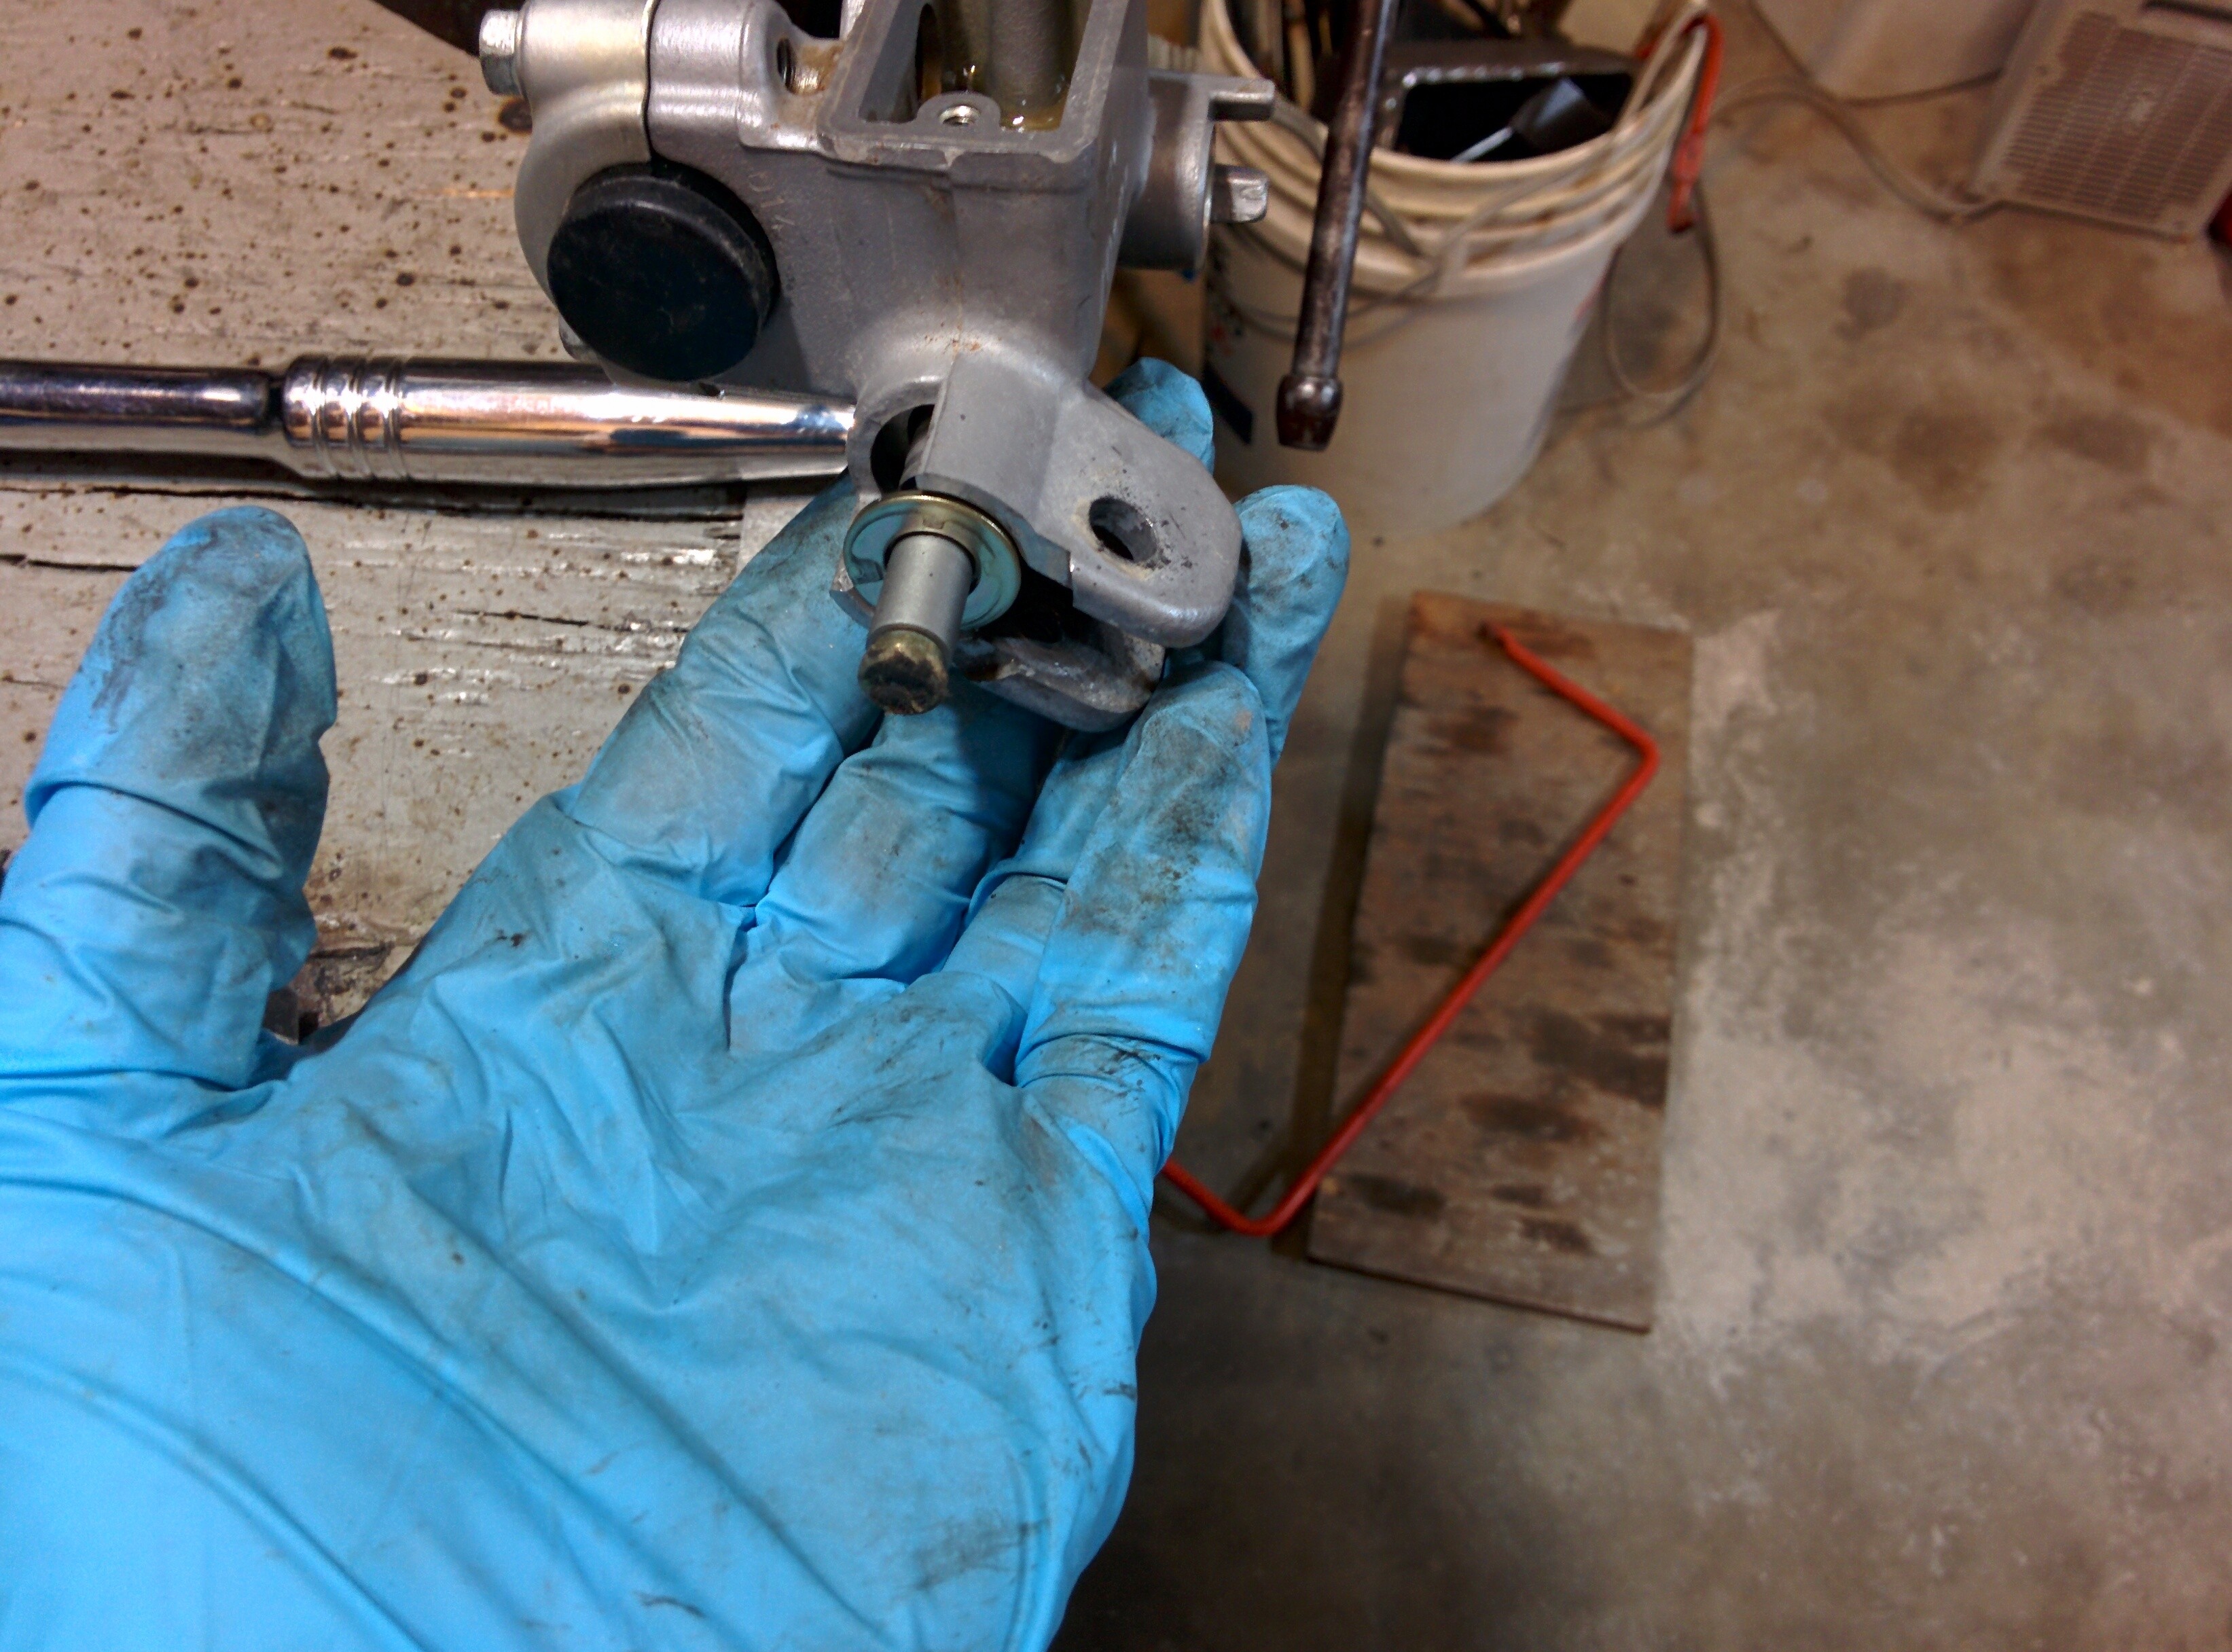
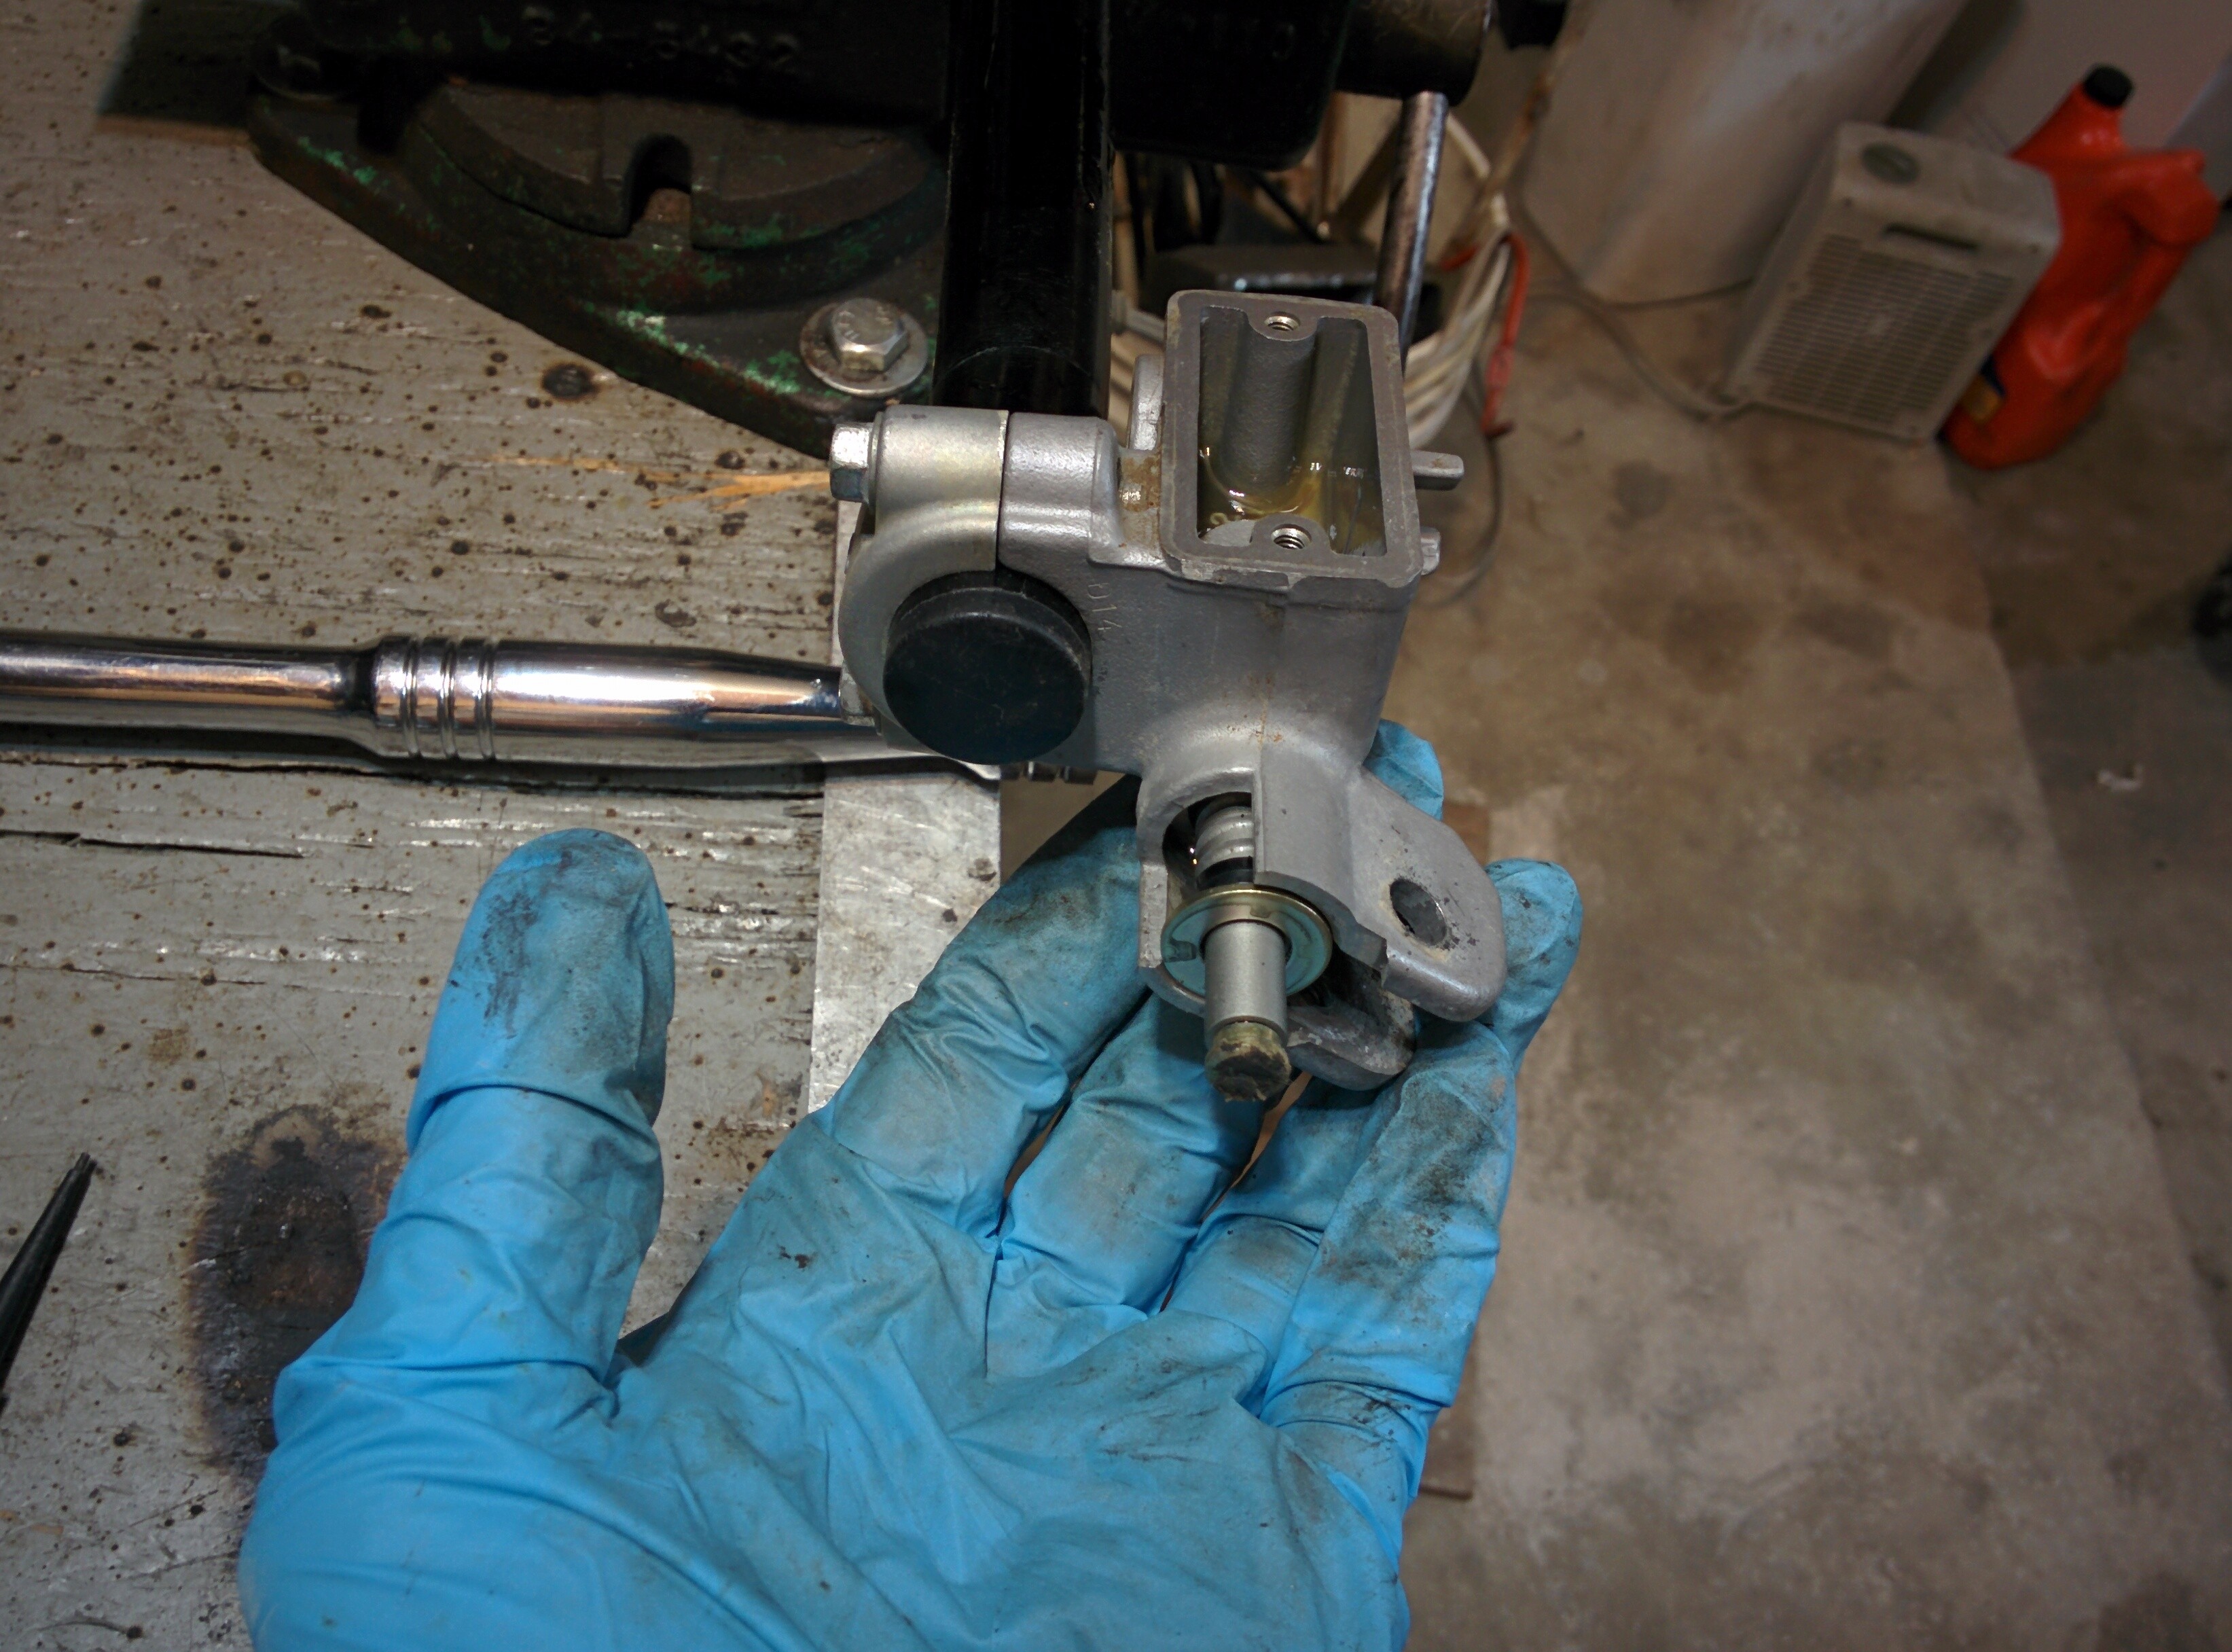
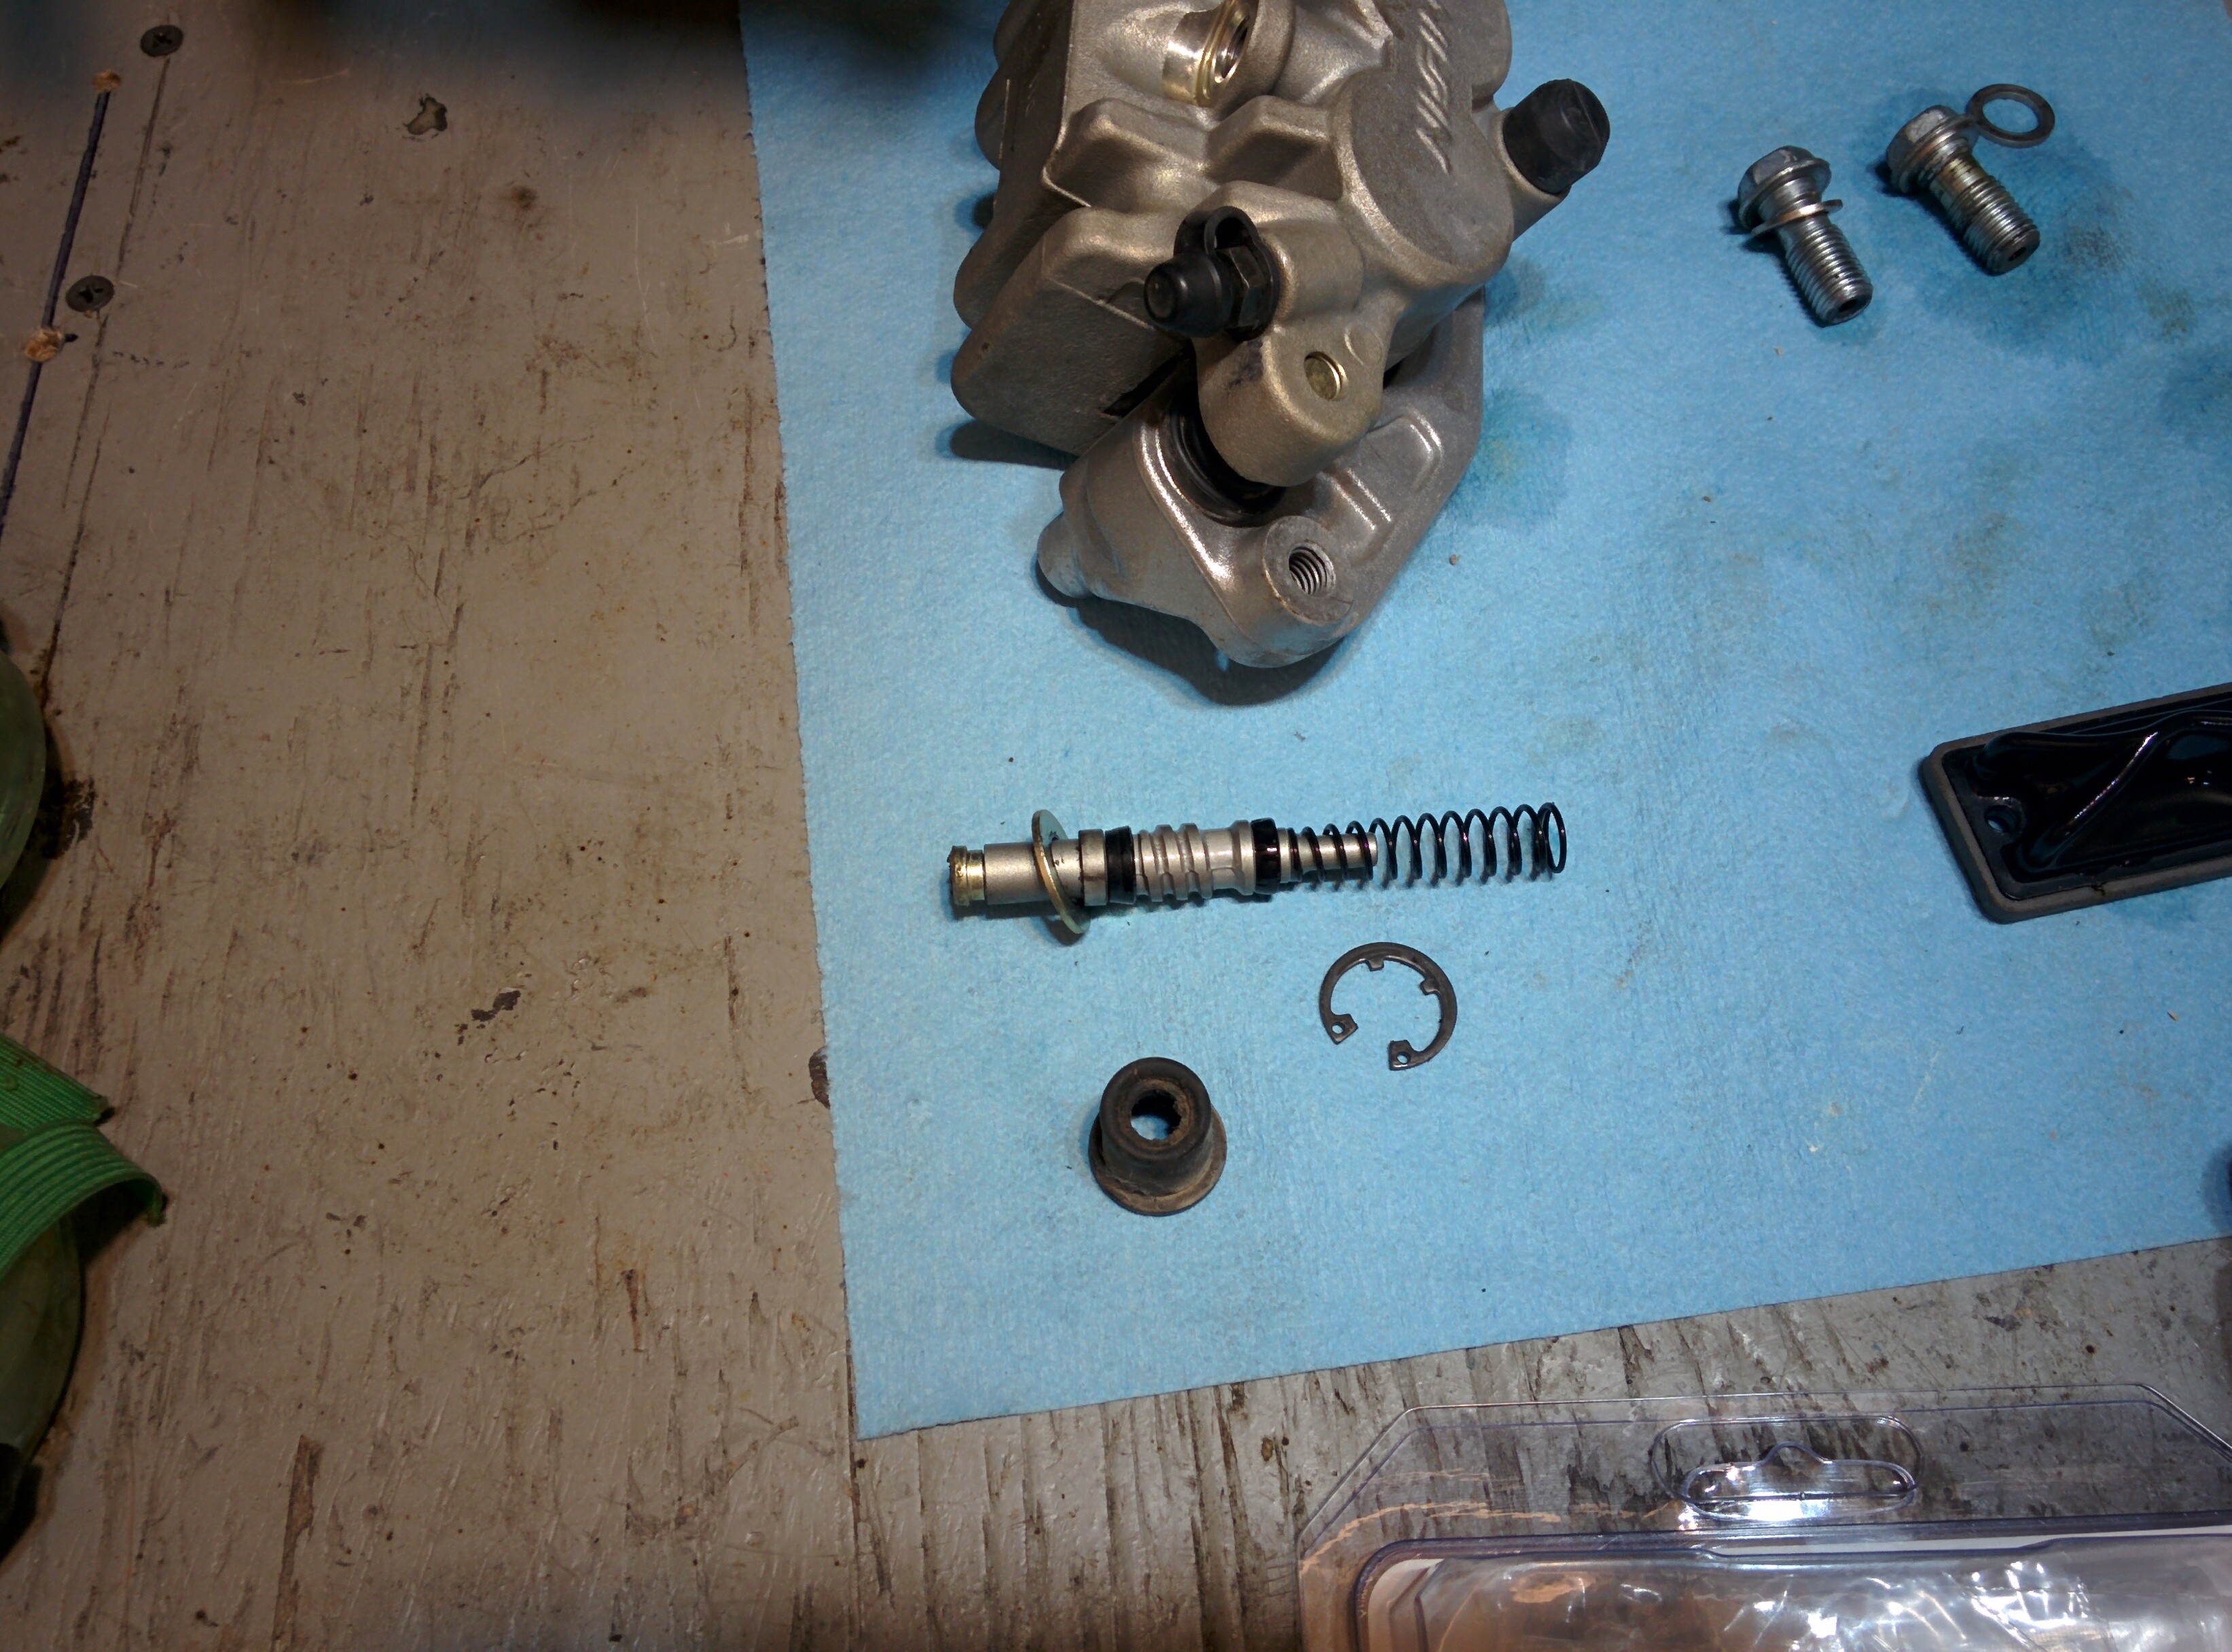
Wipe up any additional brake fluid at this time as well. The piston consists of itself, 2 seals, and a return spring.
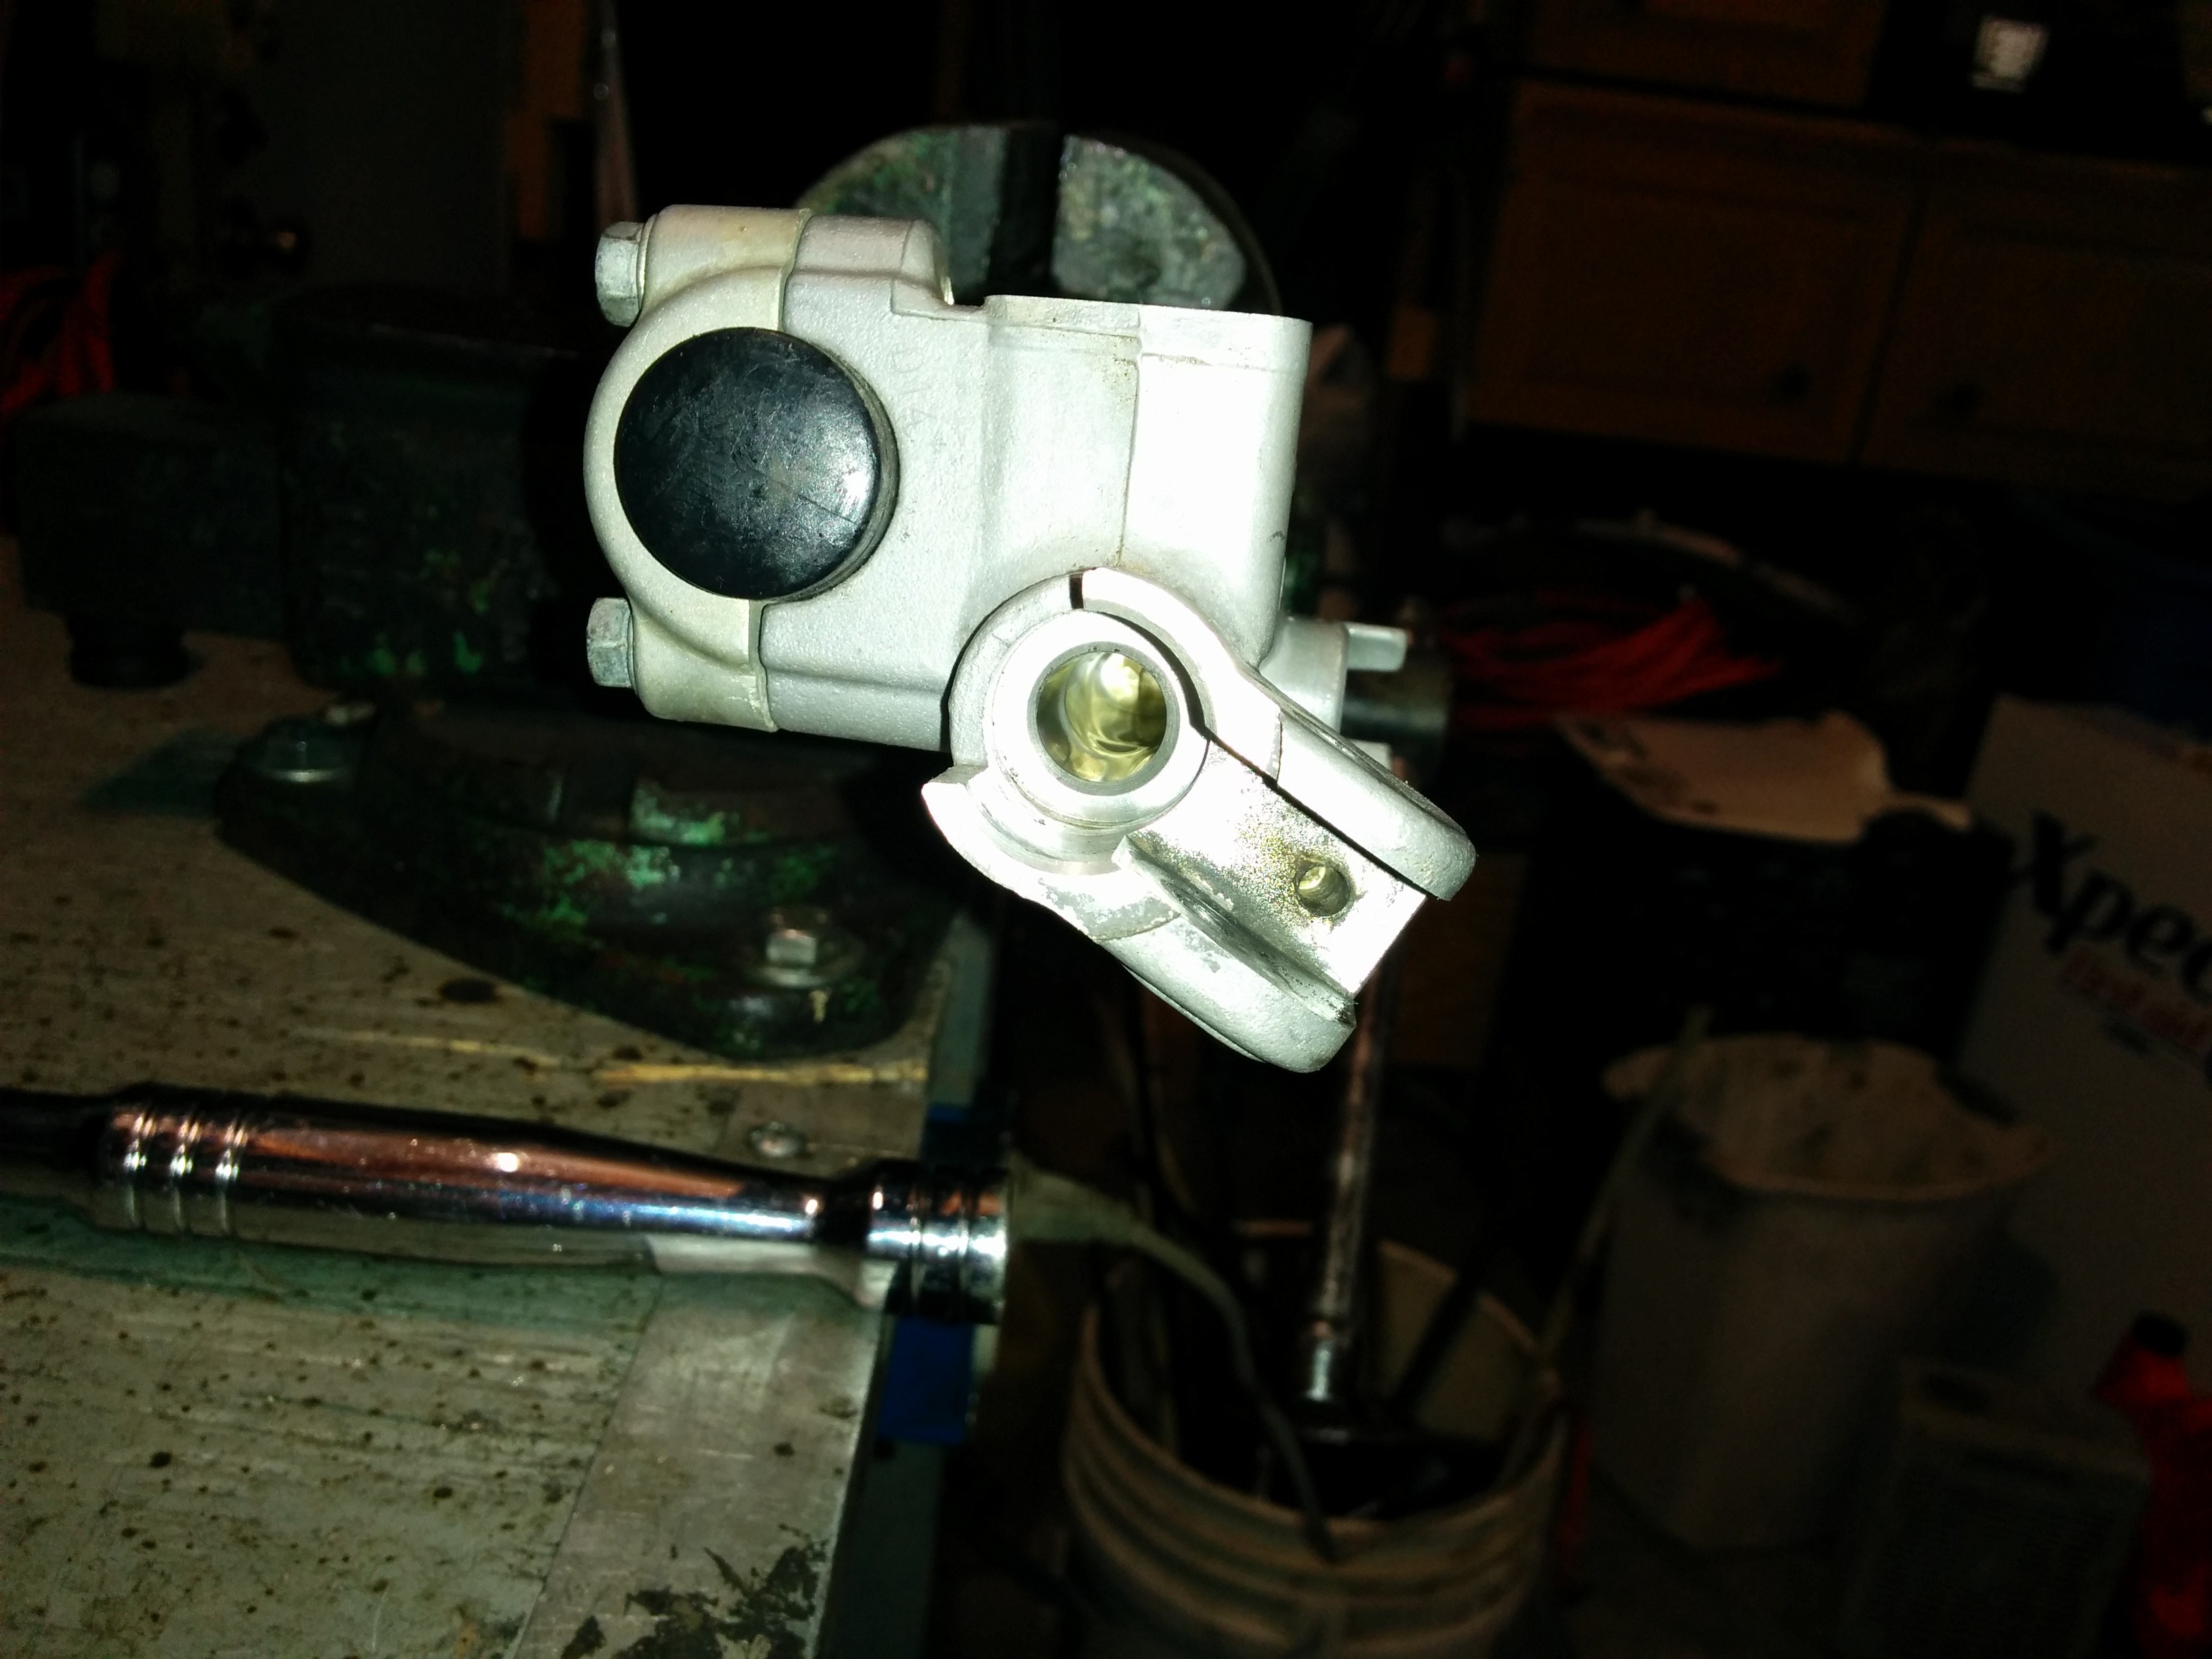
At this point you should be able to look inside the bore of the master cylinder. It should be smooth and glass like in appearance. If the master cylinder is corroded internally, the entire unit needs to be replaced.
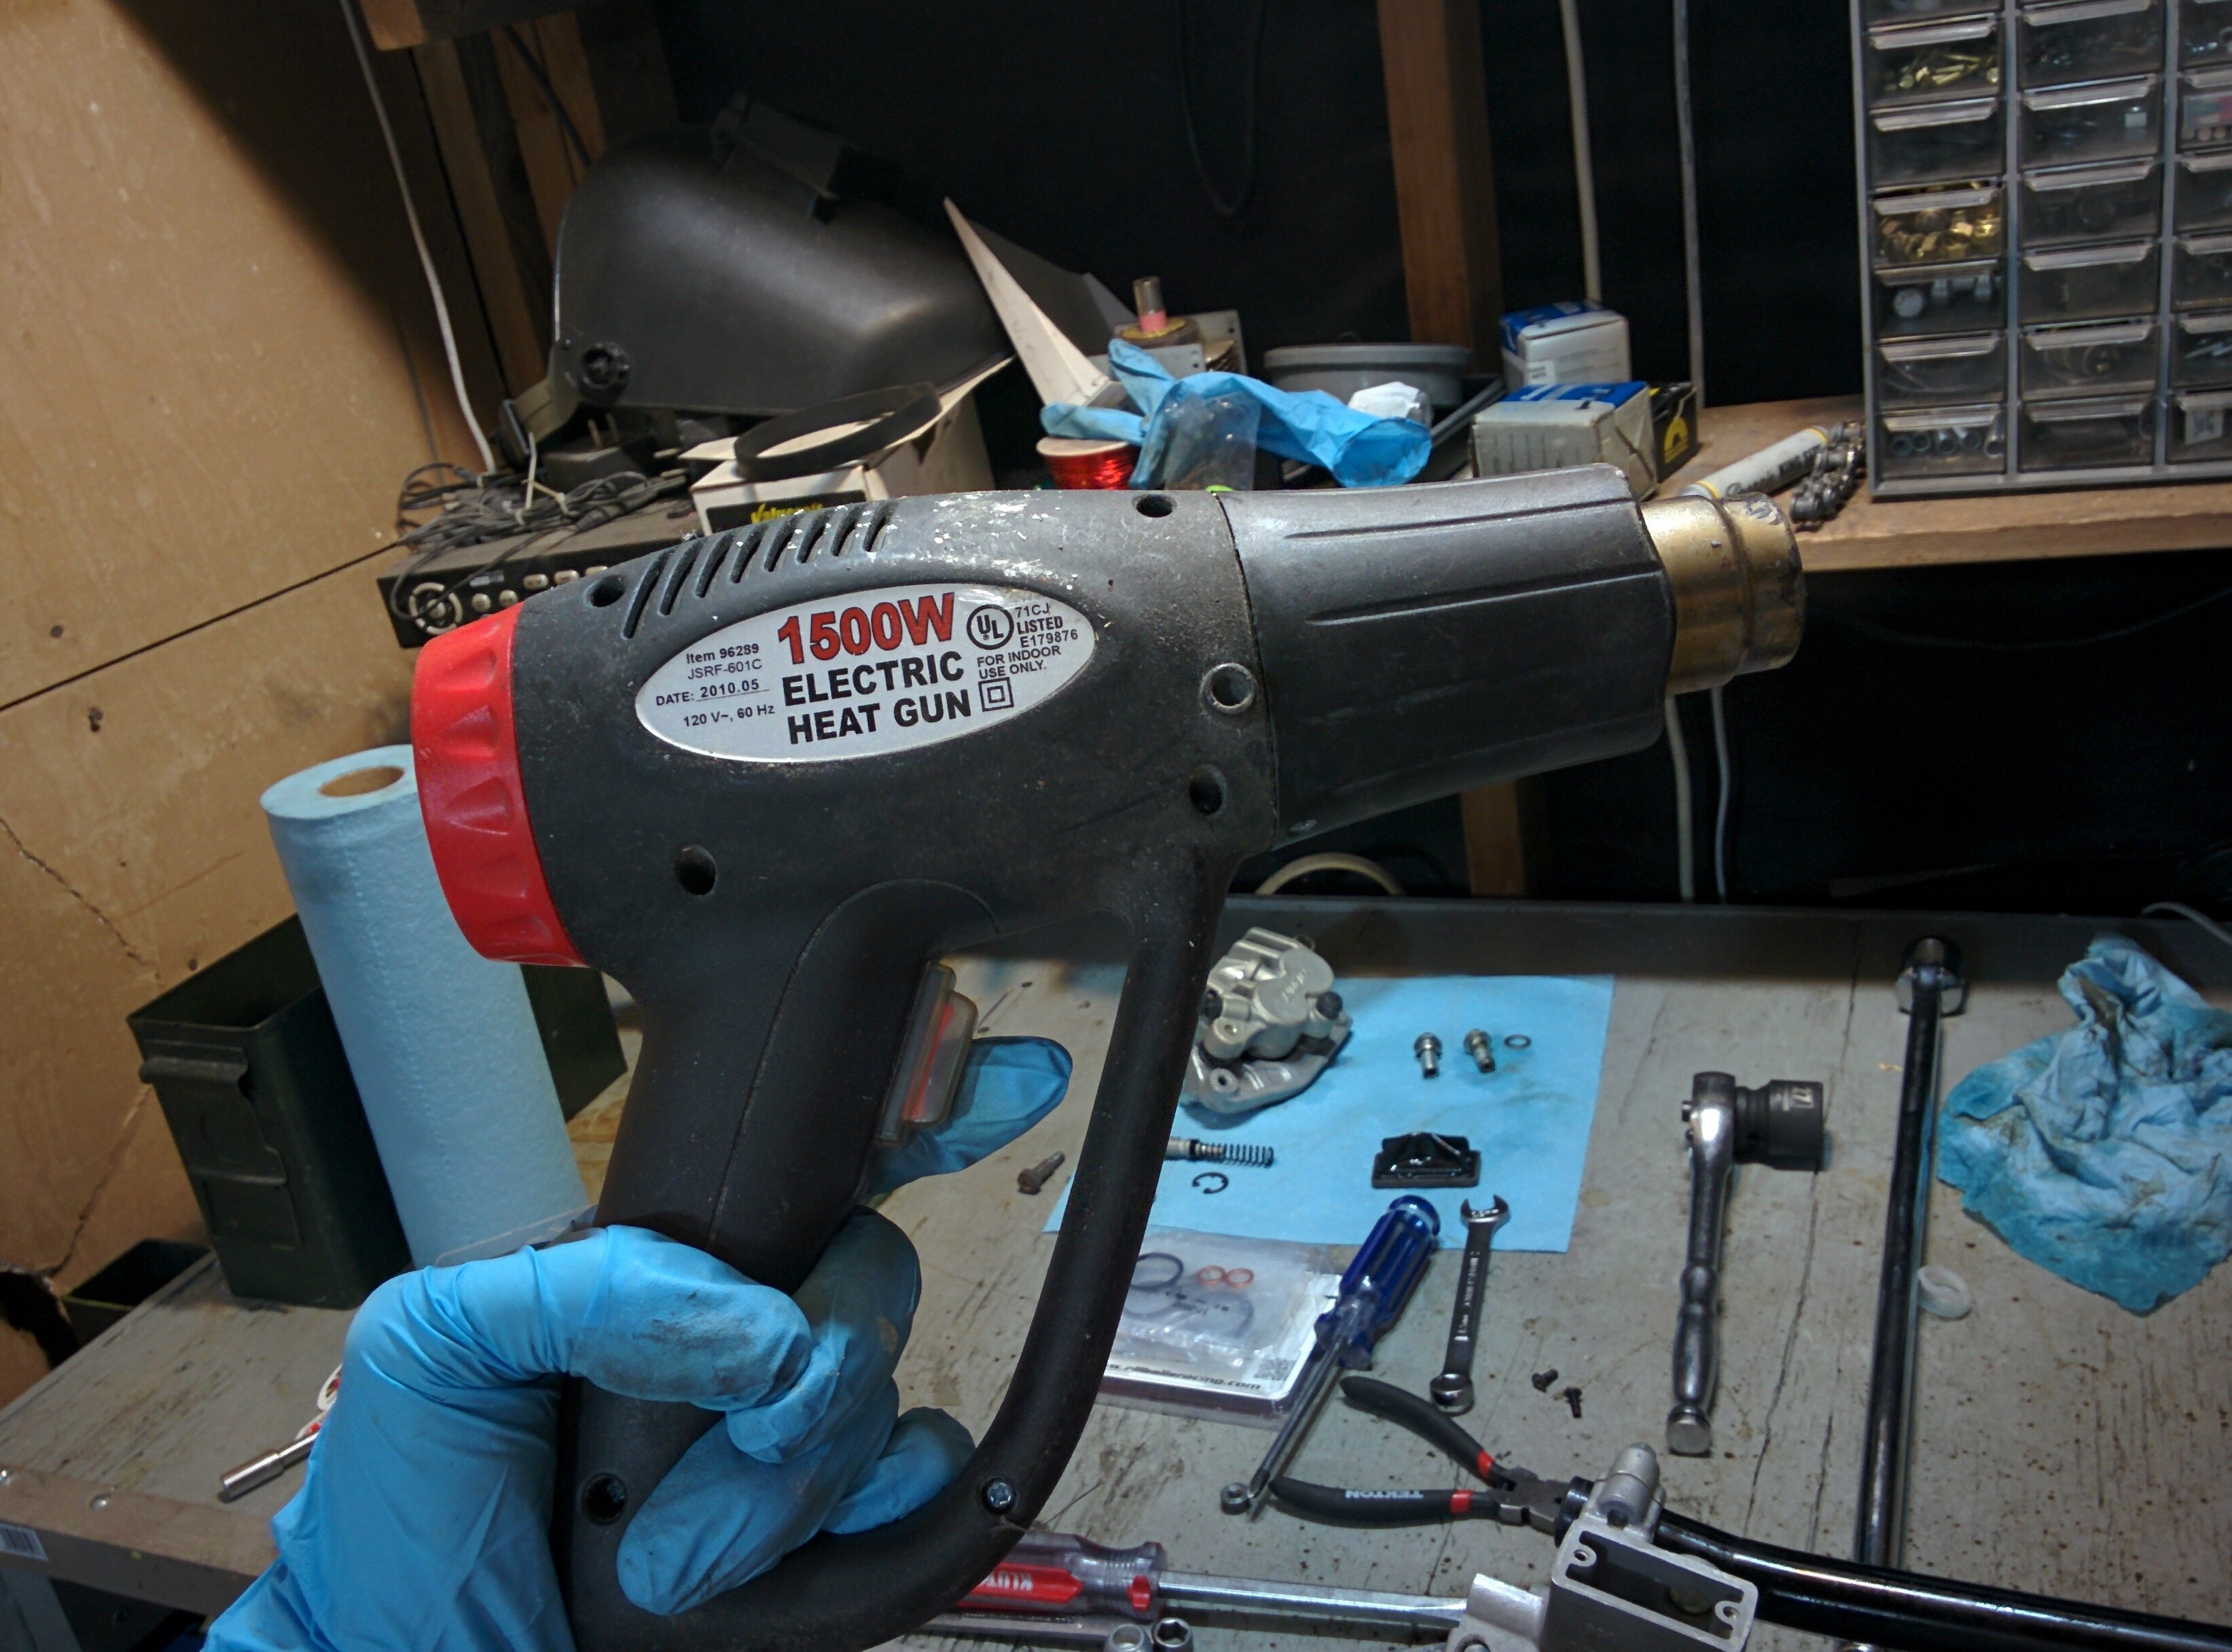
I cleaned out the master cylinder bore with non-chlorinated brake cleaner. To remove any residual brake cleaner I used my heat gun.


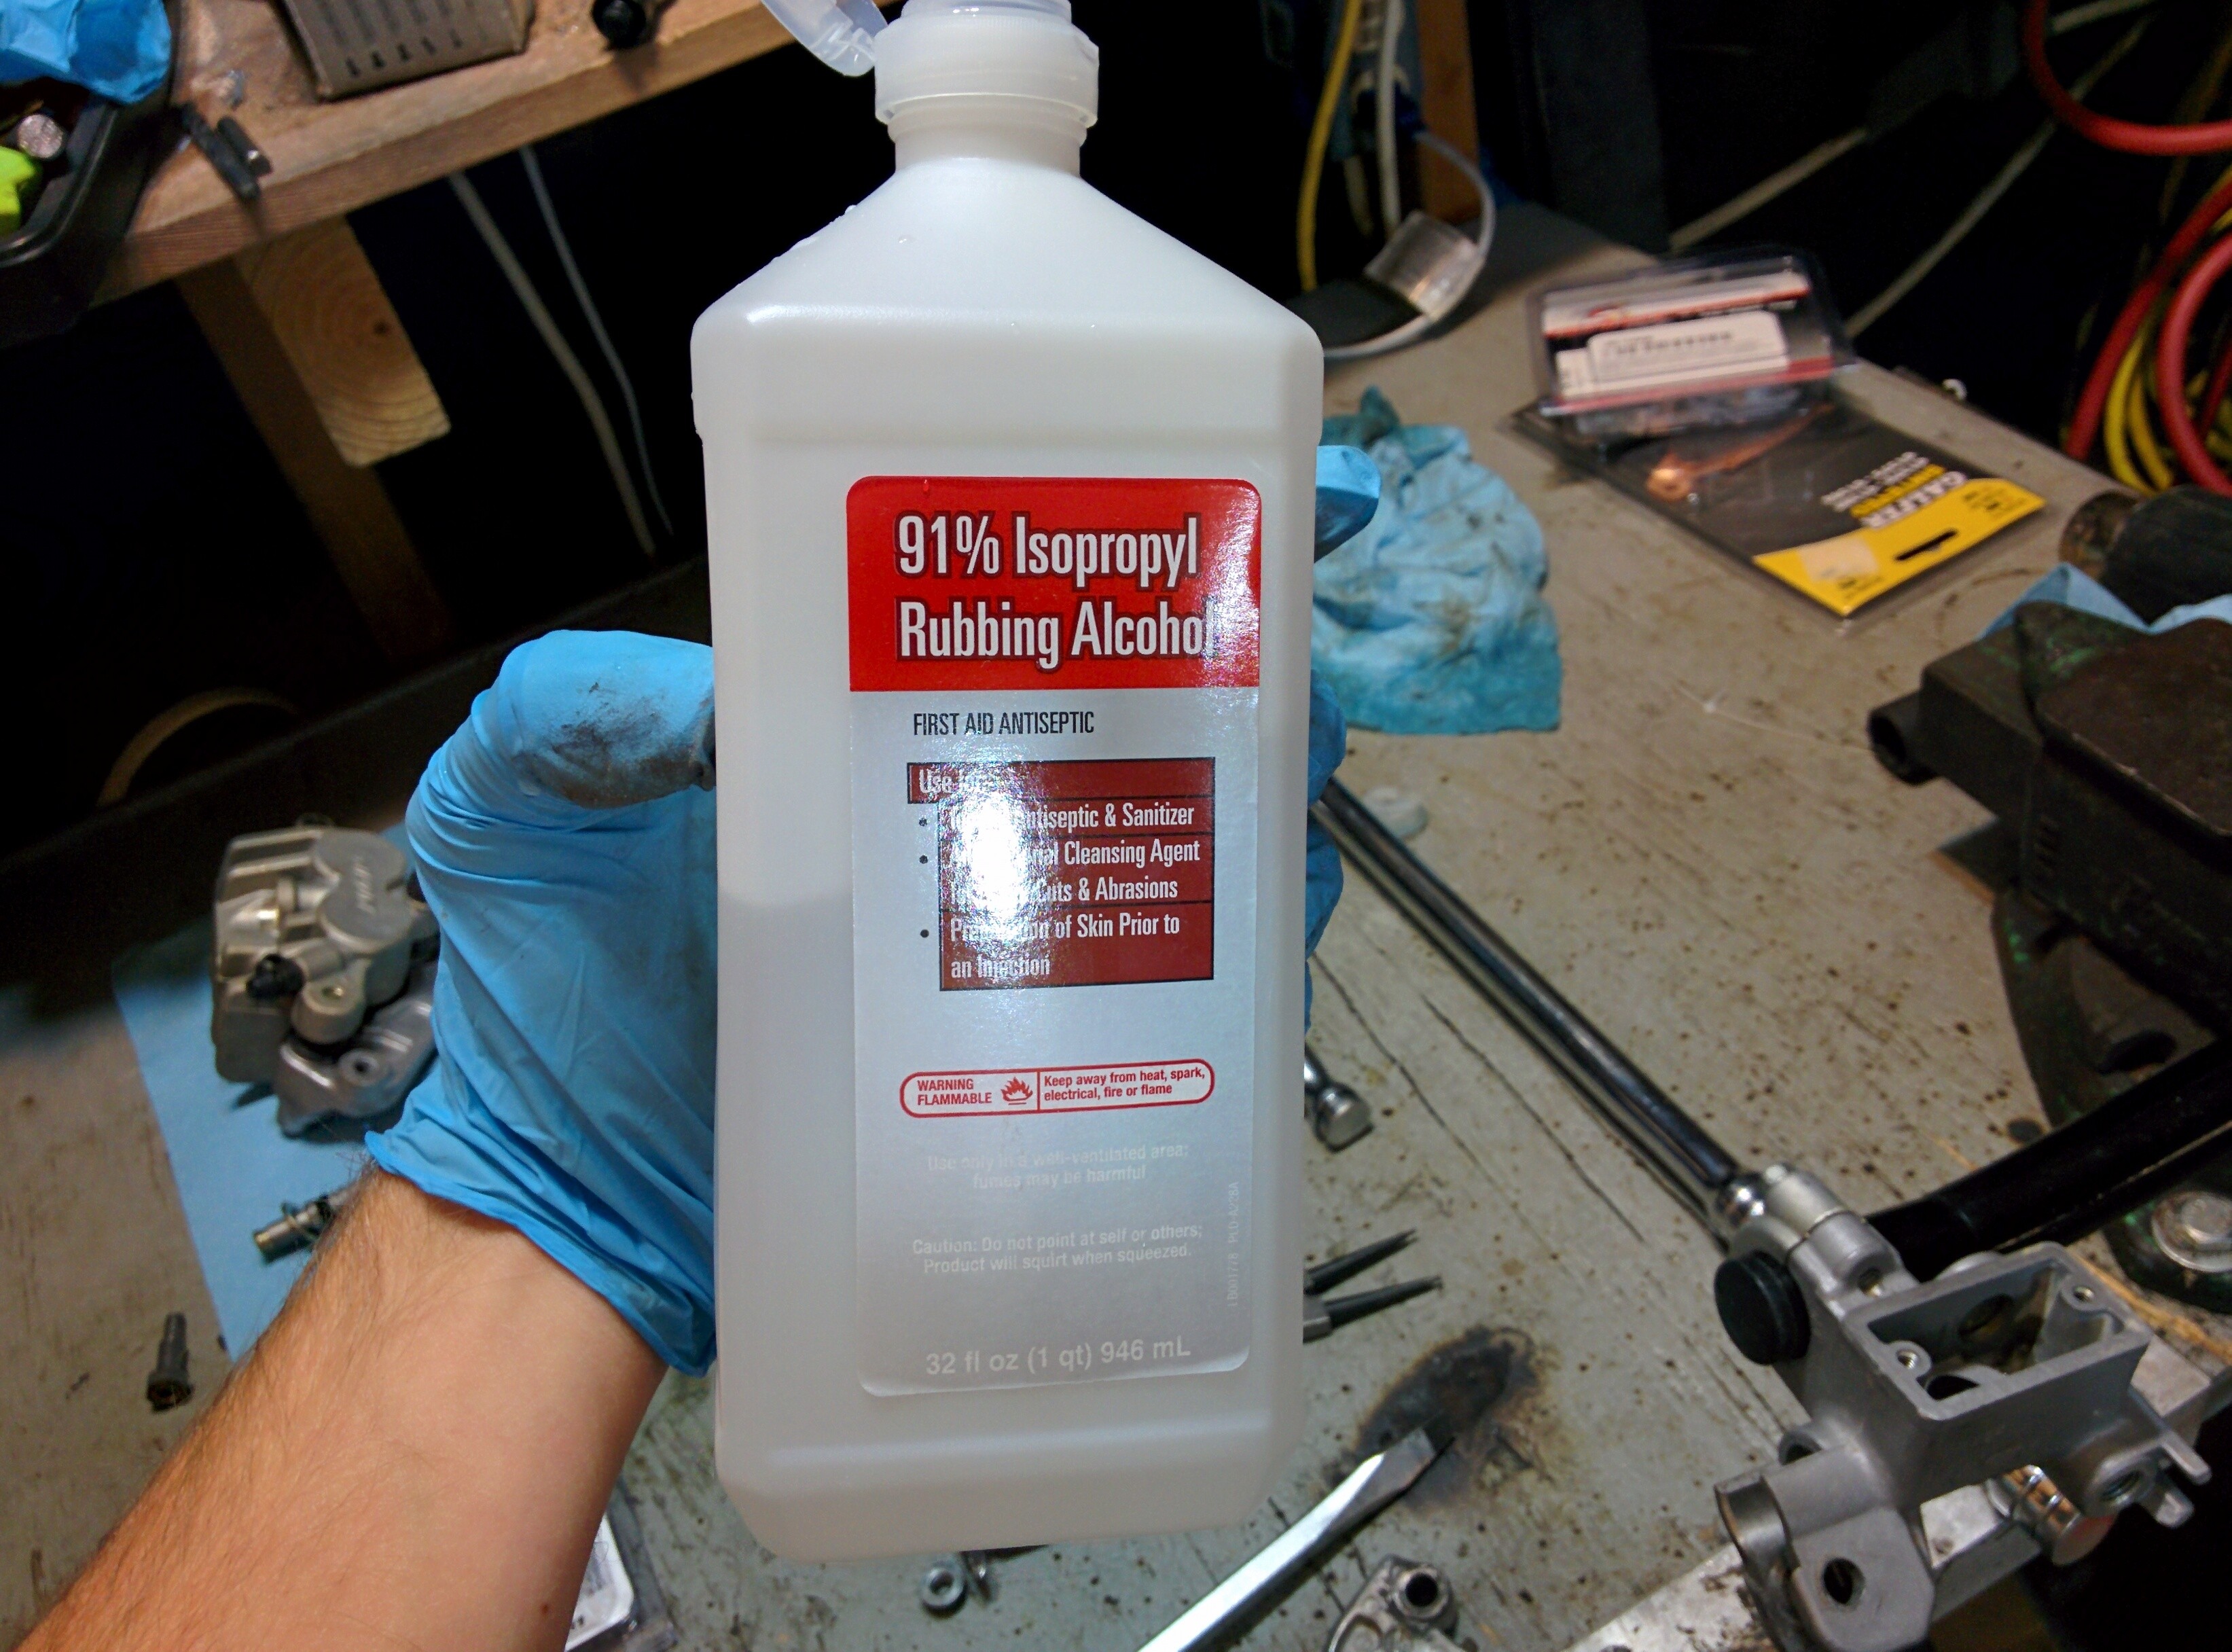
Unforunately, the brake cleaner was not enough for the level of dirtiness this master cylinder had. There was some sort of junk built up in the master cylinder. I used isopropyl alcohol to clean out the remainder of the stuff. I don't recommend this unless absolutely necessary. Alcohol tends to encourage corrosion of aluminum, so be sure and wash it all off afterwards.
Once the master cylinder is cleaned out, you can move onto rebuilding the piston. The spring is held on only with friction and should come right off. You can just rip the old seals off using needlenose pliers.
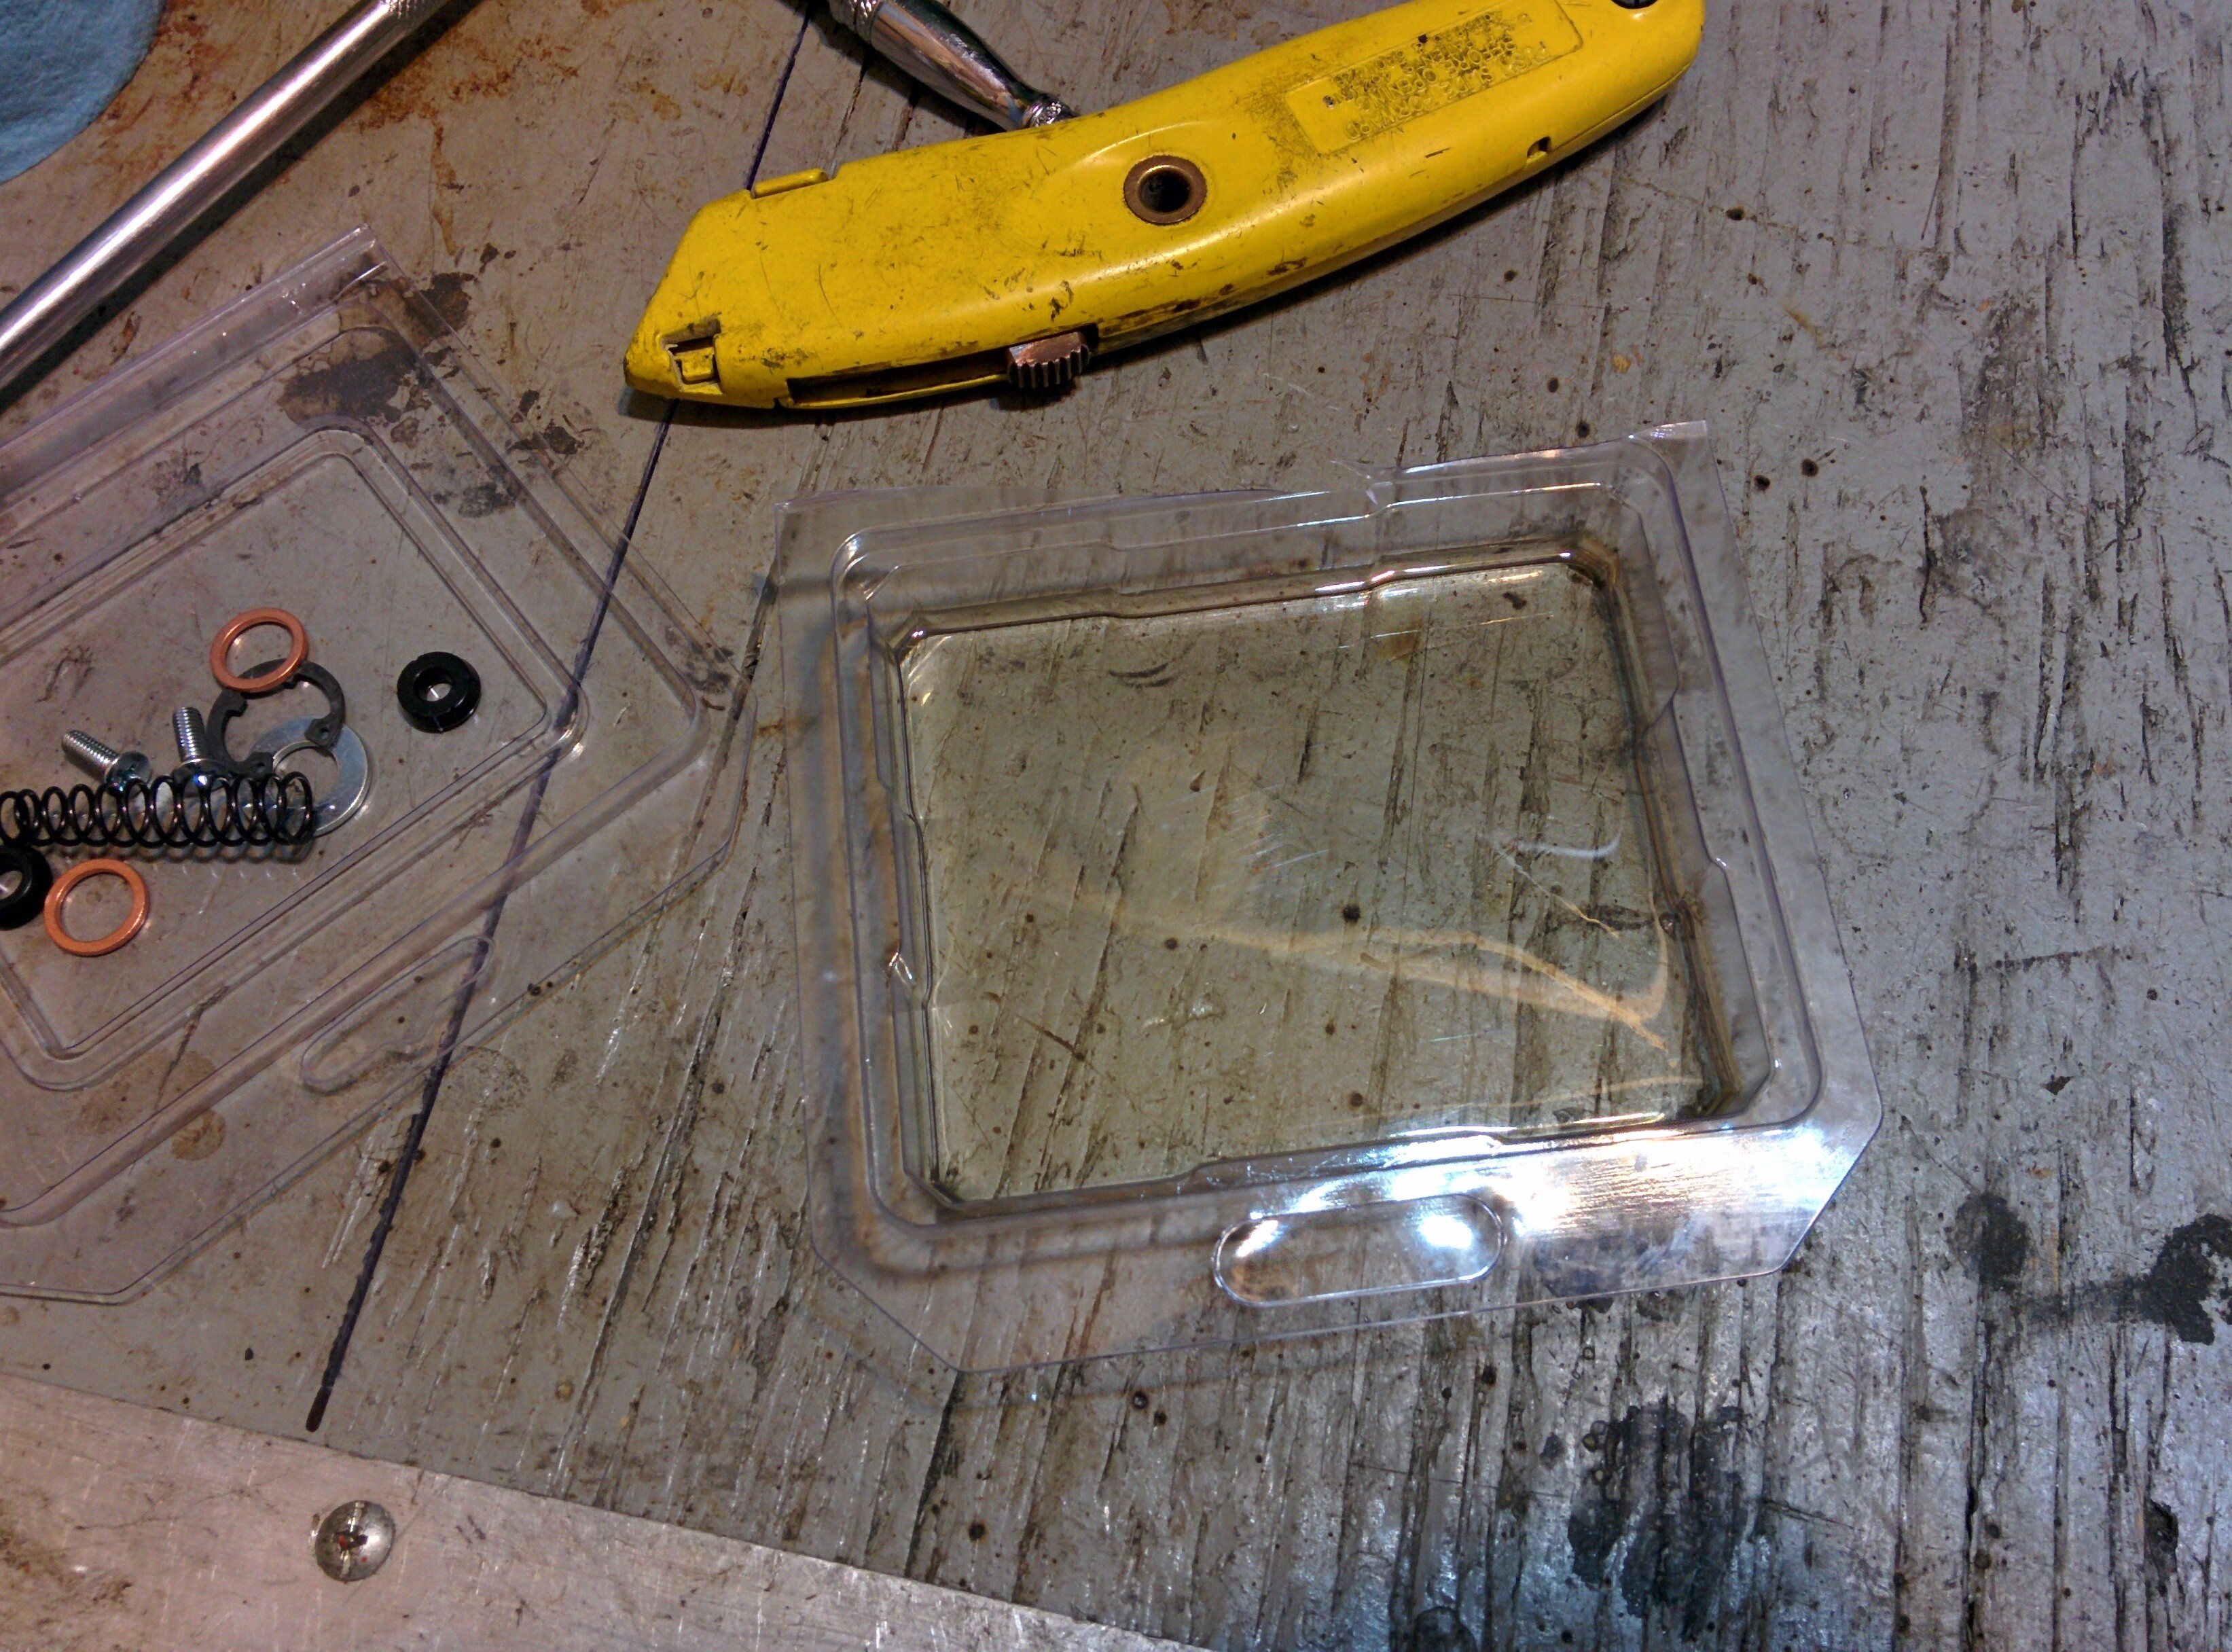
The new seals need to be gently installed. I used some picks to do this. They need some sort of lubricant to assist them in working their way onto the piston. I put some brake fluid in a small plastic tray so I could wet the seals before working them onto the piston.
After the seals are back on the piston, you can slide the whole assembly back into the bore of the master cylinder. Since the piston is spring loaded, you will need to use one hand to hold it in place while reinstalling the circular clip.

After the piston is reinstalled, slip the new dust boot over the piston. The dust boot is a very loose fit and should not require any lubricant to get it on the piston.
Now, reinstall the master cylinder reservoir cap and you're done with the master cylinder.
Brake Caliper
The front brake caliper must be separated from it's carrier before it can be rebuilt. The brake pads are retained by a small pin. The pin threads in and is then covered with a cap that threads in over it. To remove the cap use a flathead screwdriver.
An hex driver is used to remove unscrew the pin itself.

After this pin is out, there is really nothing holding the pads in. They should fall right out. In my case they are severly worn, so I will not be reusing them.
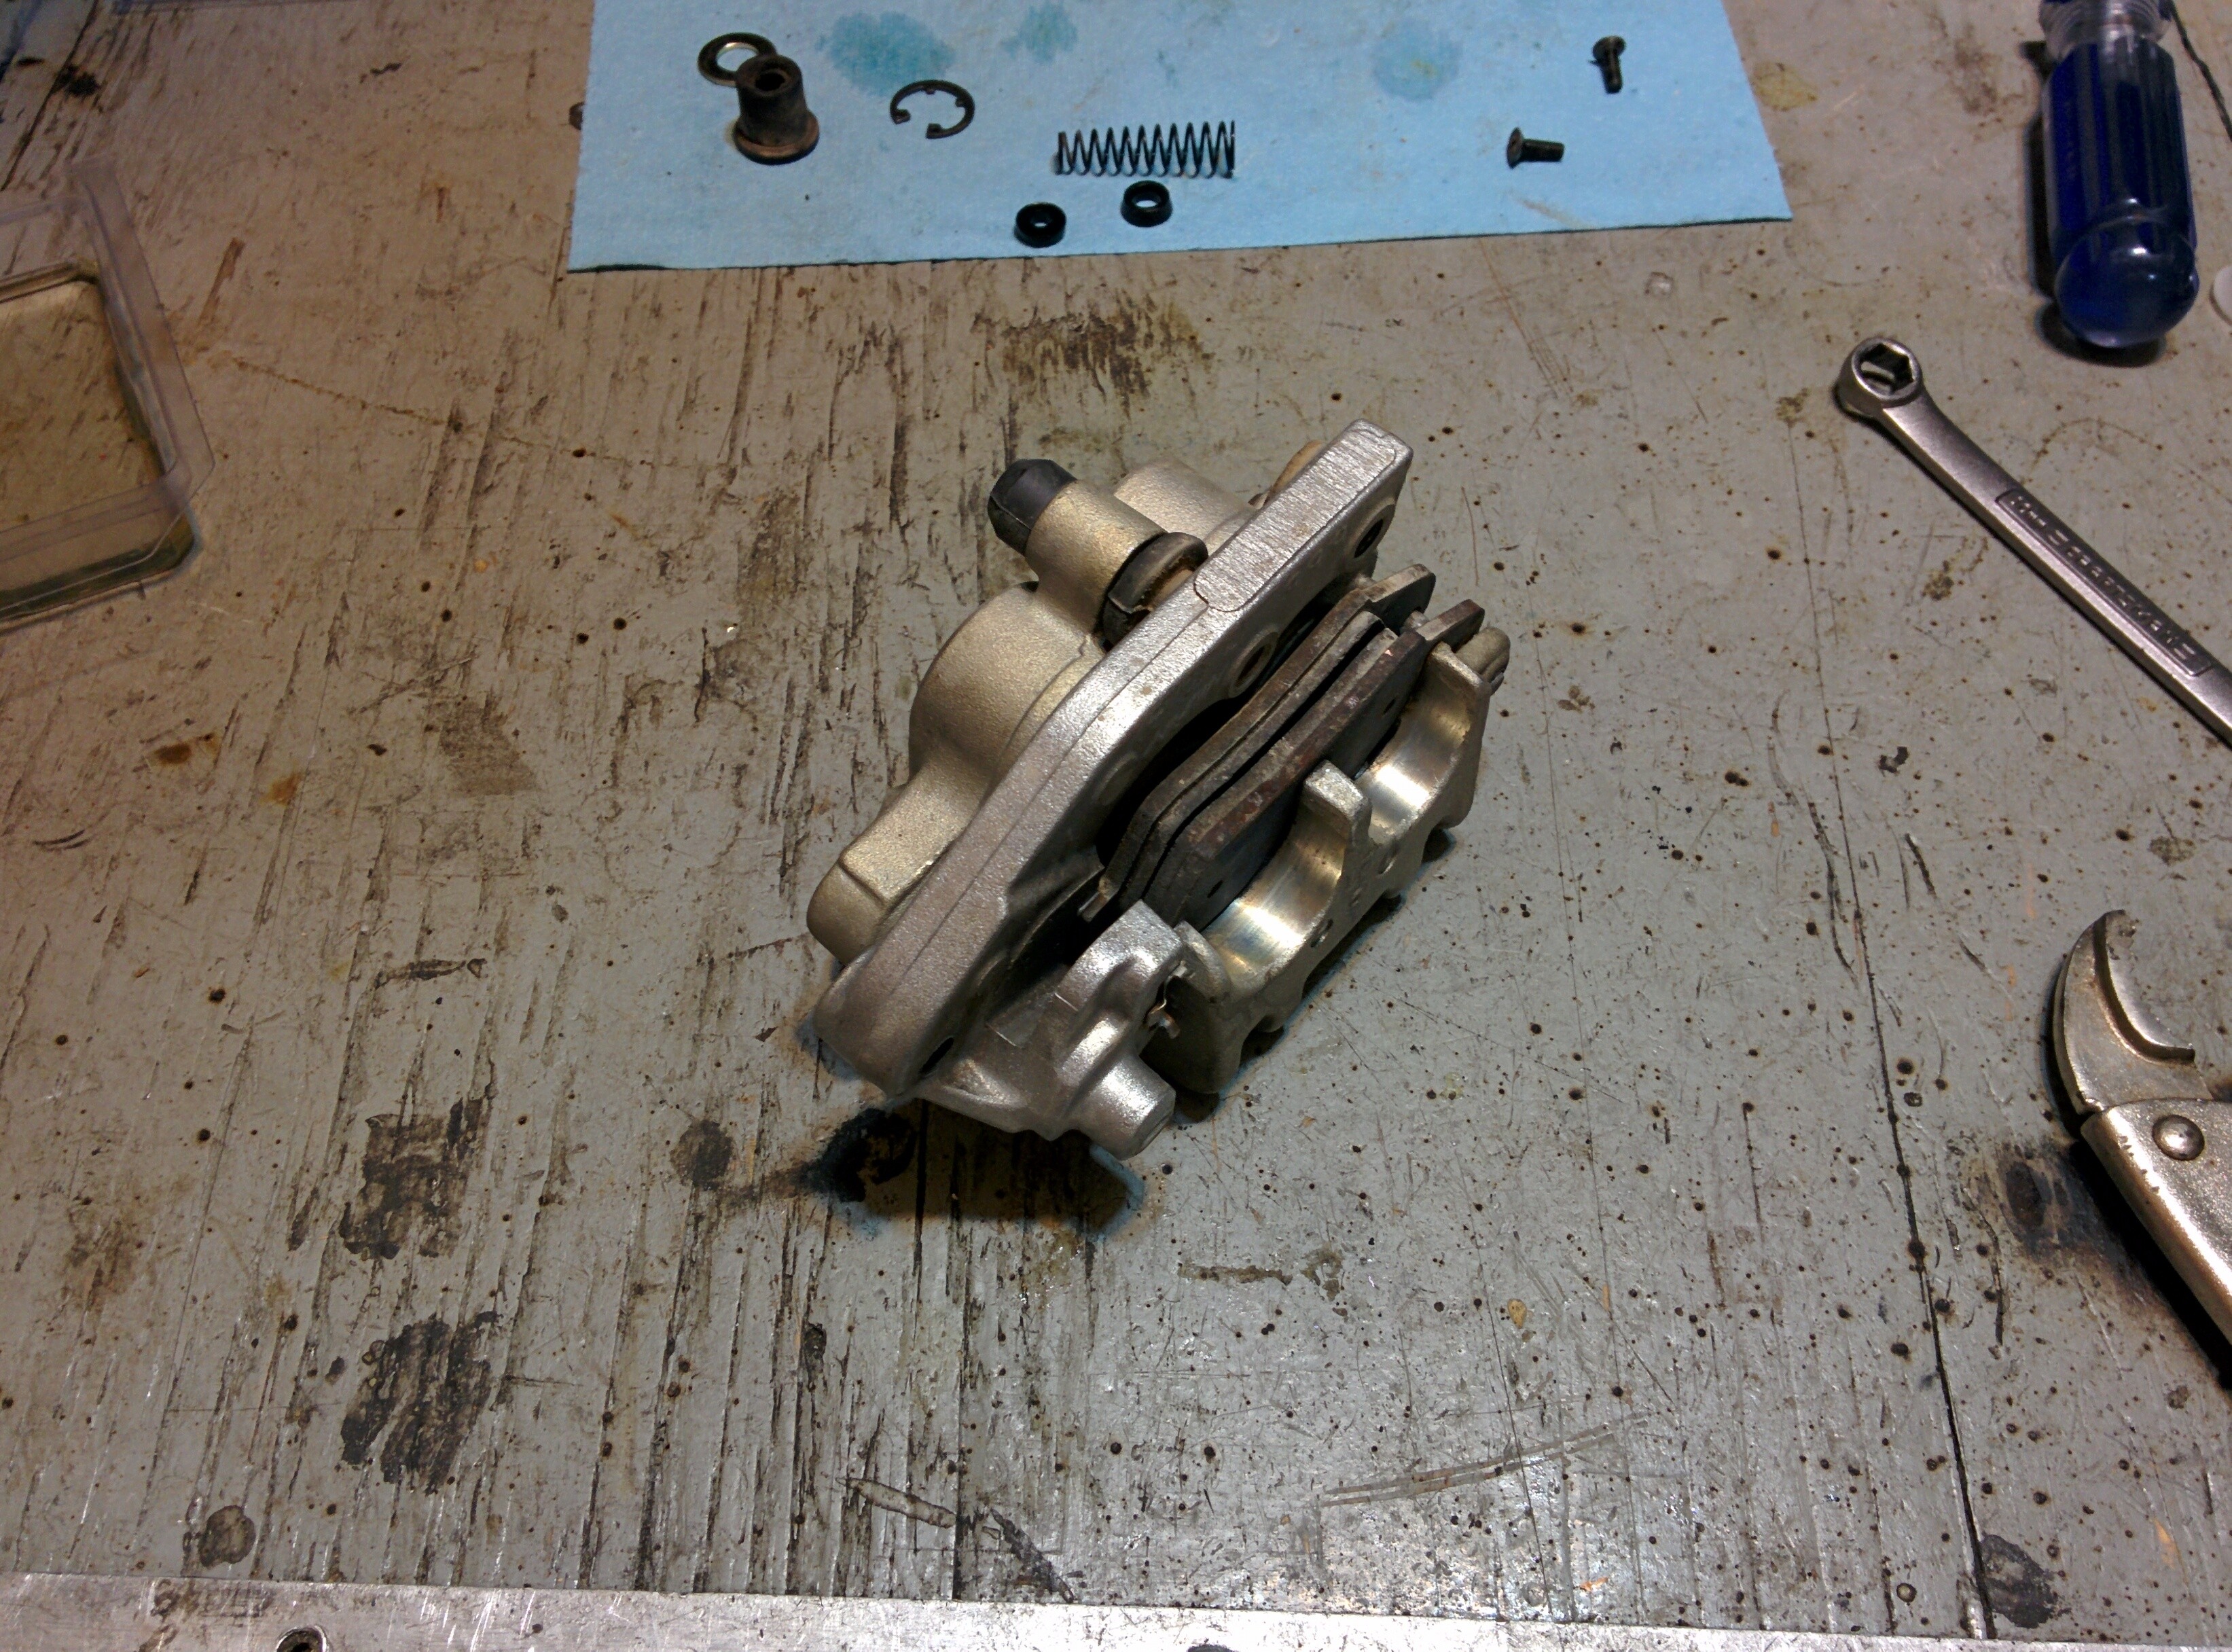
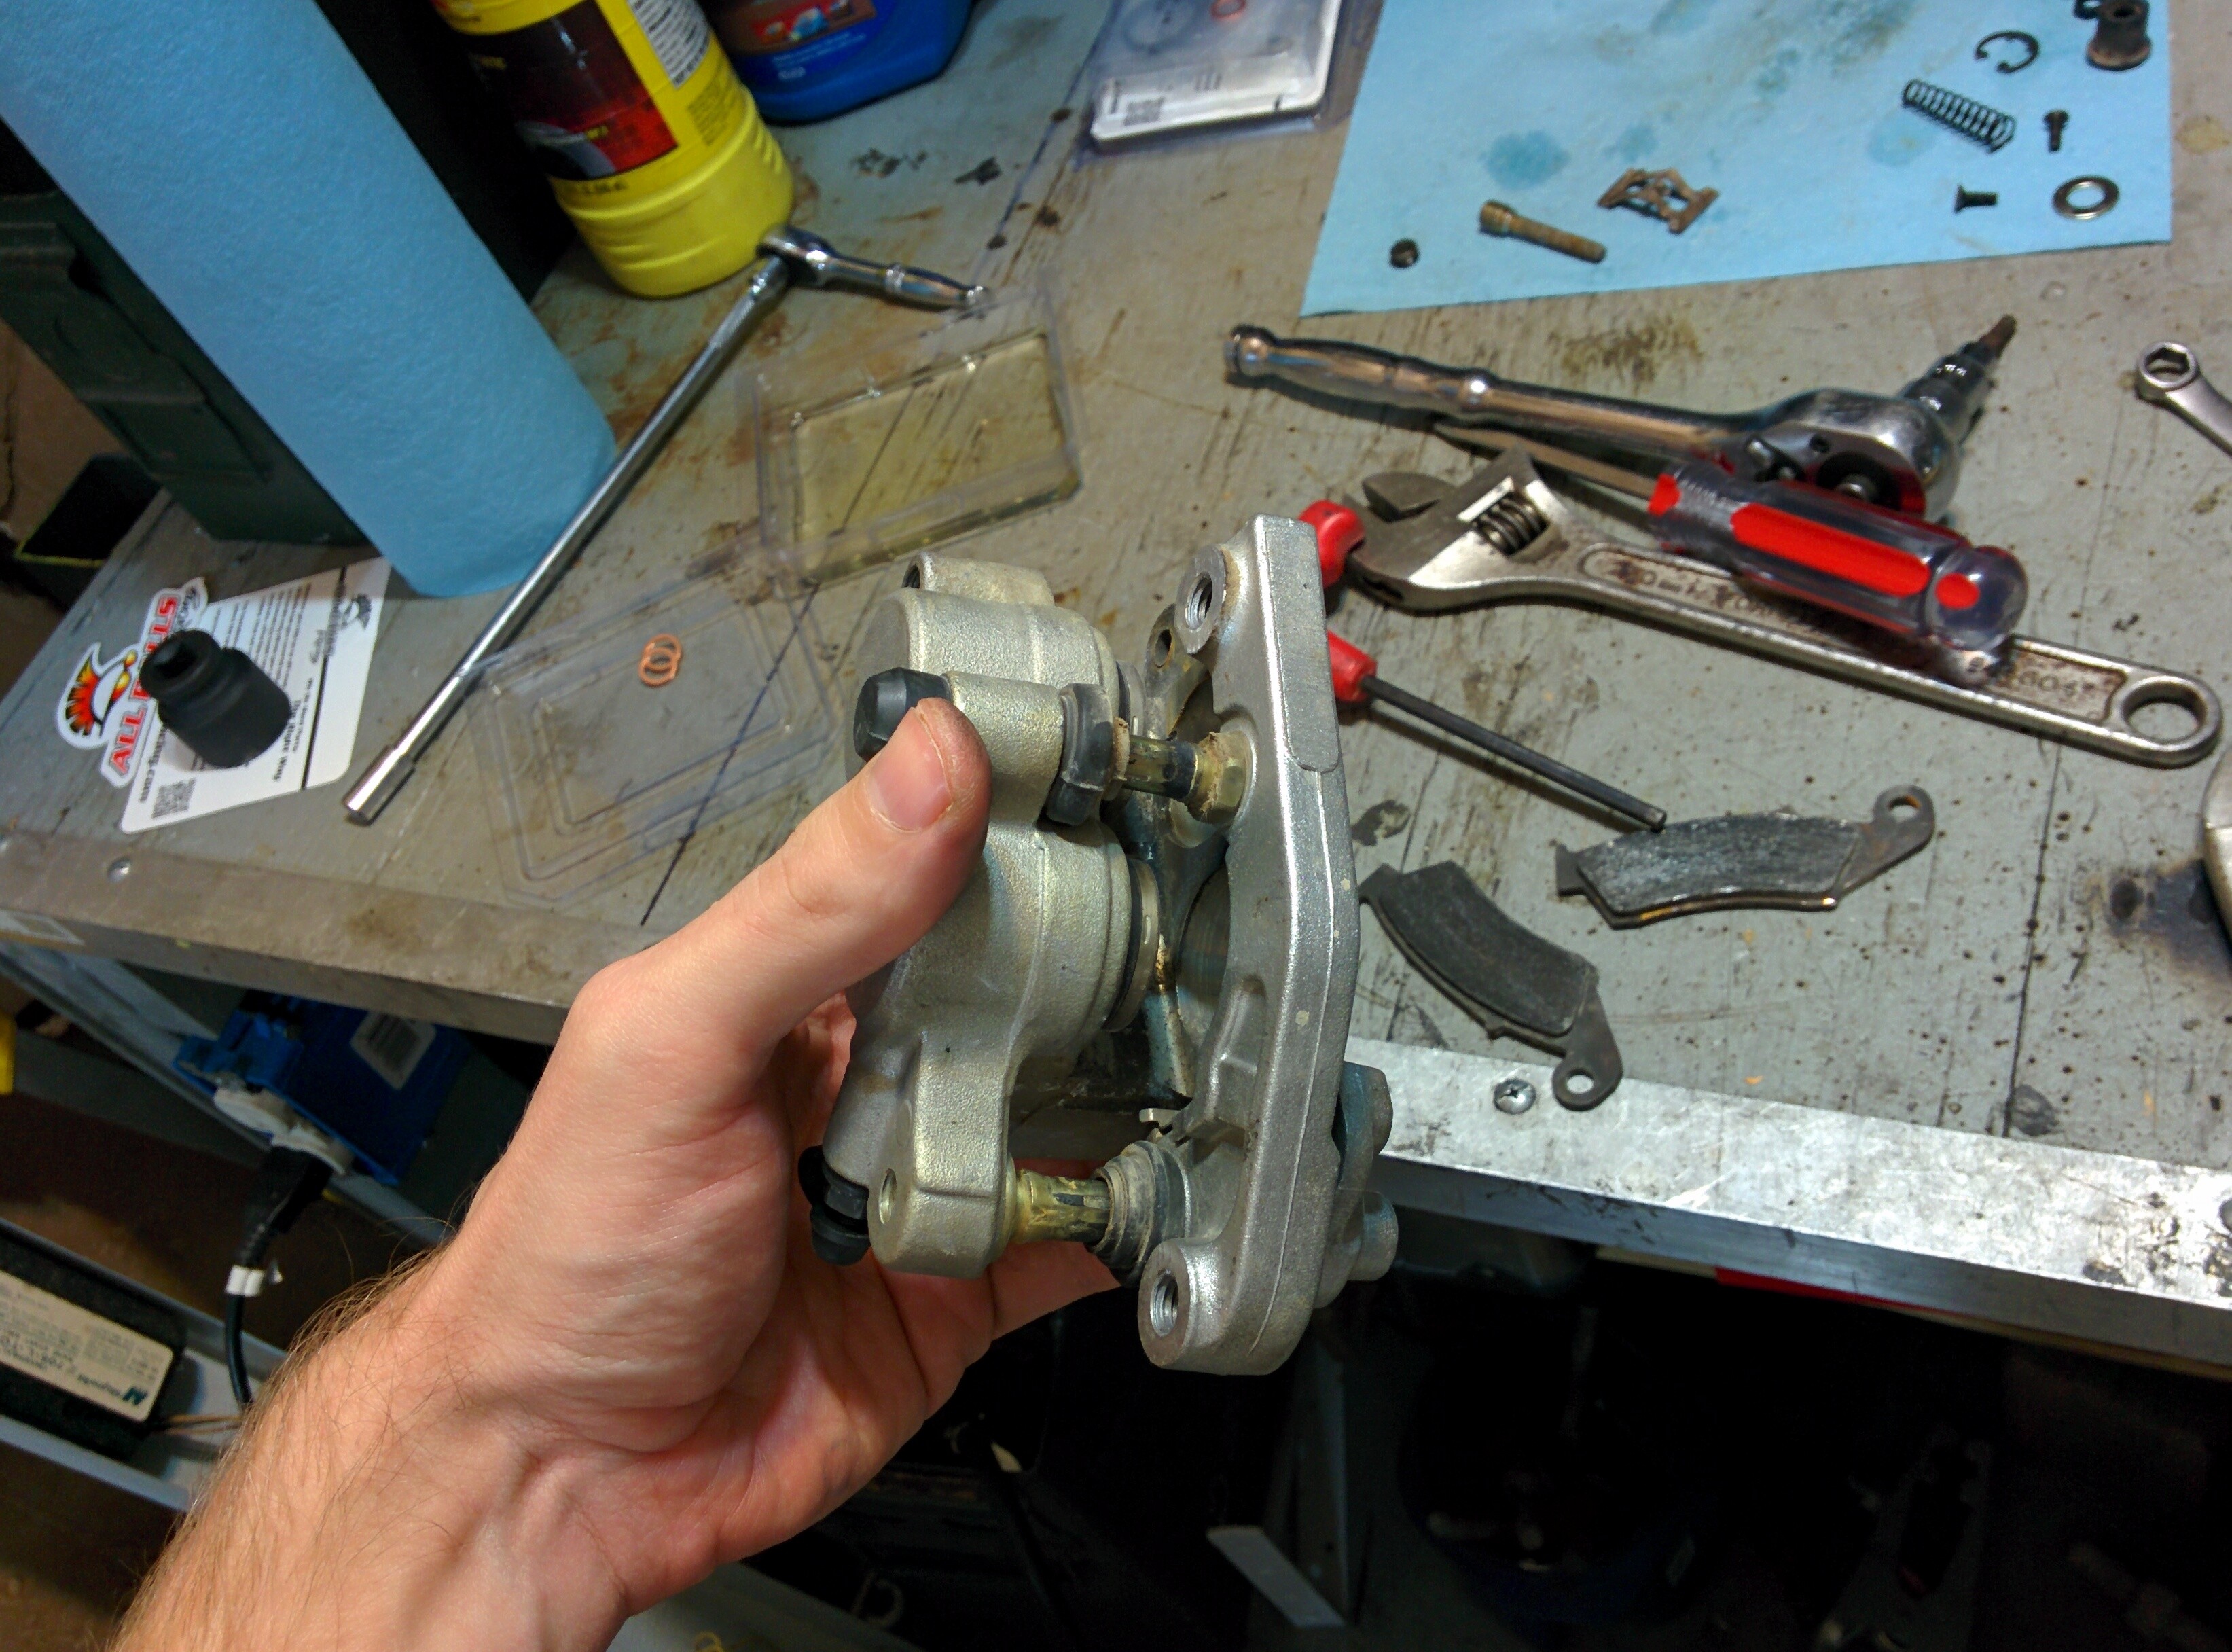
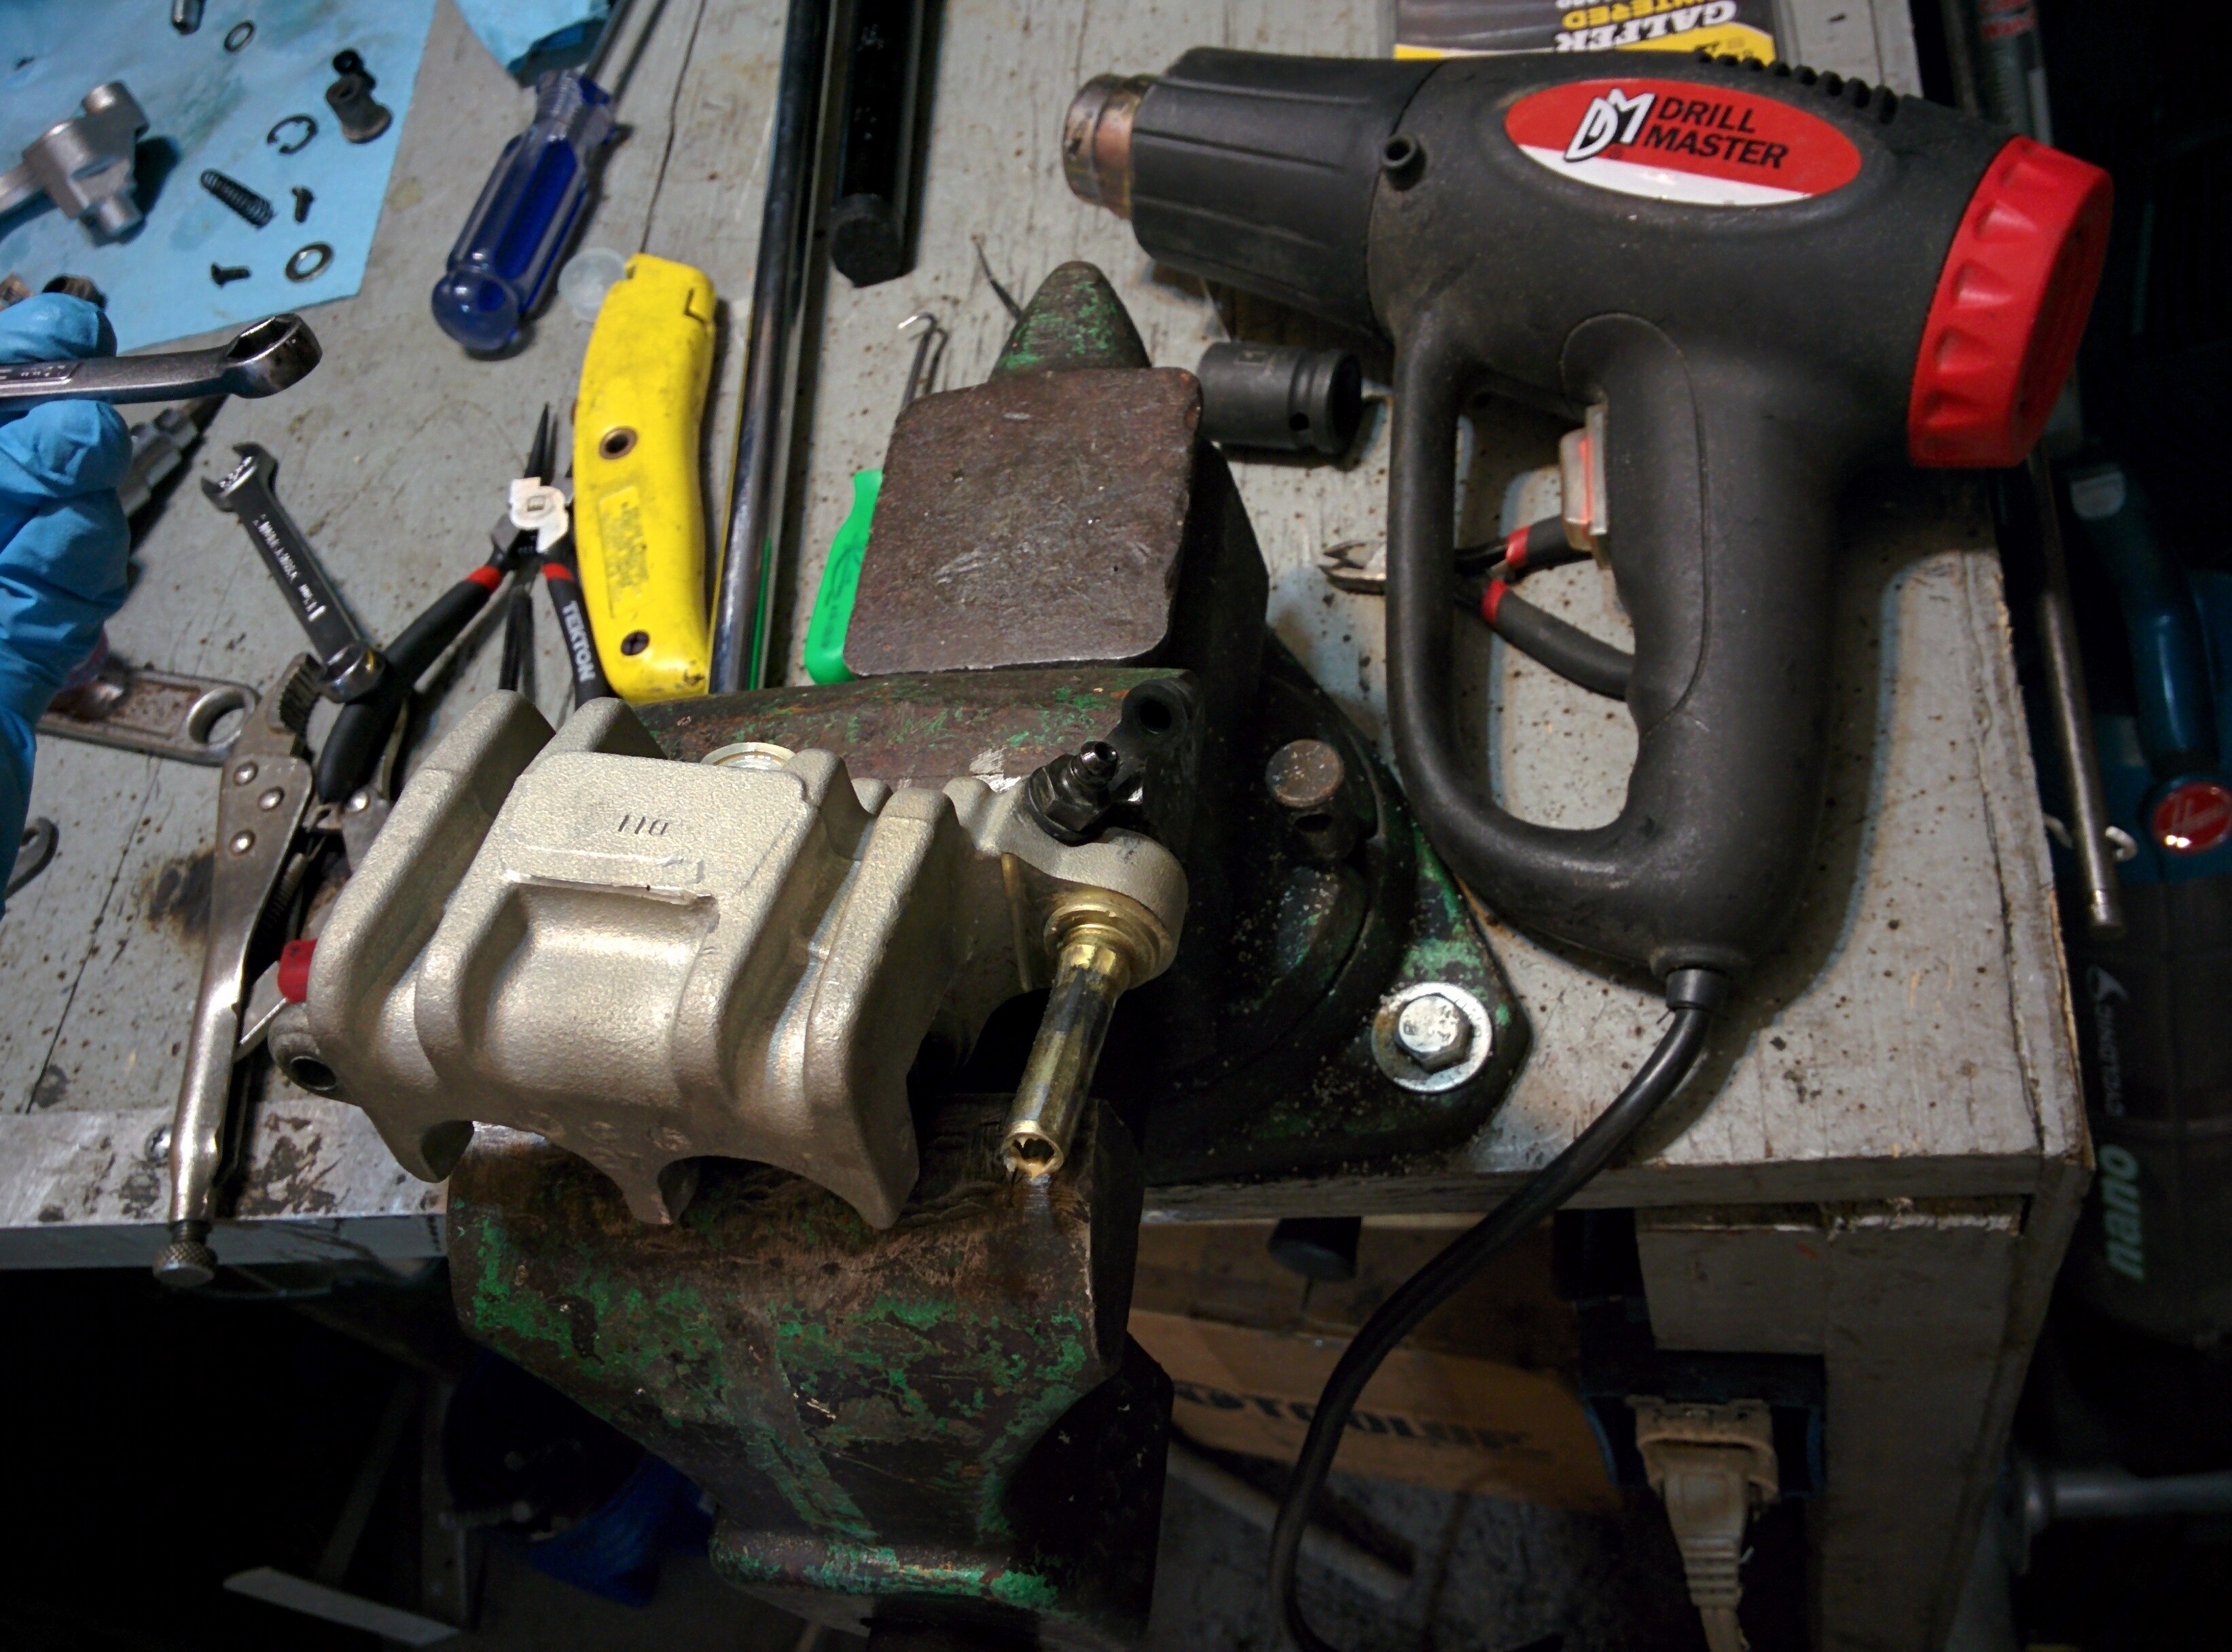
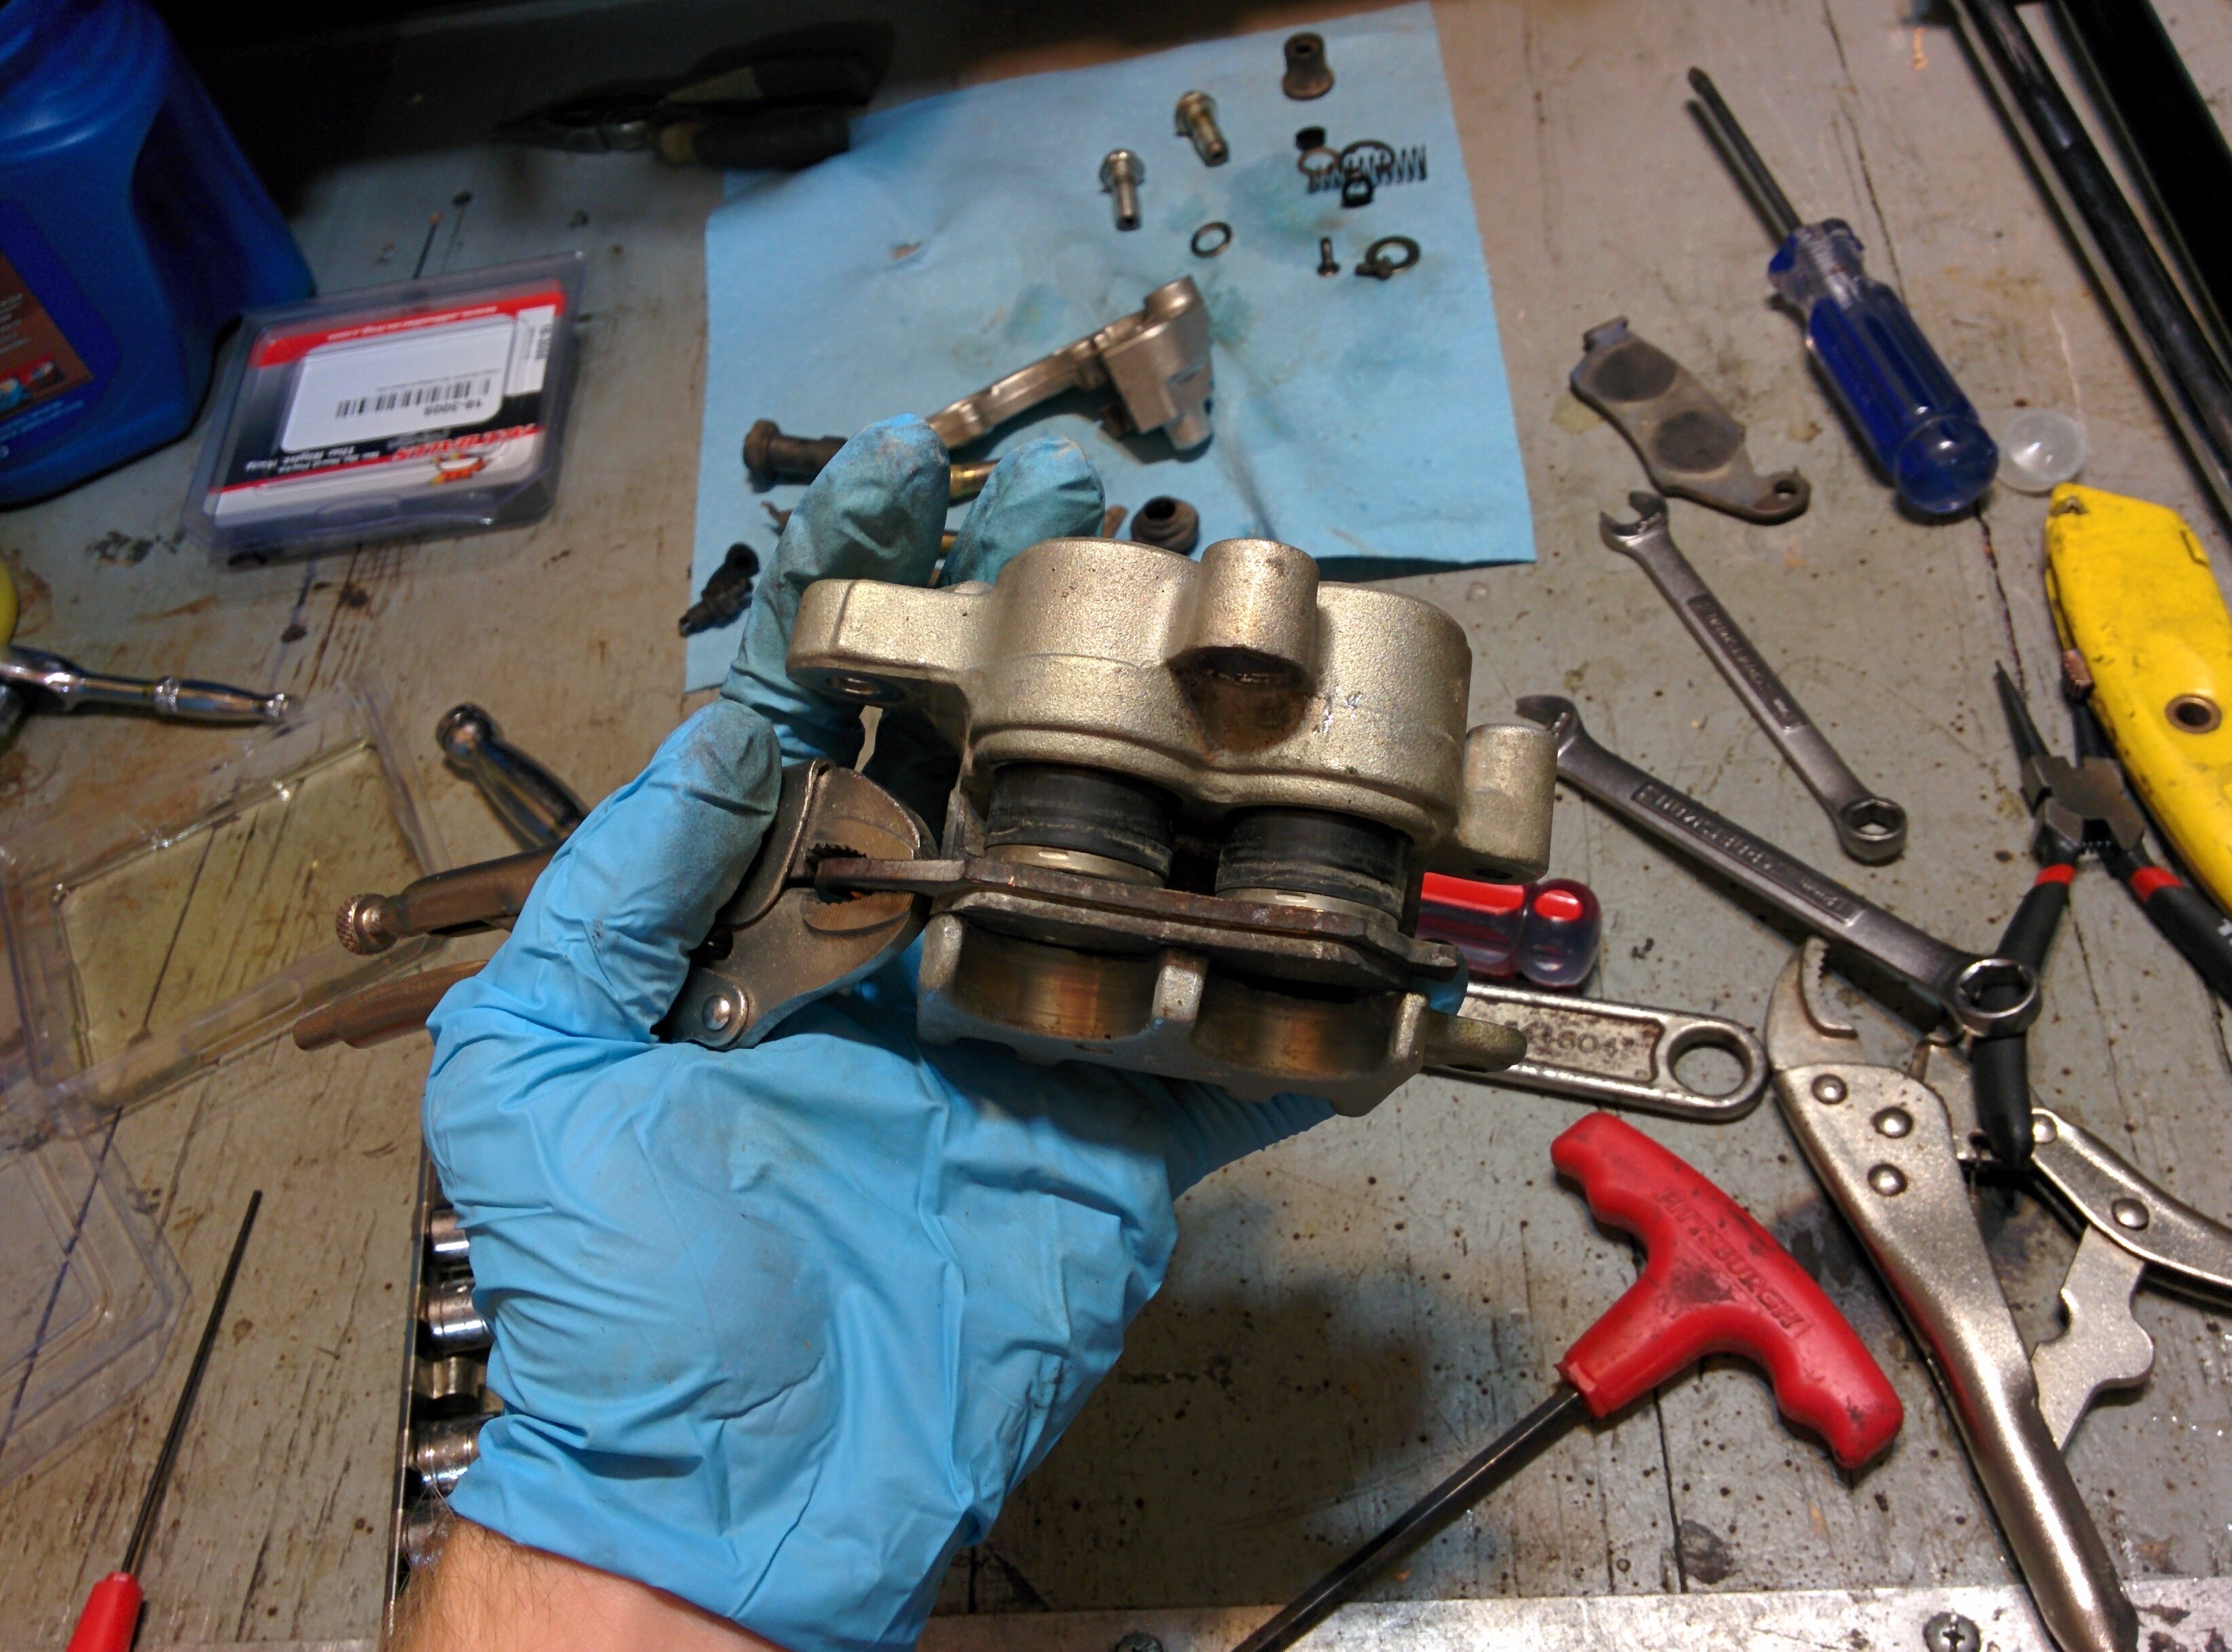
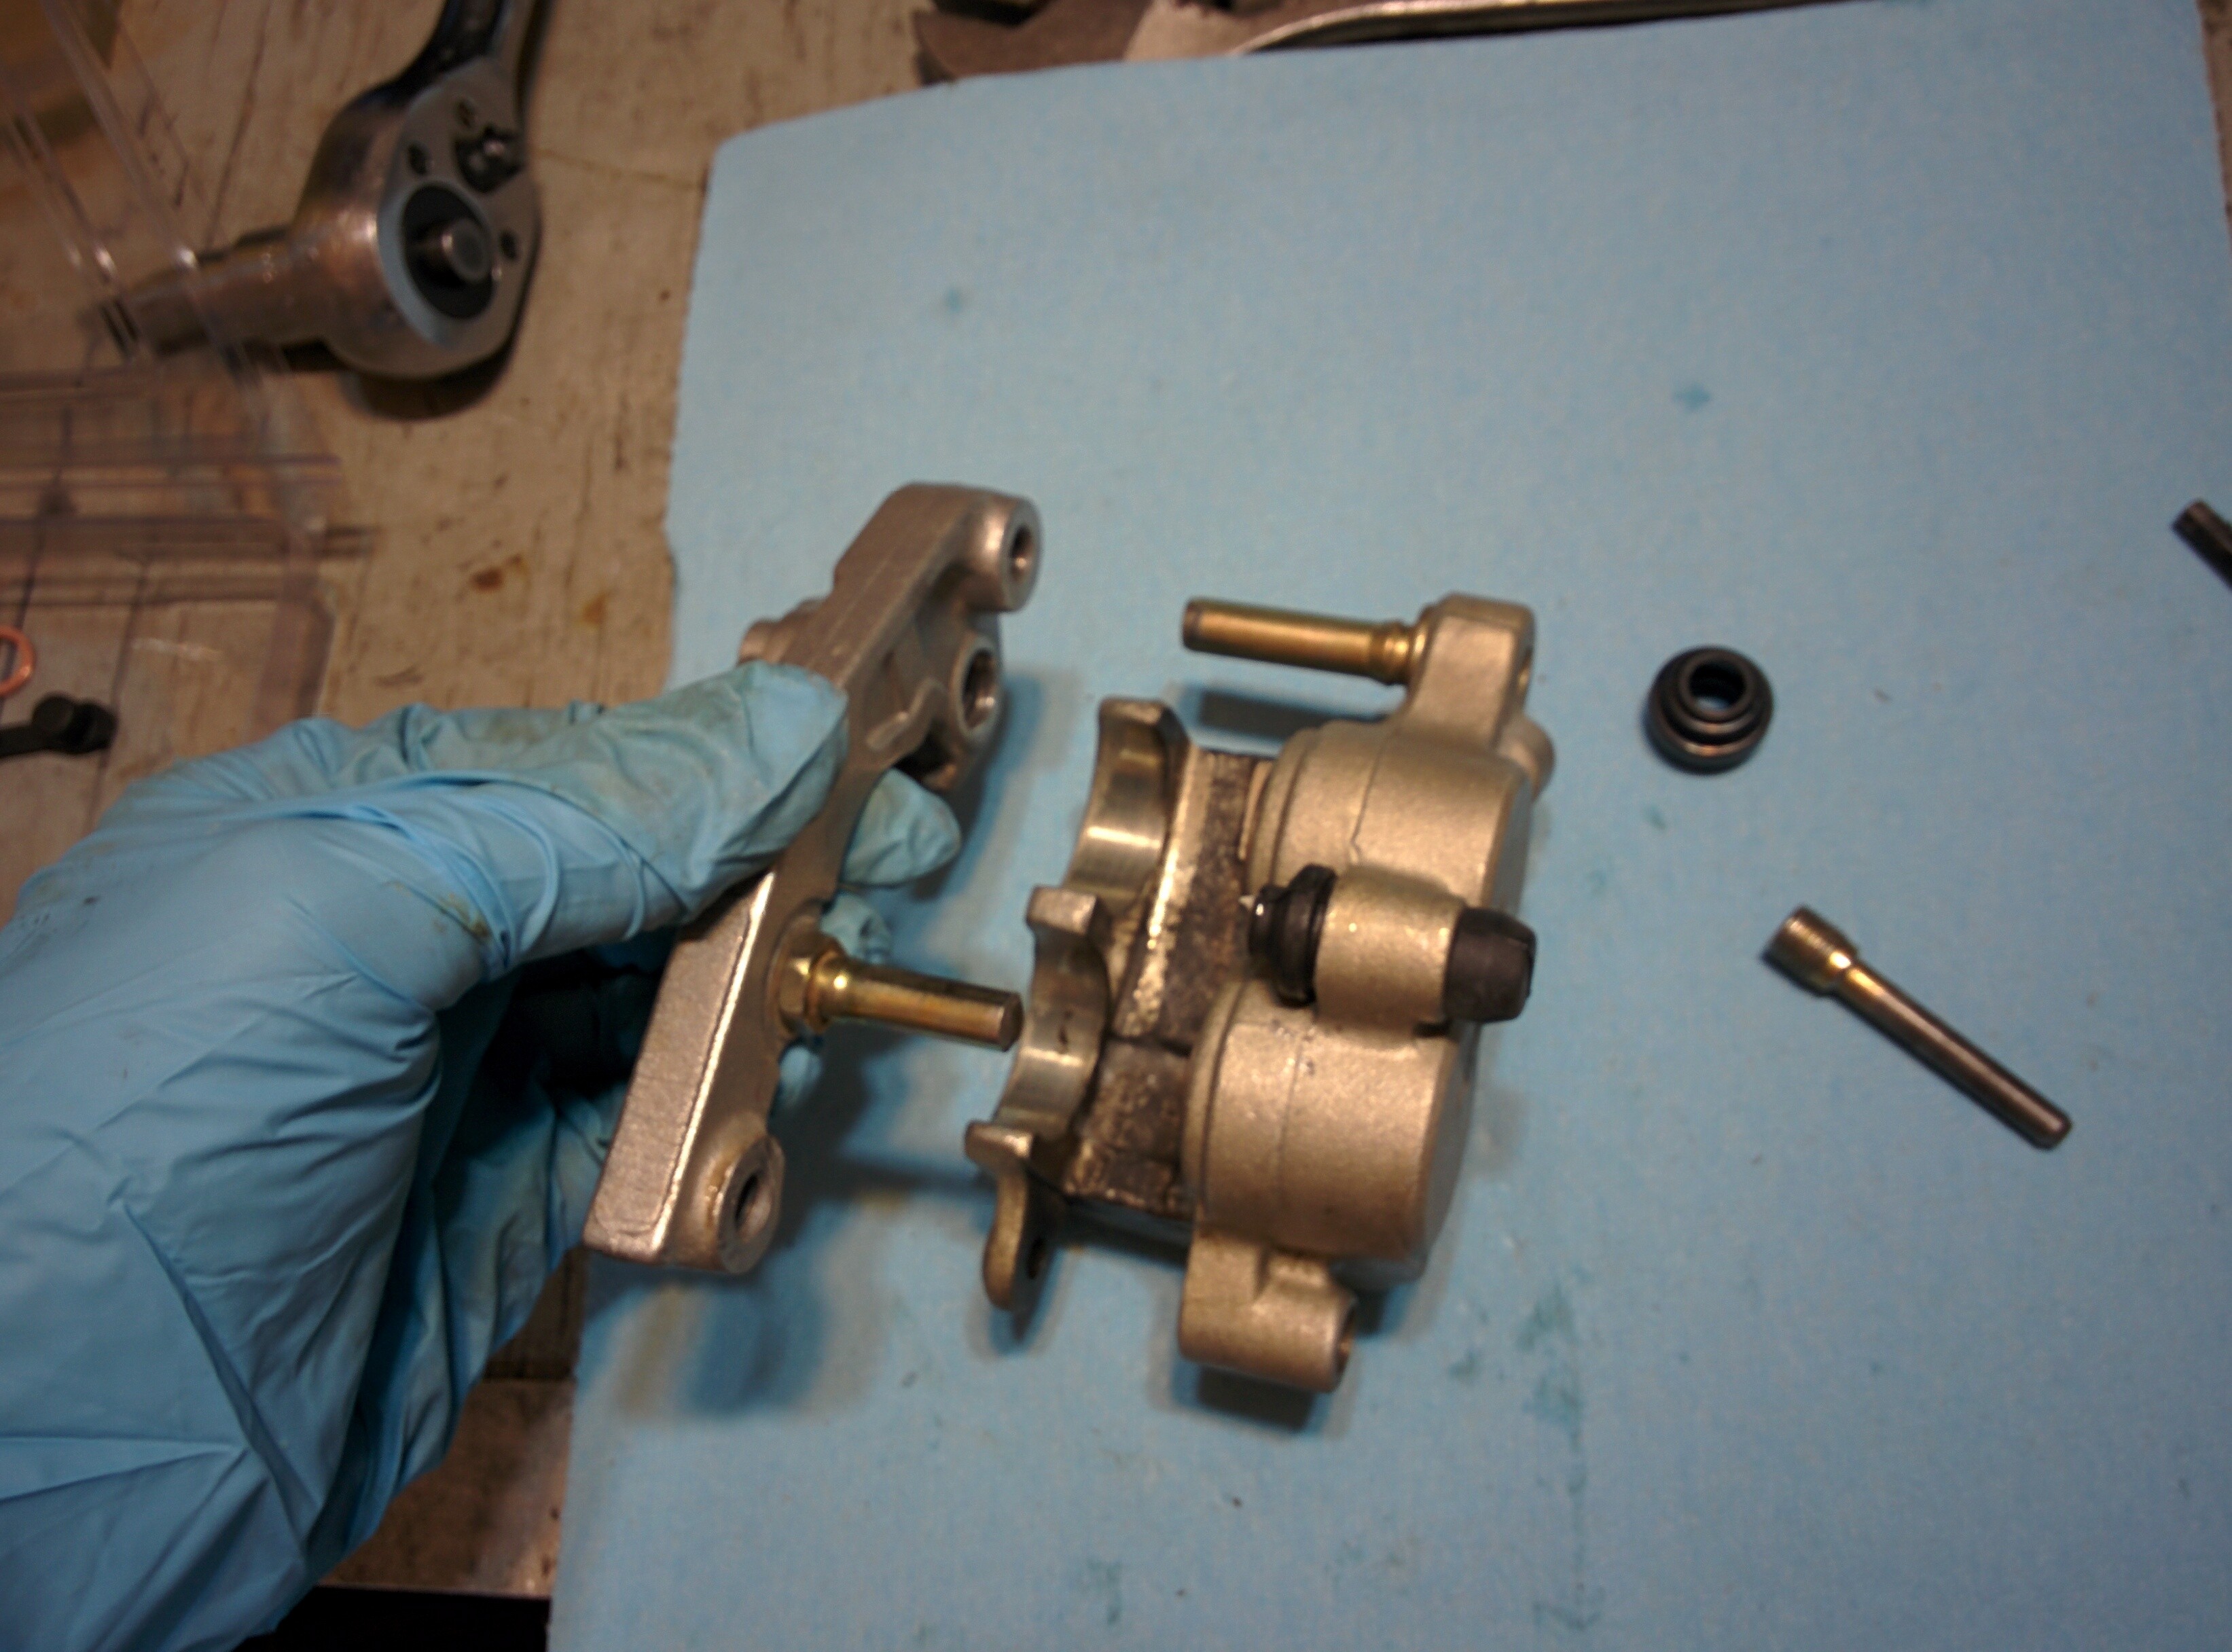
The caliper is then separated from the carrier by pulling it apart.
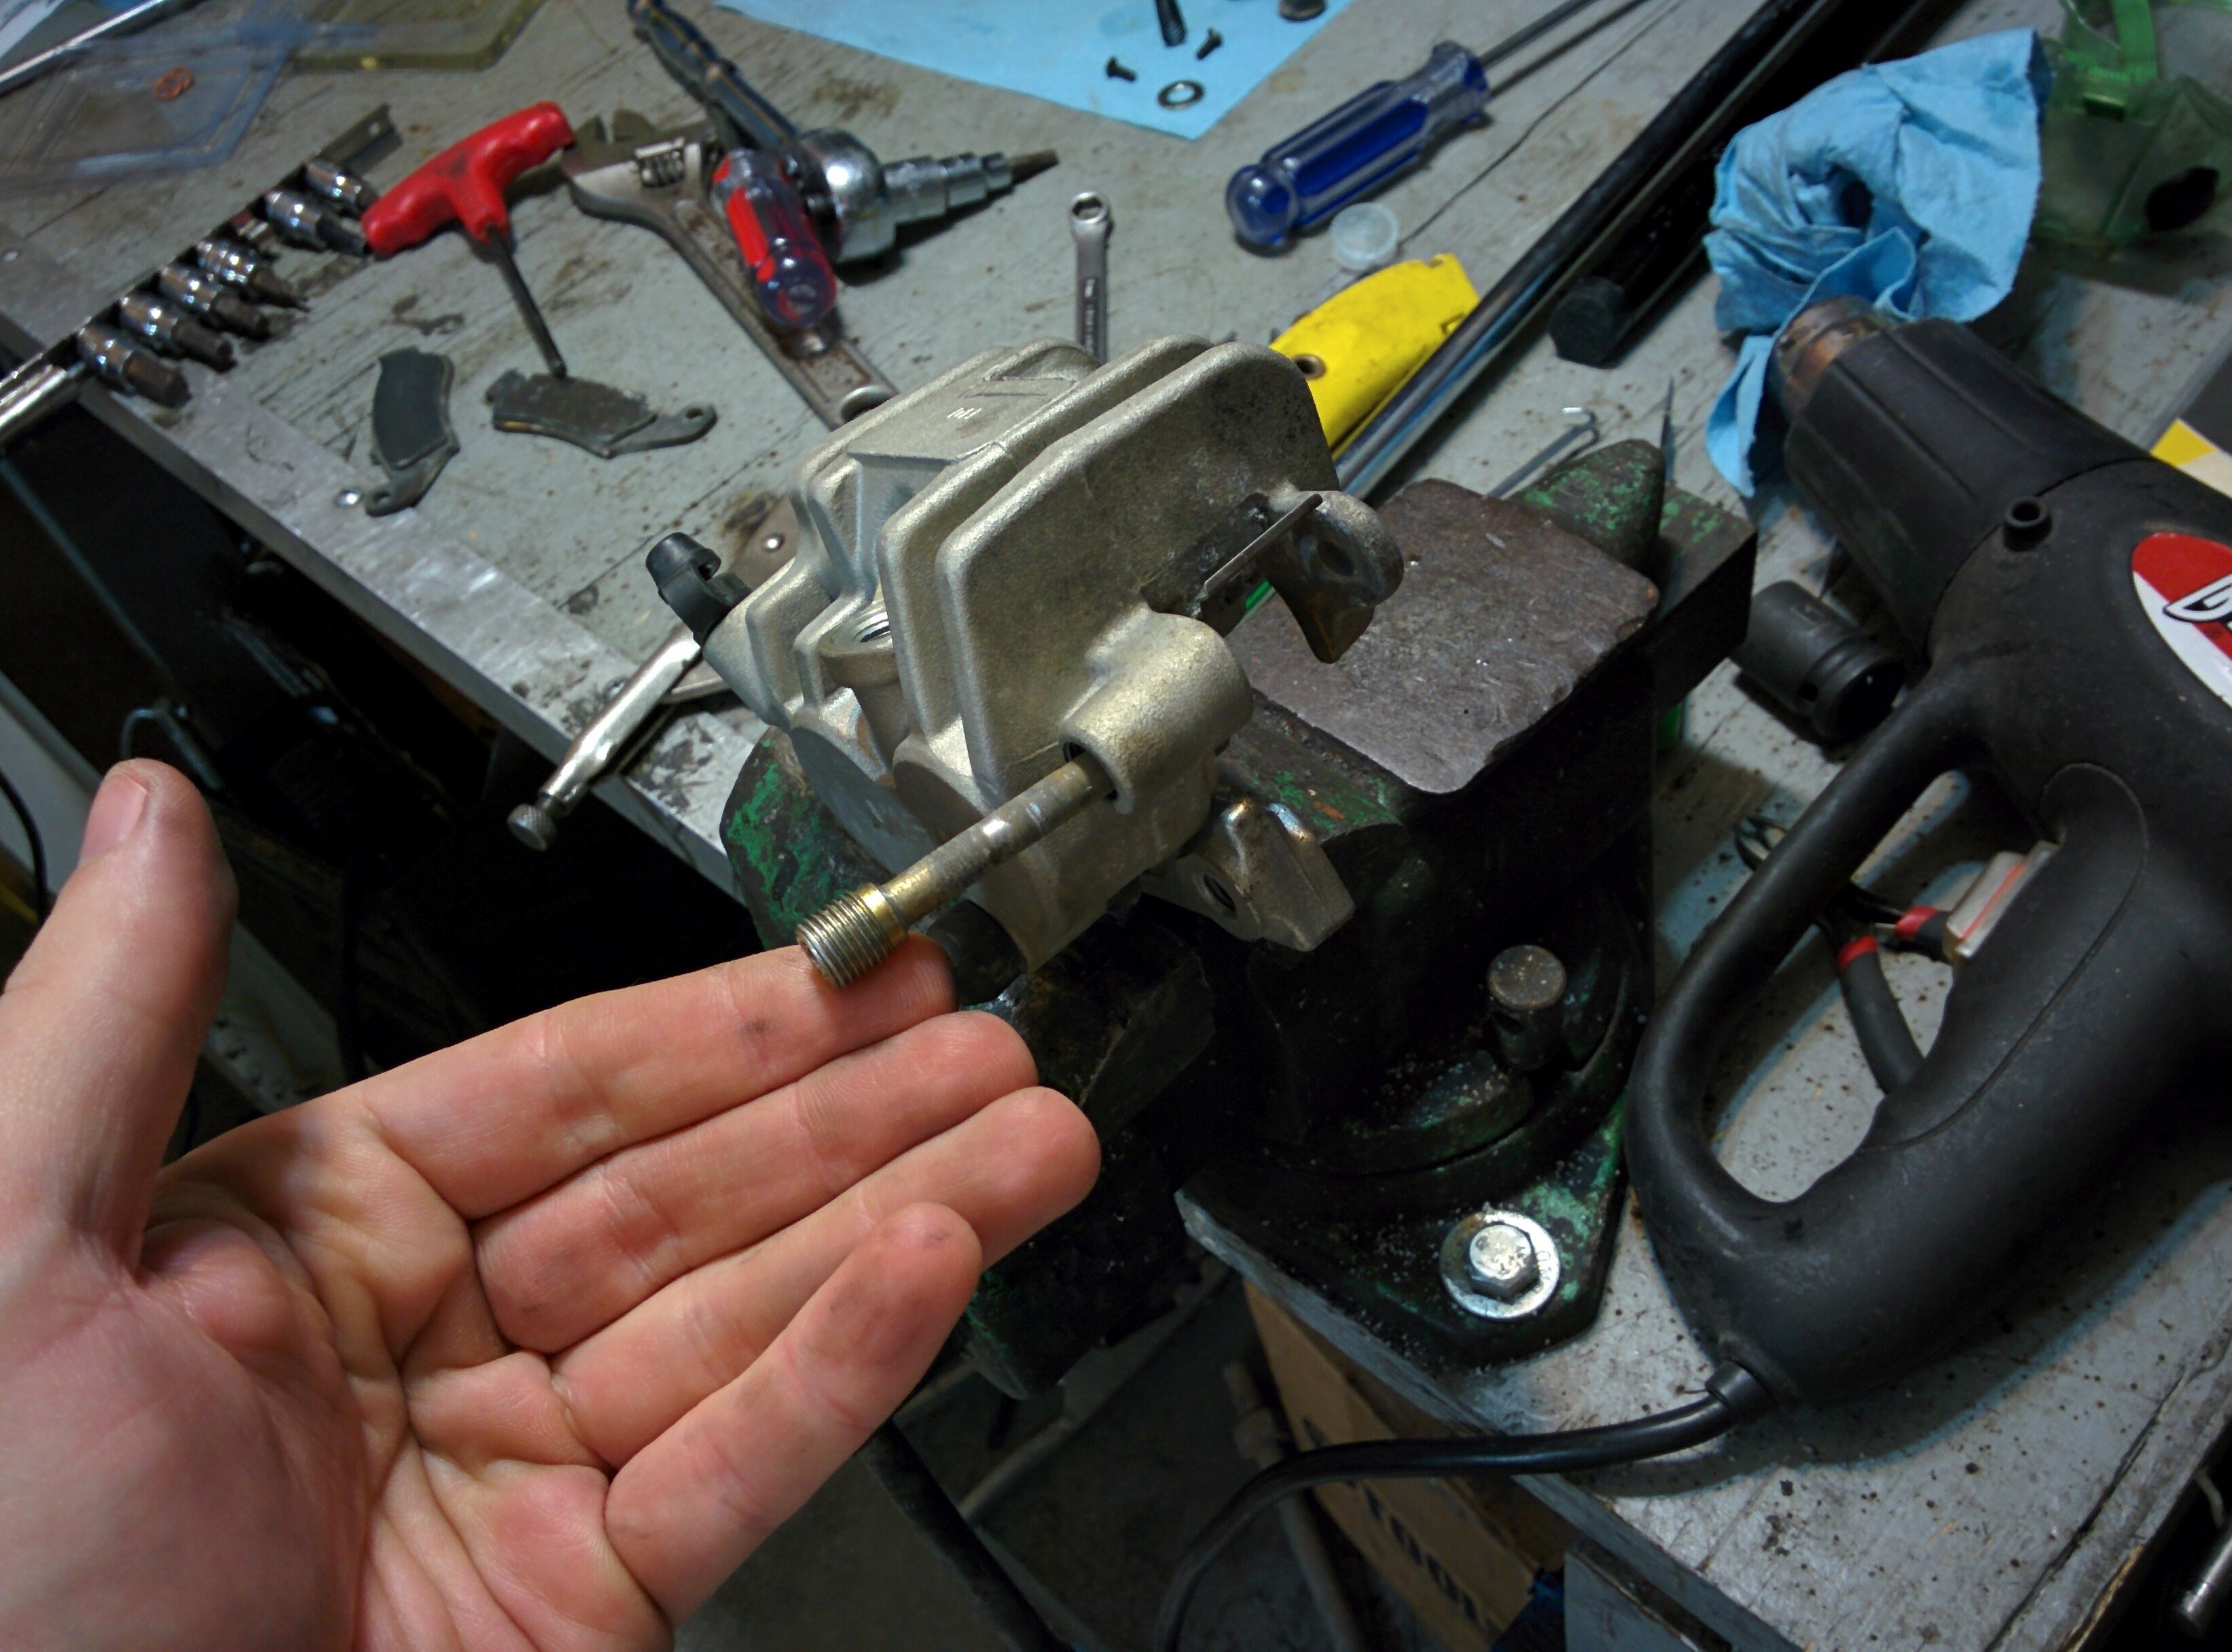
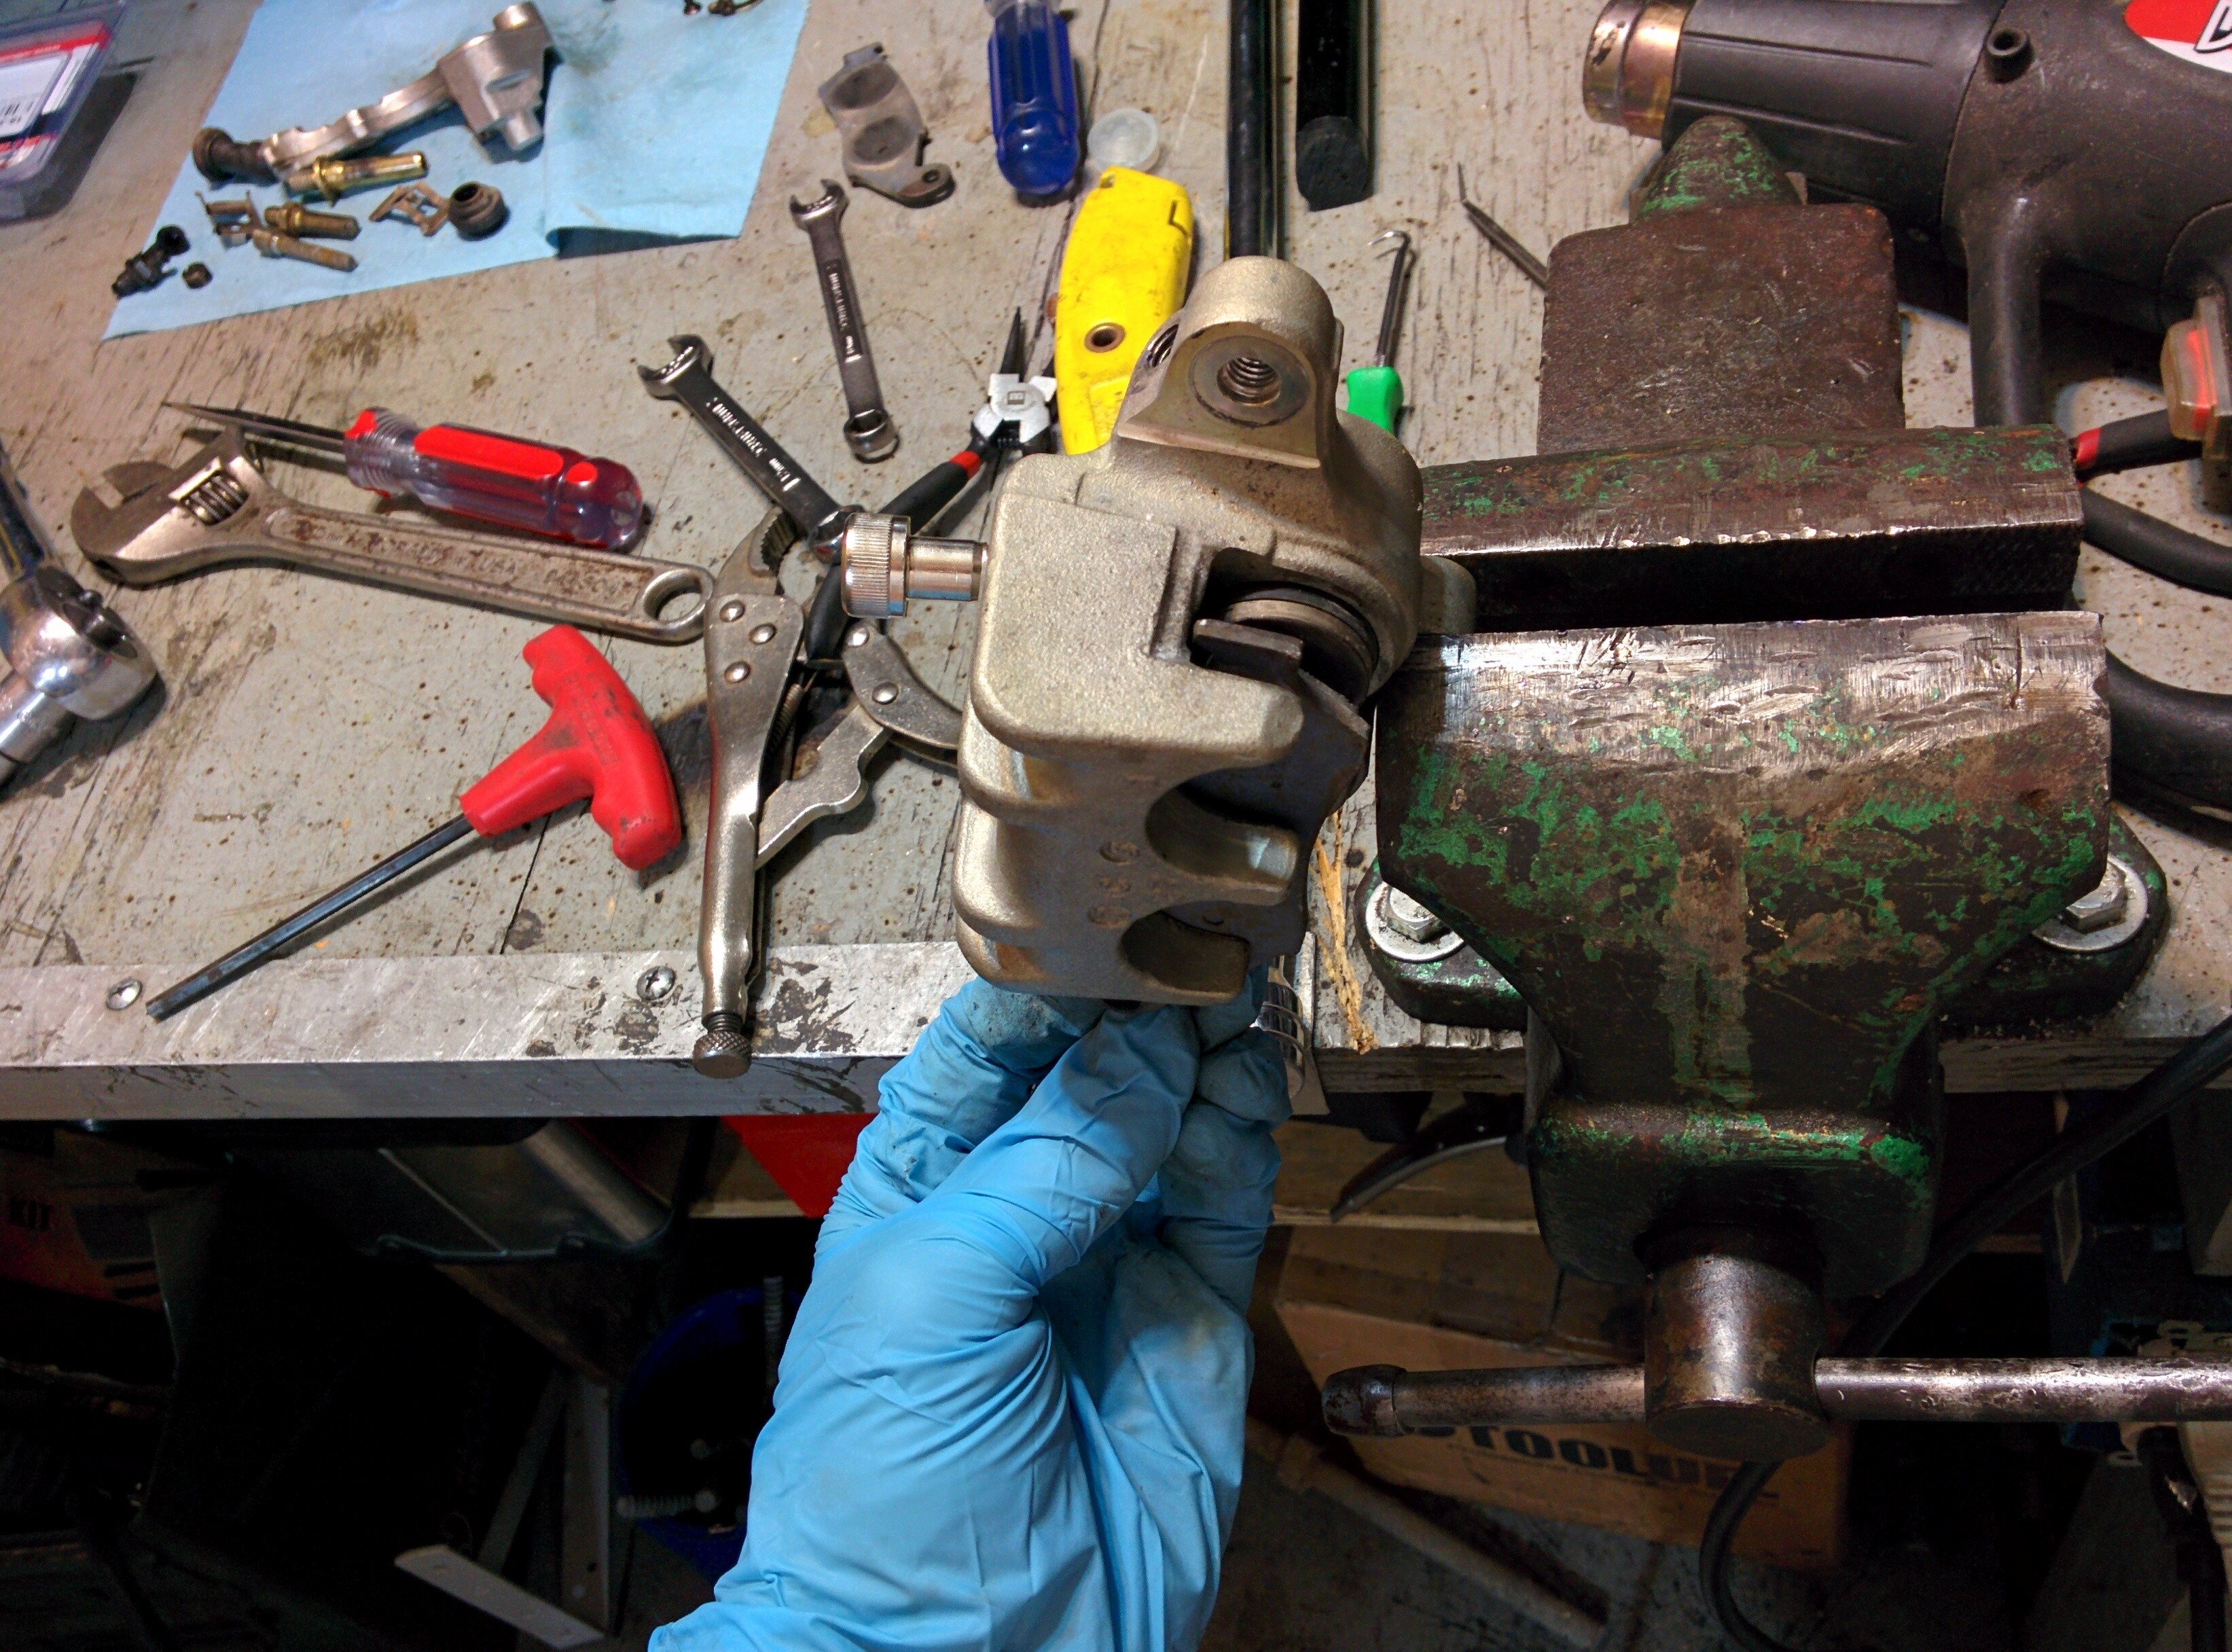
I put the carrier in my vise, this allows the slide pin to be removed. It screws in as well, a deep socket or a wrench is used to remove it.
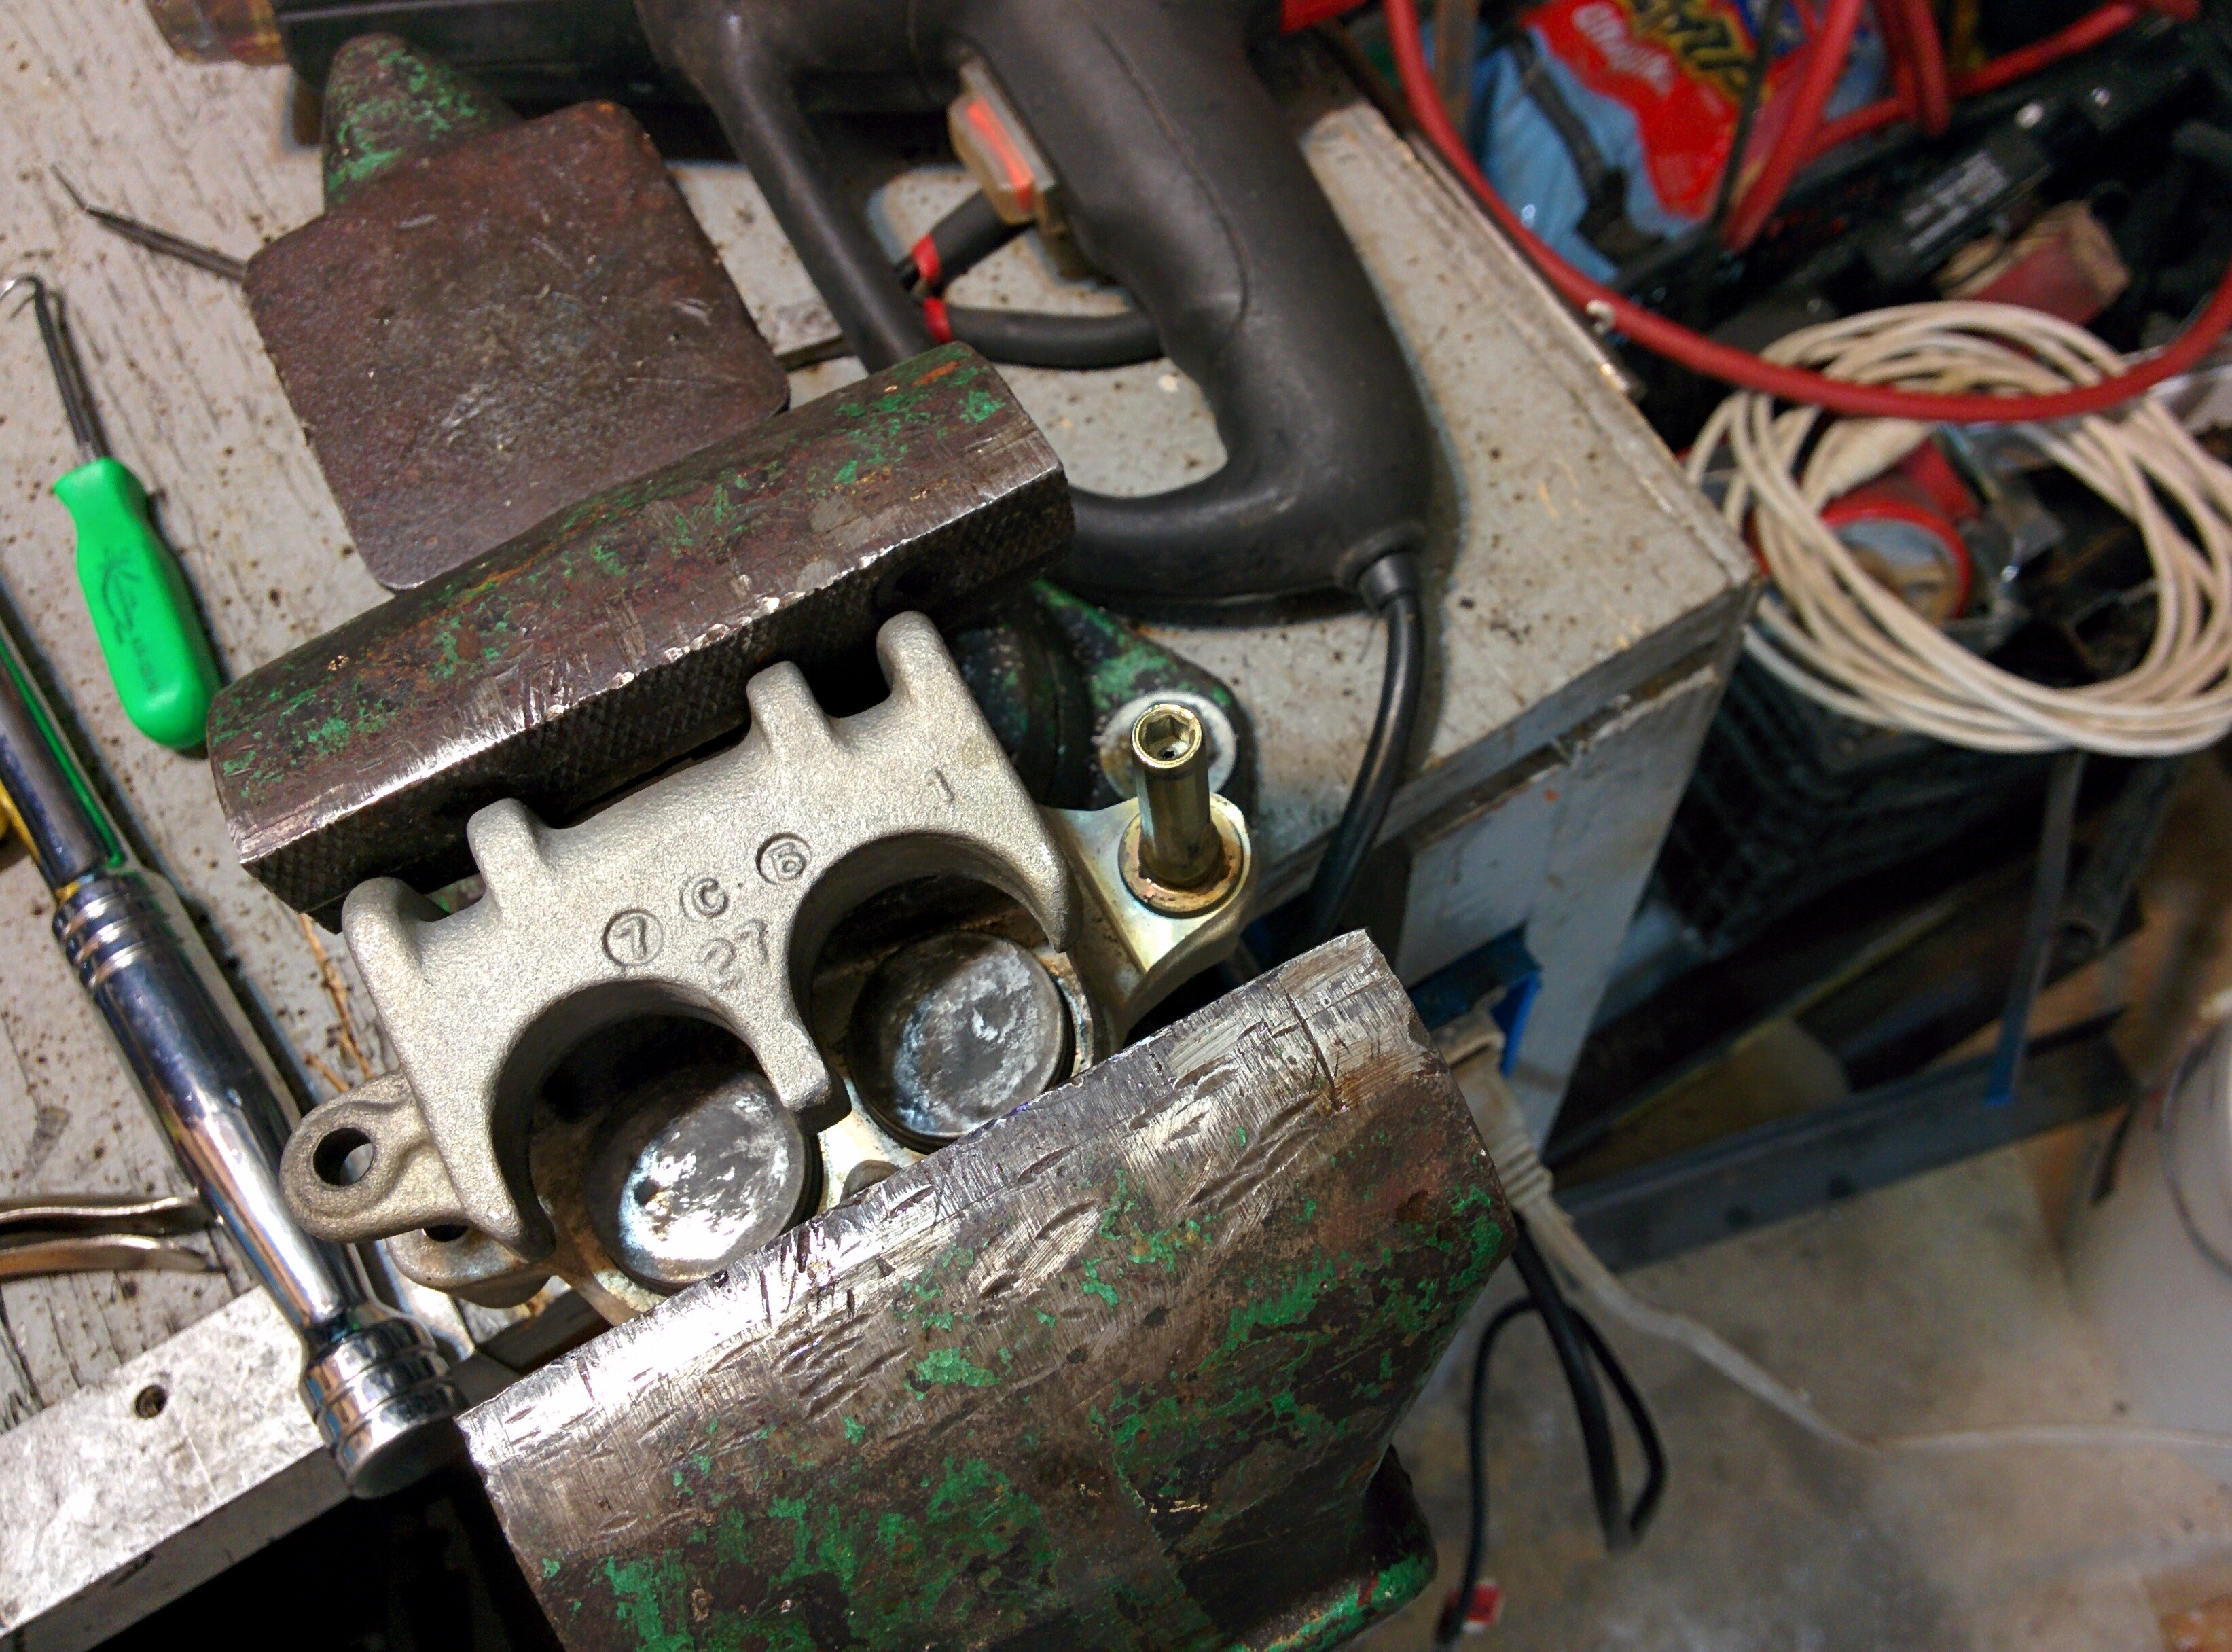
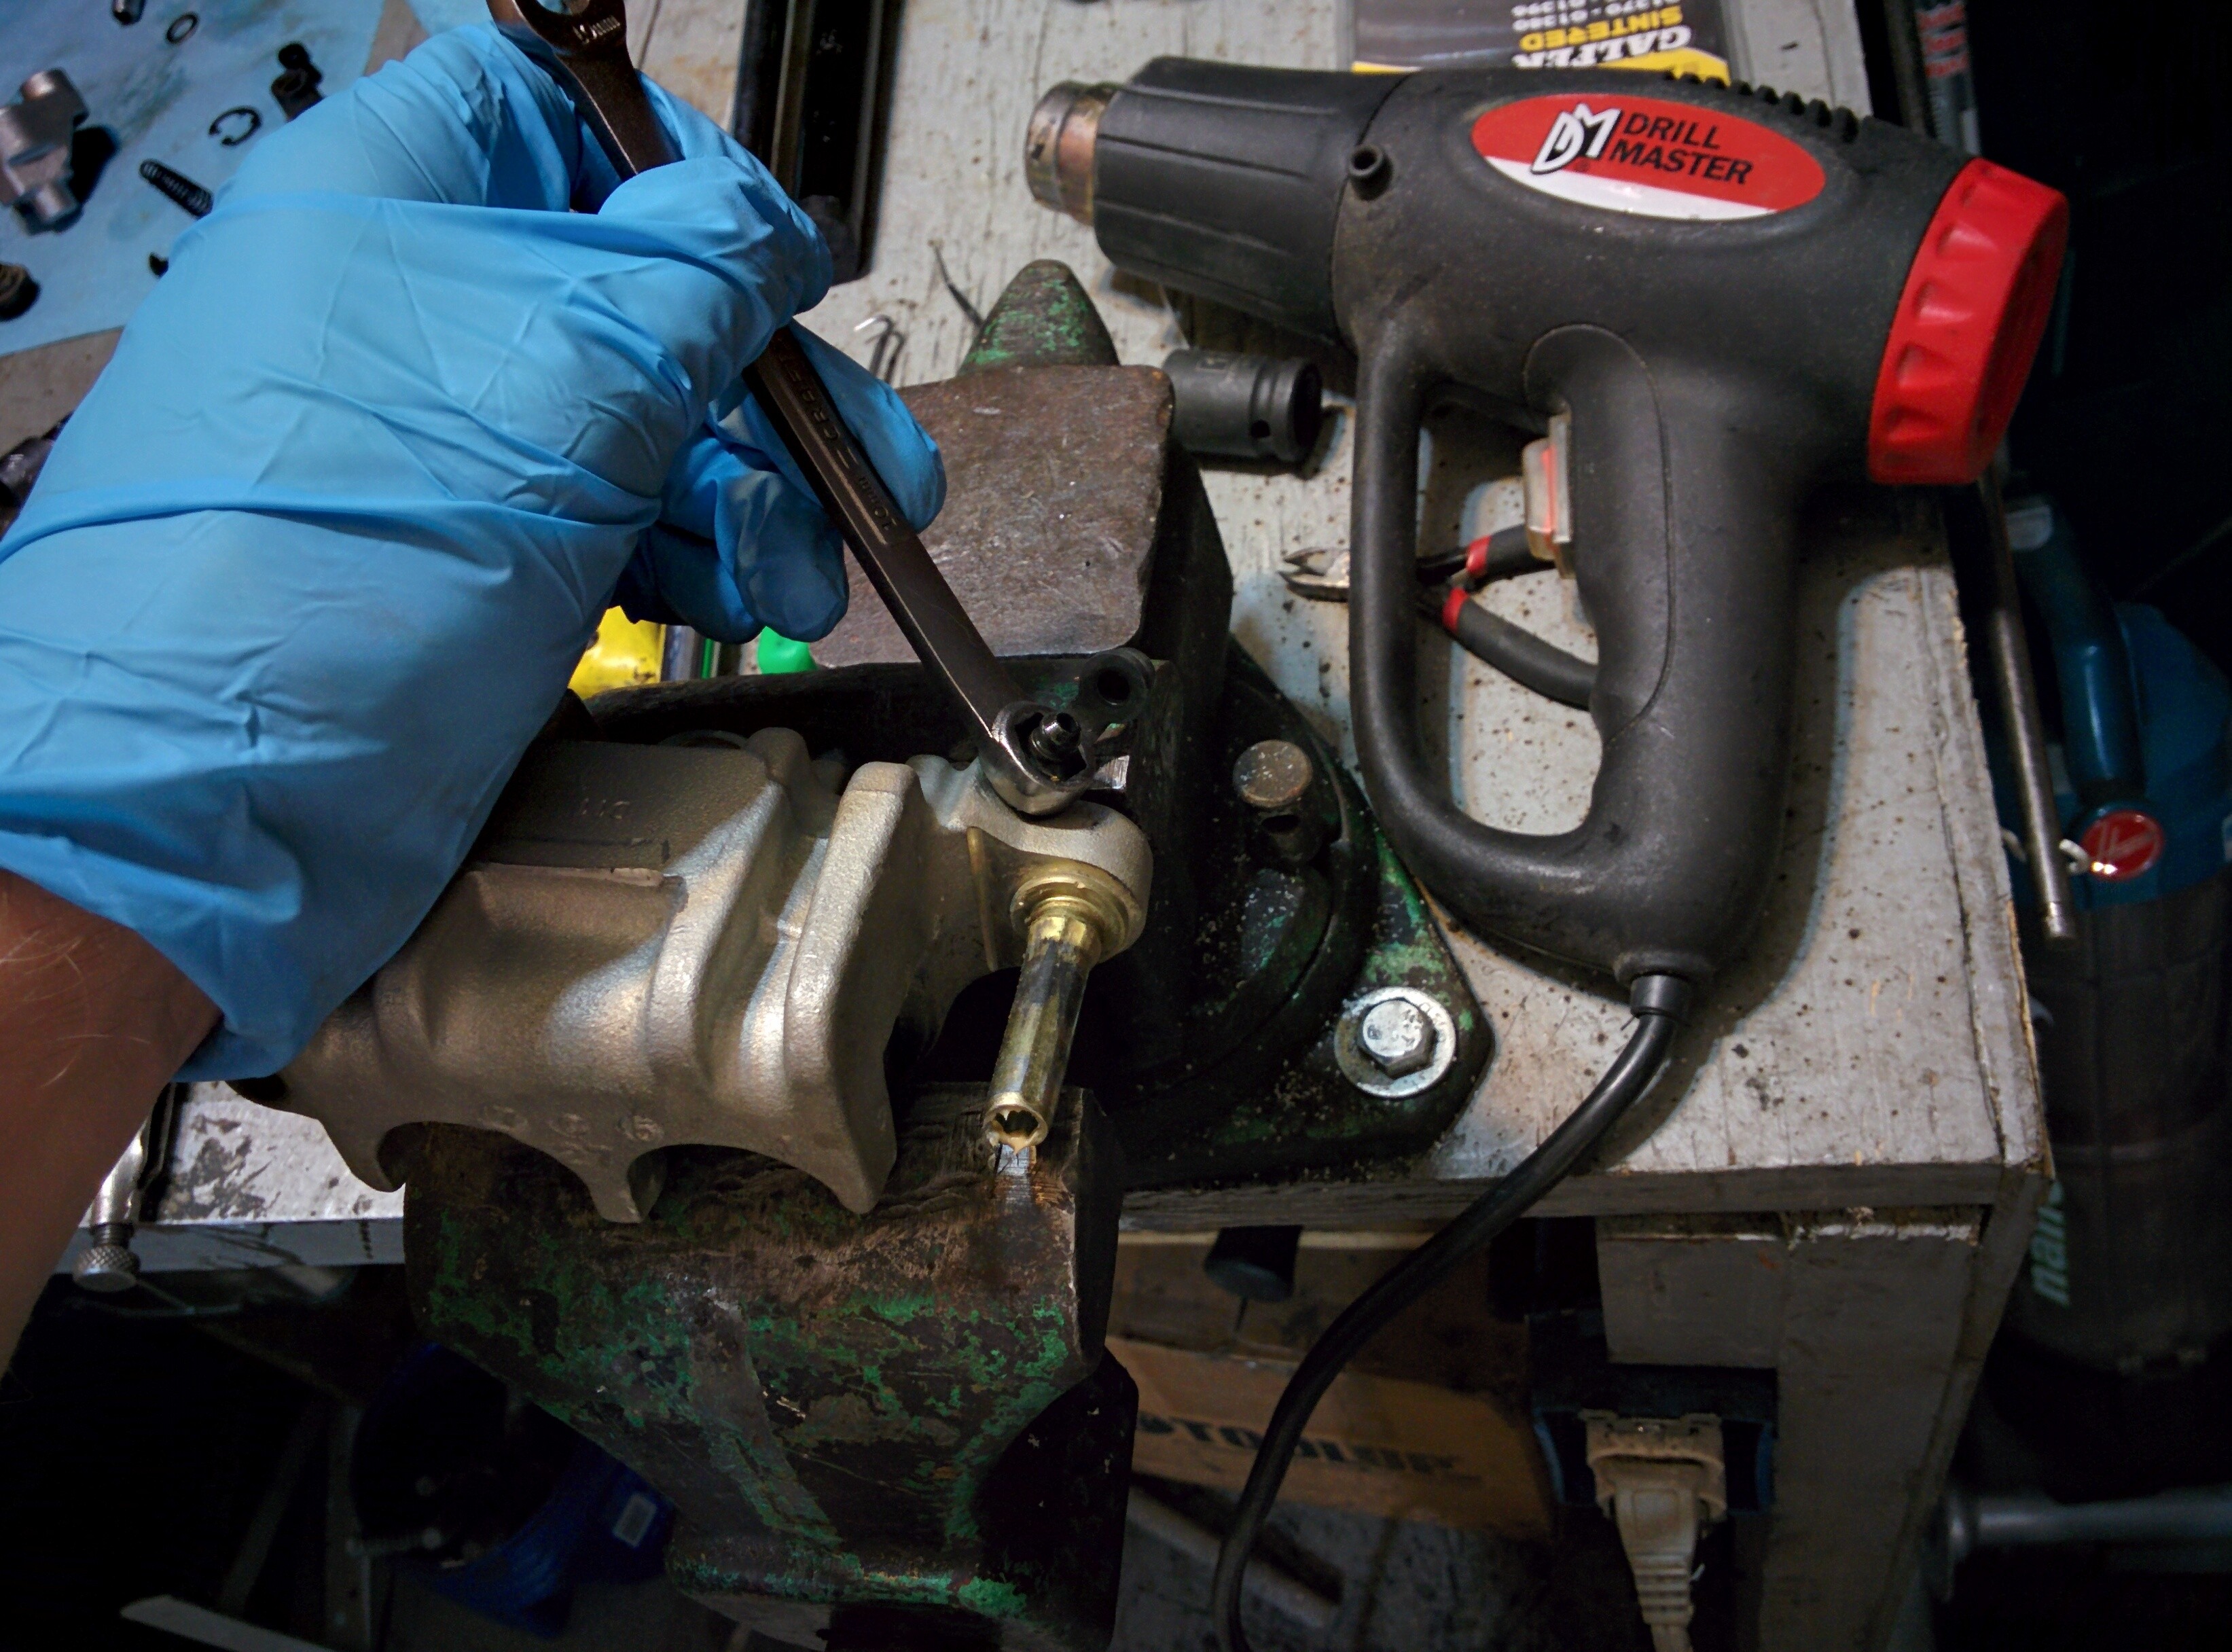
The other slide pin screws into the caliper, so I just set the caliper in my vise so I could remove it. To remove this slide pin you must use a hex driver on the inside of the slide pin to unscrew it.
You can also unscrew the bleeder valve at this time.
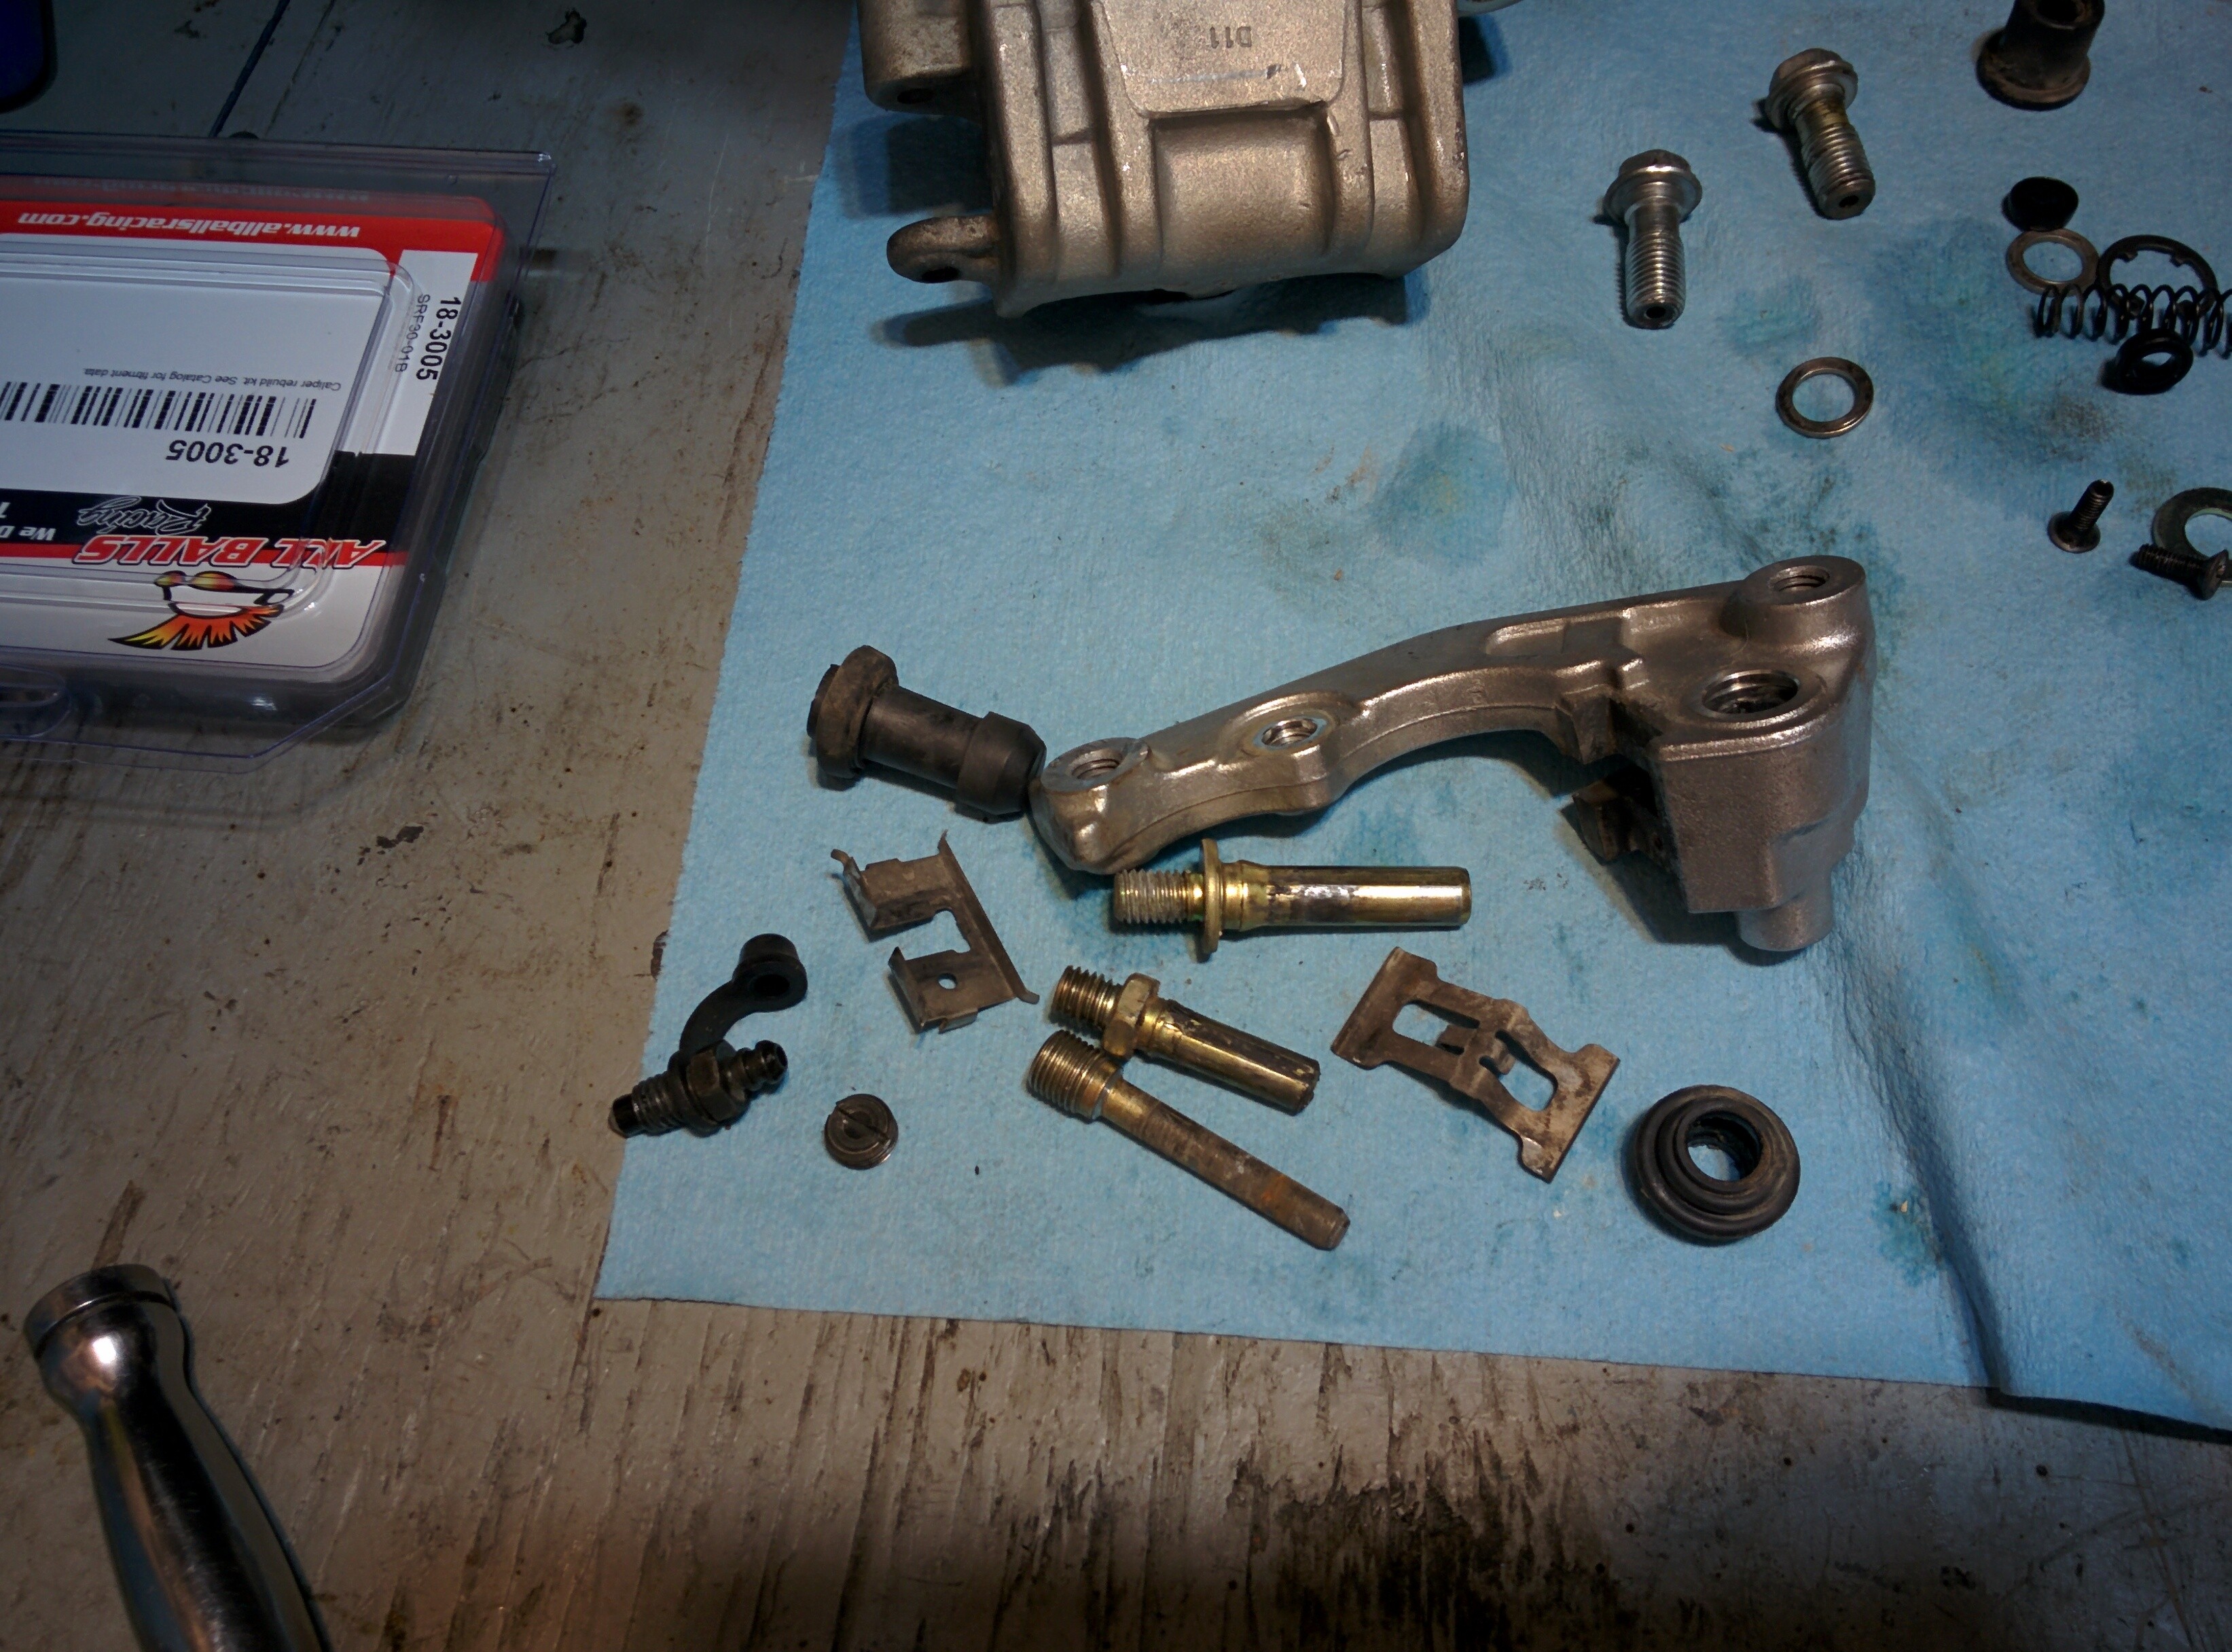
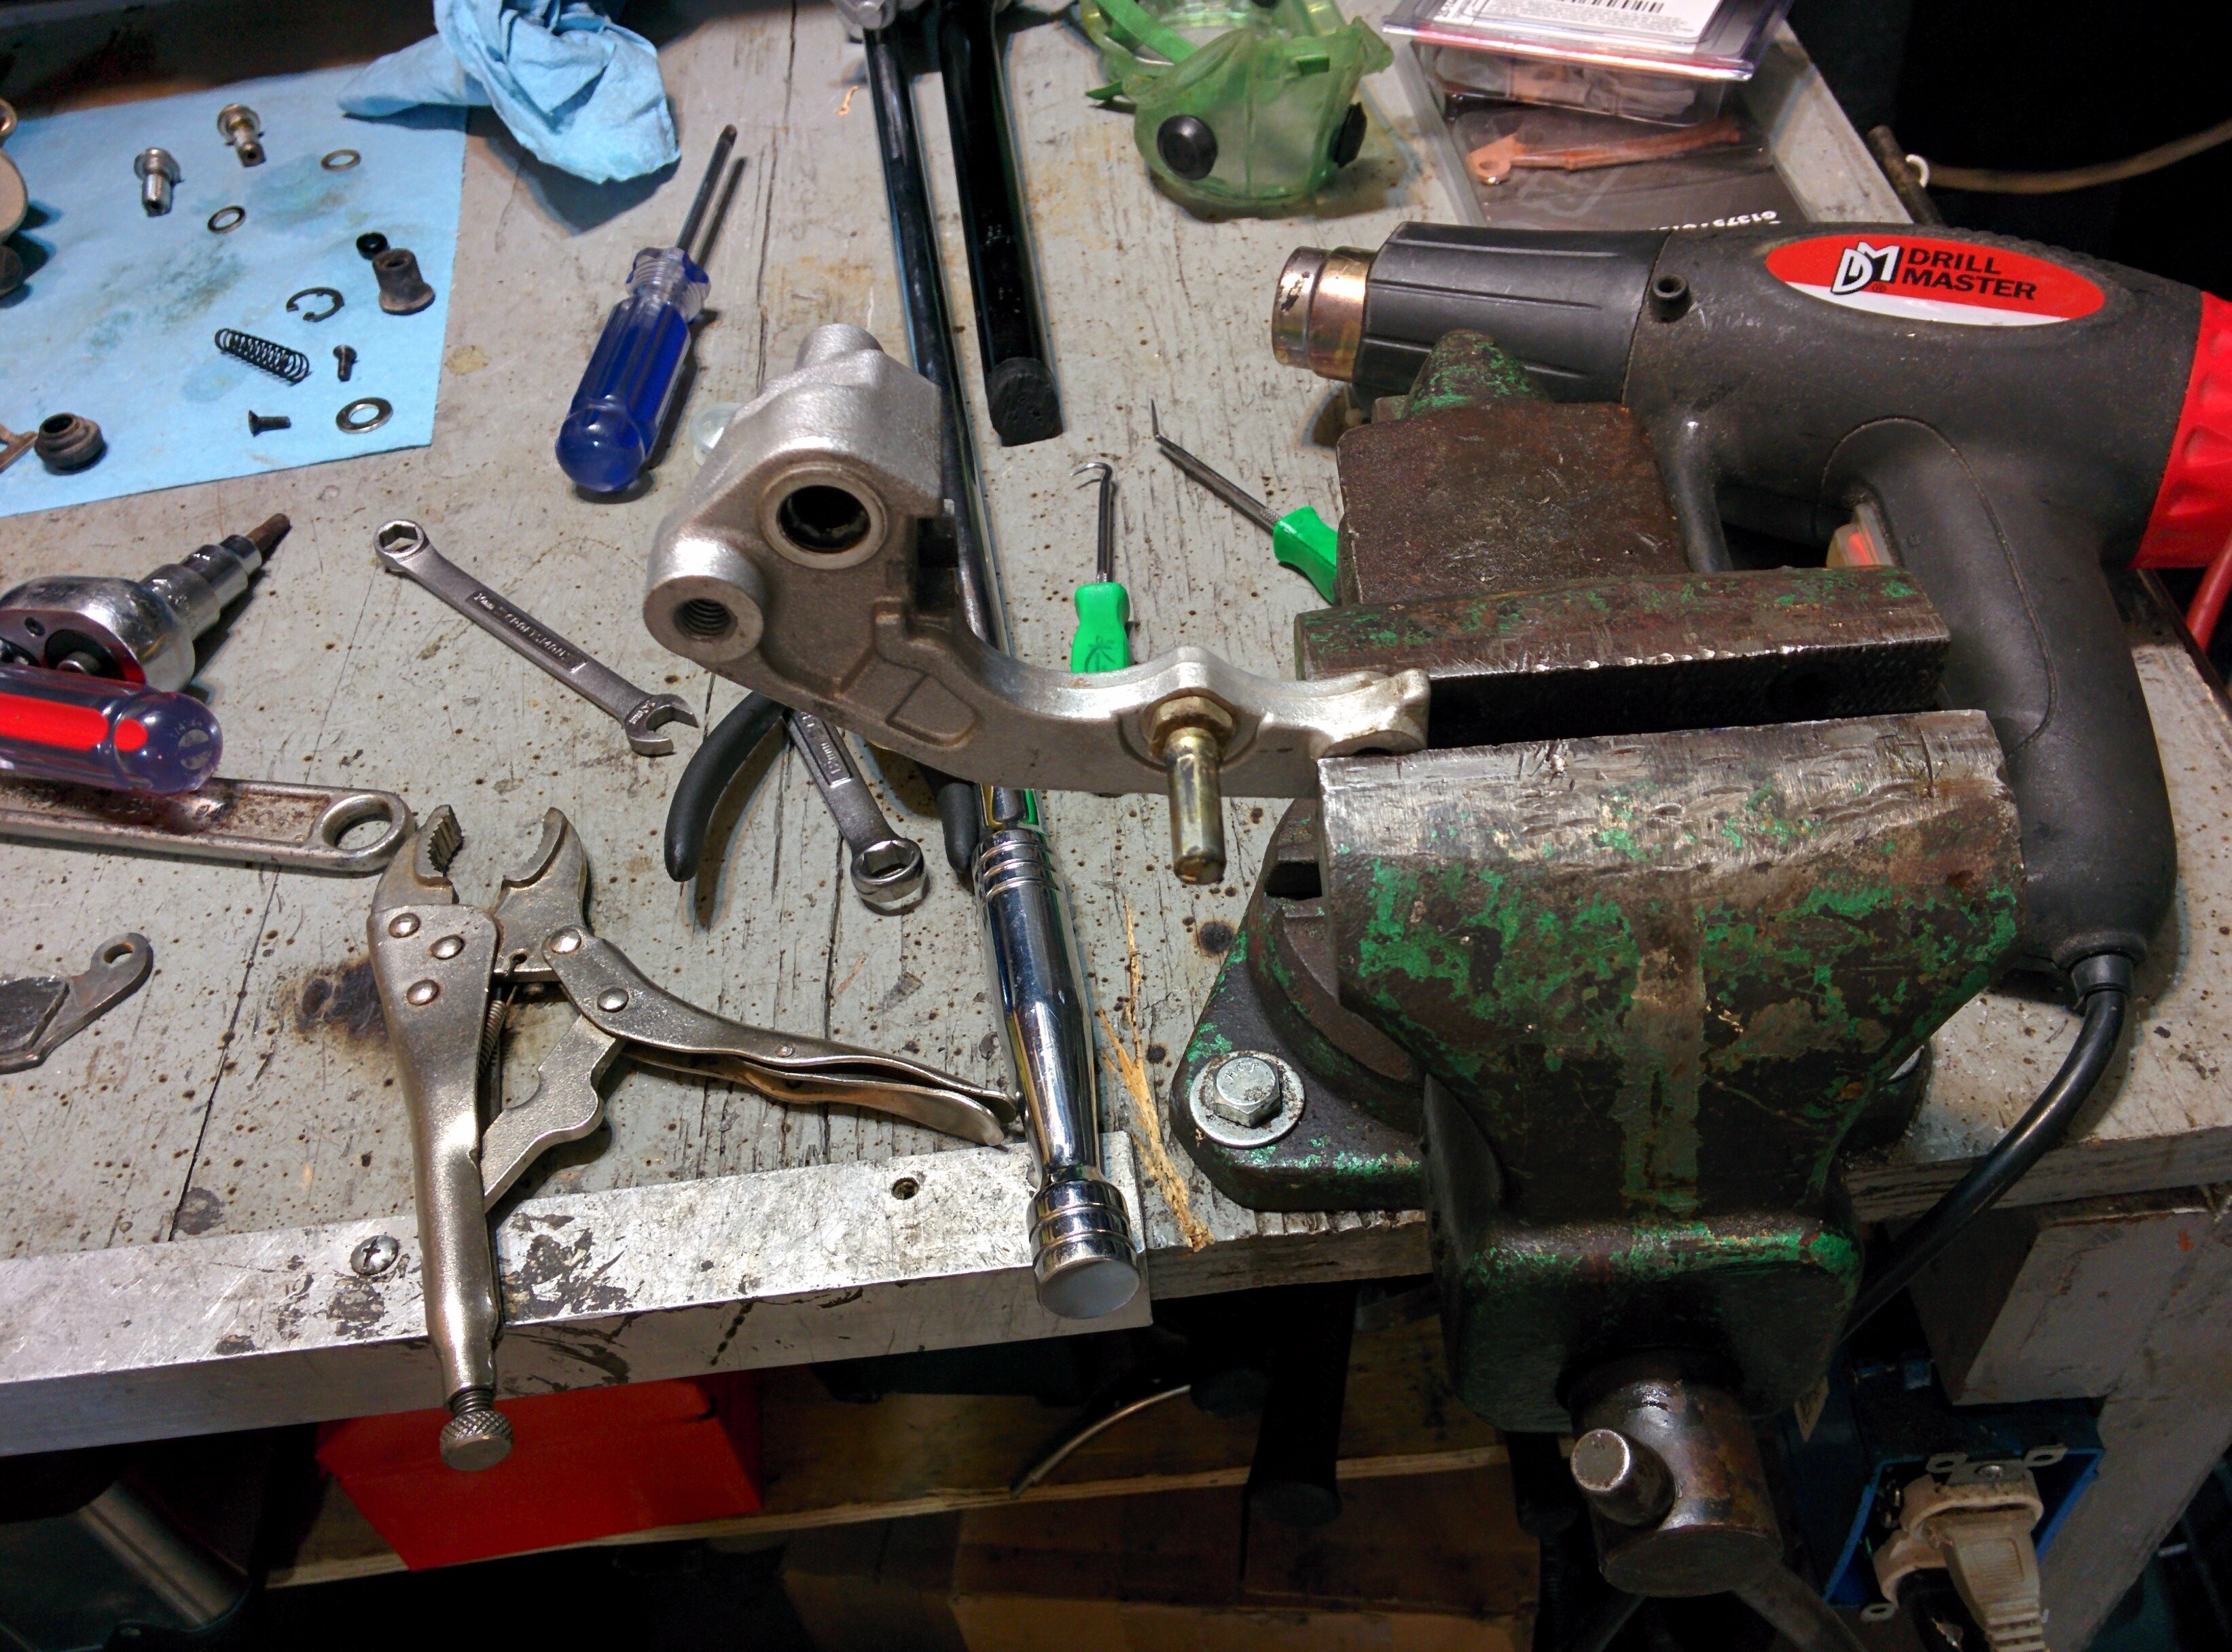
Here are all the components we just removed. The small metal clips are used for retaining the brake pads during reassembly.
Now we need to get the pistons out of the caliper. You need compressed air for this step. Plug up the normal brake line attachment point with a M10x1.25 bolt. Next, place a brake pad in the caliper. Then apply compressed air to the brake caliper. You must ensure that the pistons are not facing towards you during this step, they can possibly fly out of the caliper at a very high speed.
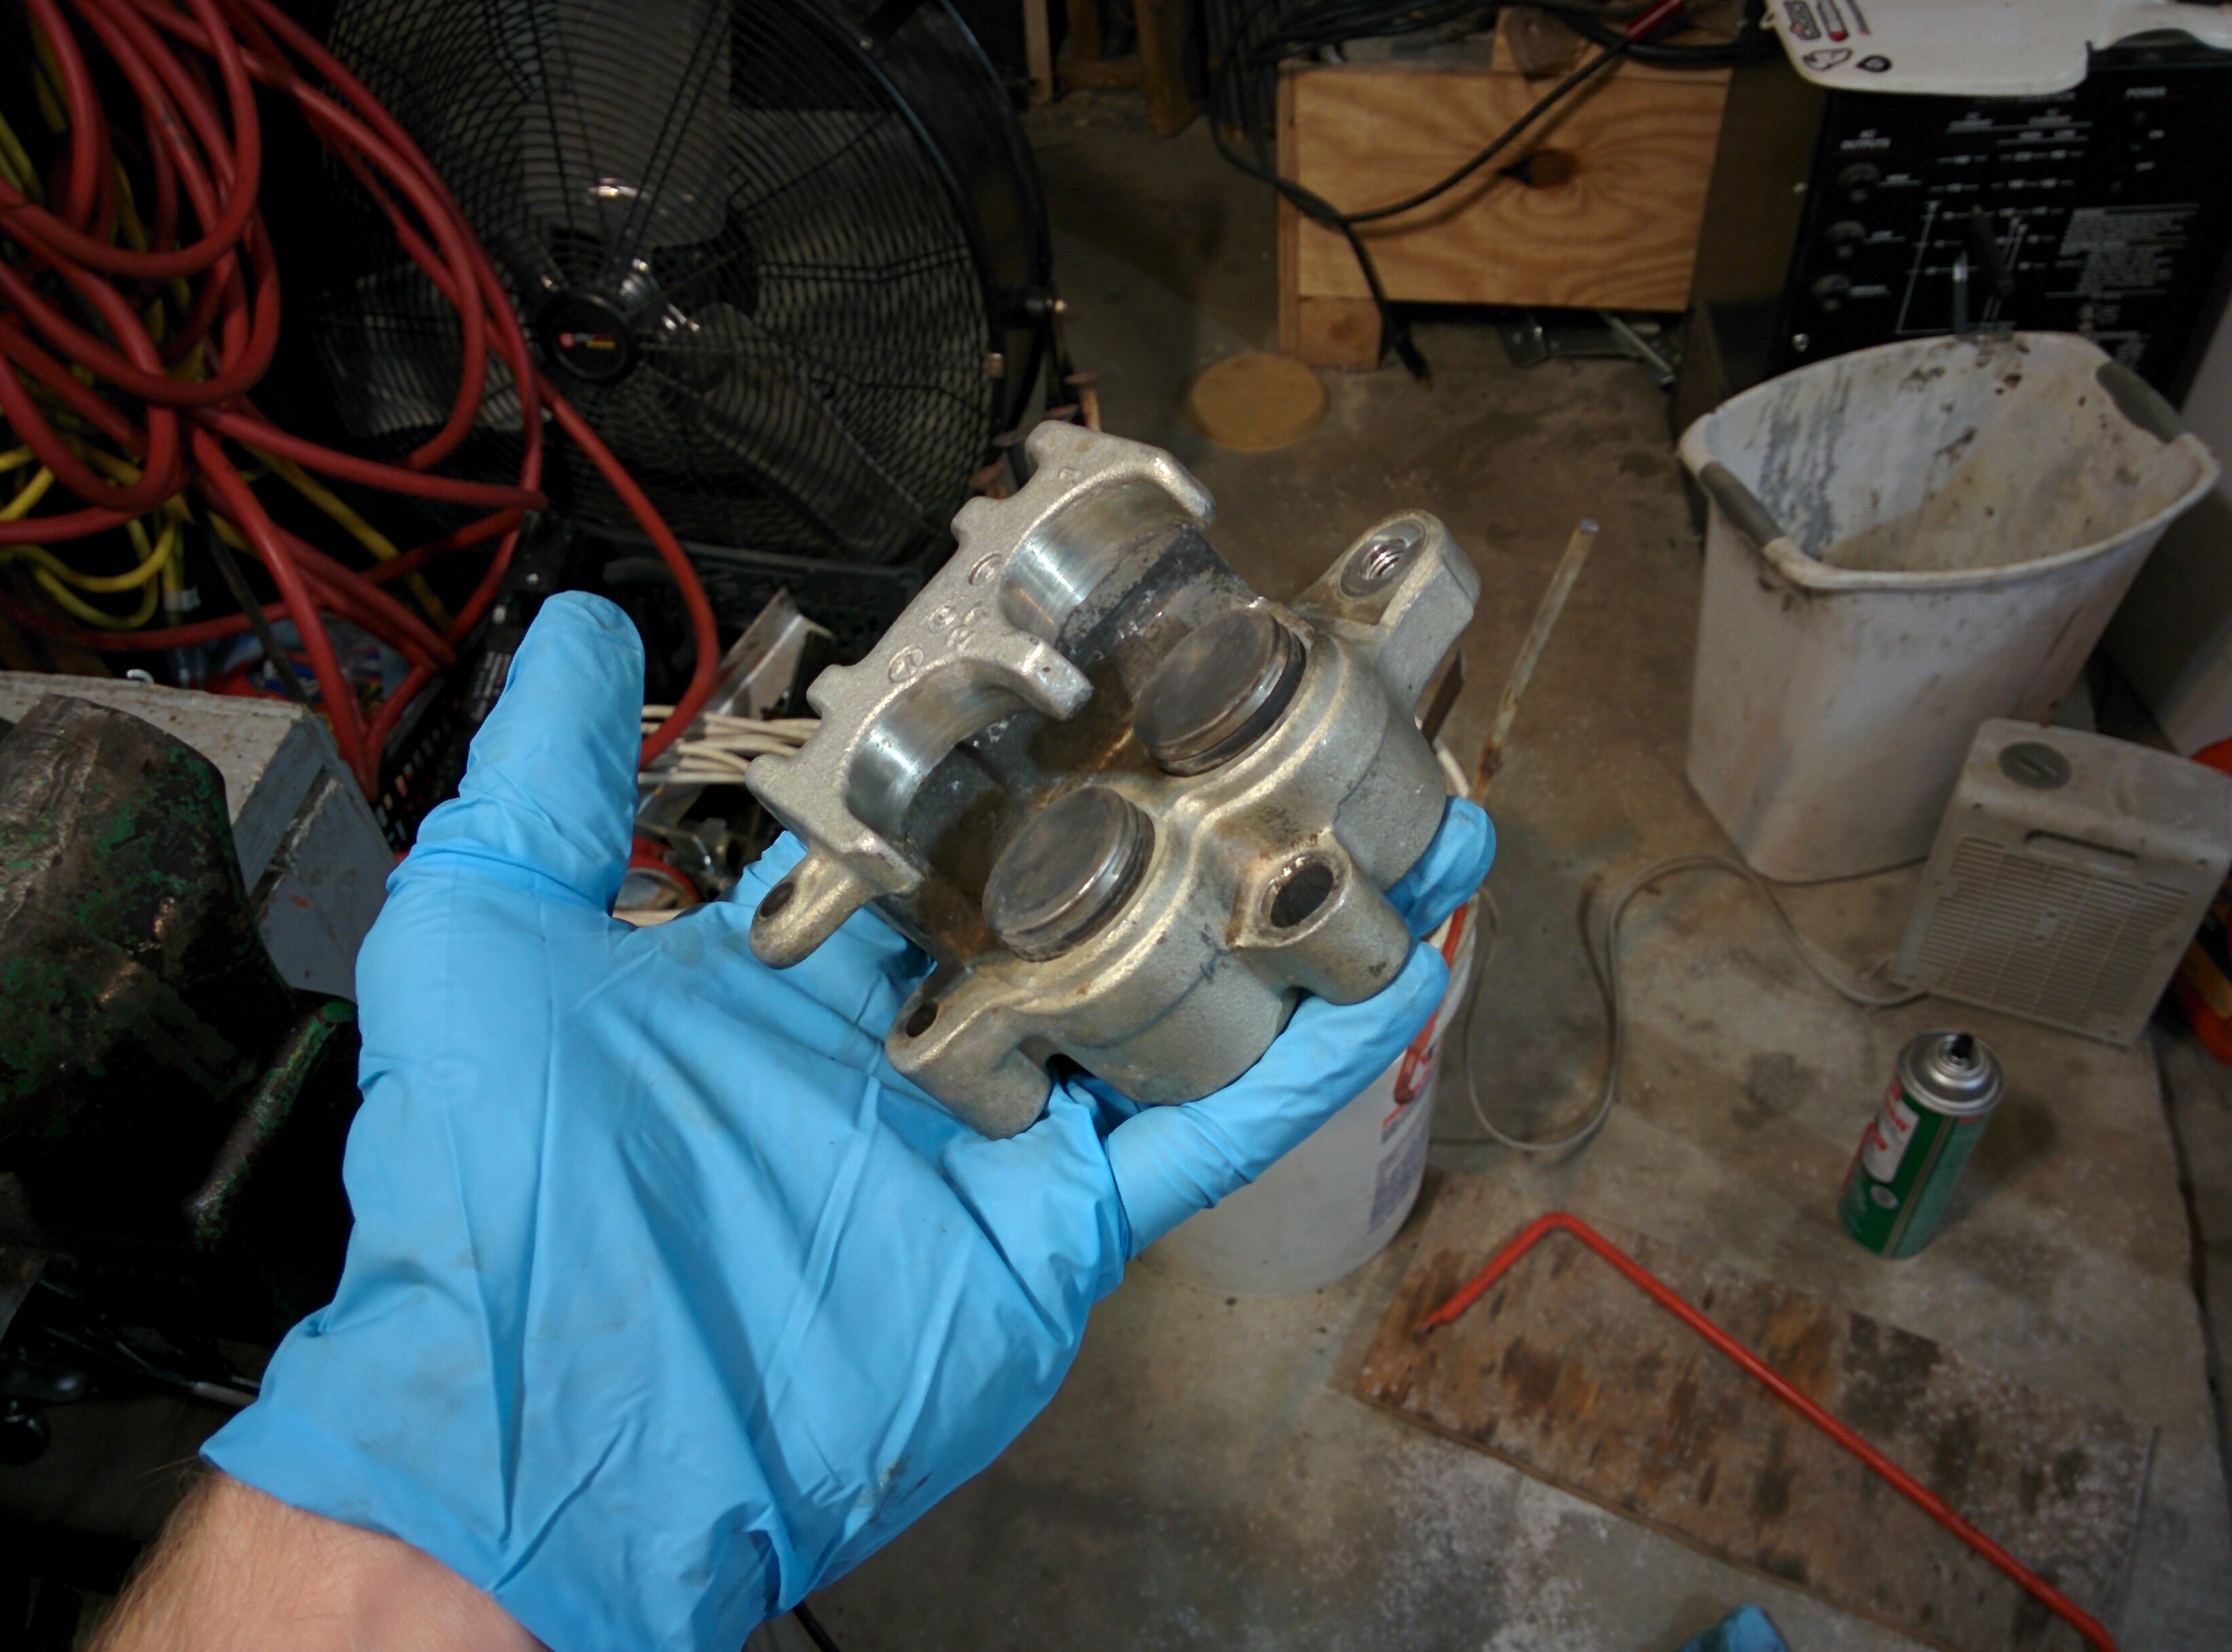
With the pistons extended, remove the brake pad. Once the pistons have traveled this far out, they can be removed by simply grabbing them with your hand and pulling them out.
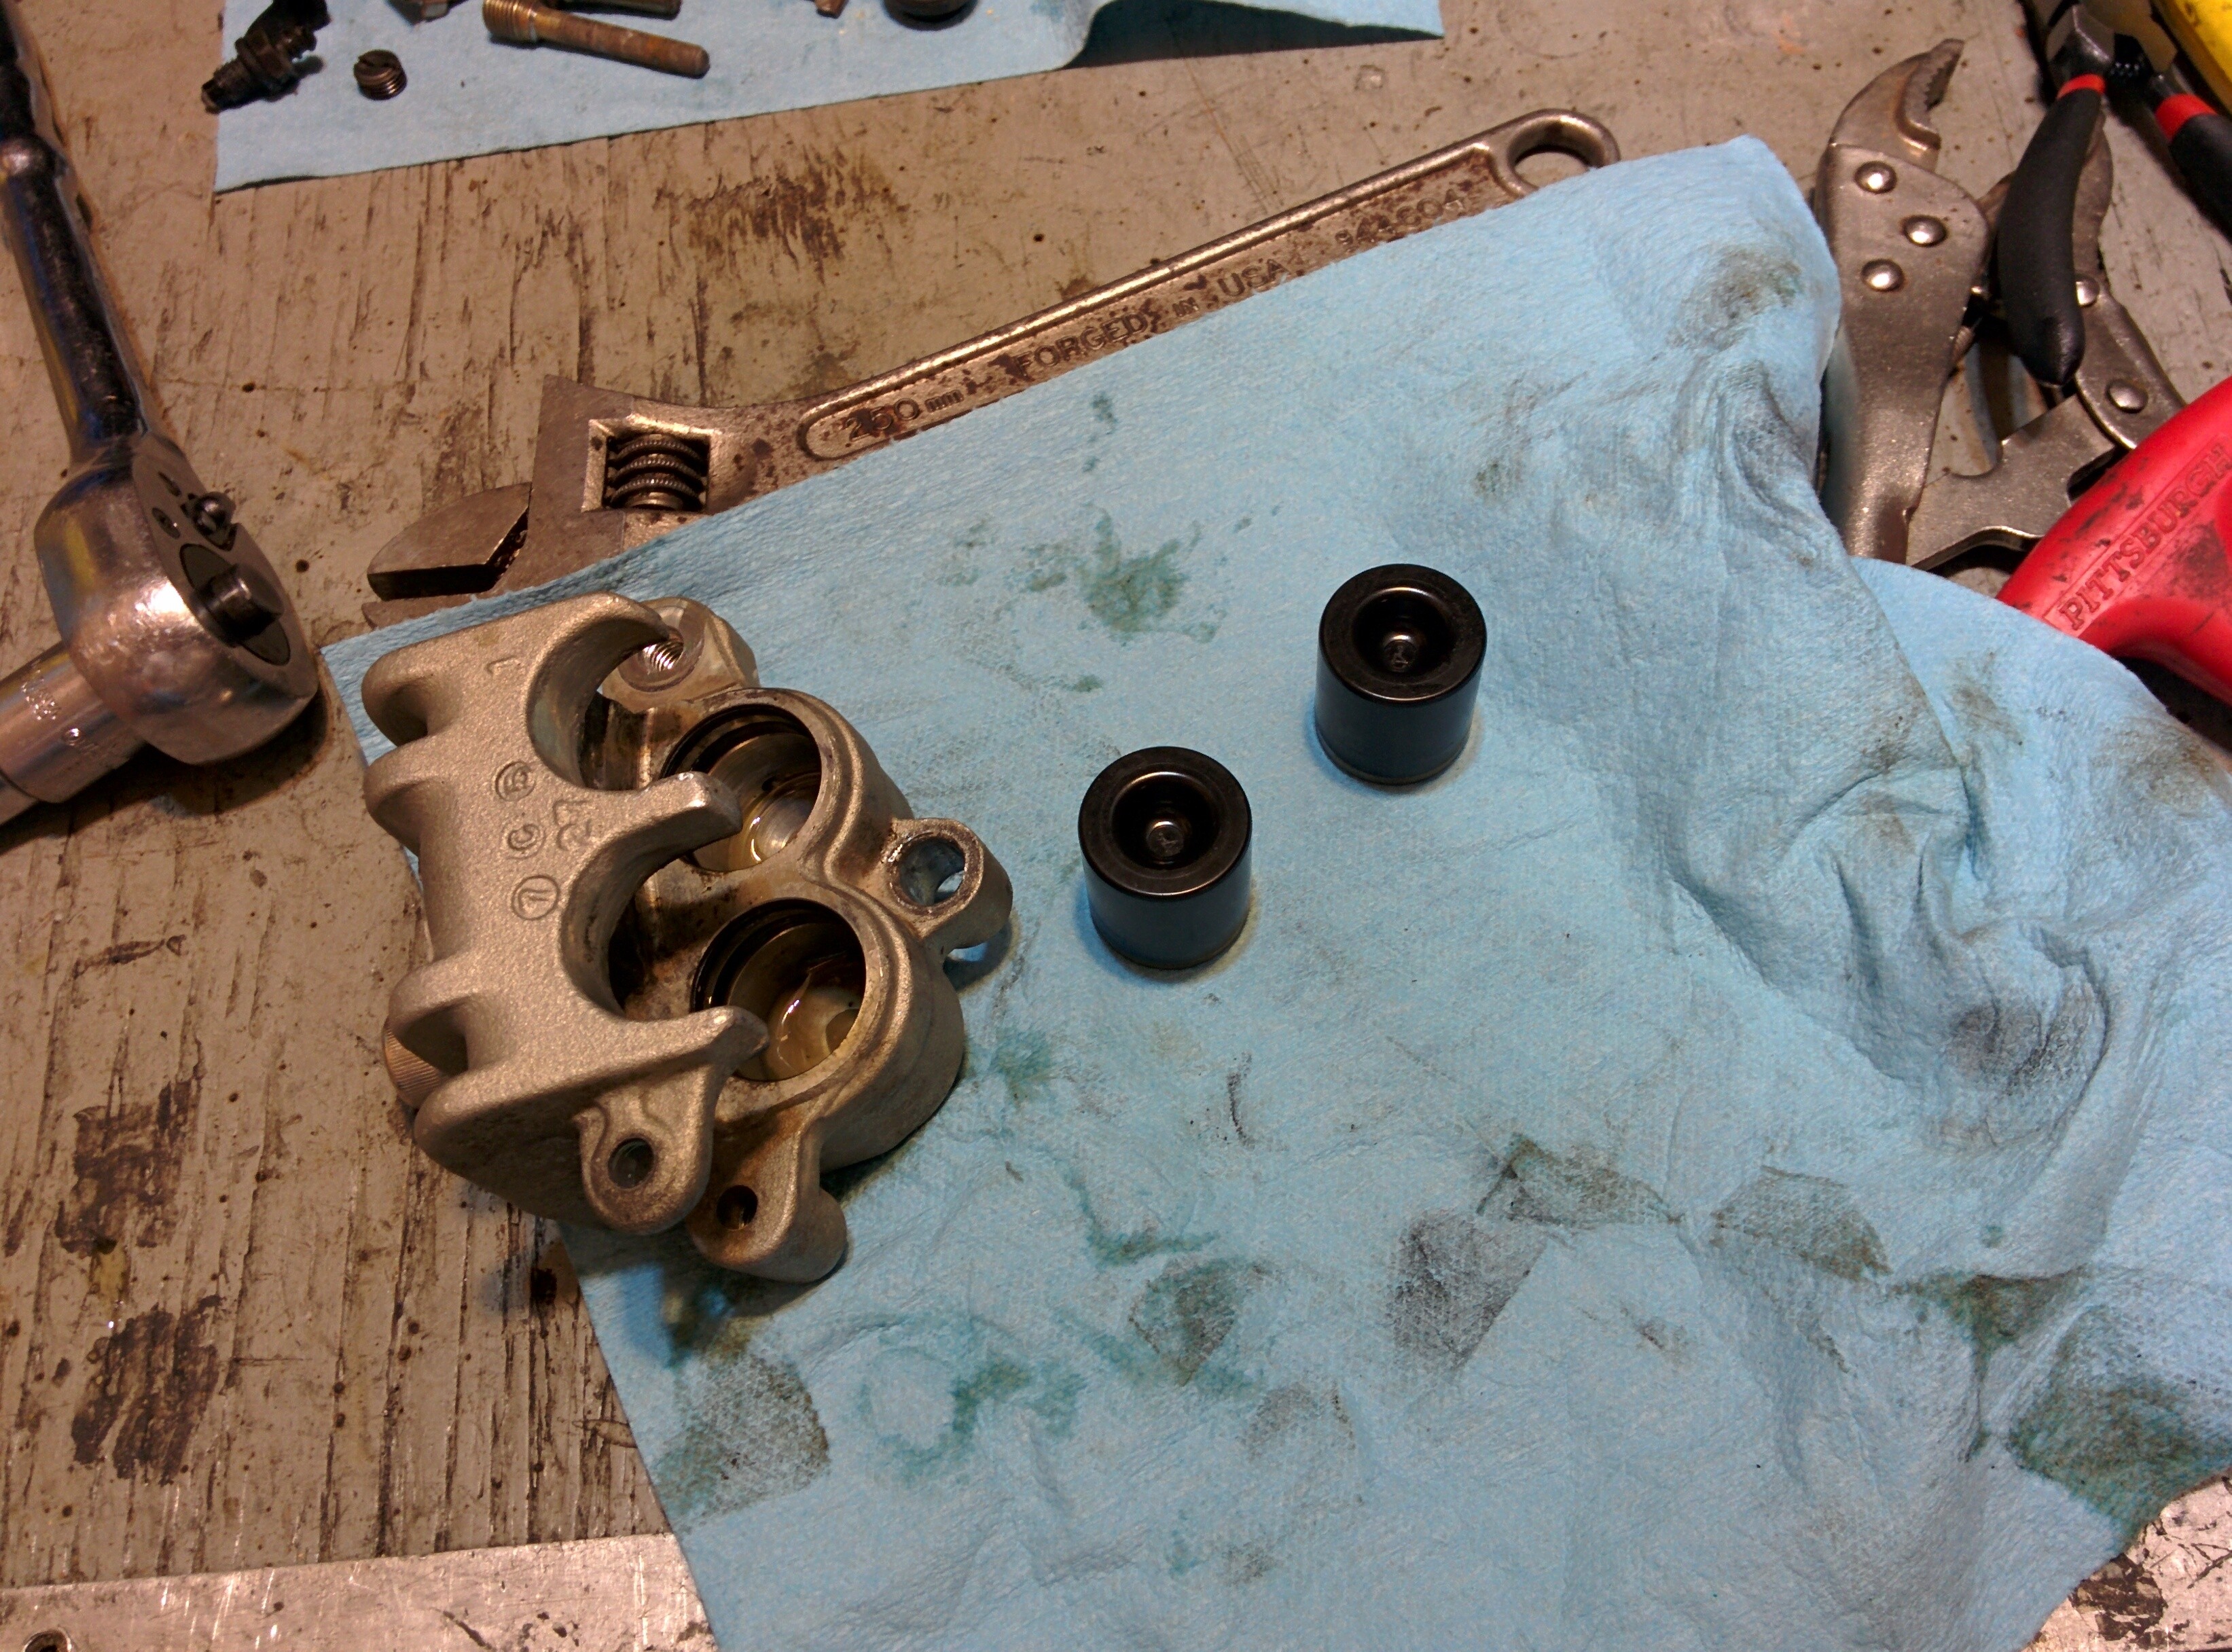
My caliper had the same gunk in it, so I used isopropyl alcohol to clean it as well. Non-chlorinated brake cleaner should normally be enough.
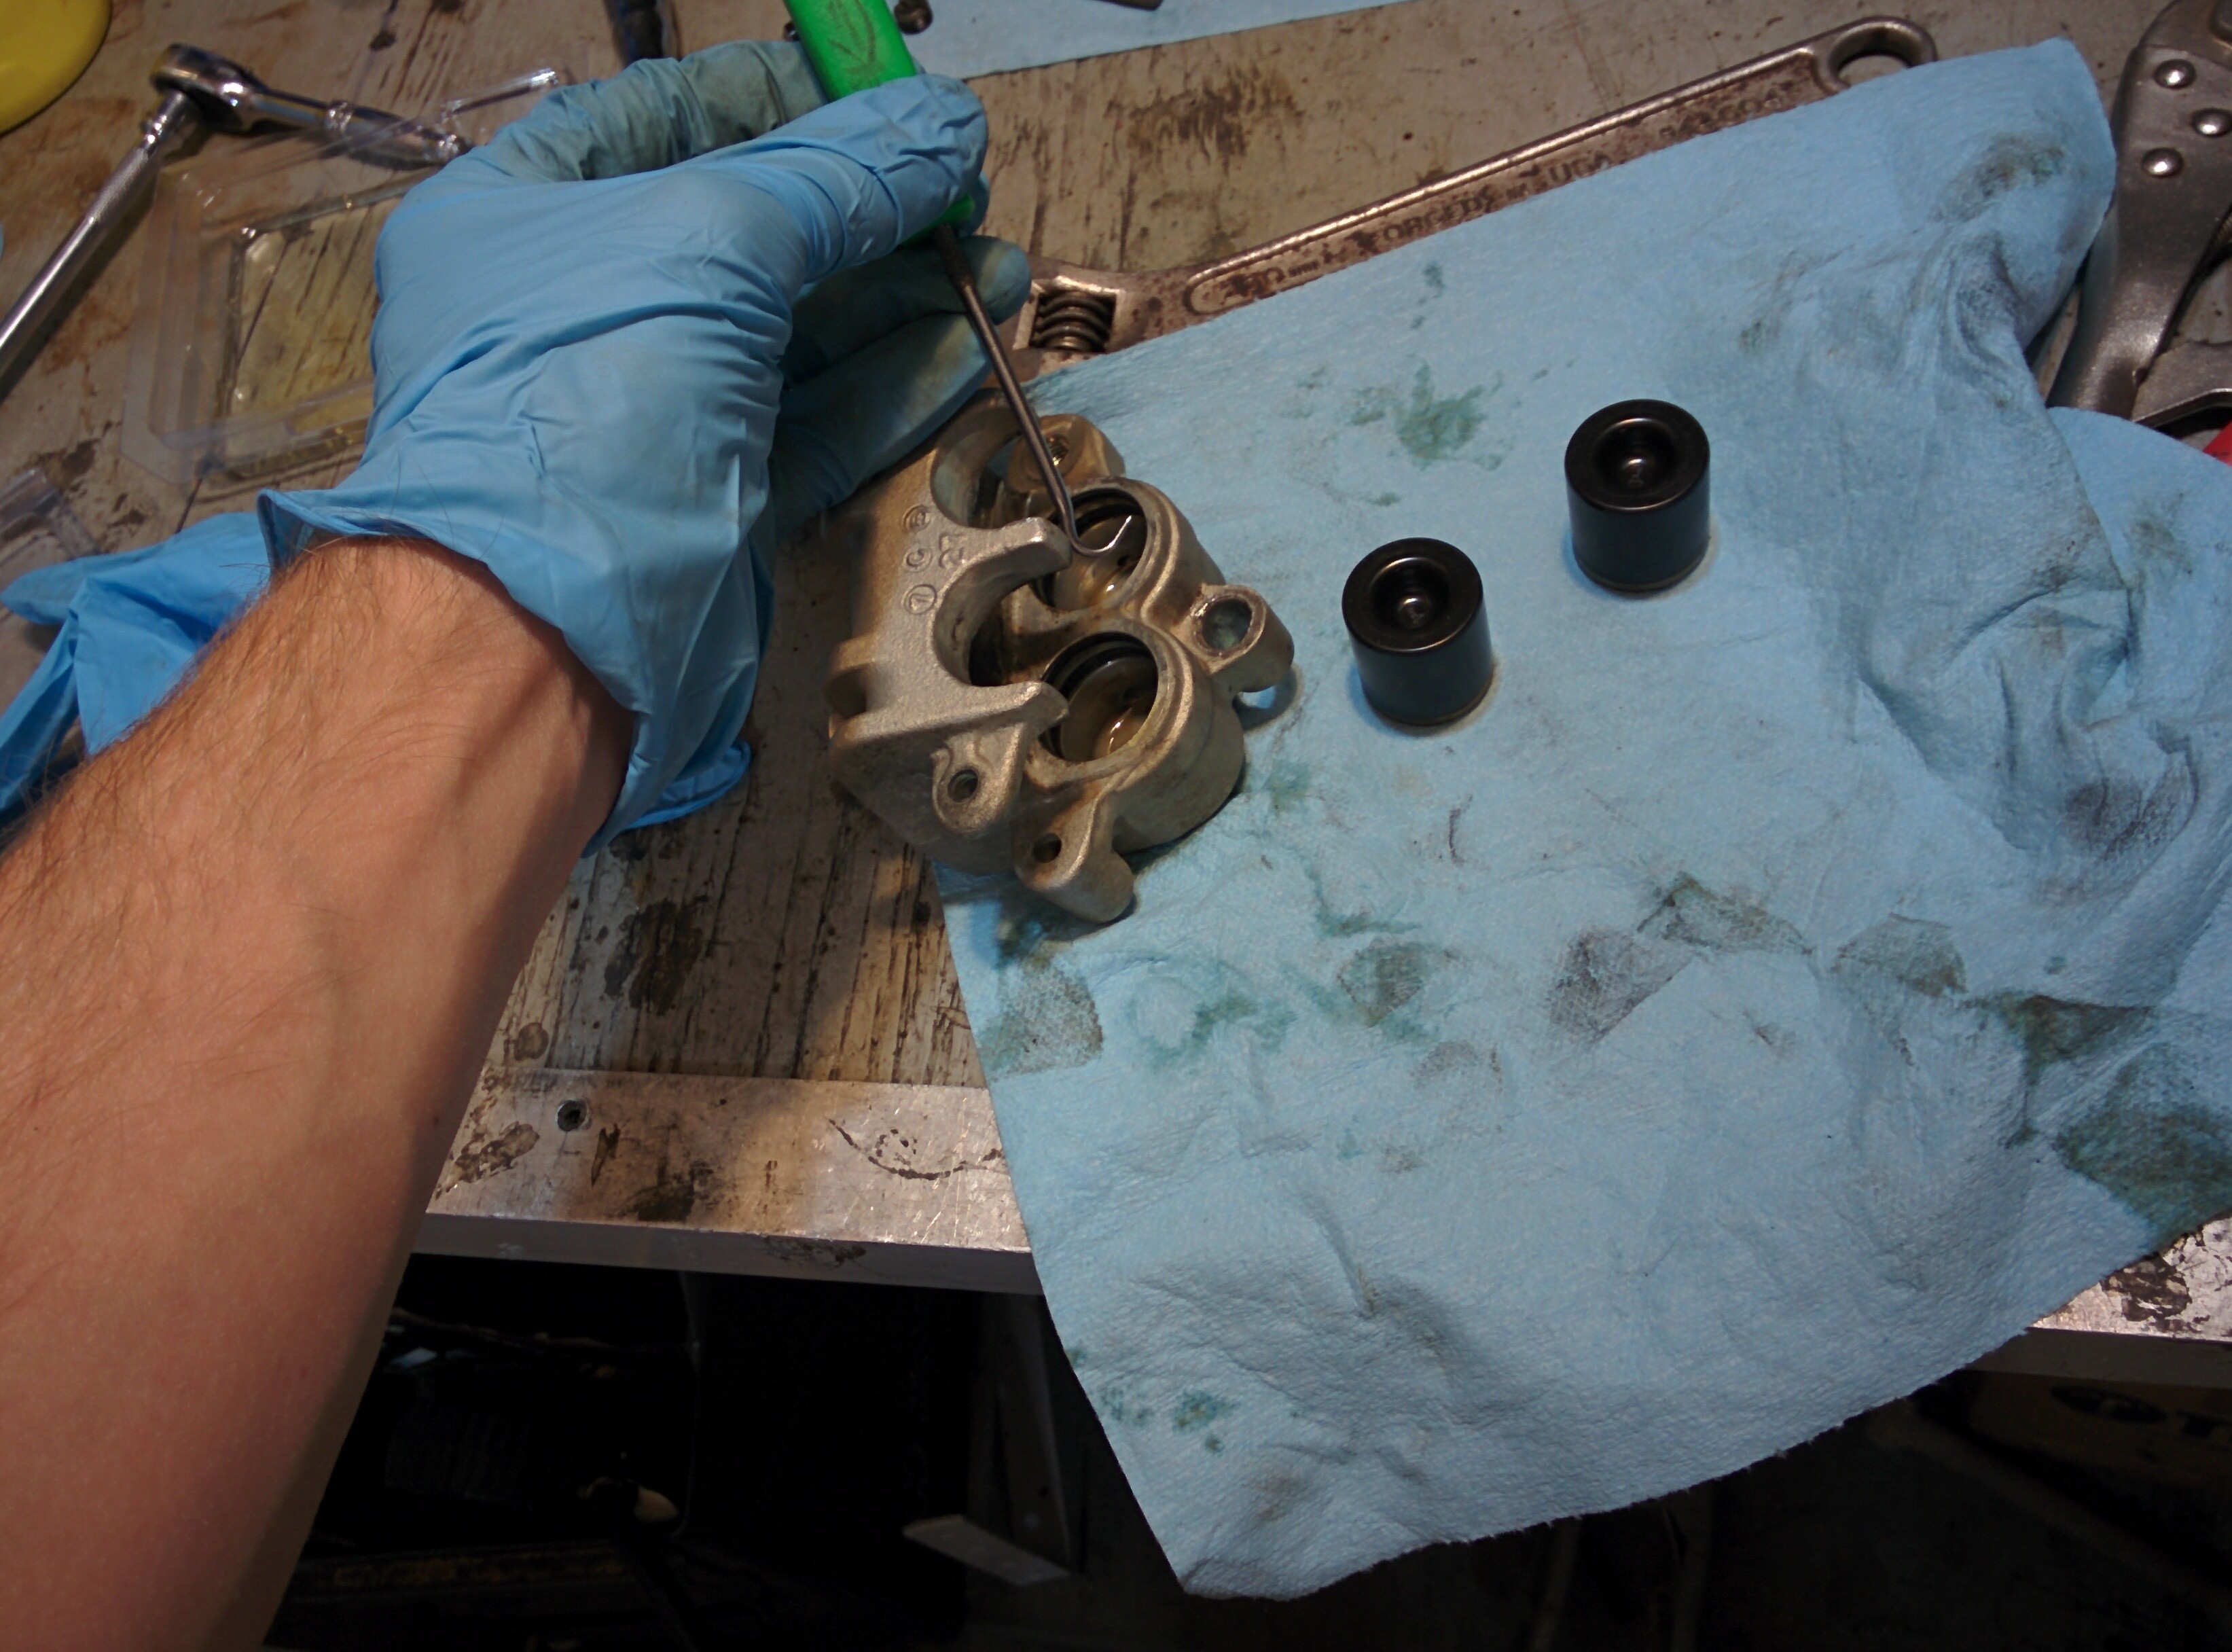
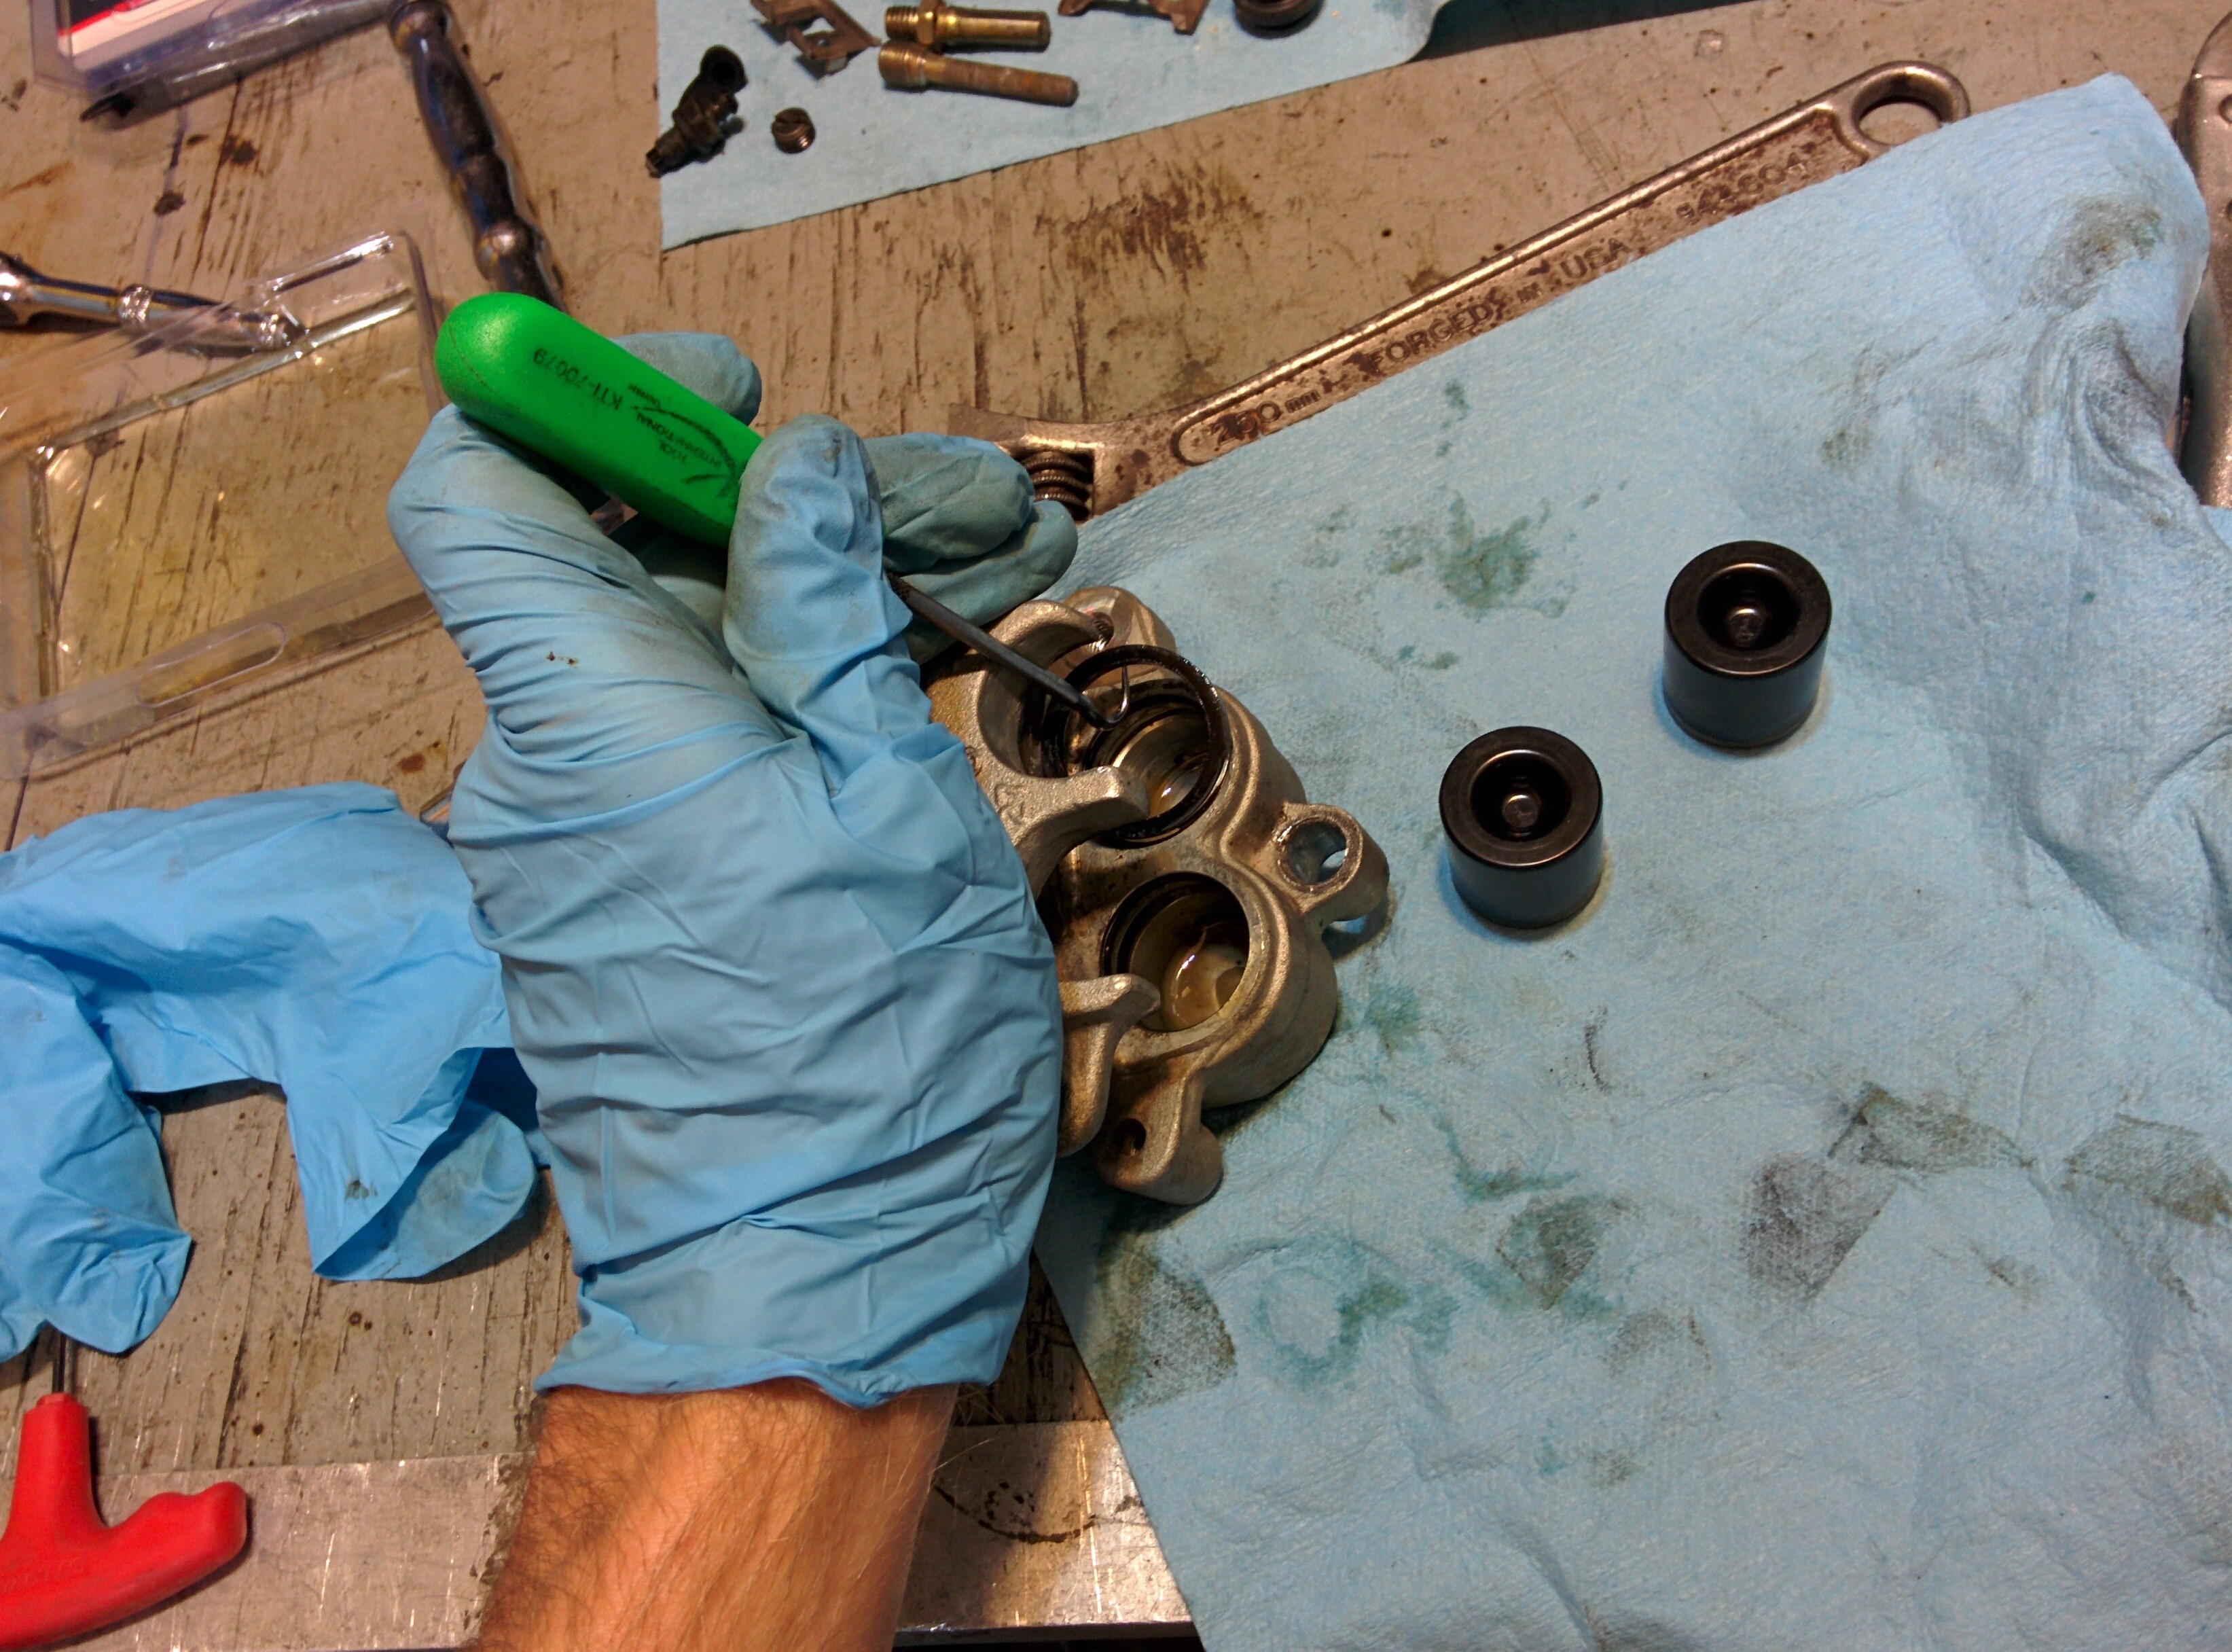
The seals for each piston are extracted using a pick.
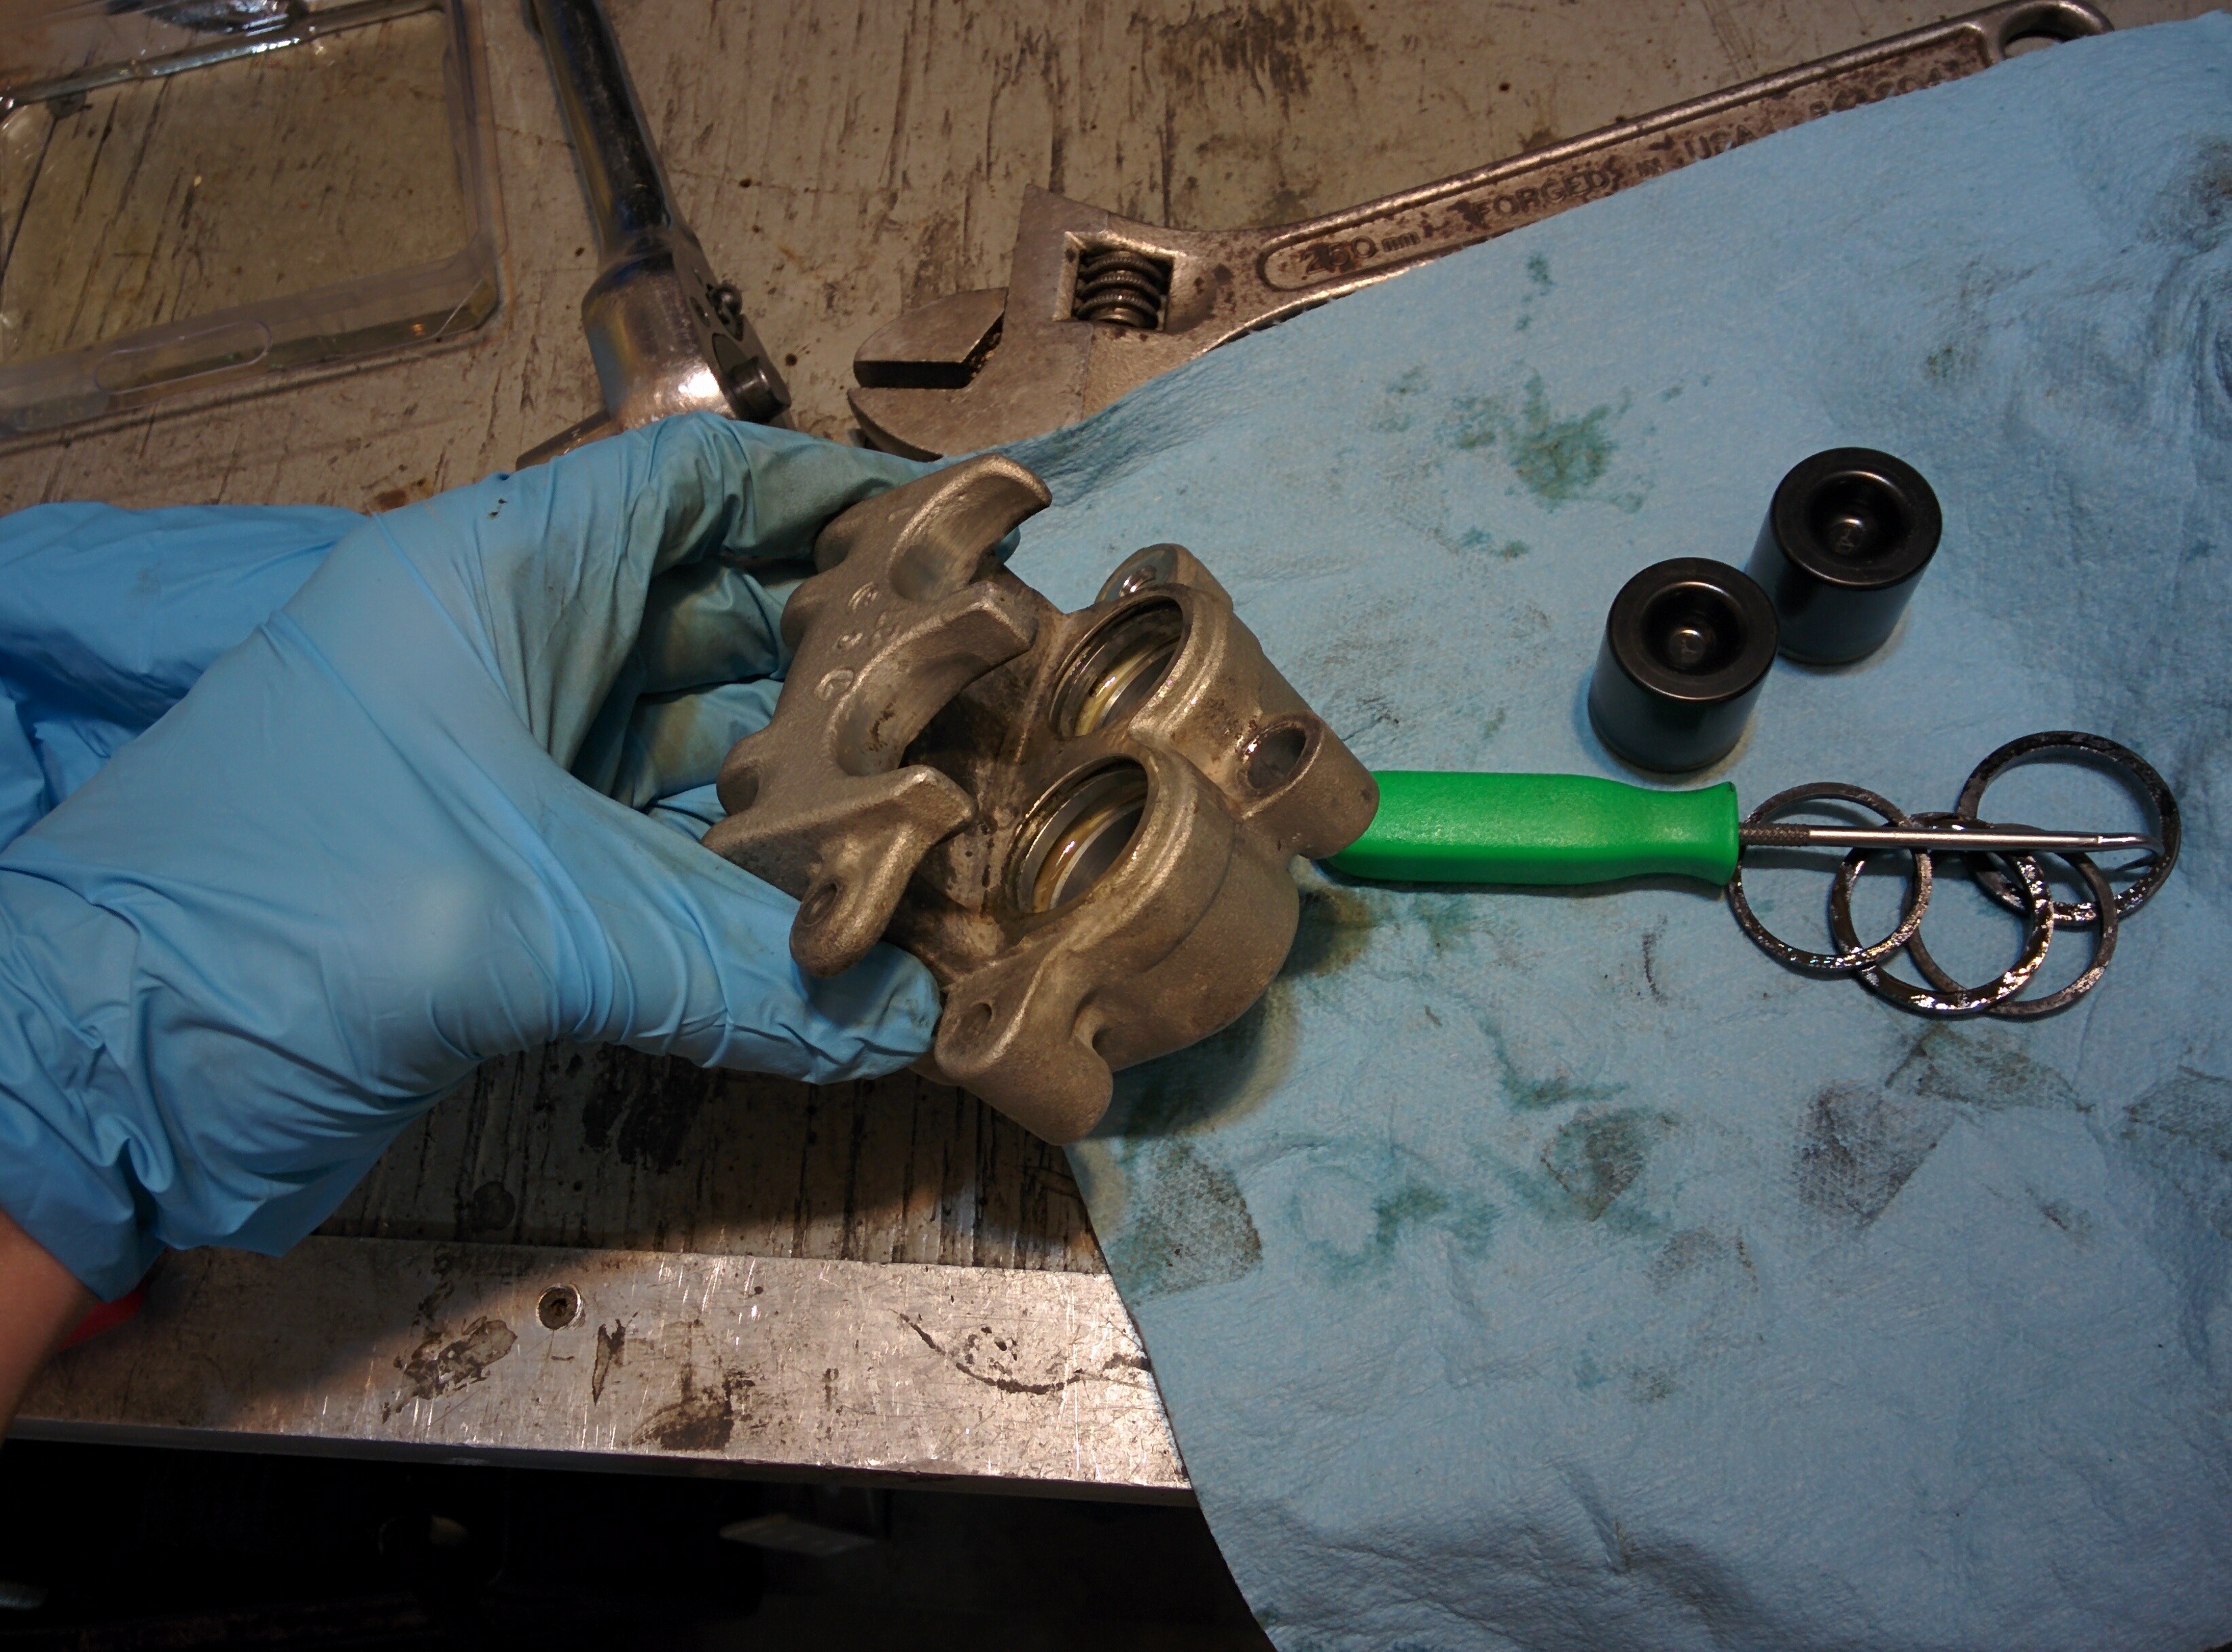
Wipe out the inside of the front caliper as best as you can. Also wipe down the pistons with a shop rag.
Now it is time to put the new seals in. Again, they need to be lubricated with brake fluid to install properly.
The pistons can simply be pressed all the way in by hand. There is no retaining mechanism for them.
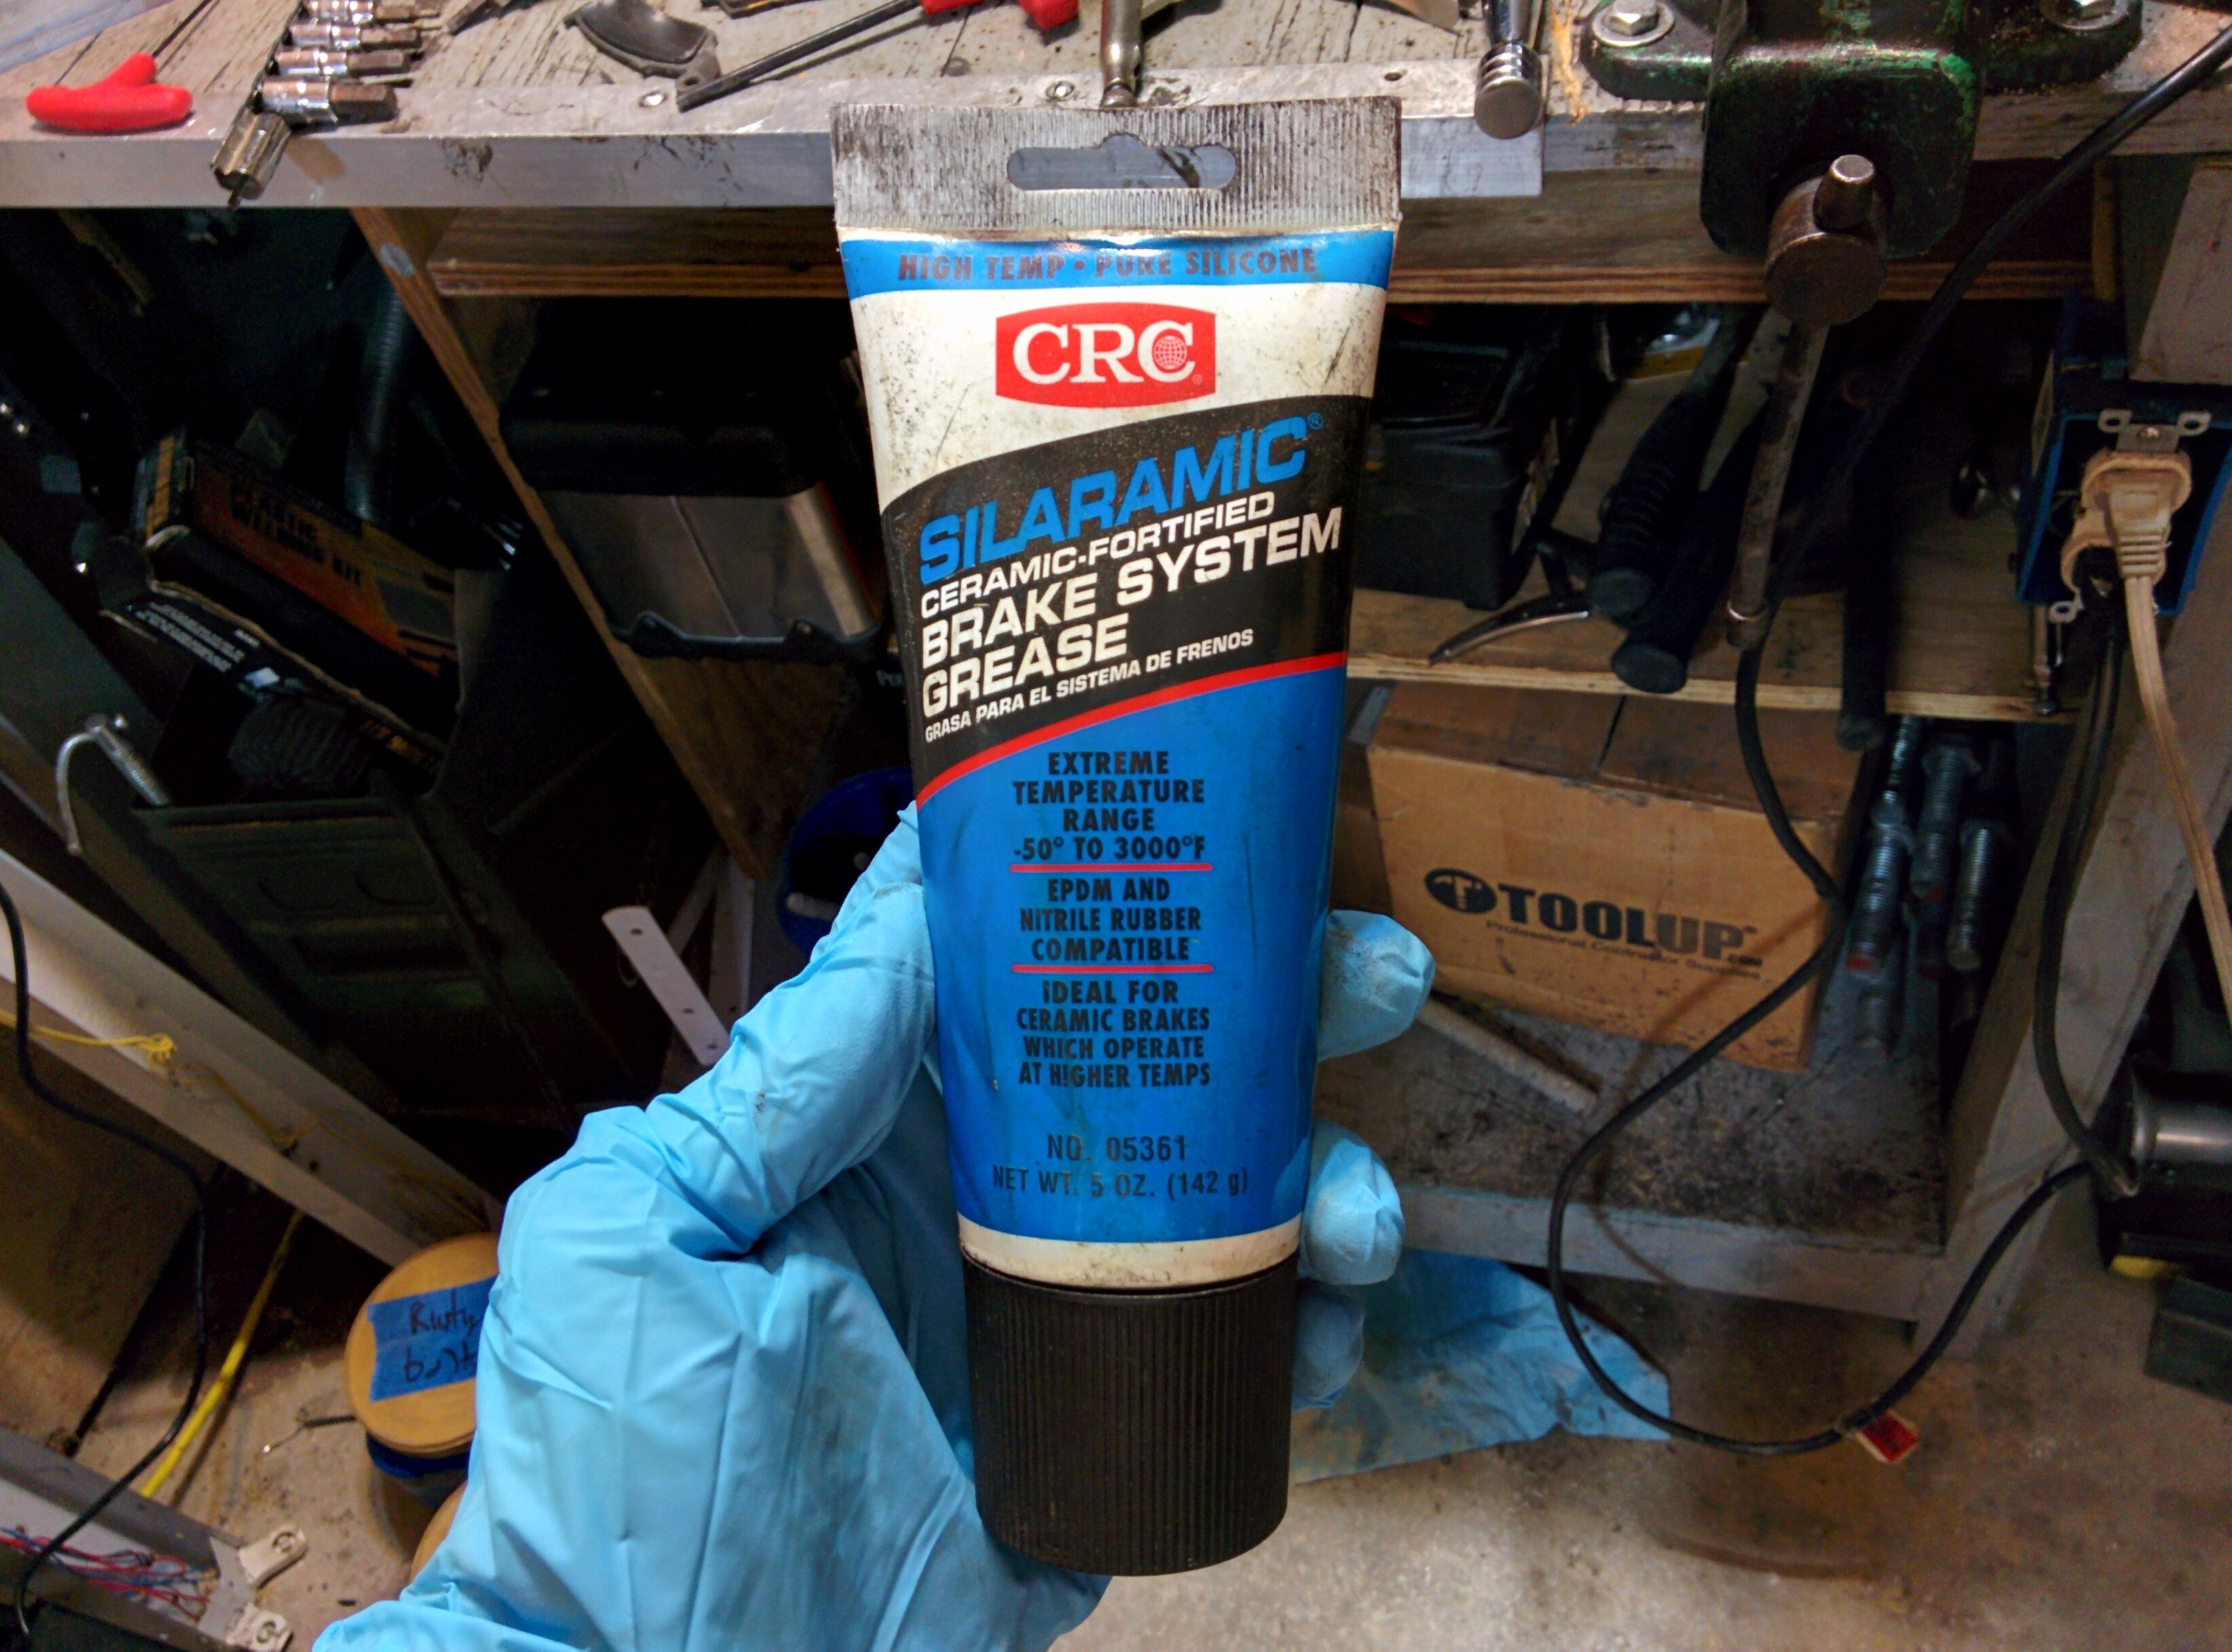
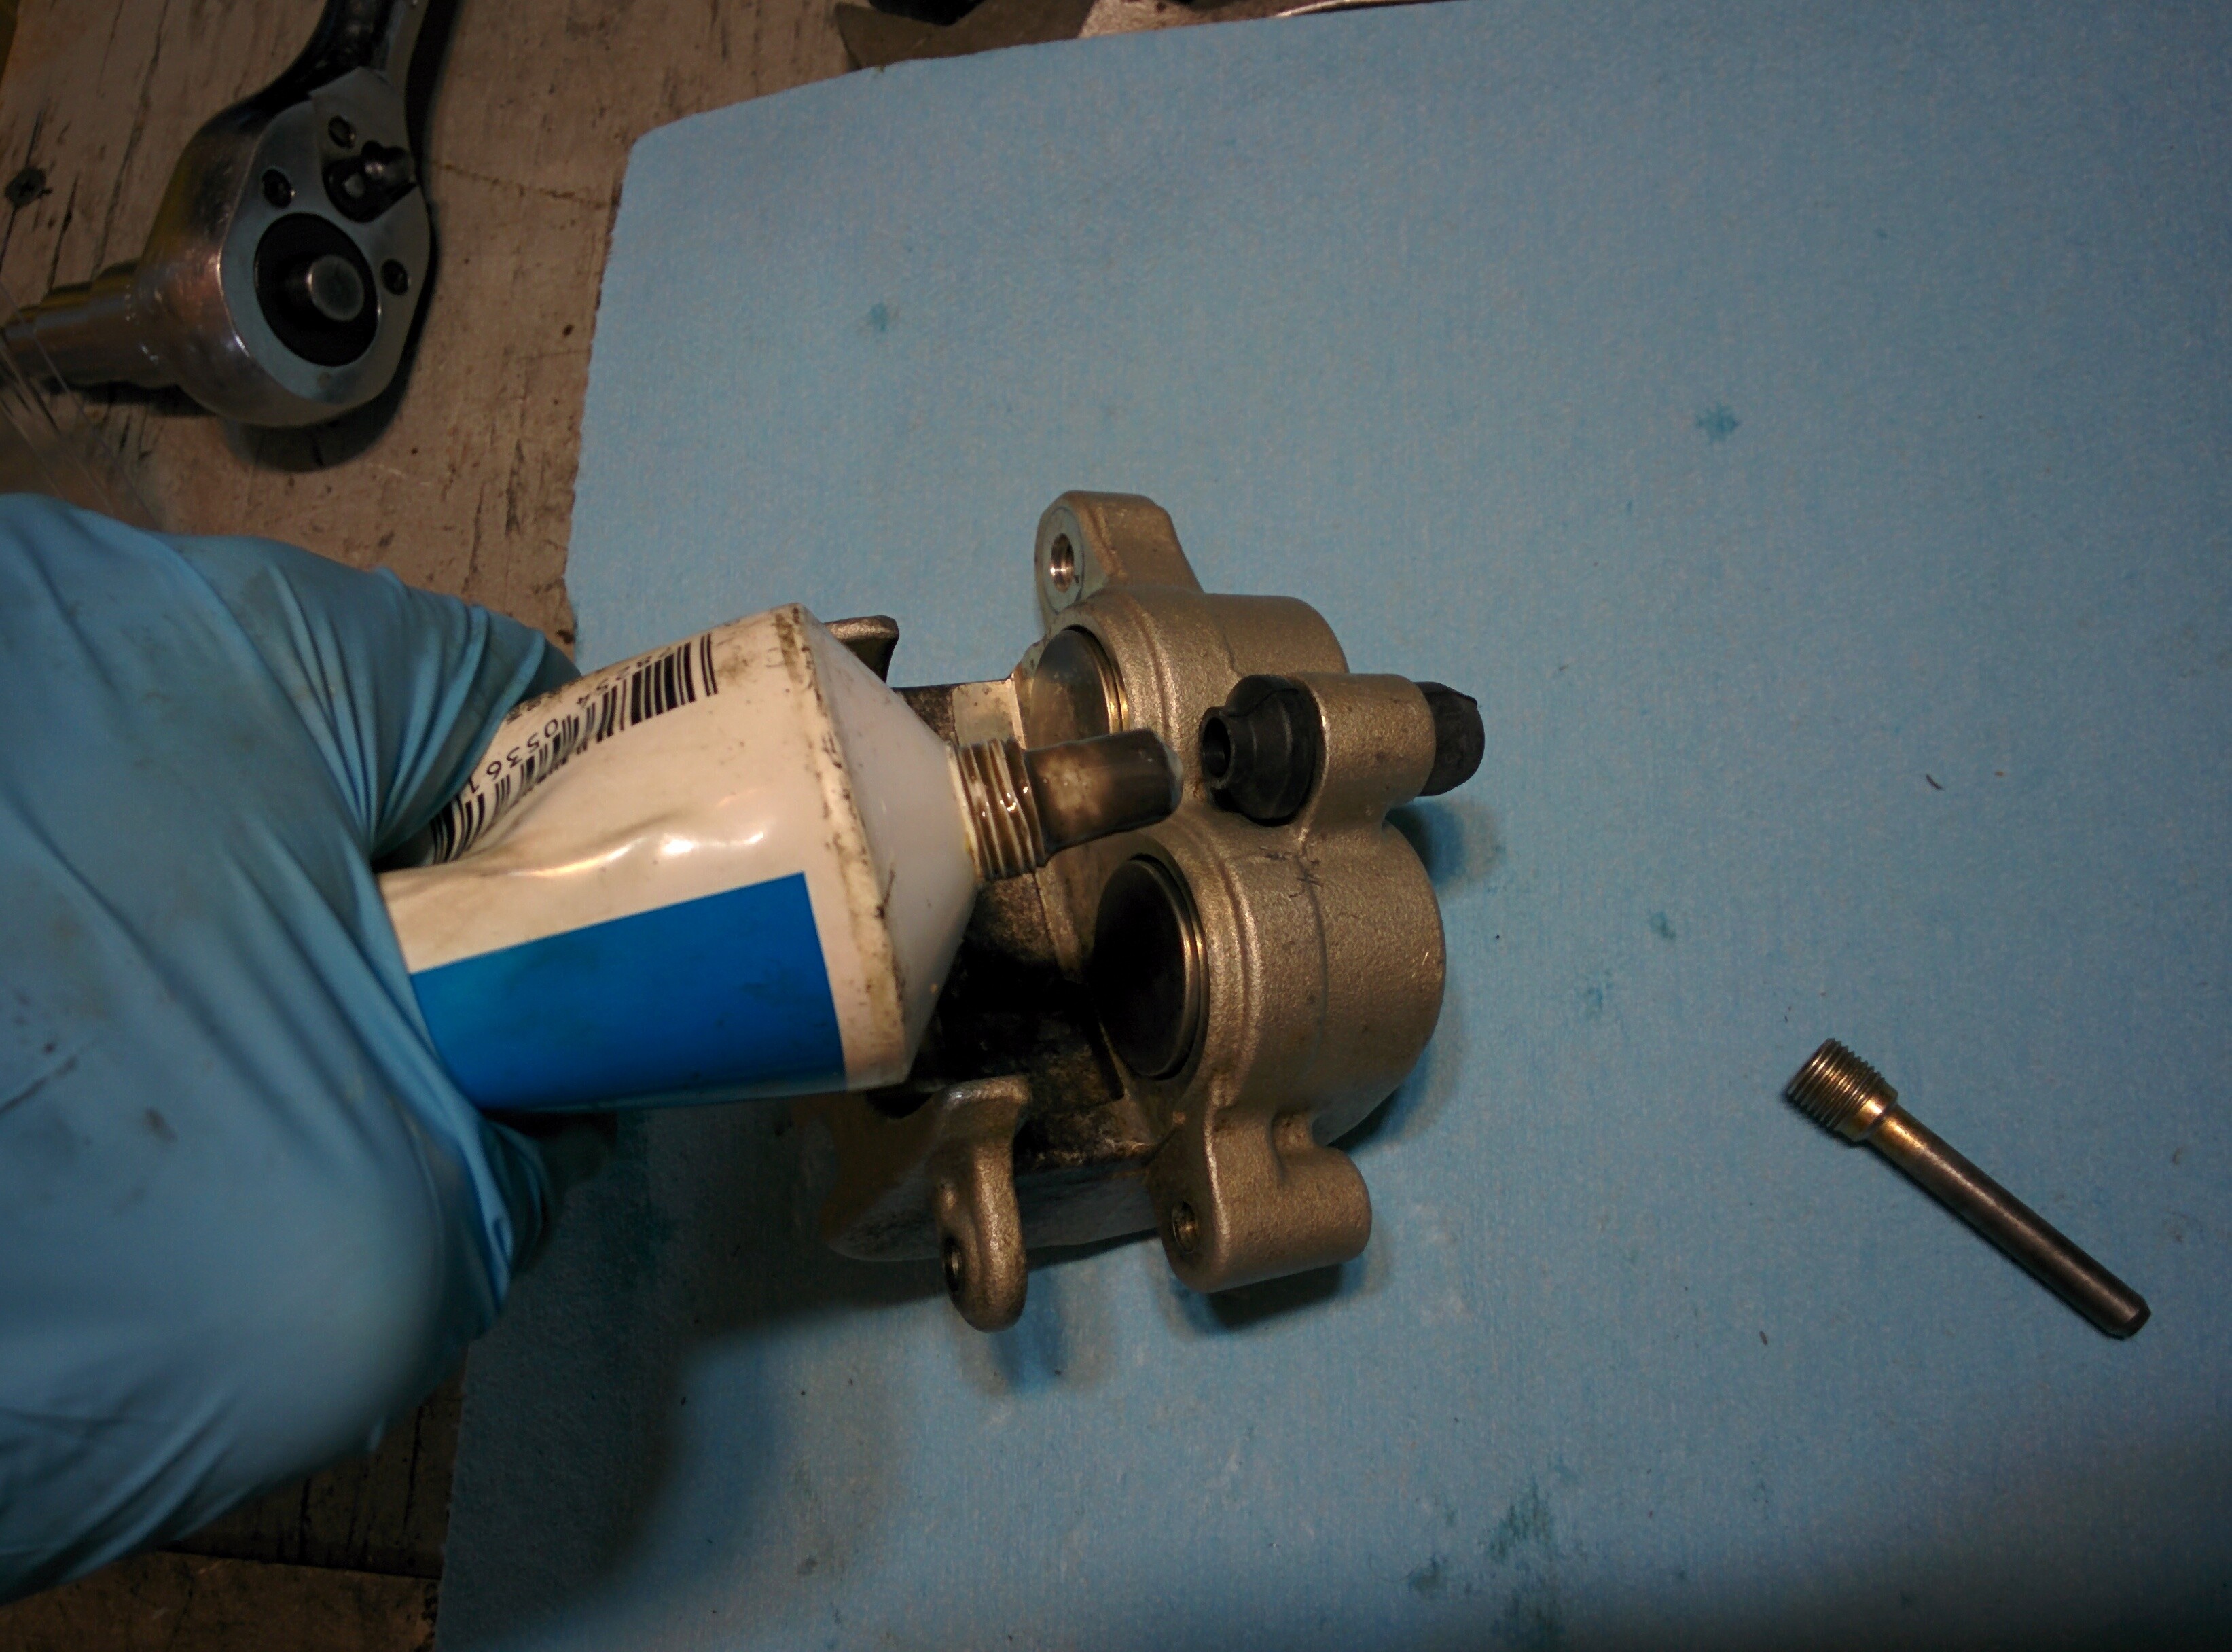
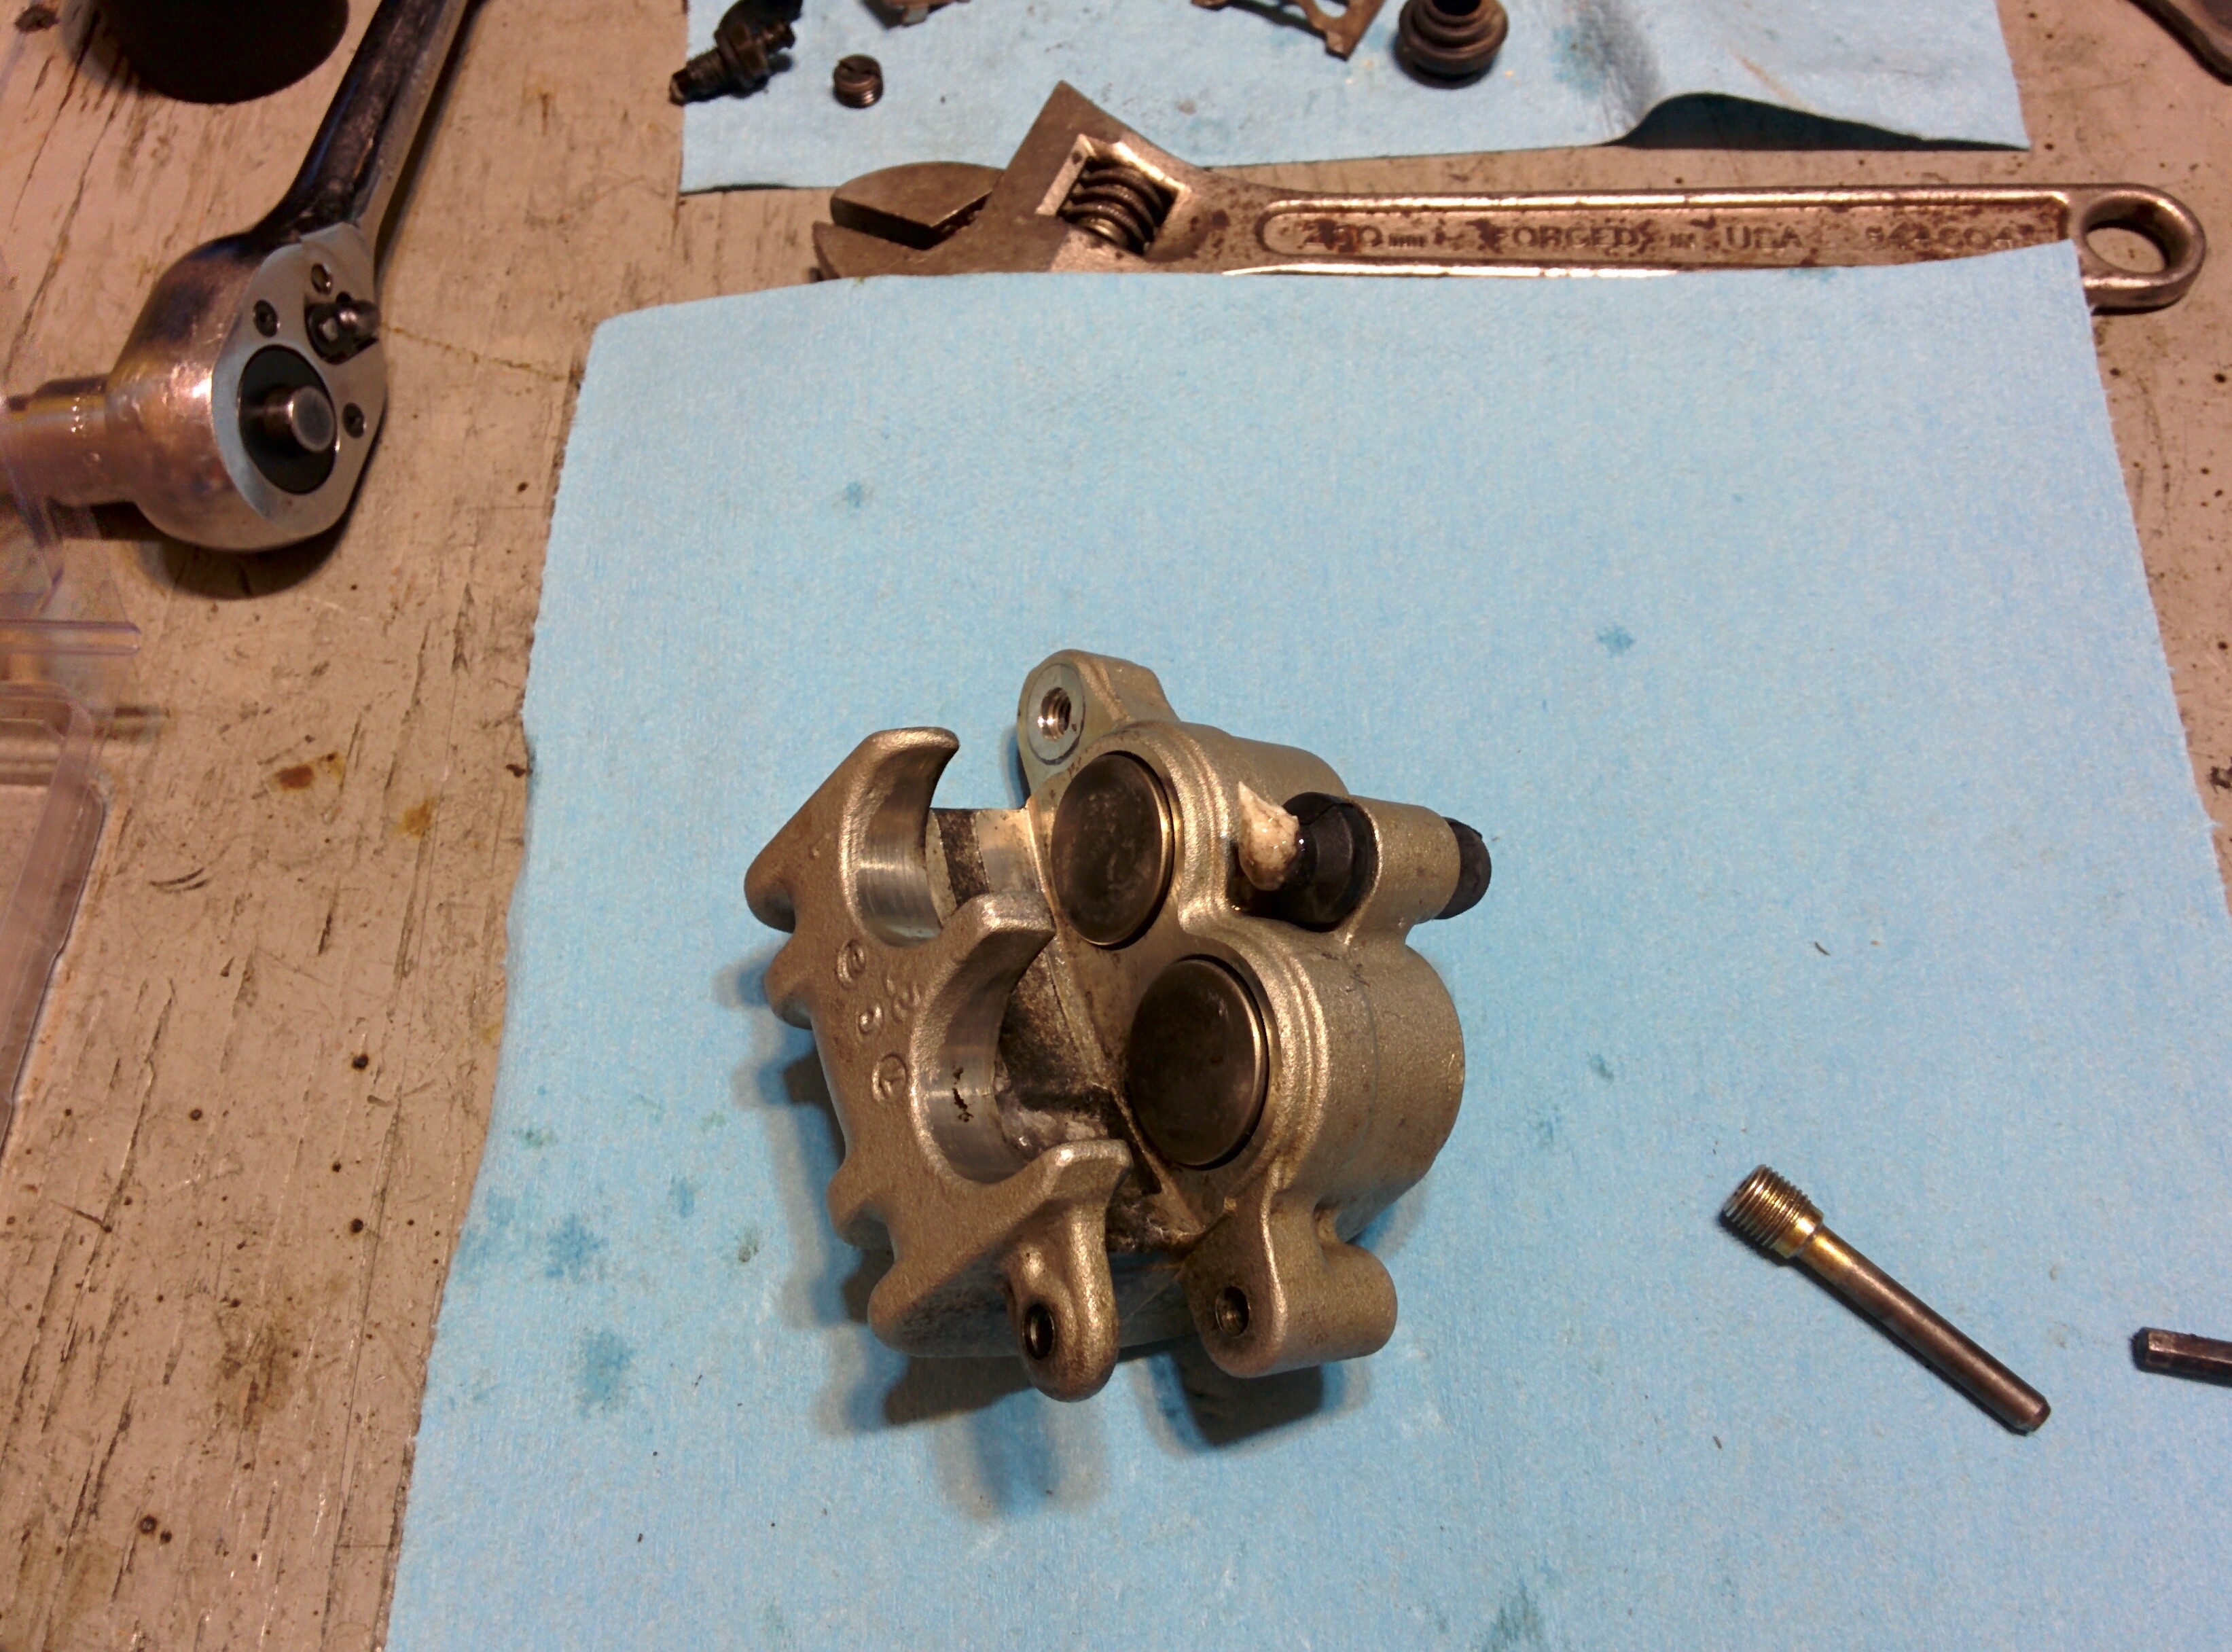
Install the new slide pin boot into the caliper and put some brake grease in it. Both slide pins need to be greased. The other slide pin goes into the carrier, so there is no boot. But there is a small rubber seal that goes over the slide pin.
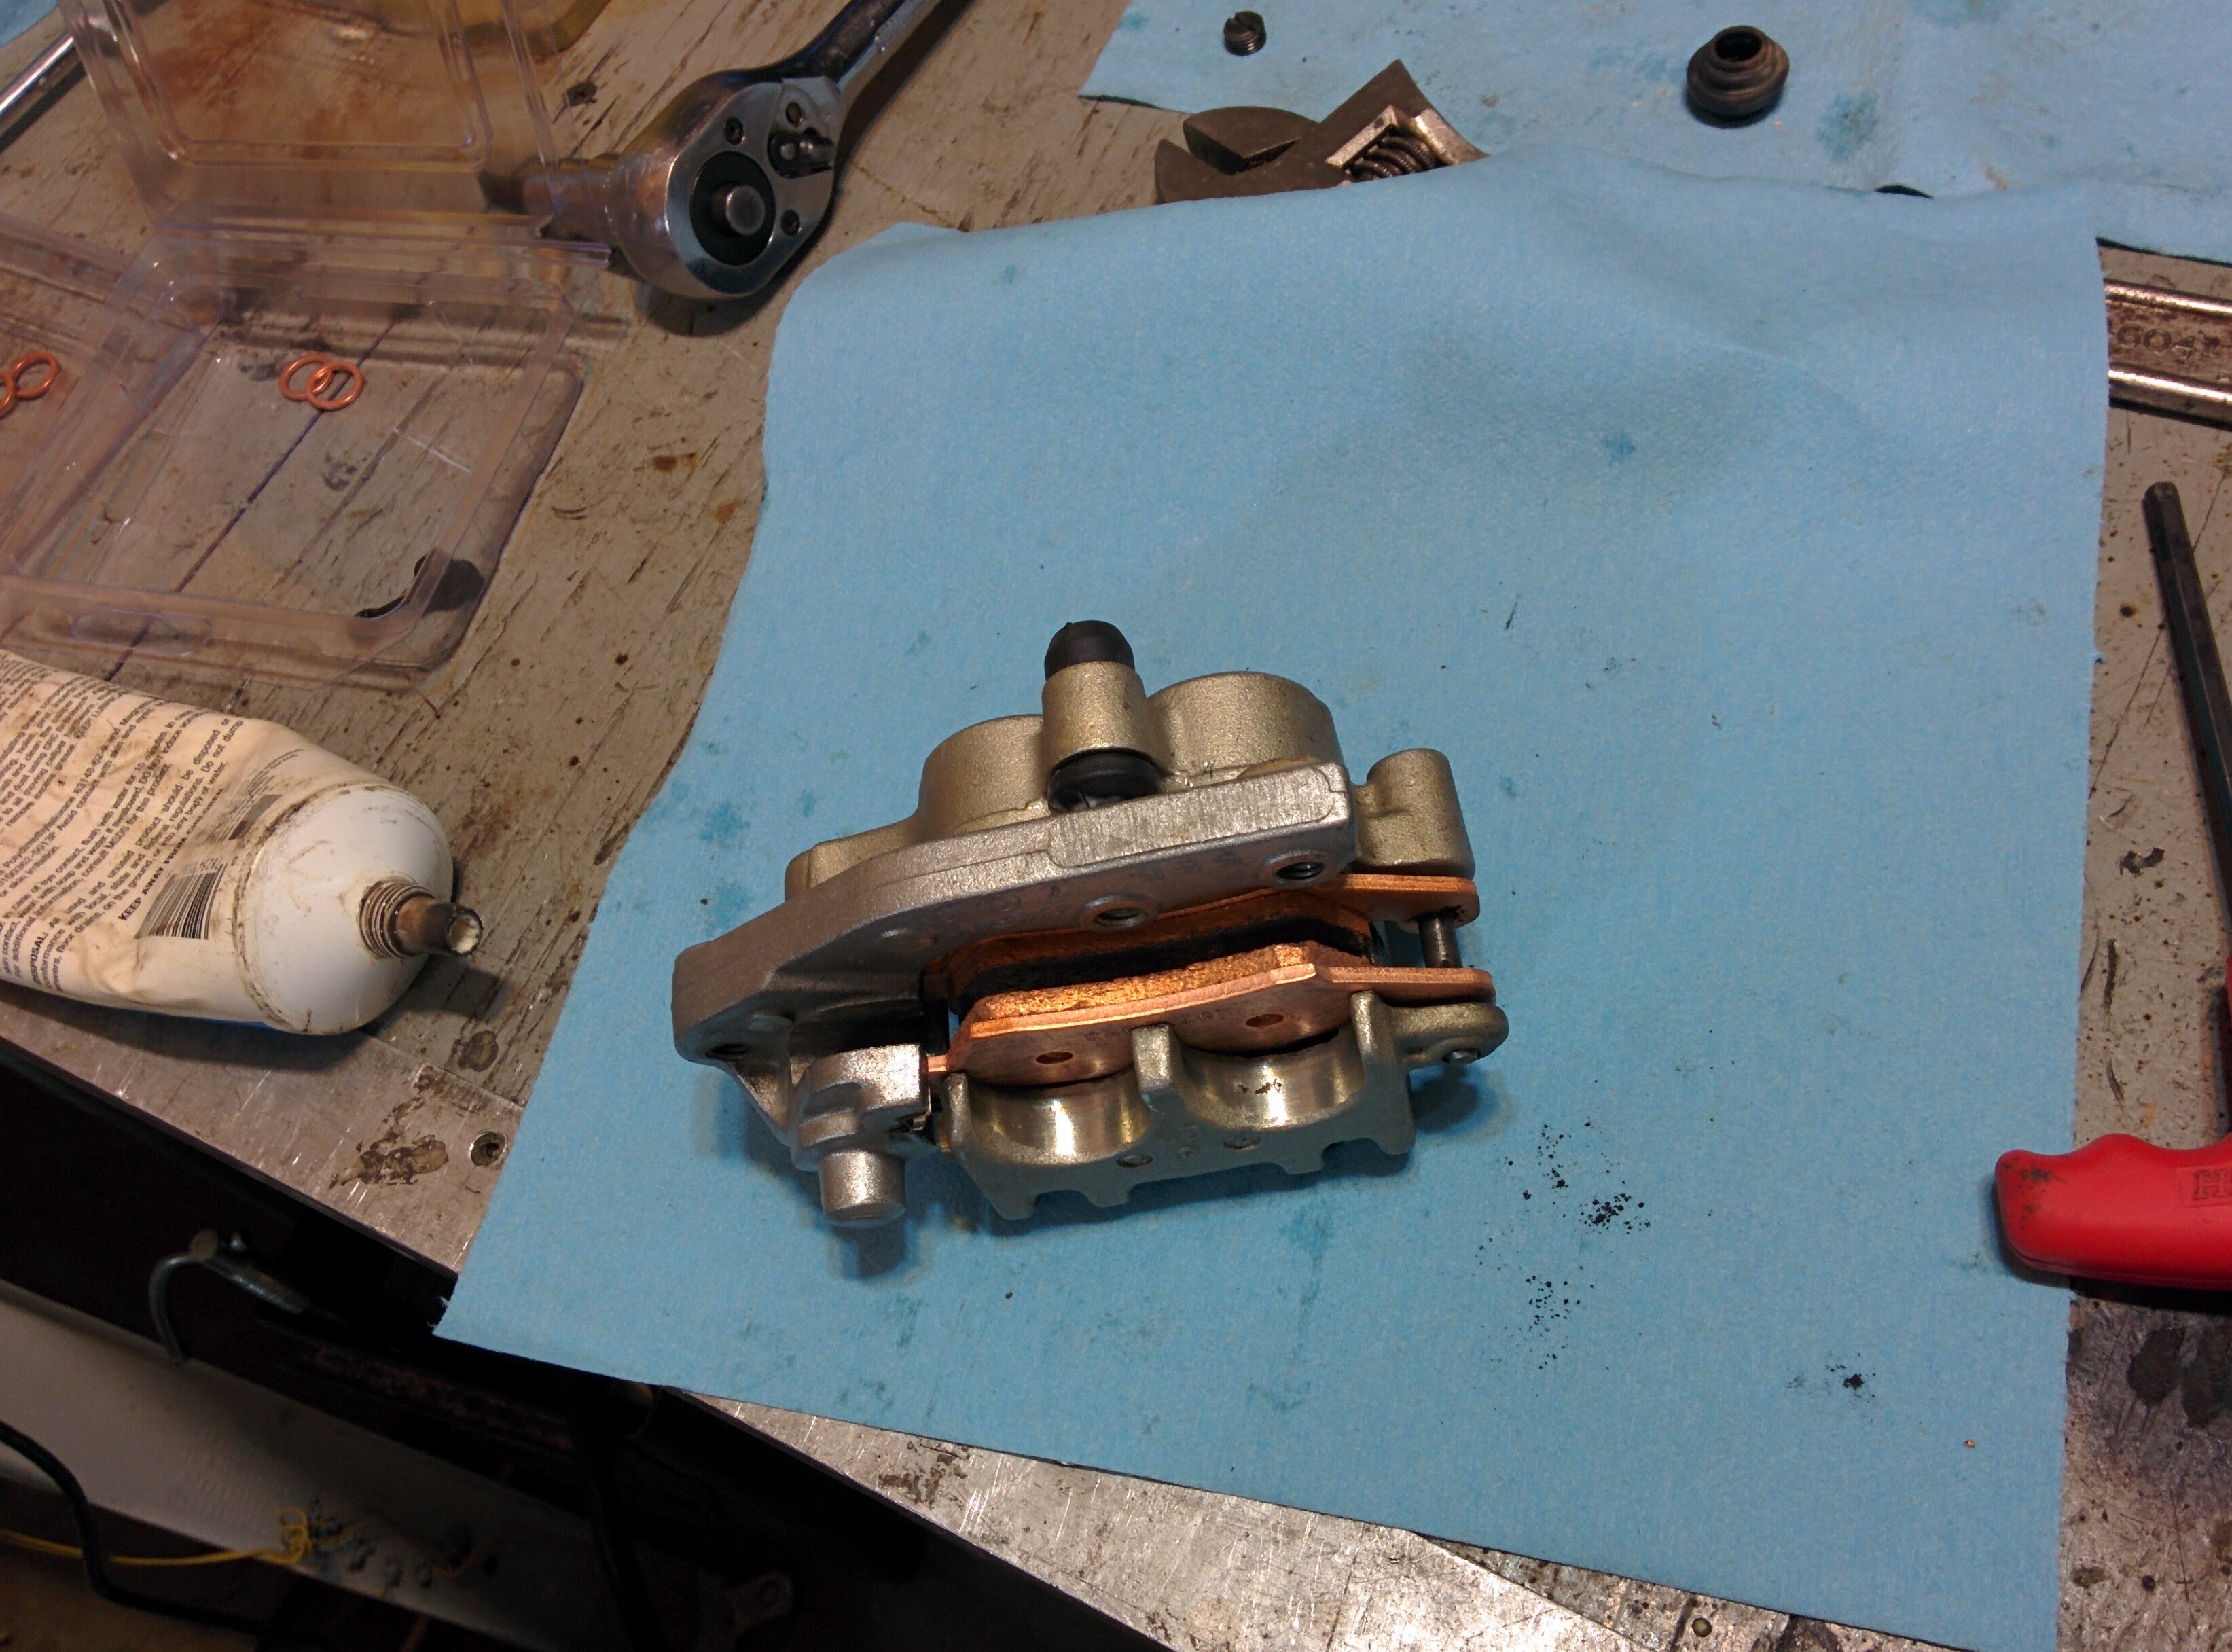
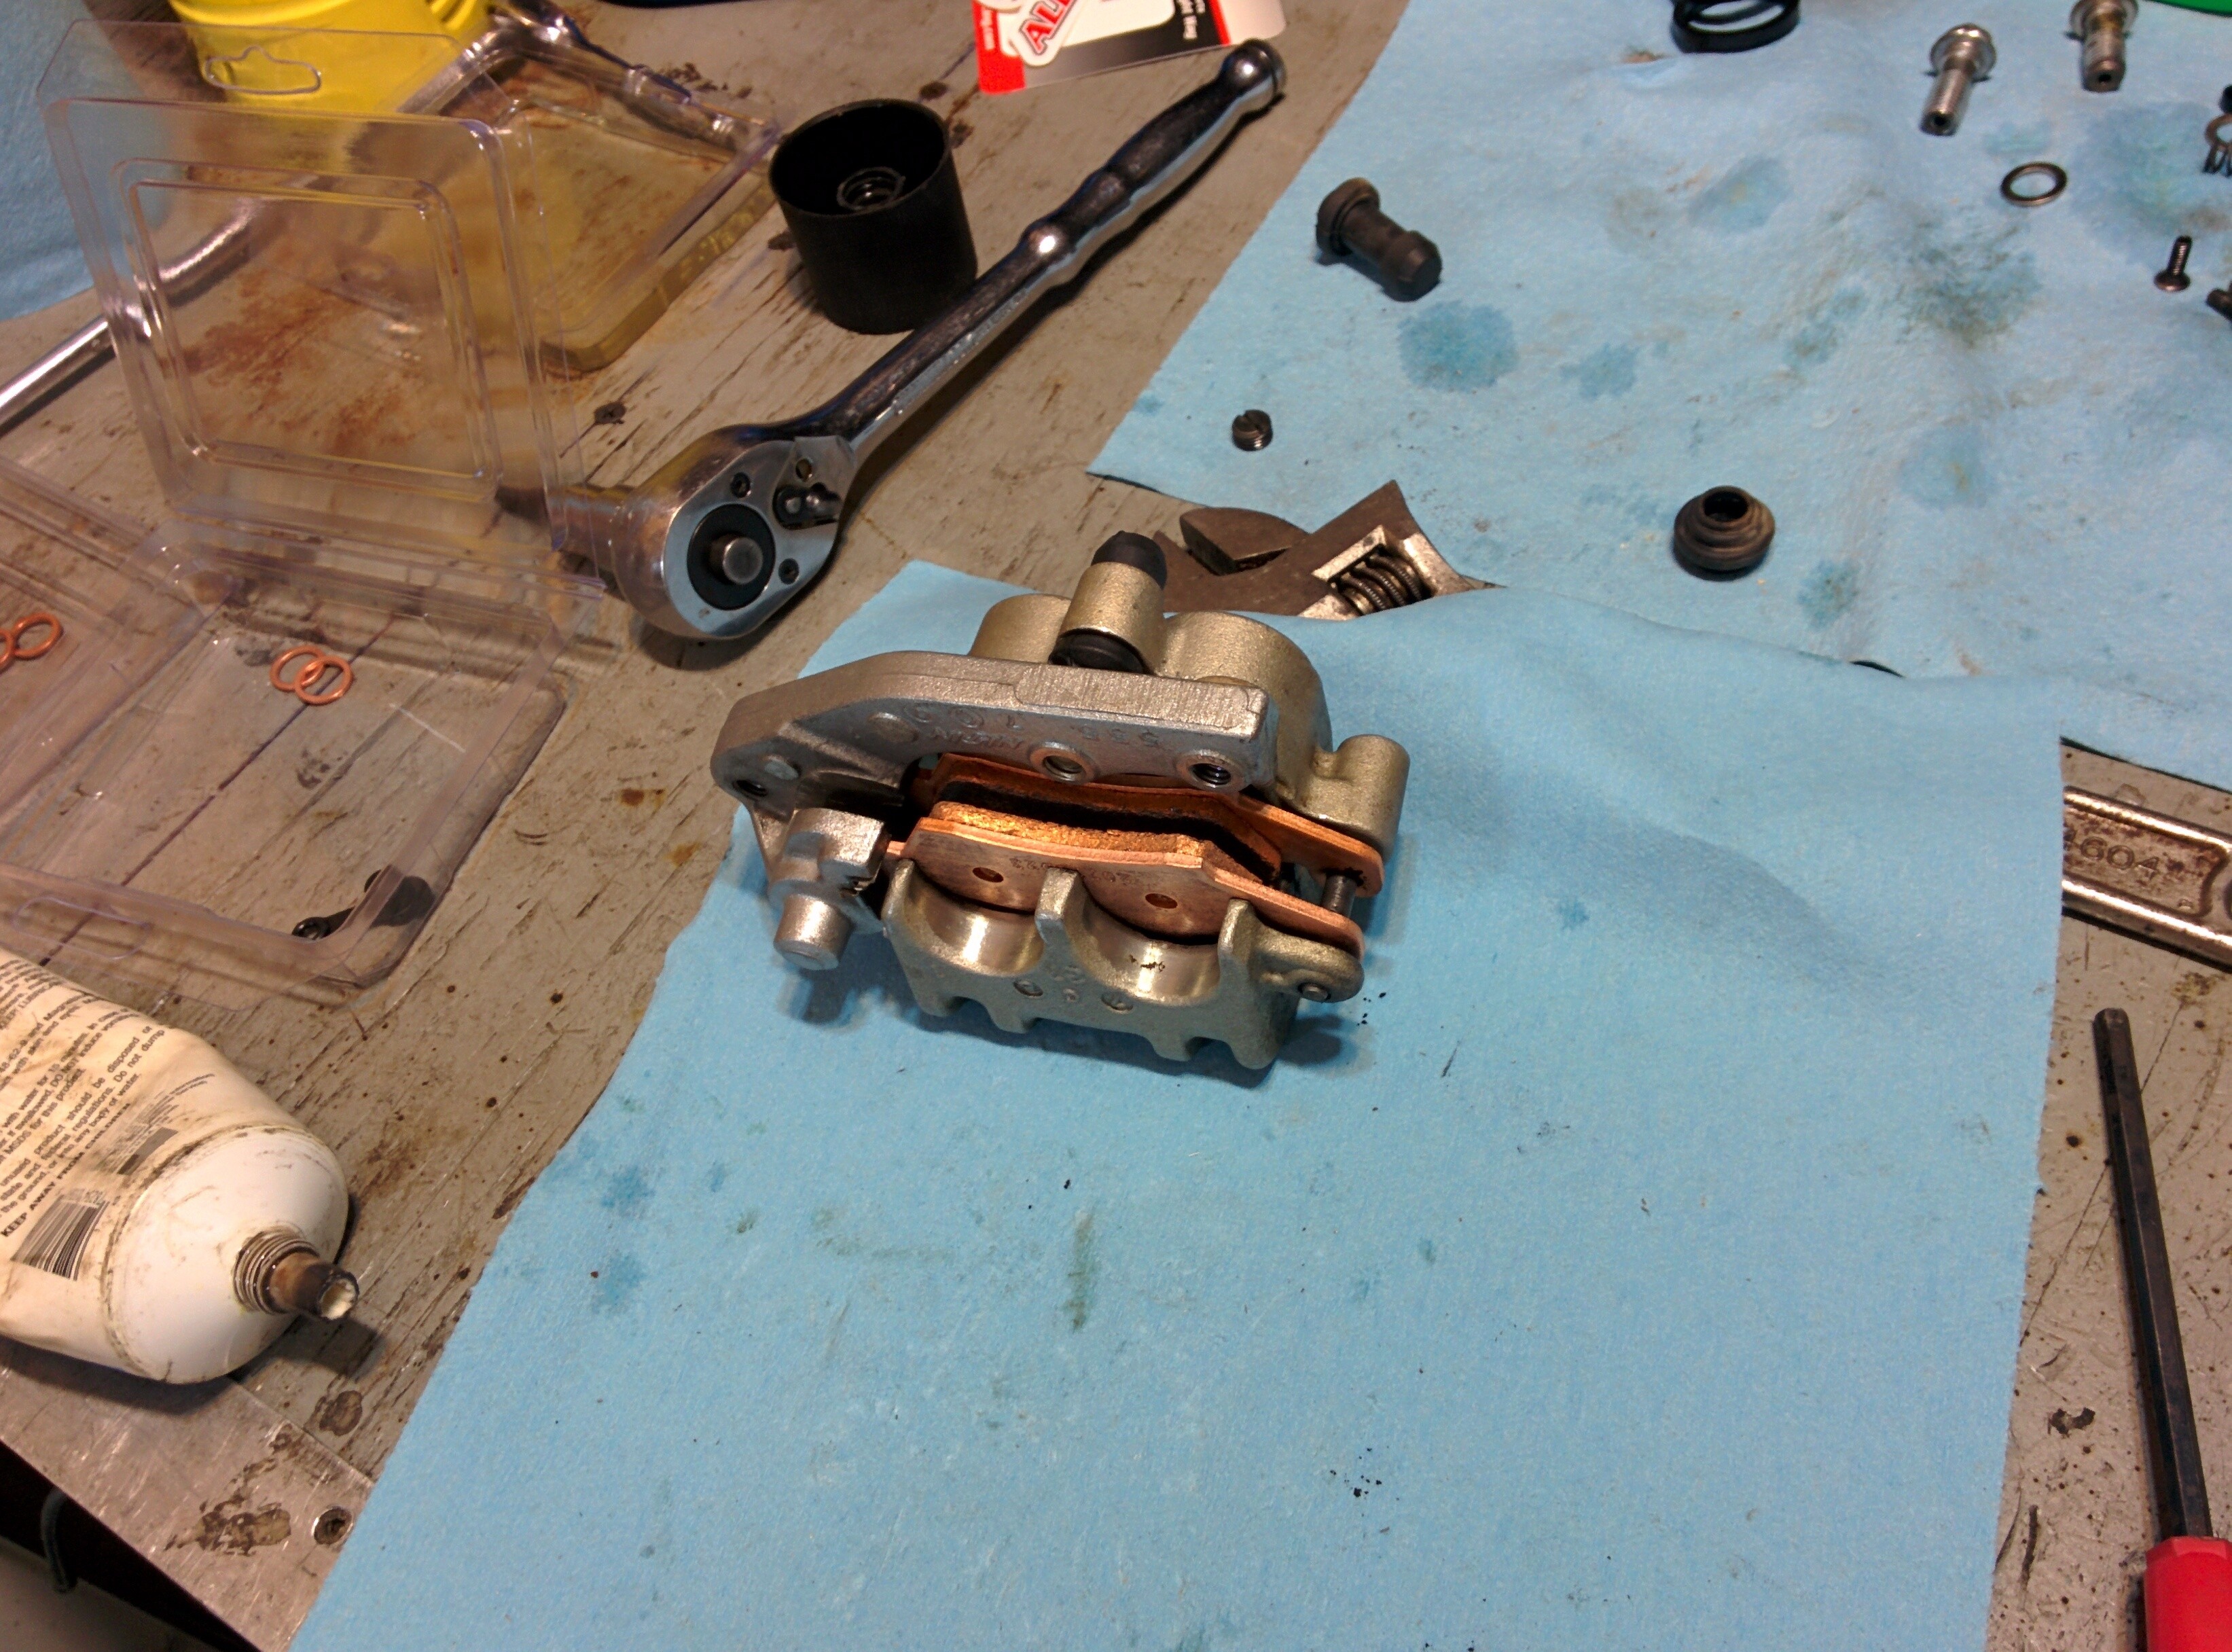
After the carrier is mated back to the front caliper, the pads can be reinstalled along with the retaining pin. This can be a bit of a juggling act. In my case I also installed the brand new Galfer pads you see.