SV650S GSXR Shock conversion
- Friday July 15 2016
- travel
The OEM rear shock on a Suzuki SV560S is a sealed unit. It cannot be rebuilt, nor can the spring be replaced. It has a ramp style adjuster that can be used to adjust preload. The spring is too soft for most riders from the factory. Many aftermarket options exist, but I was looking for something cheaper.
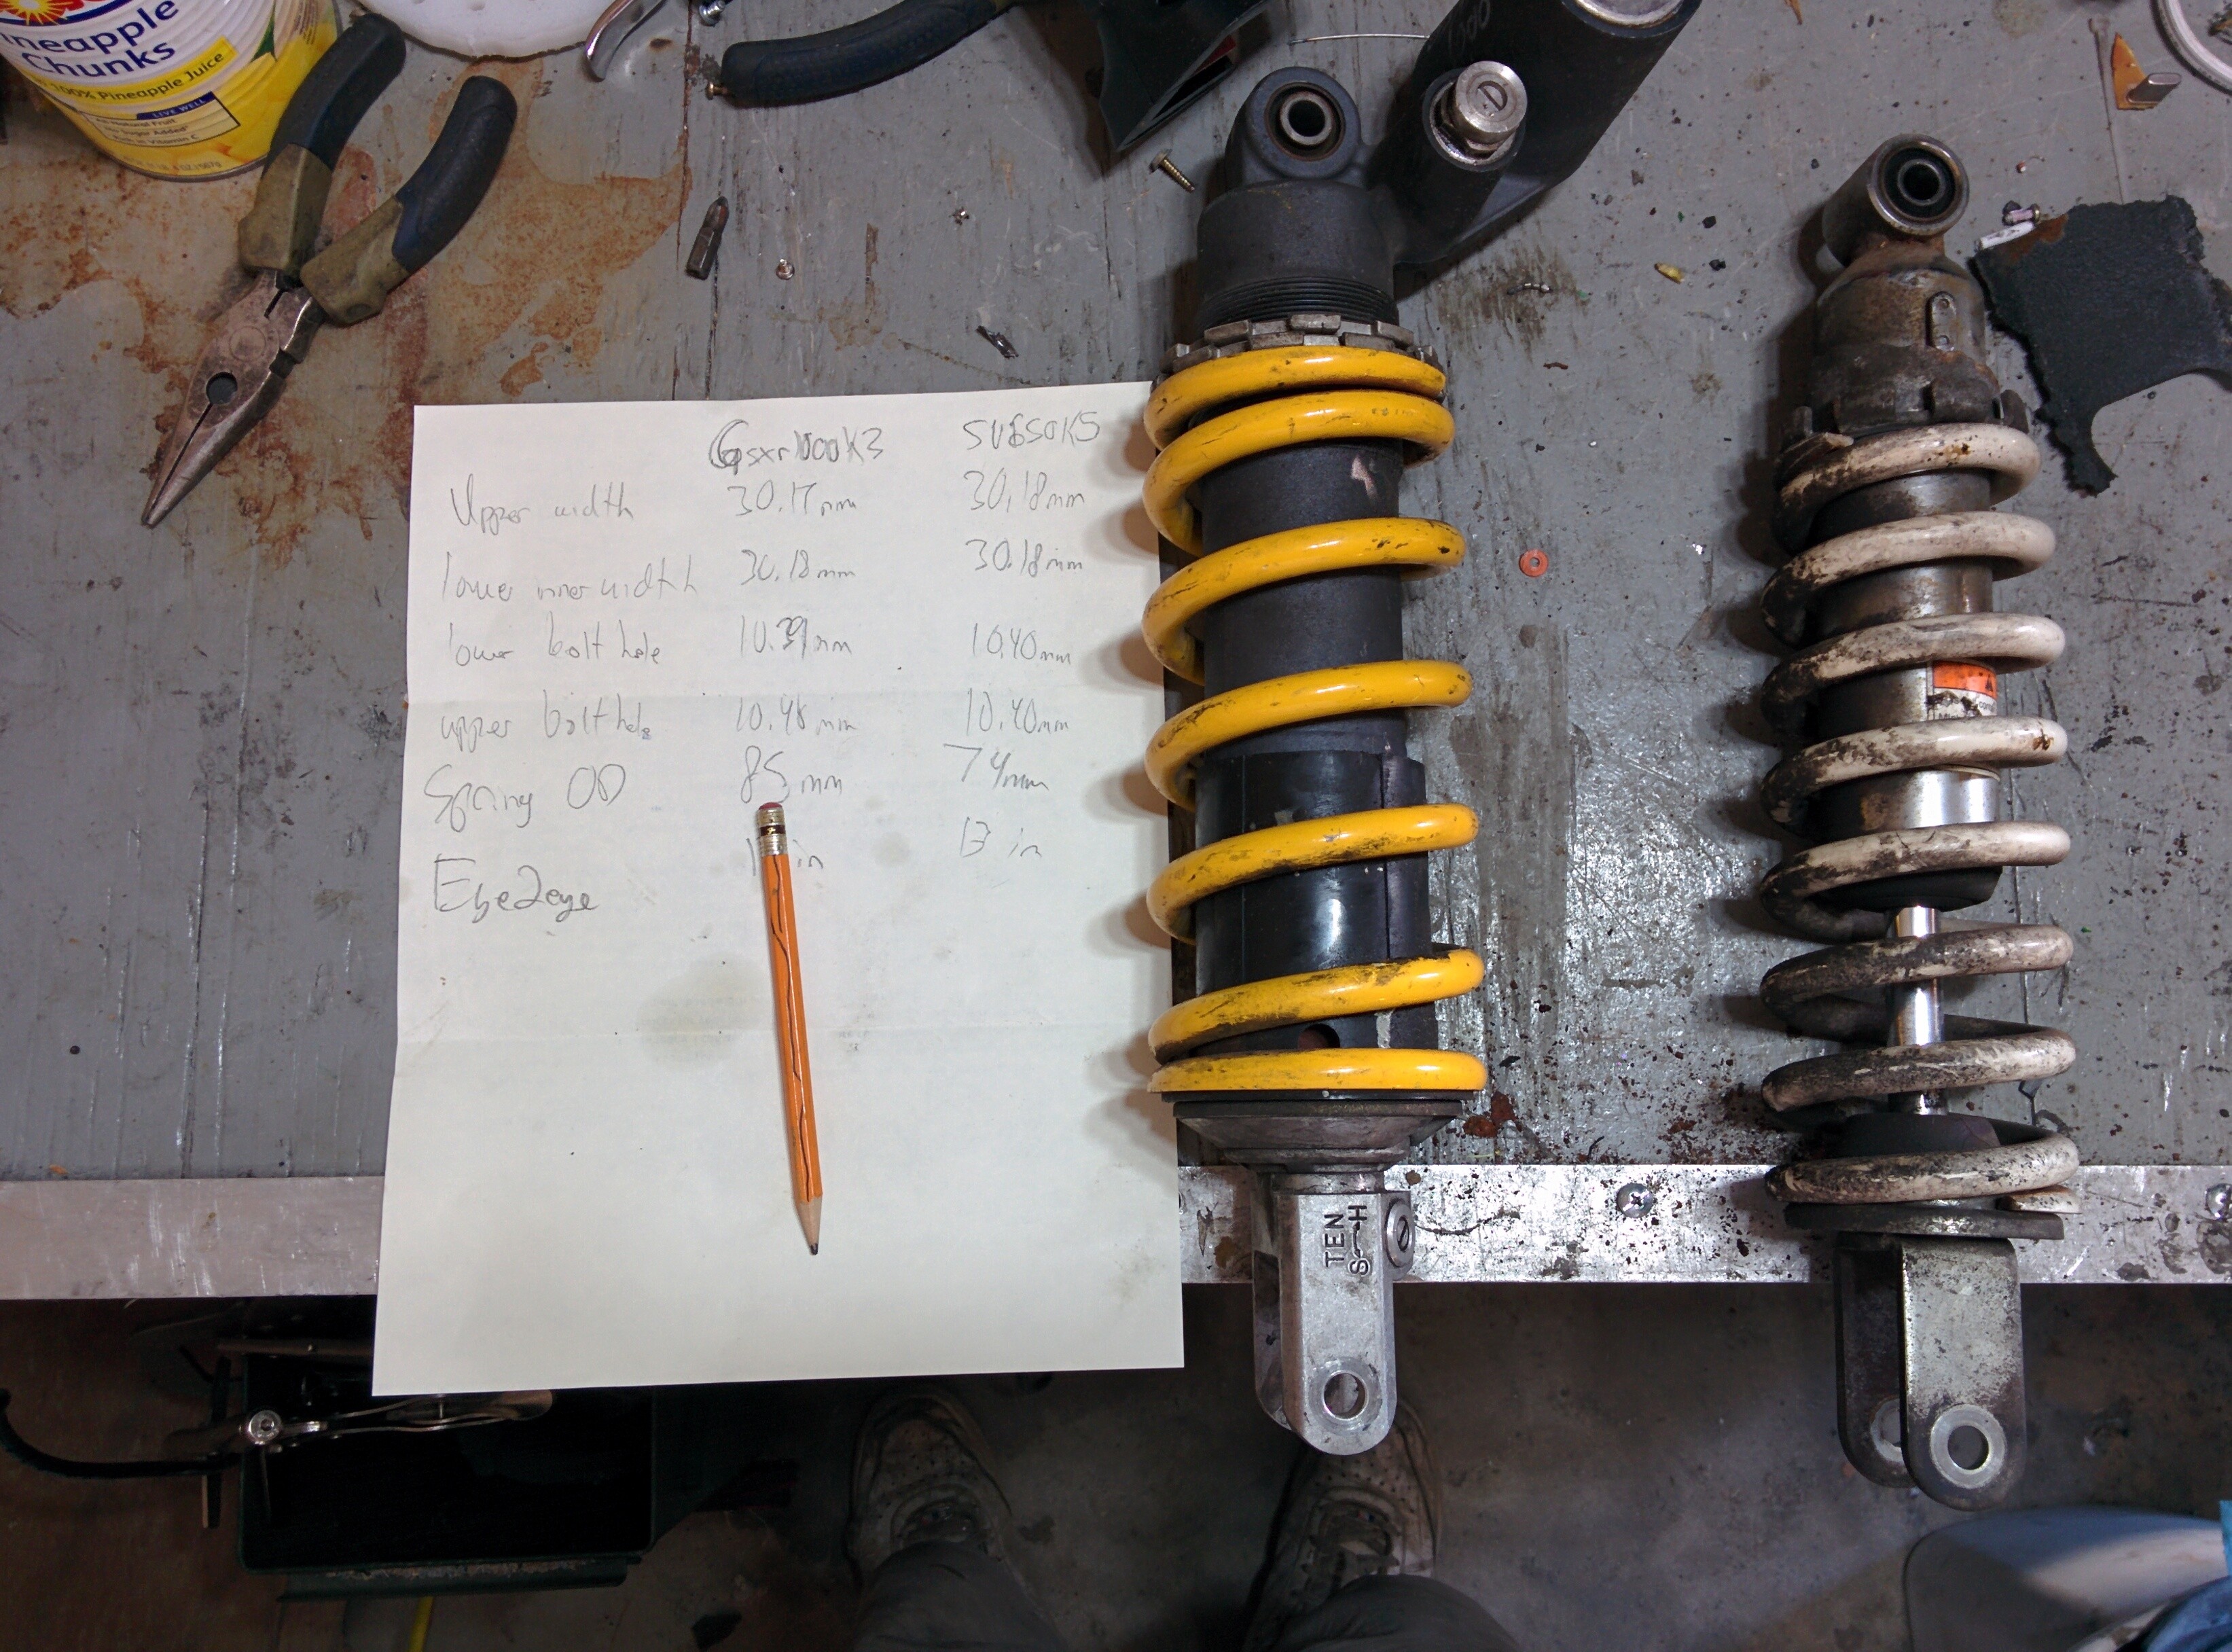
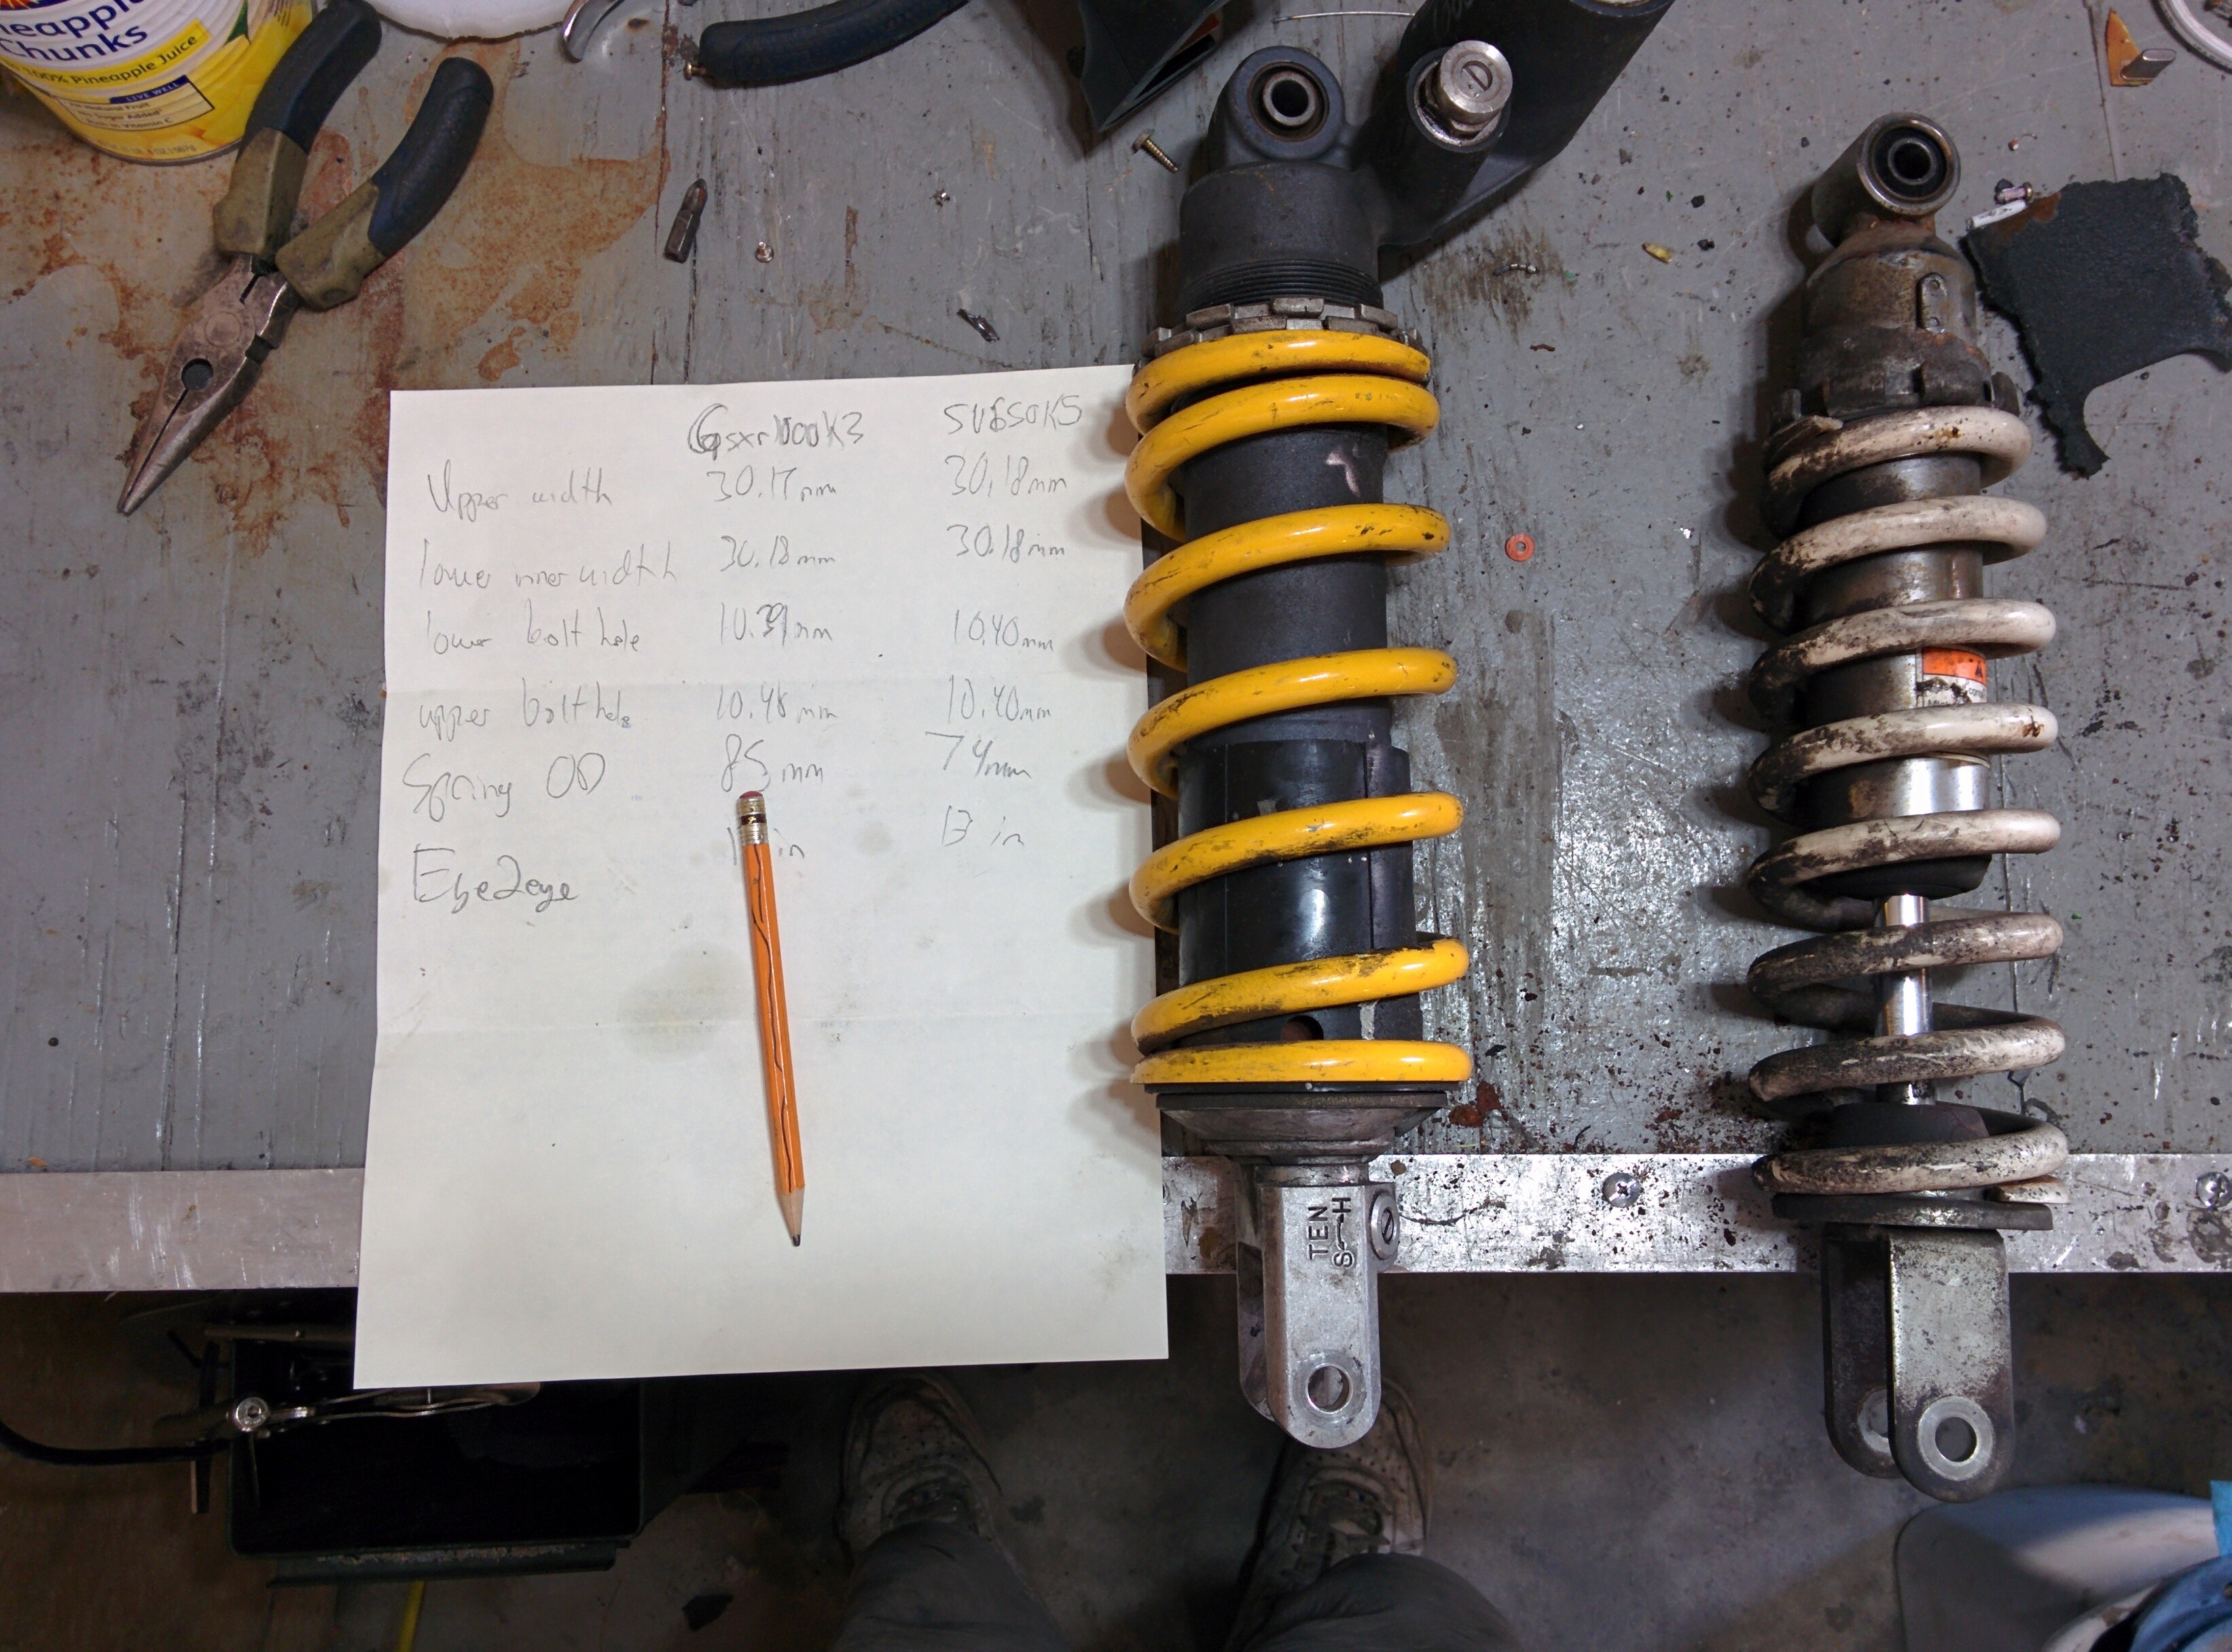
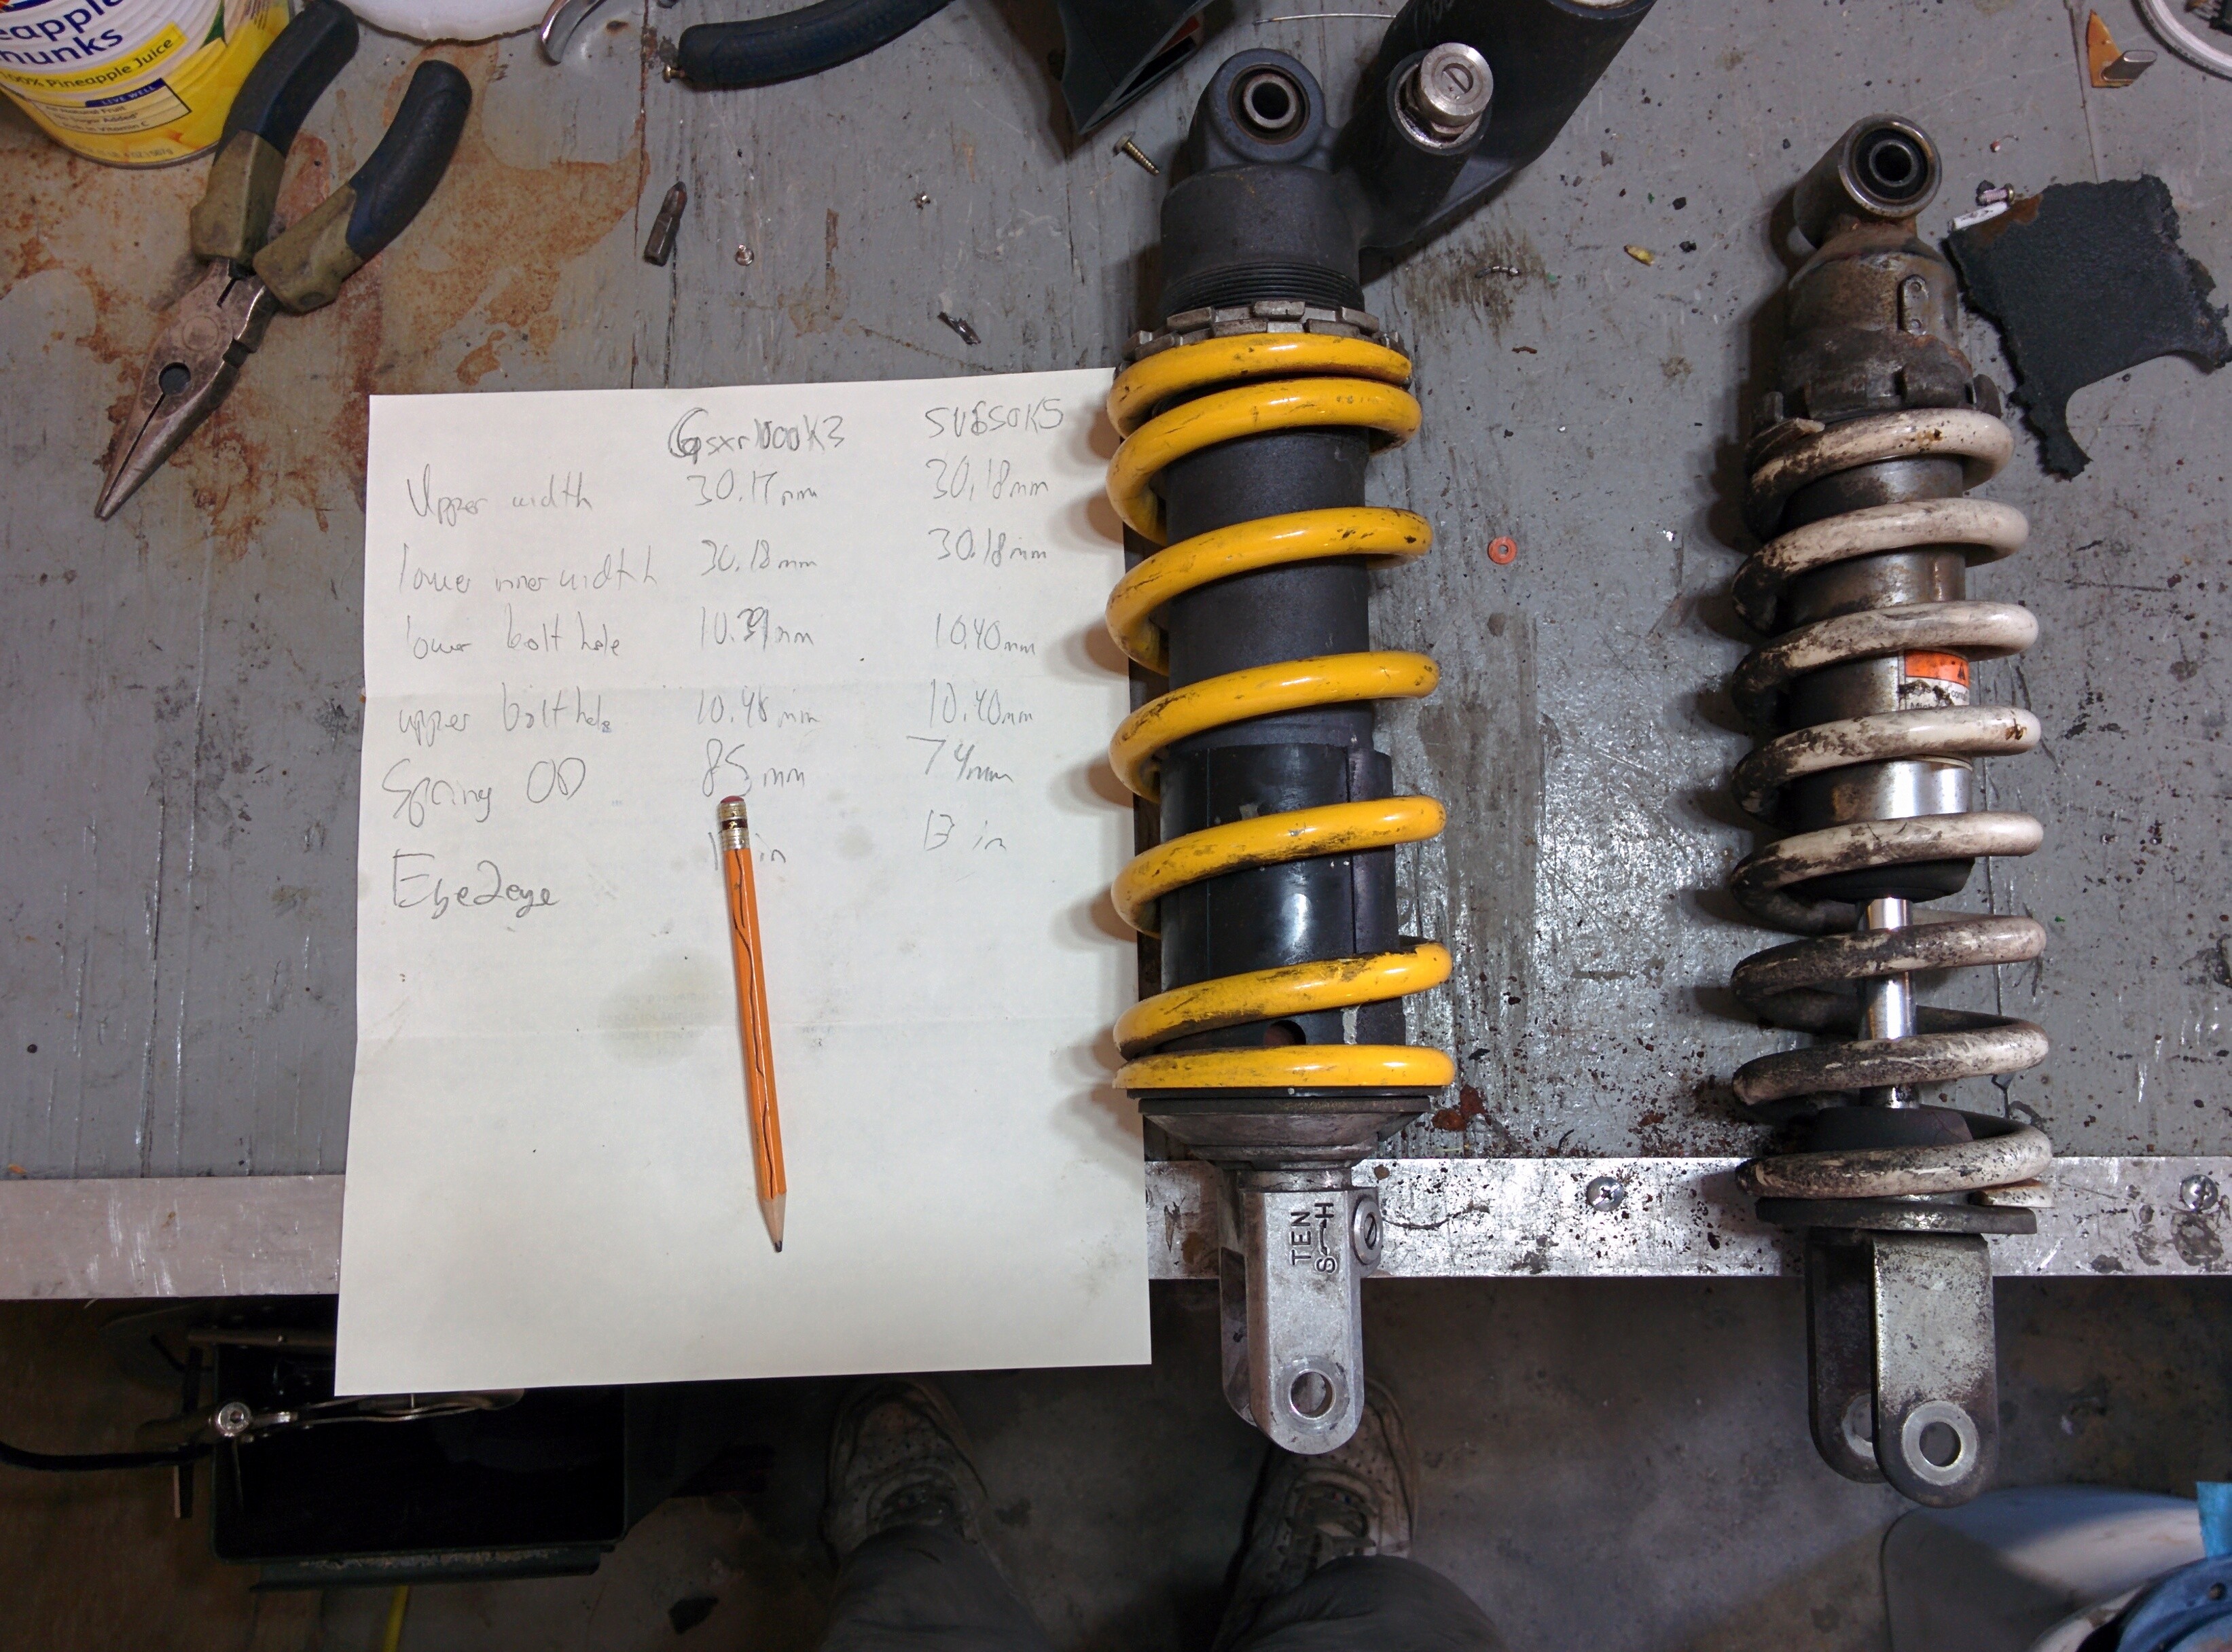
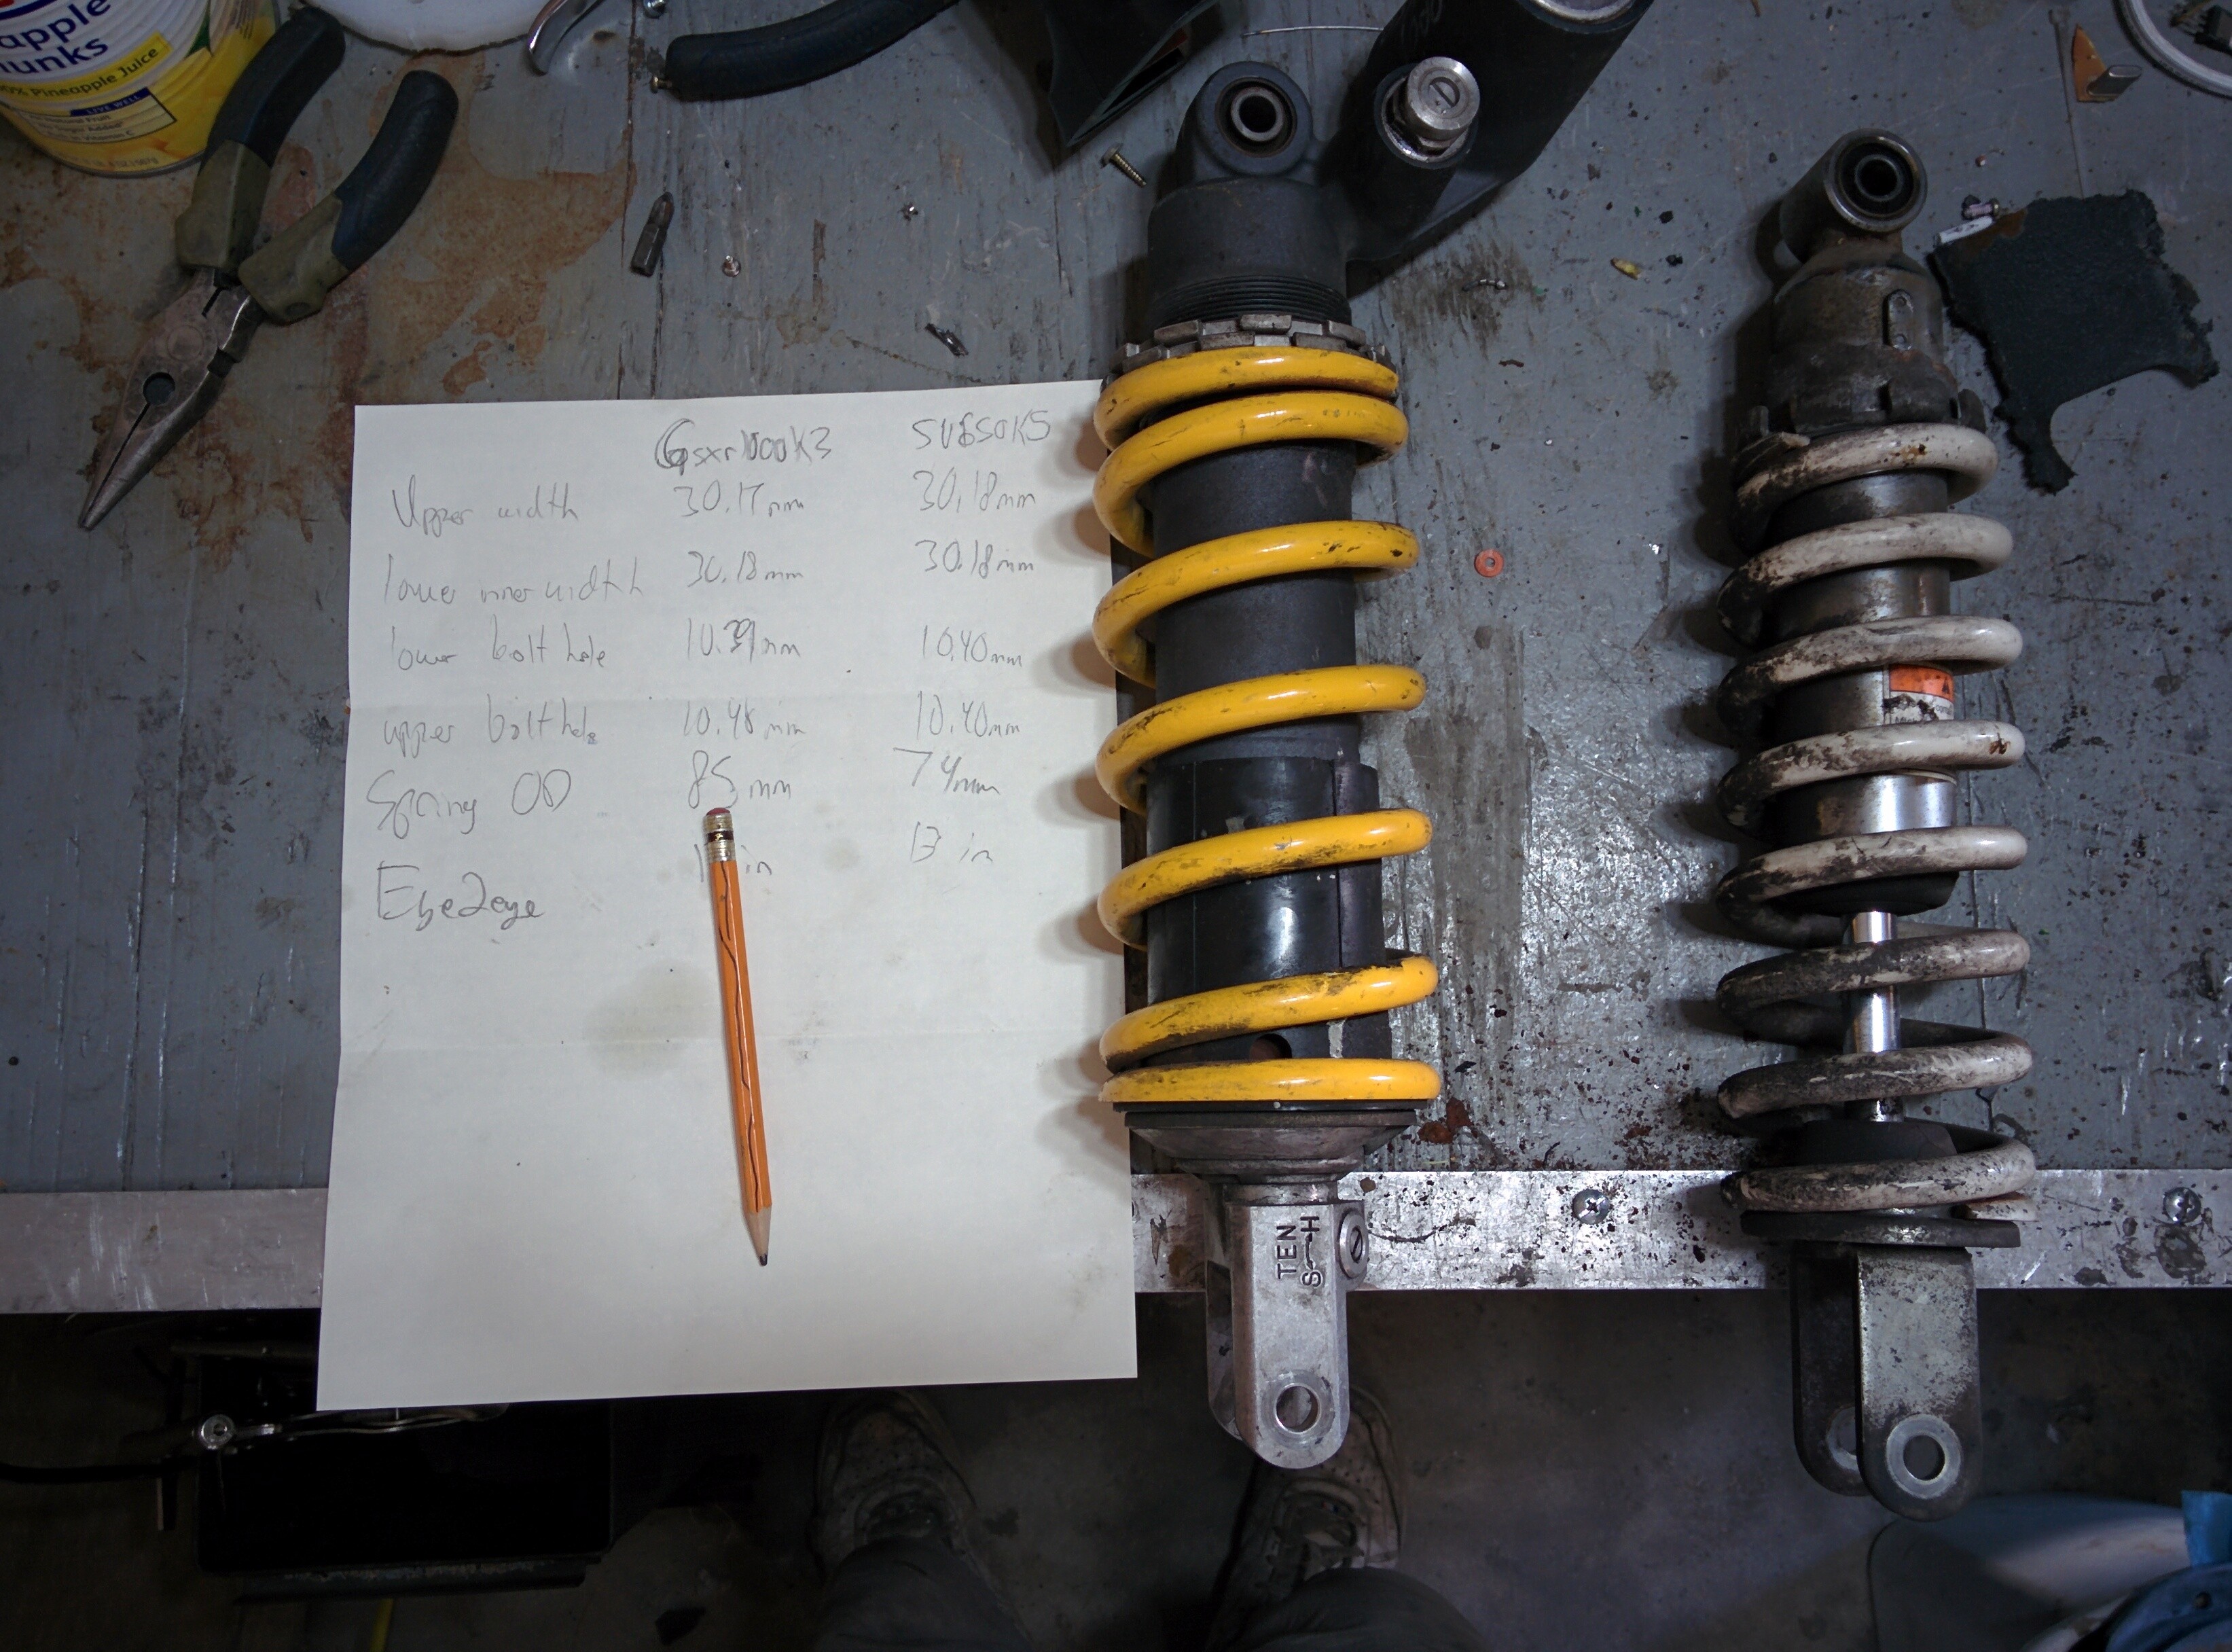
Almost any shock from any sport bike can be made to fit into the frame. But retaining the same approximate overall length is important. For the 2003+ model SV650S, the only rear shock that is of appropriate length is the 2003 GSXR 1000 rear shock. This shock is a much better design with adjustable preload, compression damping, and rebound damping. I paid $18.75 for one off eBay.
If you're approximately 230 lbs, the rear spring on the GSXR 1000 shock is appropriate. If you are not, you'll need to replace the spring with a different one. I used Race Tech's online calculator to select a spring for my weight. The complete list of parts from Race Tech is
- 1x SESP 802500450 SK SPRING 8.0 x 2.5" 8.0kg - this is the spring, get the right one for your weight
- 1x SMRC 40002 SK RESY CAP 40 EXT R1/R6
- 1x SPSC B6158 SK SPR BUSH 61x58 STAMP
- 2x SPSC B6461 SK SPR BUSH 64x61 STAMP
- 1x US1 US-1 ULTRA SLICK LIGHT (L)
These components gives you a spring and a set of collars to allow you to fit the spring to the shock.
The last item listed is shock oil. The shock is very easy to diassemble. With some care, I was able to completely disassemble and rebuild the shock without buying new seals. You can consult this video for a general idea of how to rebuild sport bike shocks. The shock being rebuilt in that video is not identical in design to the one from the GSXR 1000.
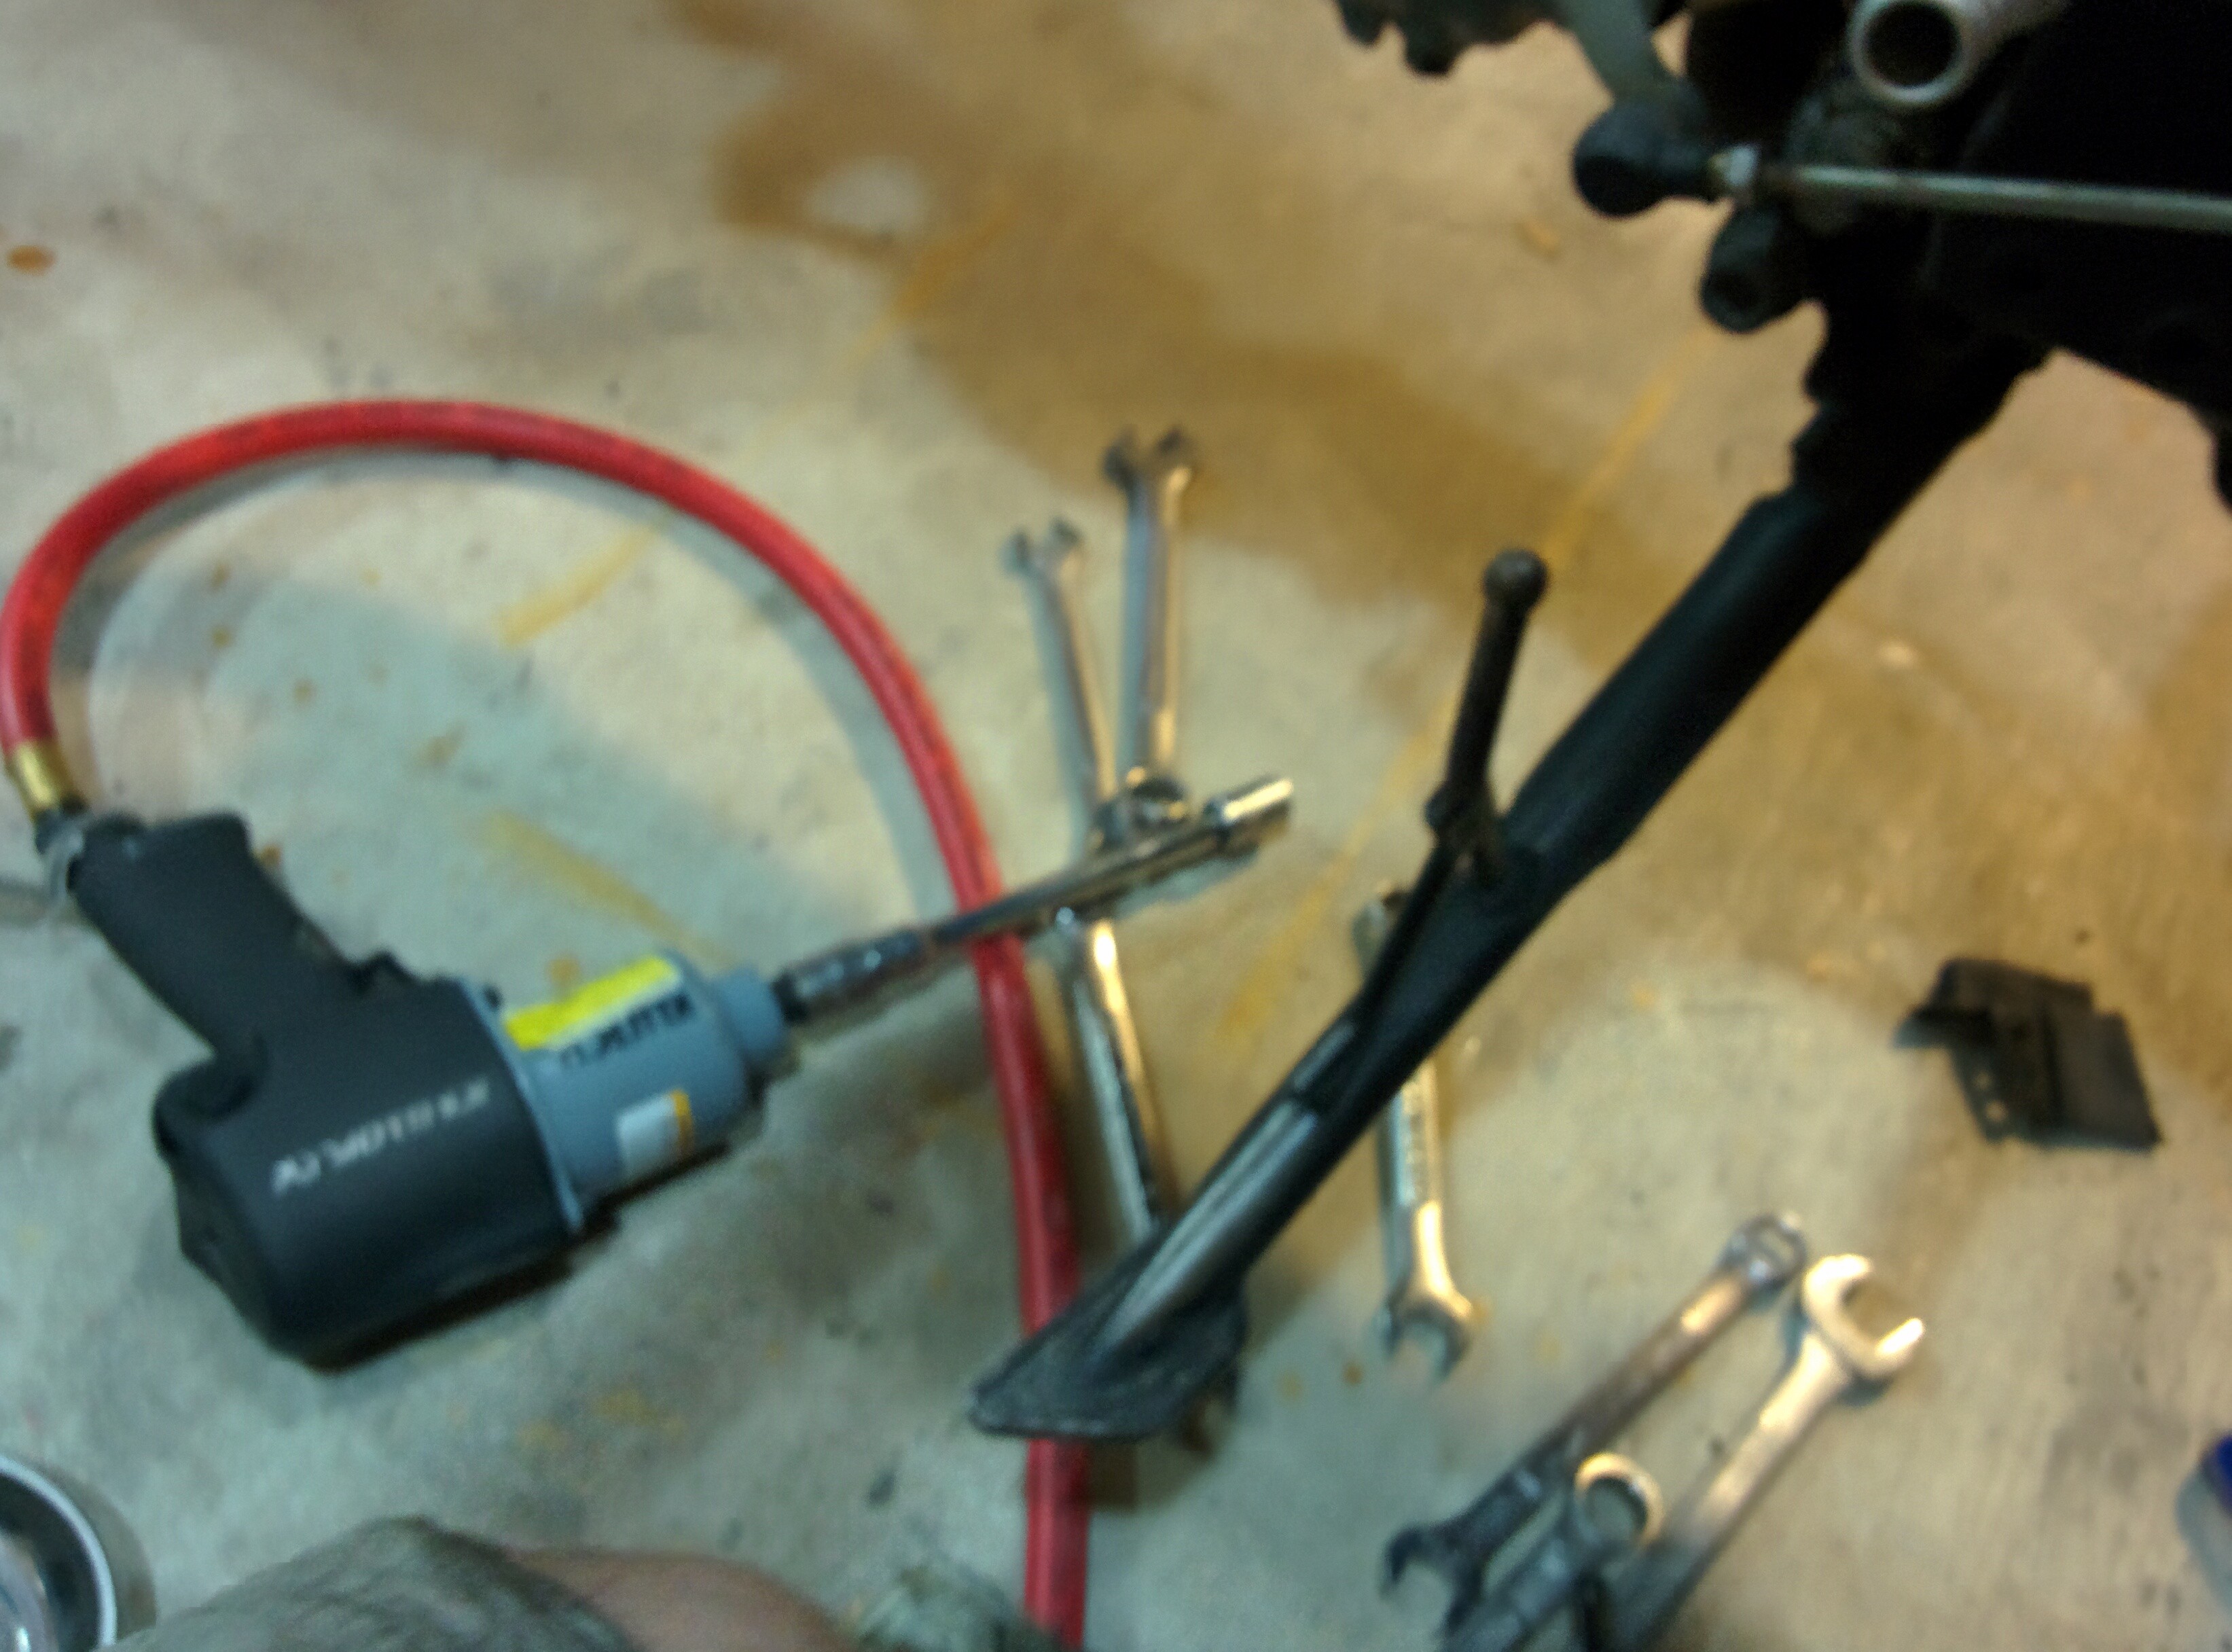
Included in the parts list is a schrader valve adapter, this is used to replace the OEM bladder cap. The OEM one uses a resealable rubber block. There is a tiny hole that can be drilled through using a small drill bit. Go directly through and don't go more than about 1/4 inch. One this rubber is punctured, the rubber block is permanently ventilated. This allows for the shock to be disassembled. With the adapter installed, anyone with a nitrogen bottle and regulator can recharge the shock to 150 psi for you.
One thing you definitely do not need to buy is a shock head driver or a special pump for the initial pressurization of the shock. To push the seal head out, you can just cut a slot in a piece of pvc and slide it around the shaft. Then force it down, exposing the circular clips which must be removed for disassembly. For initial pressurization of the shock, set your air compressor's regulator below 40 psi.
After everything is apart, I used non chlorinated brake cleaner to clean everything. The valve stack was extremely dirty on this particular shock. After cleaning, I gave it plenty of time out in the sun to allow any residual brake cleaner to evaluate. You can theoretically grind off the nut on the valve stack and take it apart for cleaning, but I did not see any point in doing that.
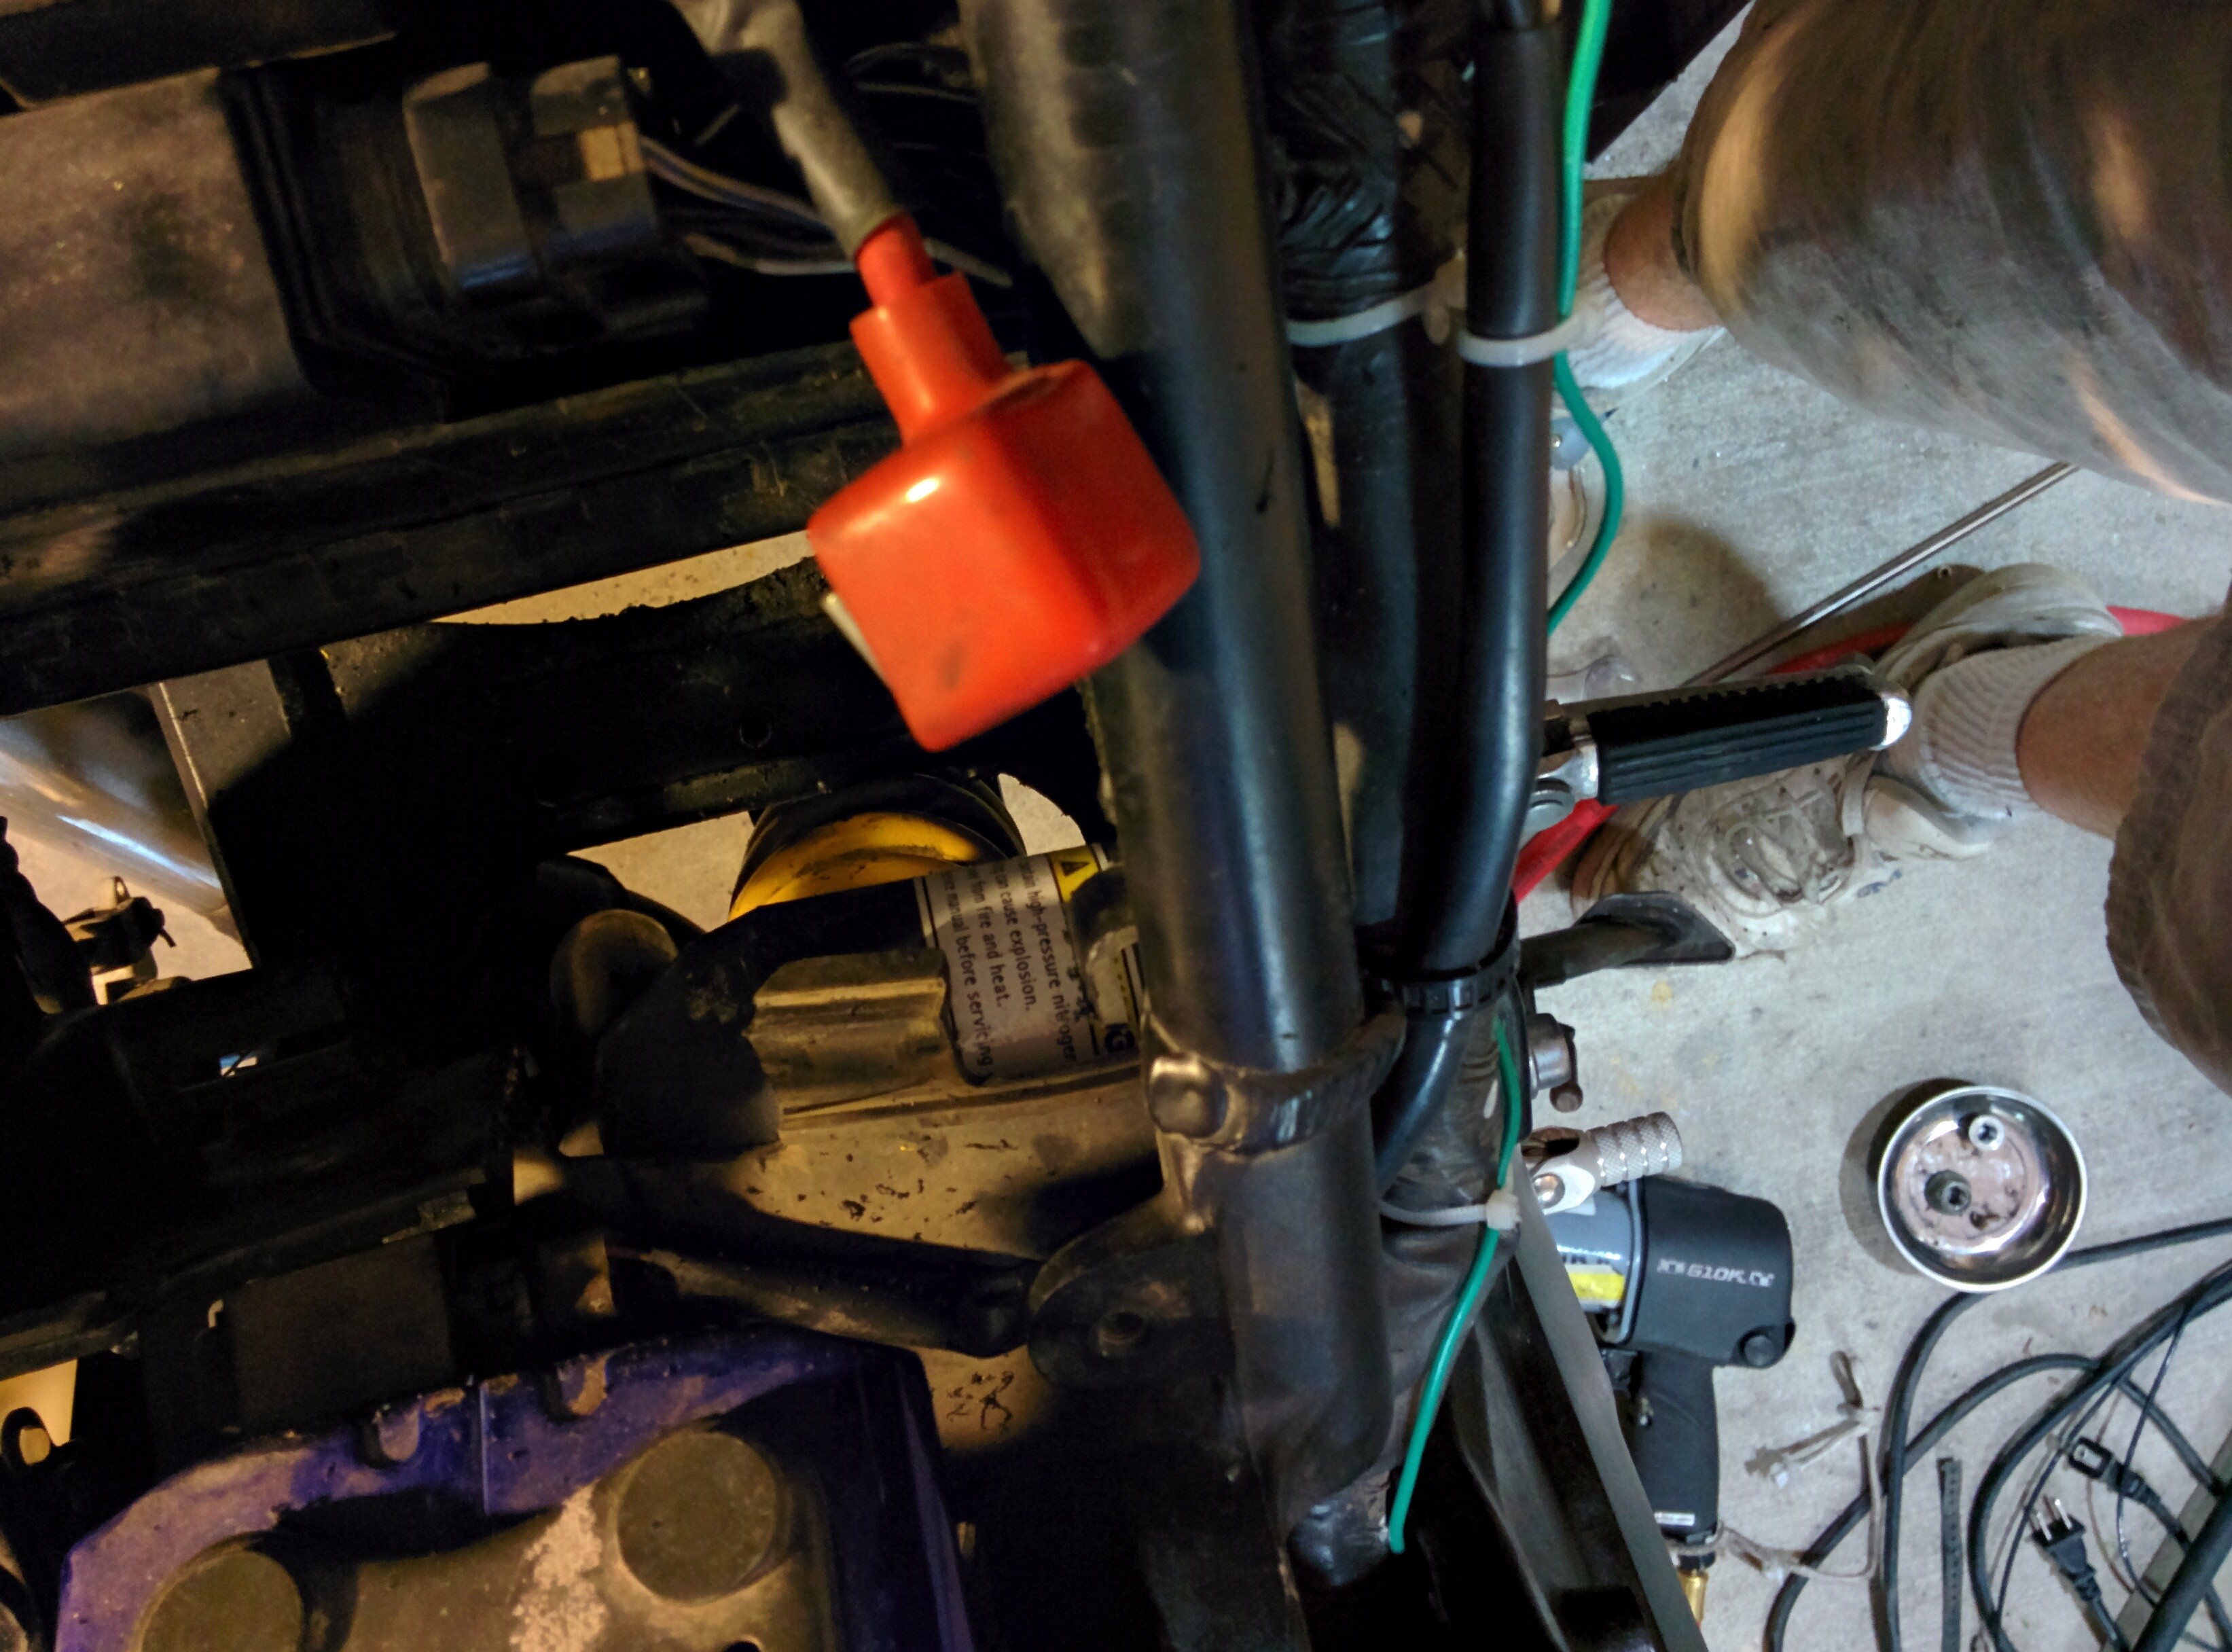
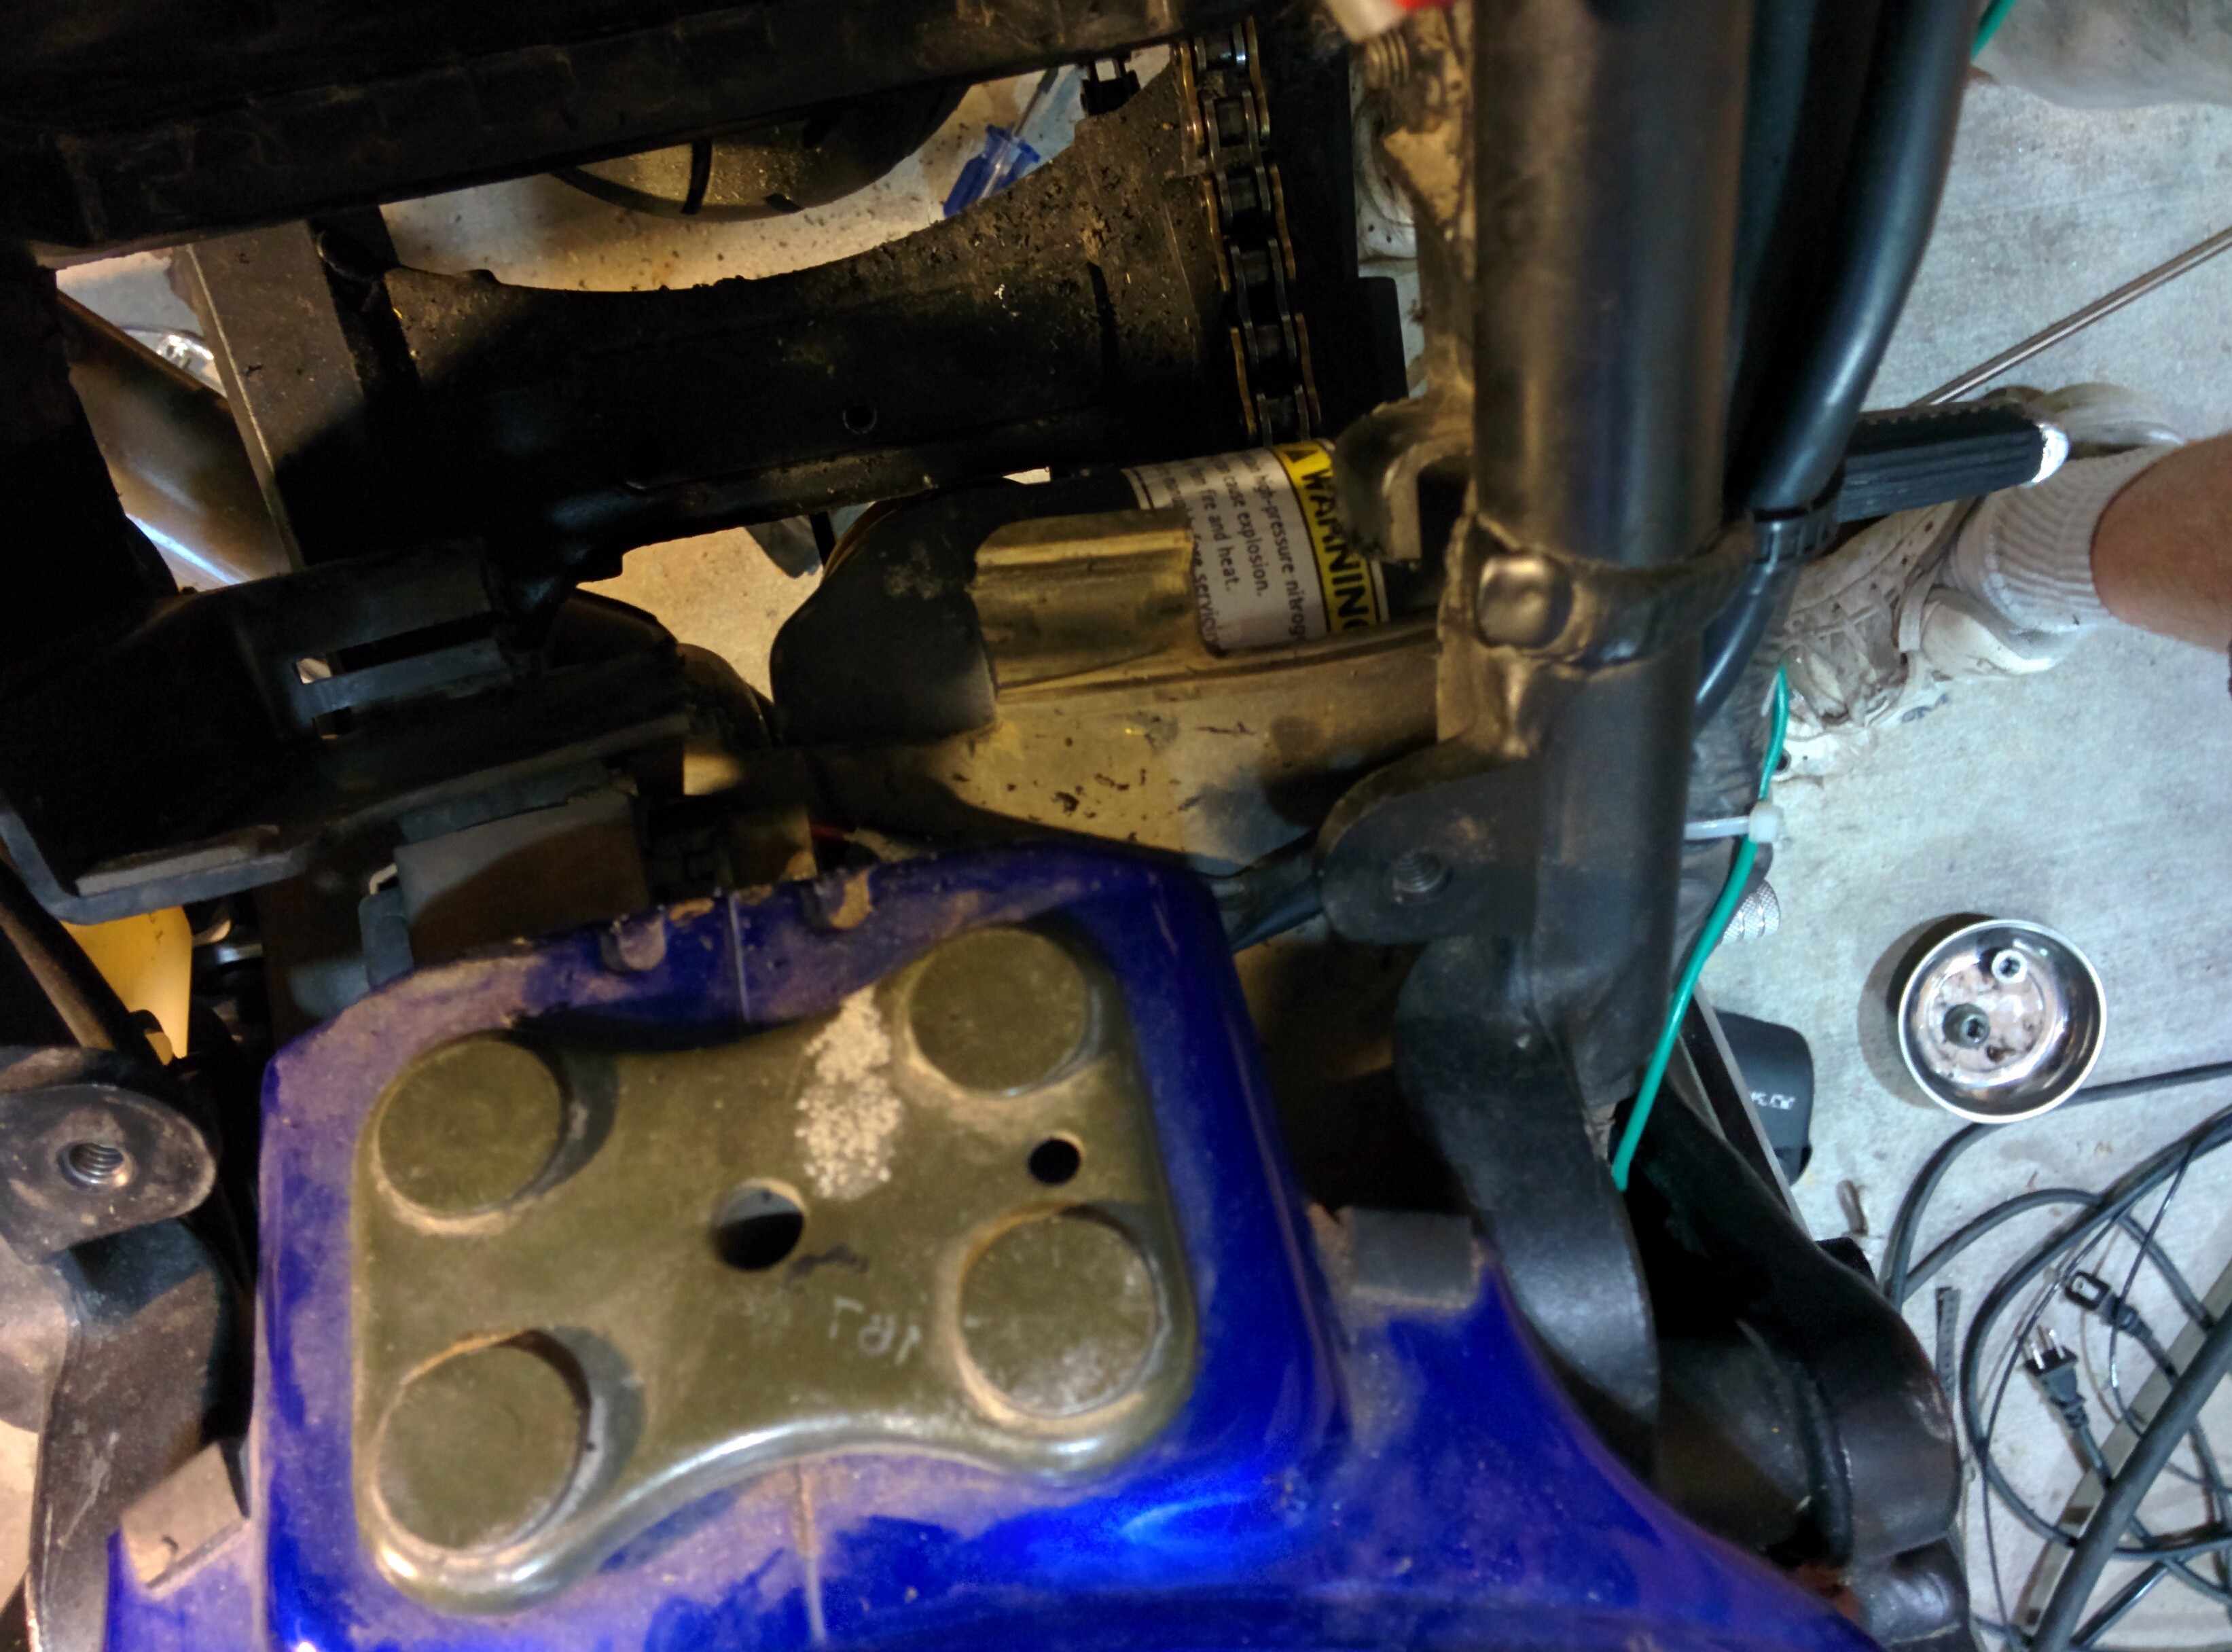
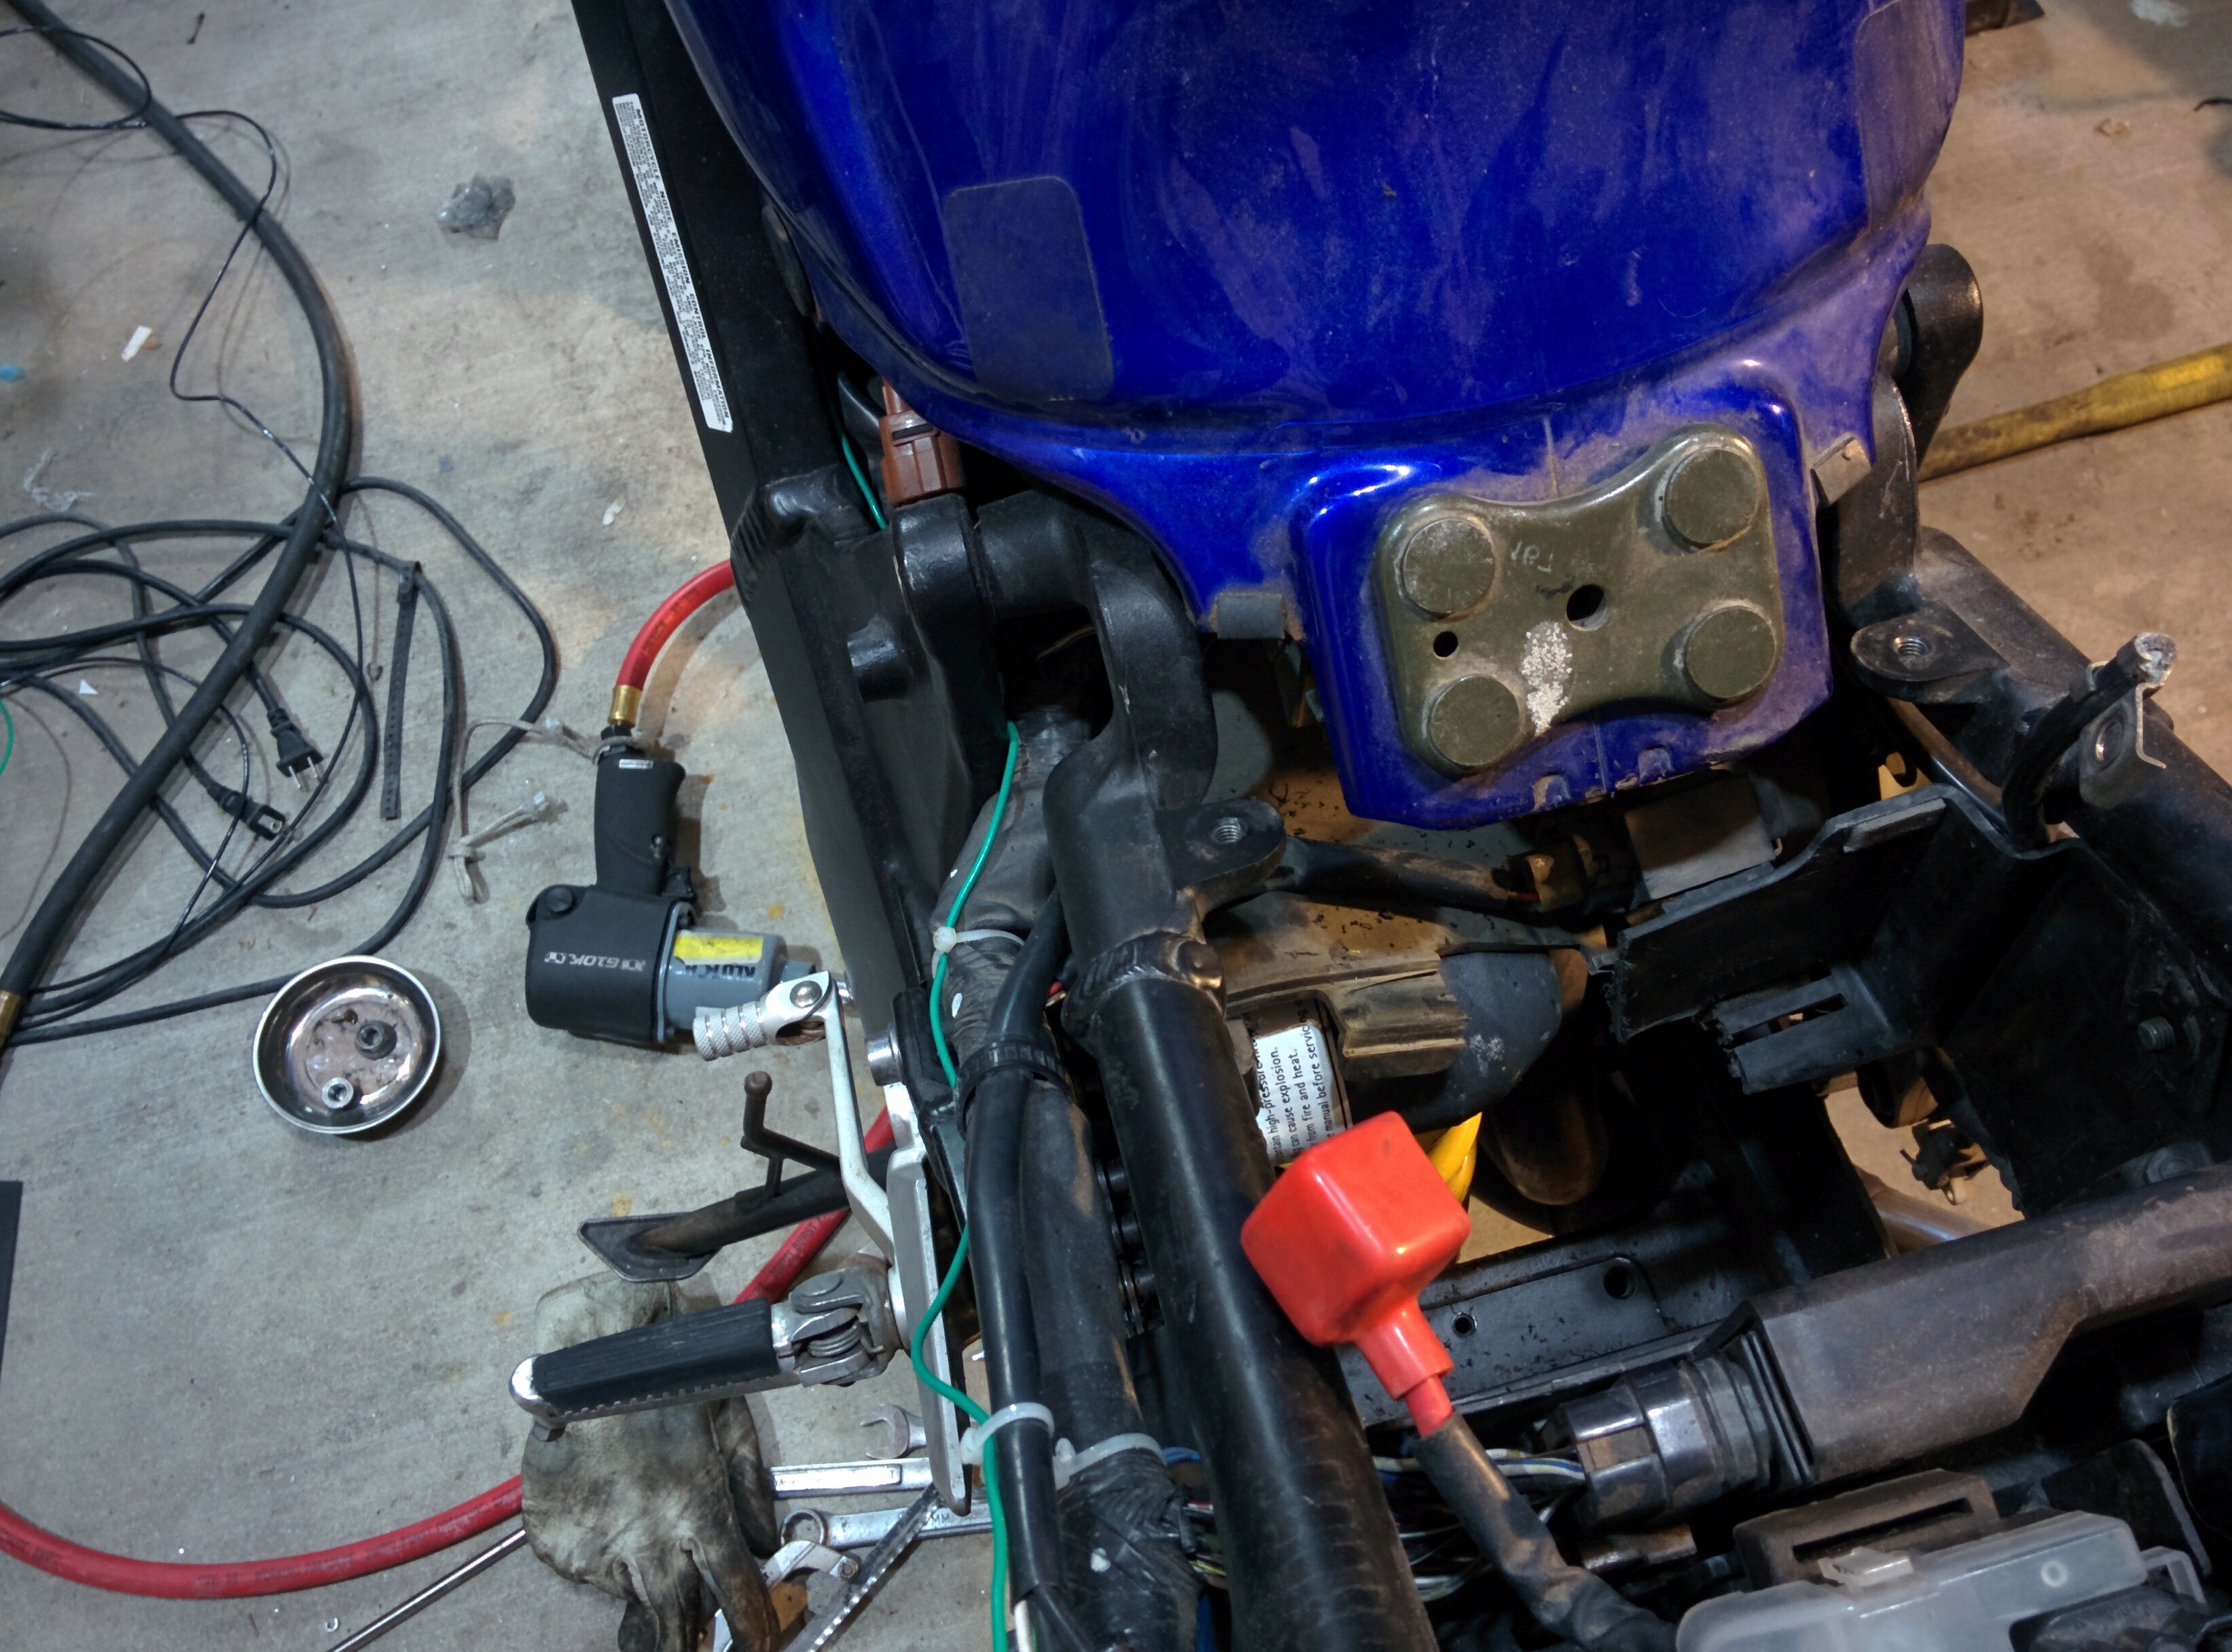
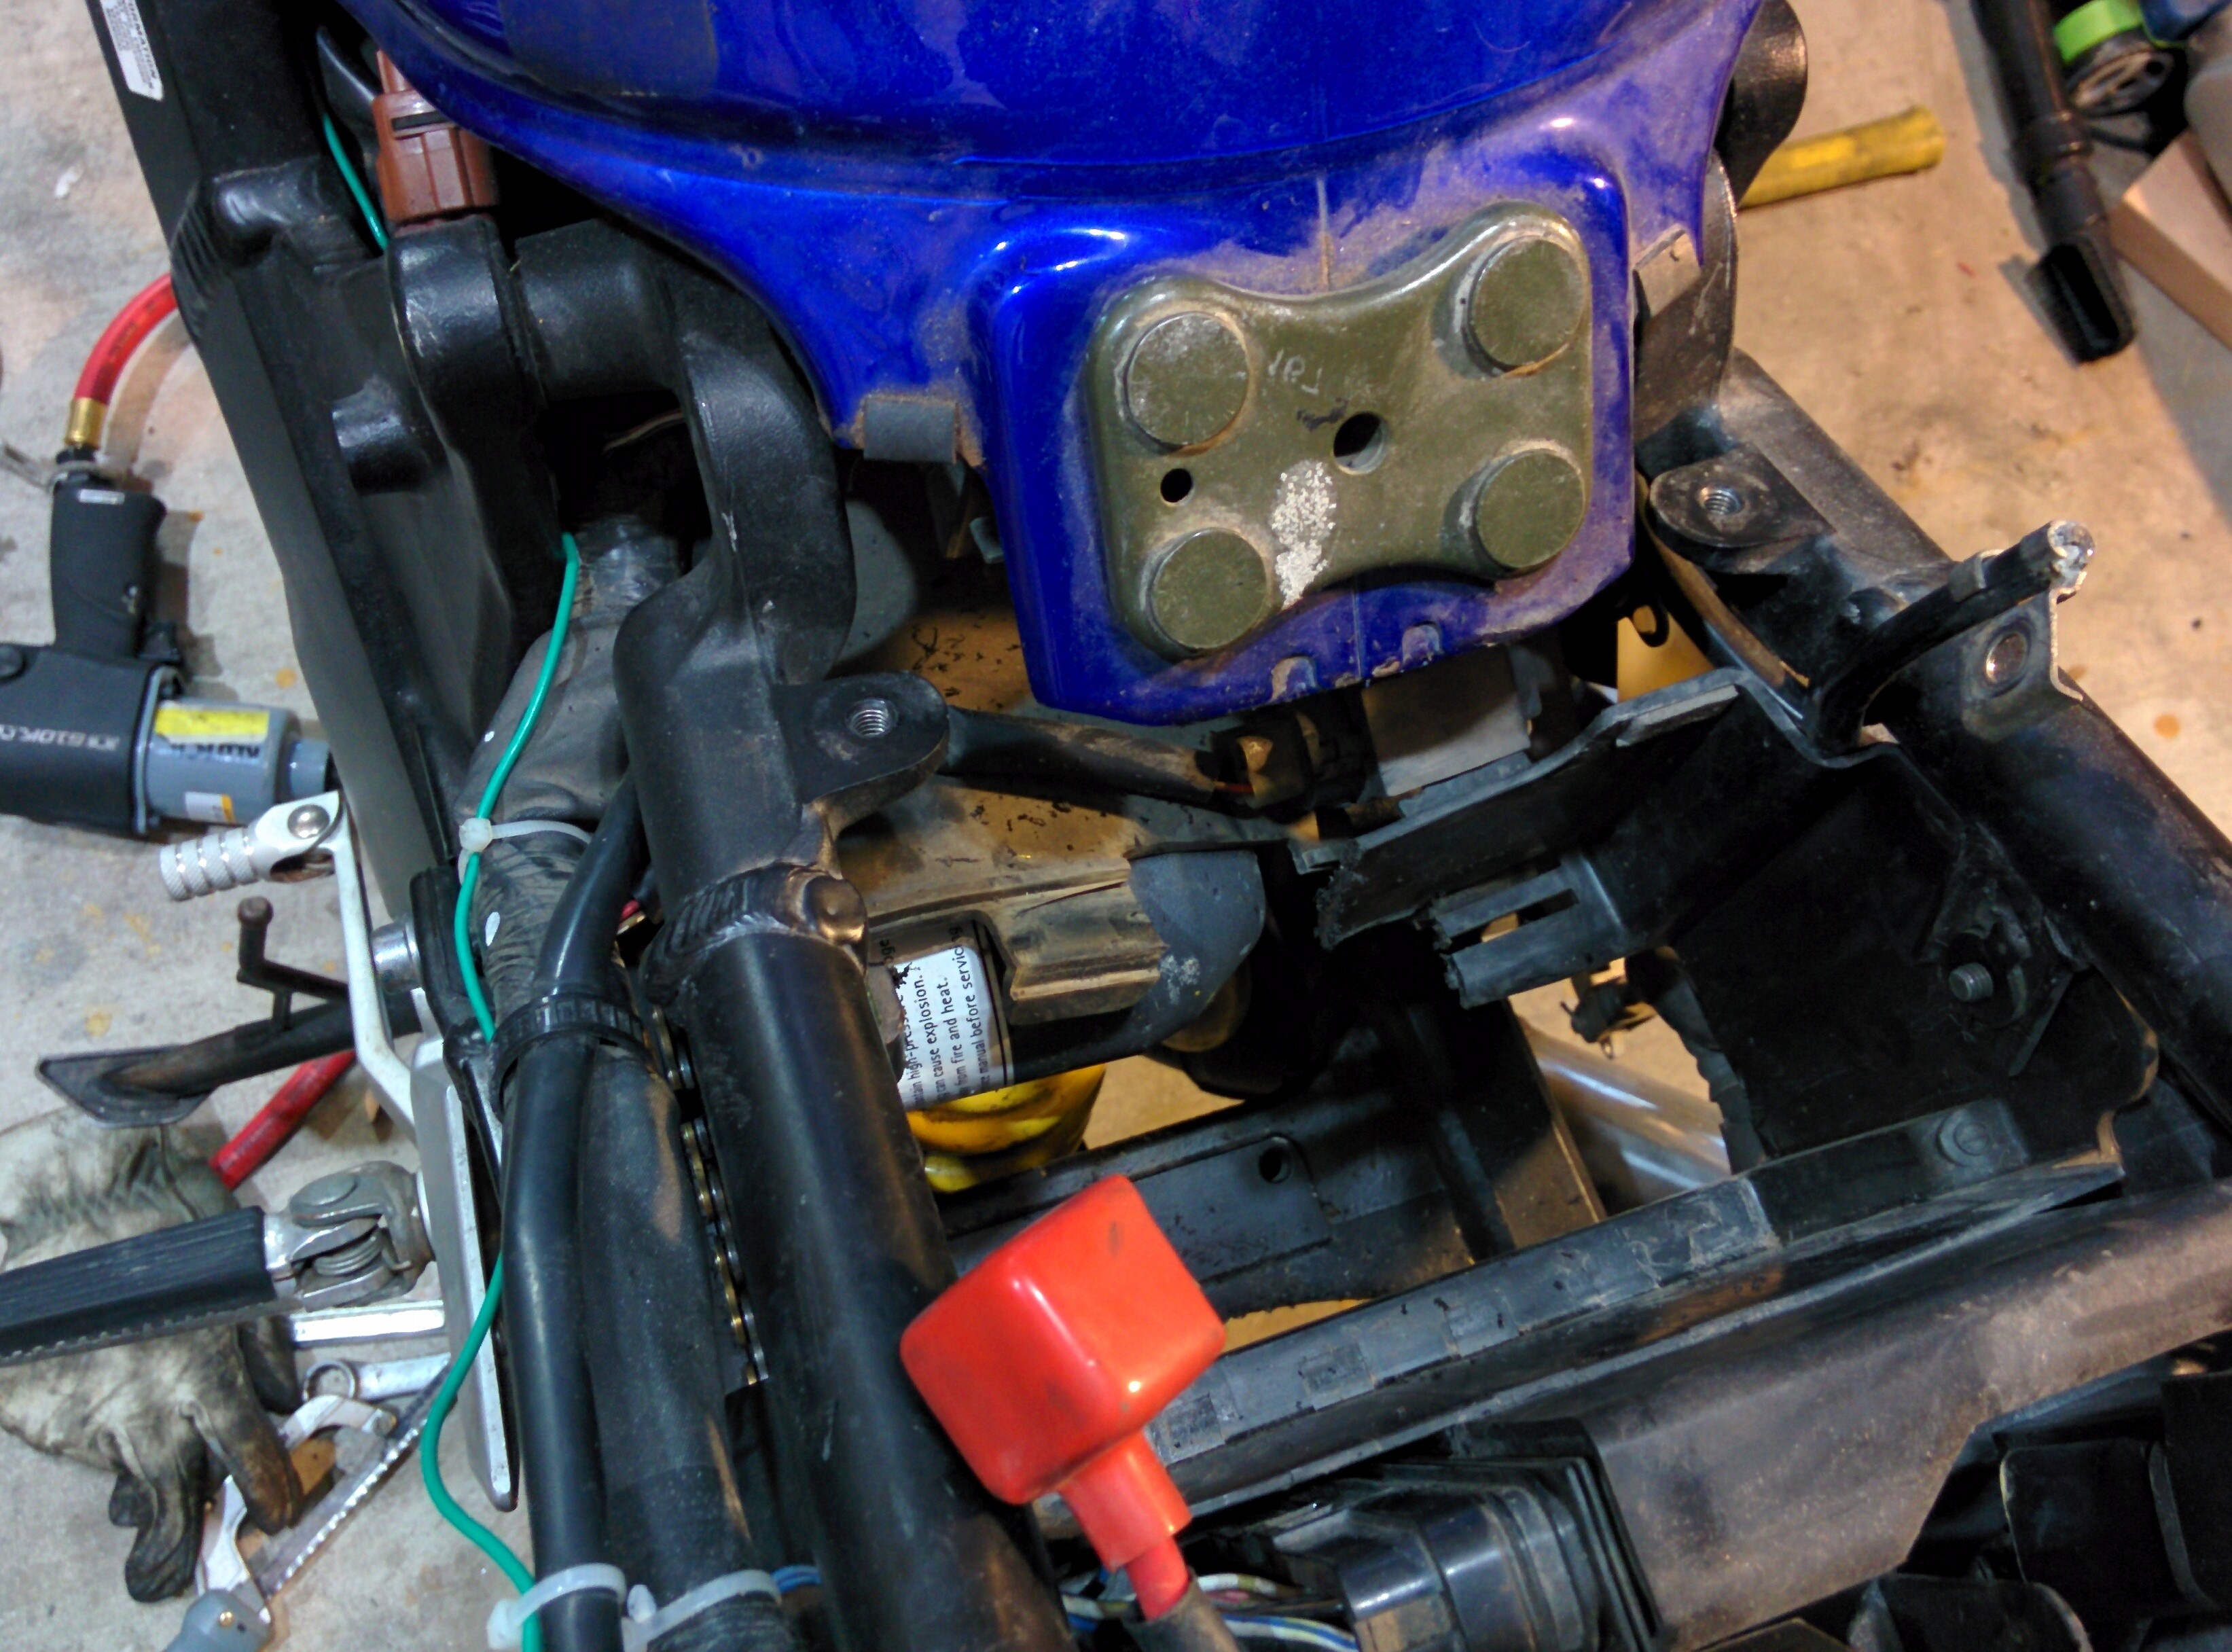
The next step is to cut the entire OEM battery tray out. There is simply no way to retain the stock battery, don't even consider it. You will have to relocate the battery and use a smaller one.
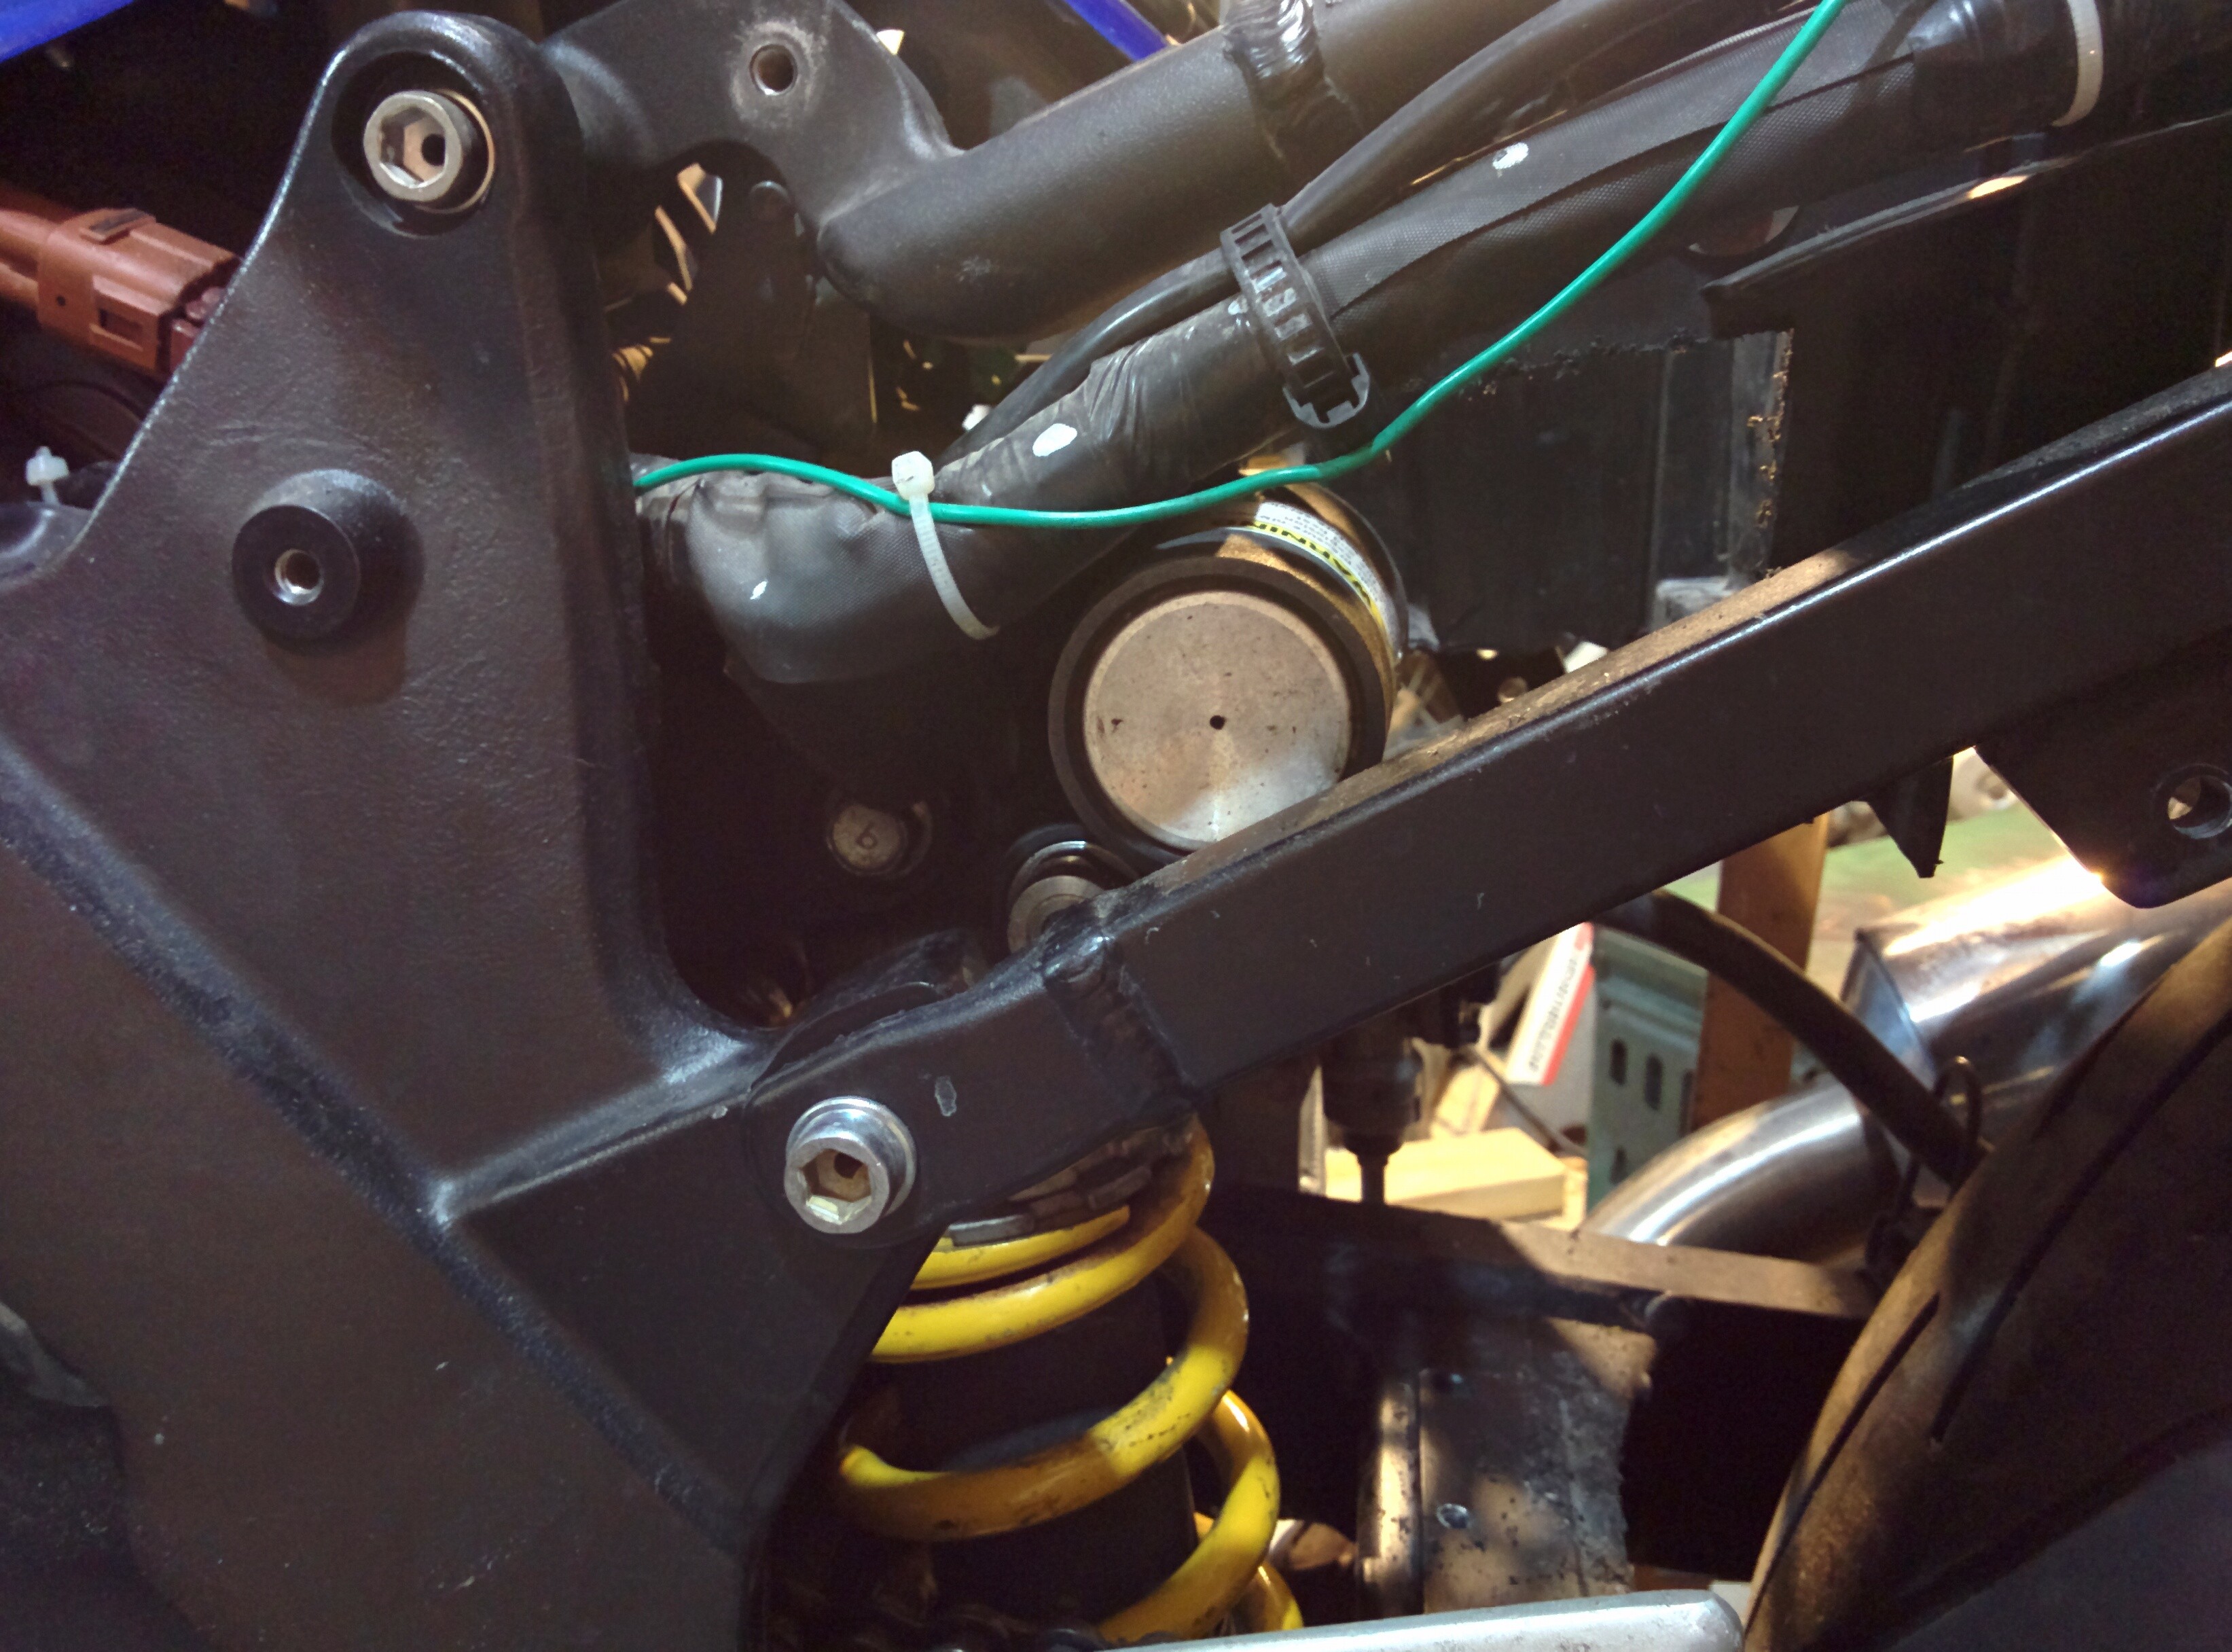
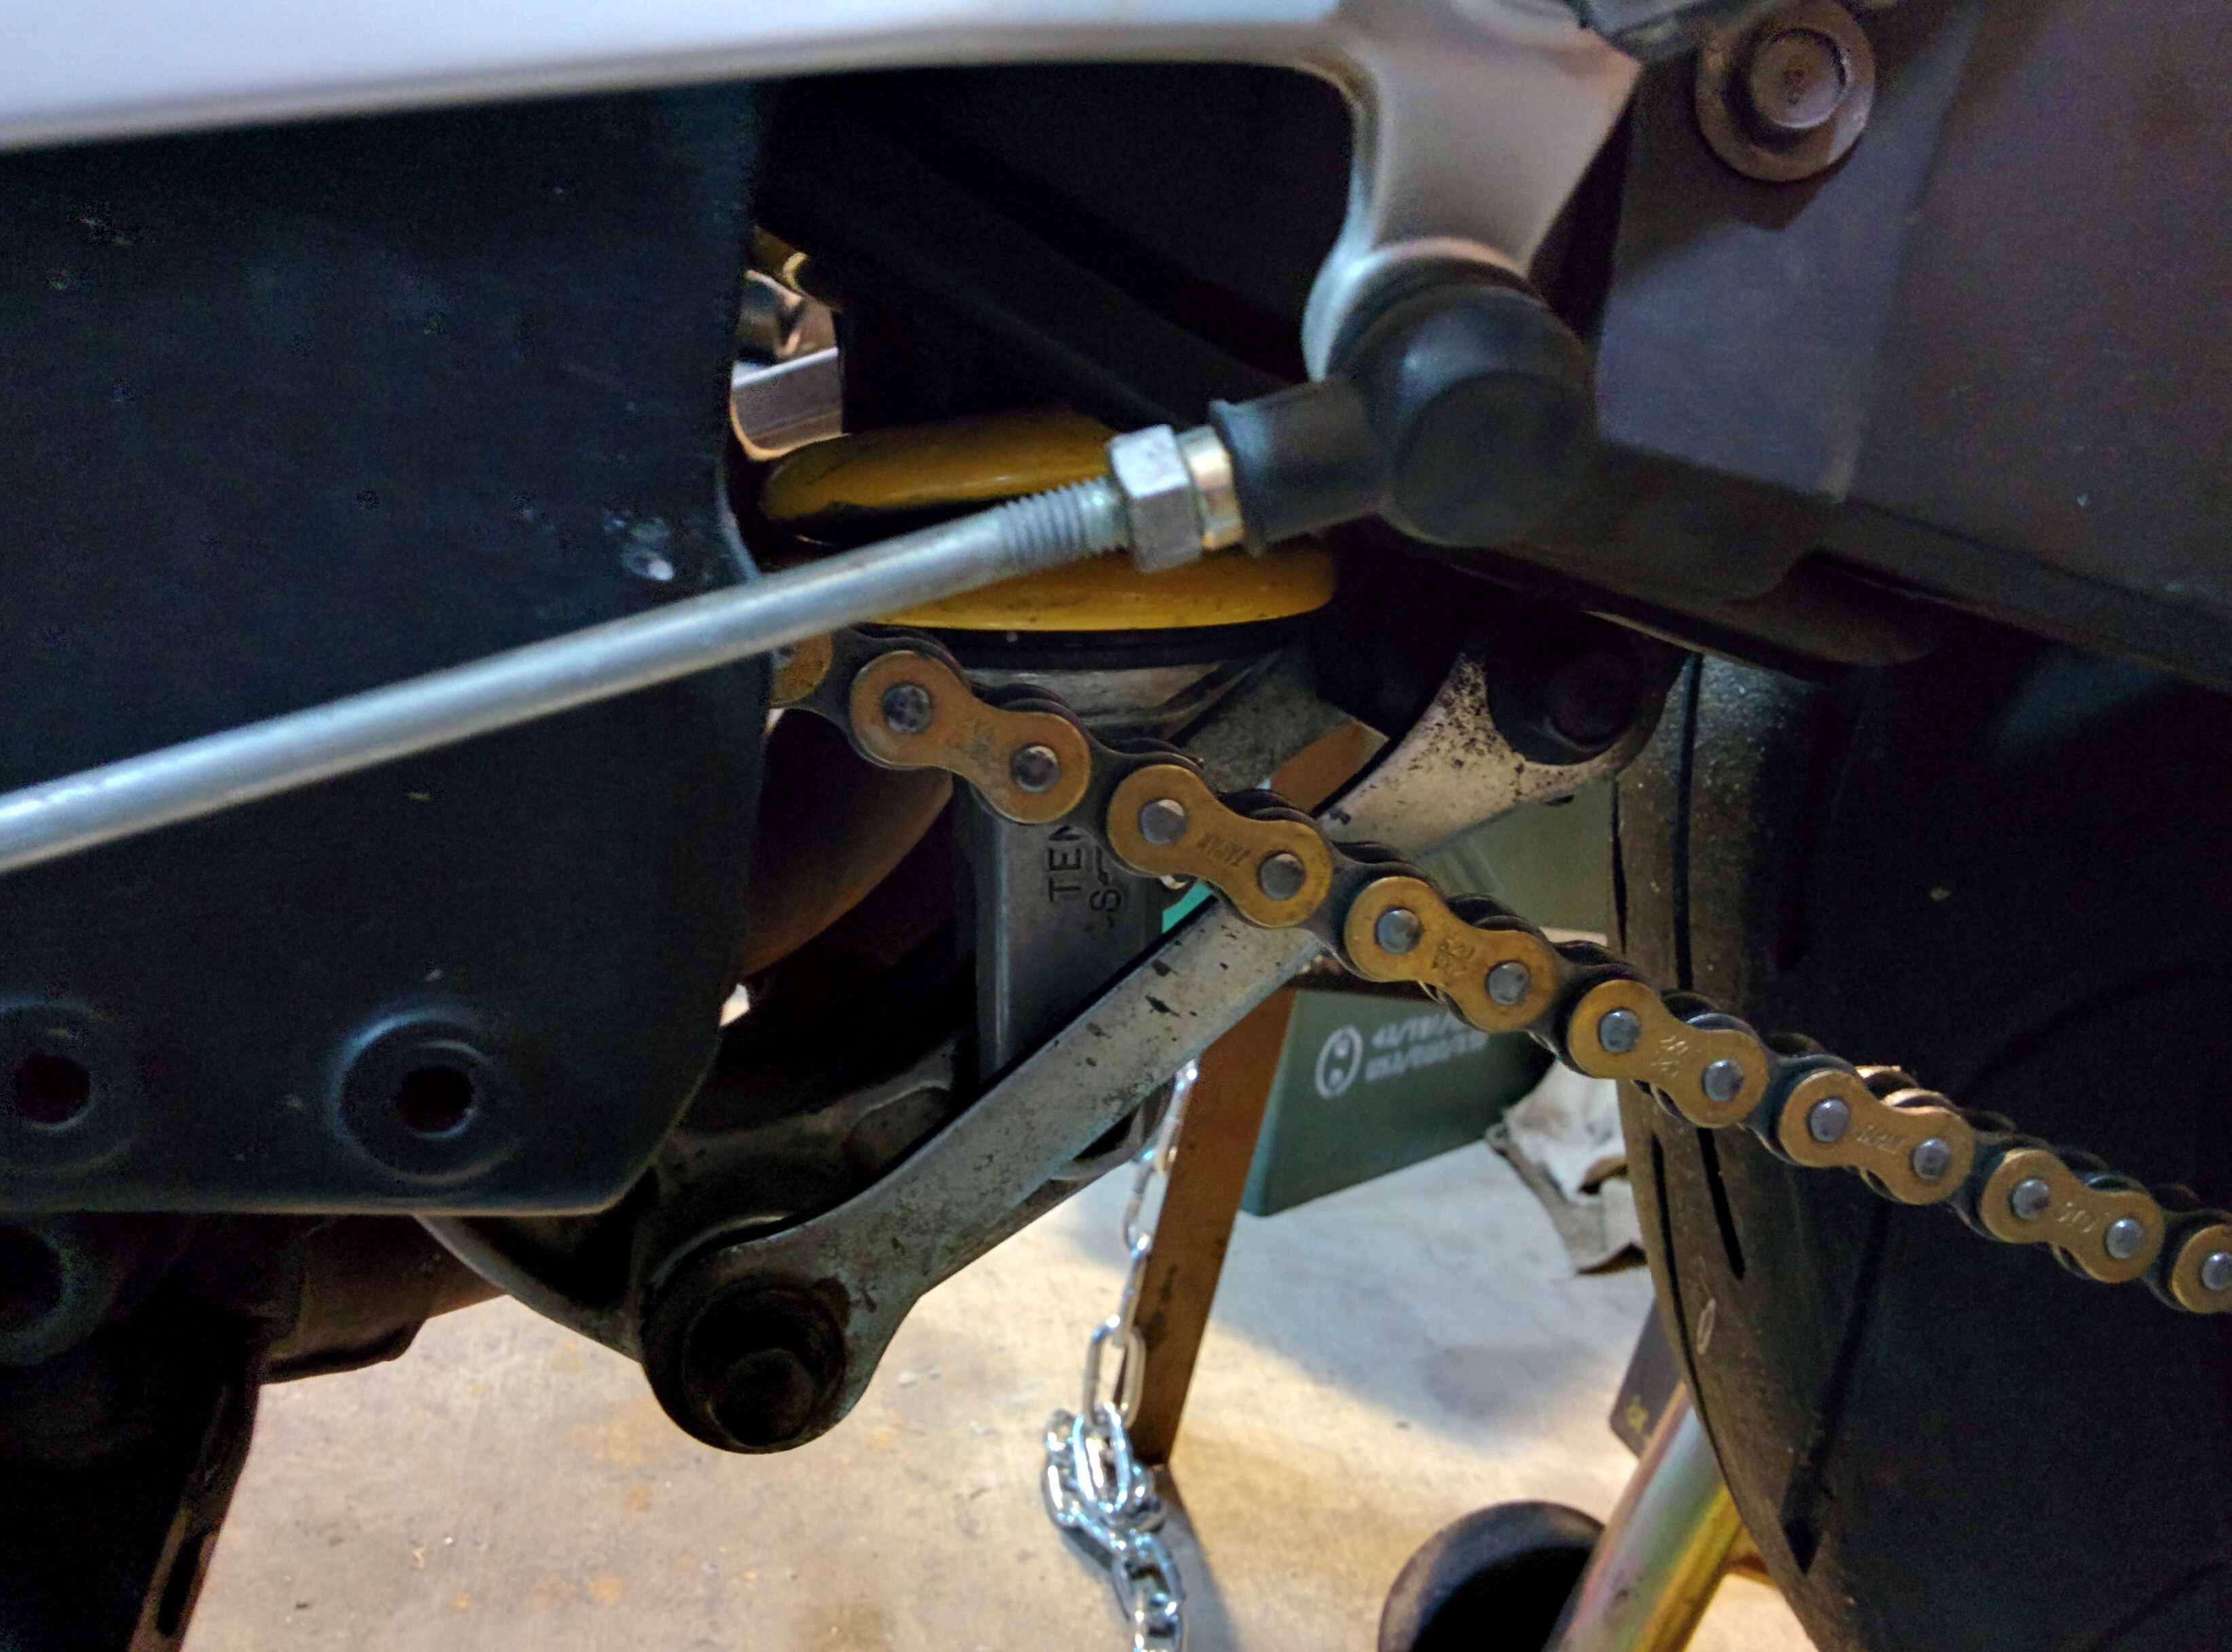
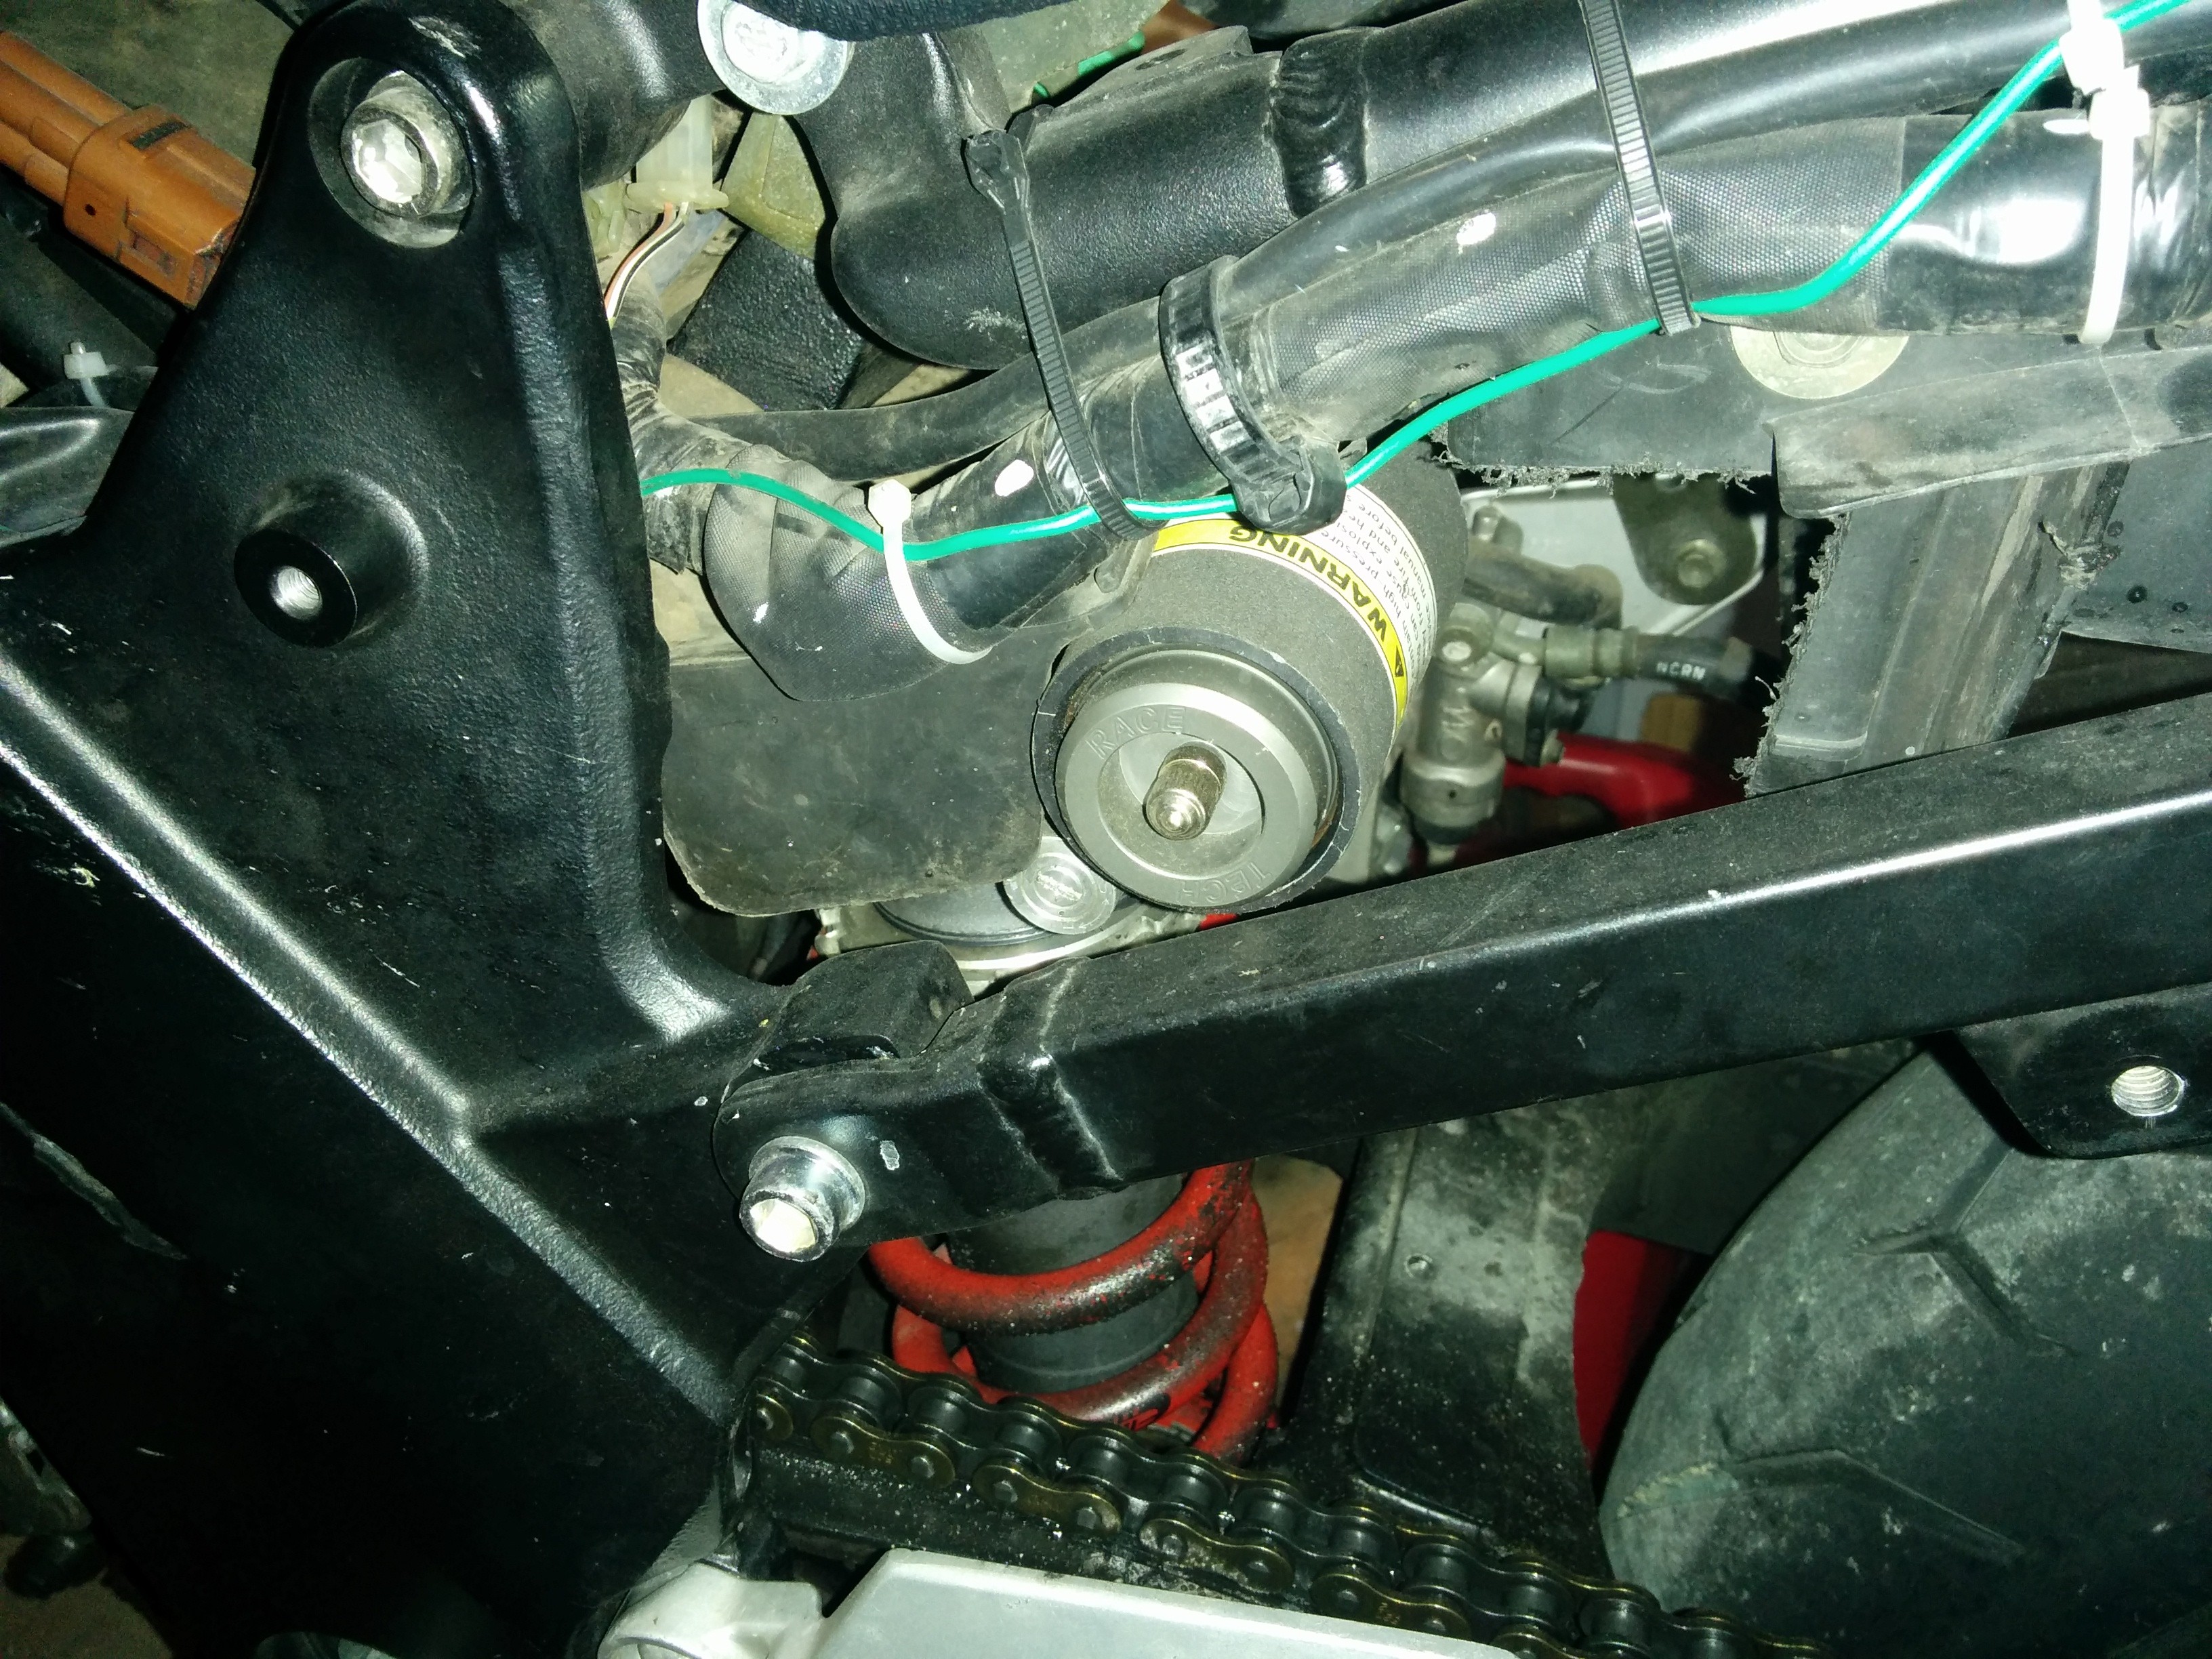
The upper shock mount from the GSXR is not needed. Ther upper bolt from the SV650S works fine. The lower bolt and nut from a 2006-2009 GSXR 600 isused to install the shock into the SV650S. A cheap washer is placed under the head in order to prevent the other end of the bolt from hitting the suspension linkages. The shock only goes in one way, so you can't have it in "upside down" or "backwards". Using the correct spring on this shock is a tremendous upgrade over the OEM components.